A few weeks ago we took a look at one of FSP’s latest offerings, the CMT340 which turned out to be probably one of our favorite cases we’ve come across in a long while. Moving up in scale, we’ll be taking a look at another FSP case, this one quite a bit bigger and probably much more liquid cooling friendly, the FSP CMT520 Plus.
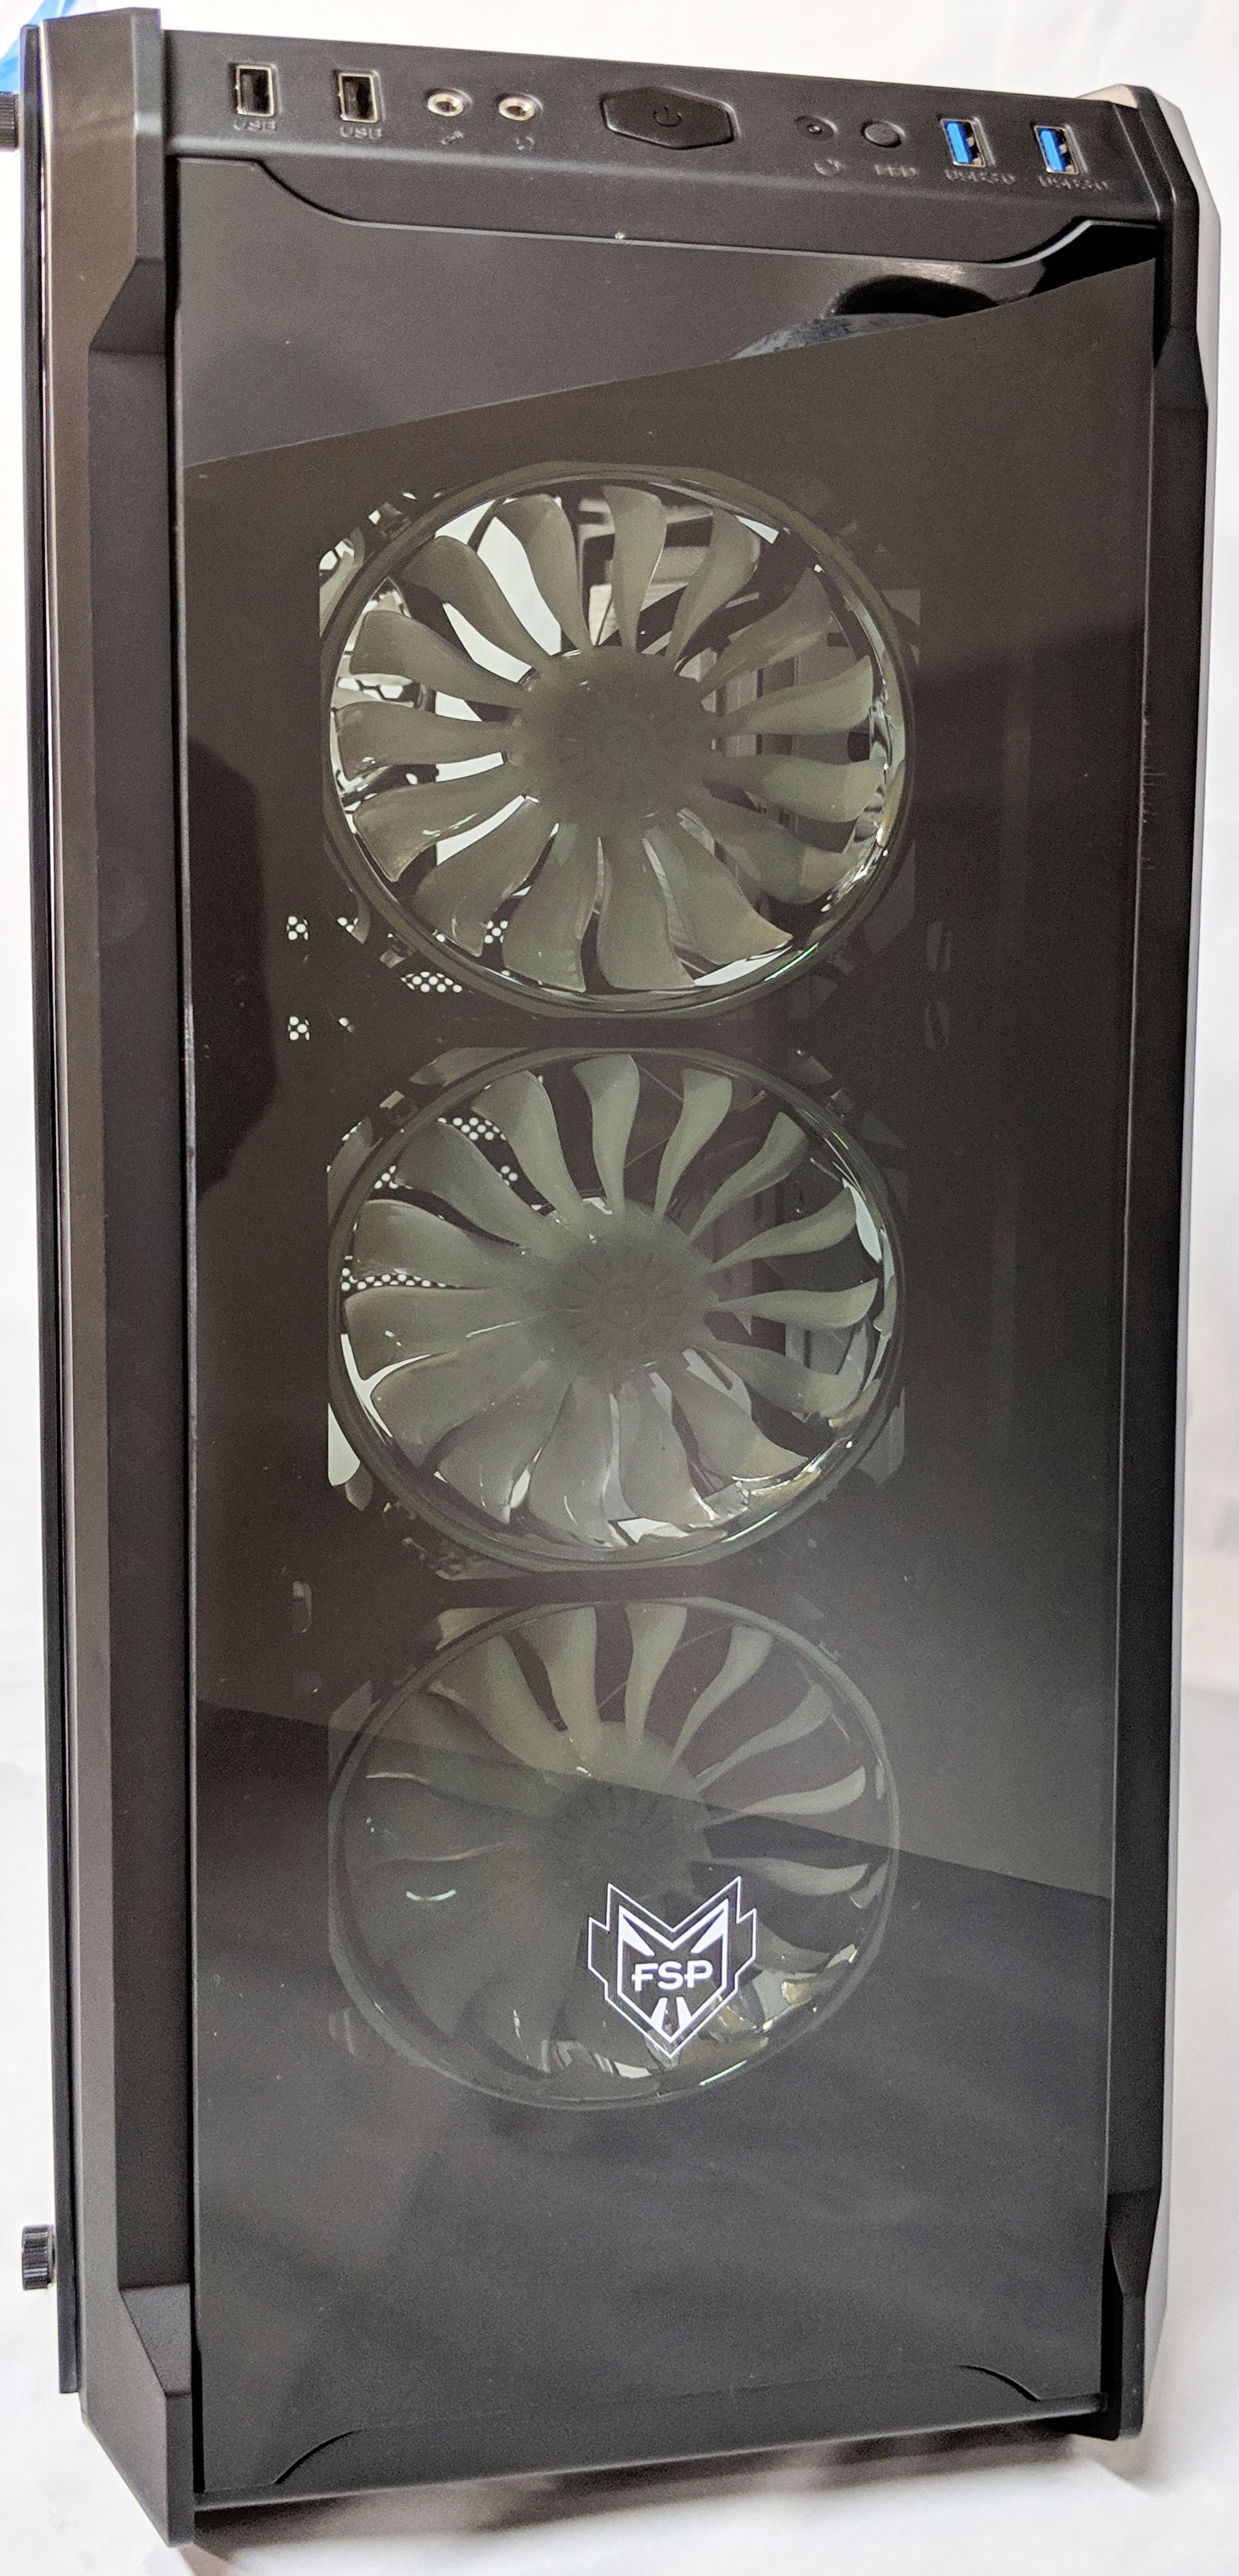
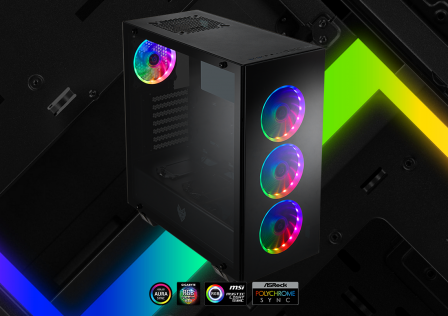
Aside from its obvious larger size, the two cases probably share more similarities than differences. The CMT520 Plus features two tempered glass panels, on large one consisting of the entire left side of the case, and another one on the front allowing clear view of the three RGB intake fans located in the front. An additional RGB fan is also included mounted at the rear of the case acting as an exhaust for a combined total of four fans in all. If that’s not enough, the case has additional mounting options for three more fans located at the top of the case for a combined total of seven.
The CMT520 Plus model is built on the standard CMT520 which is currently available today. The “Plus” in the product title simply means that the case is equipped with addressable RGB fans. Other than that, the “Plus” and non-Plus variants are the same.
With a larger size, comes more internal component support, especially for liquid cooling. The FSP case has the option for mounting two 360mm radiators if desired. At the time of writing this review, you can pick up the CMT520 Plus for $129.99 placing it into the mid-high end category for mid tower cases.
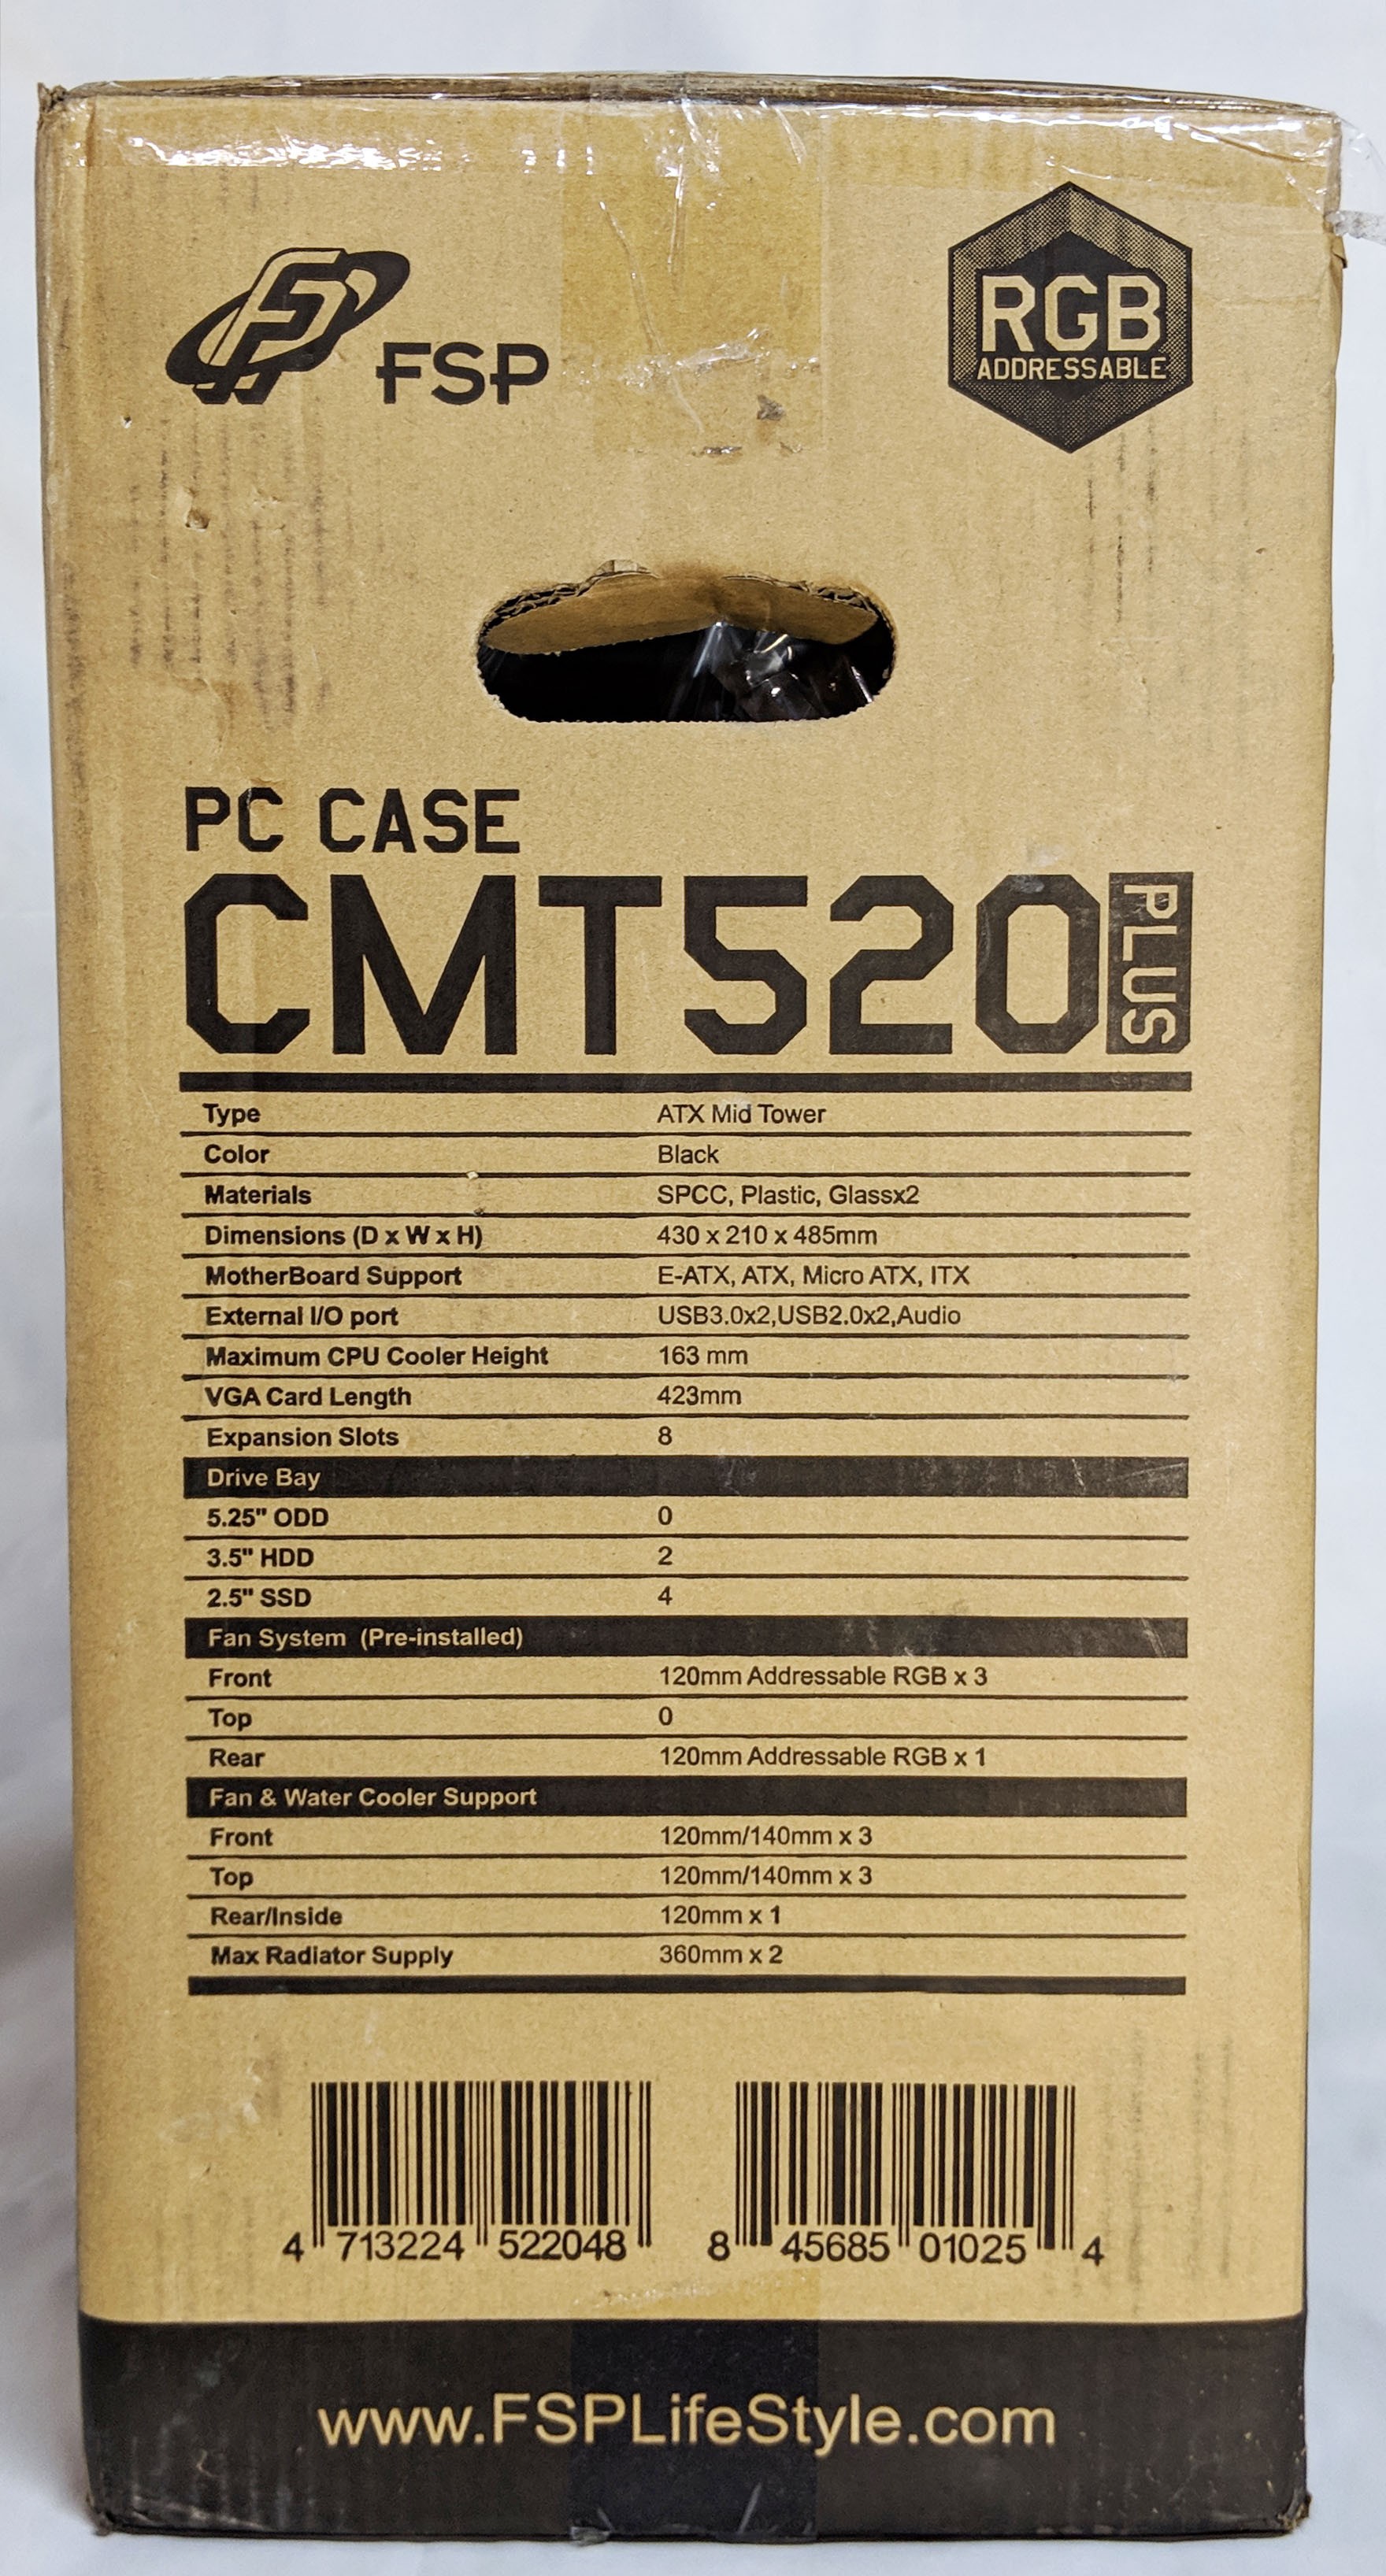
FSP CMT520 Plus Specifications
On paper this case seems to support pretty much anything a high end system builder would need. The tempered glass, RGBs, with lots of front mount I/O options definitely do add to the overall appeal. The FSP CMT520 is classified as a mid tower case, however given its overall size (19.49 x 8.46 x 20.08 inches) it might tip the scale into the full-tower realm.
E-ATX motherboards are also supported which is what we’ll eventually be installing later on in the review. The case also has the ability to support four 2.5″ SSDs in addition to two 3.5″ HDDs. Here are the official specs according to FSP:
| FSP CMT520 Plus Specs | |
|---|---|
| Model Name | CMT520 Plus |
| Type | ATX Mid Tower |
| Color | Black |
| Materials | SPCC, Tempered glass x 2 |
| Weight | 8.5KG |
| Dimension DxWxH (mm) / (inch) | 495 x 215 x 510mm 19.49 x 8.46 x 20.08inch |
| Maximum CPU Cooler Height | 163mm |
| VGA Card Length | 423mm |
| Expansion Slots | 8 |
| Motherboard Support | E-ATX, ATX, Micro ATX, ITX |
| External I/O port | USB3.0 x 2, USB2.0 x 2,Audio |
| Power Supply Type | 200mm ATX |
| 3.5“ HDD | 2 |
| 2.5″ SSD | 4 |
| Fan Including(pre-install) | Front: 120mm Addressable RGB Fan x 3 Rear: 120mm Addressable RGB Fan x 1 |
| Fan&Water Cooler Support | Front: 120mm/140mm x 3, or 360mm Radiator x 1 Top: 120mm x 3/140mm x 2 or 360mm Radiator x 1 Rear: 120mm x1 |
| Max Radiator Support | 360mm x 2 |
It’s also important to note that the included RGB fans work with the built in RGB/Fan controller which has ports for up to 8 fans. The RGB effects can be controlled using either the switch at the I/O panel, or using the 3-pin addressable RGB header located on your motherboard. Very useful for matching RGB lighting effects to the rest of the system. More information can be found over at FSP’s product page.
Alrighty, now that we’re all fluent with all things related to the case, let’s go grab the box and take a look starting with its packaging!
A Closer Look: Packaging
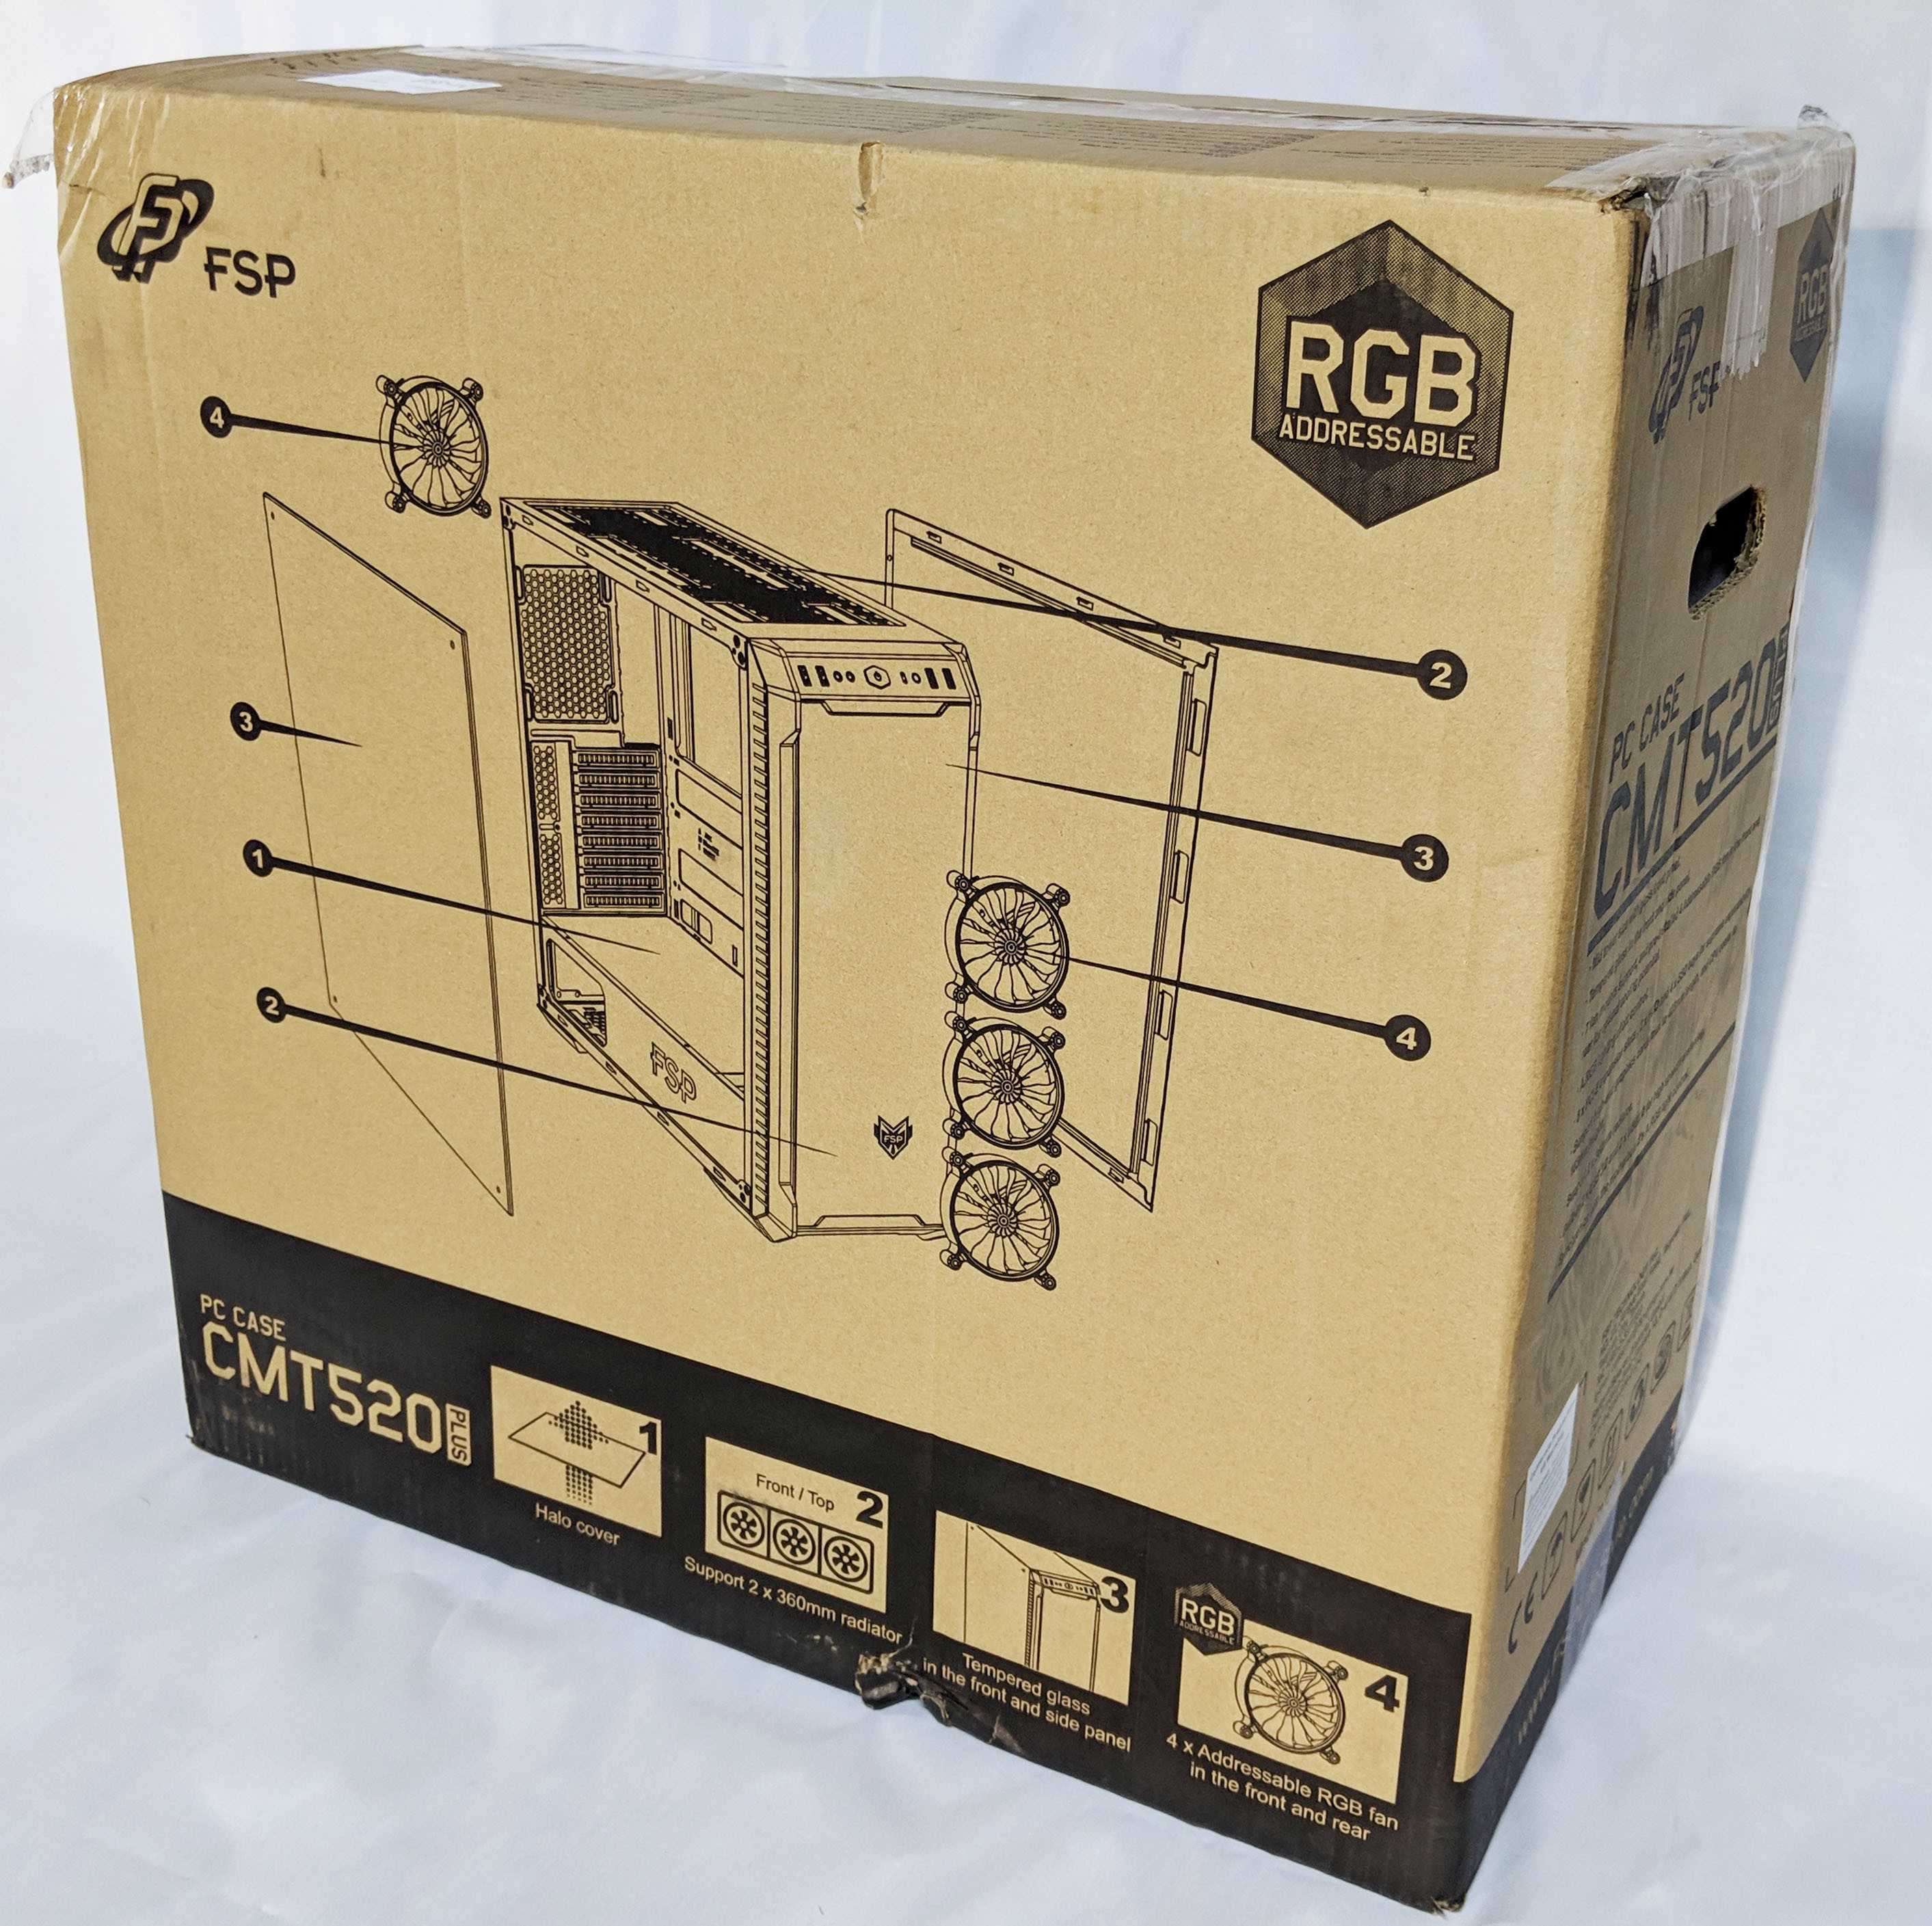
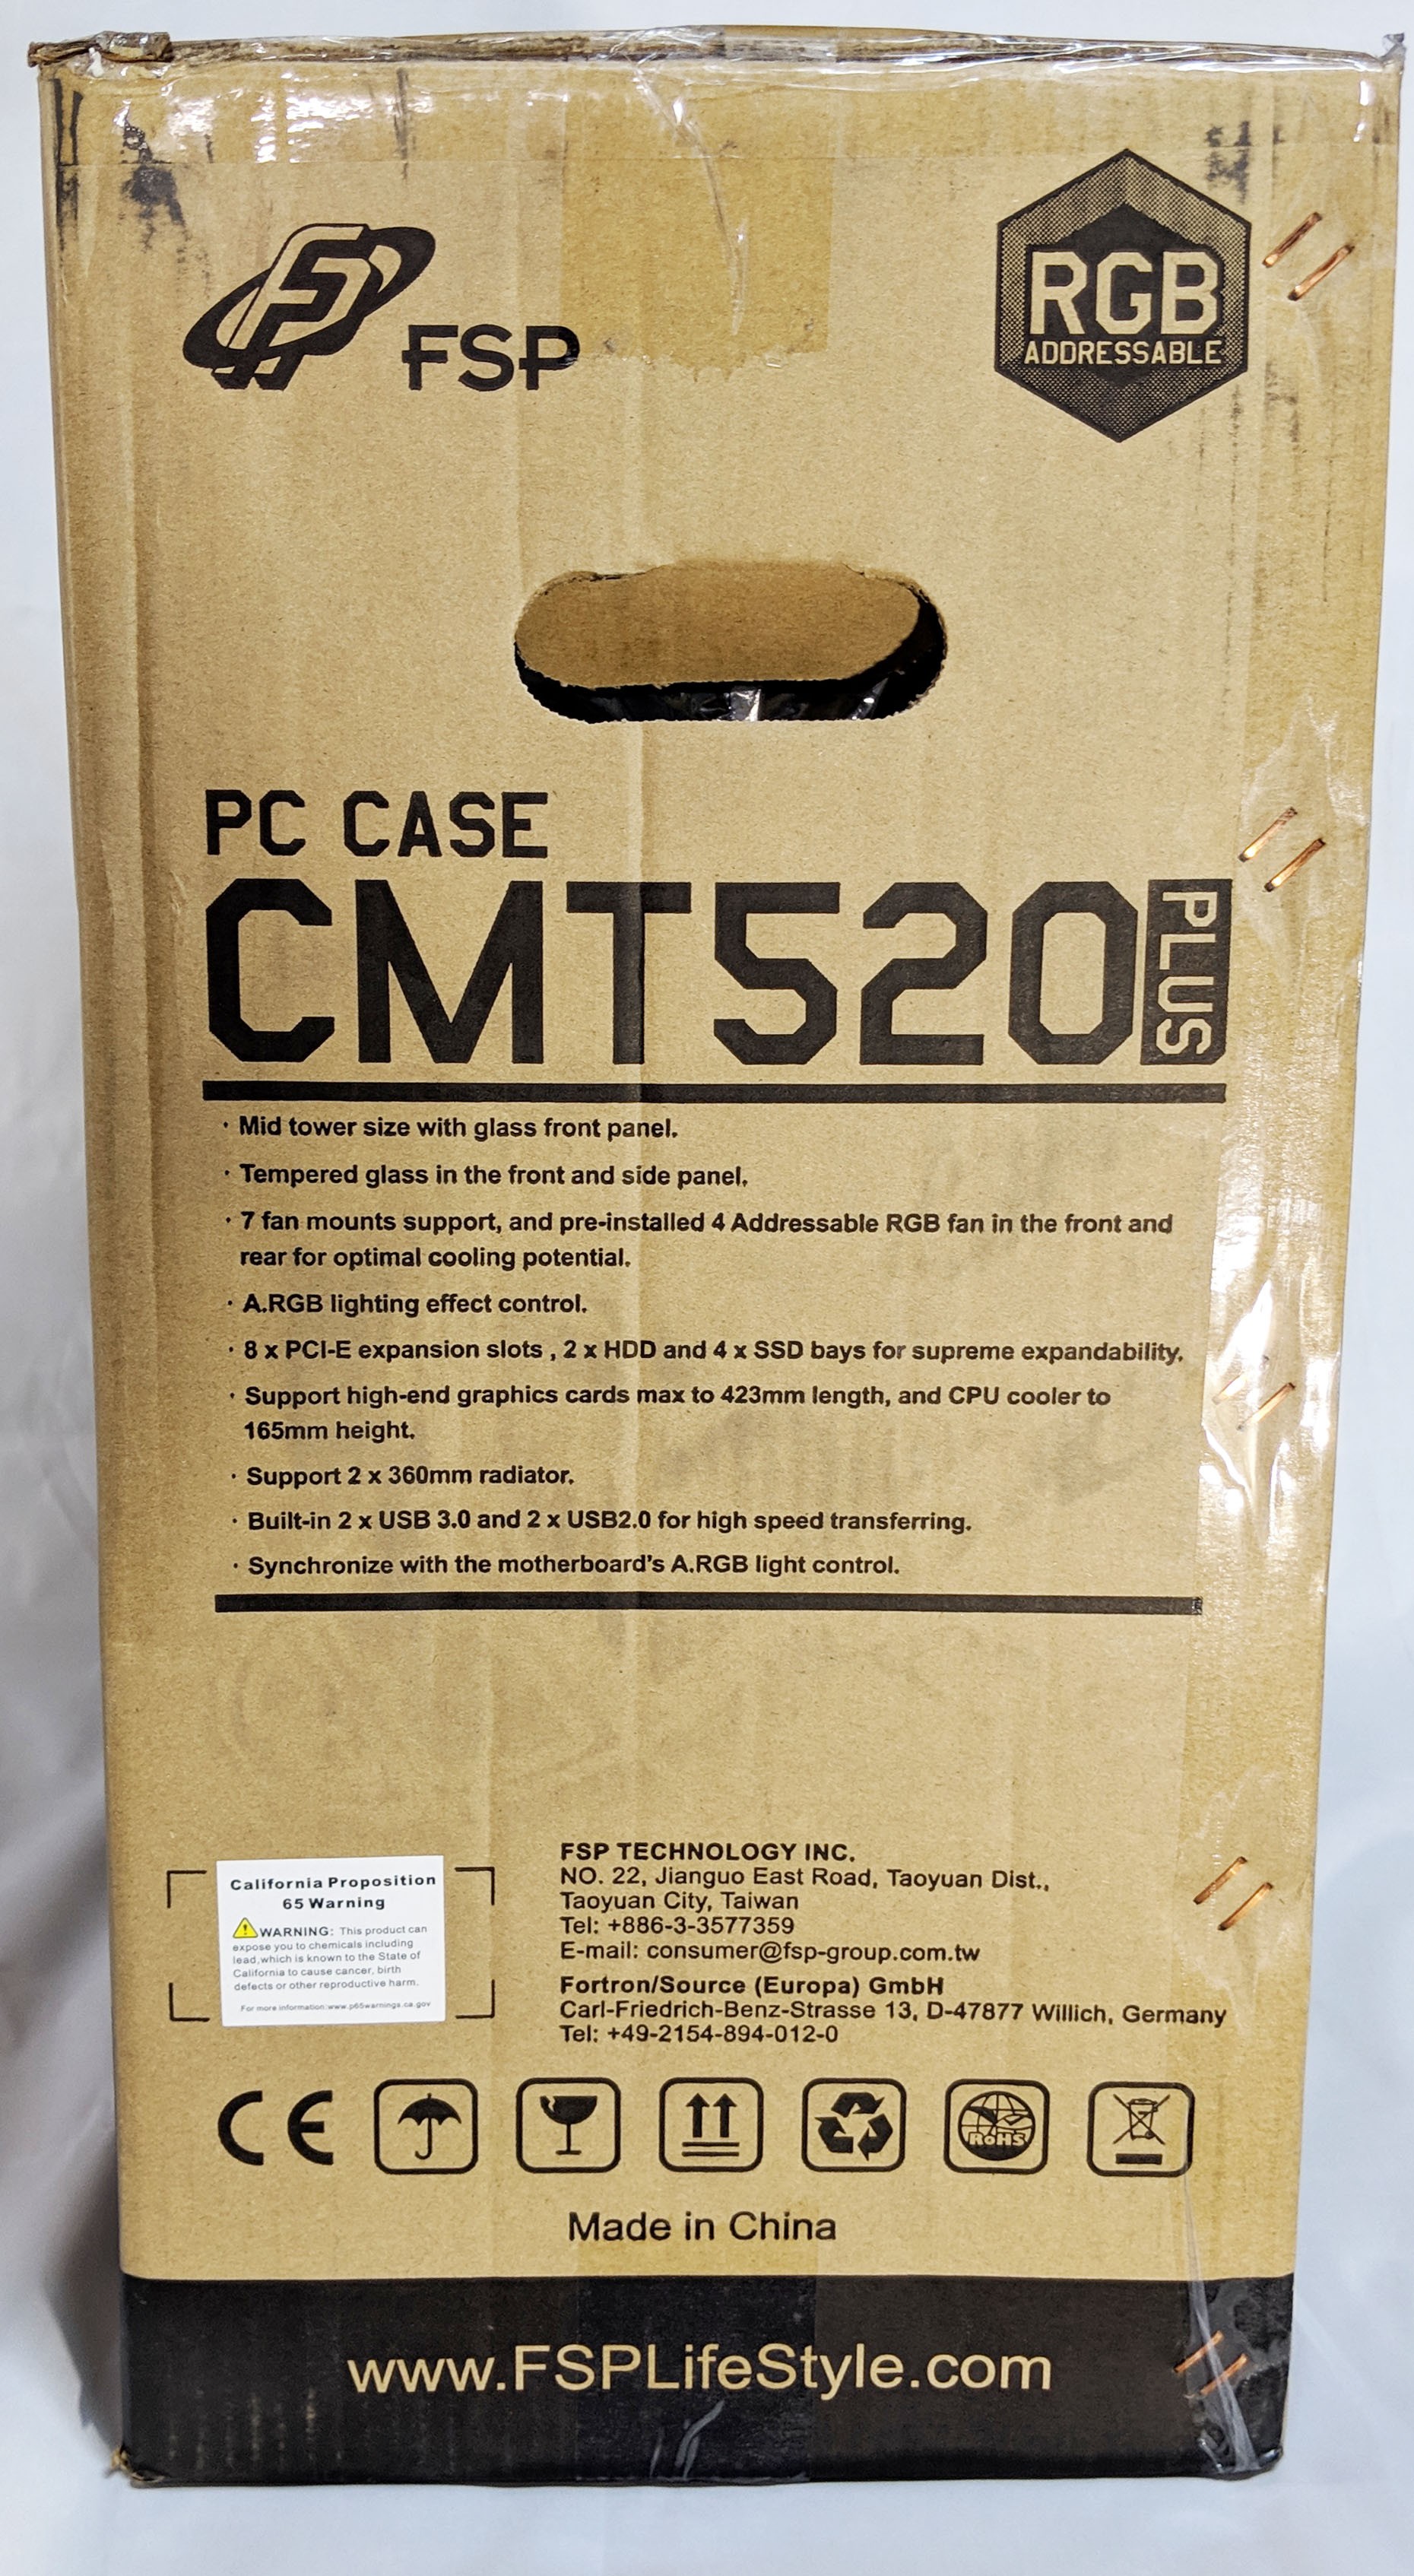
The CMT530 Plus arrived in perfect shape and undamaged thanks to our local mail courier. The front of the box features some cool gaming-themed graphics with an outline depiction of the case. Moving over to the back of the box there’s a nice break away diagram highlighting some important key features. Additional details such as specifications and other features can be found on either side.

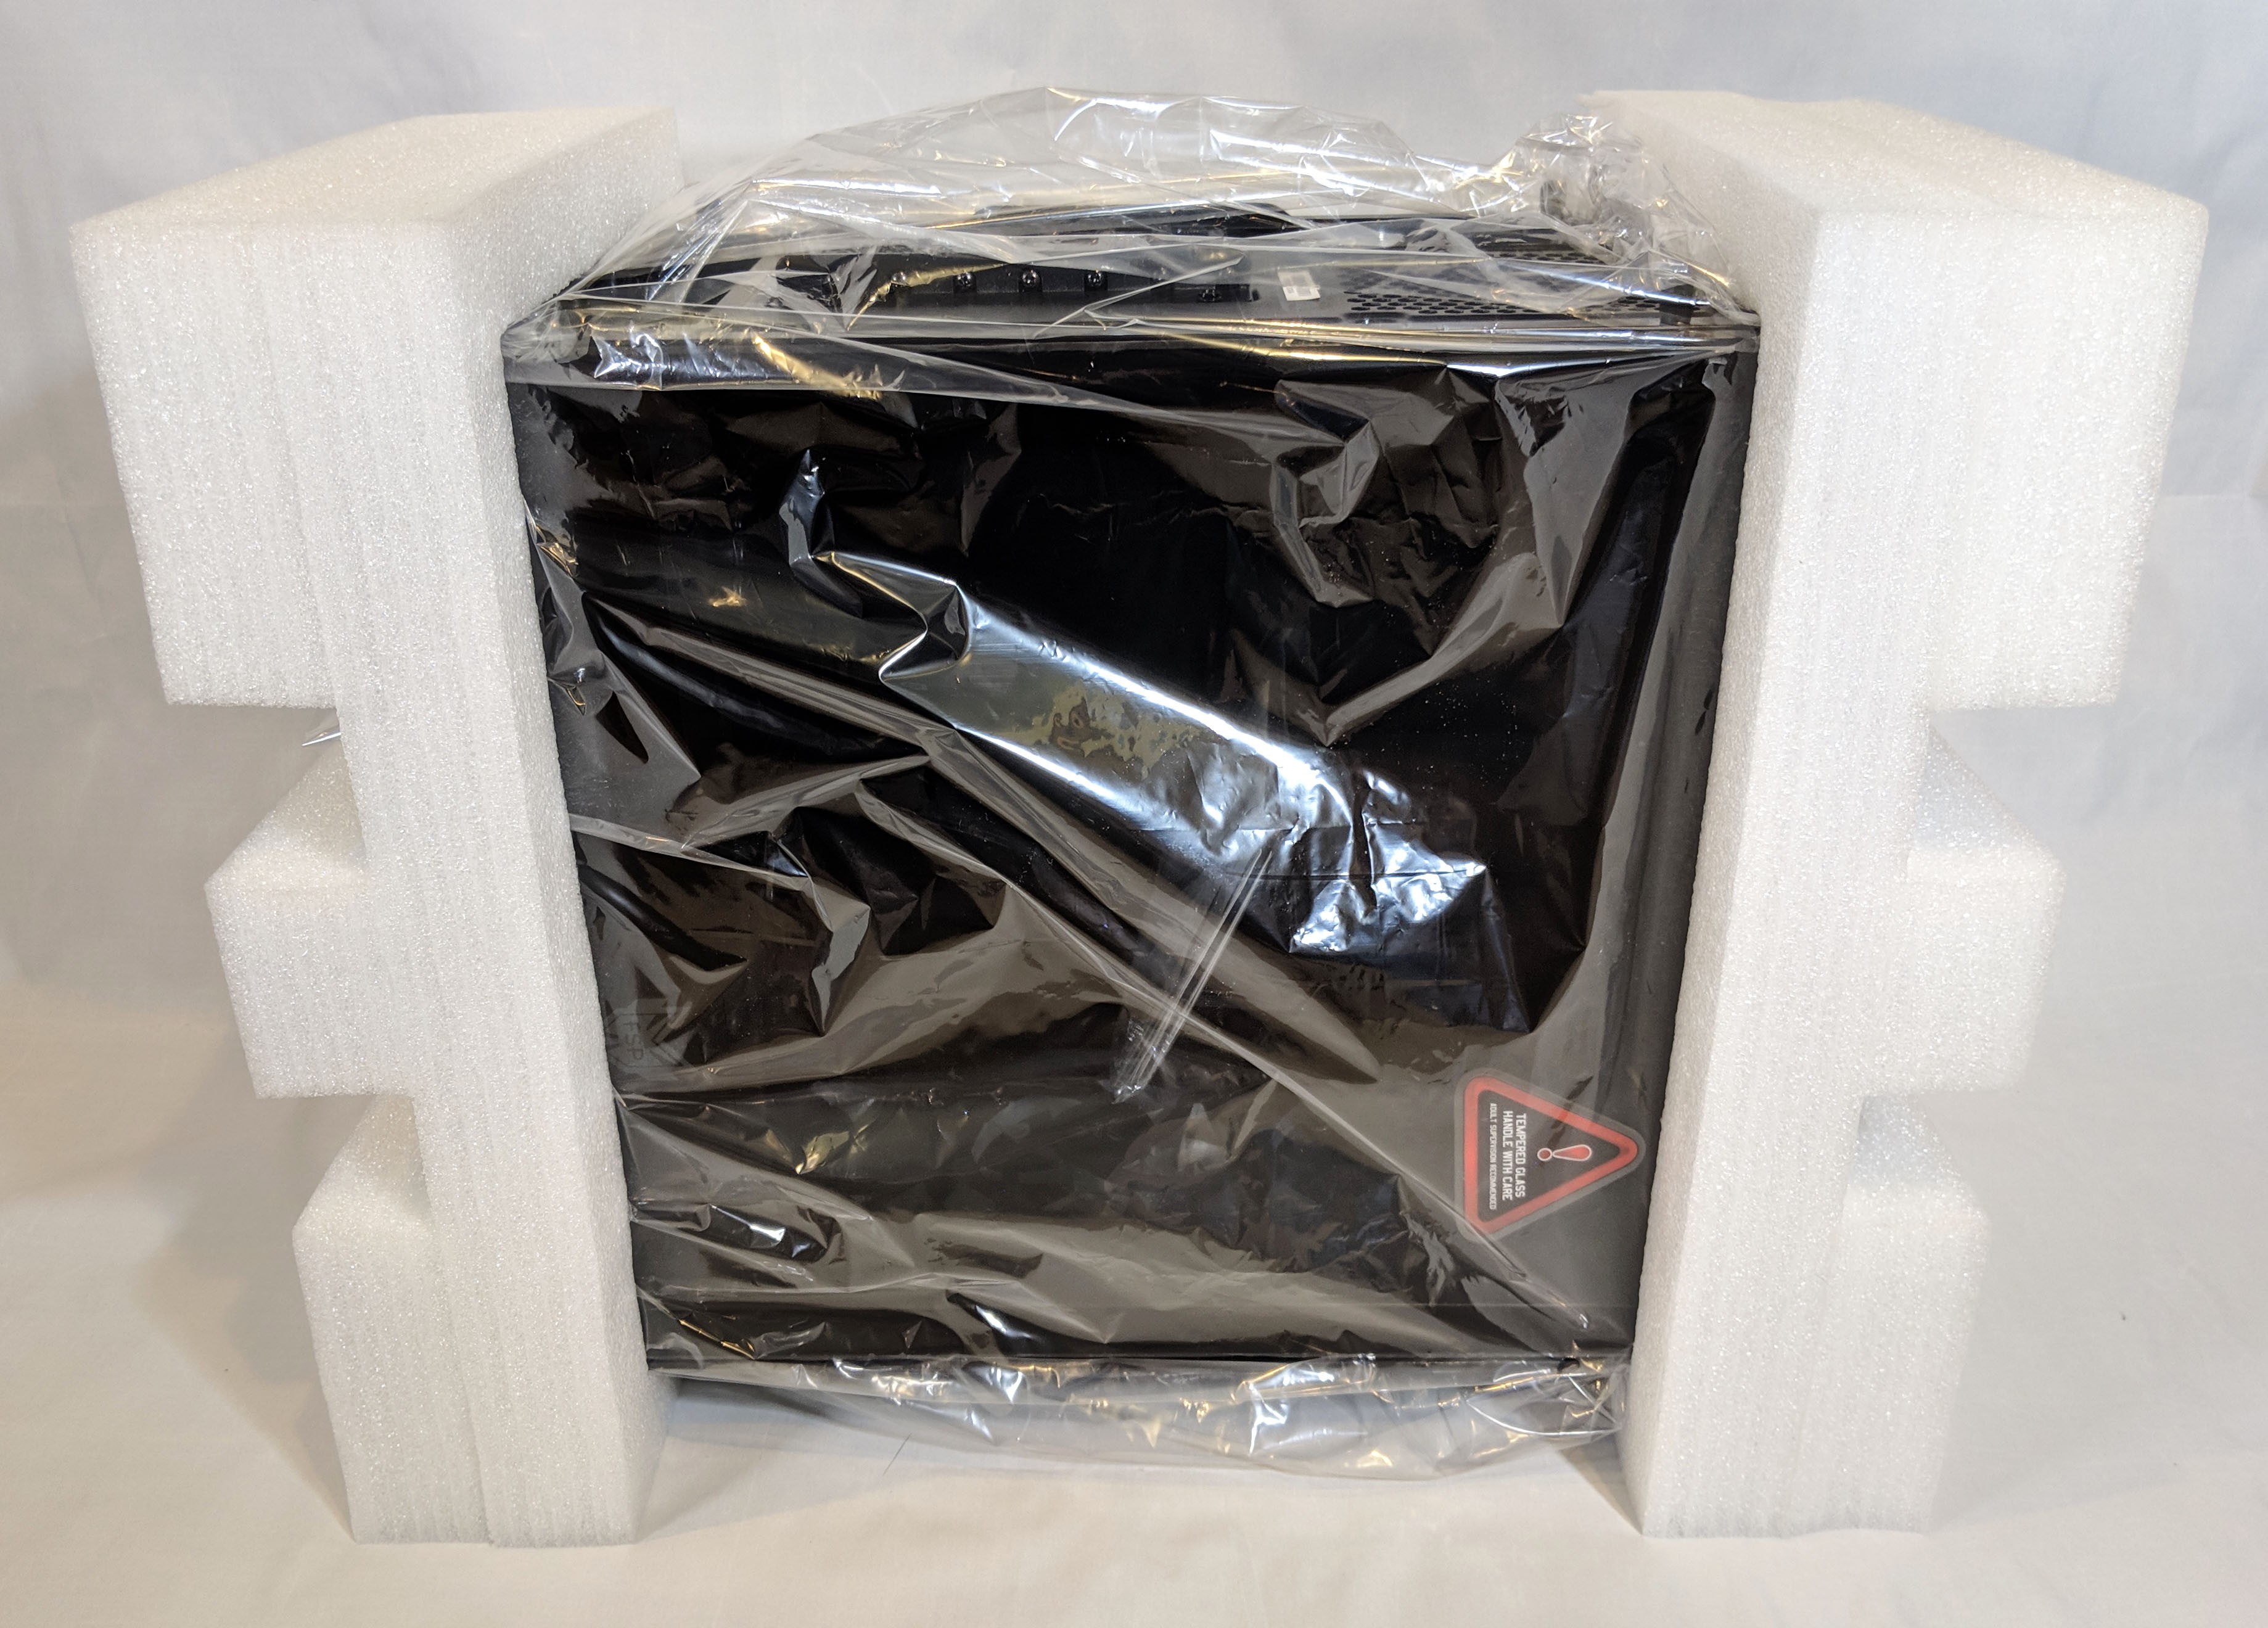
Next, let’s crack open the seal and get a better idea as to how this thing is packaged. Typical to that of pretty much any case on the market, the 520 Plus came wrapped inside a clear plastic bag wedged in between two Styrofoam bricks. This being a CMT case and our only other experience with one was the CMT340 we mentioned earlier, I was kind of hoping for some of that nice soft foam material we ran into previously, but this time around, such was not the case.

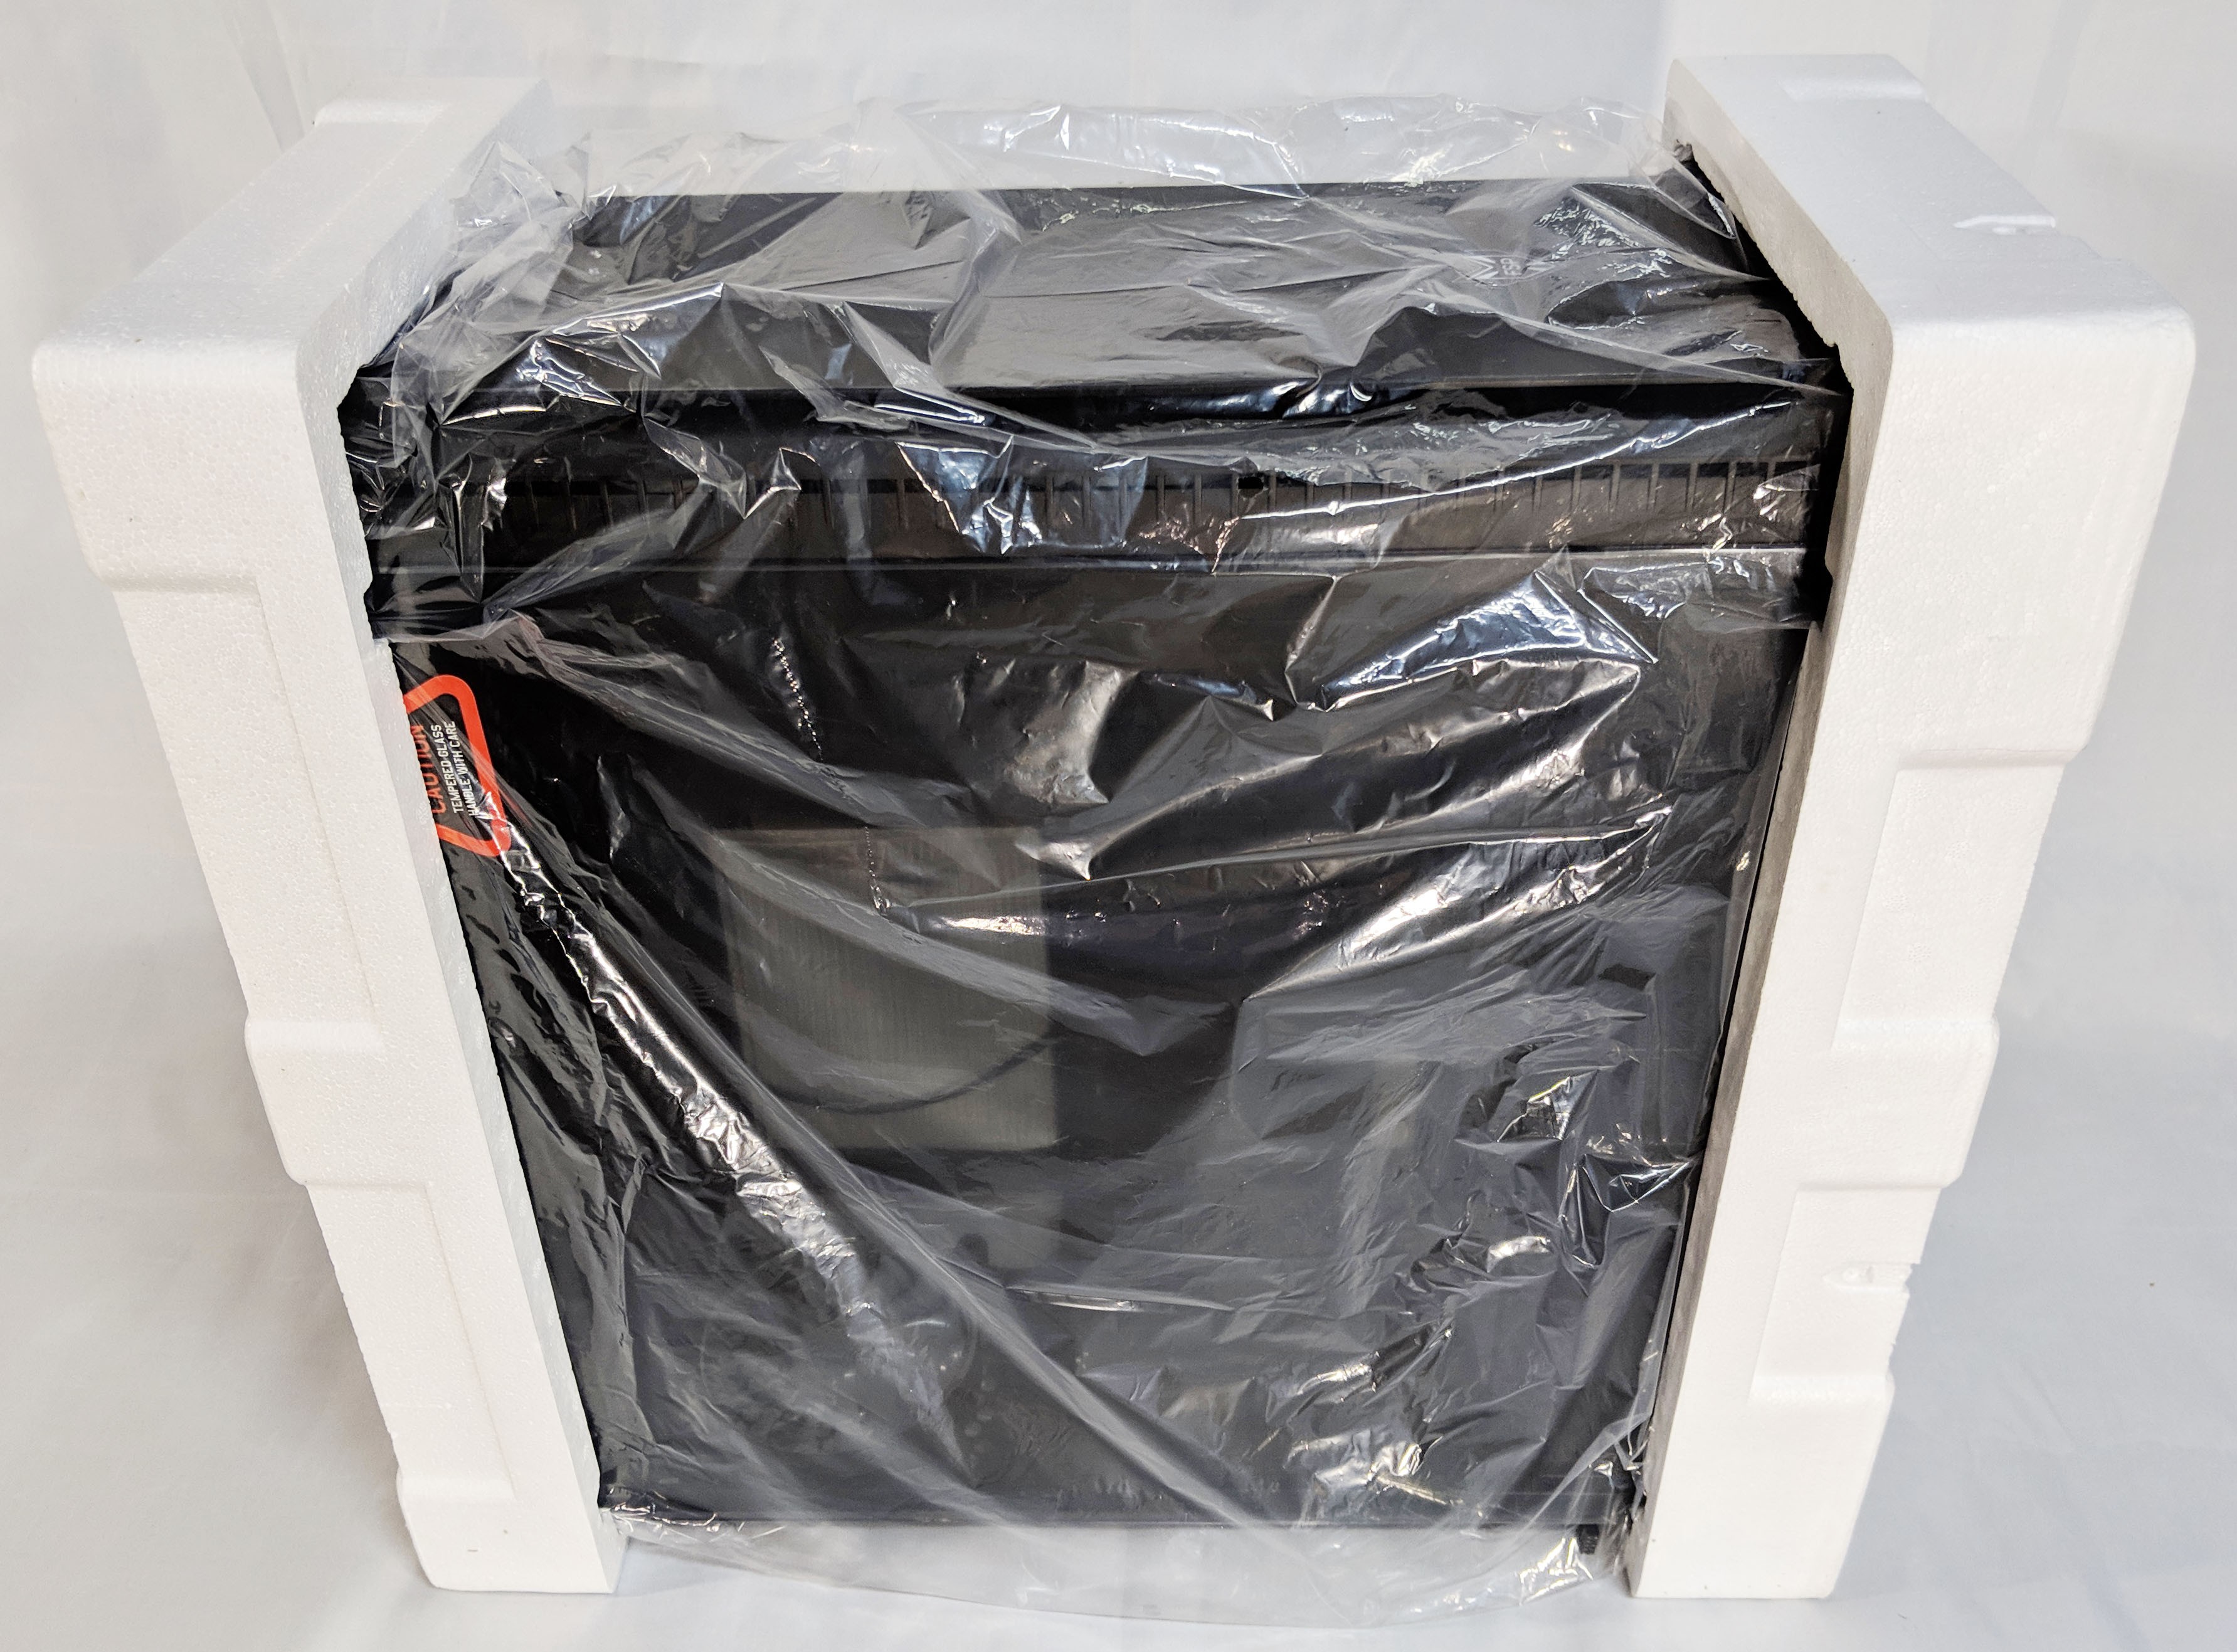
Now that we’ve got the case de-bagged, we’re able to get a better overall feel for its size and shape. The shiny tempered glass surfaces are protected by protective film that will need to be removed prior to use. The side panel has the film on both the inside and outside. I’m glad to see that this time around the tempered glass warning label was not attached directly to the glass! We had some trouble with that sticker on previous reviews.
A Closer Look: Exterior
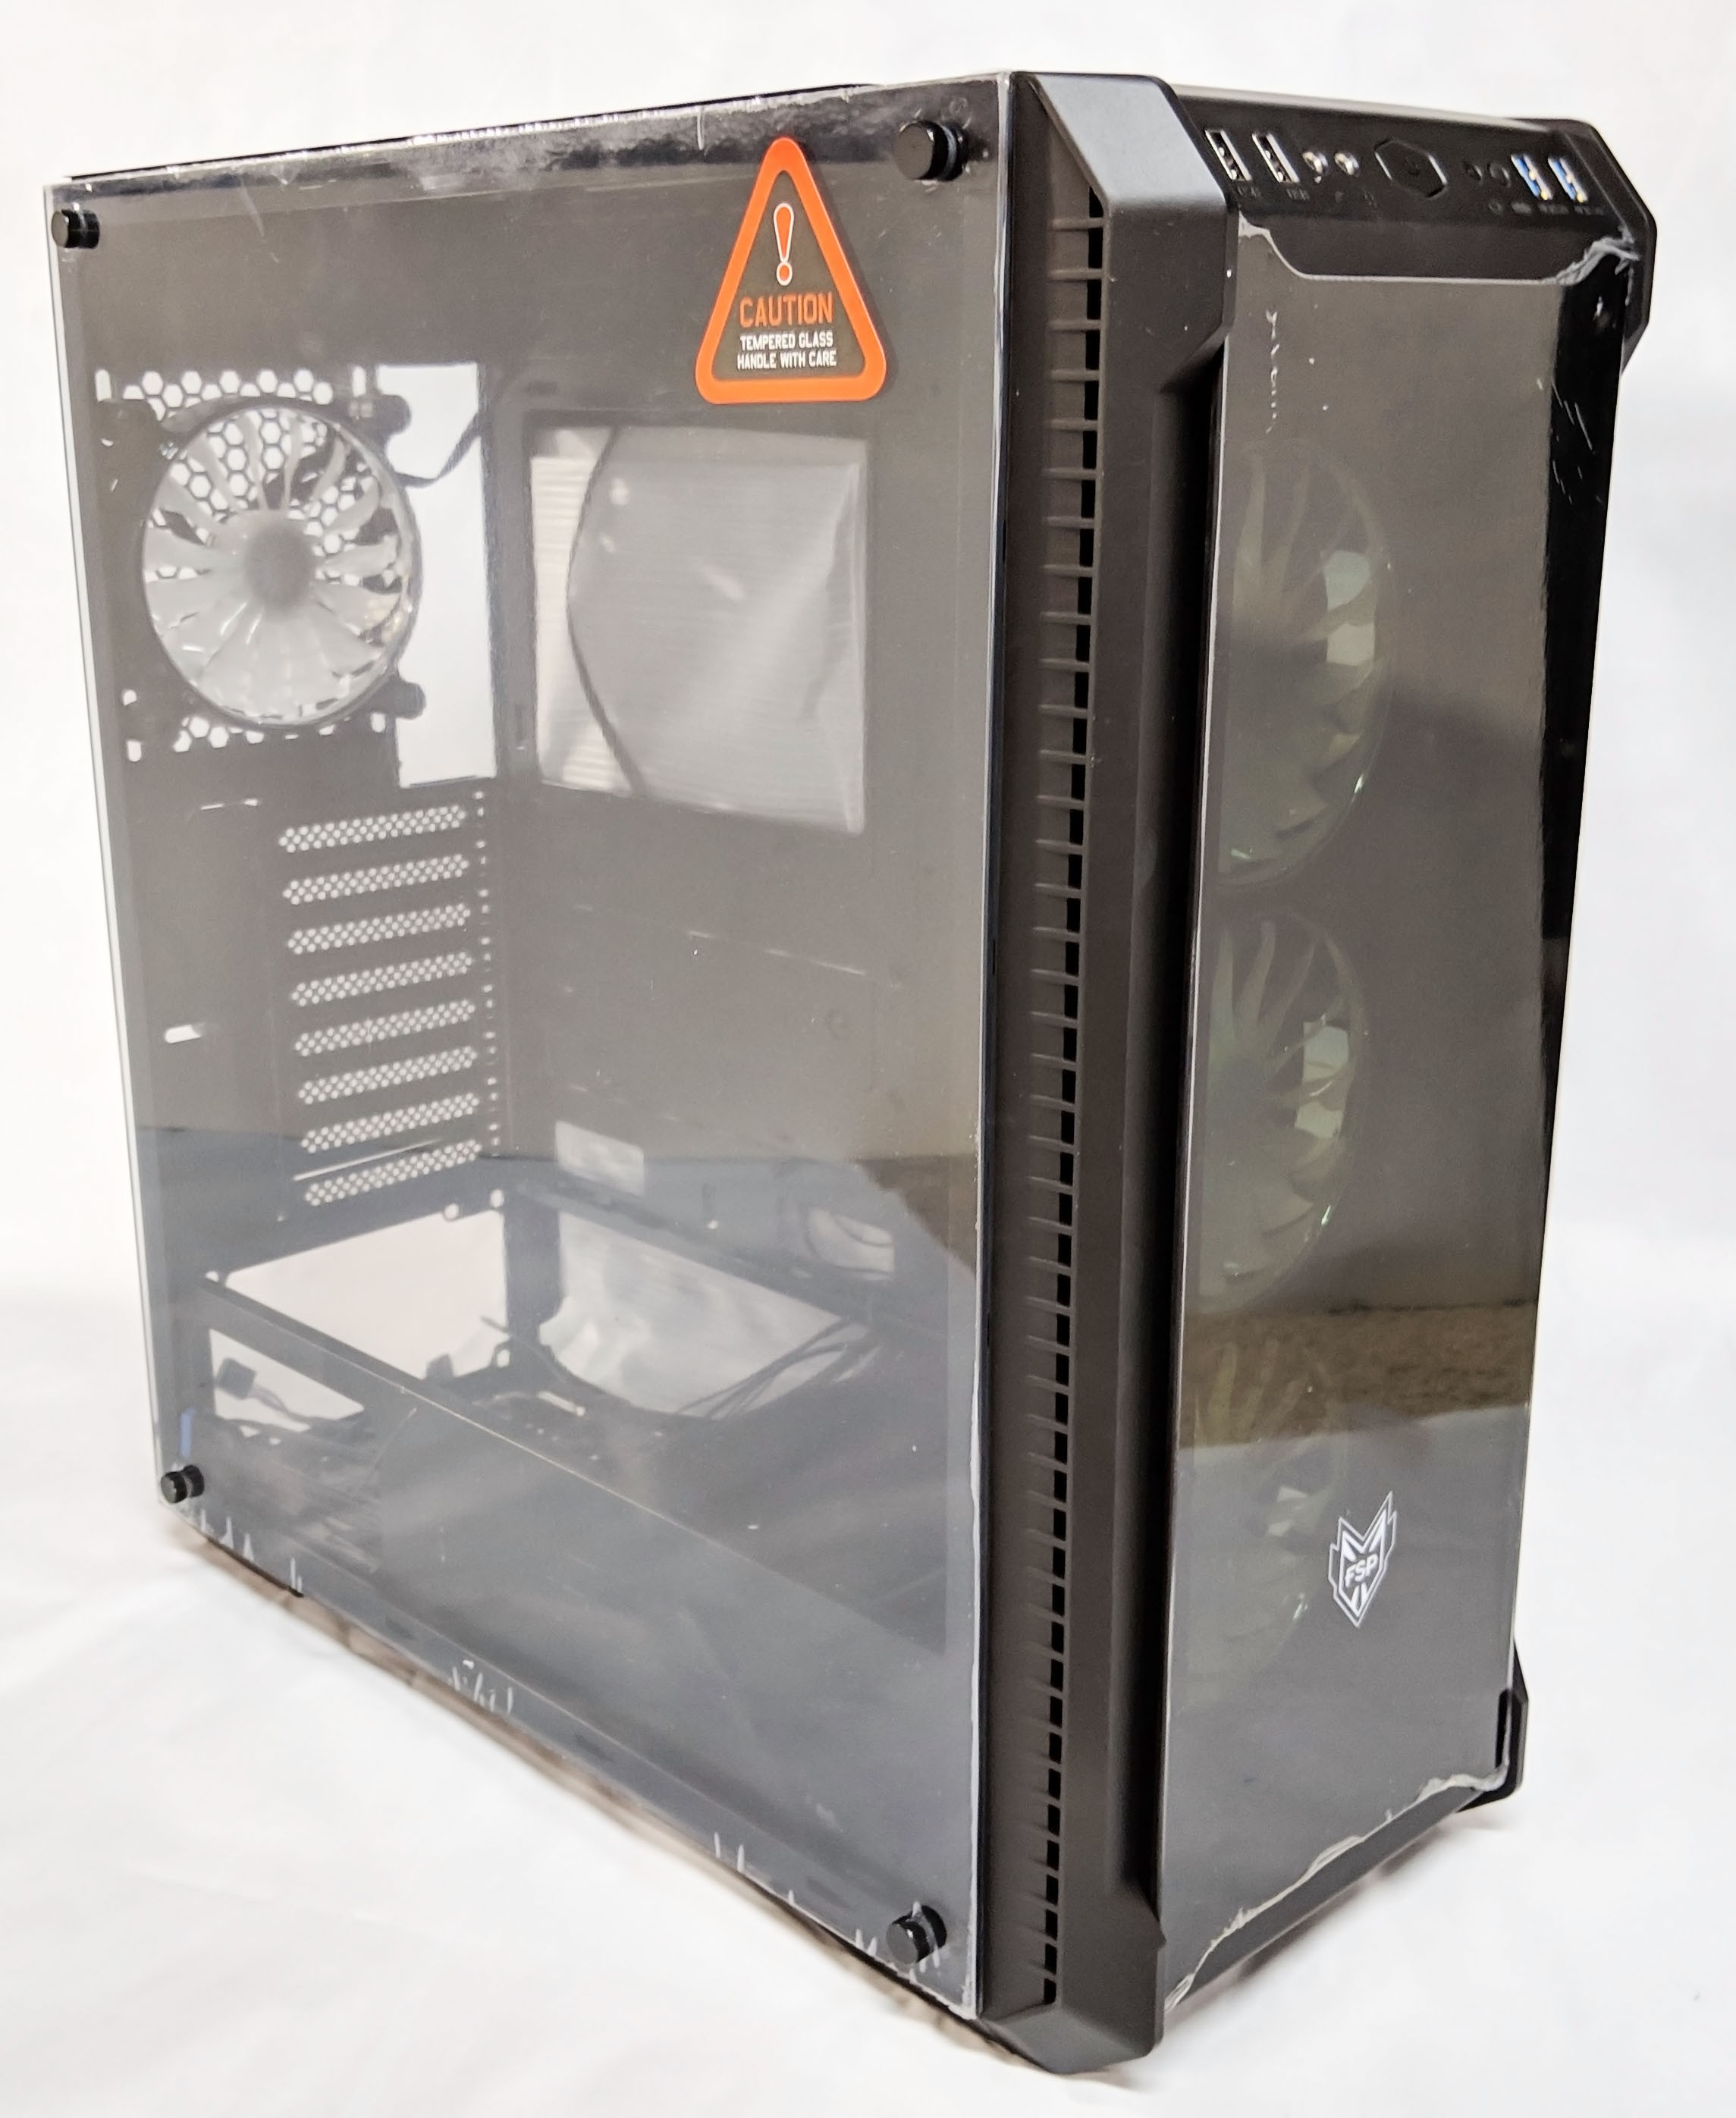
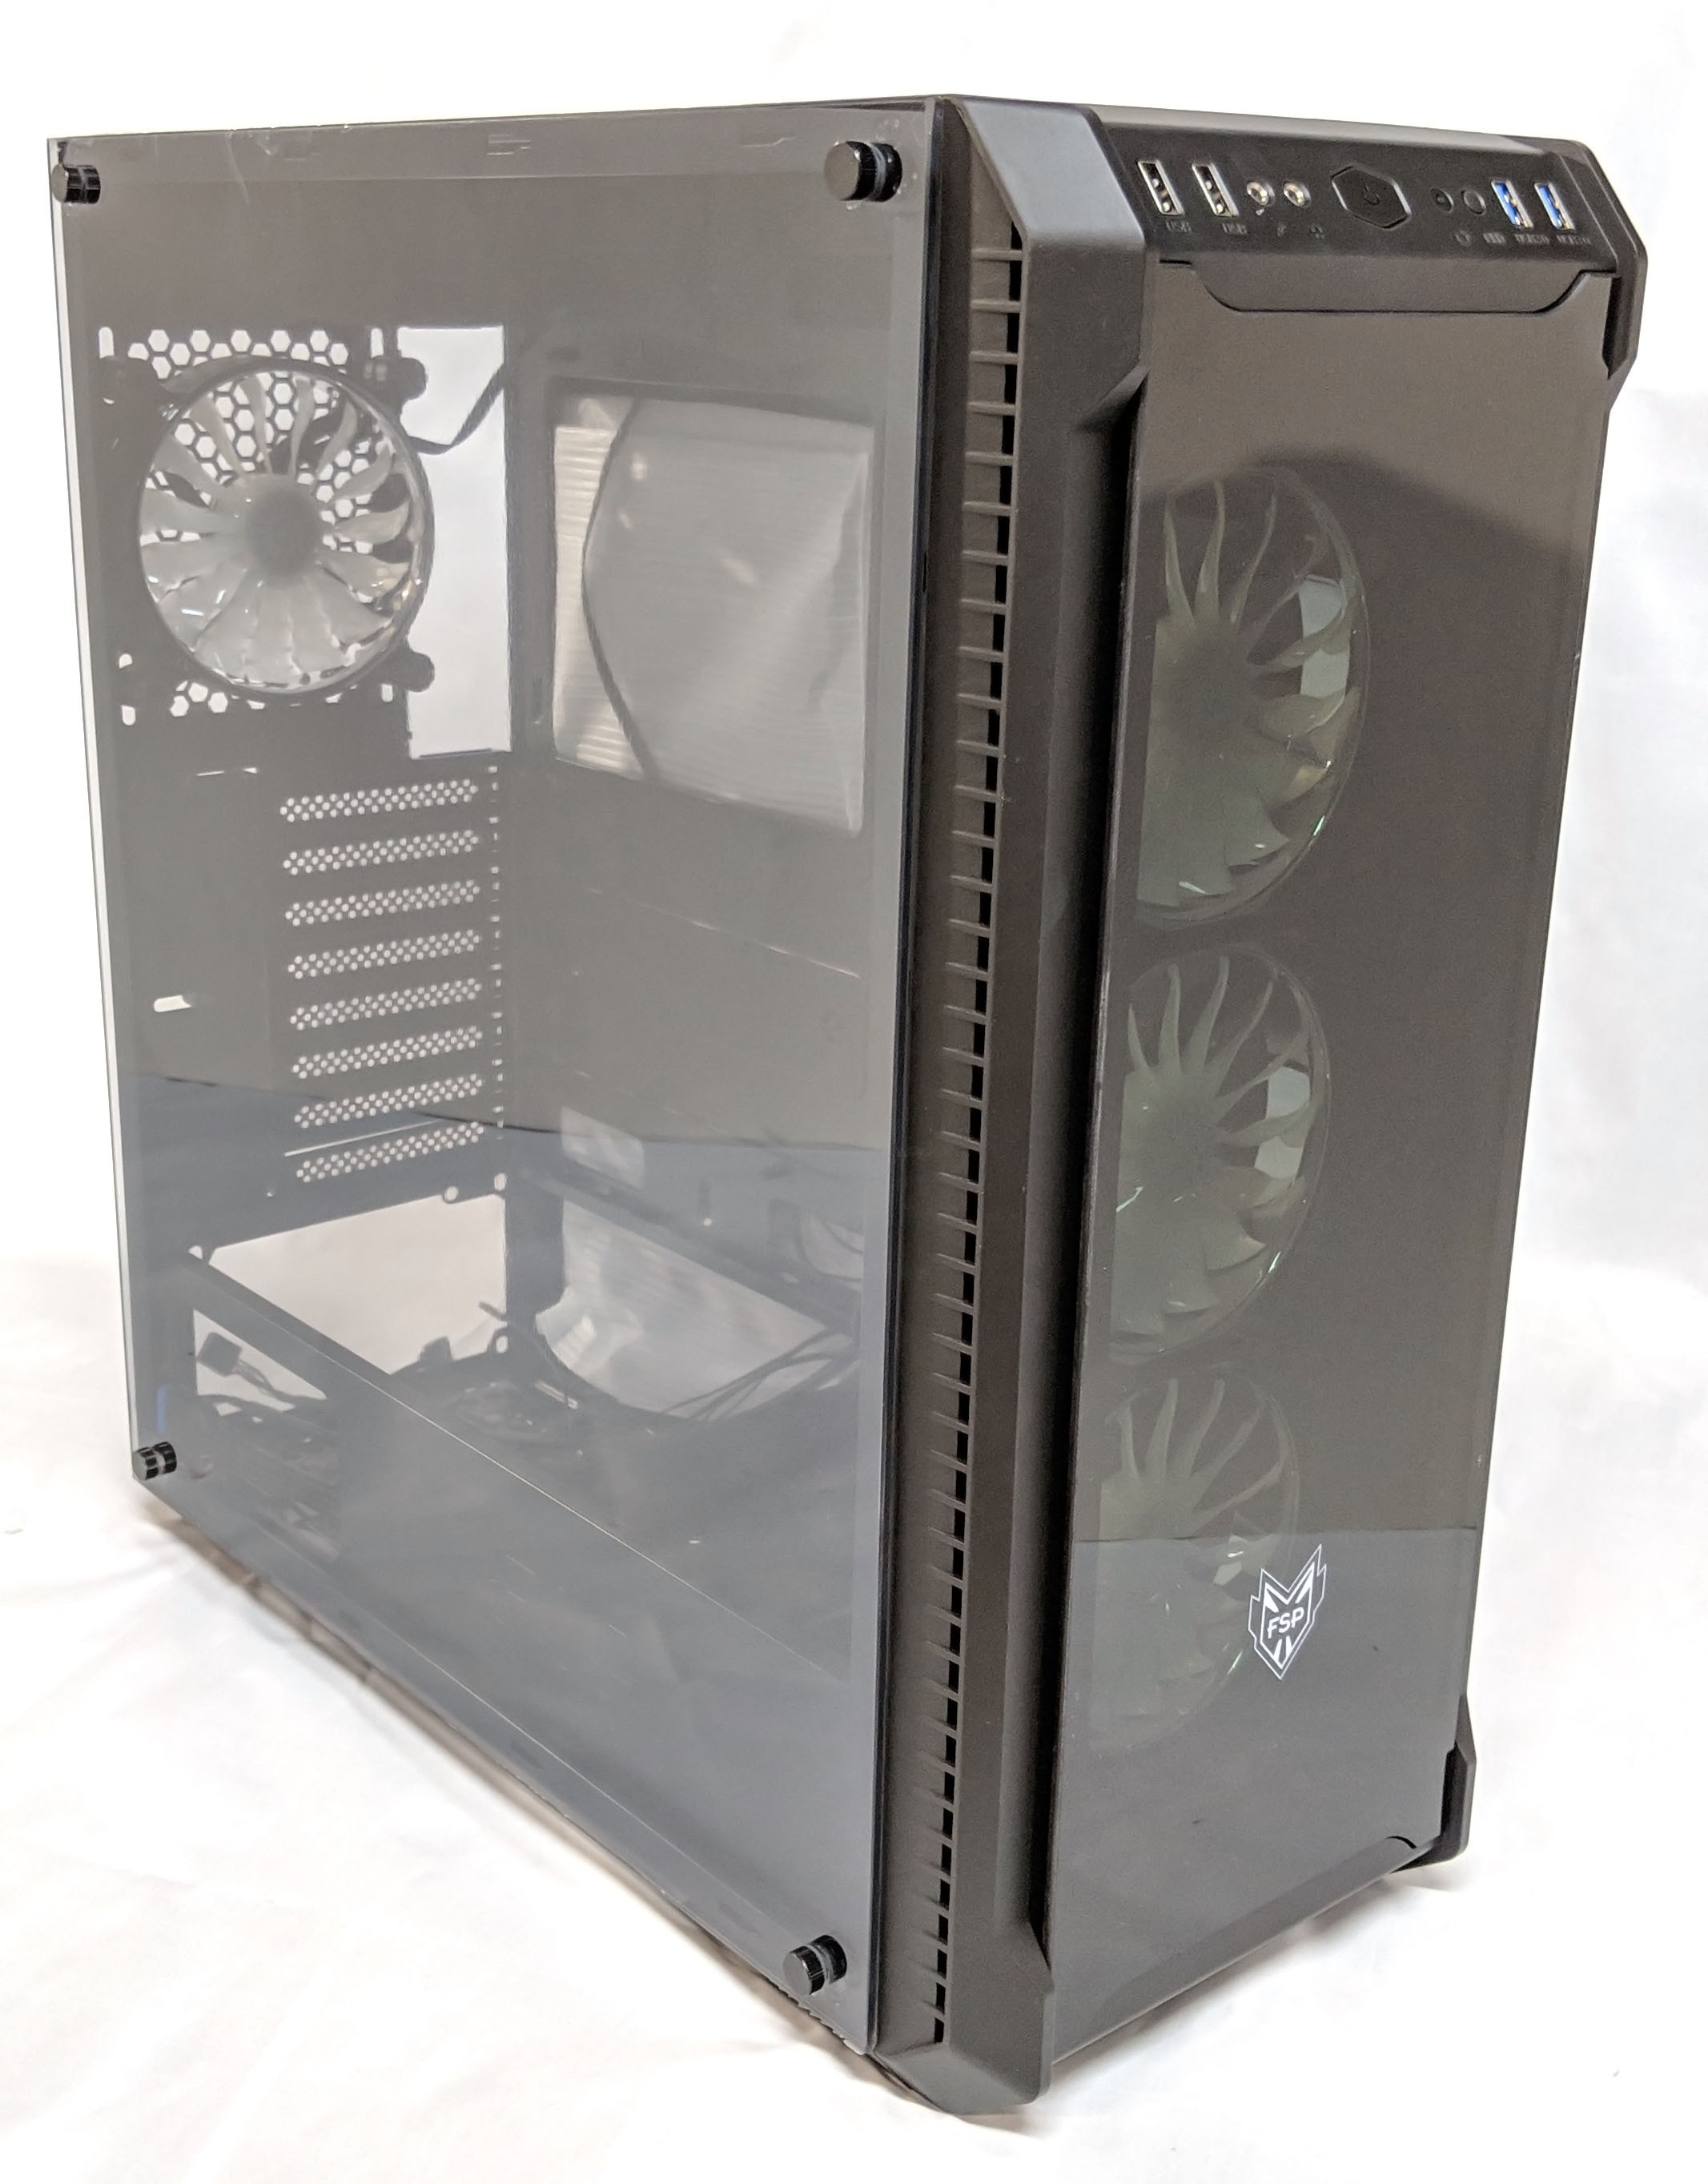
With all the packaging removed, the FSP CMT520 Plus gets a whole lot shinier. With so many reflective surfaces, photographing the case is not the easiest task. Overall, the case is quite large, probably somewhere in between a mid-tower and full-tower. The case is constructed from SPCC steel aside from the front panel which consists of black plastics. The tempered glass side and front panel are both tinted or smoked to add to the overall stealthy look. This darkens the interior components while allowing lit objects such as RGB fans and LEDs shine through easily.
The front of the case features three addressable RGB fans which draw air through each side of the tempered glass piece as well as the grills on either side. The openings are sized adequately and should not impede airflow. Air filtration on the front is pretty much non-existent, however.
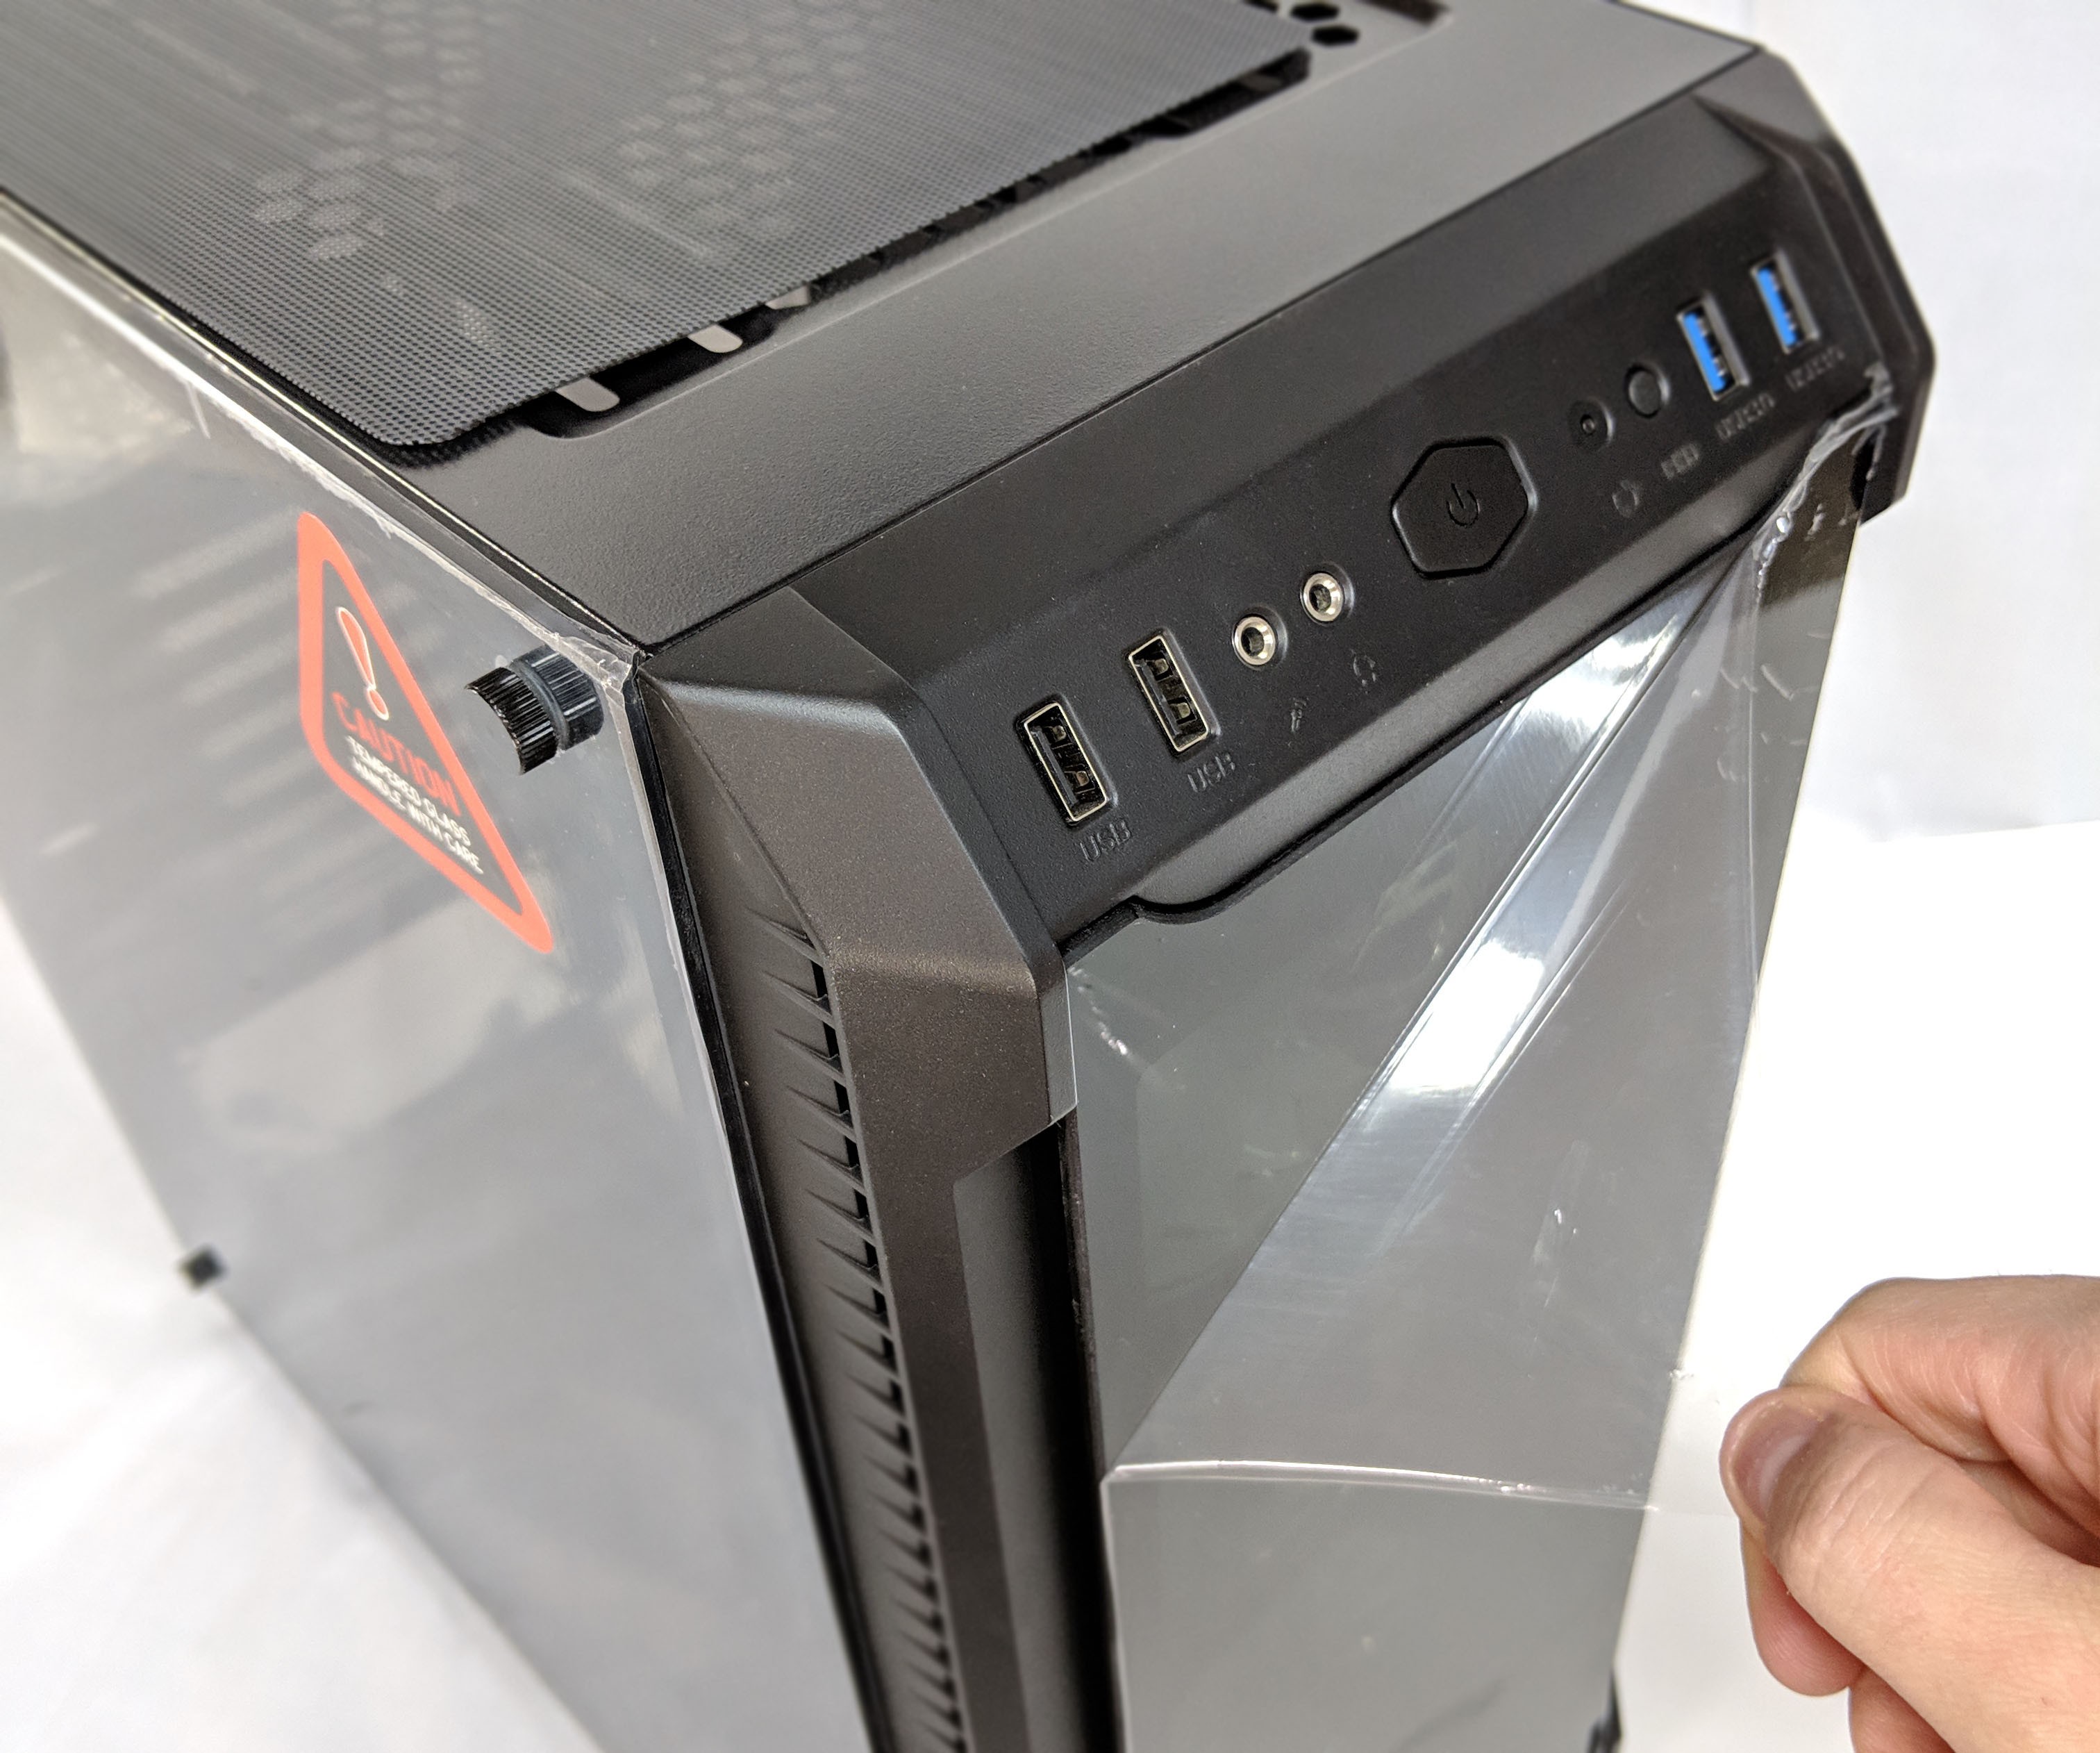
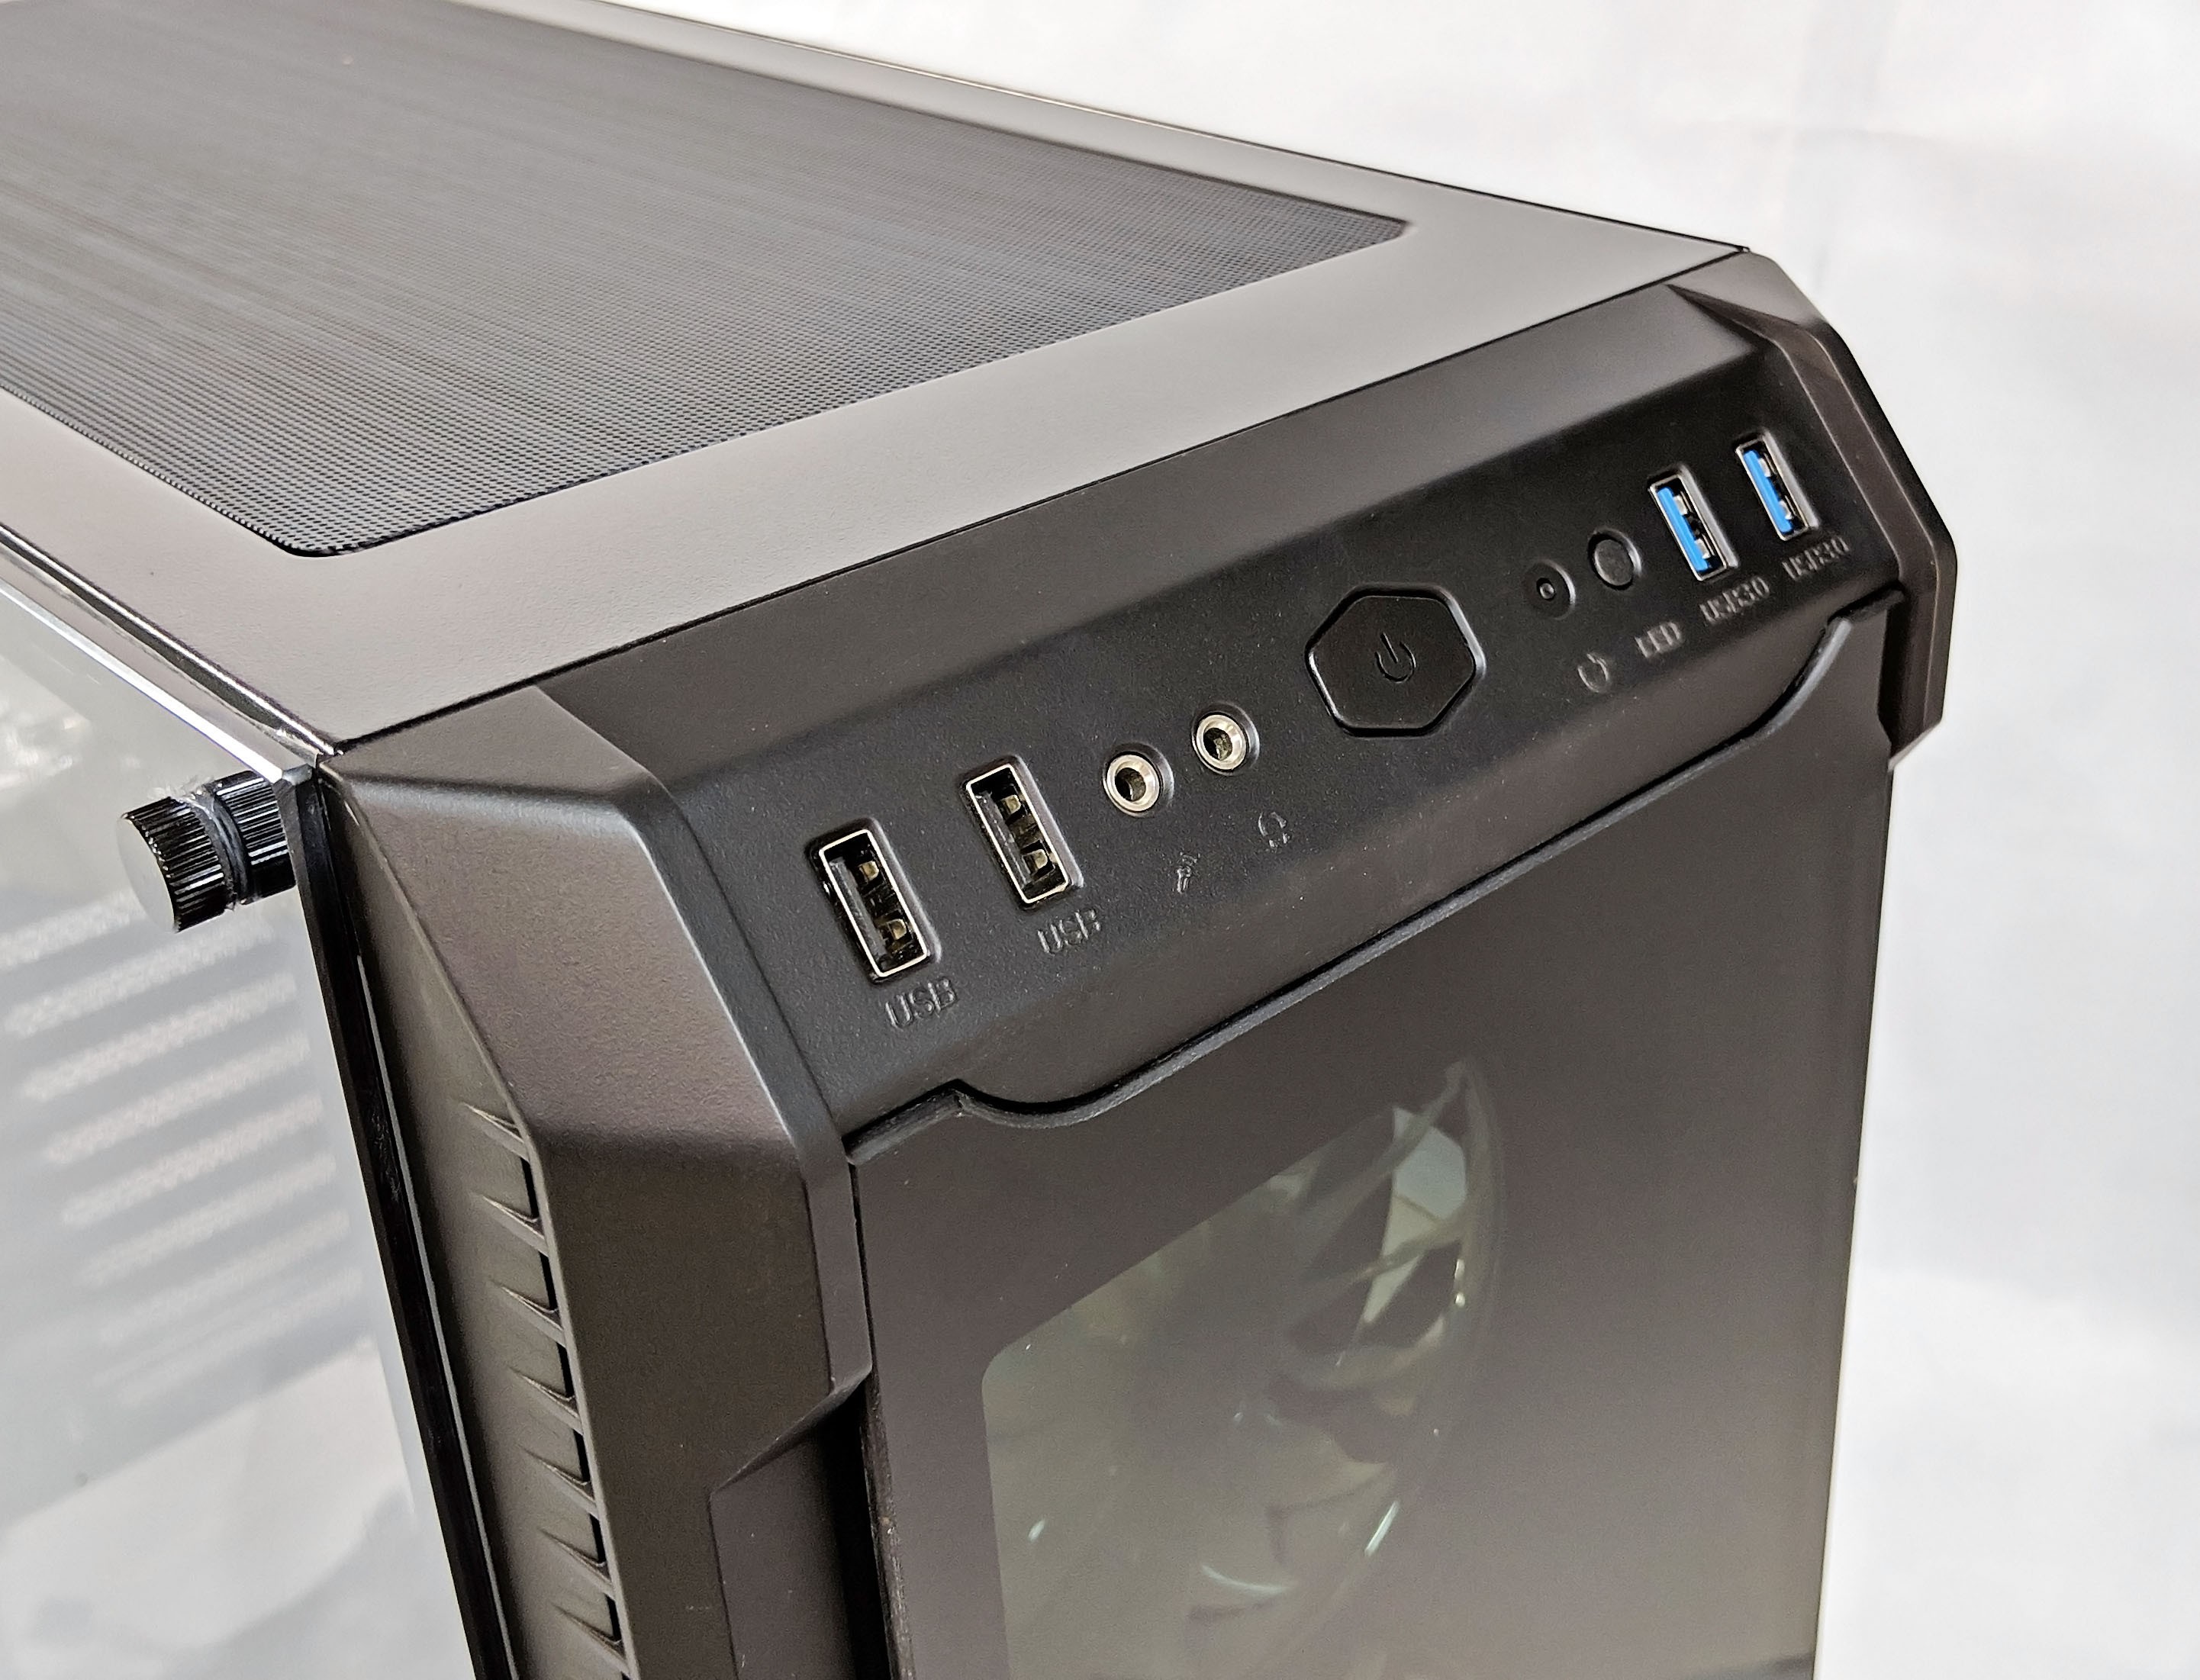
The front I/O panel is located at the very top. As someone who enjoys overclocking I was pleased that FSP included a reset button. For some reason this seems to be a dying trend with a lot of manufactures. From left to right we’ve got two USB 2.0 ports, mic and headphone 3.5mm jacks, the power button (shaped oddly like the CM logo ?) a tiny reset button, the RGB toggle button and two USB 3.0 ports. The main power button’s center doubles as a power light and HDD activity light.
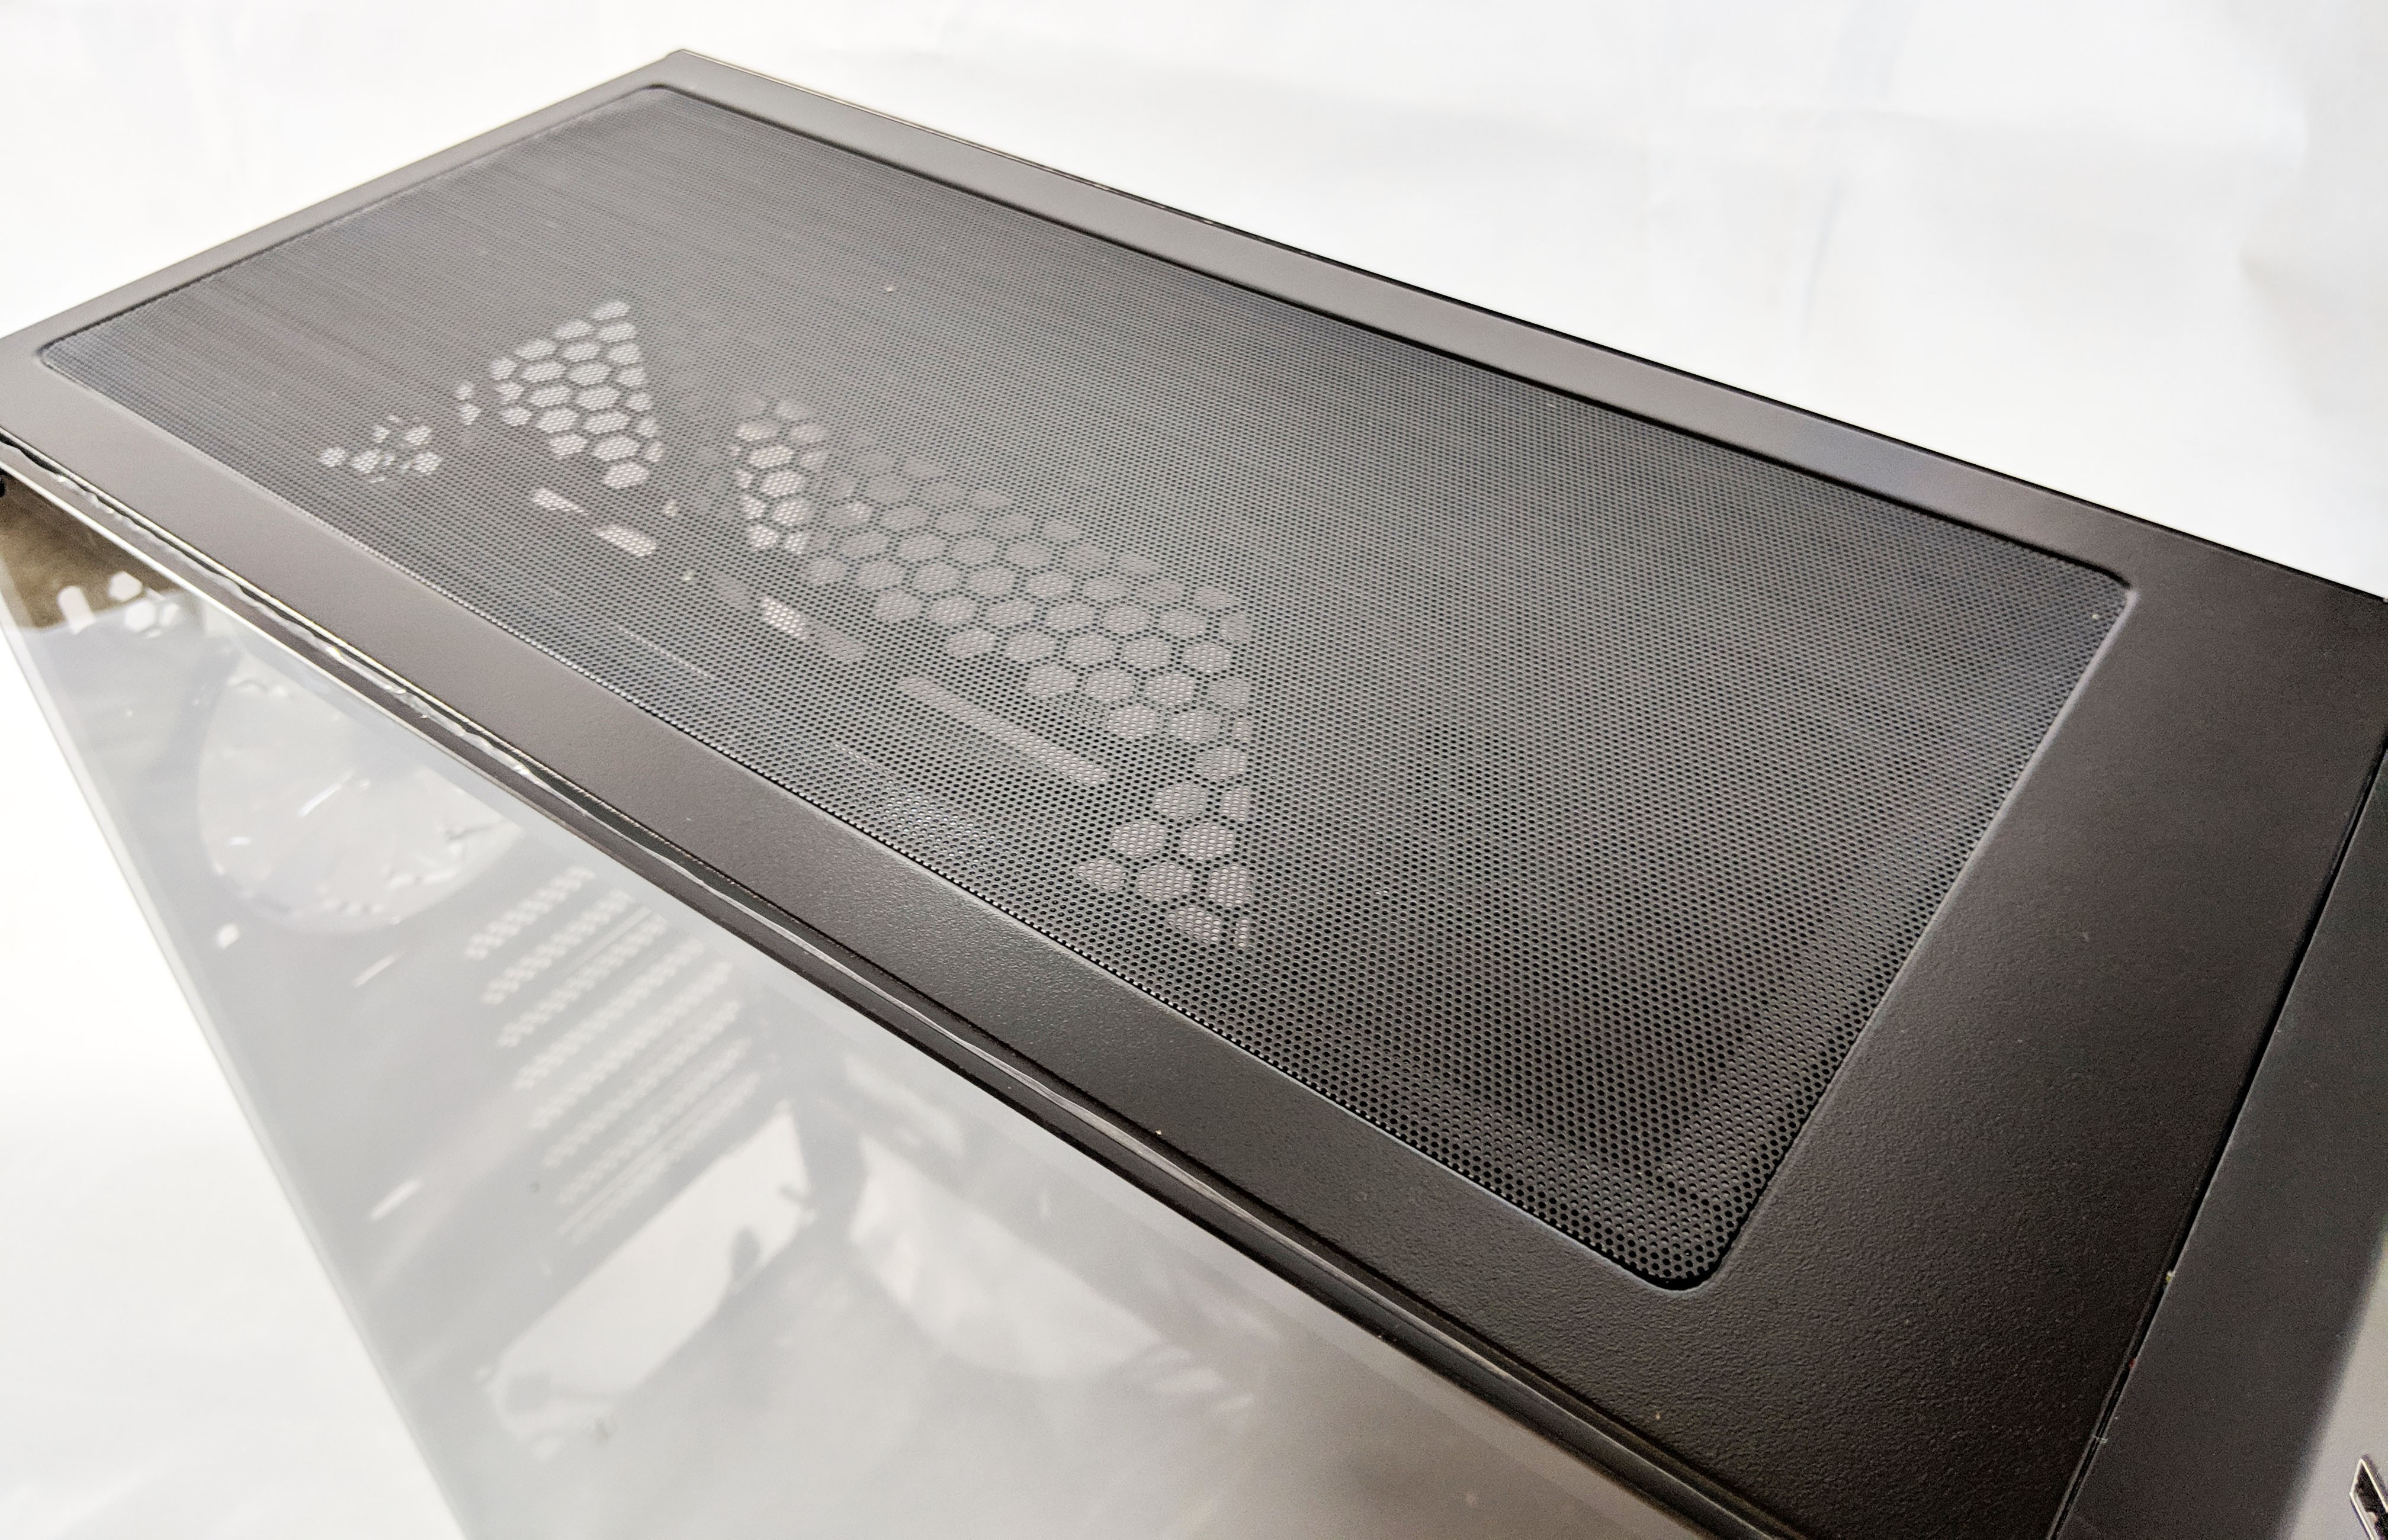
The top of the case sports the air exhaust (or intake) for three 120mm fans. After looking at it, you’d probably be fine installing a 280mm radiator as the case appears to have rails for both sizes, however you may run into motherboard clearance issues. The dust filter is magnetically attached to the case for easy removal/placement.

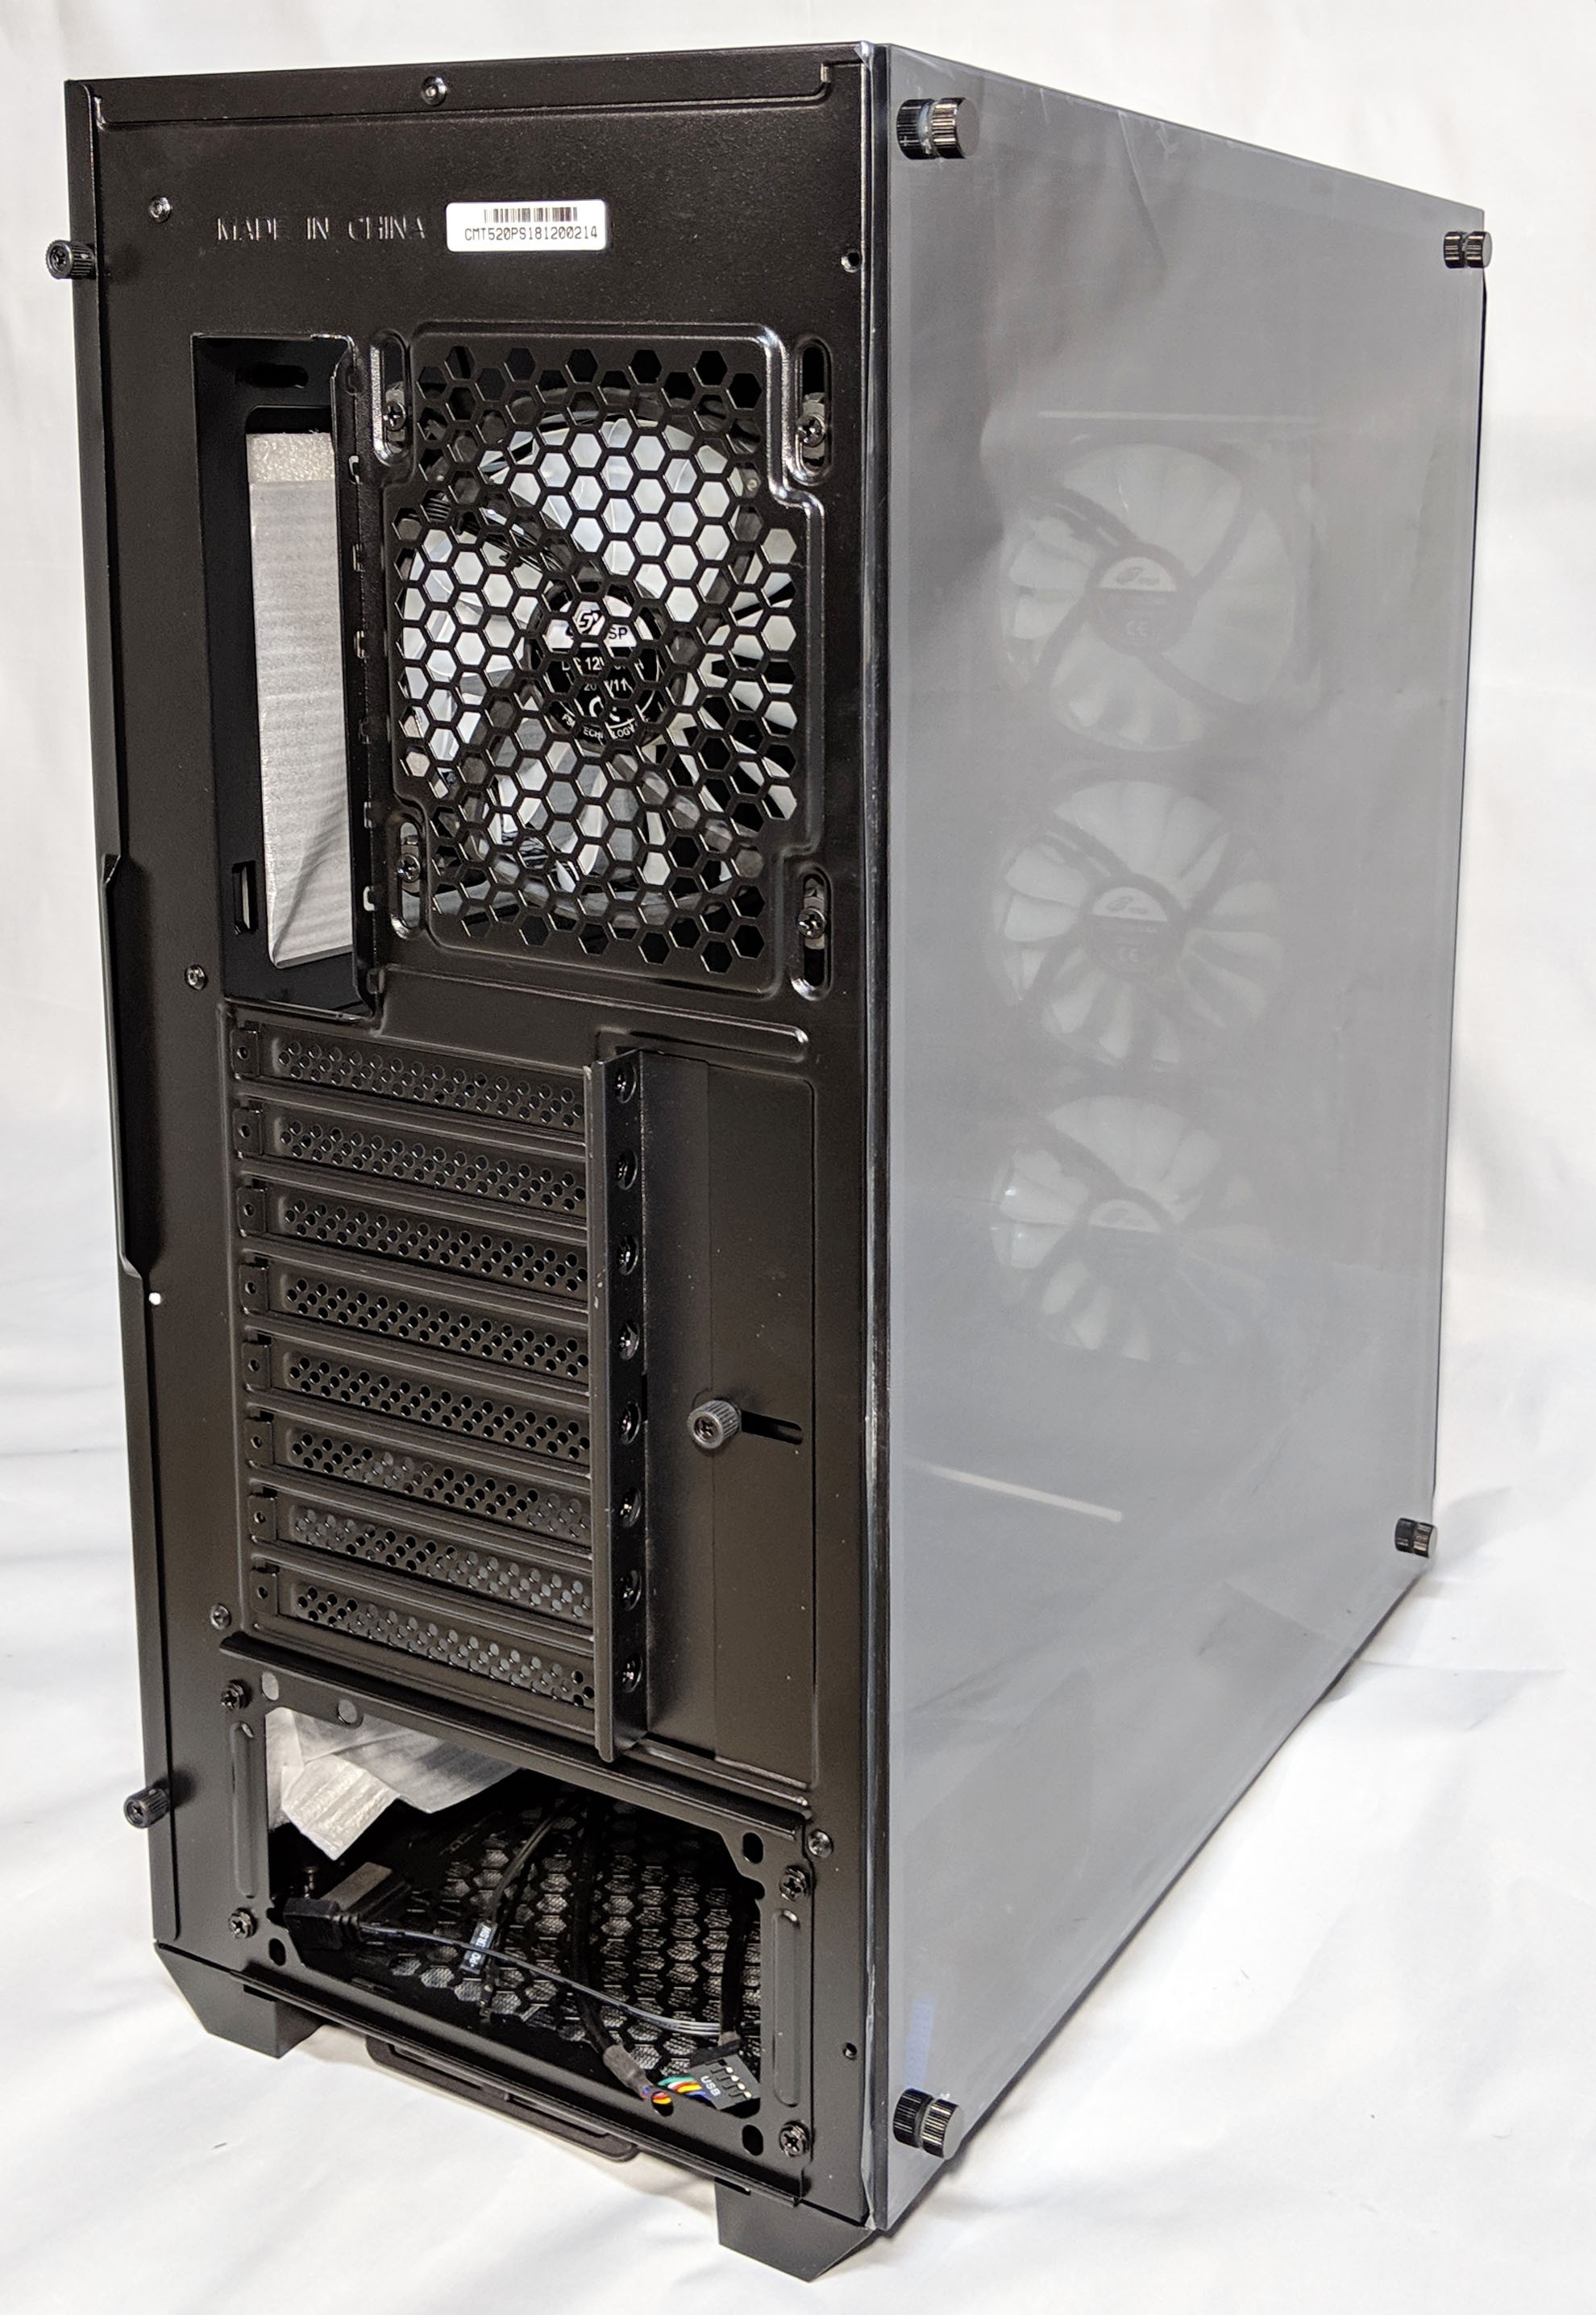
The right side of the case consists of pretty much just the steel side panel which attaches and removes using the traditional method by removing the two thumb screws at the back and sliding the panel back until it detaches.

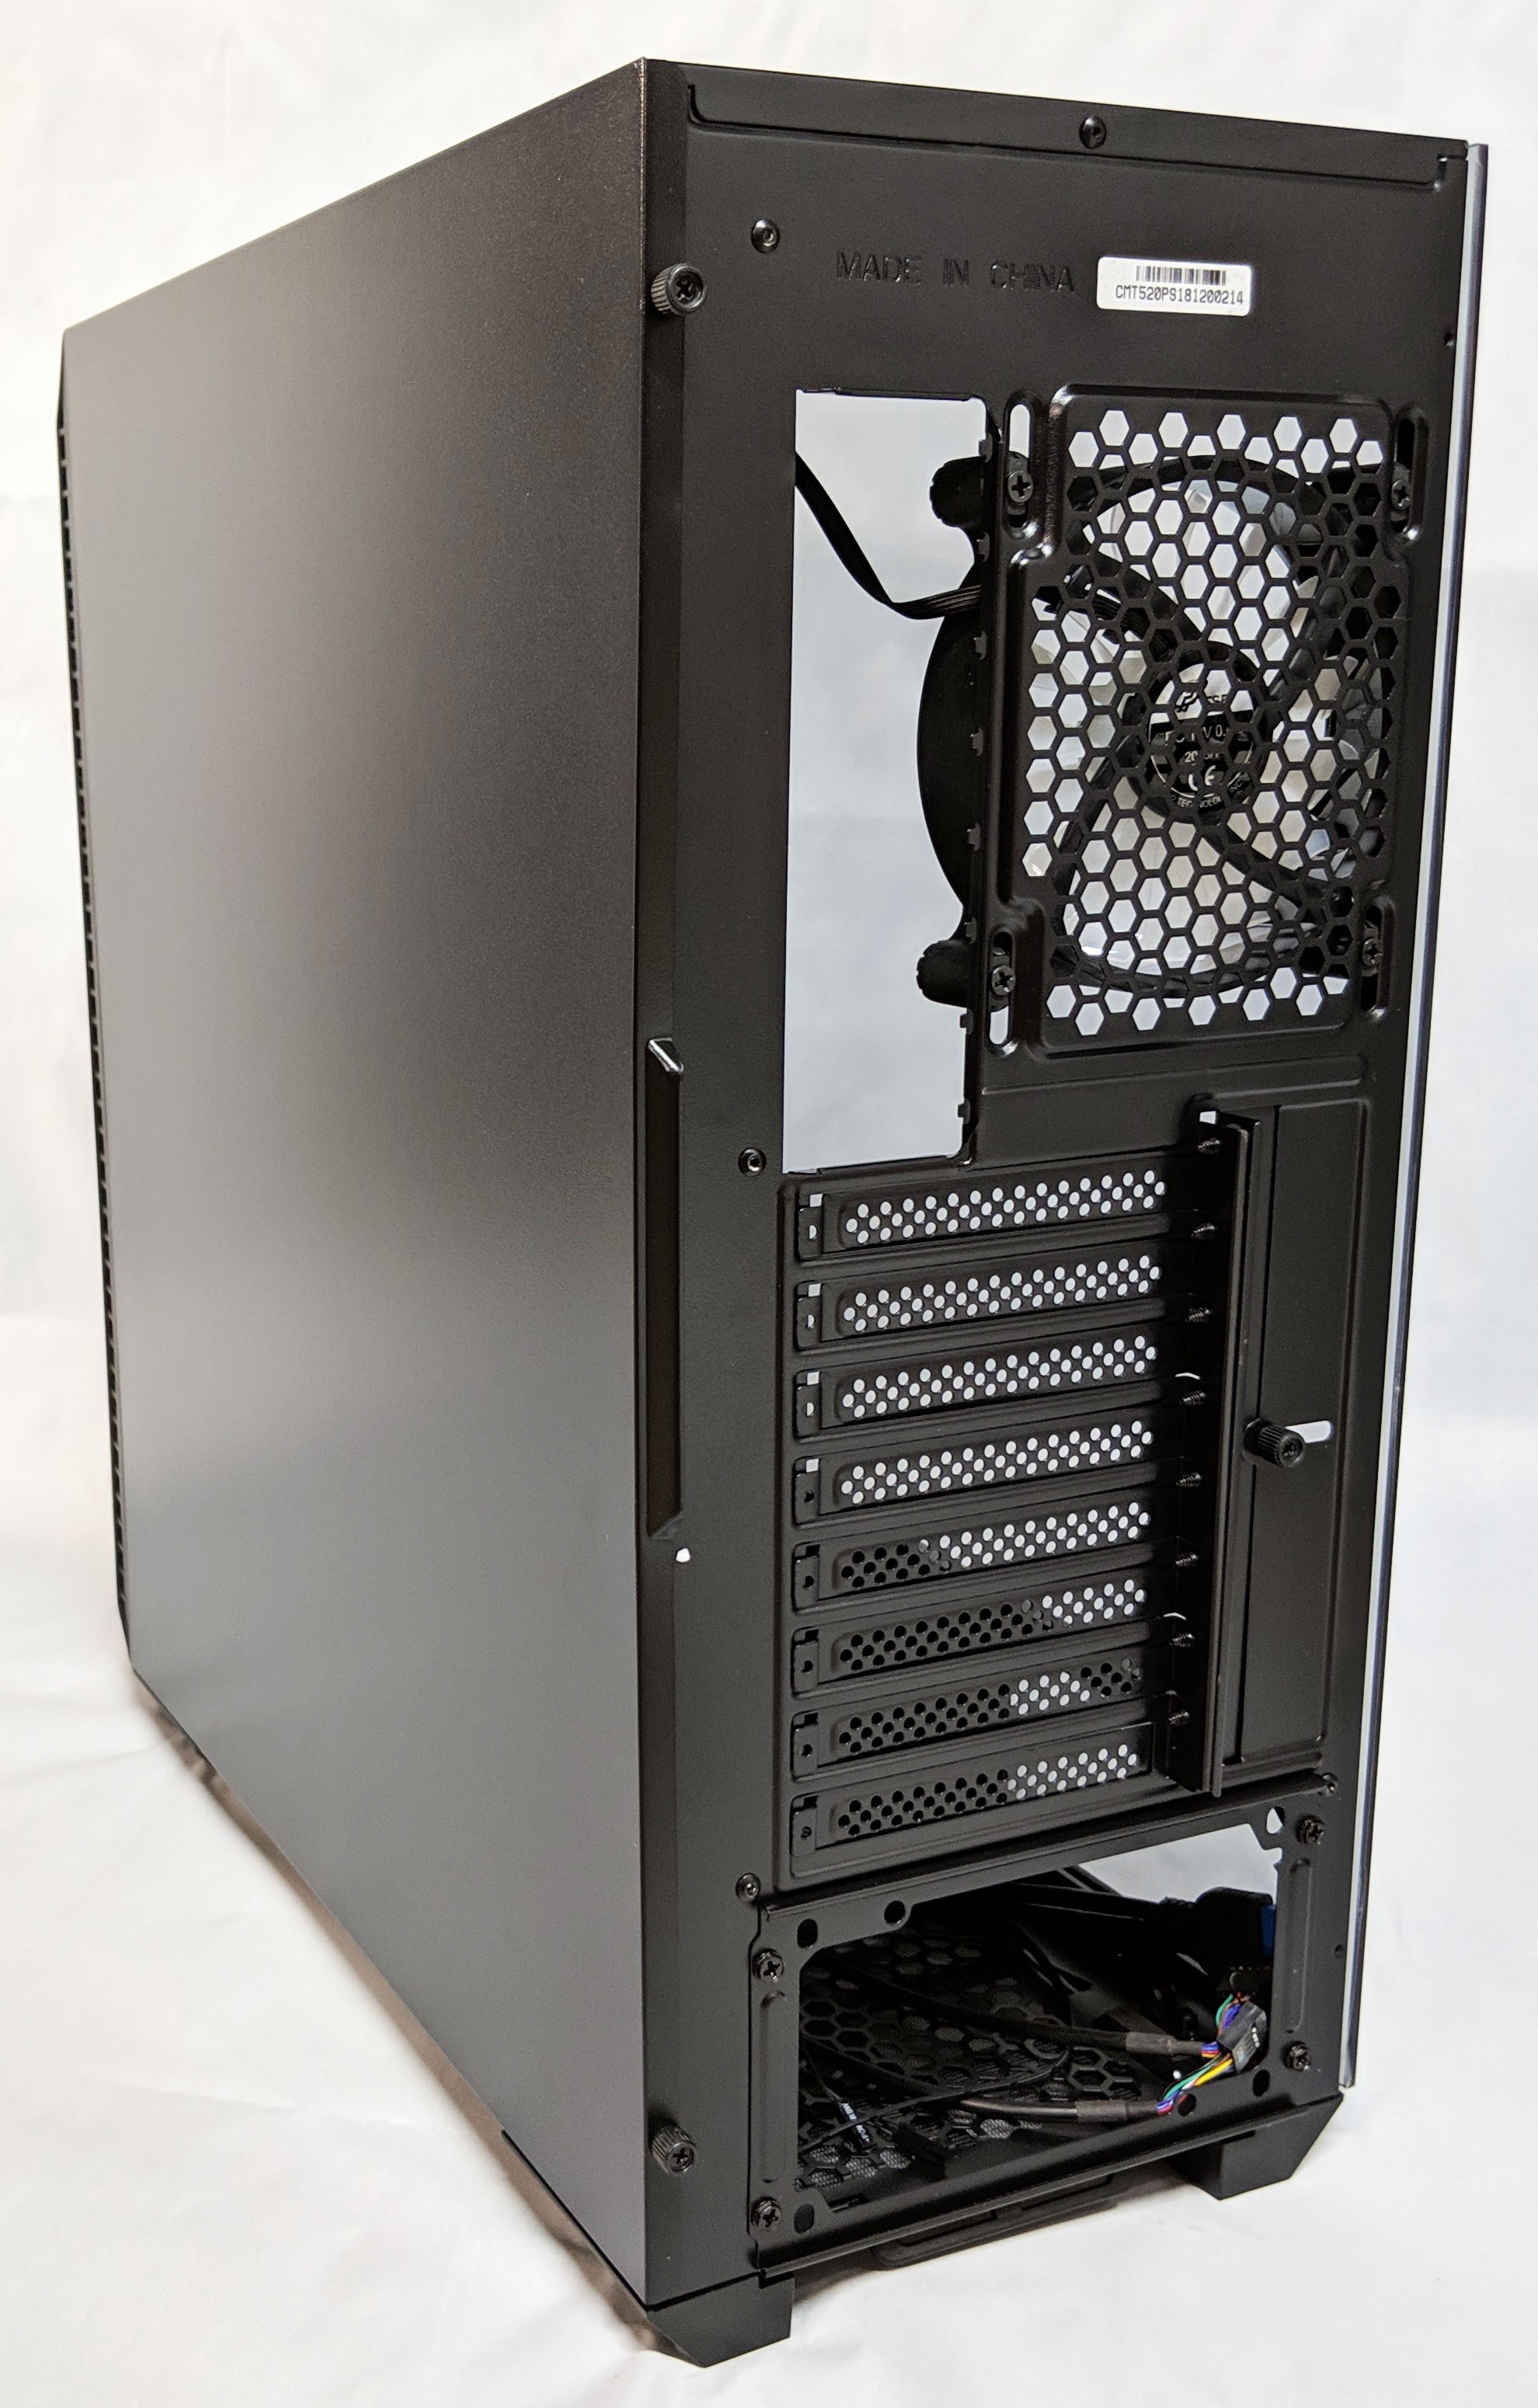
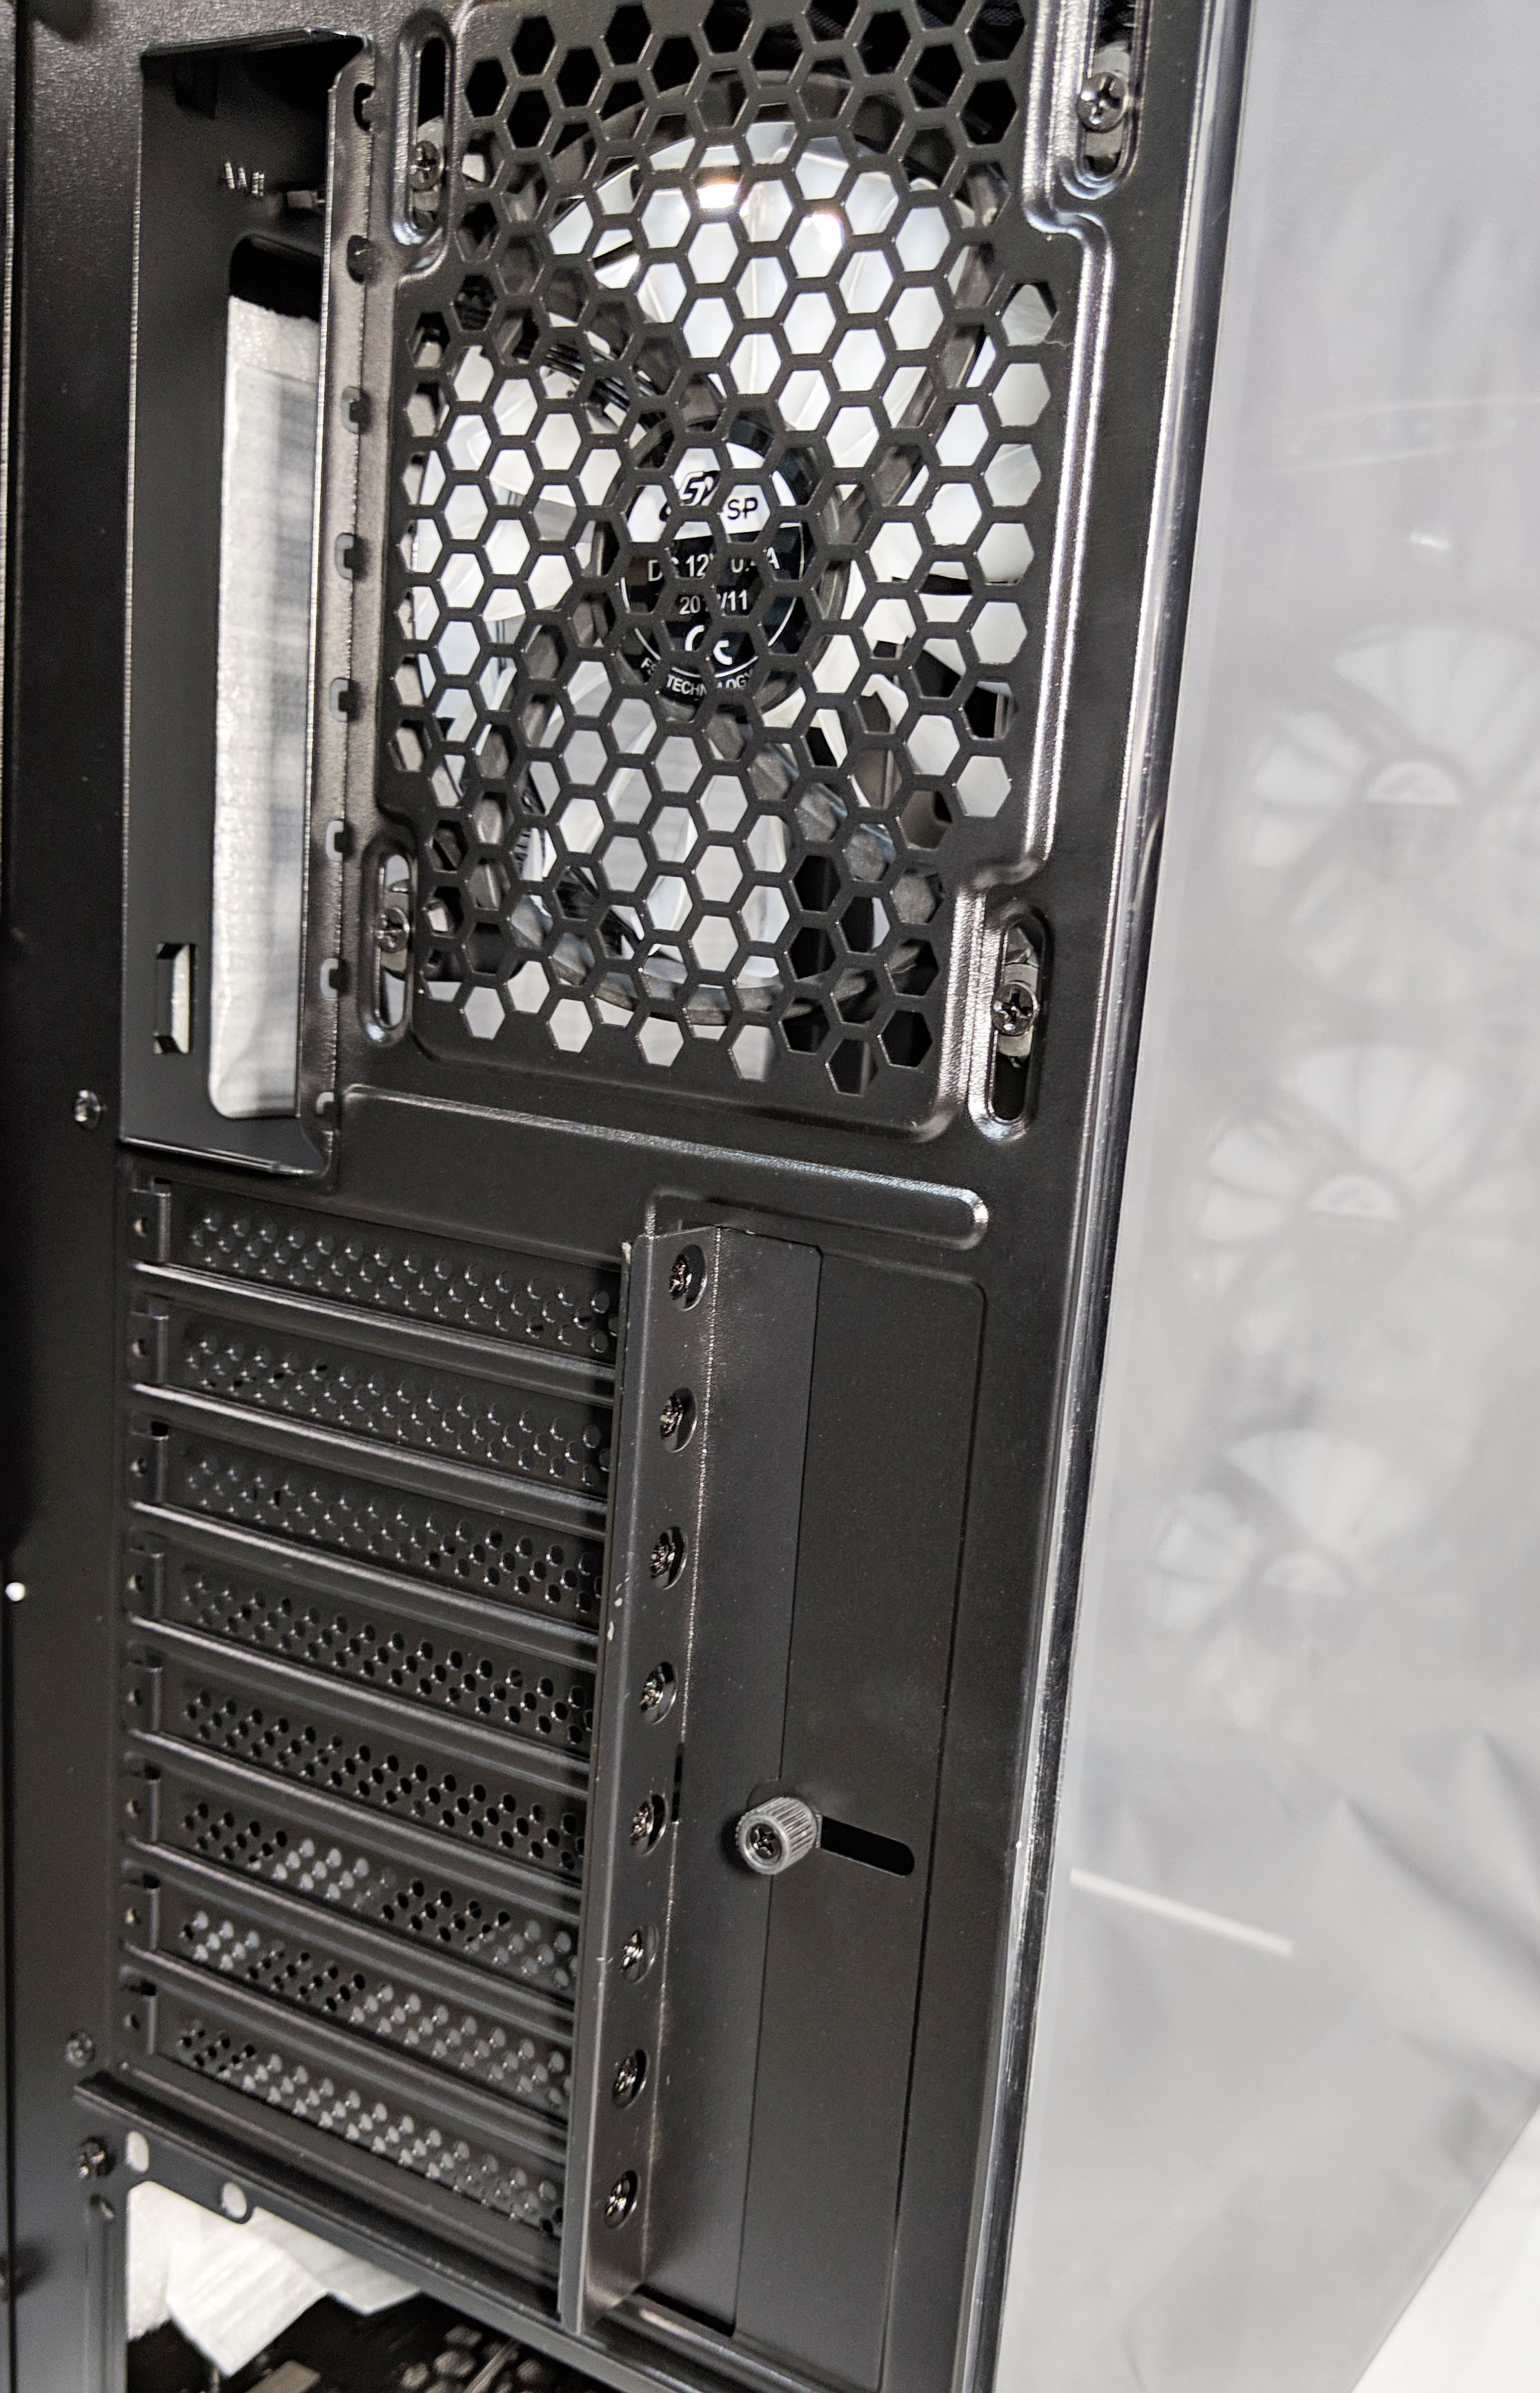
The back of the case is pretty standard. The rear exhaust fan at the top has the ability to adjust up and down for optimal placement to vent hot CPU air. The eight expansion slots are covered by a retractable panel held in place by a single thumb screw. Lastly, at the bottom, the PSU mounting bracket comes pre-installed into the system. This will need to be removed prior to installing the PSU (or will it?? More on that to come…)

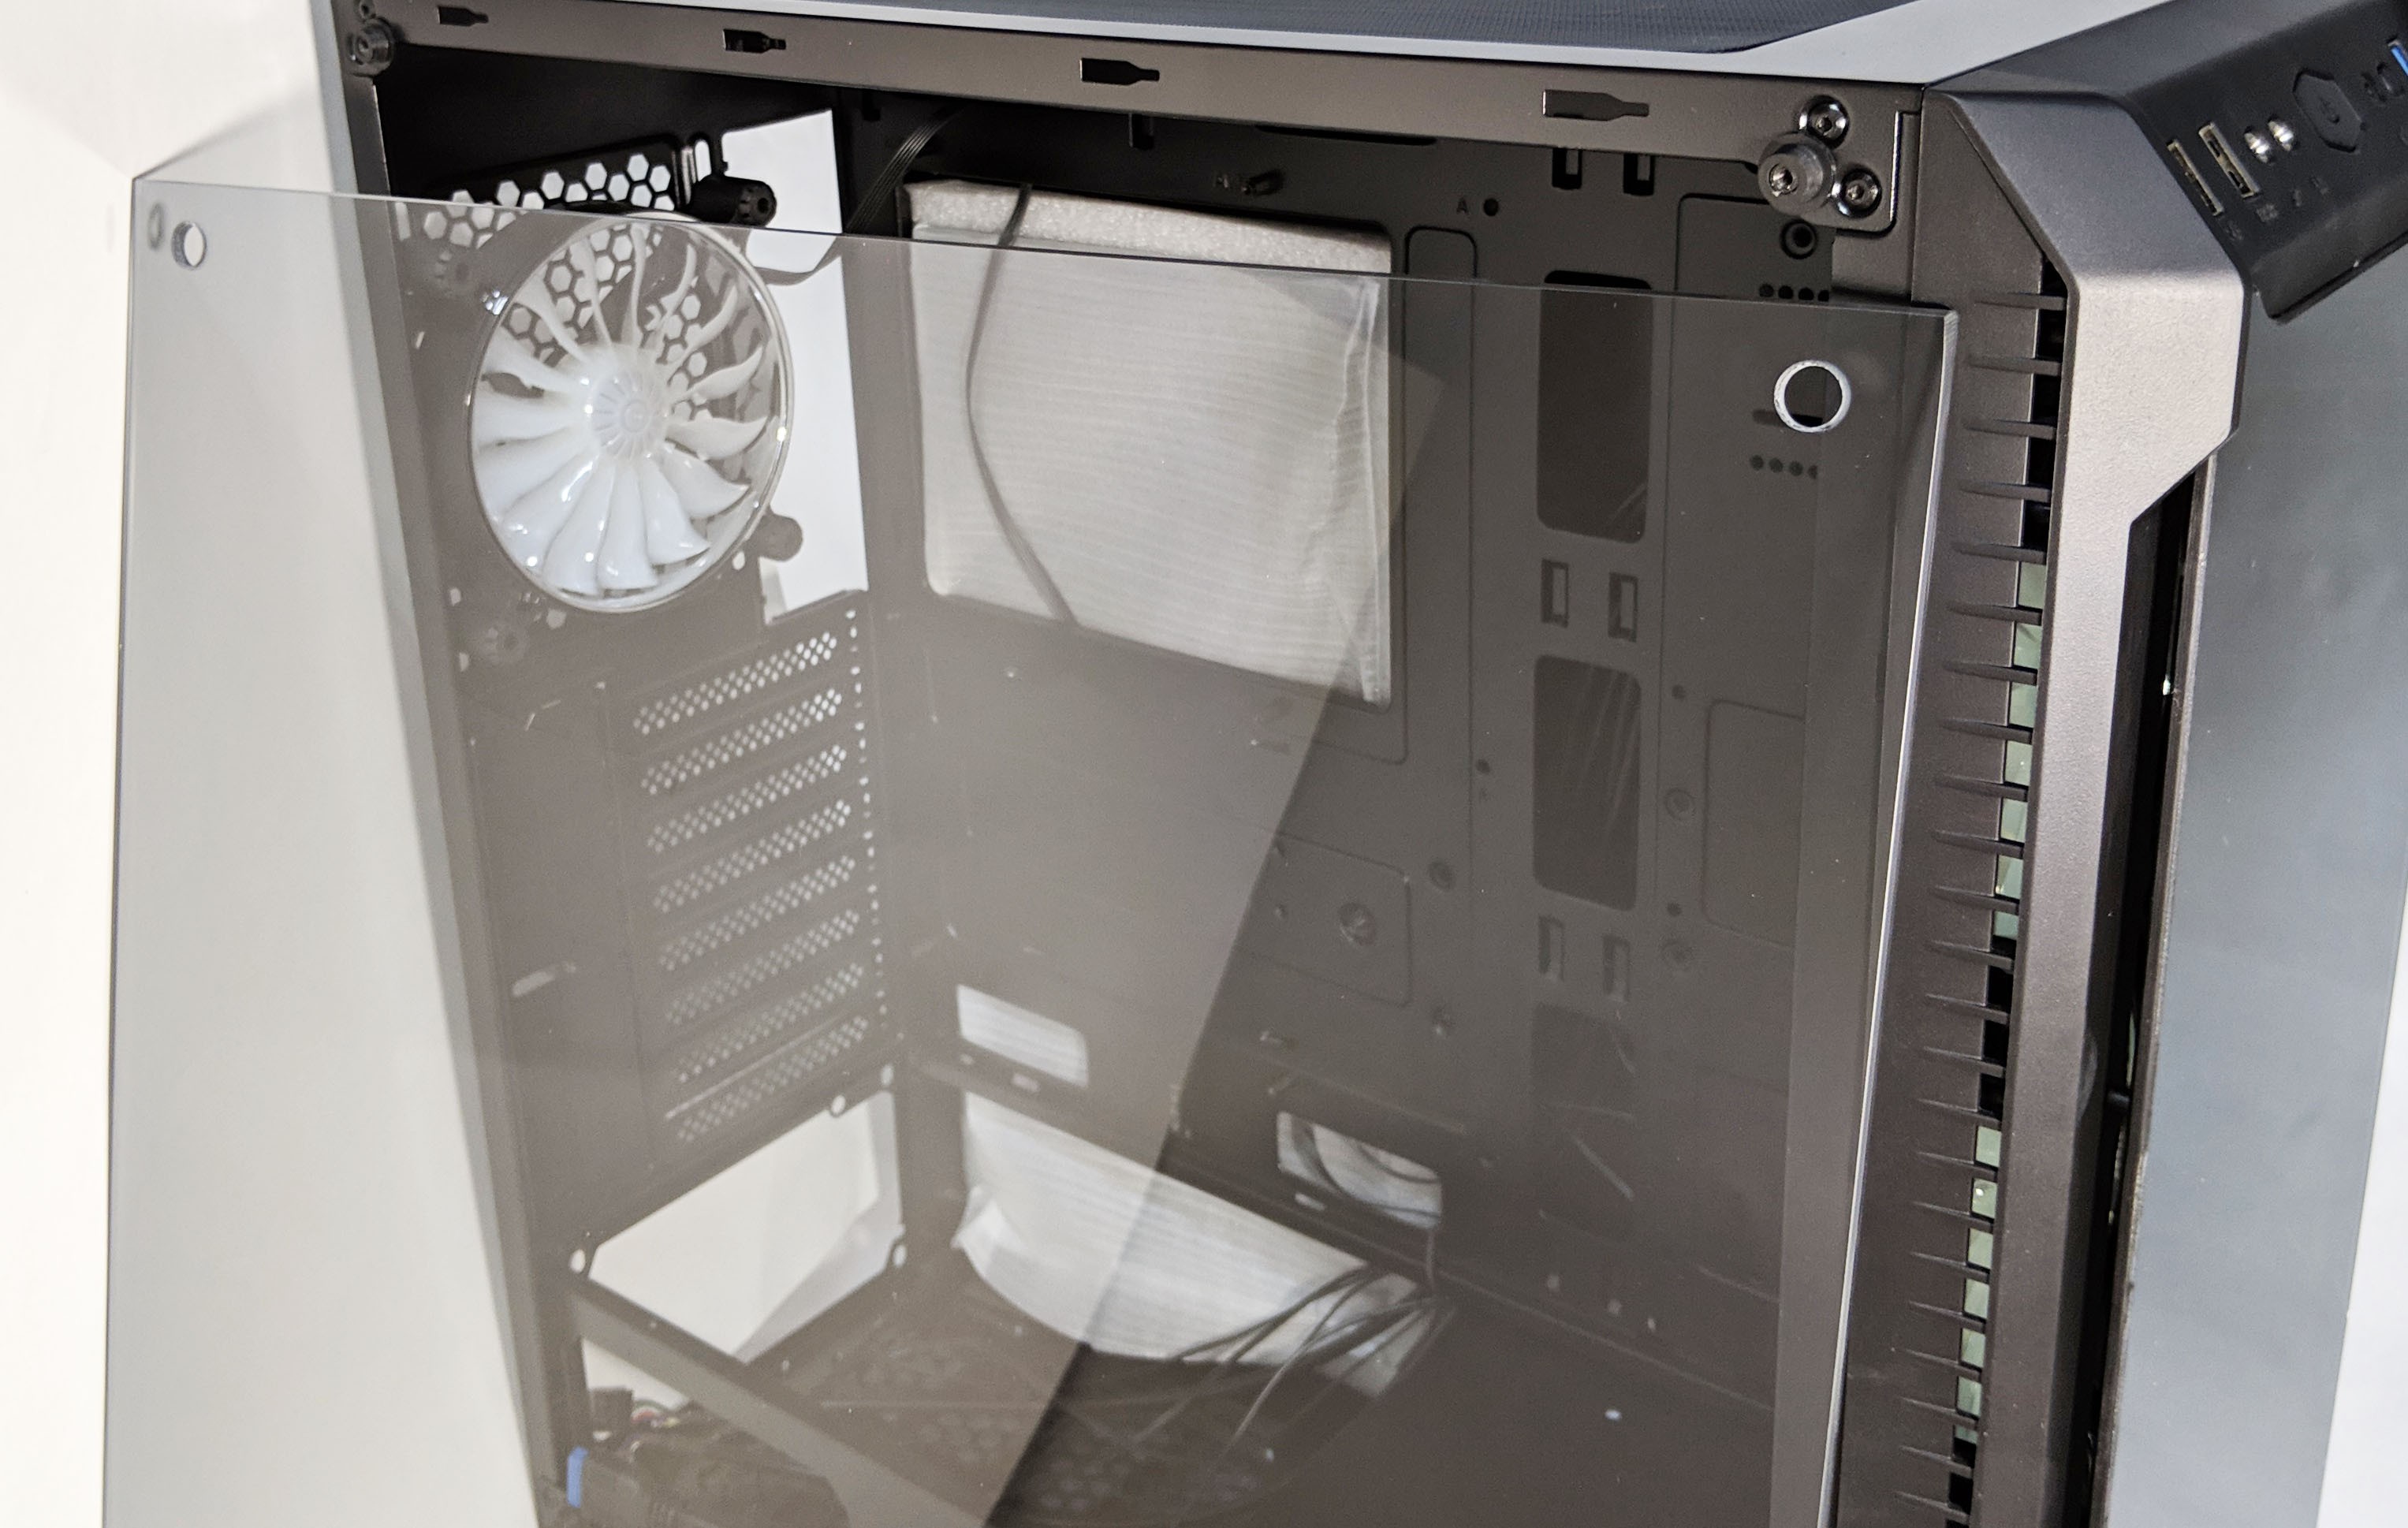
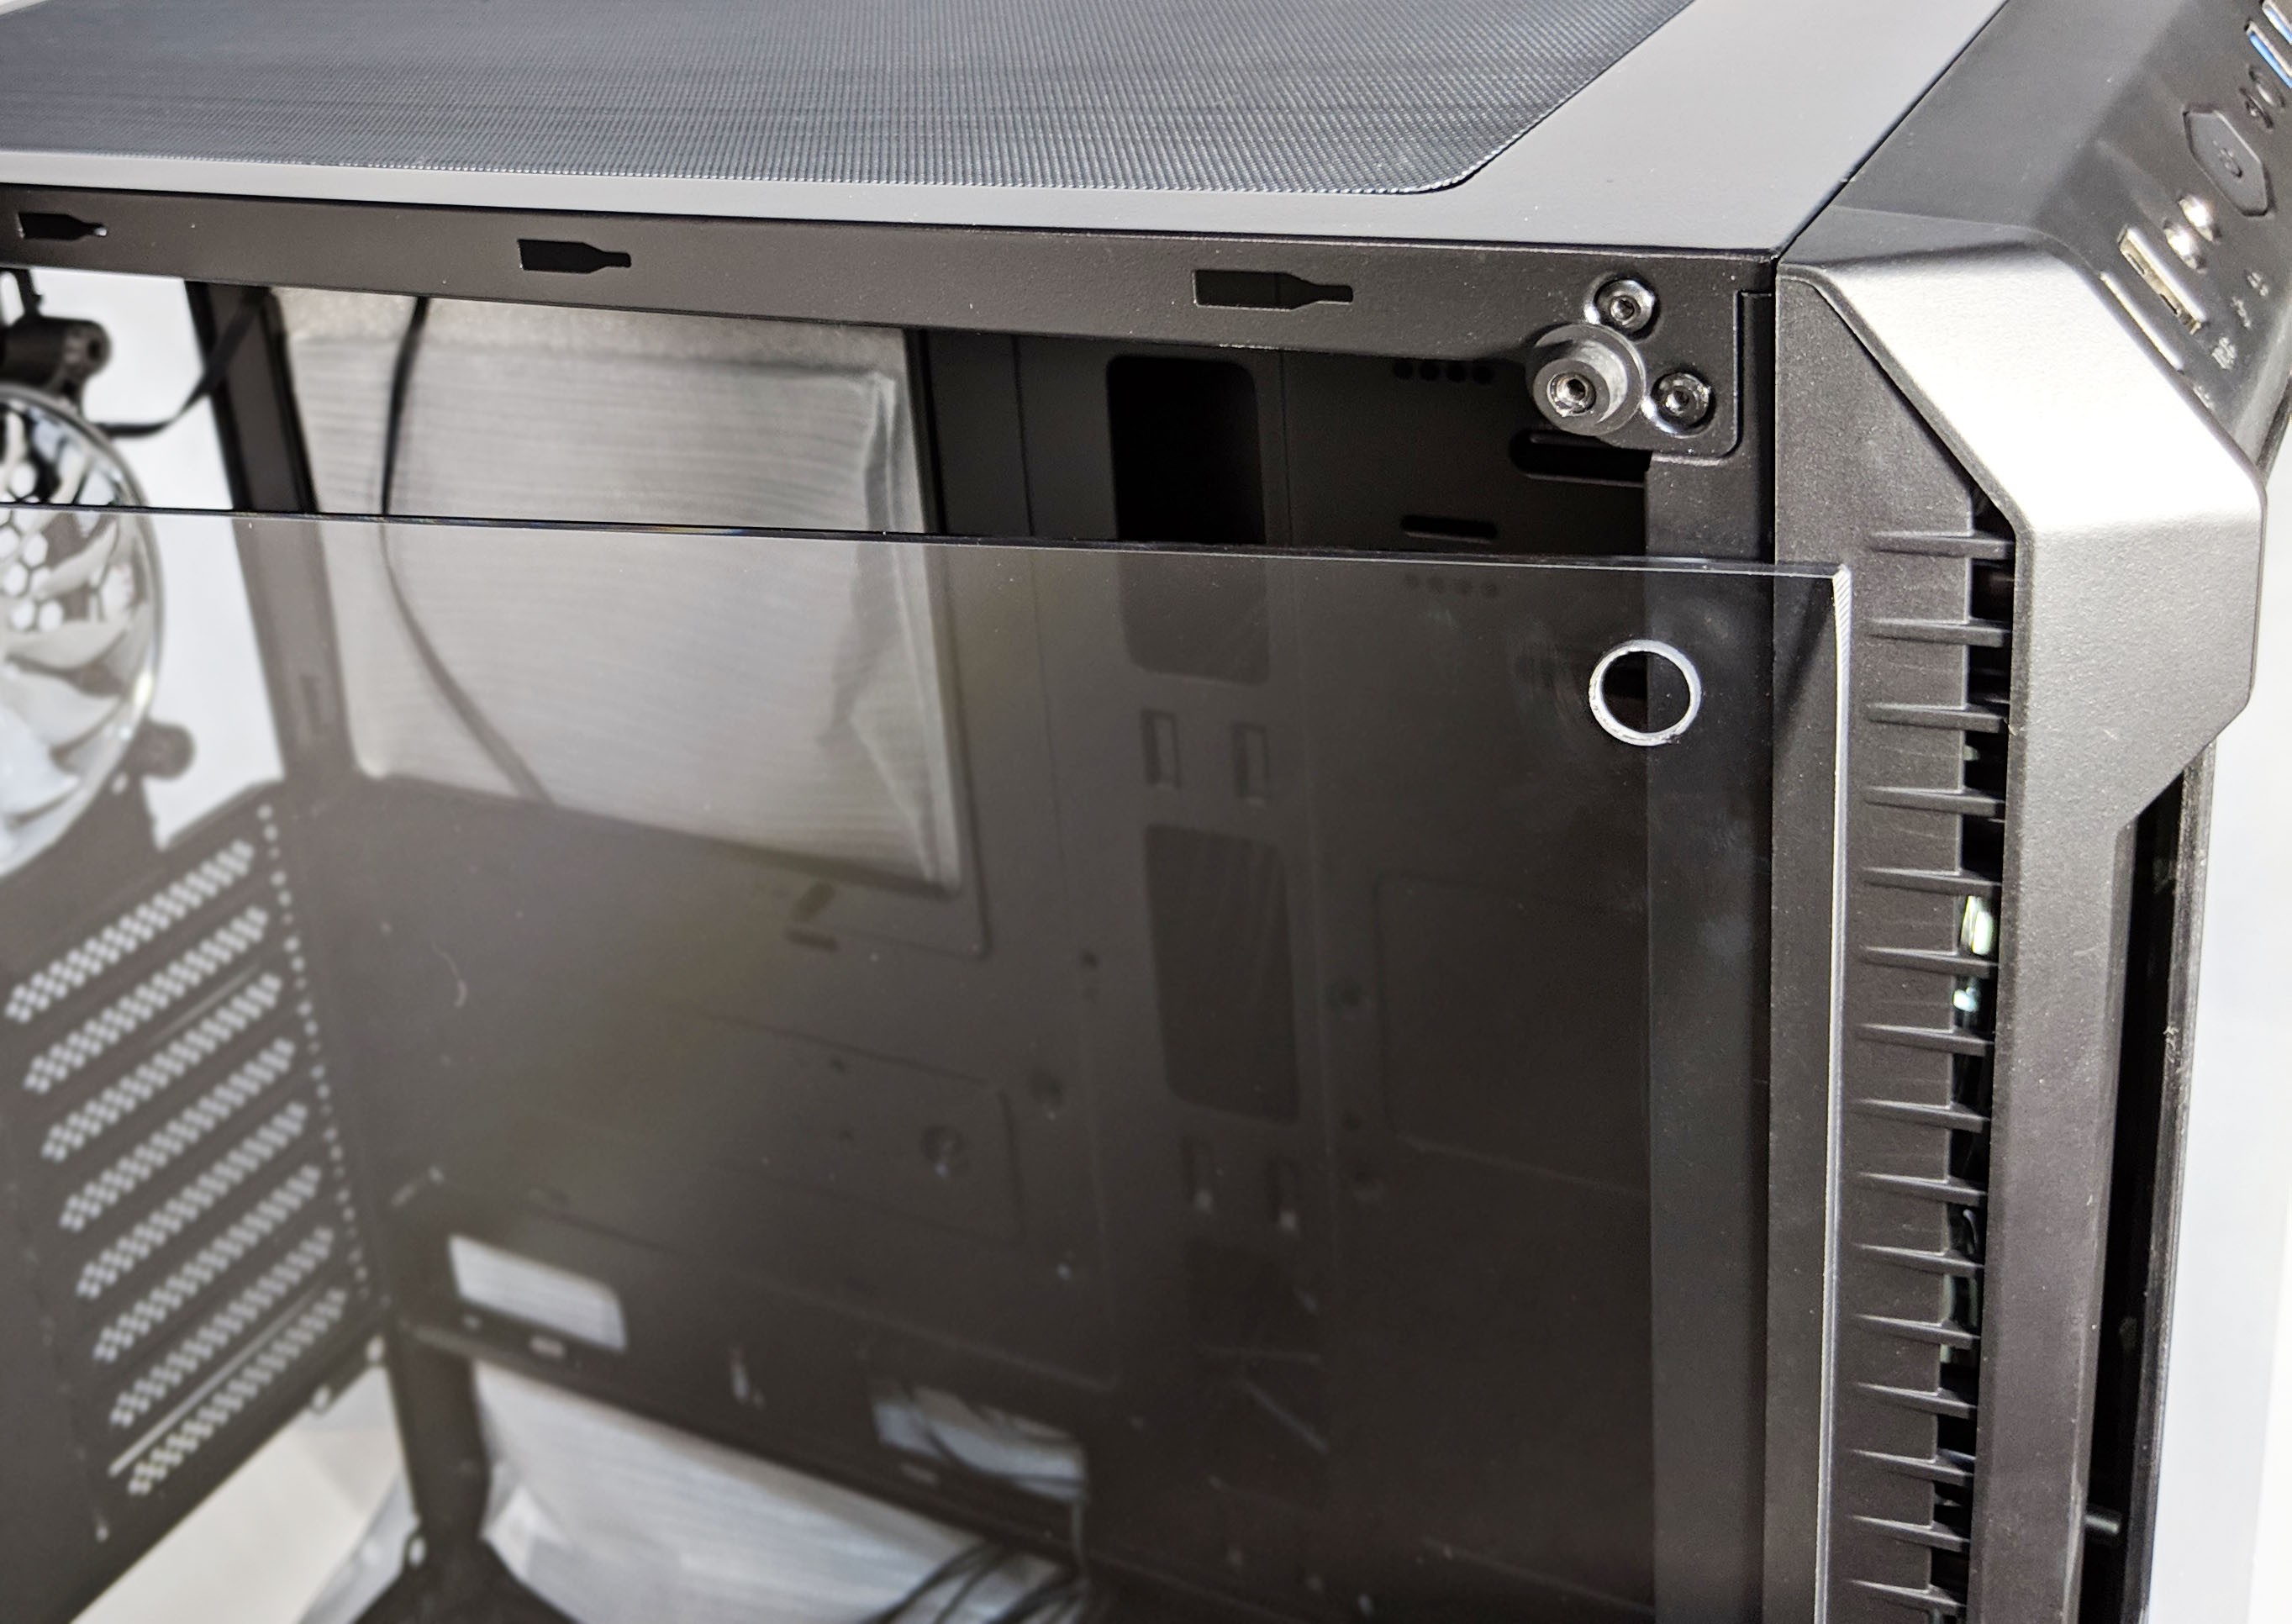
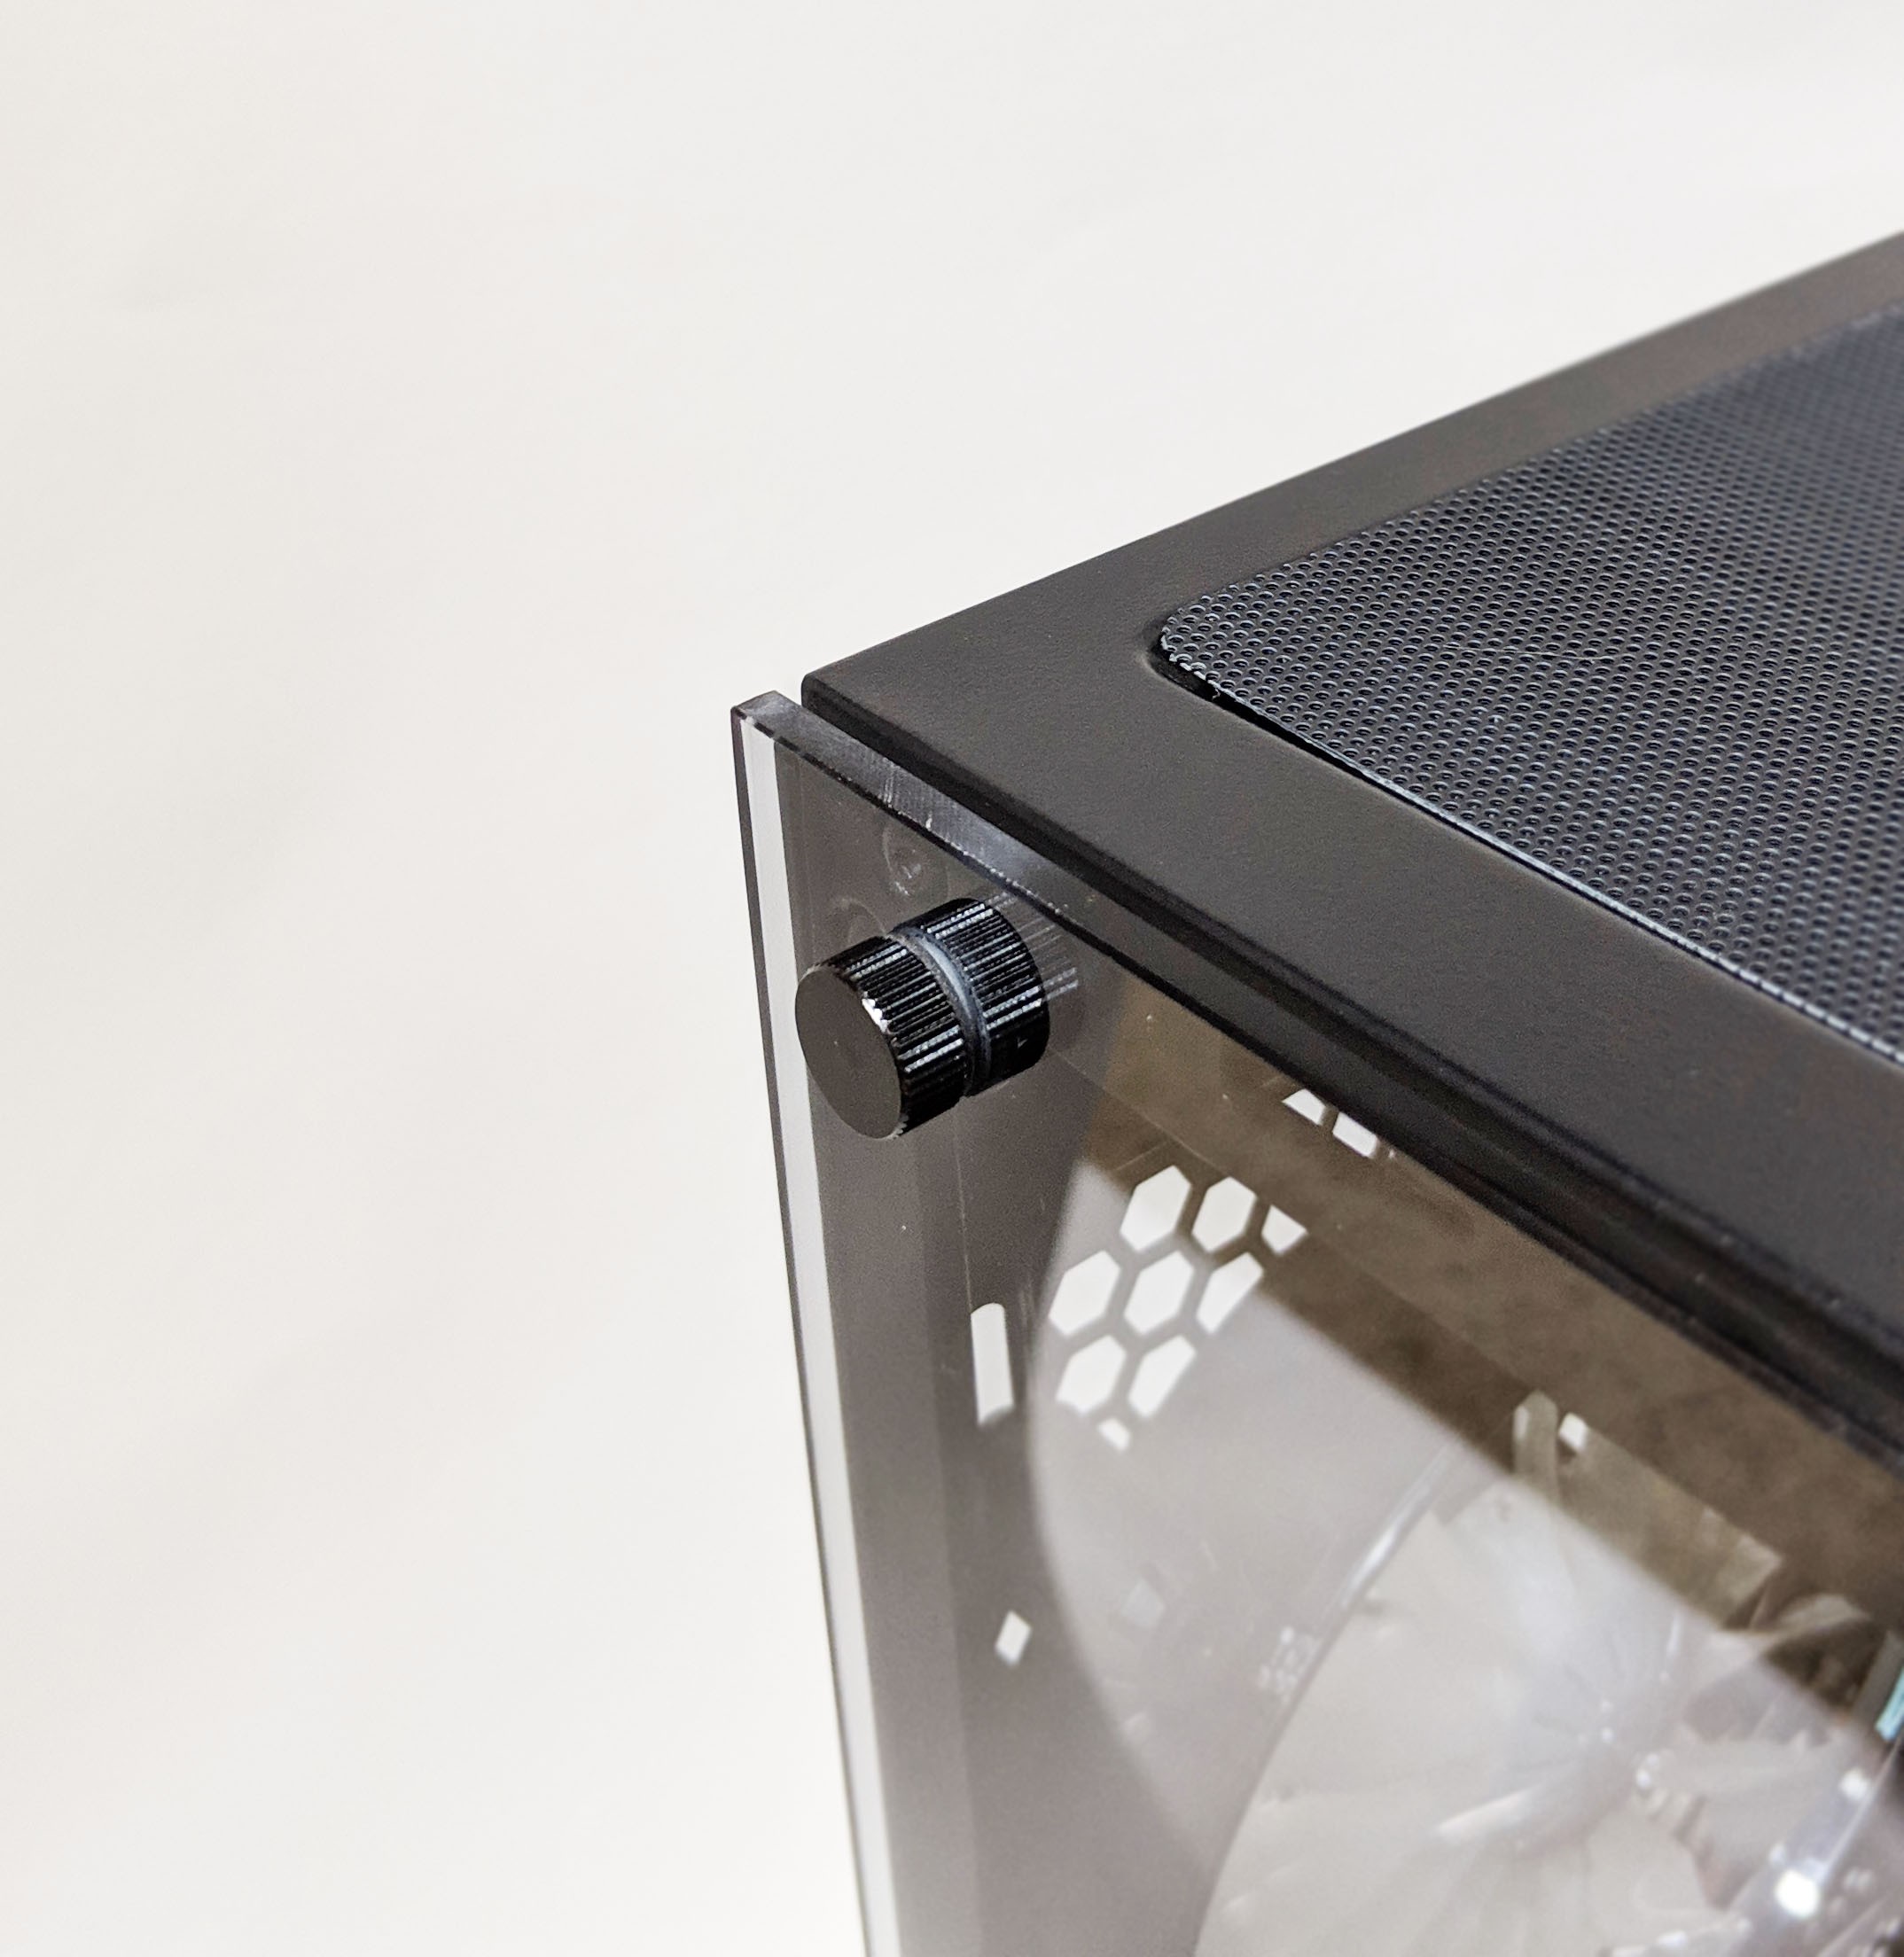
Now let’s take a look at that beautiful tempered glass side panel. This is probably one of the few cases I’ve seen where the entire side panel consists of purely tempered glass and no metal brackets. Because of this you will really need to take caution to not mishandle the glass, especially with the panel’s corners which are the weakest points.
The side panel is held in place by four rubber standoffs which isolate the glass from the metal. Four screws on each corner secure it into place. Be sure to keep a hand on the glass while removing the screws to keep it from falling off its mounts.
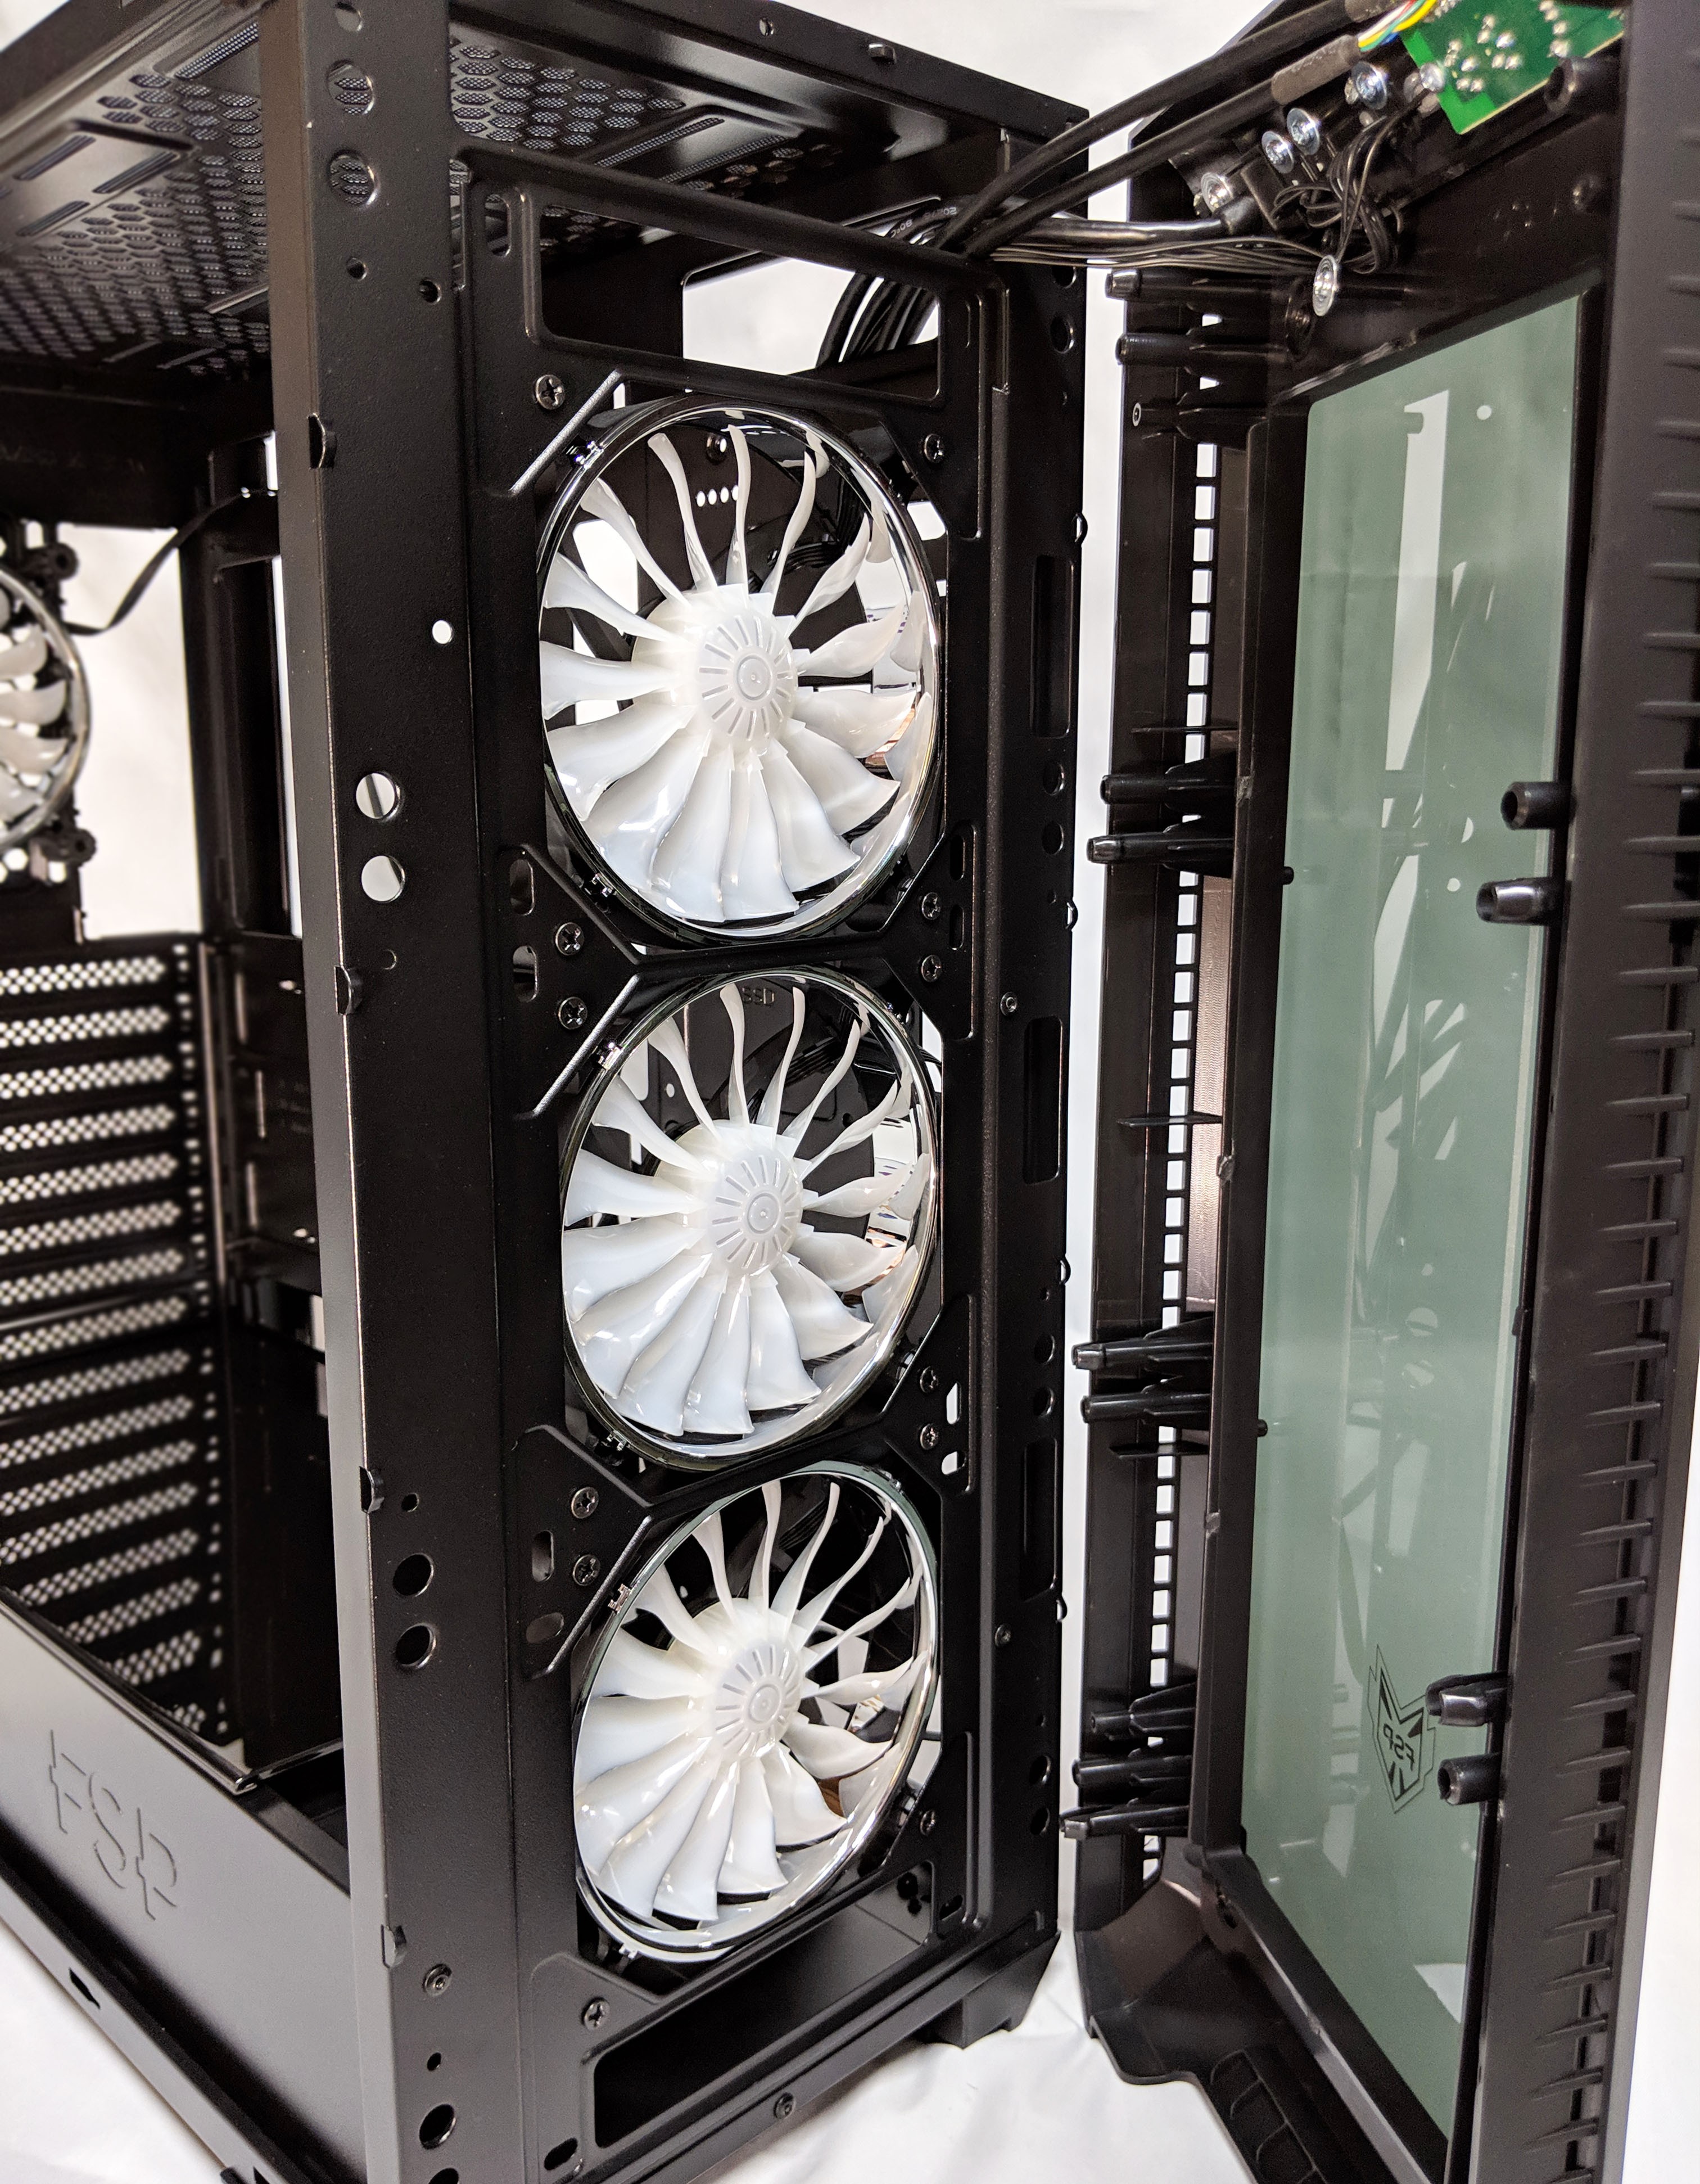
The front panel removes by grasping it from the bottom and giving it a commanding tug. Inside access is not required to perform this step. We get a better look at those sleek looking fans with the front panel removed.
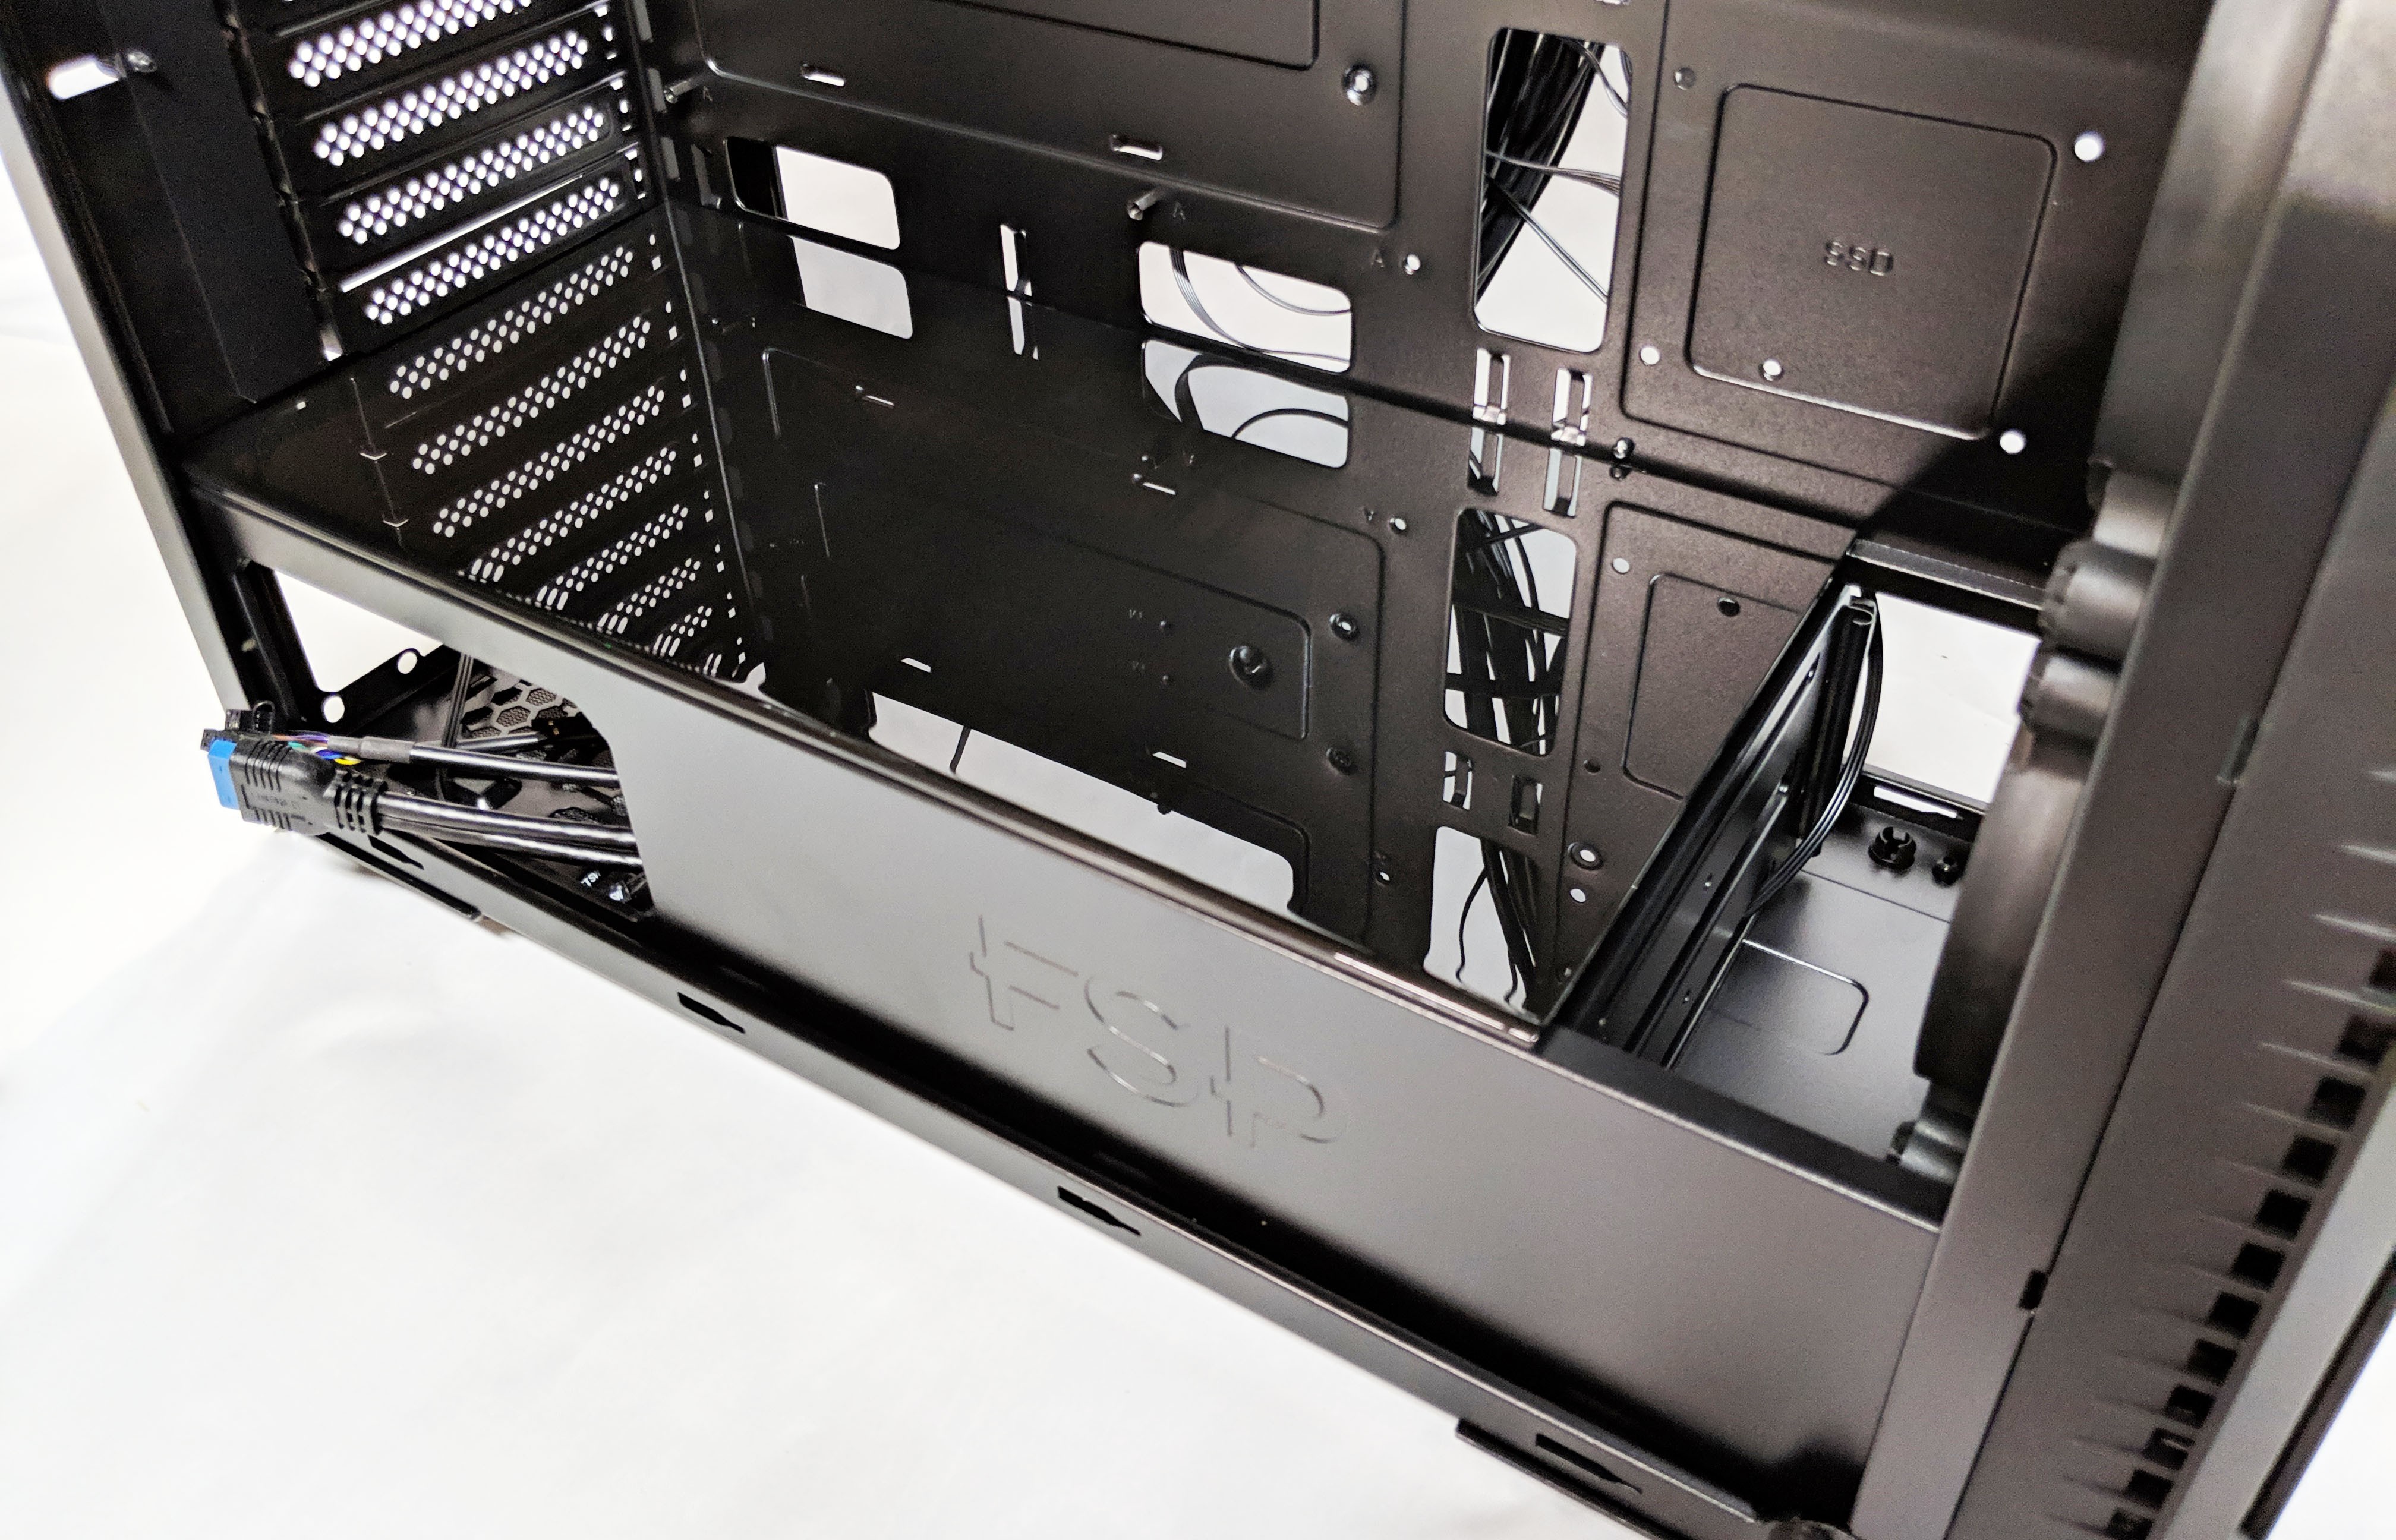
A Closer Look: Interior
The interior of the FSP CMT520 Plus is extremely open and roomy. The motherboard tray is definitely large enough to support the largest of E-ATX motherboards. The right portion of the motherboard try has the option to support two 2.5″ SSDs. Two more can be mounted on the reverse side which we’ll see in a minute.
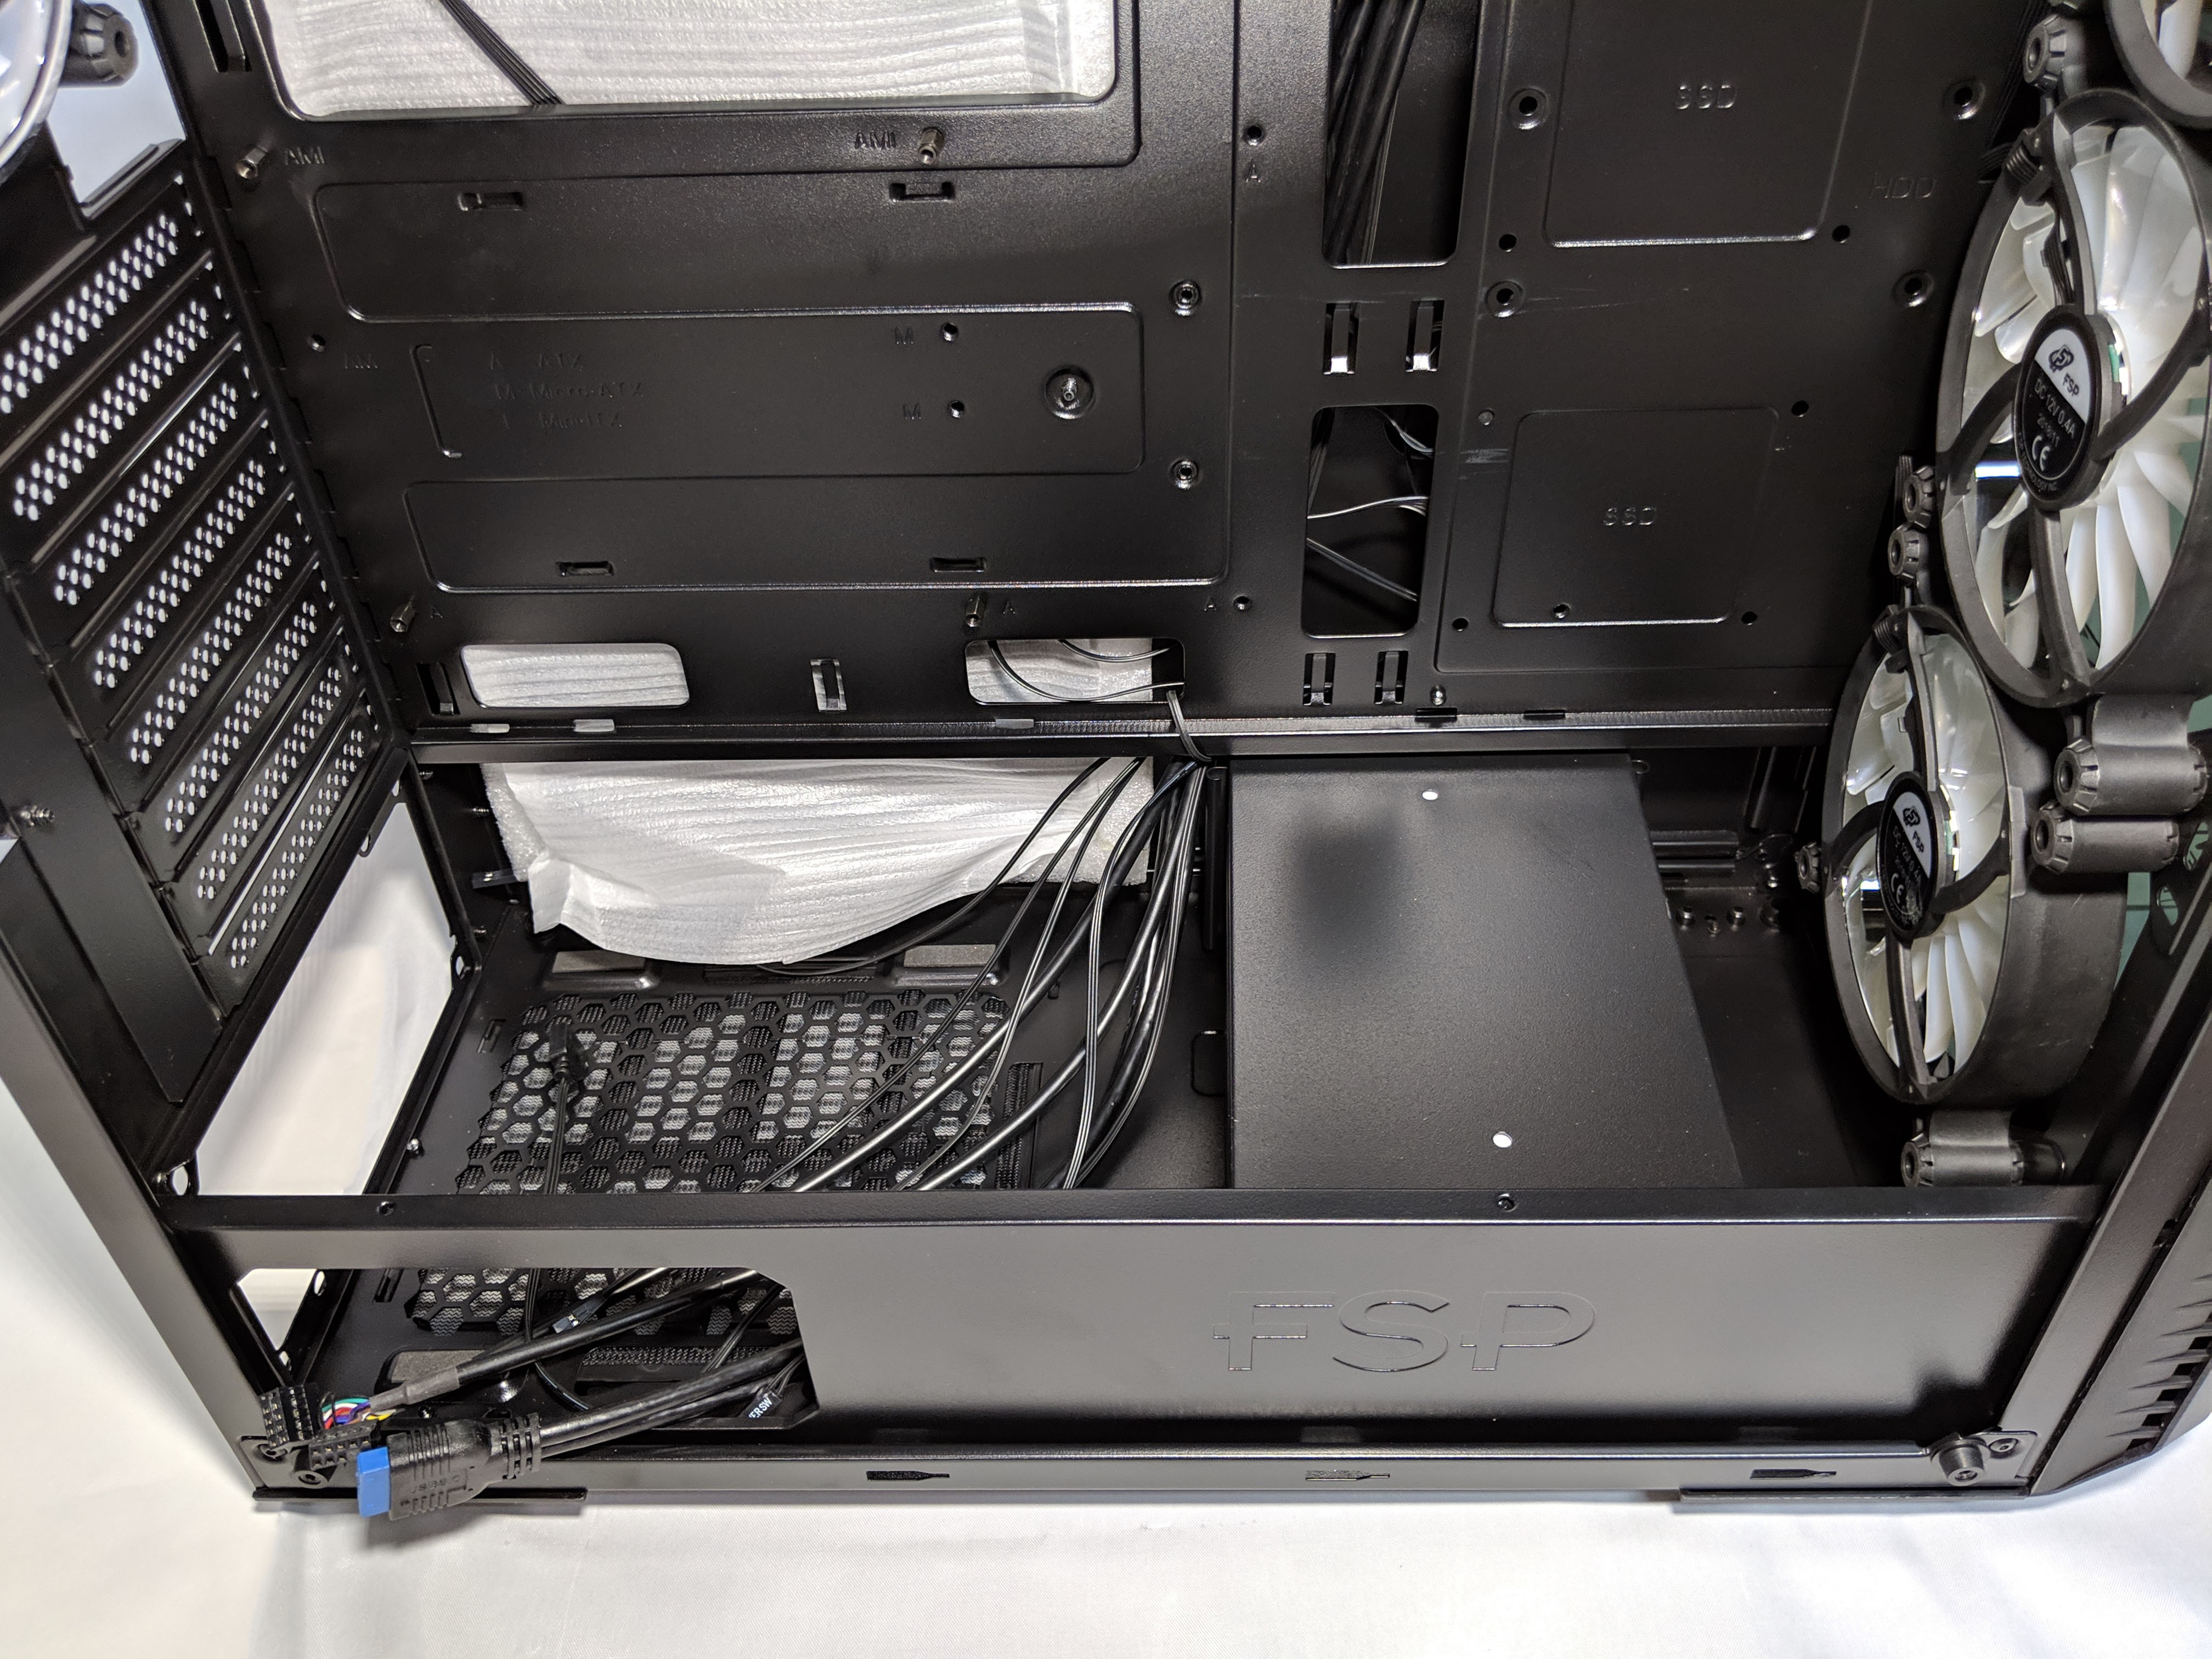
The first thing that drew my attention was the open PSU shroud design, so let’s dig into that first.
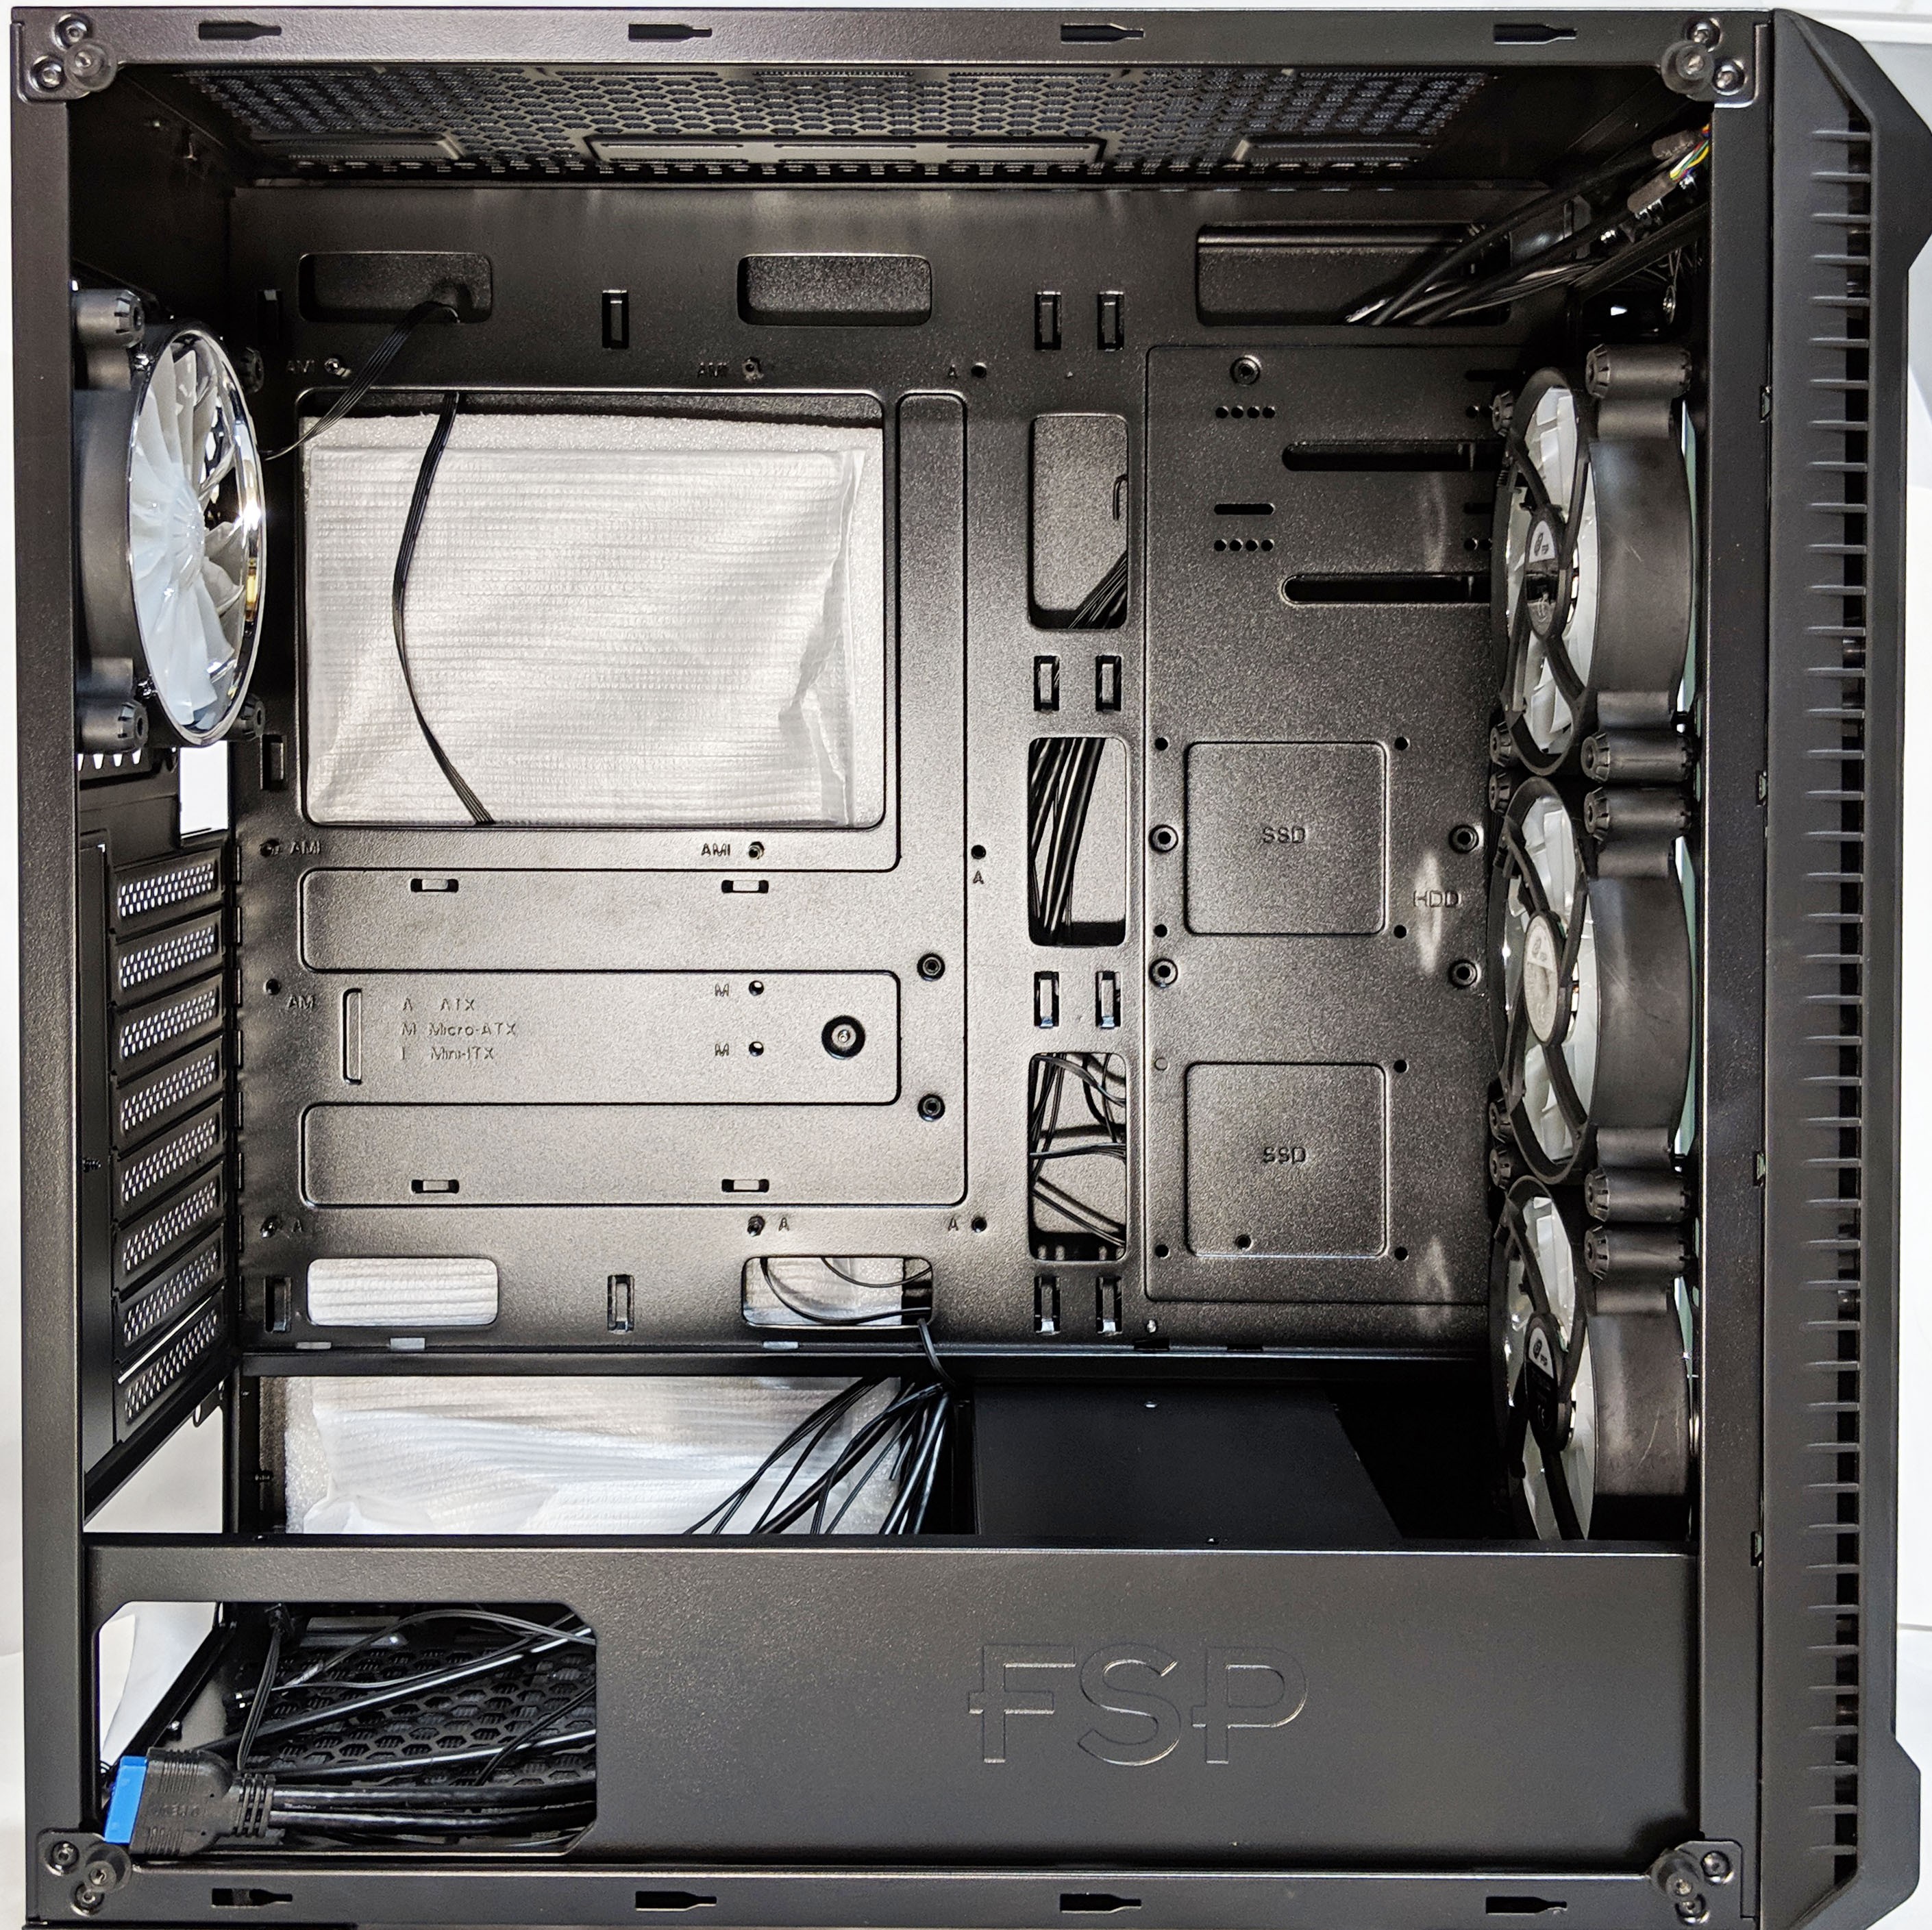
You’ll notice in the previous pic the white packaging material behind the motherboard tray. Contained within is a dark tinted plastic shroud that attaches magnetically to the PSU shroud just below the motherboard tray. Of all the features of the case, this definitely turned out to be one of my favorite. Installing the PSU was MUCH easier as well as hiding cables, but we’ll get into that later.
The PSU shroud adds a certain level of bling to the inside of the case as it is very highly reflective. RGB lights will end up reflecting off the surface. Very cool if you have an RGB enabled graphics card.


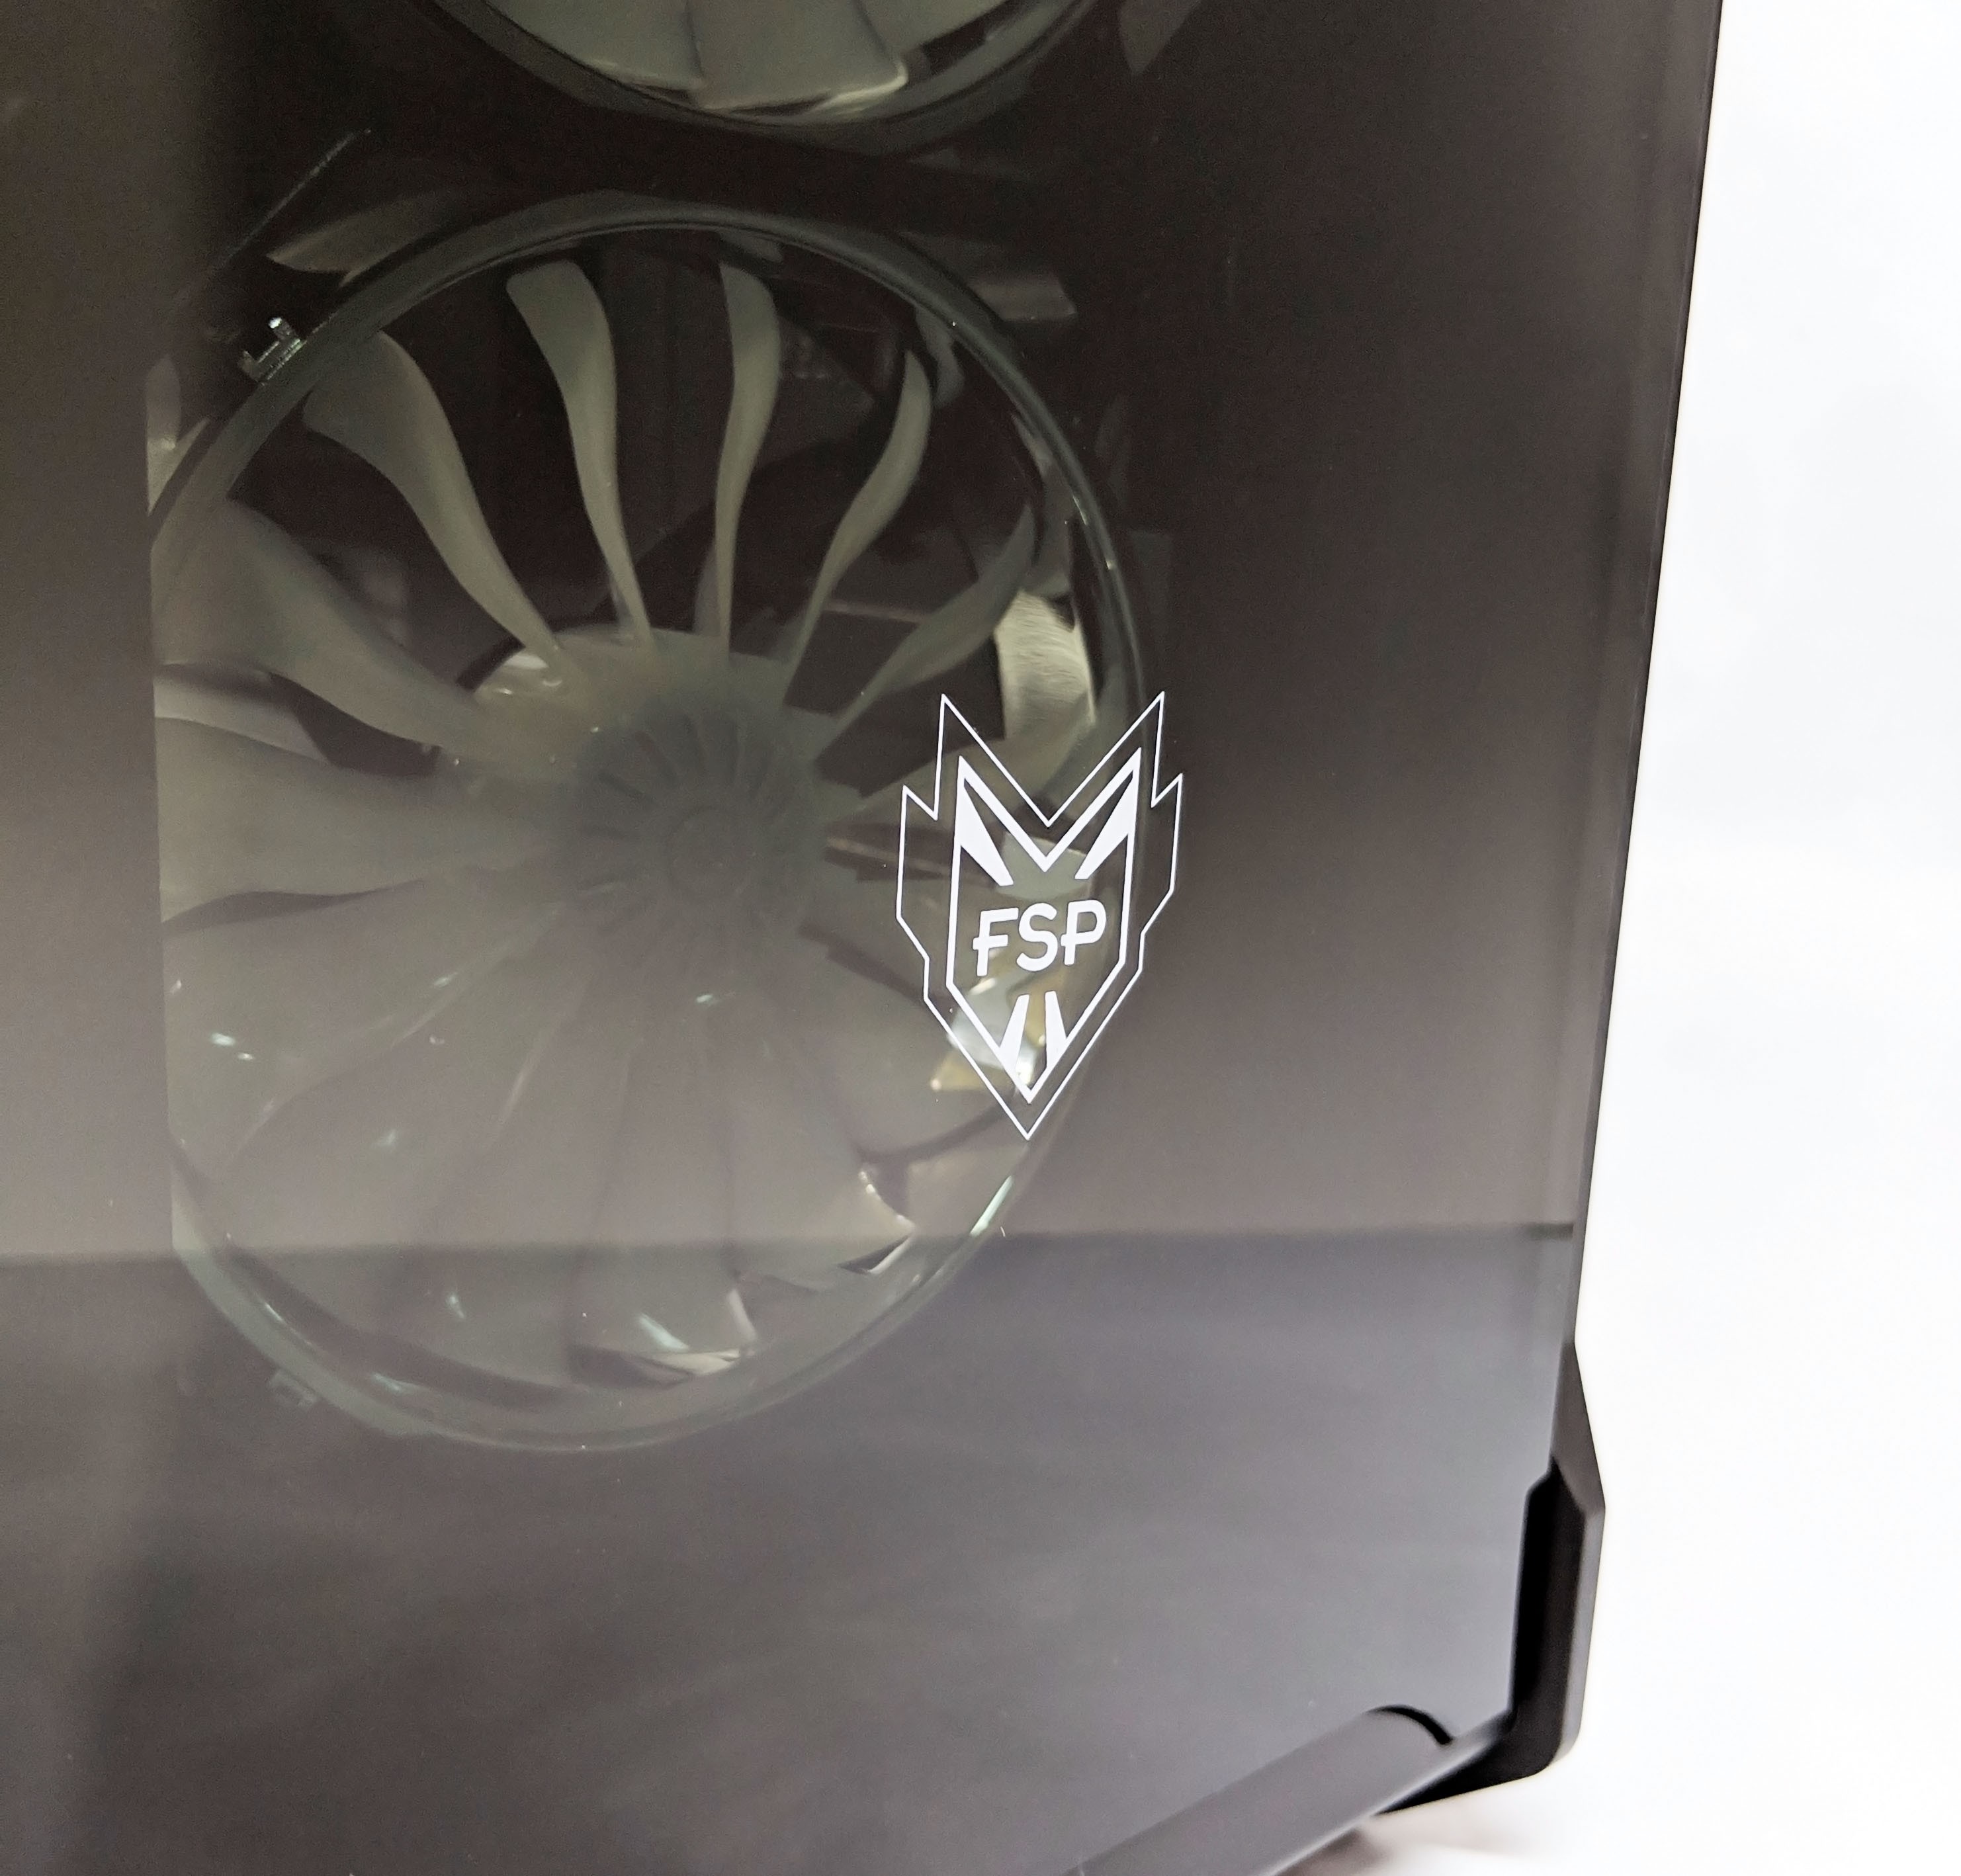
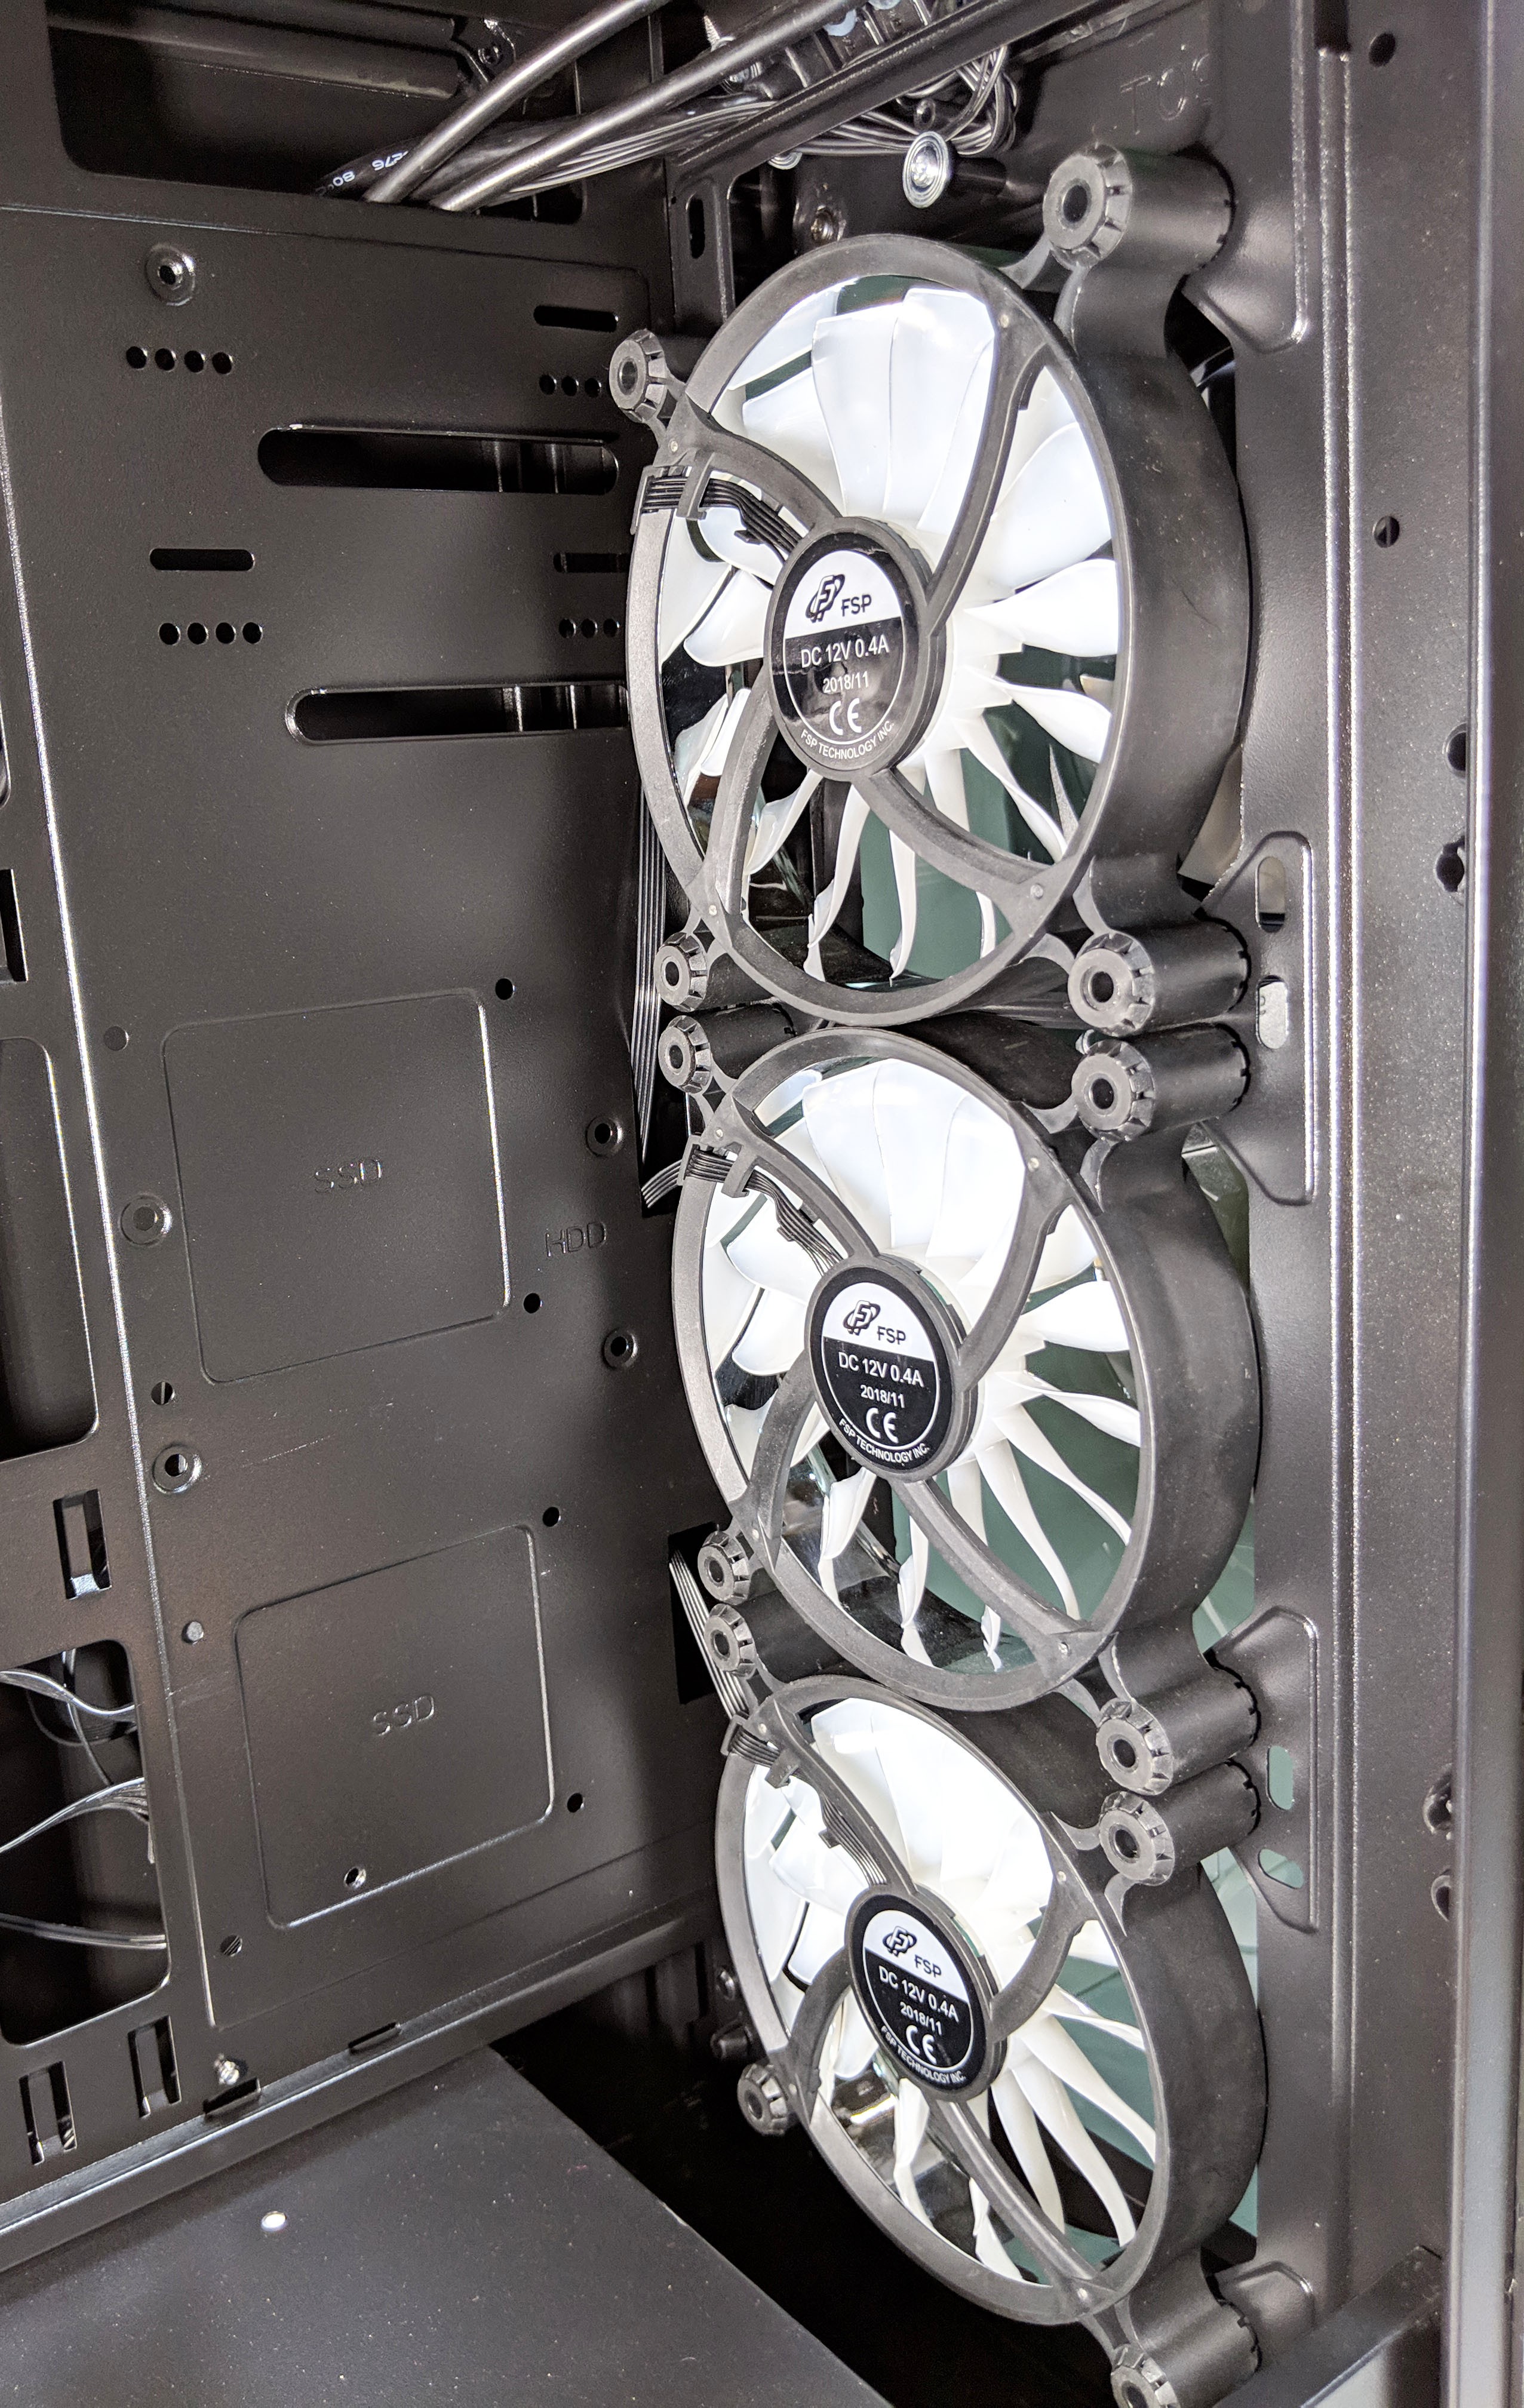
Next, let’s get a better look at those fans. As we mentioned earlier, the case comes with four RGB fans preinstalled into the case, three up front acting as intake fans and a single fan in the rear acting as an exhaust (positive pressure = good!).
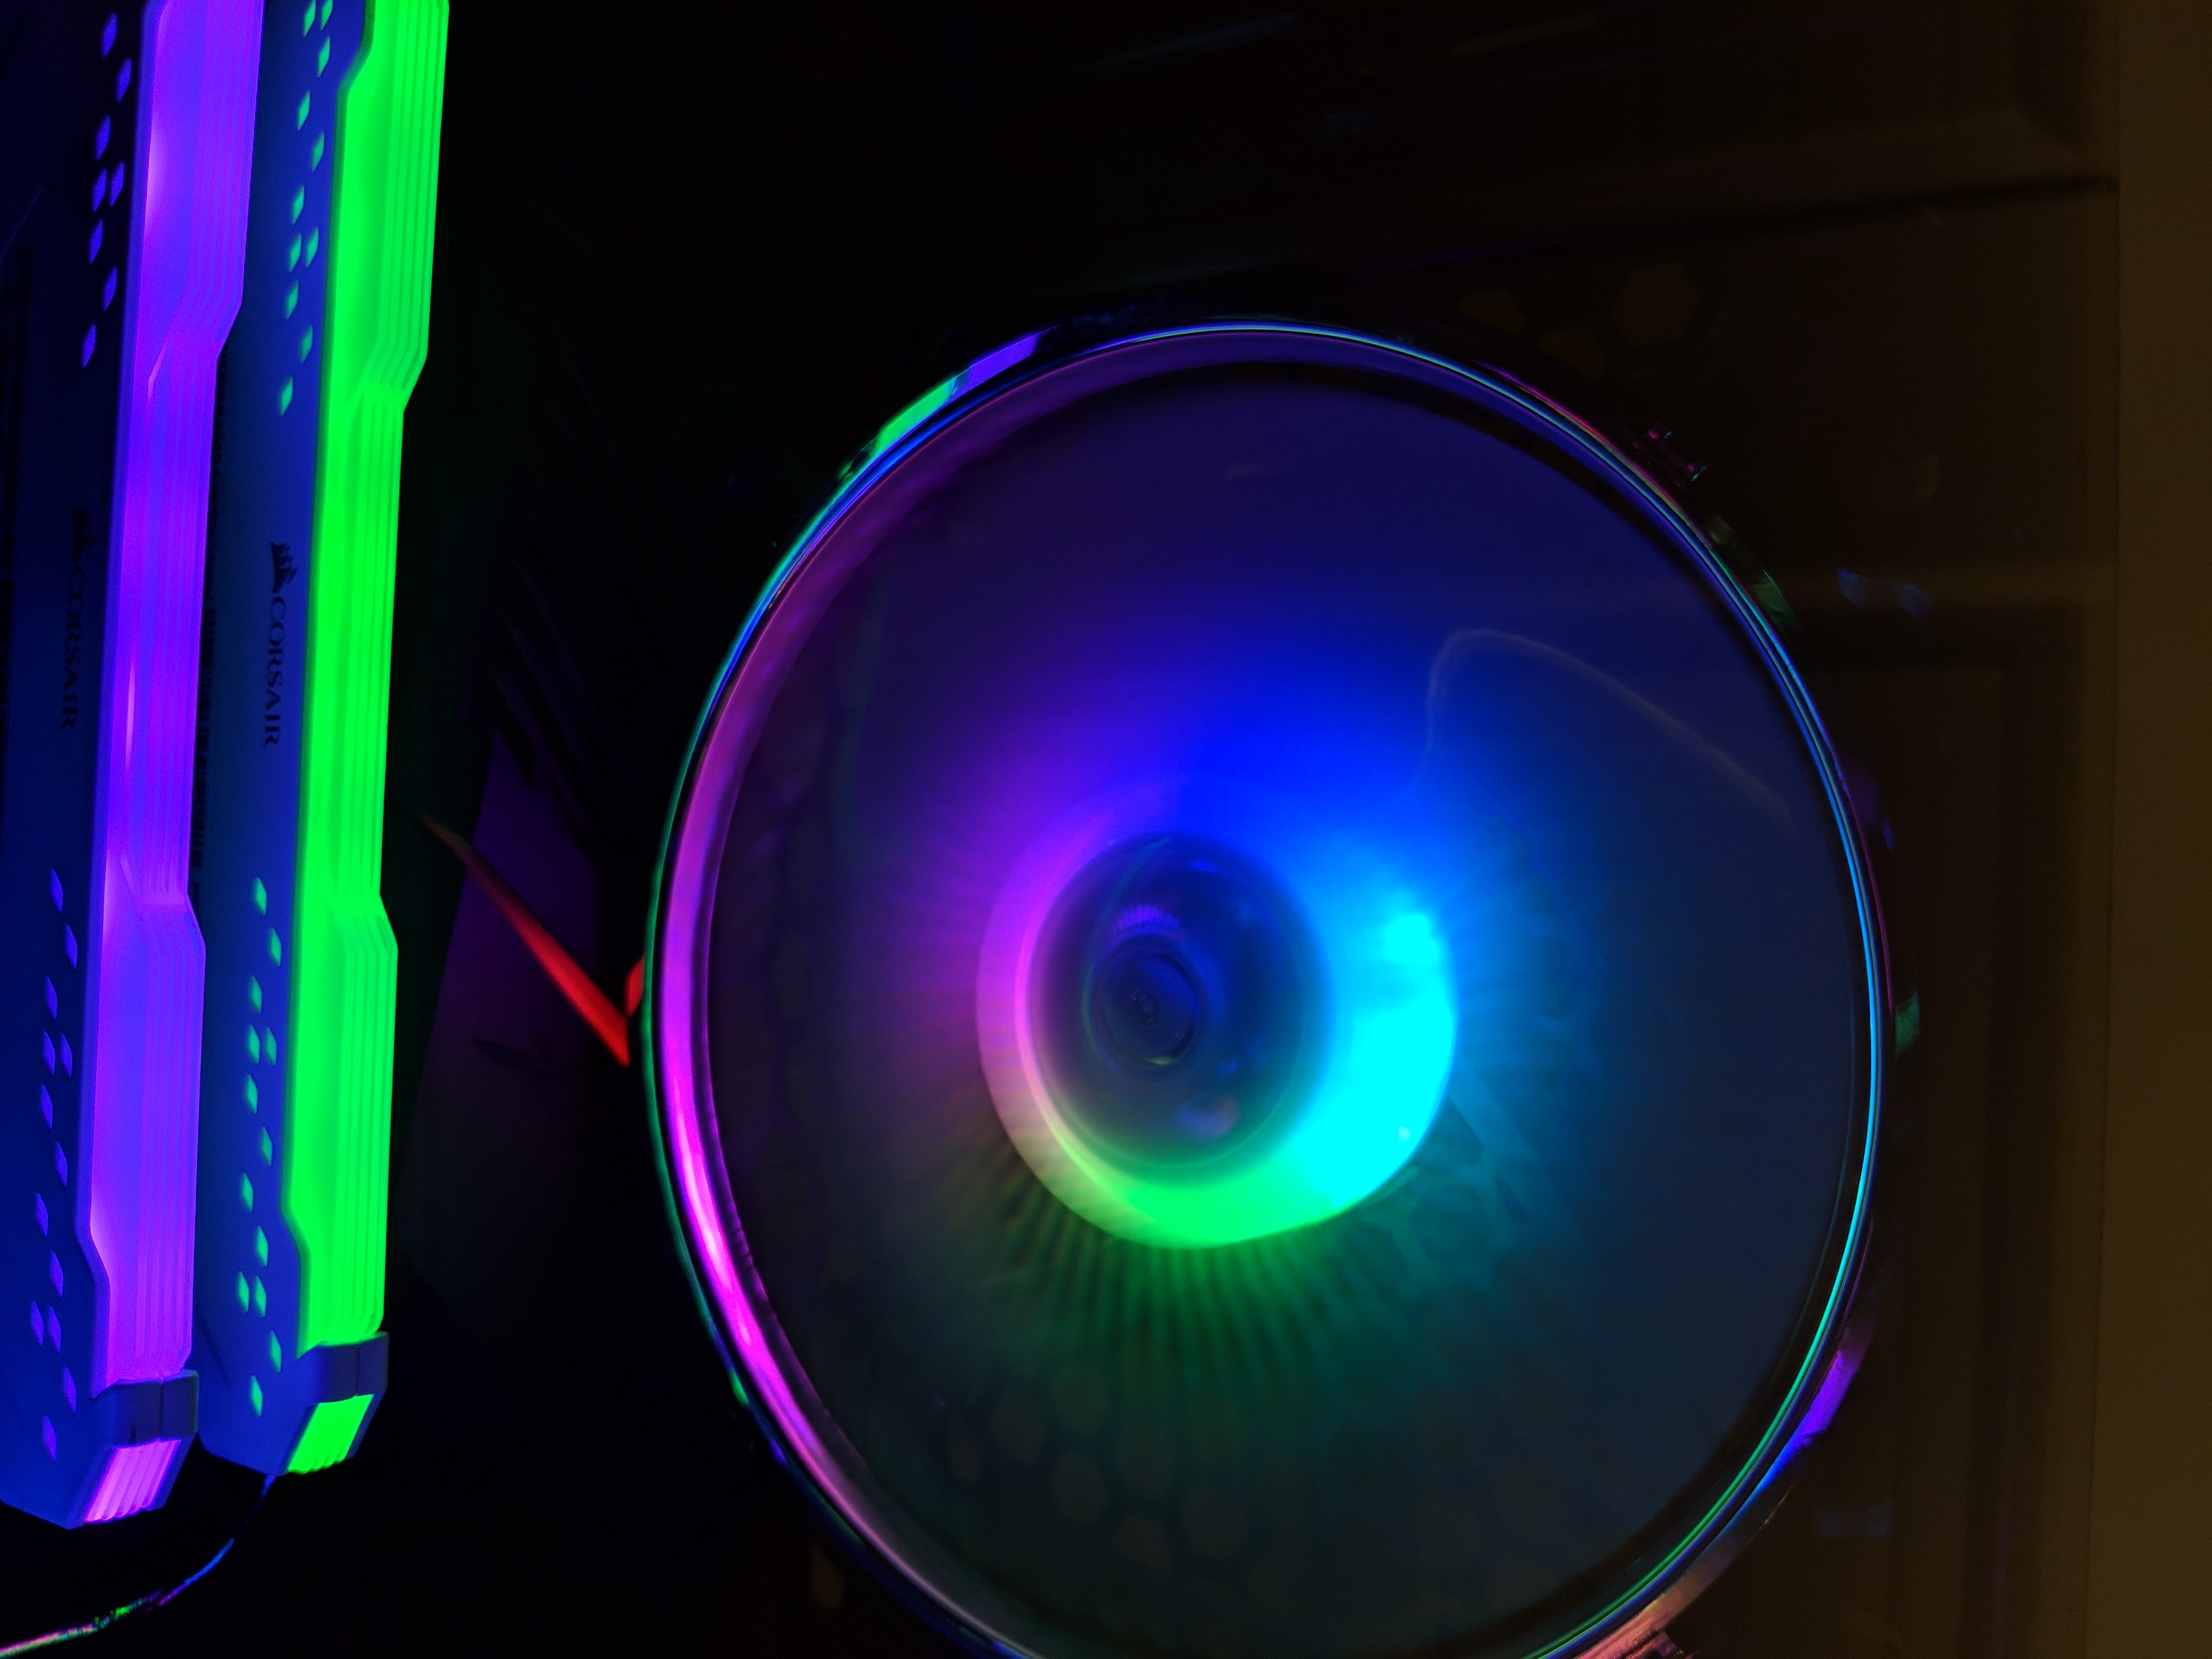
The fans feature a 15-blade design with an almost impeller look to them. Around the outside area is a chrome band which should reflect some of the lighting which emits from the center motor area of the fan. Each fan uses a single cable for both RGBs fan power which plugs into the controller module behind the motherboard shroud. We’ll get into that later on in the review.

Next, the back panel was removed so we can get a closer look at the reverse side of the motherboard tray. Overall, pretty standard layout. You’ve got your PSU mount at the bottom right and two HDD brackets just to the left of that.
As you can see lots of wires coming from the front I/O panel as well as each of the four fans. Fortunately, it appears that there is plenty of room to route cables.
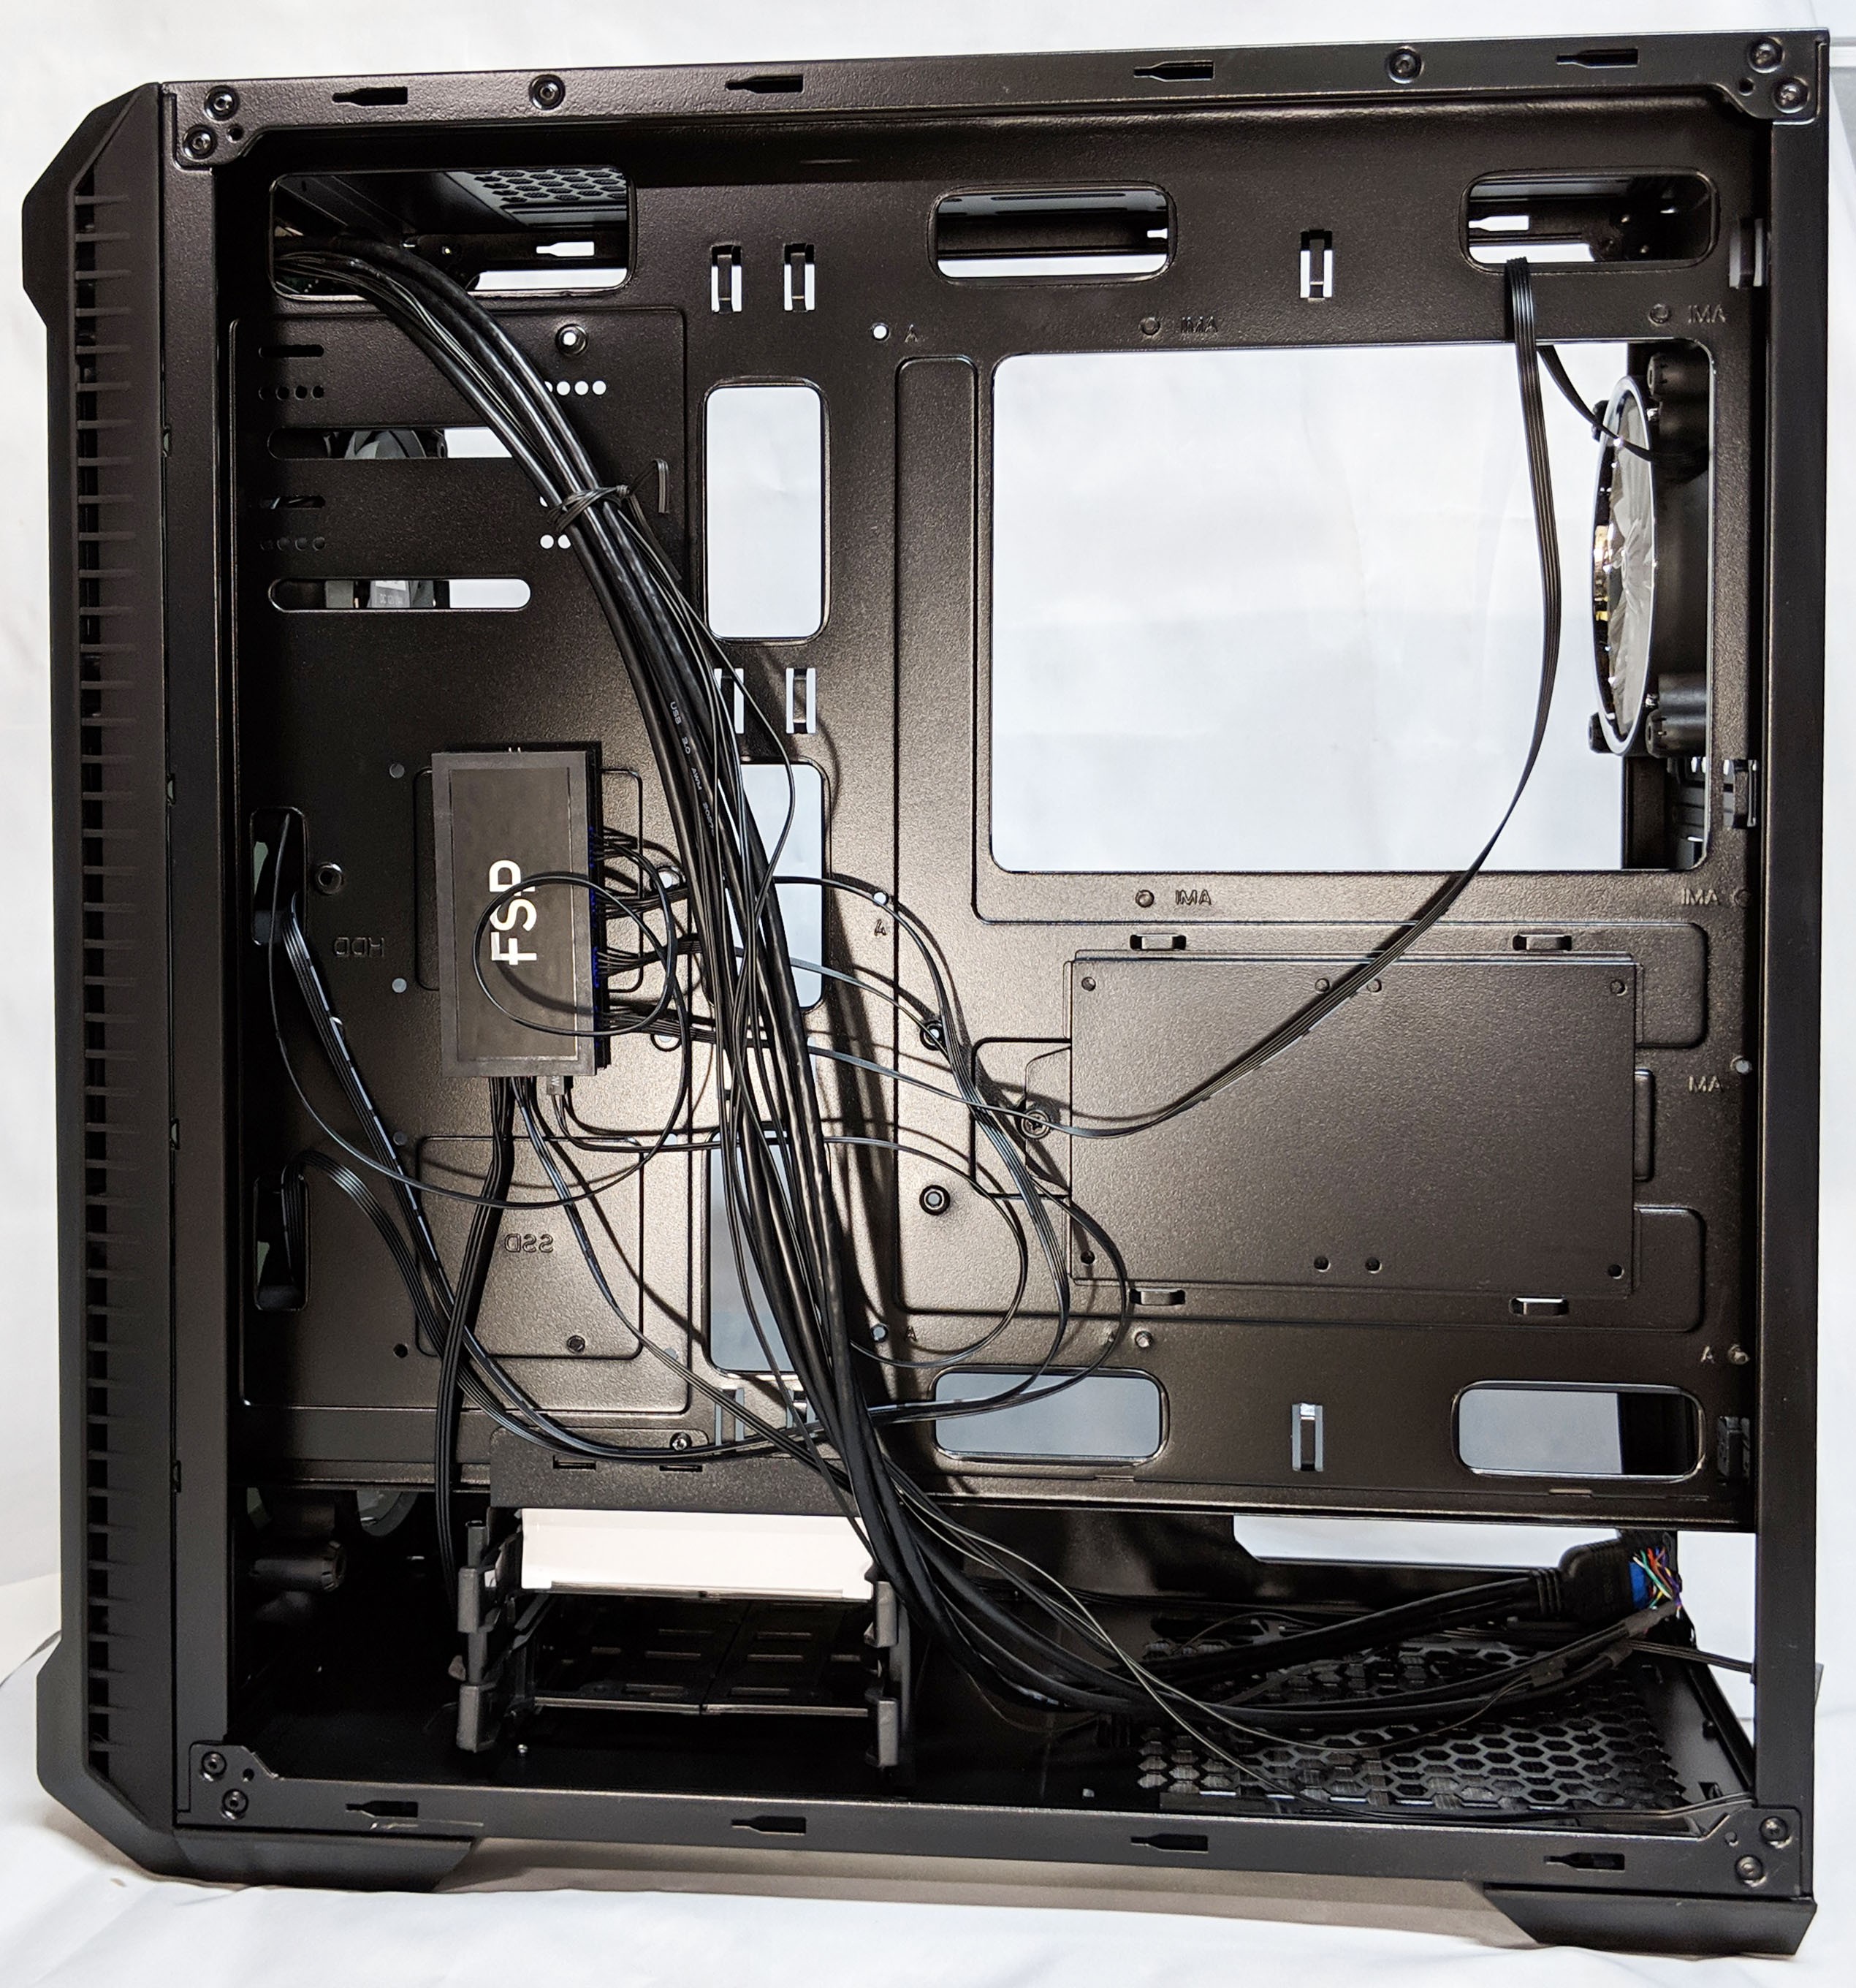
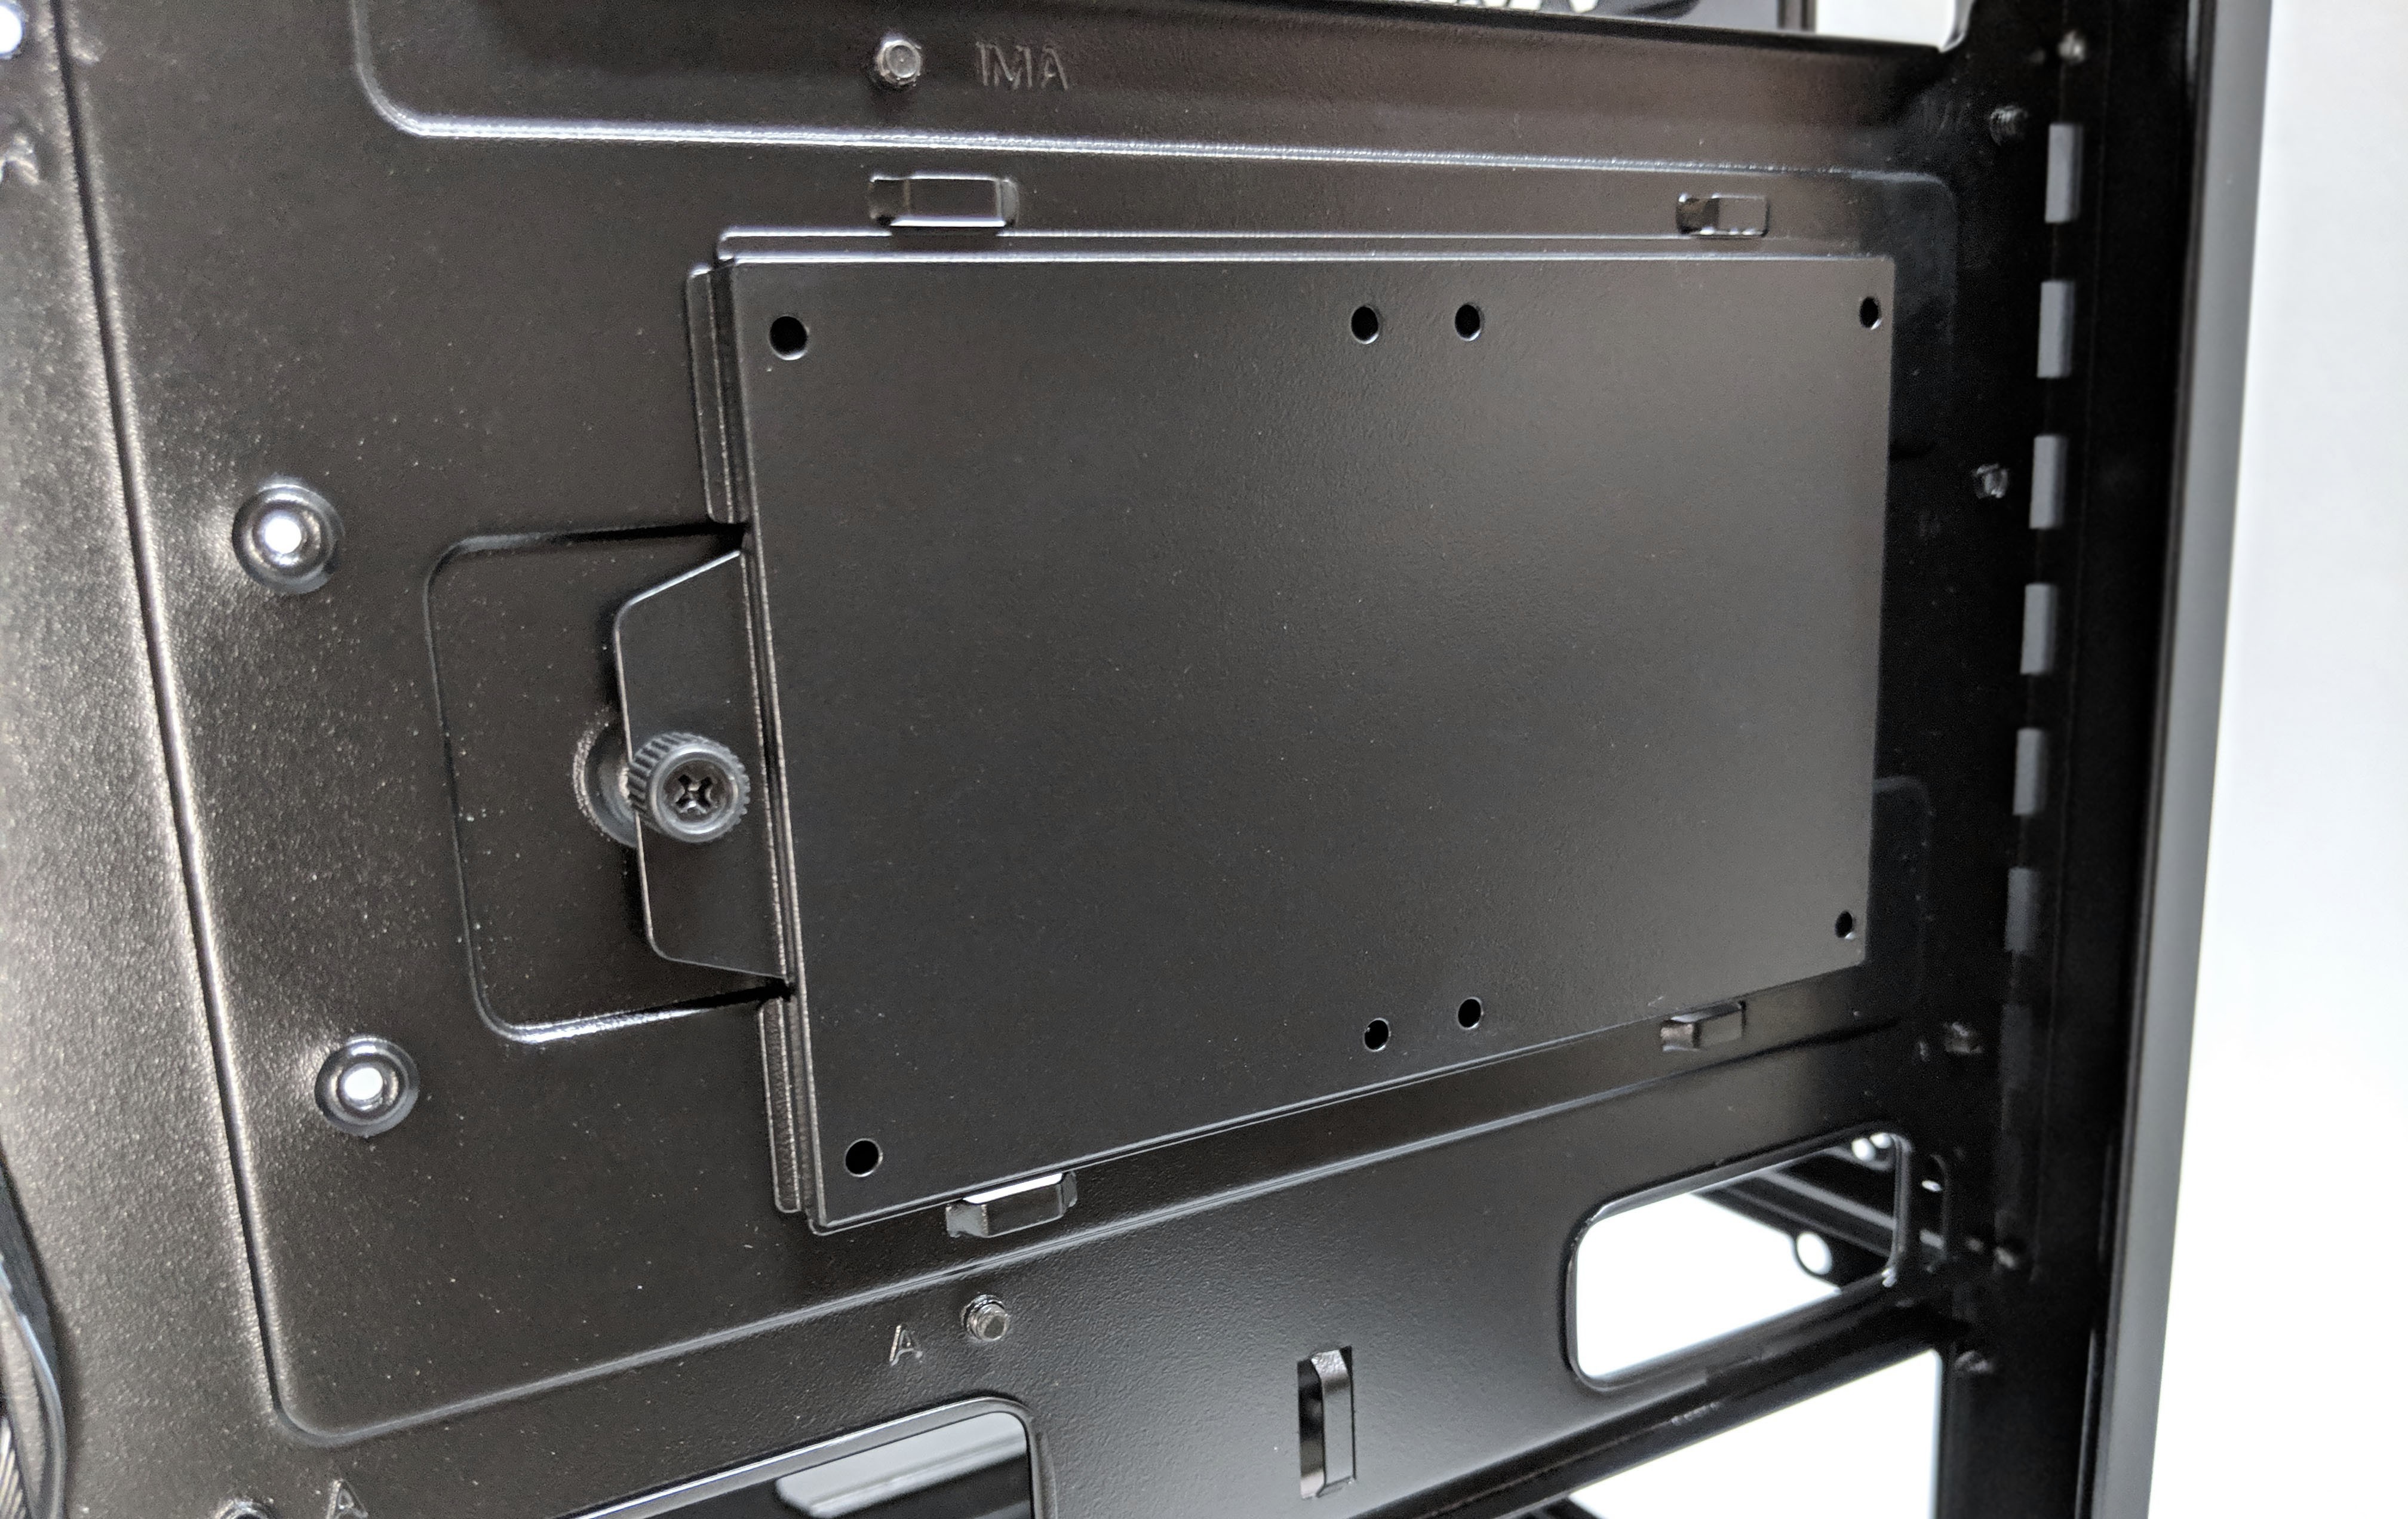
One thing worth mentioning is the removable SSD mounting bracket which is located just behind where the motherboard mounts. The bracket is held in place by a single thumb screw. Once removed, it has the ability to provide mount points for two 2.5″ SSDs. Simply screw the two drives to the bracket and mount it back onto the motherboard tray.

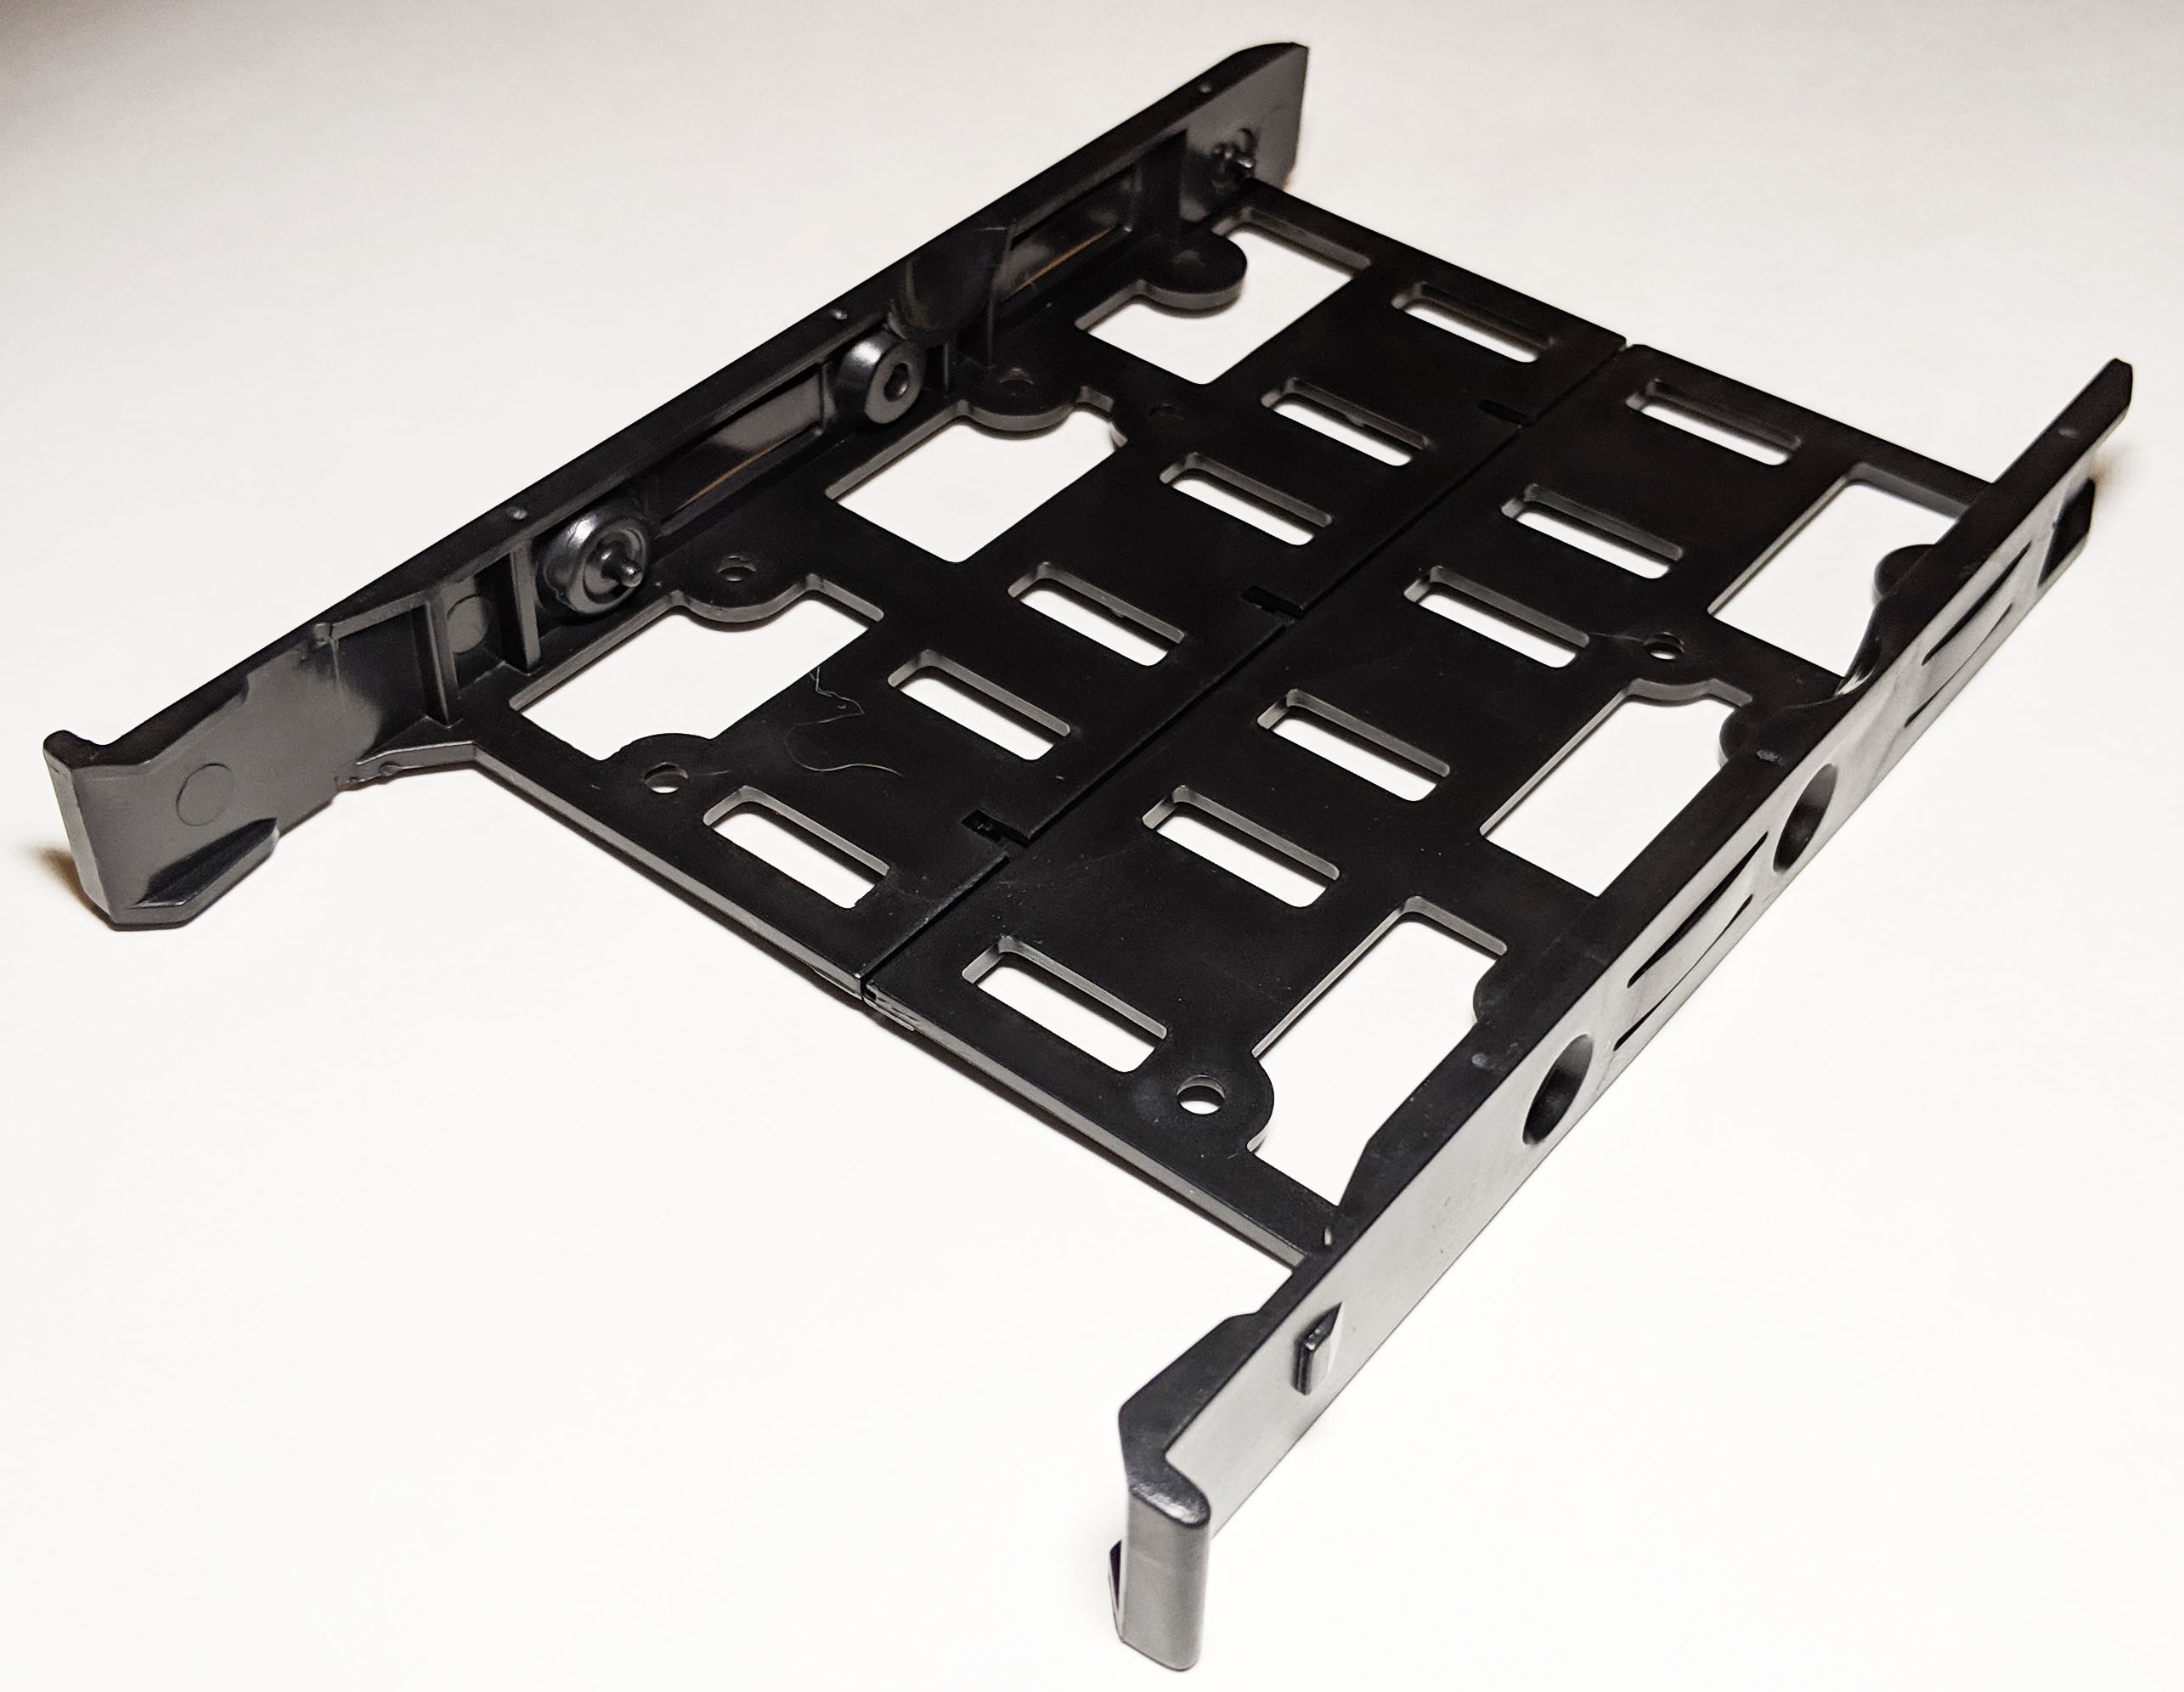
The two removable drive trays for housing the 3.5″ drives are isolated along with the PSU under the plastic removable PSU shroud. The drive trays are constructed from plastic using a two-piece design which opens and closes to lock around the drive. Once the drive is locked into the tray it can slide and lock into one of the two slots.

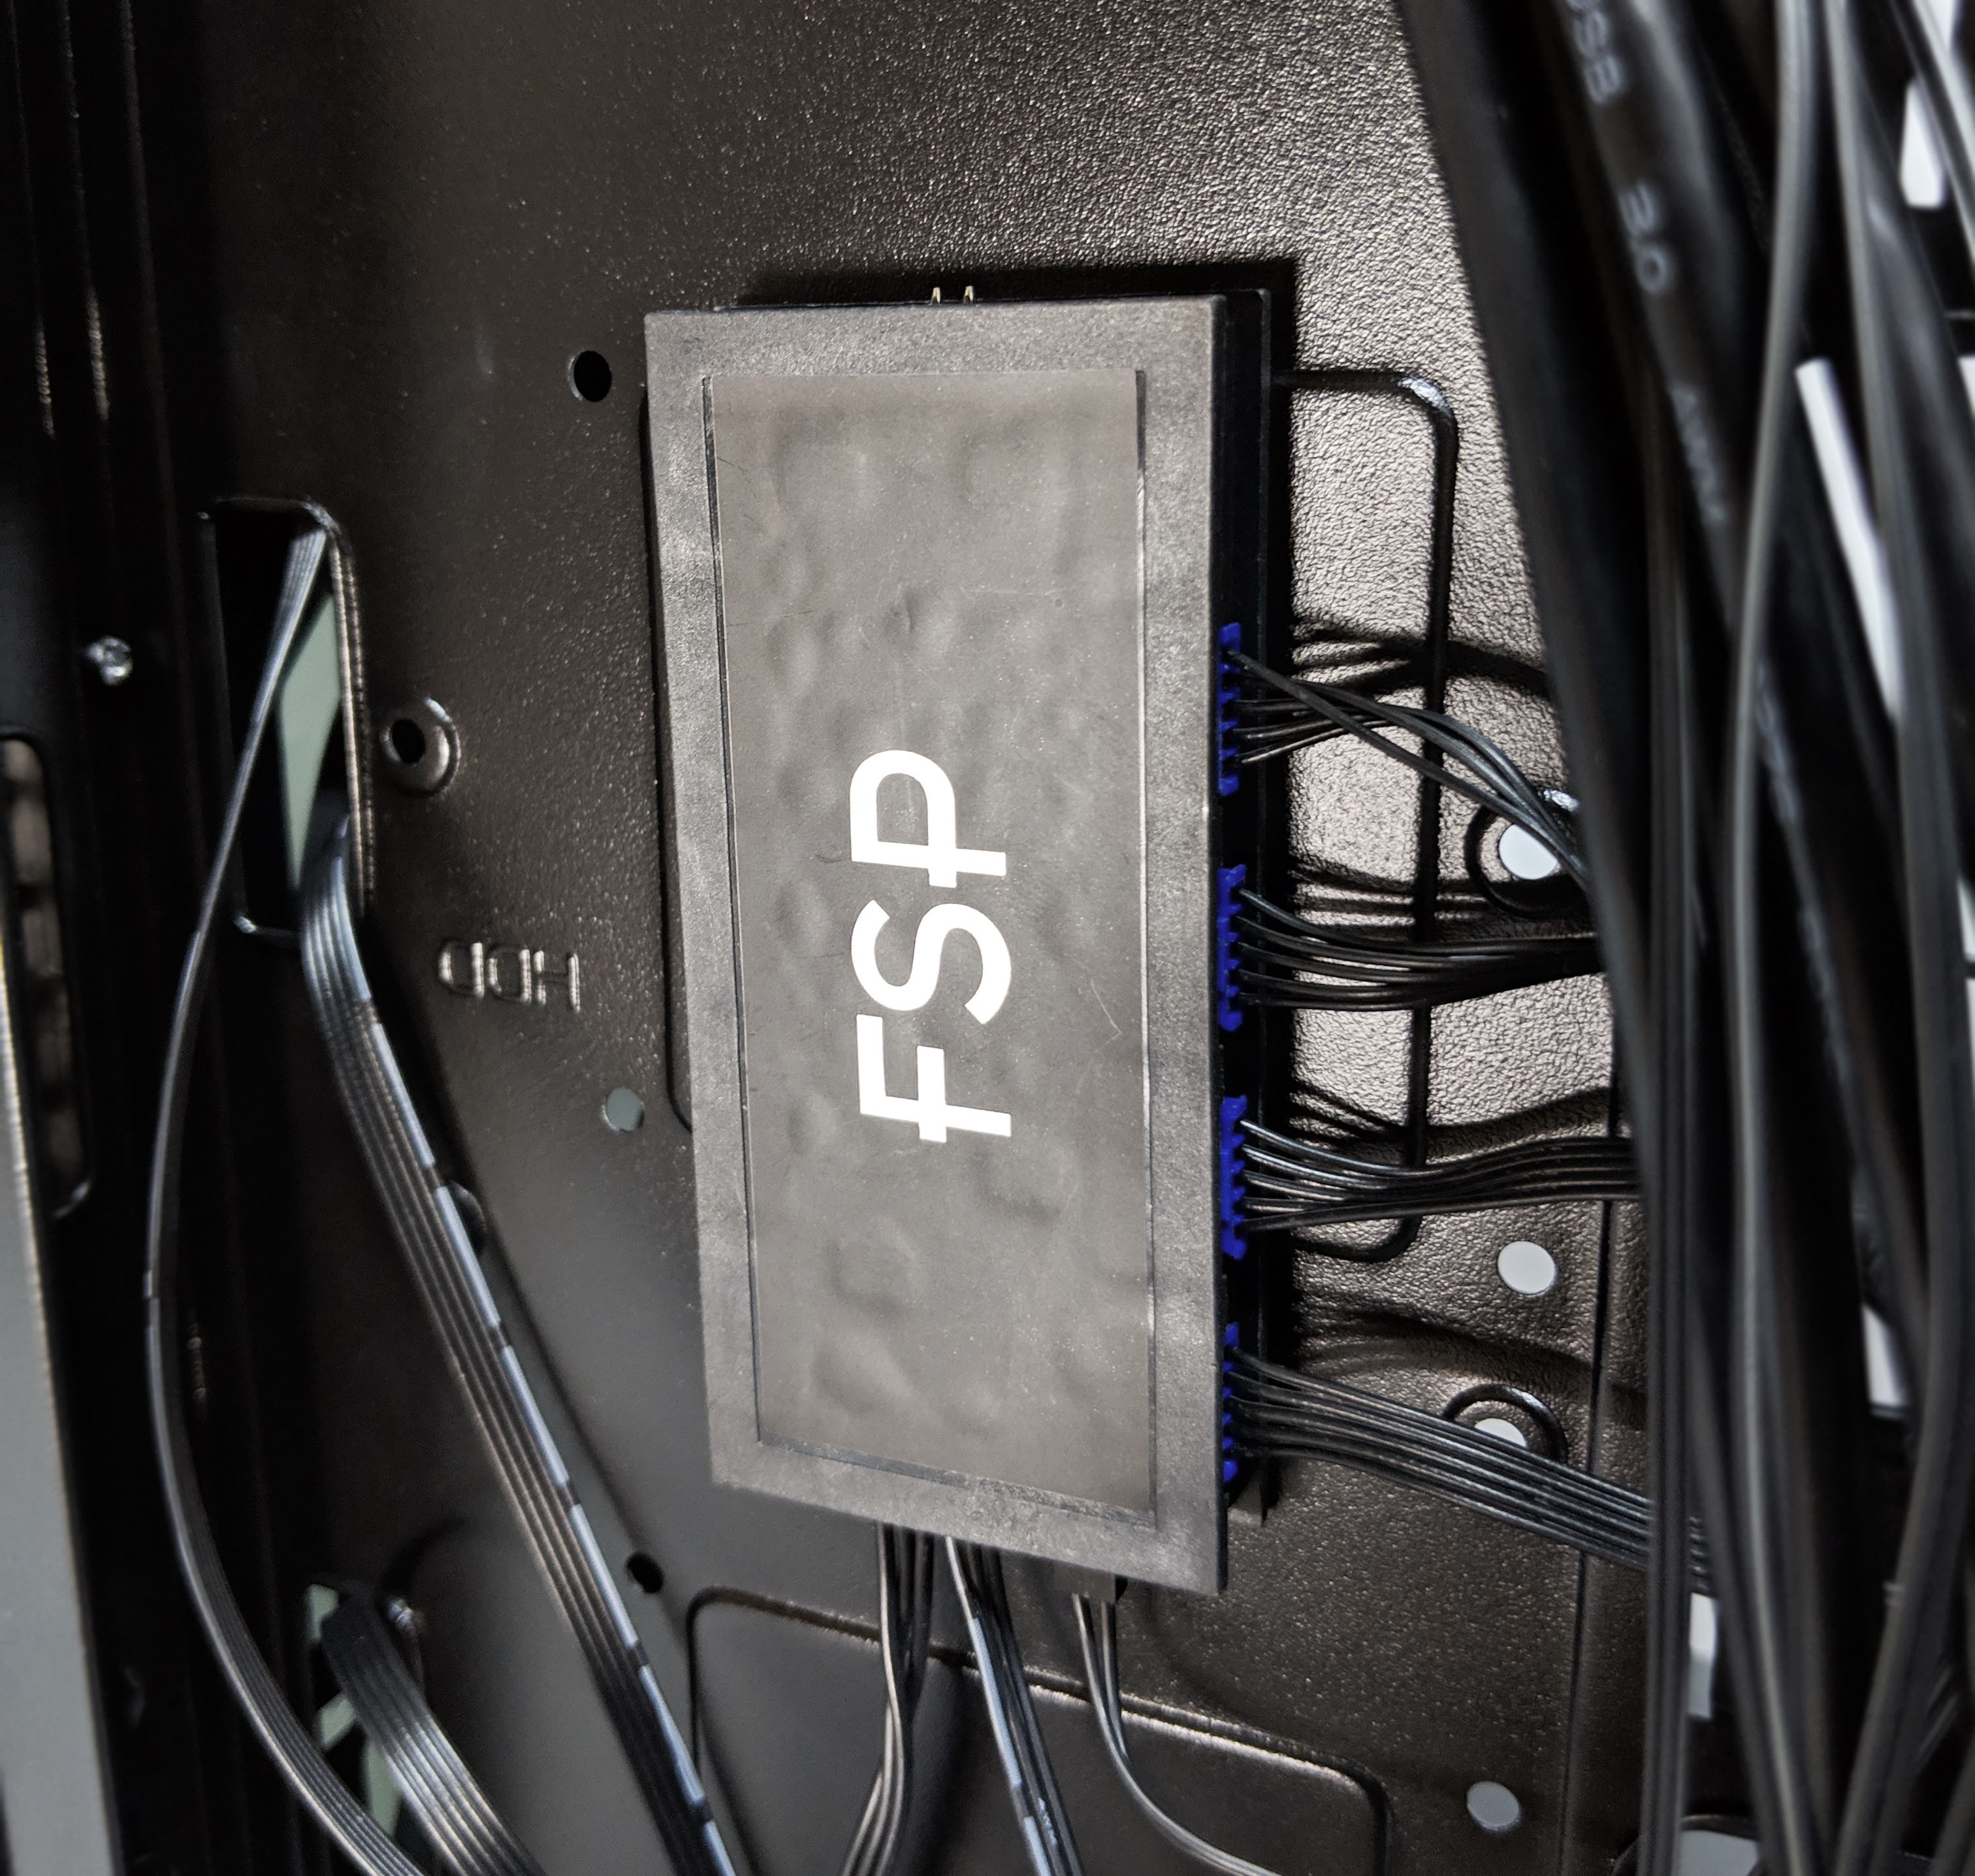
The RGB fan controller magnetically attaches to the case and provides both power and RGB controls to the fans. RGB effects can either be controlled via the motherboard using a 3-pin addressable RGB header, or by using the RGB button on the front I/O panel. The RGB controller is designed to work with popular motherboard software such as ASUS Aura Sync, Gigabyte RGB Fusion, MSI Mystic Lighting or ASRock Polychrome. Ultimately using the motherboard control software will give you more control over your RGB effects as well as sync the fans to other components in the system. However, if you do not have a 3-pin RGB header on your motherbaord, the built in RGB controller will work just fine.
Extra points for the handy diagram on the back of the RGB controller!

Hardware Installation
Next, let’s stop staring and actually install some hardware into this system! For this build, we’ll take advantage of the E-ATX motherboard support and install and AMD Ryzen Threadripper system into this beast.
The system will be based on the following specs:
- Motherboard: ASUS ROG STRIX X399-E Gaming (review)
- Processor: AMD Ryzen Threadripper 1920X (12-core)
- RAM: 32GB Corsair Dominator Pro RGB (4x8GB)
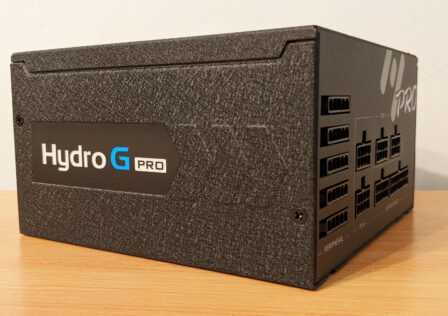
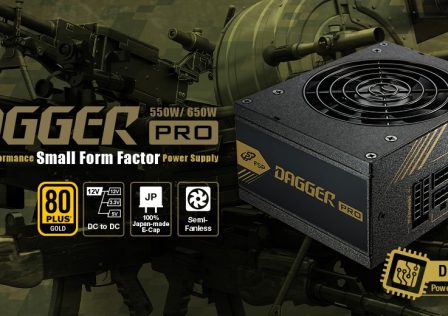
- Power Supply: Cooler Master MWE Gold 750W (review)
- Graphics Card: EVGA RTX 2070 XC Gaming (review)
- CPU Cooler: DEEPCOOL GamerStorm Capitan 240 Pro (240mm) (review)
Installing hardware into the FSP CMT520 Plus PC case is about as straightforward as it gets. The motherboard required a few extra standoffs to be installed which come included with the case along with a tool to install them. In the end, even using a full sized E-ATX motherboard, large GPU and a pretty large AIO cooler, the case definitely had room to spare. At no point during the hardware install process did I feel like I was struggling for room.
The motherboard sits about two inches below the top of the case which leaves plenty of room for a radiator and fans to be mounted at the top of the case without having to worry about clearance issues.

When installing the PSU into the system you’re kind of given two options: install it traditionally through the back of the case, or just install it through the removable PSU shroud through the inside of the case. I opted for the latter as then I can just leave the removable bracket in place saving me a few steps.
There should be plenty of room to install the modular PSU cables post install, however you might have clearance issues with larger PSUs. I recommend attaching the modular cables first and then install the PSU into the system.

Managing cables behind the reverse side is pretty easy on the FSP CMT520 Plus. There’s a good amount of space between the actual motherboard tray and side panel and there are plenty of cable tie mounting points to keep everything nice and tidy.
While “tidy” is not the word I’d use to describe my personal cable routing methodology, at least it looks pretty from the front right? ….right??

With power applied to the internals, we were greeted with a dazzling RGB experience from the fans. The default setting is a rotating rainbow display. To match the theme, I programmed the rest of the internals to go into full RGB mode. (I’ll settle on a color or theme later…)
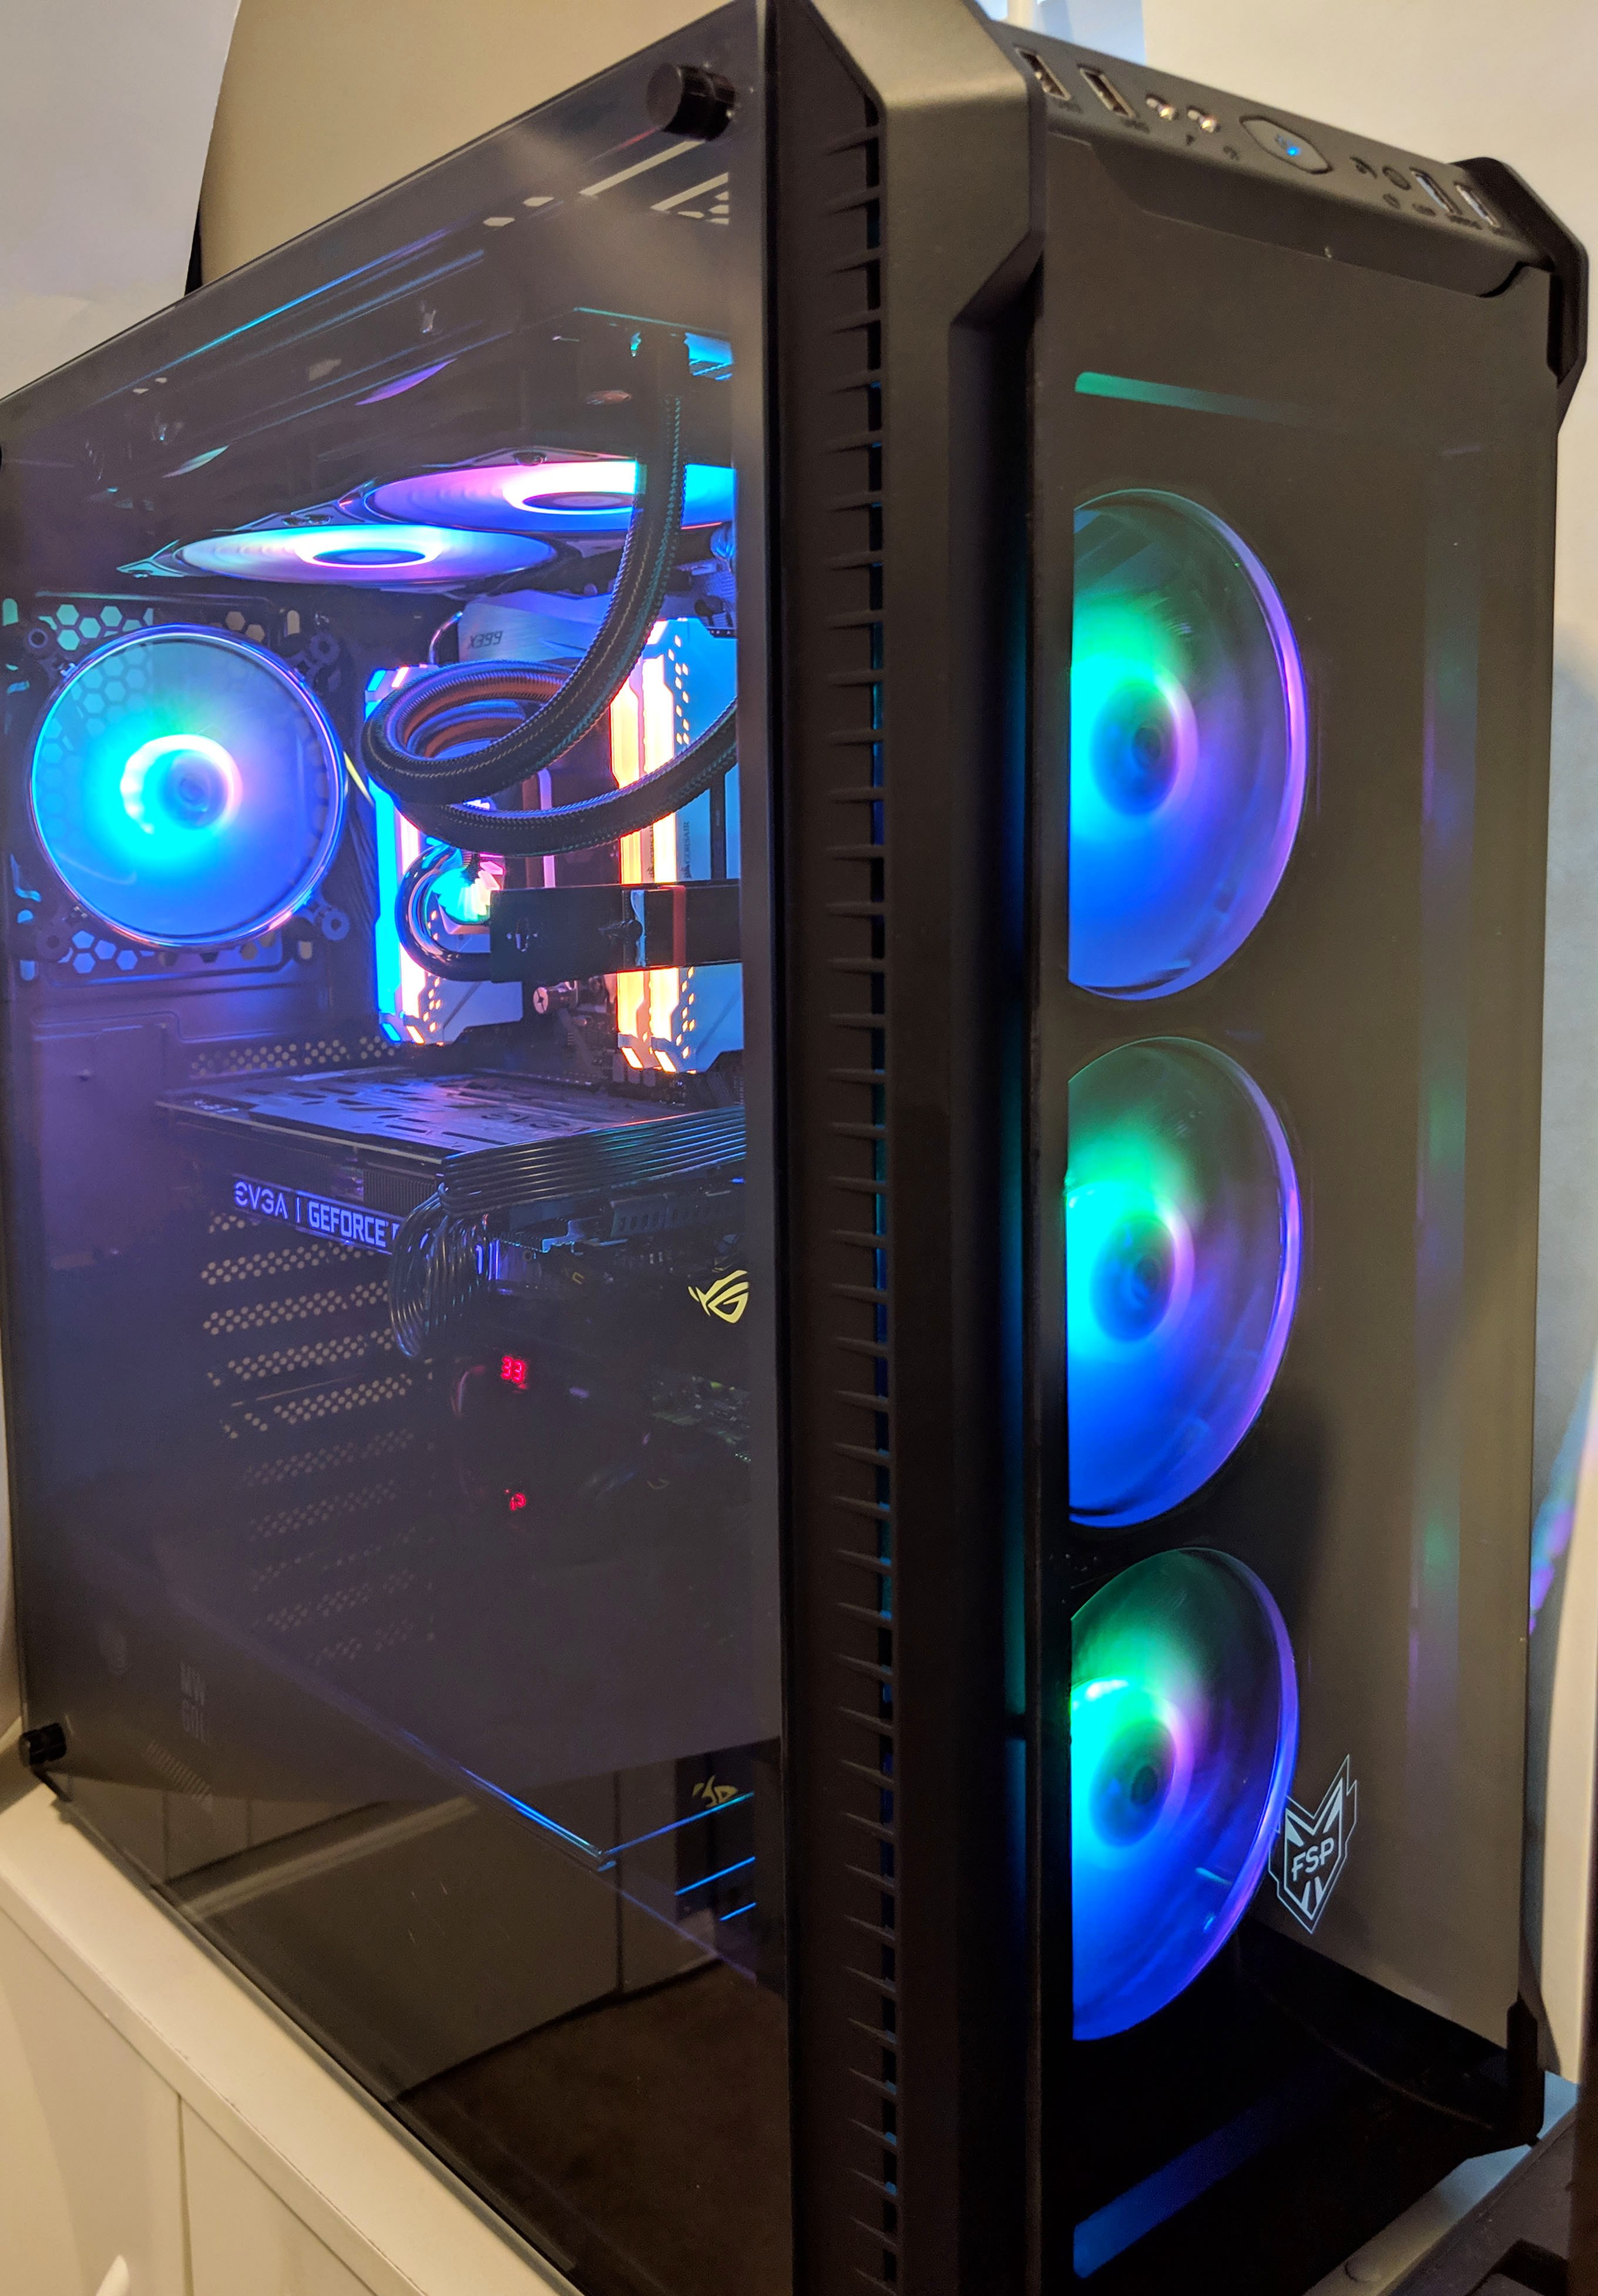
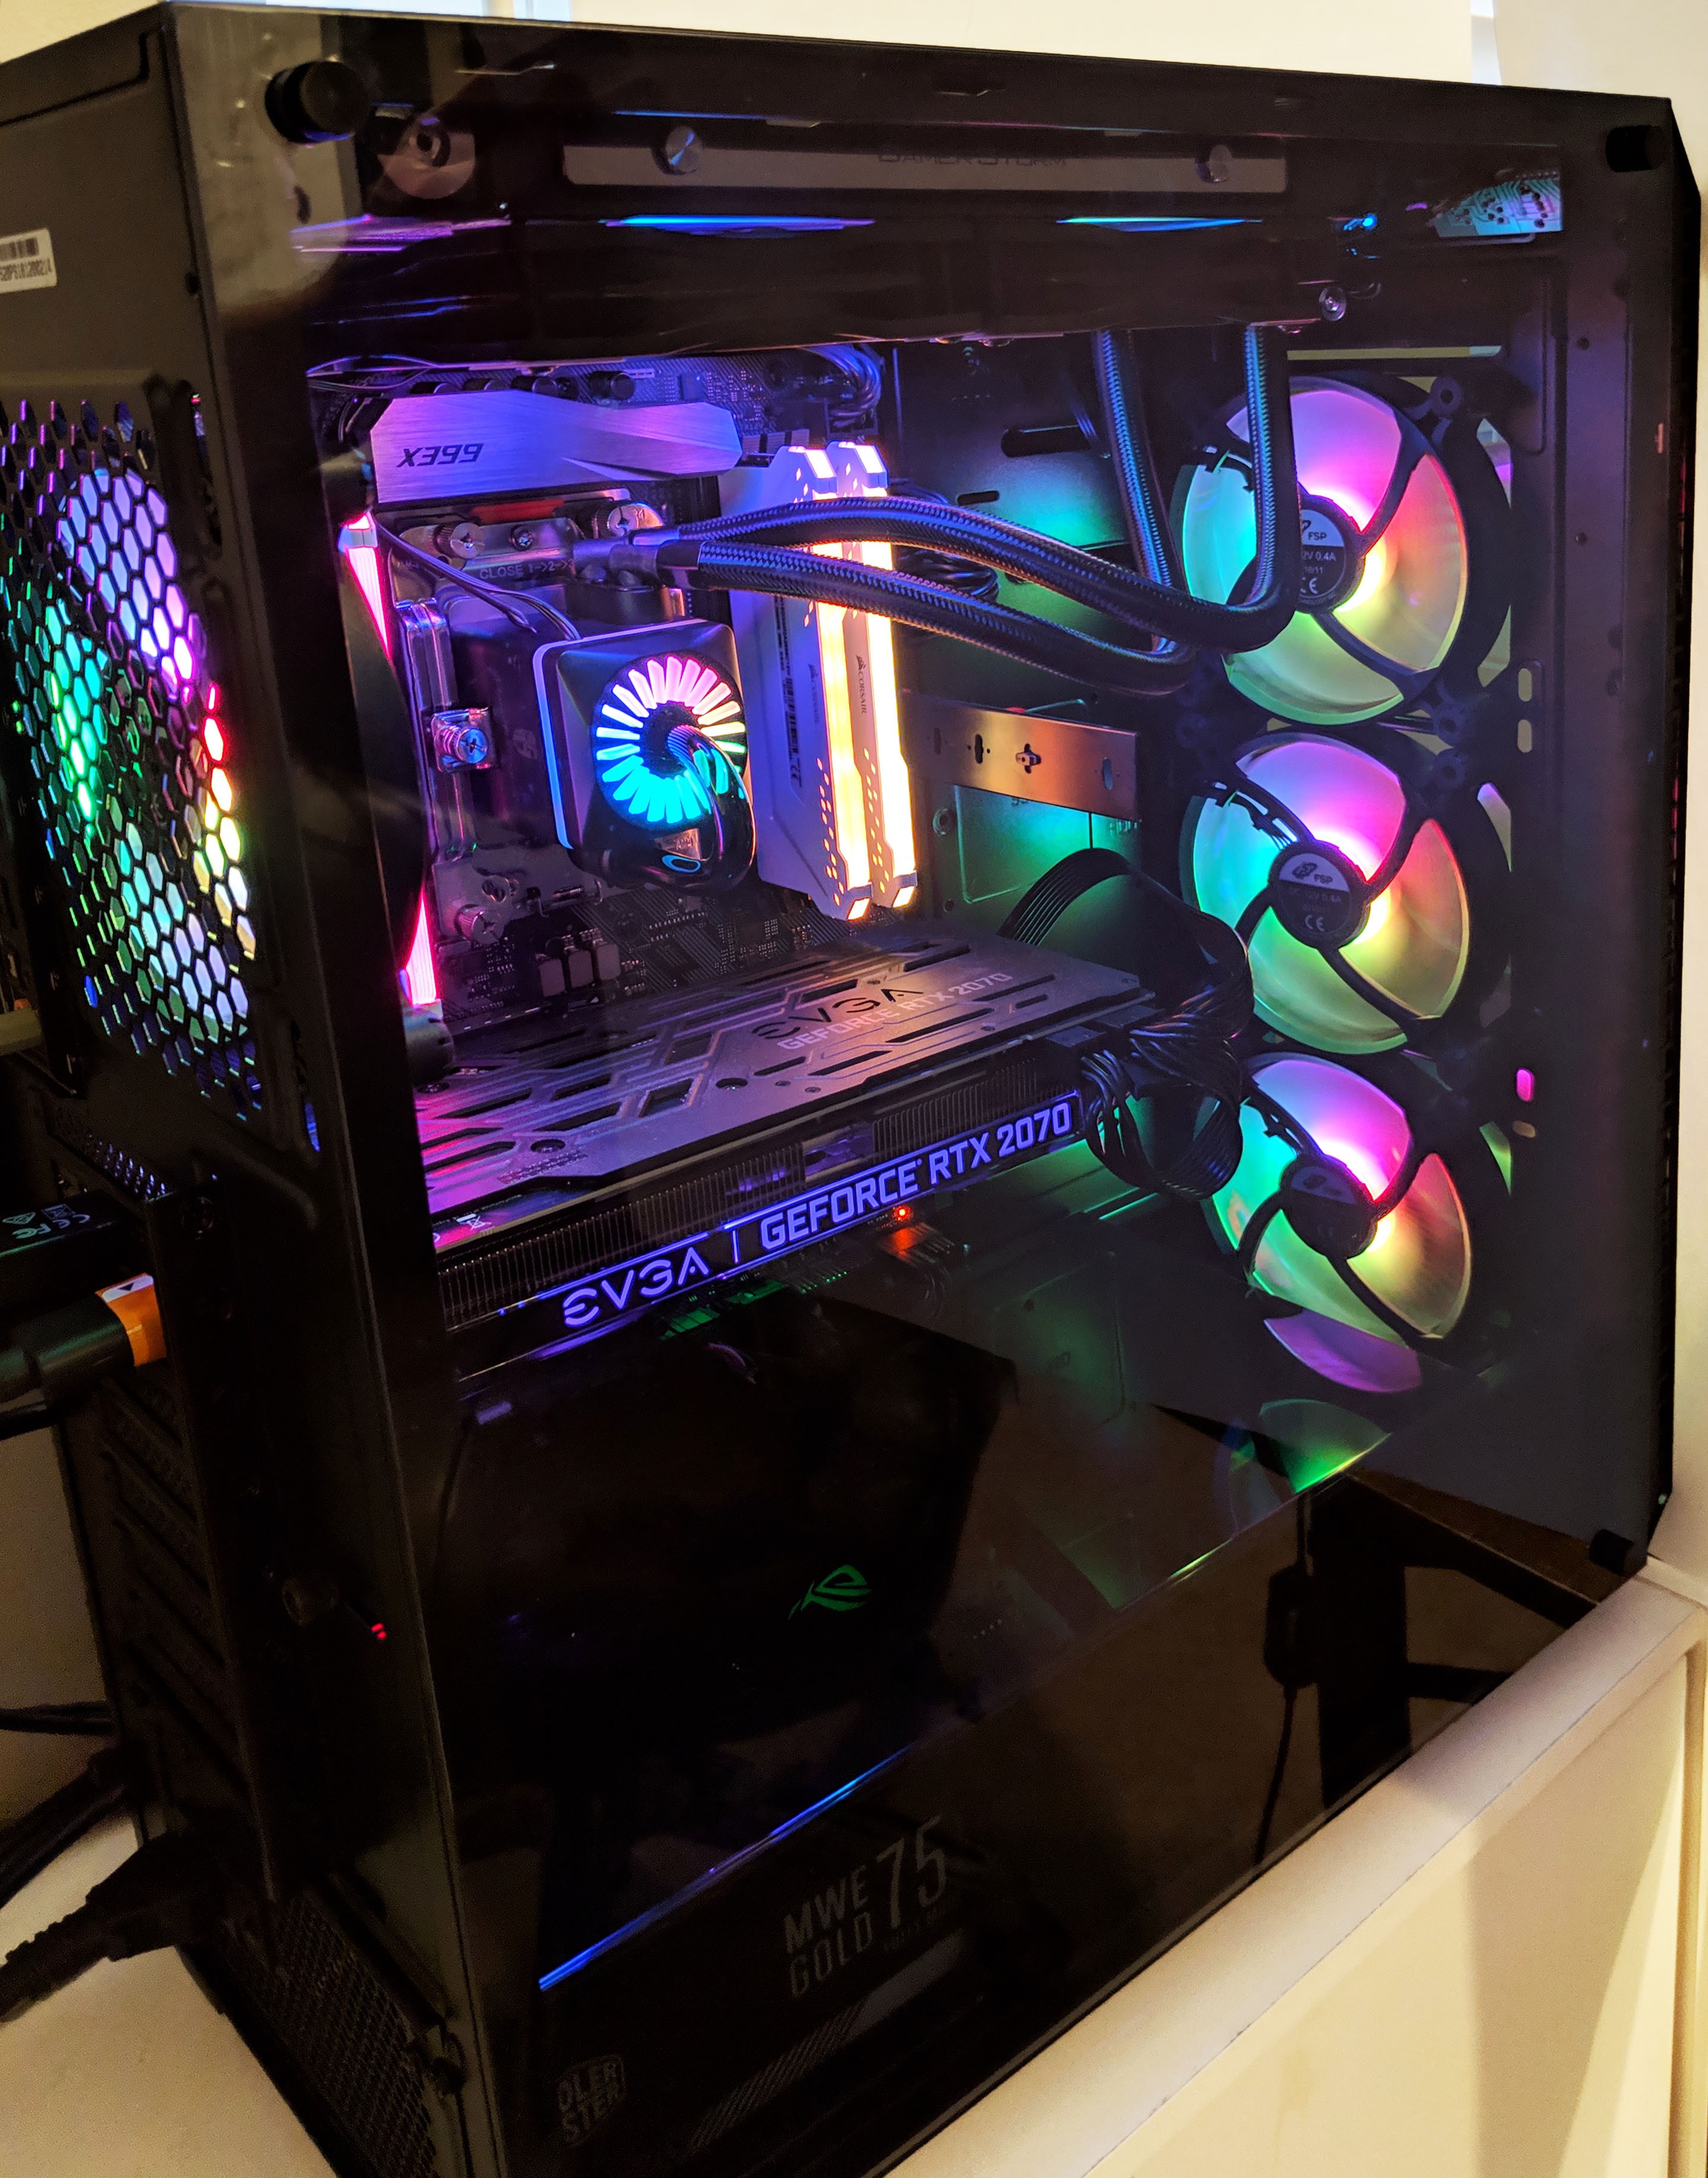
Overall, I’m quite happy with the how the build turned out! The clean lines, dark color scheme, and tempered glass really create an overall likable theme to this particular Threadripper build. The FSP RGB fans featured a similar RGB pattern and scheme to the GamerStorm RGB fans for the AIO cooler so that was another added bonus.
The interior is VERY spacious, even for an E-ATX motherboard. This would definitely be a viable option for a custom loop water cooling build.
Final Thoughts & Scoring
The FSP CMT520 Plus ended up being a very likable case that comes packed with all the high end features system builders today demand, all while being easy to work with throughout your build process. One of my personal favorite hidden gems was the semi-transparent PSU shroud cover. Being able to remove it simplified the PSU install, and its highly reflective surface added a unique look to the inside of the case.
The RGB fans were bright moved a decent amount of air. With the system running at full power, the fans were barely audible. I really like the idea of including RGB and fan power into a single cable. It really does help cut down on cable clutter. The only negative side to this approach is the use of proprietary connectors.
As I mentioned towards the end of the hardware install section, the case is extremely easy to work with probably due to its larger size. There’s plenty of places to route cables, and the extra space above the motherboard is extremely useful when installing a radiator.
Alright, time to break down the review and give the case a score based on several categories:
- Build Quality: 8.9/10 – Overall the case’s construction is quite good. At no point during the review did I feel like the case was emitting cheap vibes. I did feel like the metal could have been a tiny bit thicker in some places such as the motherboard tray.
- Appearance: 9.4/10 – The FSP CMT520 Plus is an overall good looking case, subjectively speaking. I really like the overall clean, dark color scheme and the stealthy look the tinted tempered glass added. The addressable RGB fans also looked great especially when shining through the front panel of the case.
- Functionality: 9.6/10 – There’s really not a whole lot this case won’t be able to fit. As a case, it works well and its support list is massive.
- Performance: 9.5/10 – Given that you can stuff seven 120mm fans, or two 360mm radiators, you really would be hard pressed keeping your internal components cooled if done right.
- Value: 8.8/10 – The case is available today with an MSRP of $129.99 which is about what you’d expect for a feature-packed E-ATX case stuffed with RGBs. In the end, I believe this case is a good buy overall and priced accordingly.
Product Page: https://www.fsplifestyle.com/us/product/CMT520plus.html
Purchase on Amazon: FSP CMT520 Plus
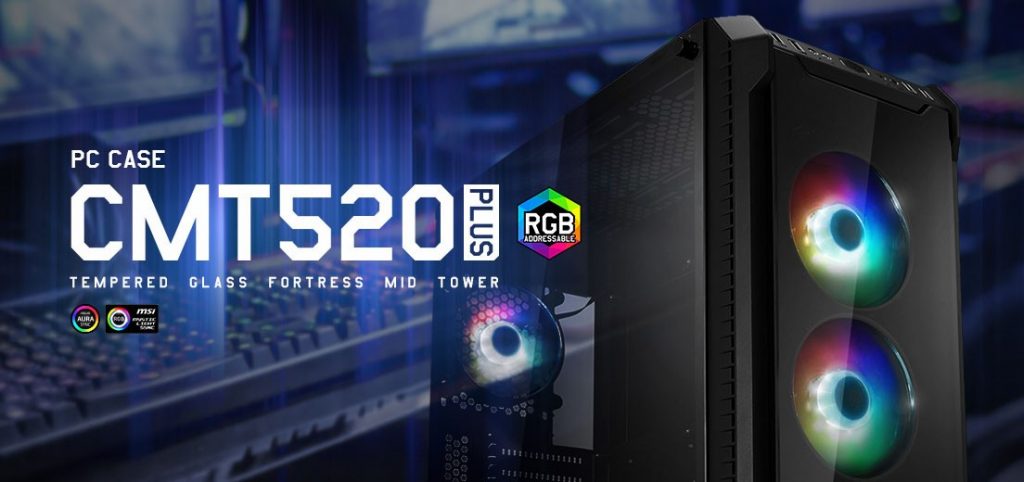
(Header image credit: FSP Group)
"The FSP CMT520 Plus ended up being a very likable case that comes packed with all the high end features system builders today demand."FSP CMT520 Plus Case Review


