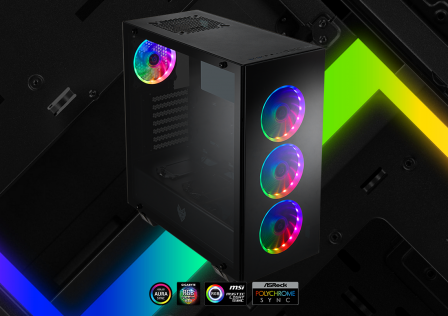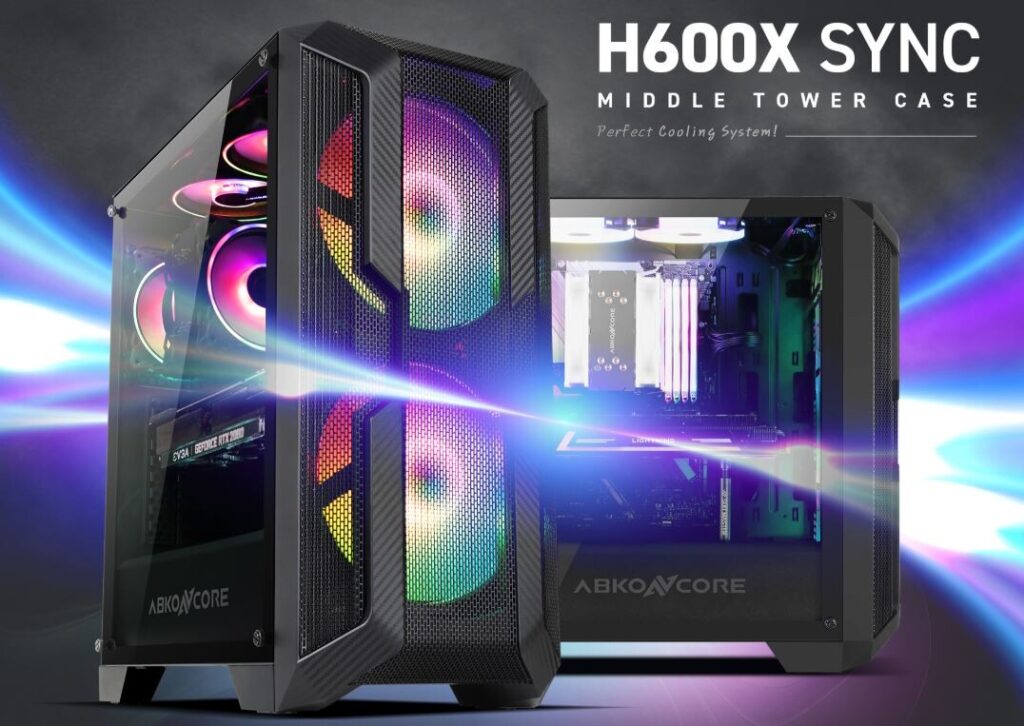
With RGB-enabled cases lighting up the scene lately, the recently released Abkoncore H600X mid-tower case is absolutely no exception. The RGB lighting in this particular case is backed by 3 Addressable RGB (ARGB) fans, with the two front fans sitting at an impressively sized 200mm.
The overall design of the case features aggressive contours of mesh and and carbon fiber on the front and an overall dark theme inside and out assisted by the slightly tinted tempered glass side panel. The case does a pretty good job mixing both stealthy and aggressive styles pretty well which compromises to both the sleek-stealthy scene as well as the louder “RGB ALL THE THINGS” scene.
Before digging into the review, let’s take a close look at some of the detailed specifications of the Abkoncore H600X.
(Top Image Credit: ©Abkoncore)
Abkoncore H600X Specifications
On paper the new H600X appears to pack in everything most modern system builders need. The form factor for the case is classified as a mid-tower ATX case which appears to support any ATX motherboard form factor ranging from Mini ITX all the way up to E-ATX. According to the dimensions published by Abkoncore, the spacious interior should not have any issue housing large motherboards, graphics cards, even custom loop water cooling setups.
In addition to the fans already installed, (Front: 2x200mm and Rear 1x120mm), support for two more 120mm or 140mm fans can be added to the top for additional cooling or CPU radiator support.
Here are the H600X’s official specifications according to Abkoncore:
| Product Name | Abkoncore H600X |
|---|---|
| Construction Material |
|
| Dimensions (W x D x H) | 225mm x 455mm x 495mm |
| Weight | 5.6Kg |
| Motherboard Support |
|
| Power Supply Form Factor | ATX |
| Expansion Slots | 7 |
| Drive Bays |
|
| Front I/O Ports |
|
| Cooling Fans |
|
| Radiator Support |
|
| Clearances |
|
Additionally, Abkoncore has published a YouTube video featuring the case which shows it off nicely:
Now that we’re all certified H600X experts, let’s dive into the review and get this thing unboxed!
A Closer Look: Packaging
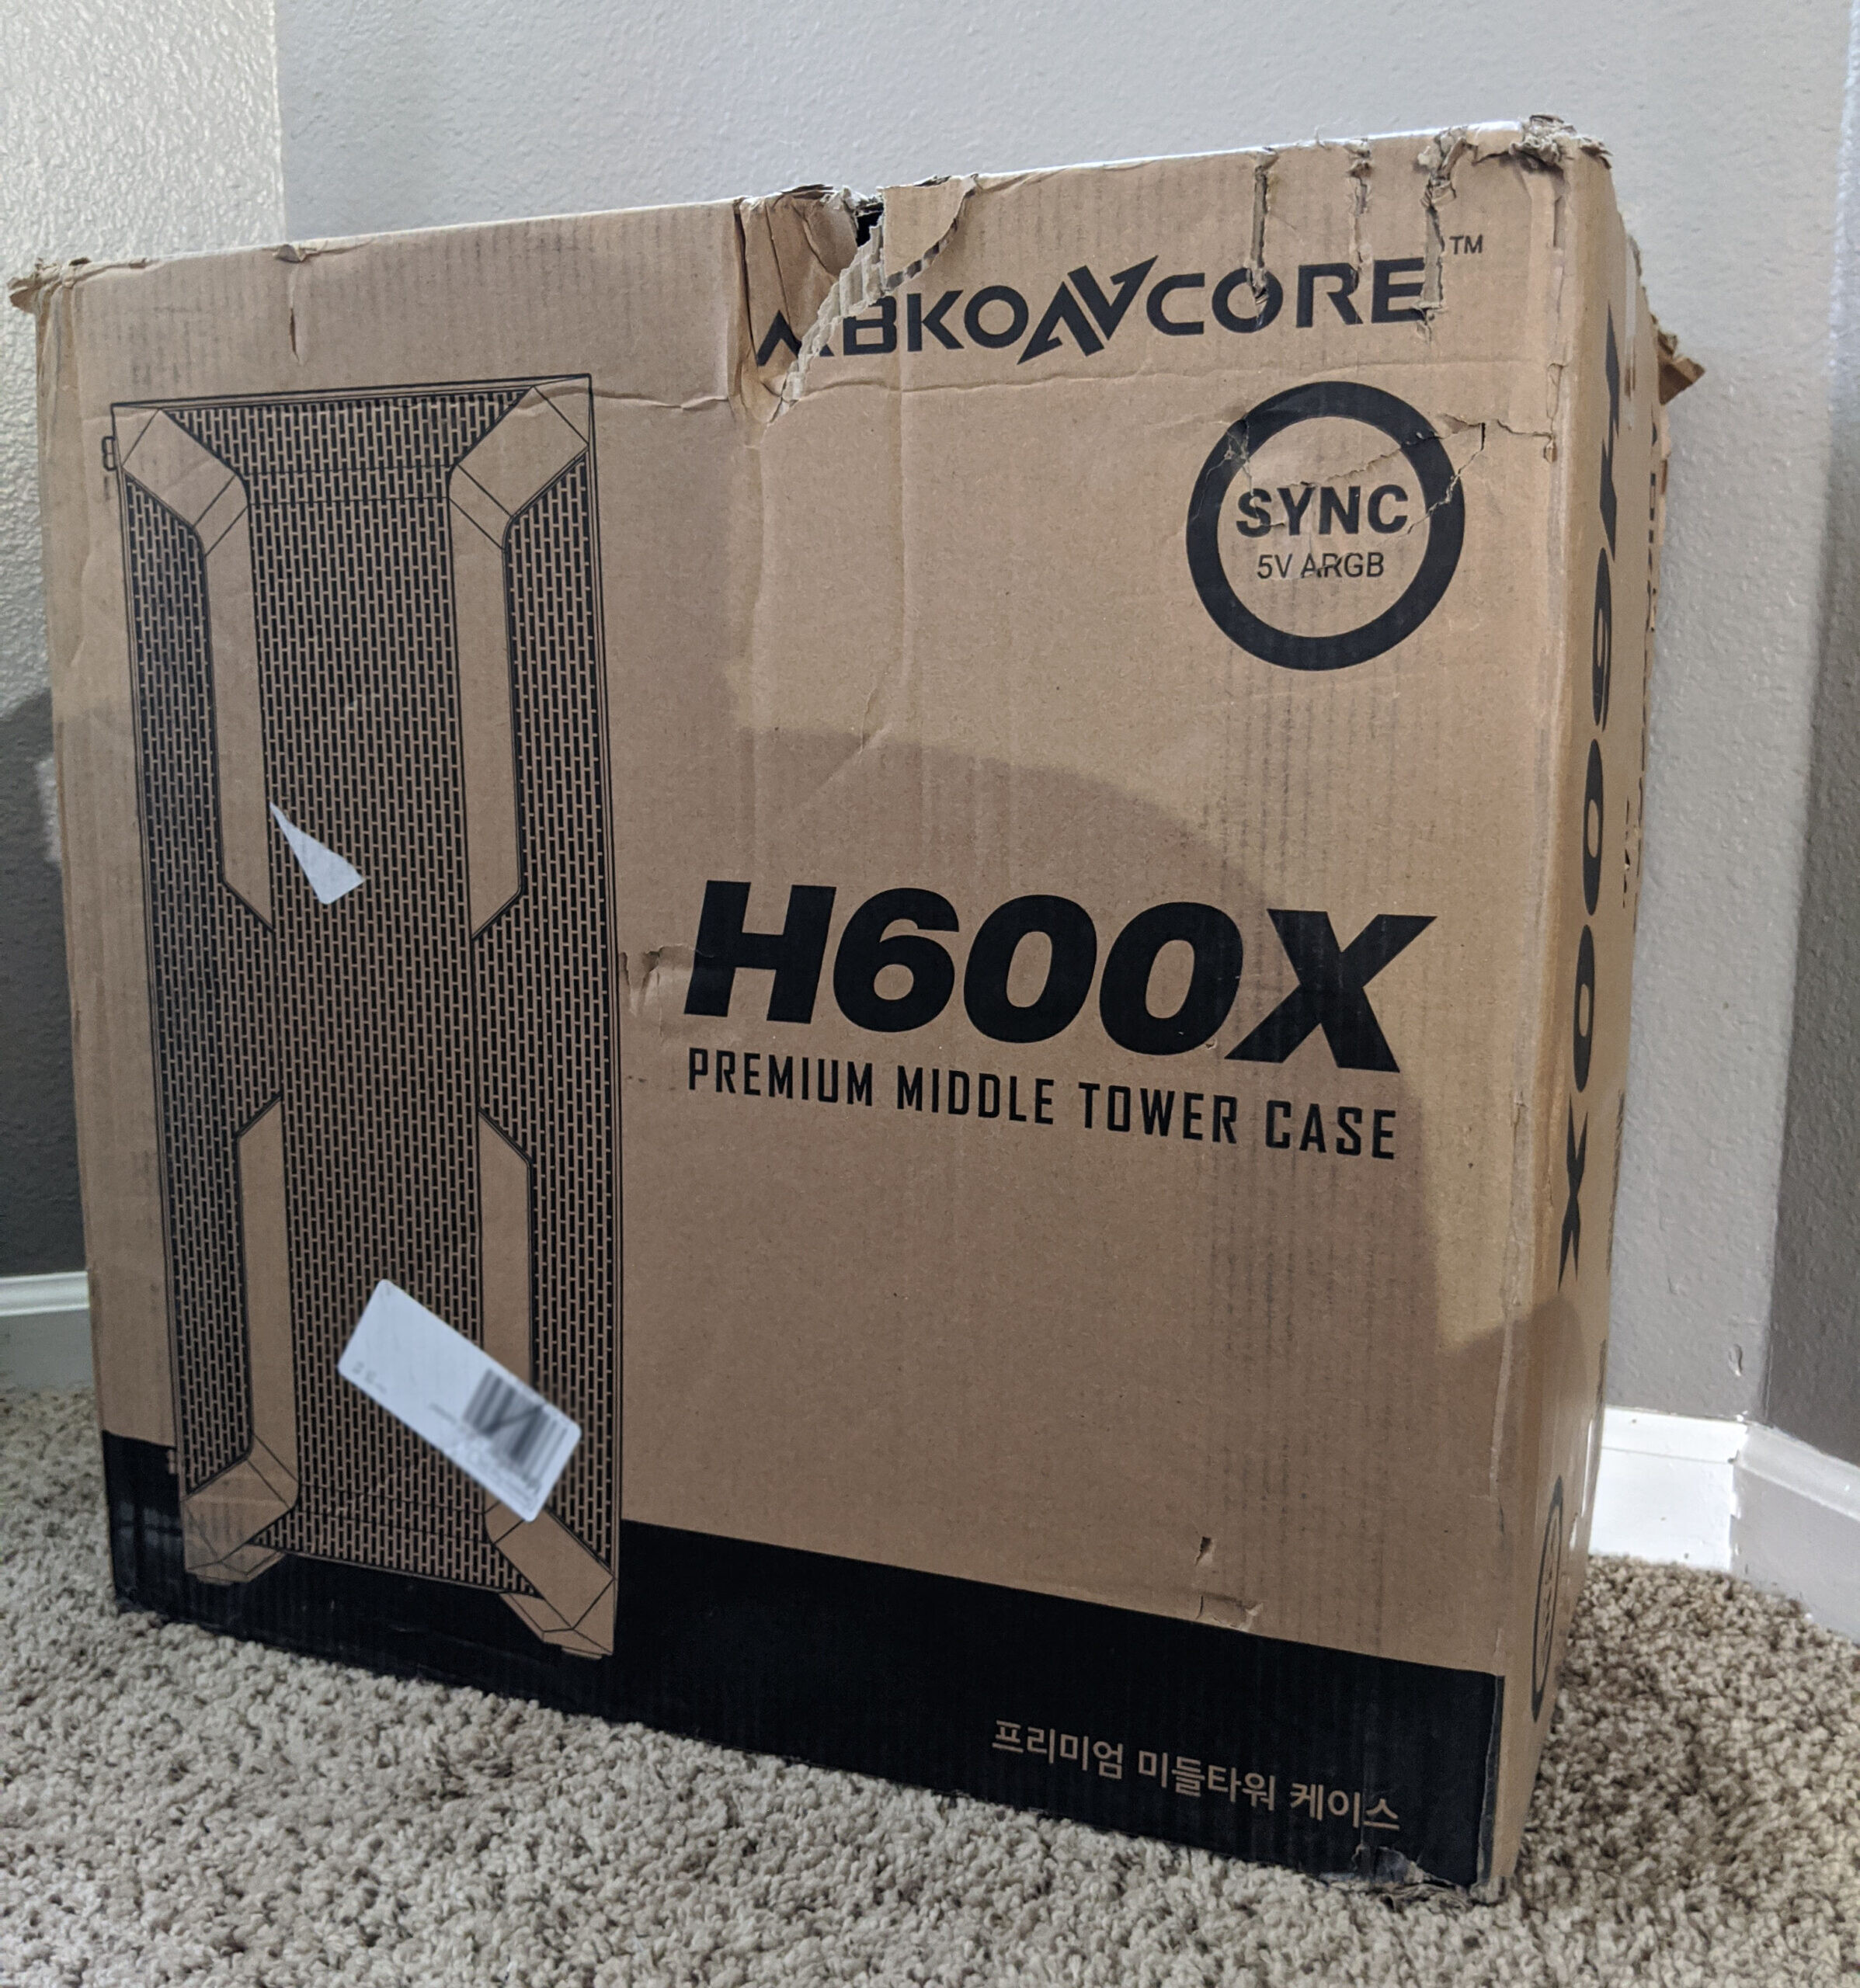
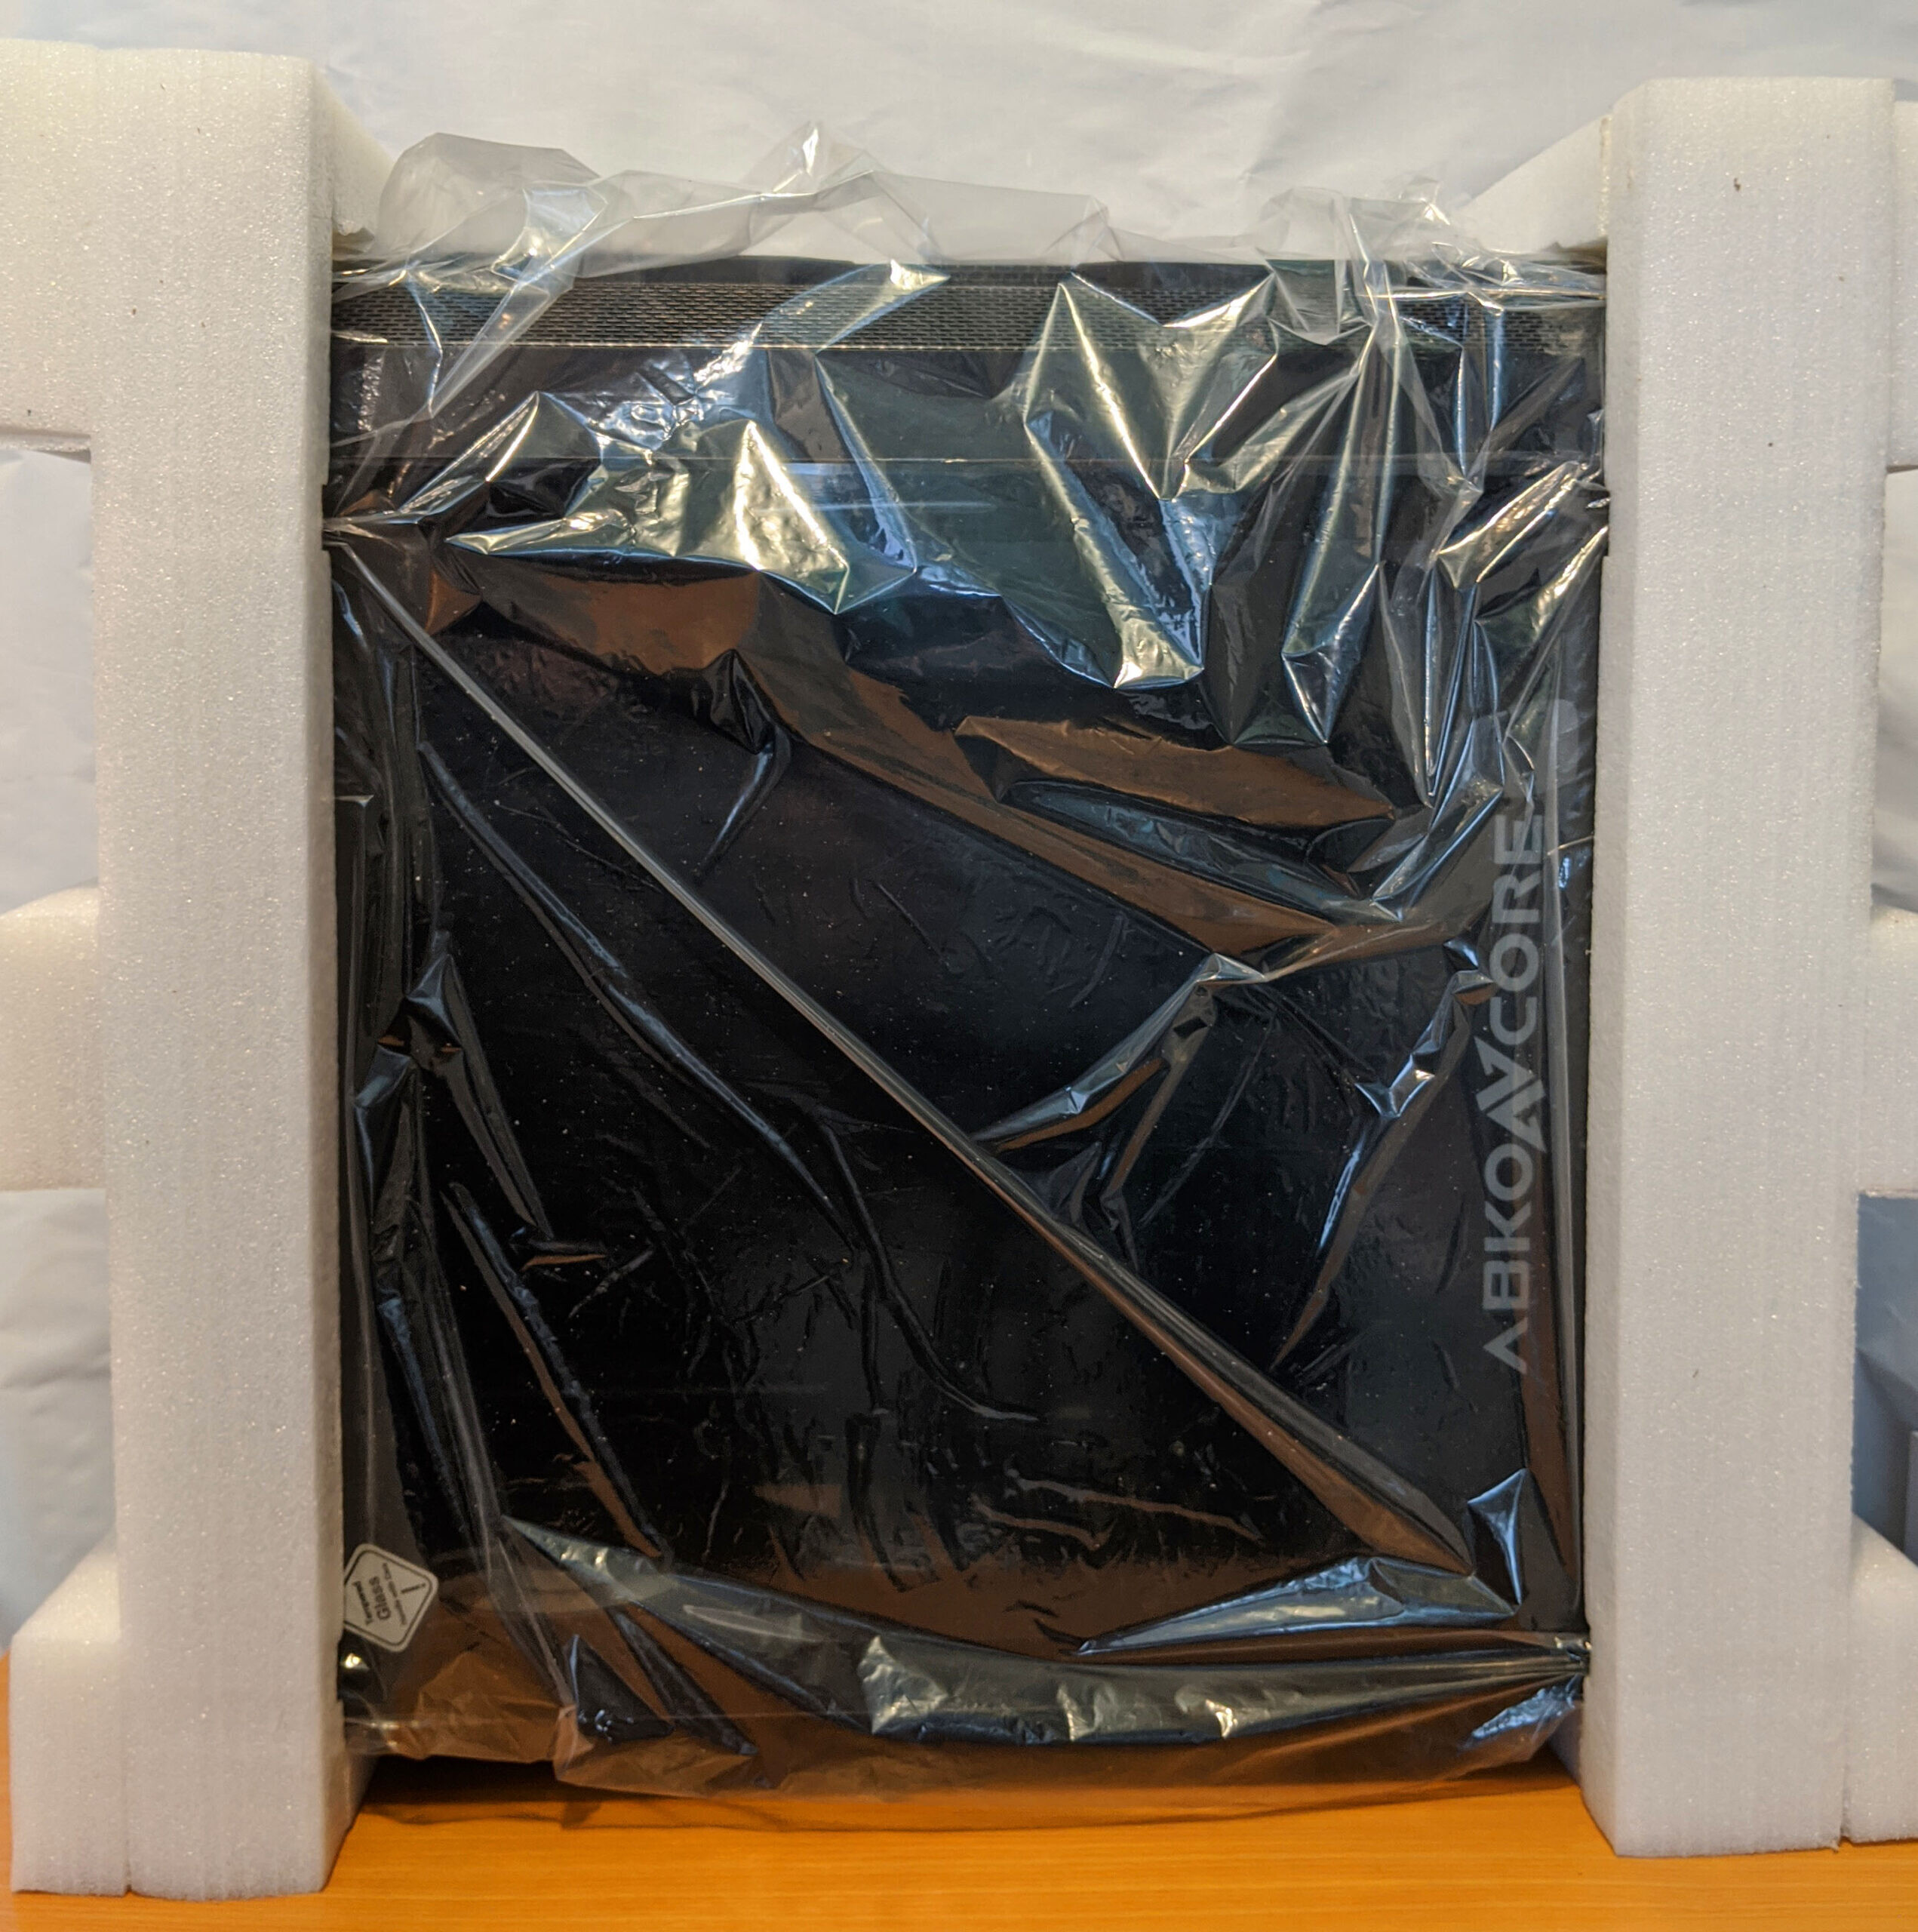
The Abkoncore H600X case arrived safely at our secret testing facility… I mean house, thanks to coronavirus. There was some damaging to the outside packaging, however the case feared pretty well thanks to the softer packaging material.
The case is placed inside a plastic bag to help prevent scuffs and scratches during shipping. It is then surrounded by two custom formed foam blocks. Thankfully the protective blocks on either side were not Styrofoam, but rather another softer, squishy foam material. I’m pretty confident that if Styrofoam were used, we would have seen much more damage to the case considering the condition of the box upon arrival.
The tempered glass side panel was protected by an additional plastic layer. We all know this is everyone’s favorite part of unboxing anything new…
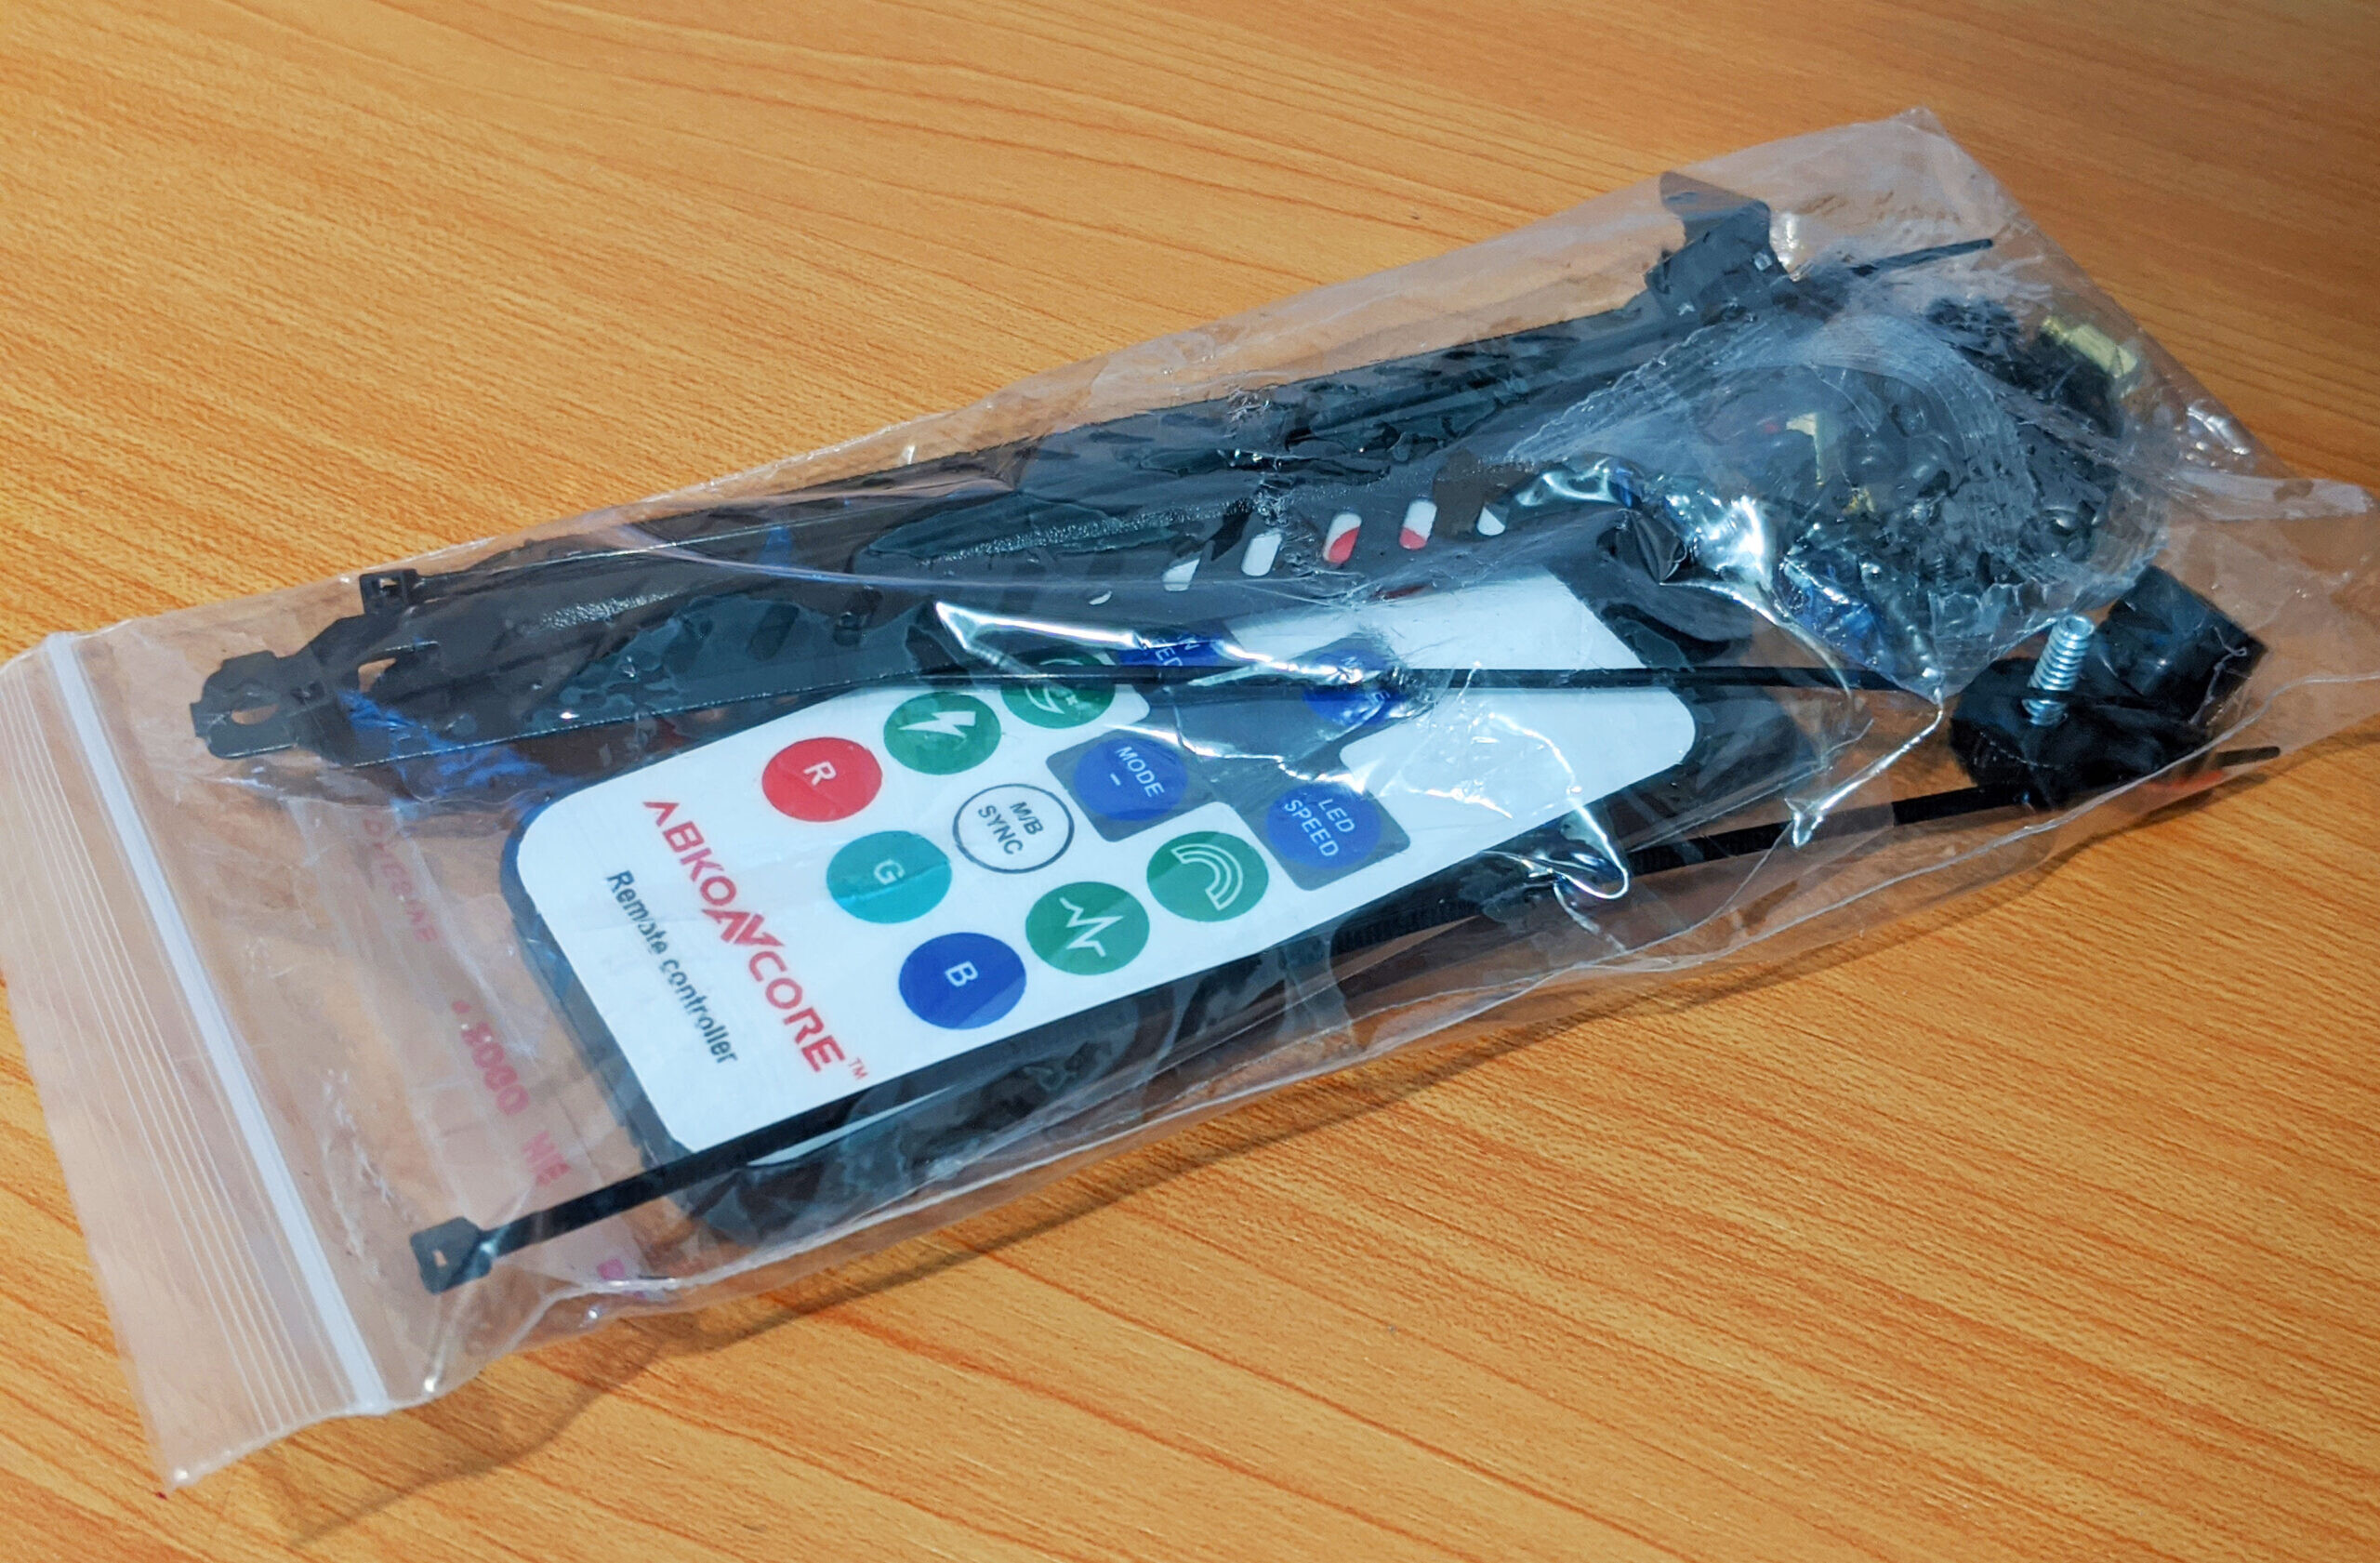
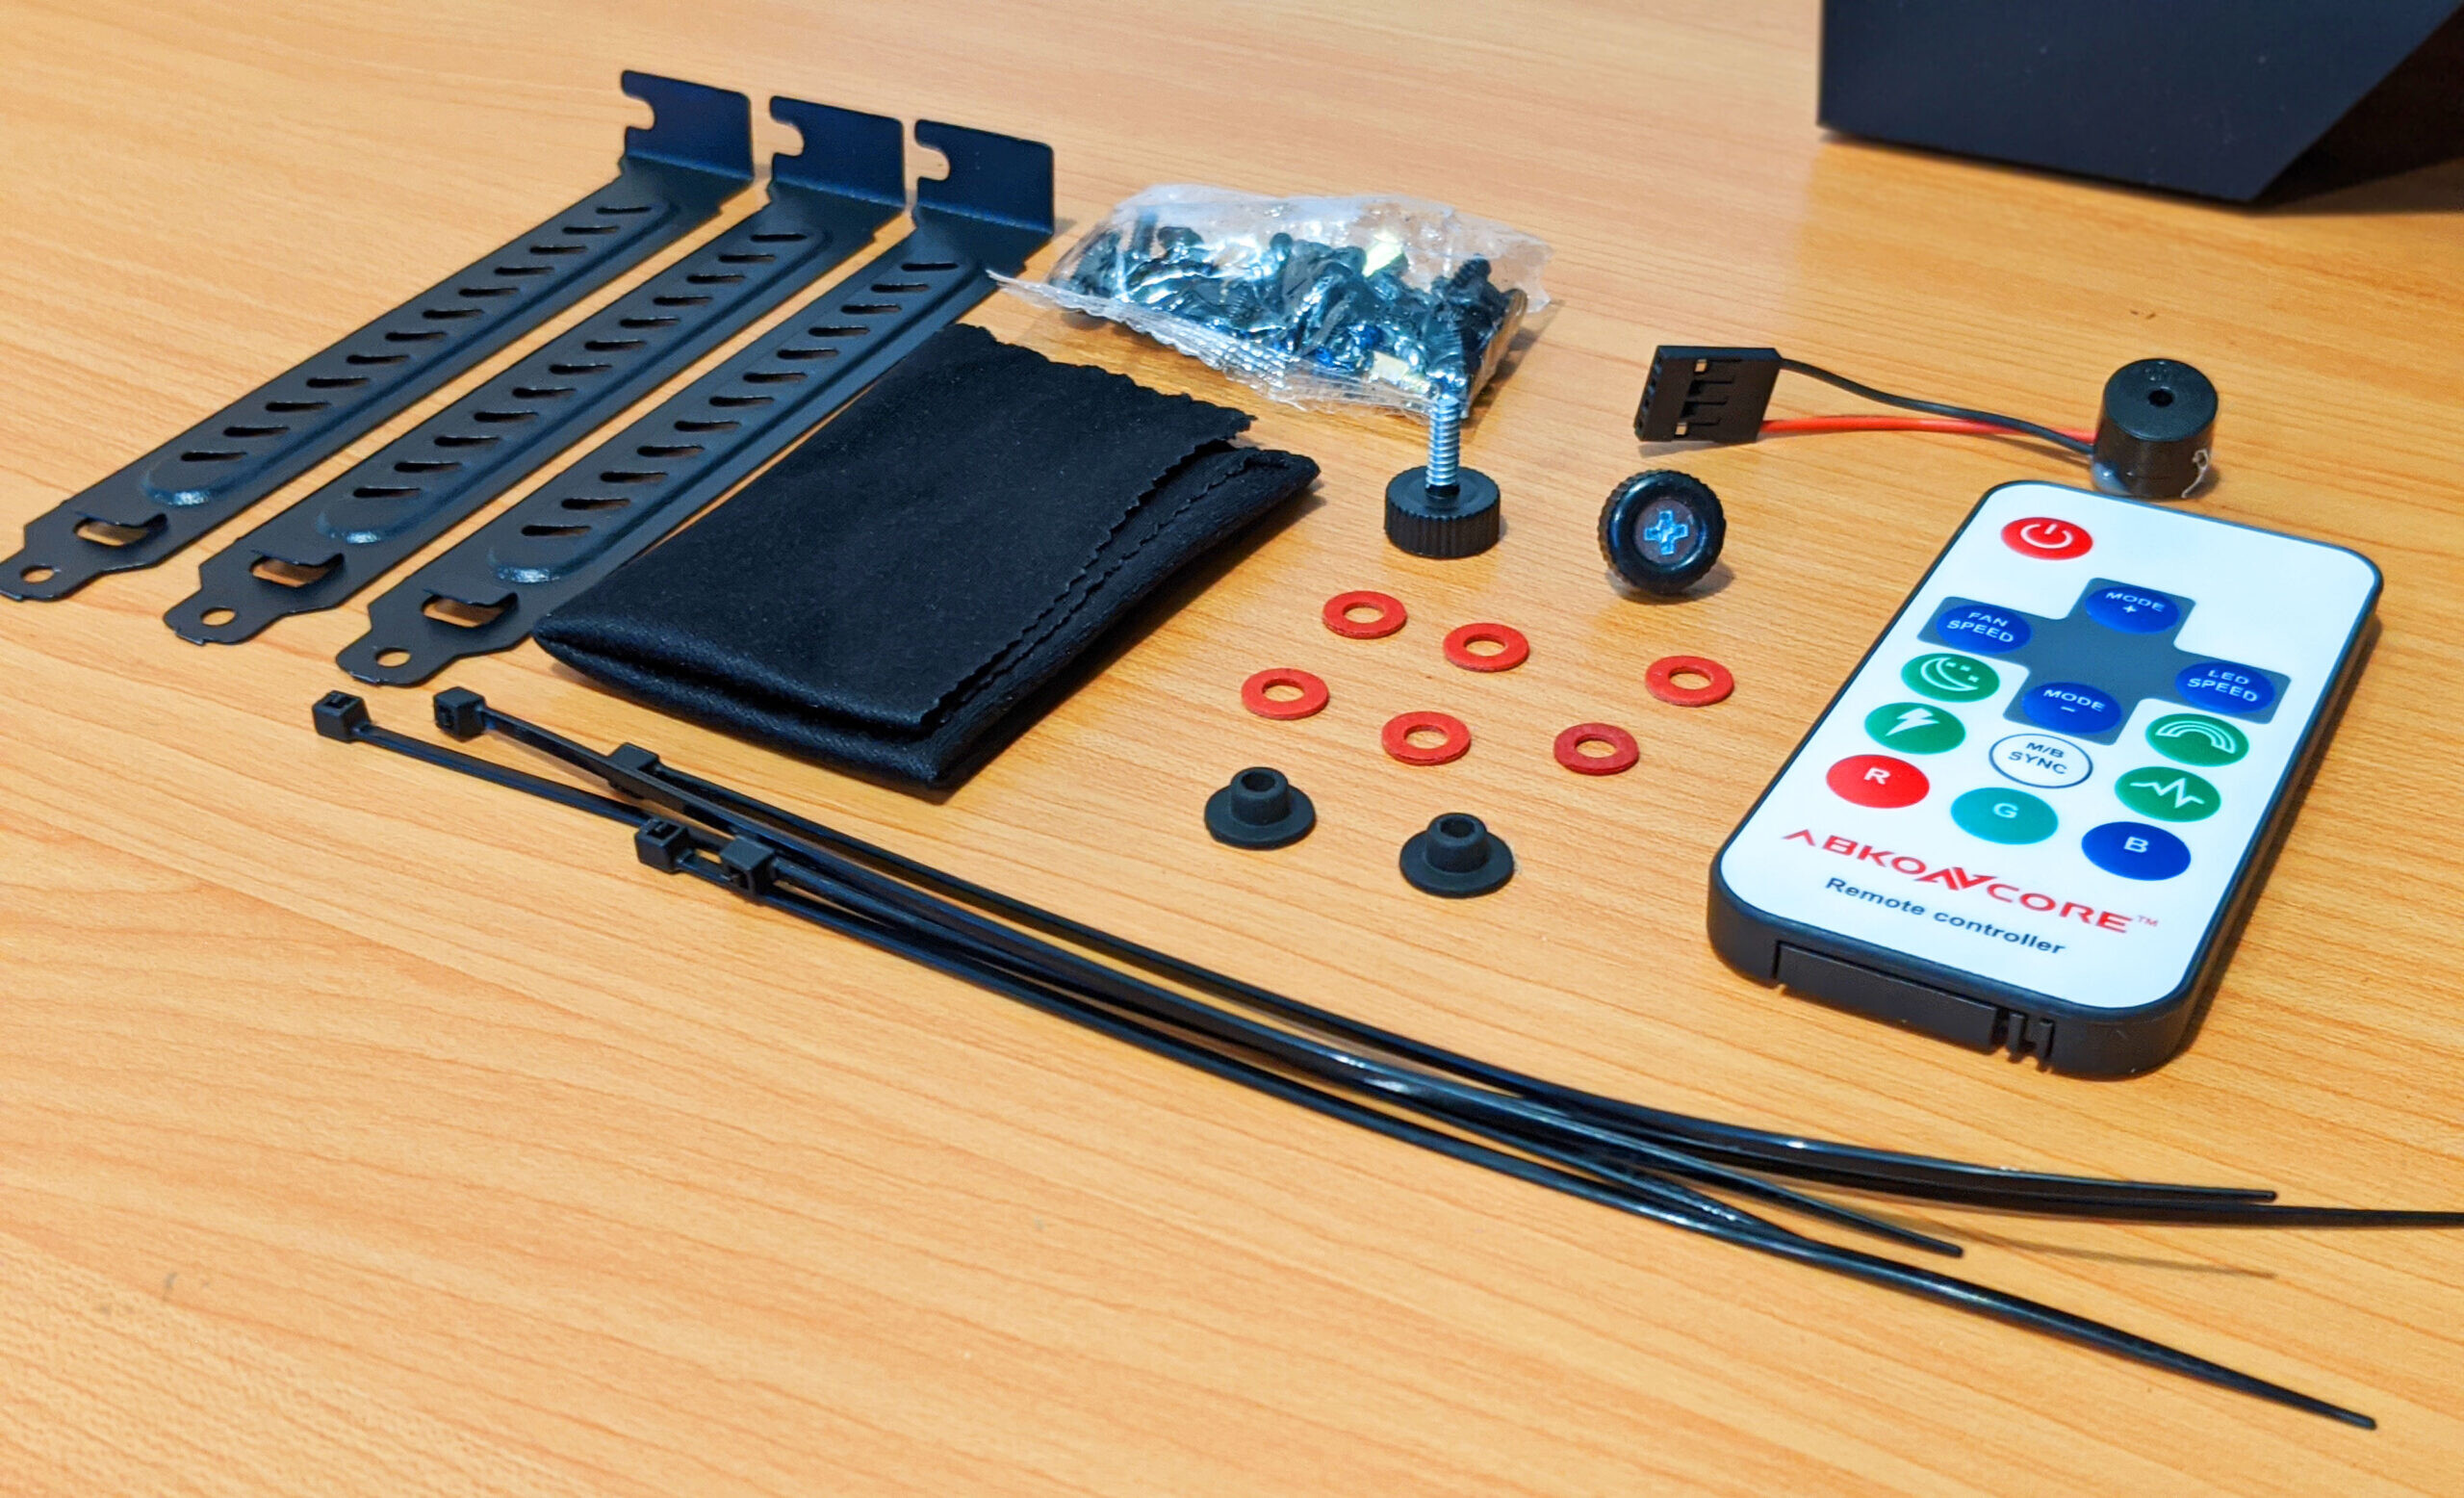
Included with the H600X is everything you’ll need to stuff the insides with PC component goodness. The RGB and fan speed remote was definitely unexpected and should be fun later on during our build section of the review. 🙂
A Closer Look: Exterior
With all of the packaging removed, we get a better look as to the overall design of the Abkoncore H600X. Personally, I’m liking the use of metal mesh and carbon fiber patterns on the front, though typically I personally tend to gravitate towards a less aggressive style. However, I definitely appreciate the design and thought process behind the build.
The two giant 200mm fans can easily be seen through the mesh on the front of the case which will definitely show off those RGBs nicely.


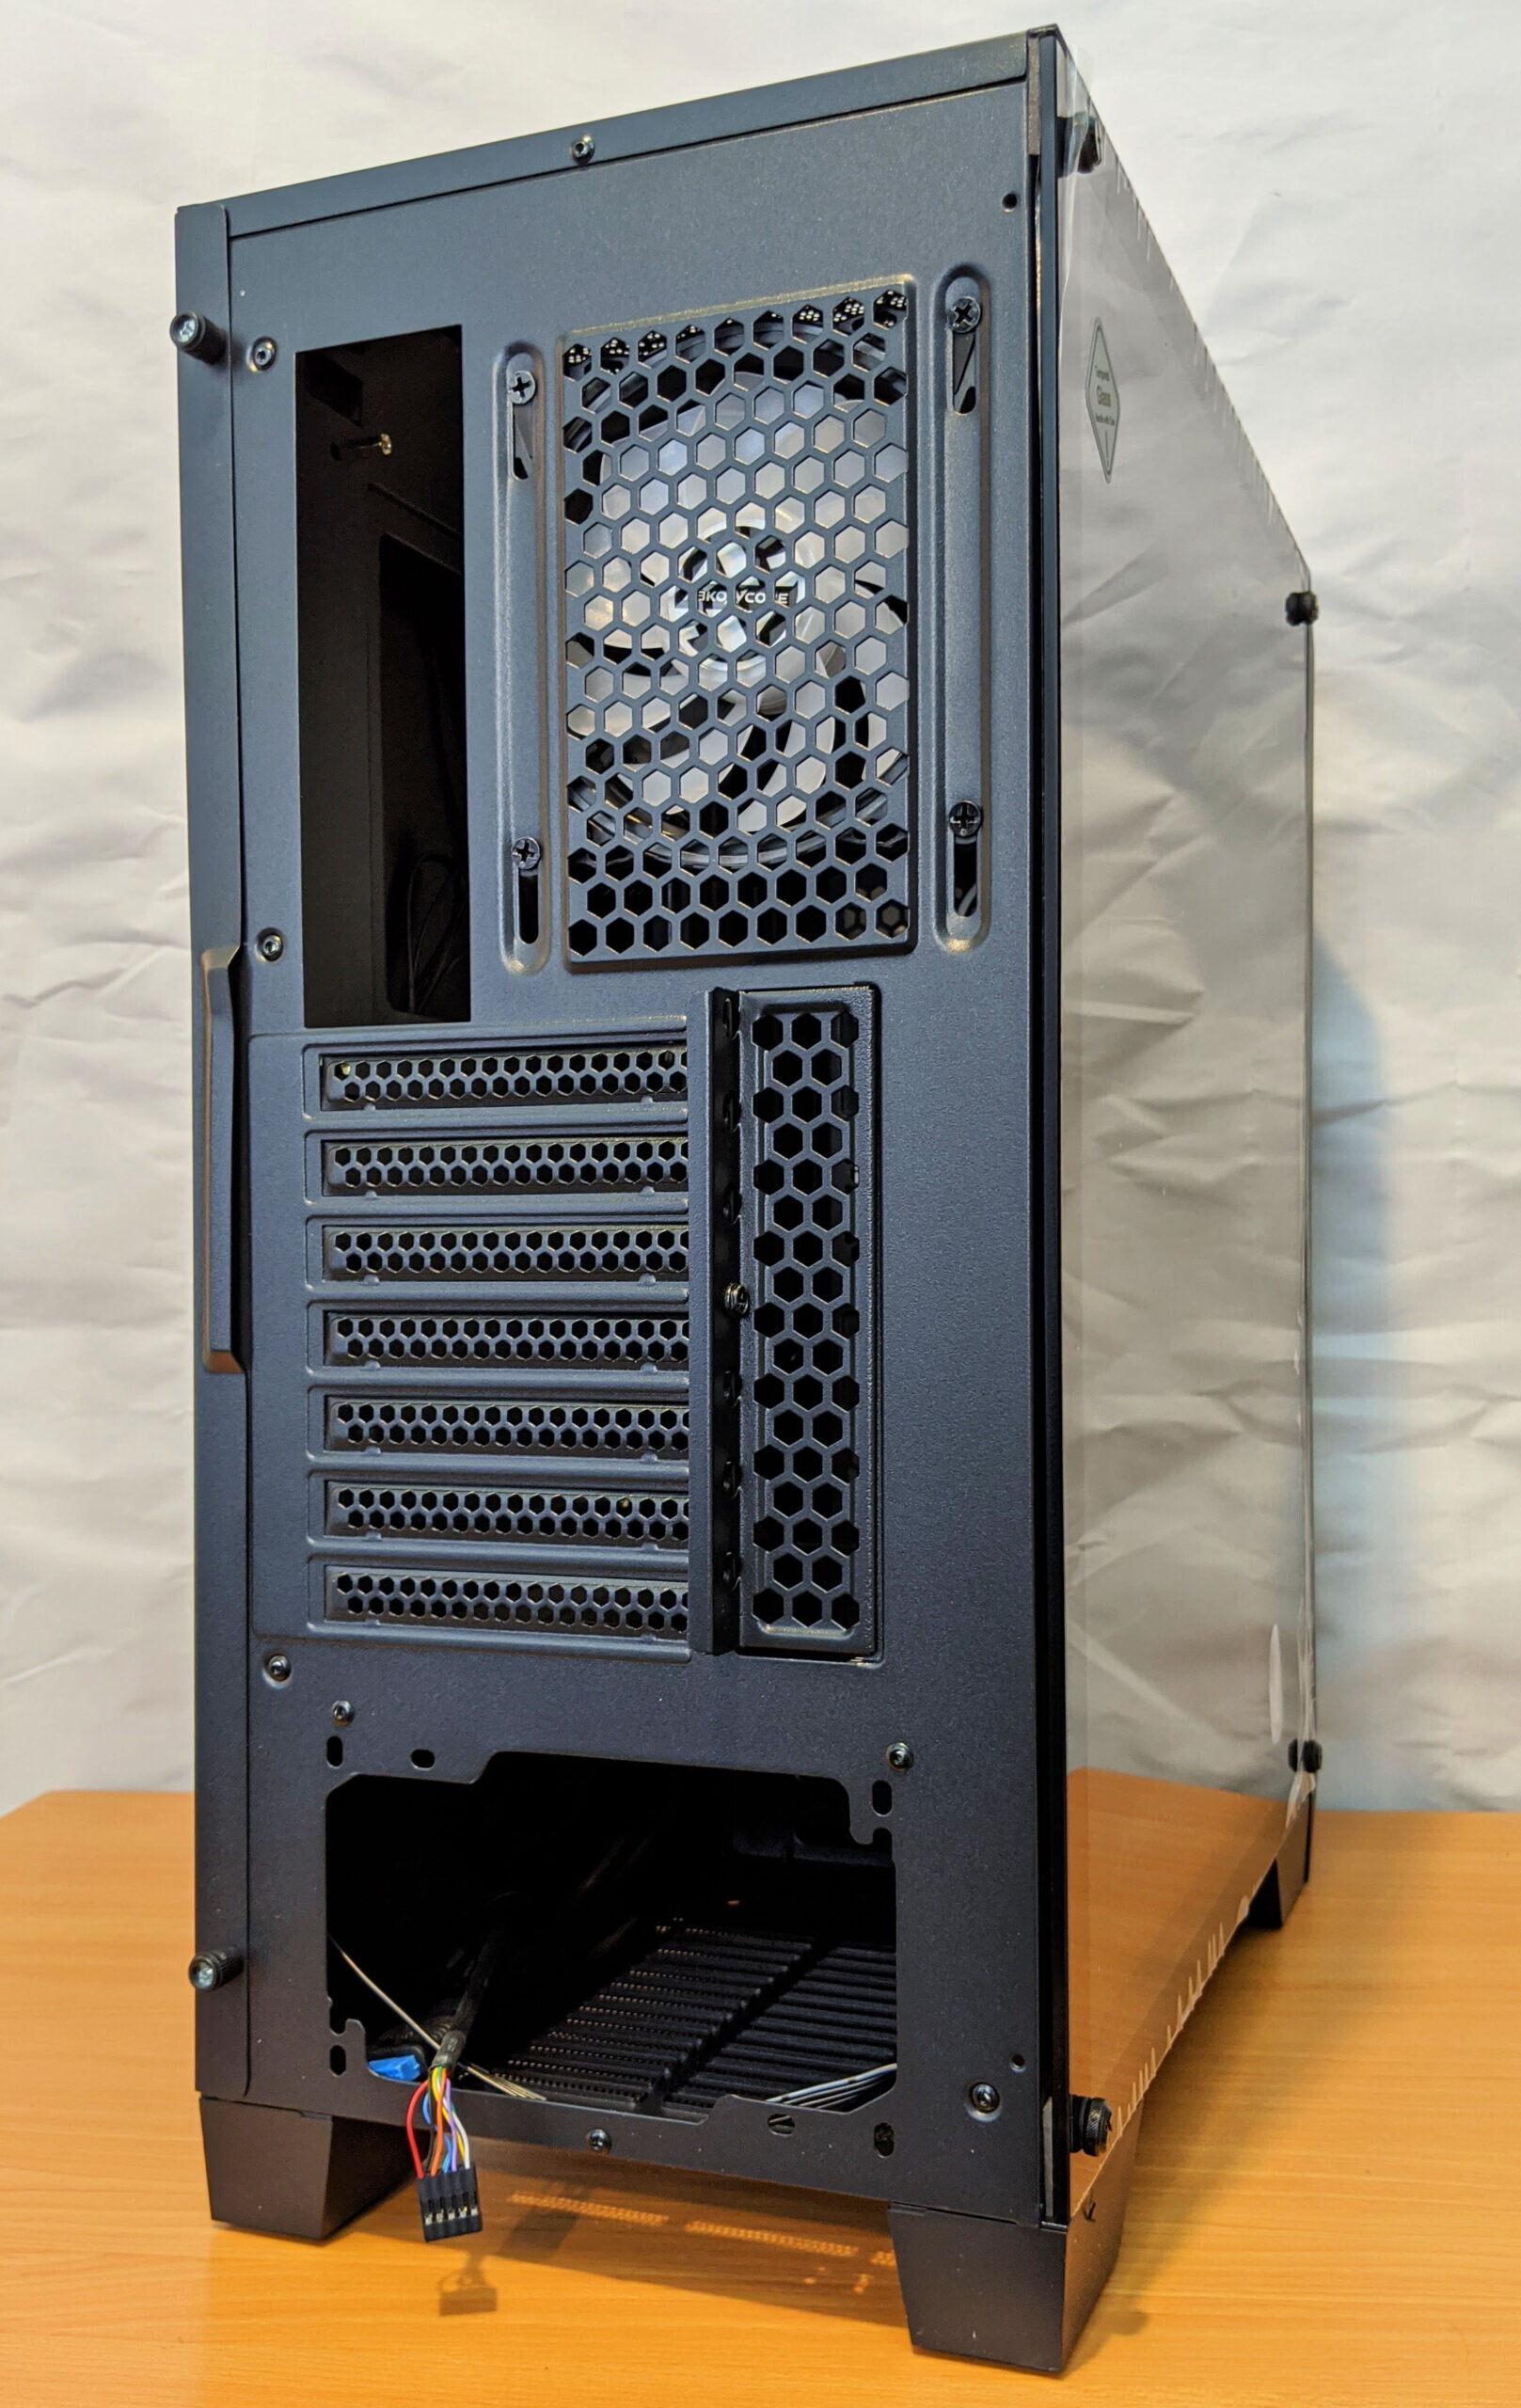
Flipping the case over to the back, nothing really special going on here. The rear exhaust fan’s horizontal position can be adjusted for ligning it up perfectly with your CPU cooler, which should help in reducing internal temperatures by a bit.
One thing I was extremely disappointed to see was the use of breakaway expansion port covers. It’s honestly been 10+ years since I’ve seen this to the point where I didn’t think this existed anymore! The reason these are hated is that you MUST remove these before installing the motherboard, otherwise you could end up damaging the motherboard traces or soldered on components. Abkoncore did include a few extra vented covers to re-install into the open ports if needed.
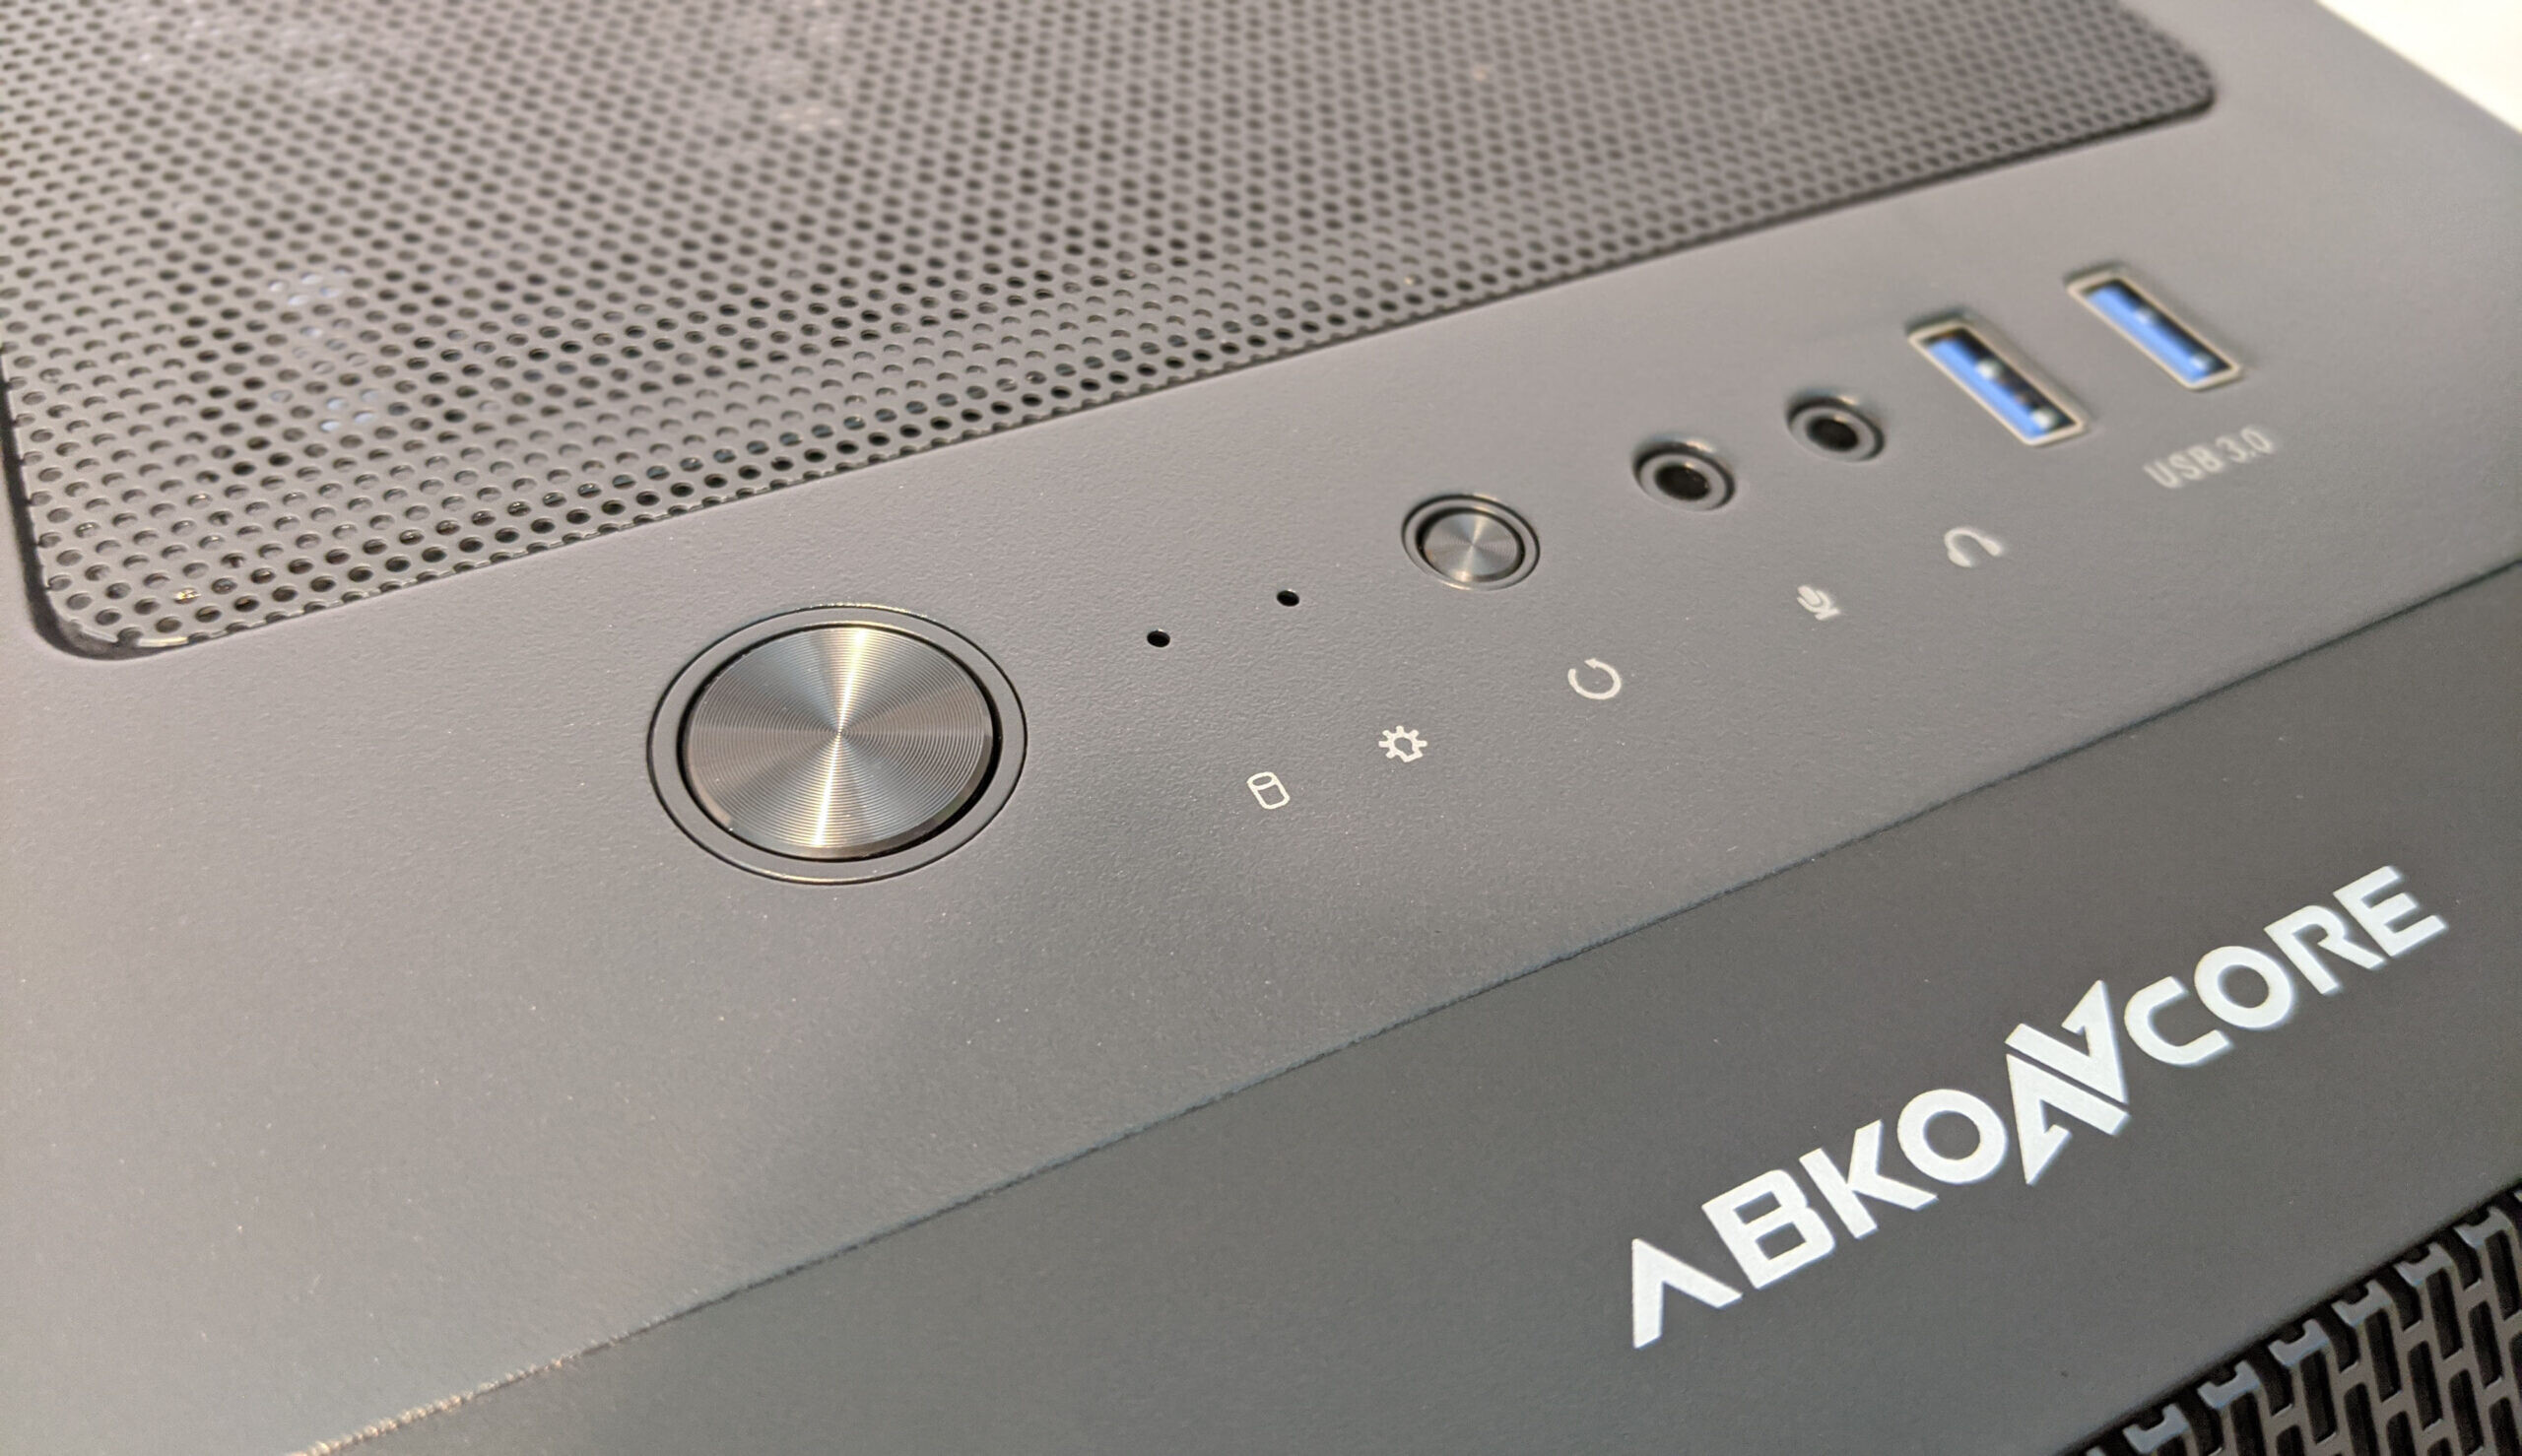
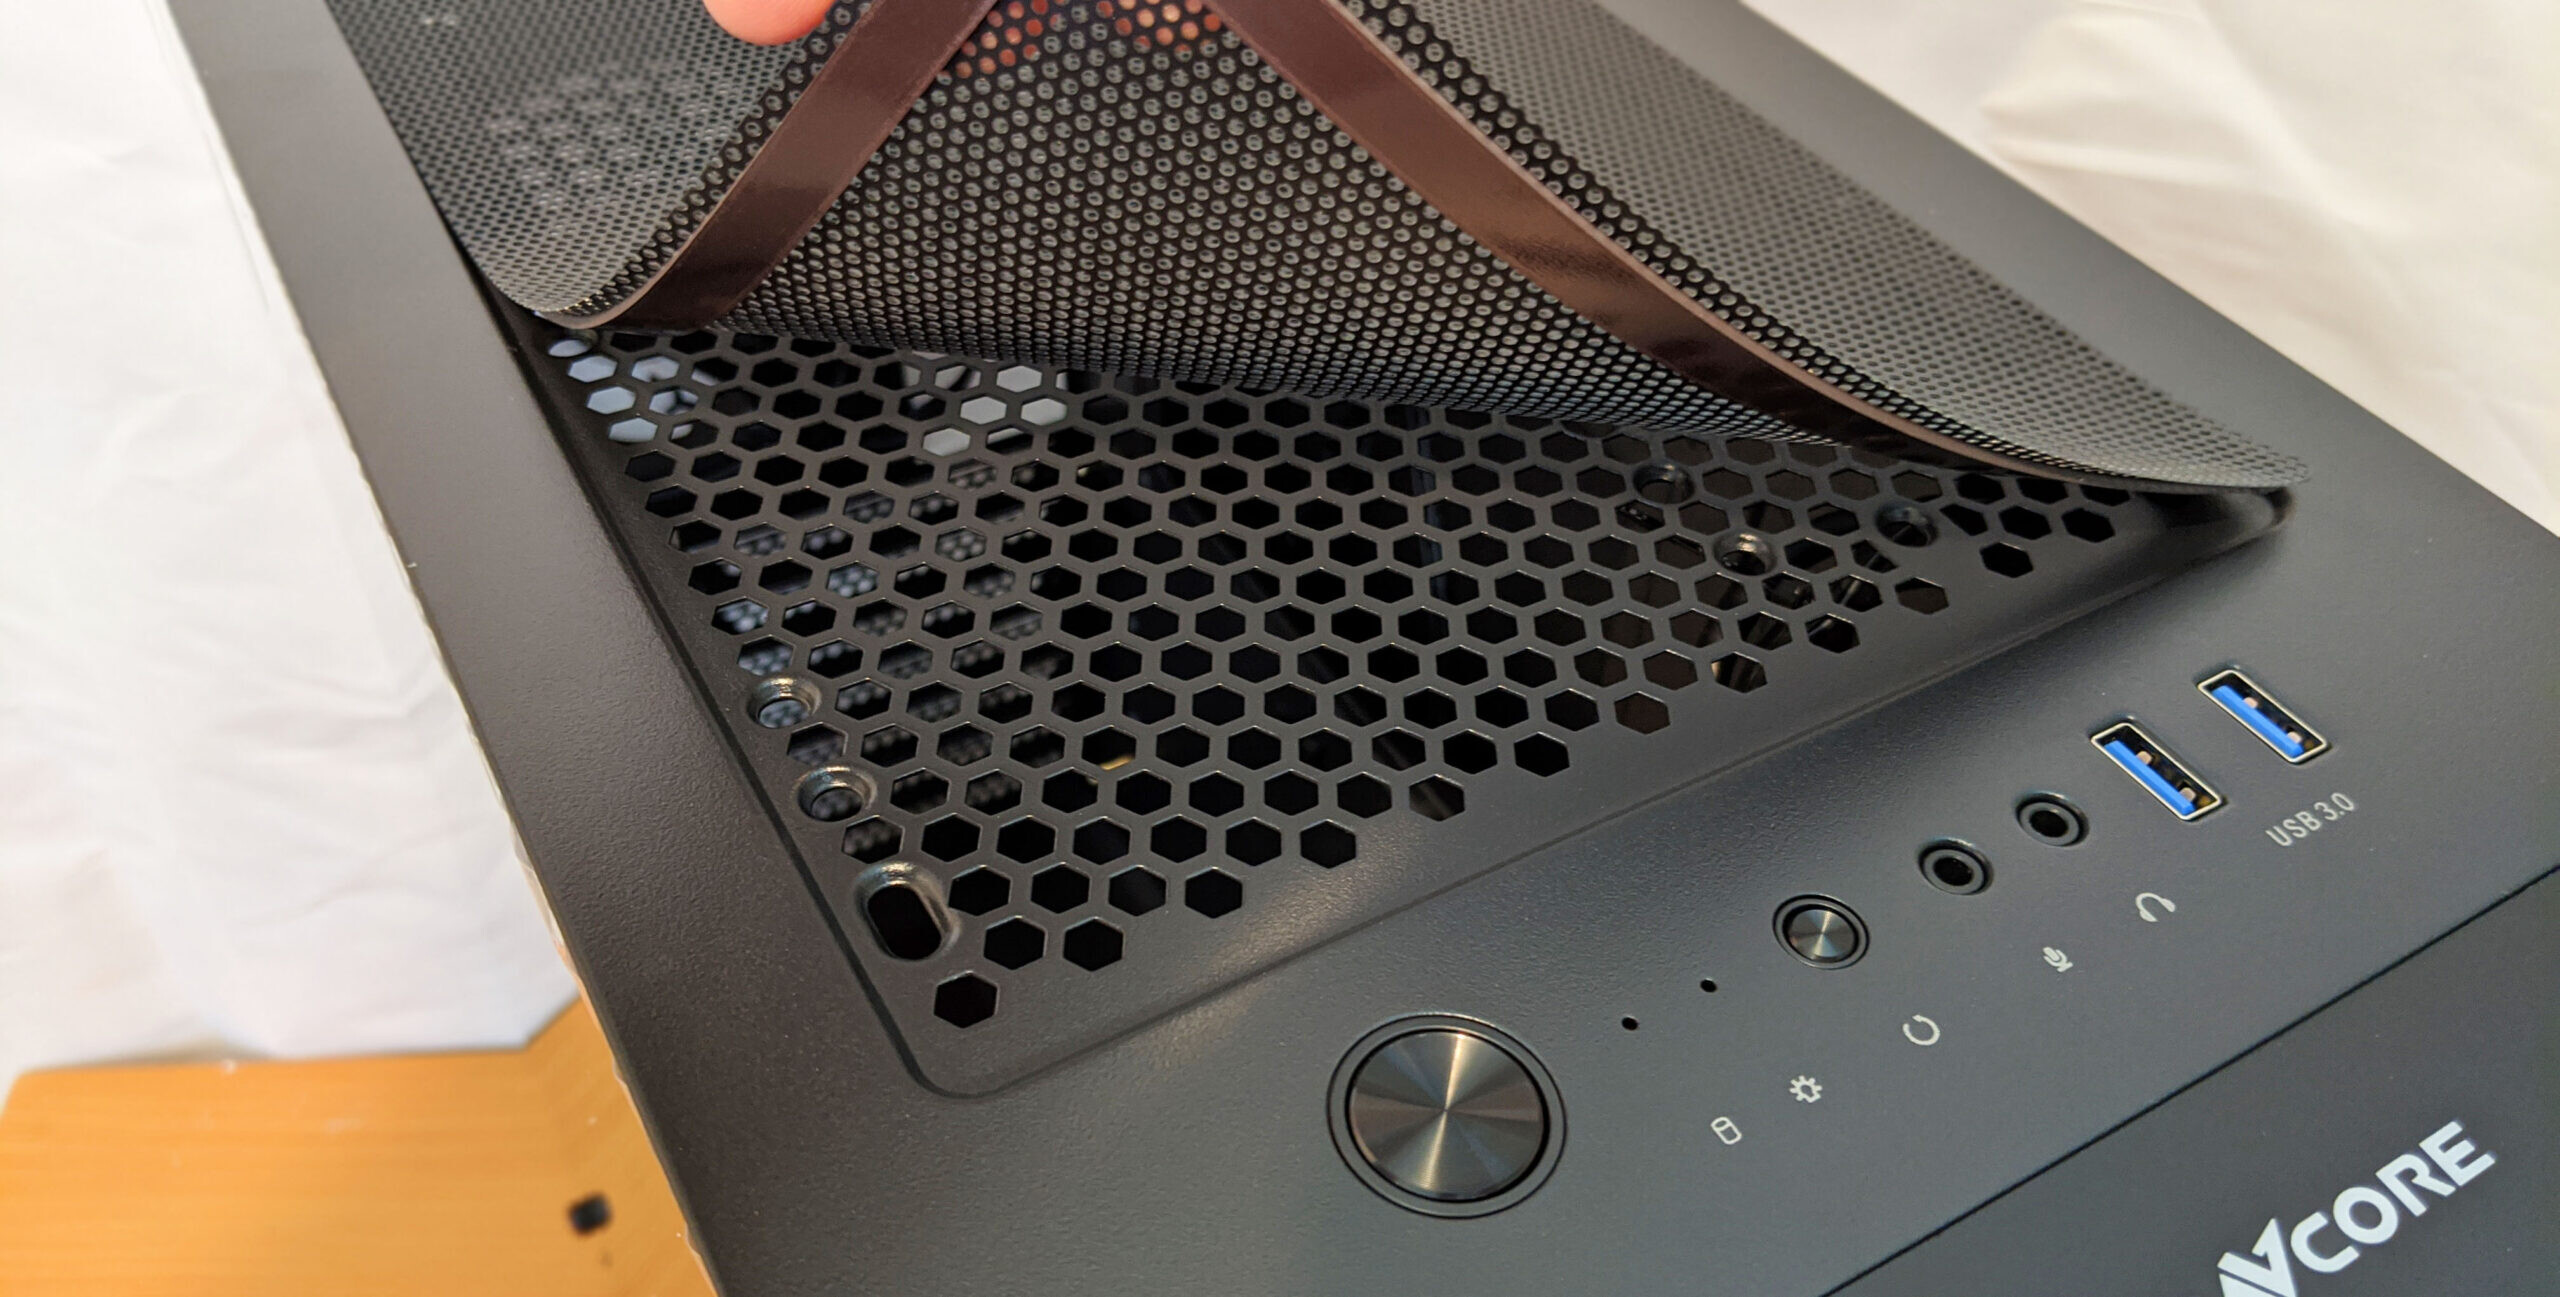
Moving over to the top of the case, we’ve got the front I/O panel located right up top. From left to right, there’s a nice oversized power button, HDD activity LED, Power On LED, HD Audio ports, and two USB 3.0 ports. The large metallic power button suits the case nicely and the “clicky” feel makes it kind of fun to press.
Just behind the I/O, spanning most of the top of the case is a removable dust cover which is magnetically attached to keep in place. Be sure to remove this if you plan on using the top/fans of your case as an exhaust as the cover will only impede airflow.
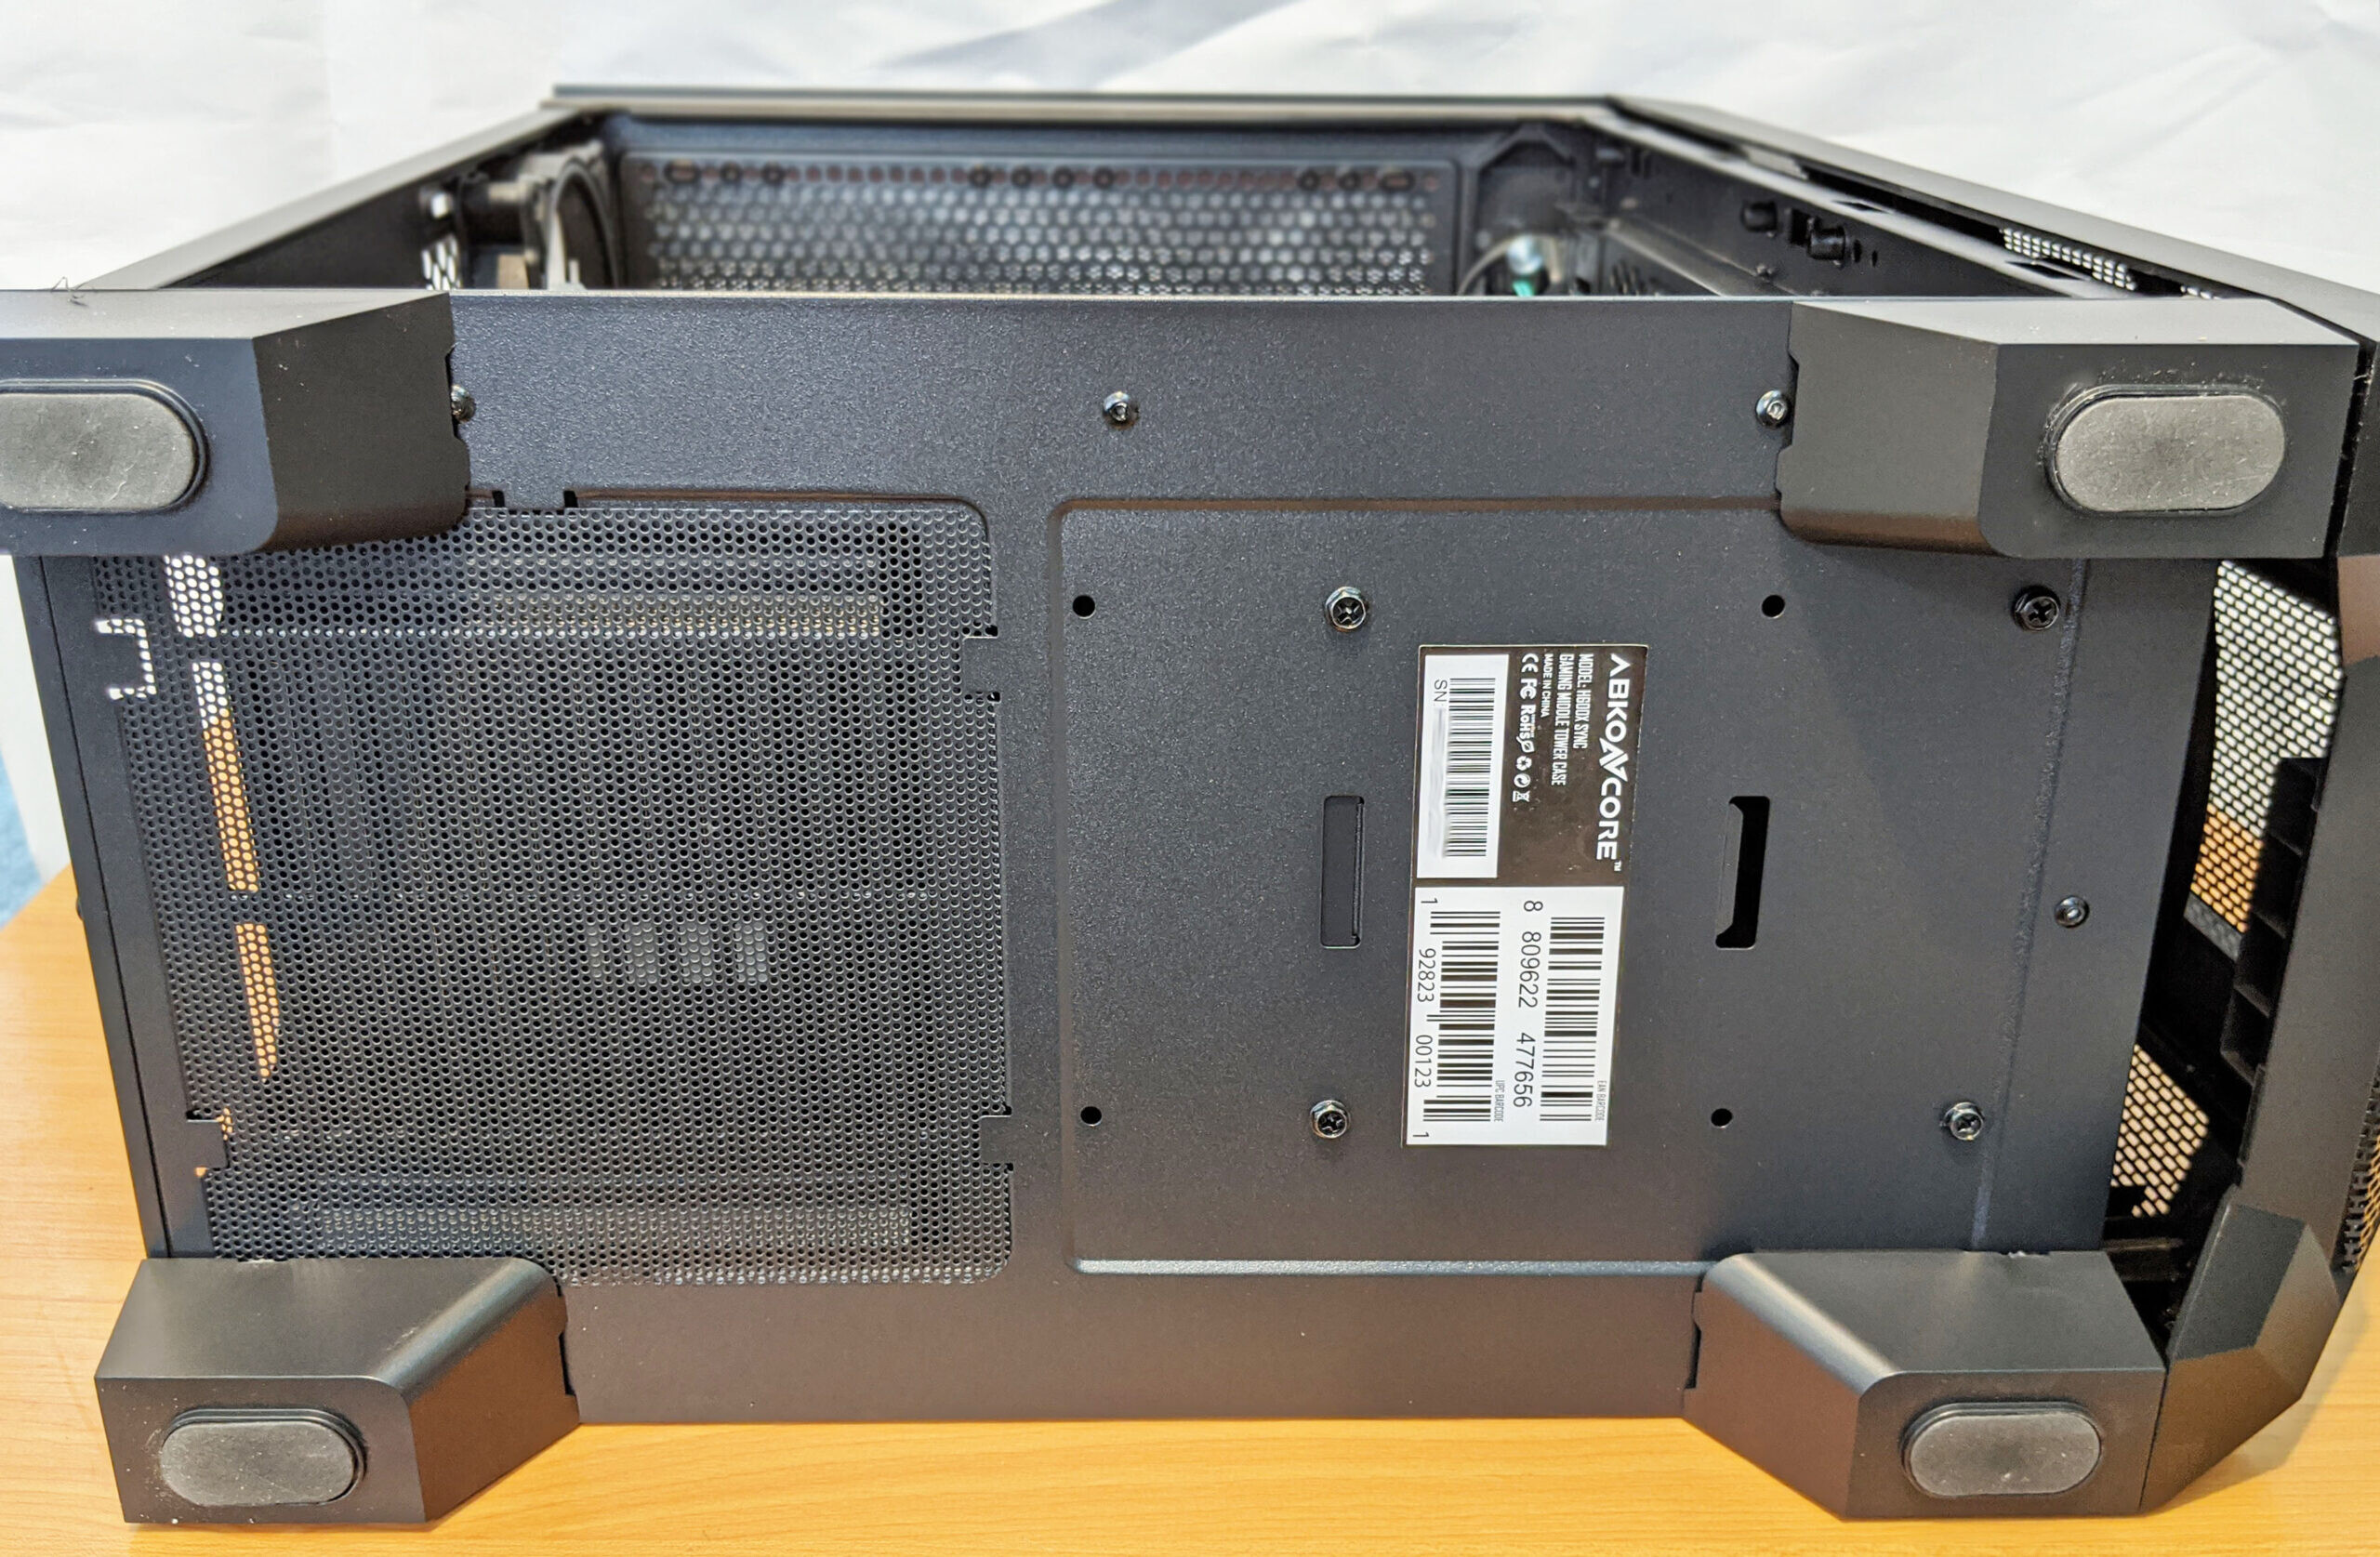
Lastly, here’s a shot of the underside of the case. The only note-worthy feature is the removable dust cover for the PSU air intake. Be sure to periodically check this to ensure it stays clean since it’s not super obvious when it becomes clogged.
A Closer Look: Interior
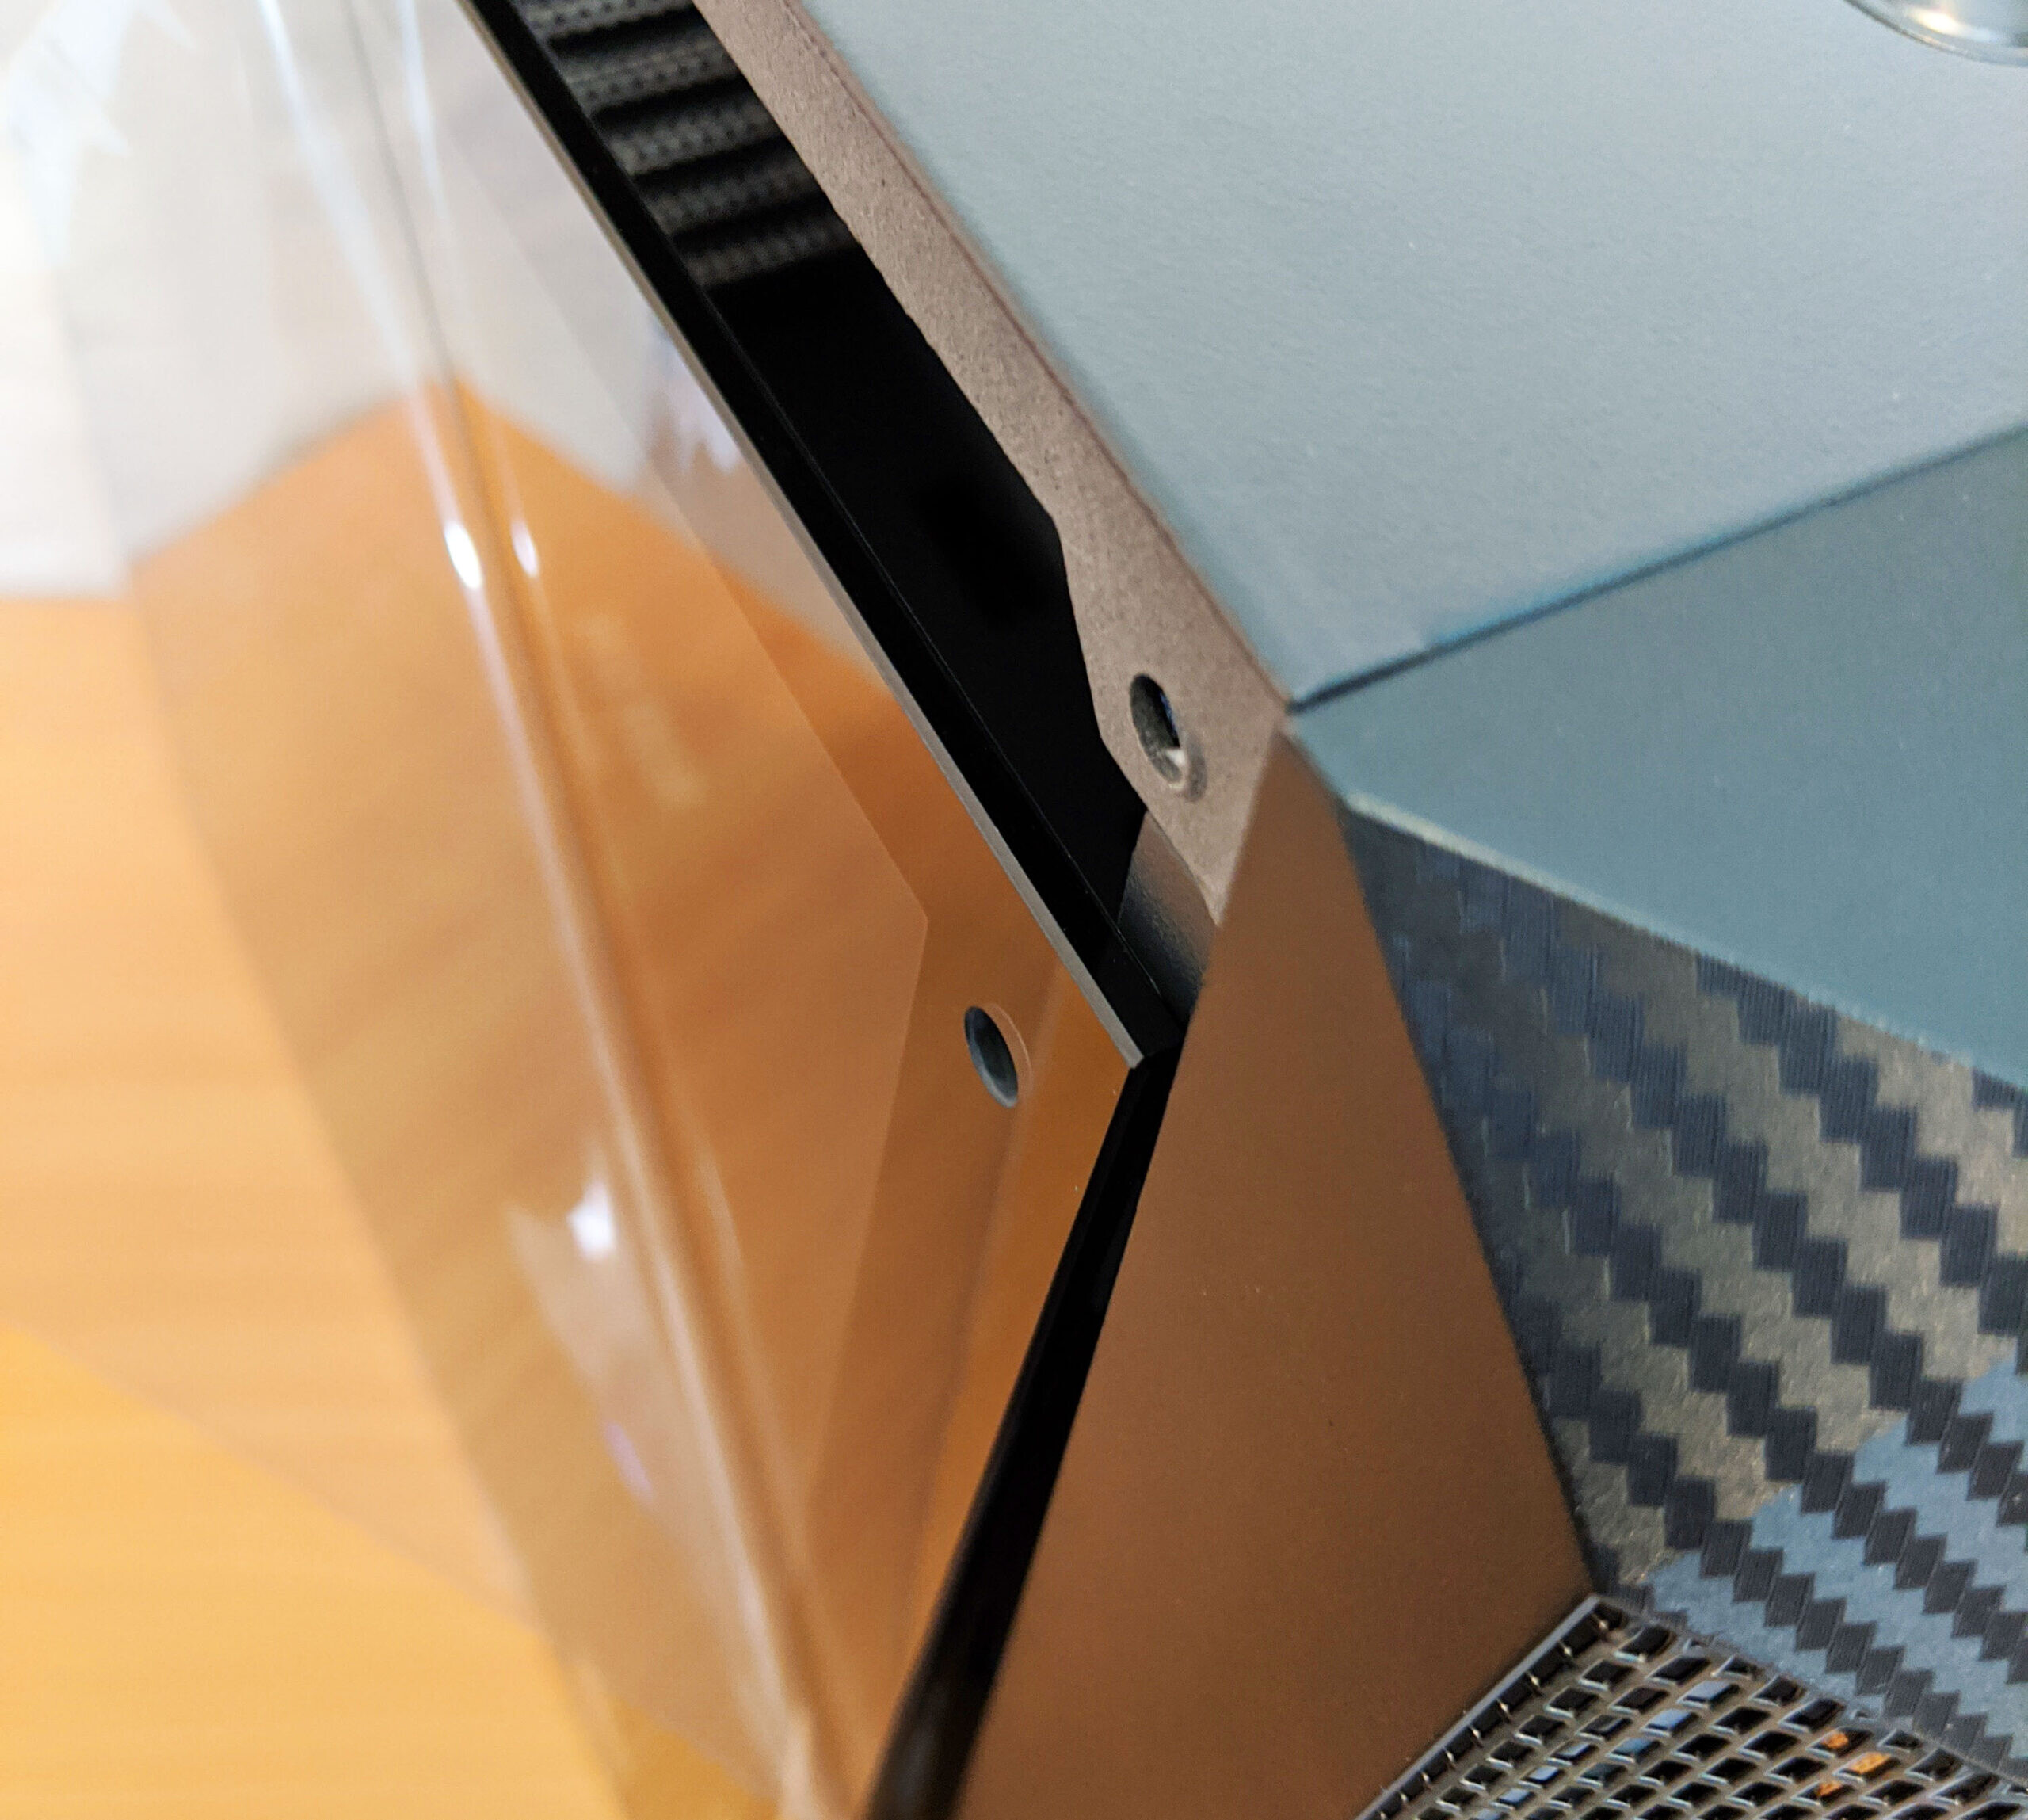
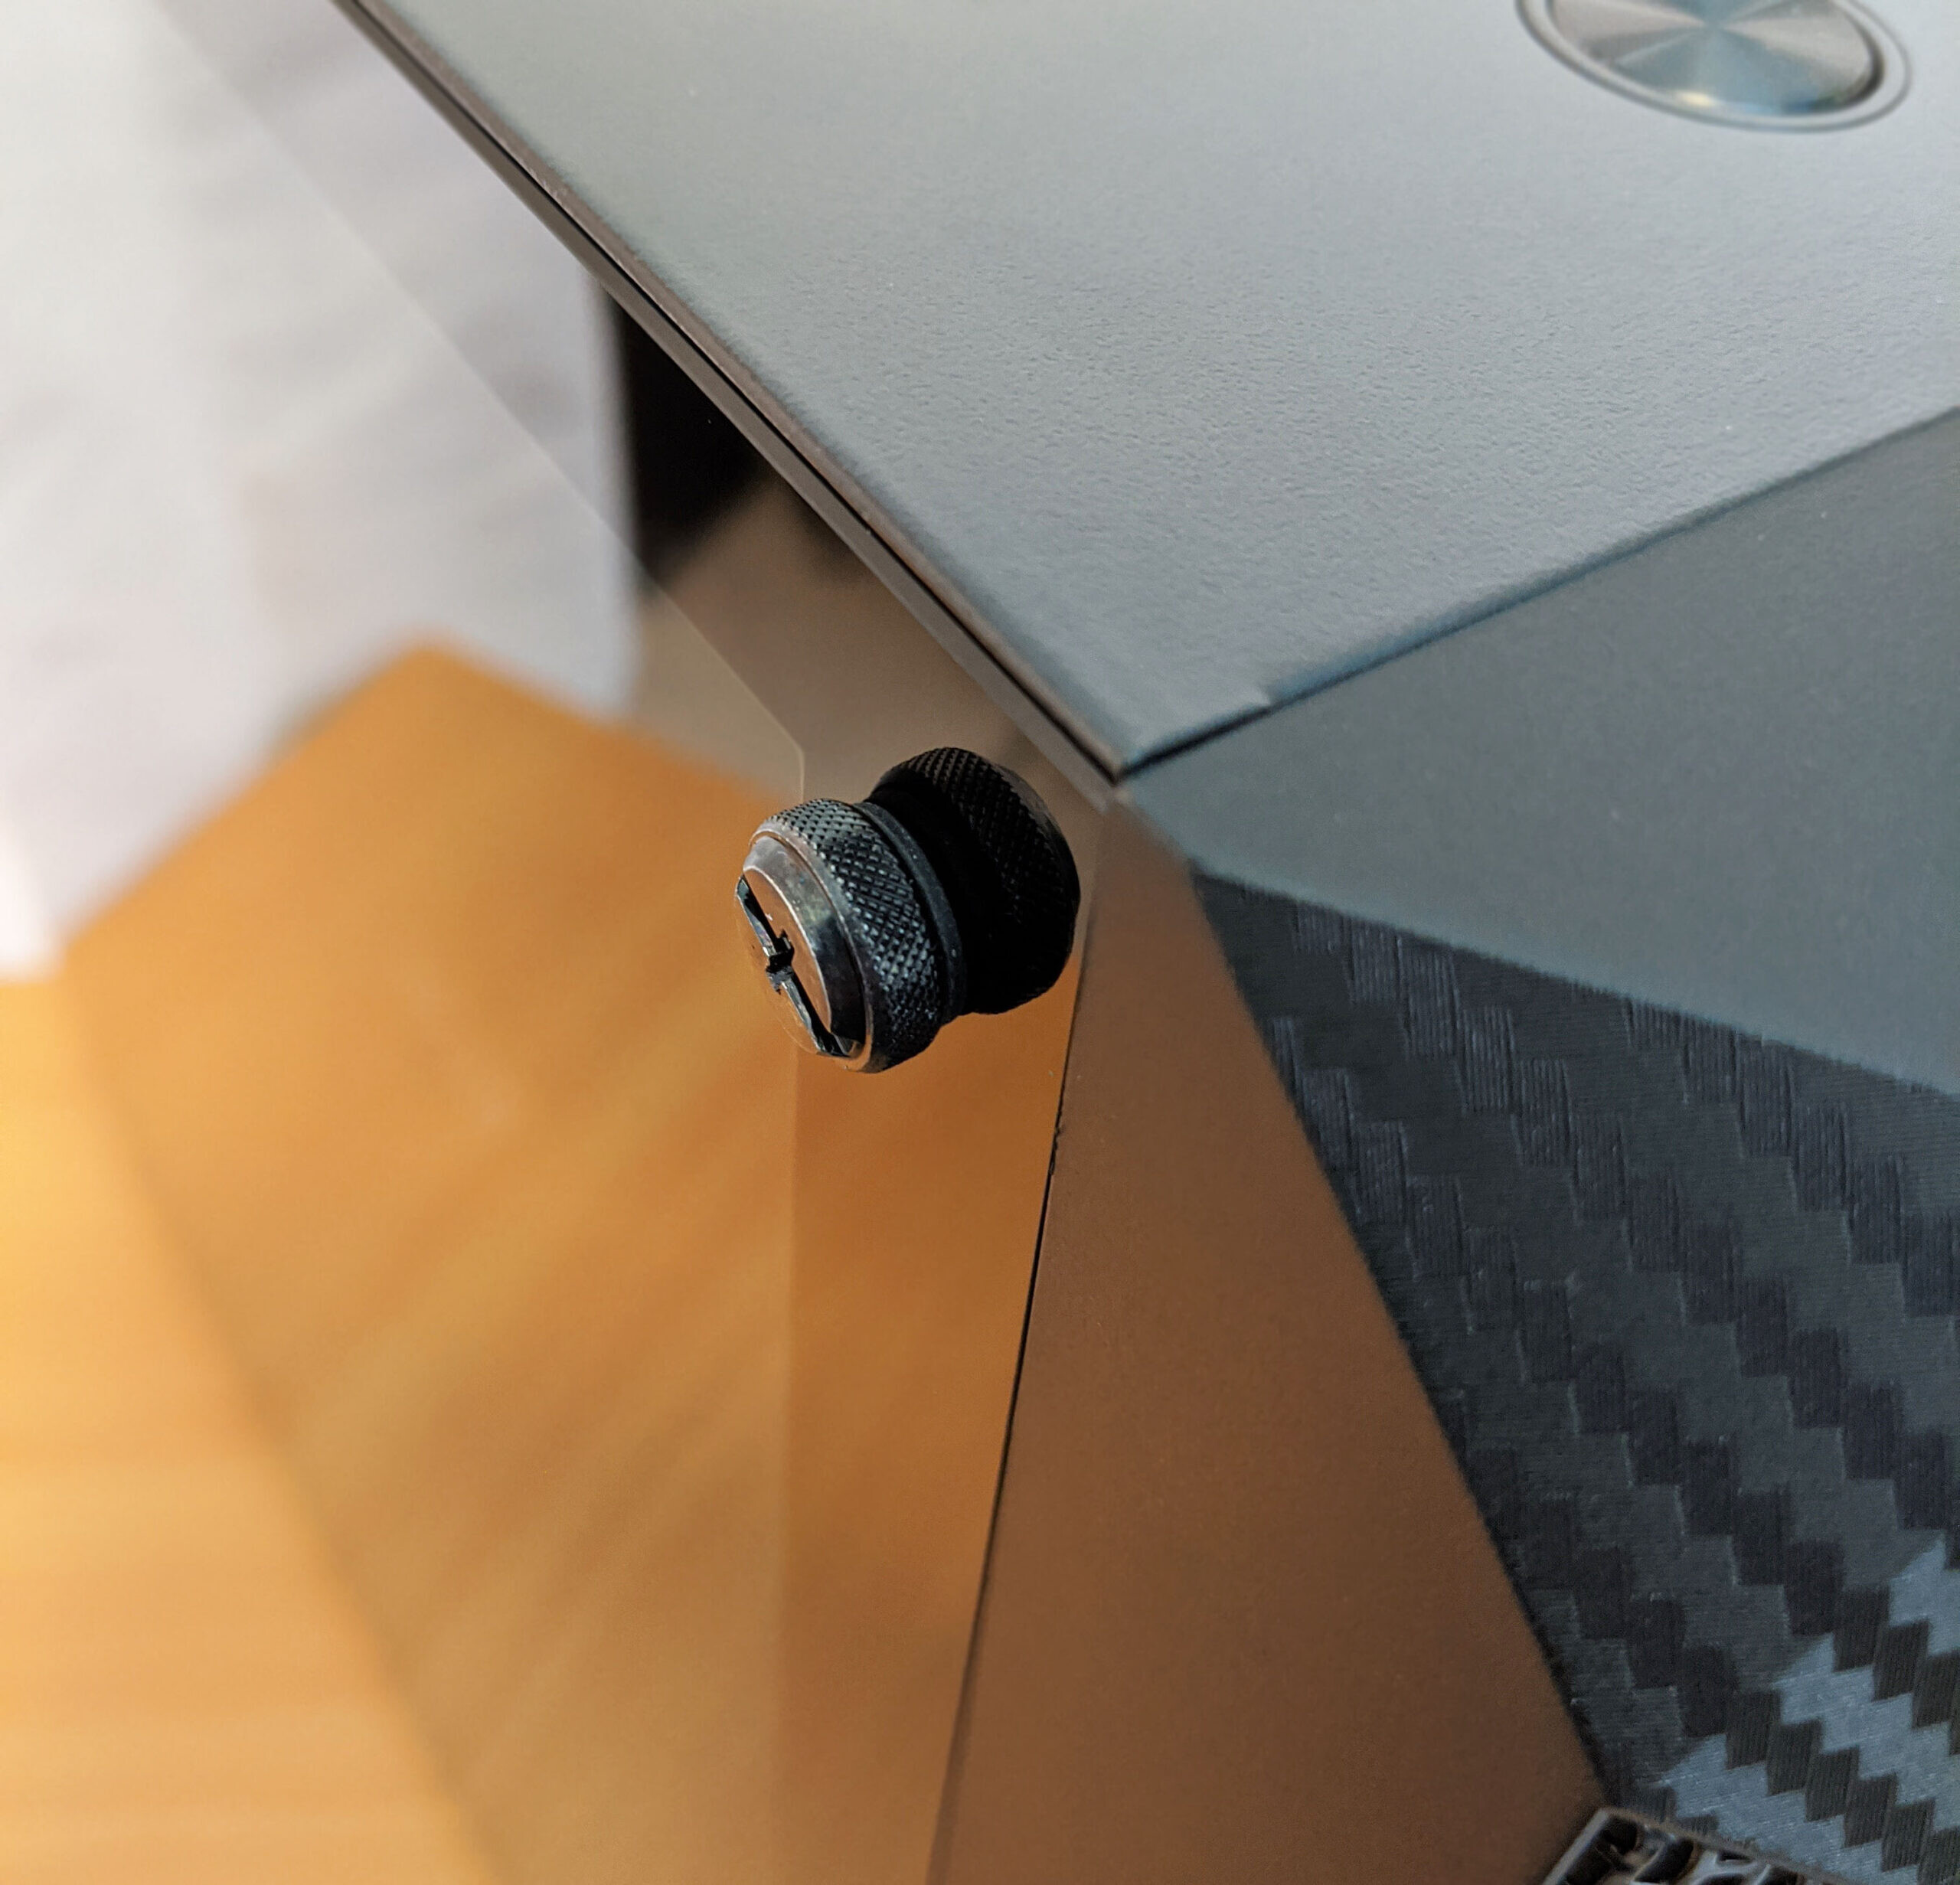
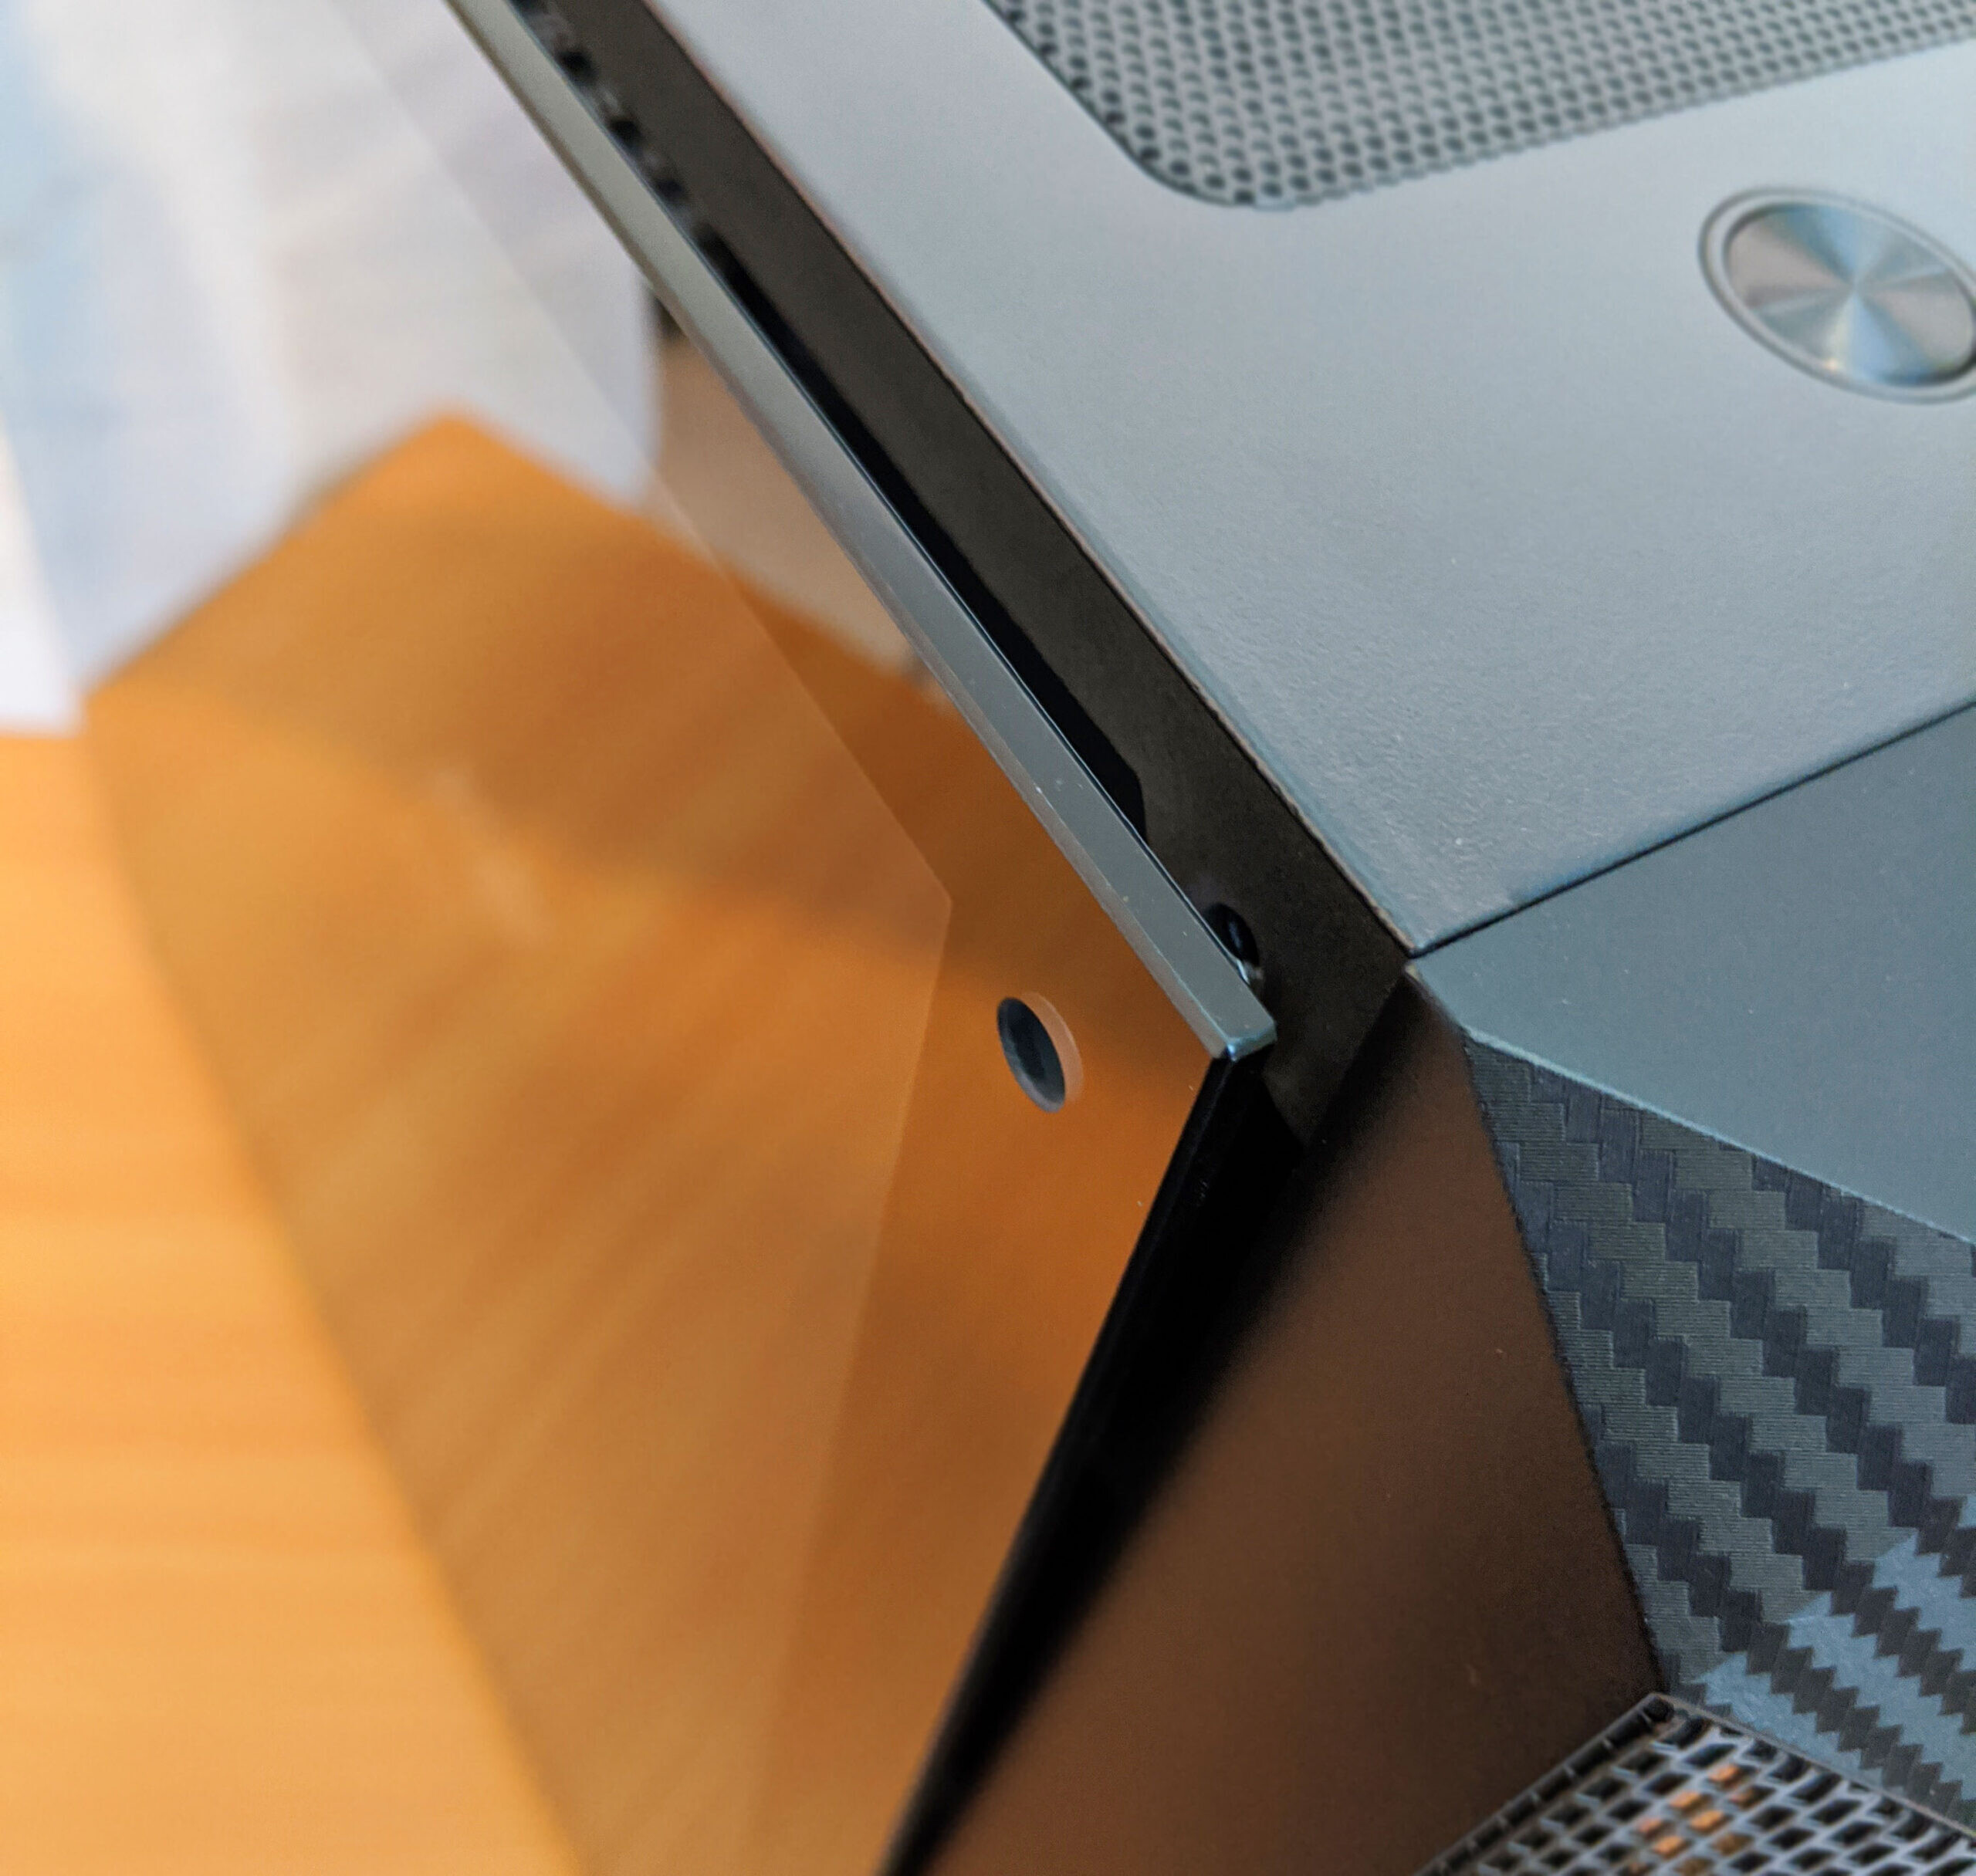
First, let’s take a closer look at that gorgeous full-coverage tempered glass side panel.
NOTE: If you’ve never owned a case with a tempered glass side panel, be sure to exercise extreme caution when assembling and disassembling the case. The corners of any piece of tempered glass are extremely volatile and if jarred to banged could compromise the entire piece of glass causing to shatter.
The panel is easily removed by unscrewing the four thumb screws and then carefully lifting it out. Store it on something soft like carpet while removed.
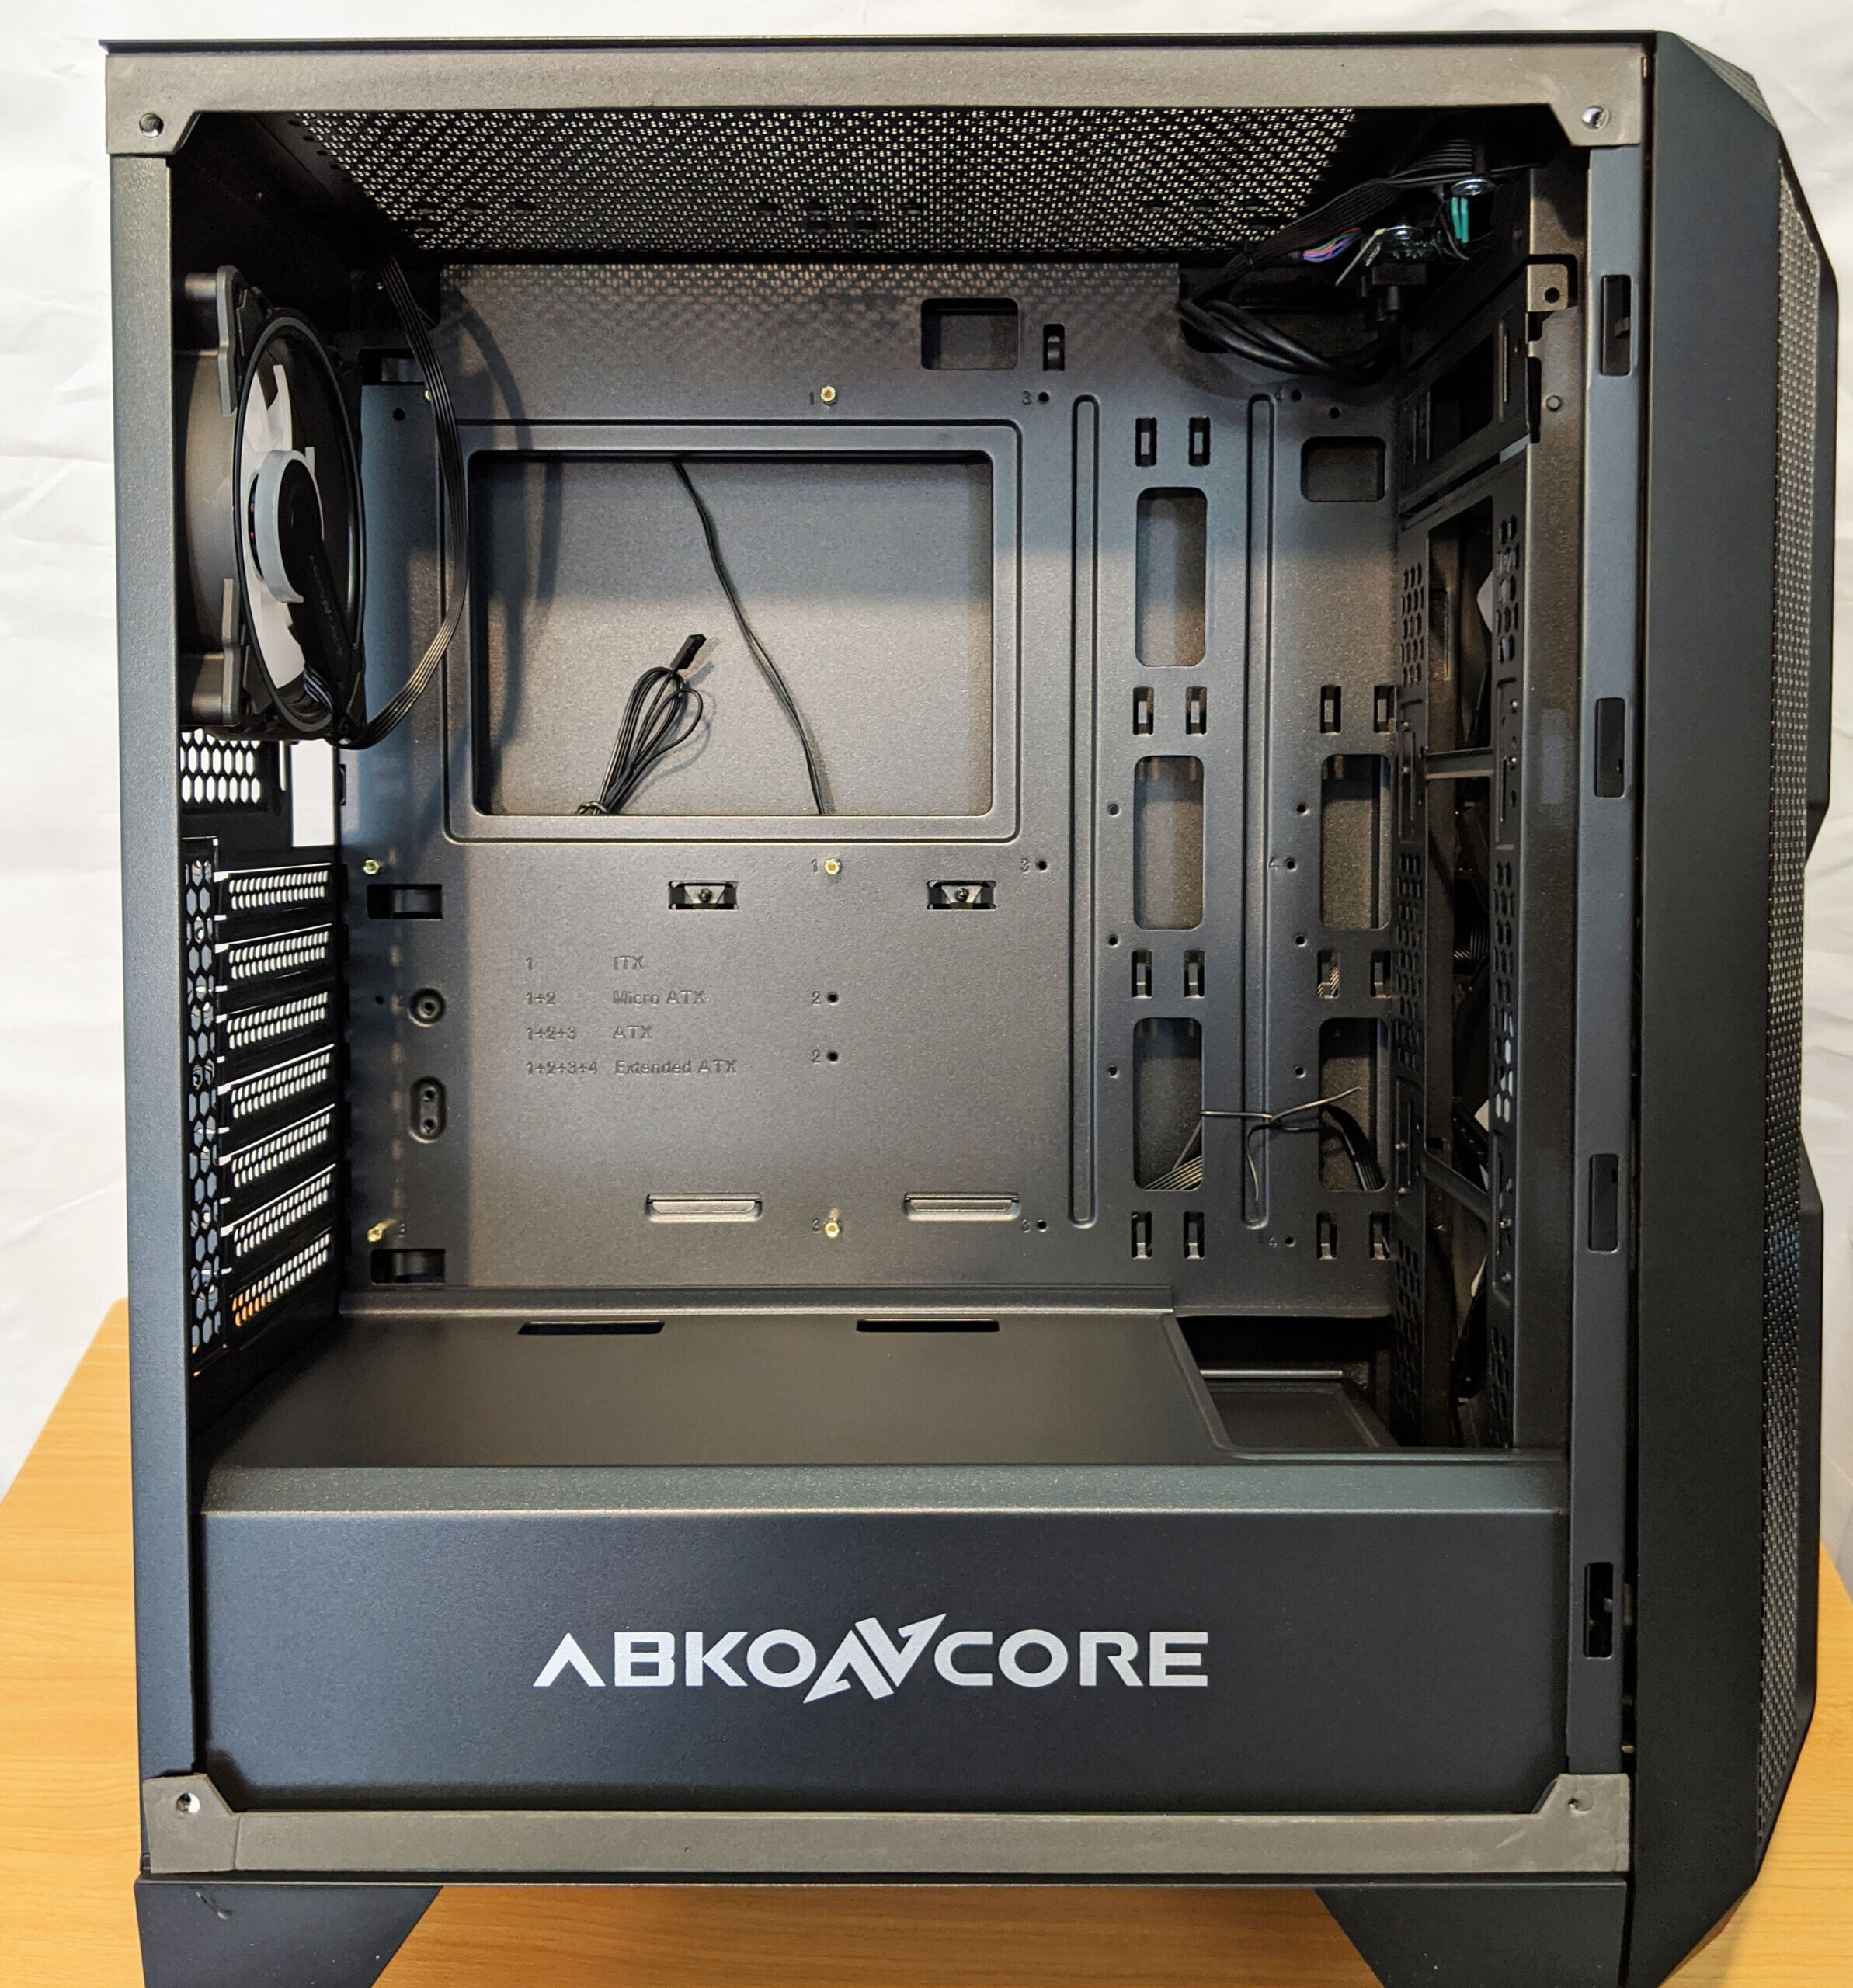
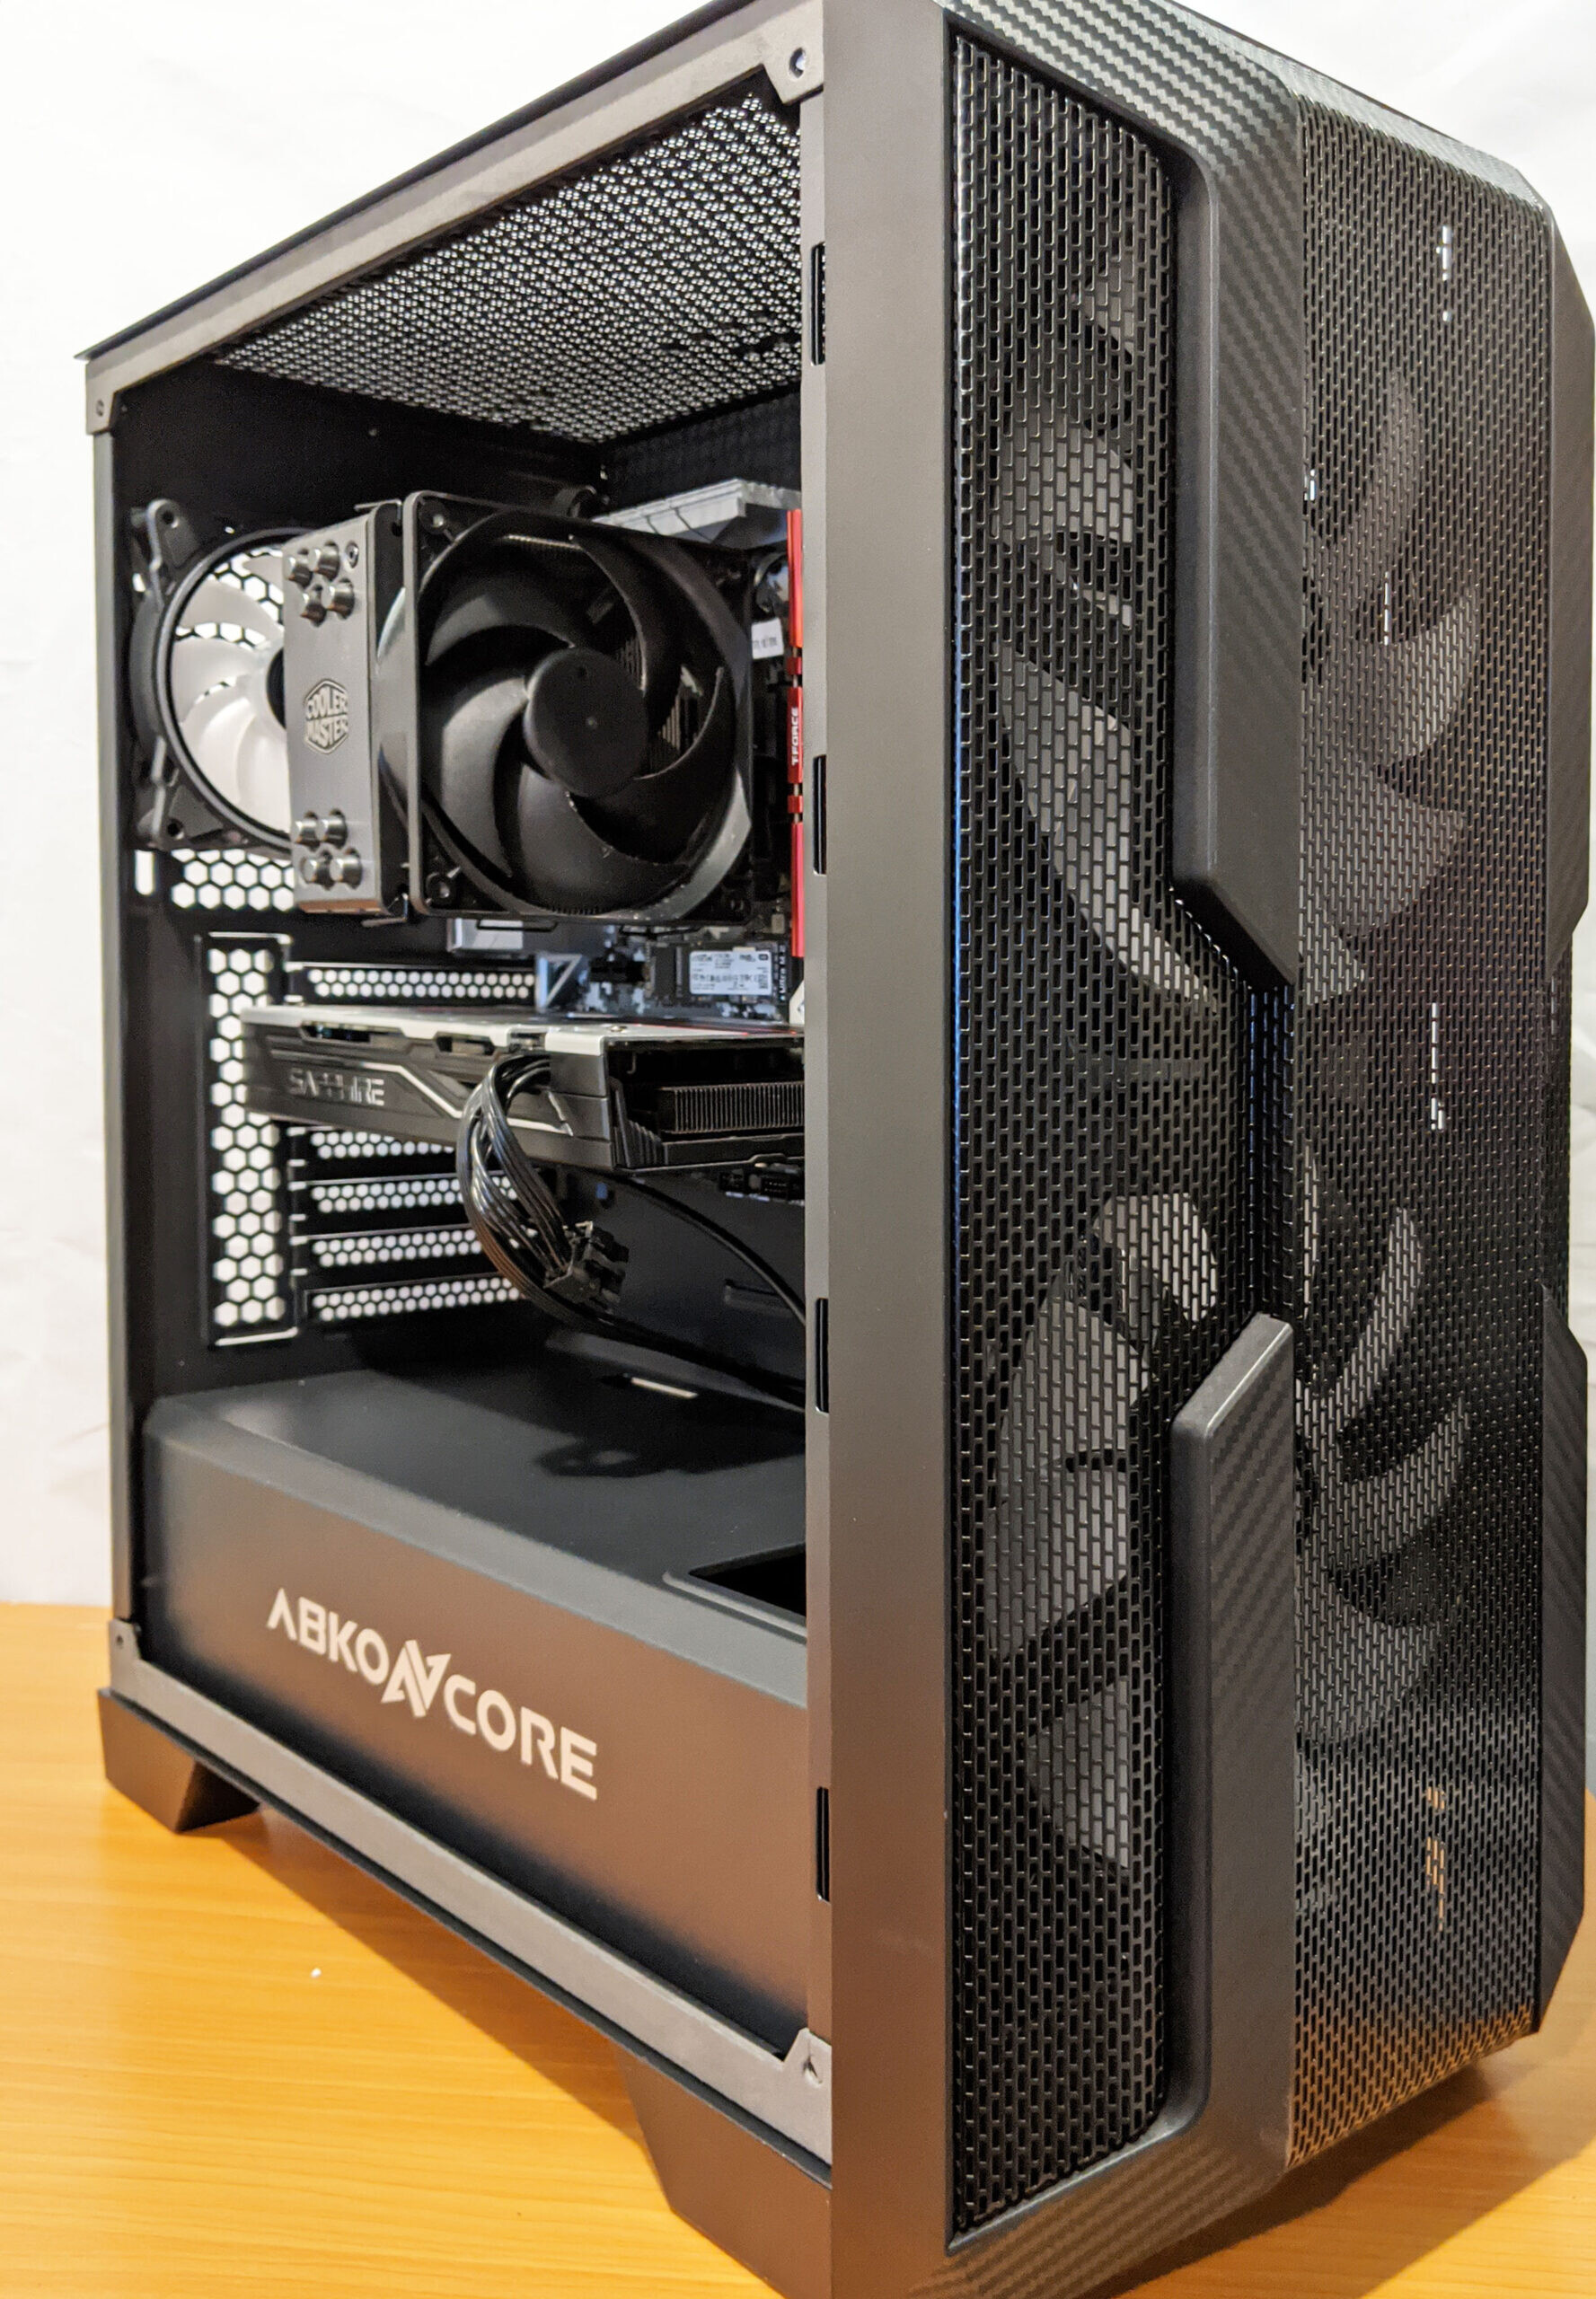
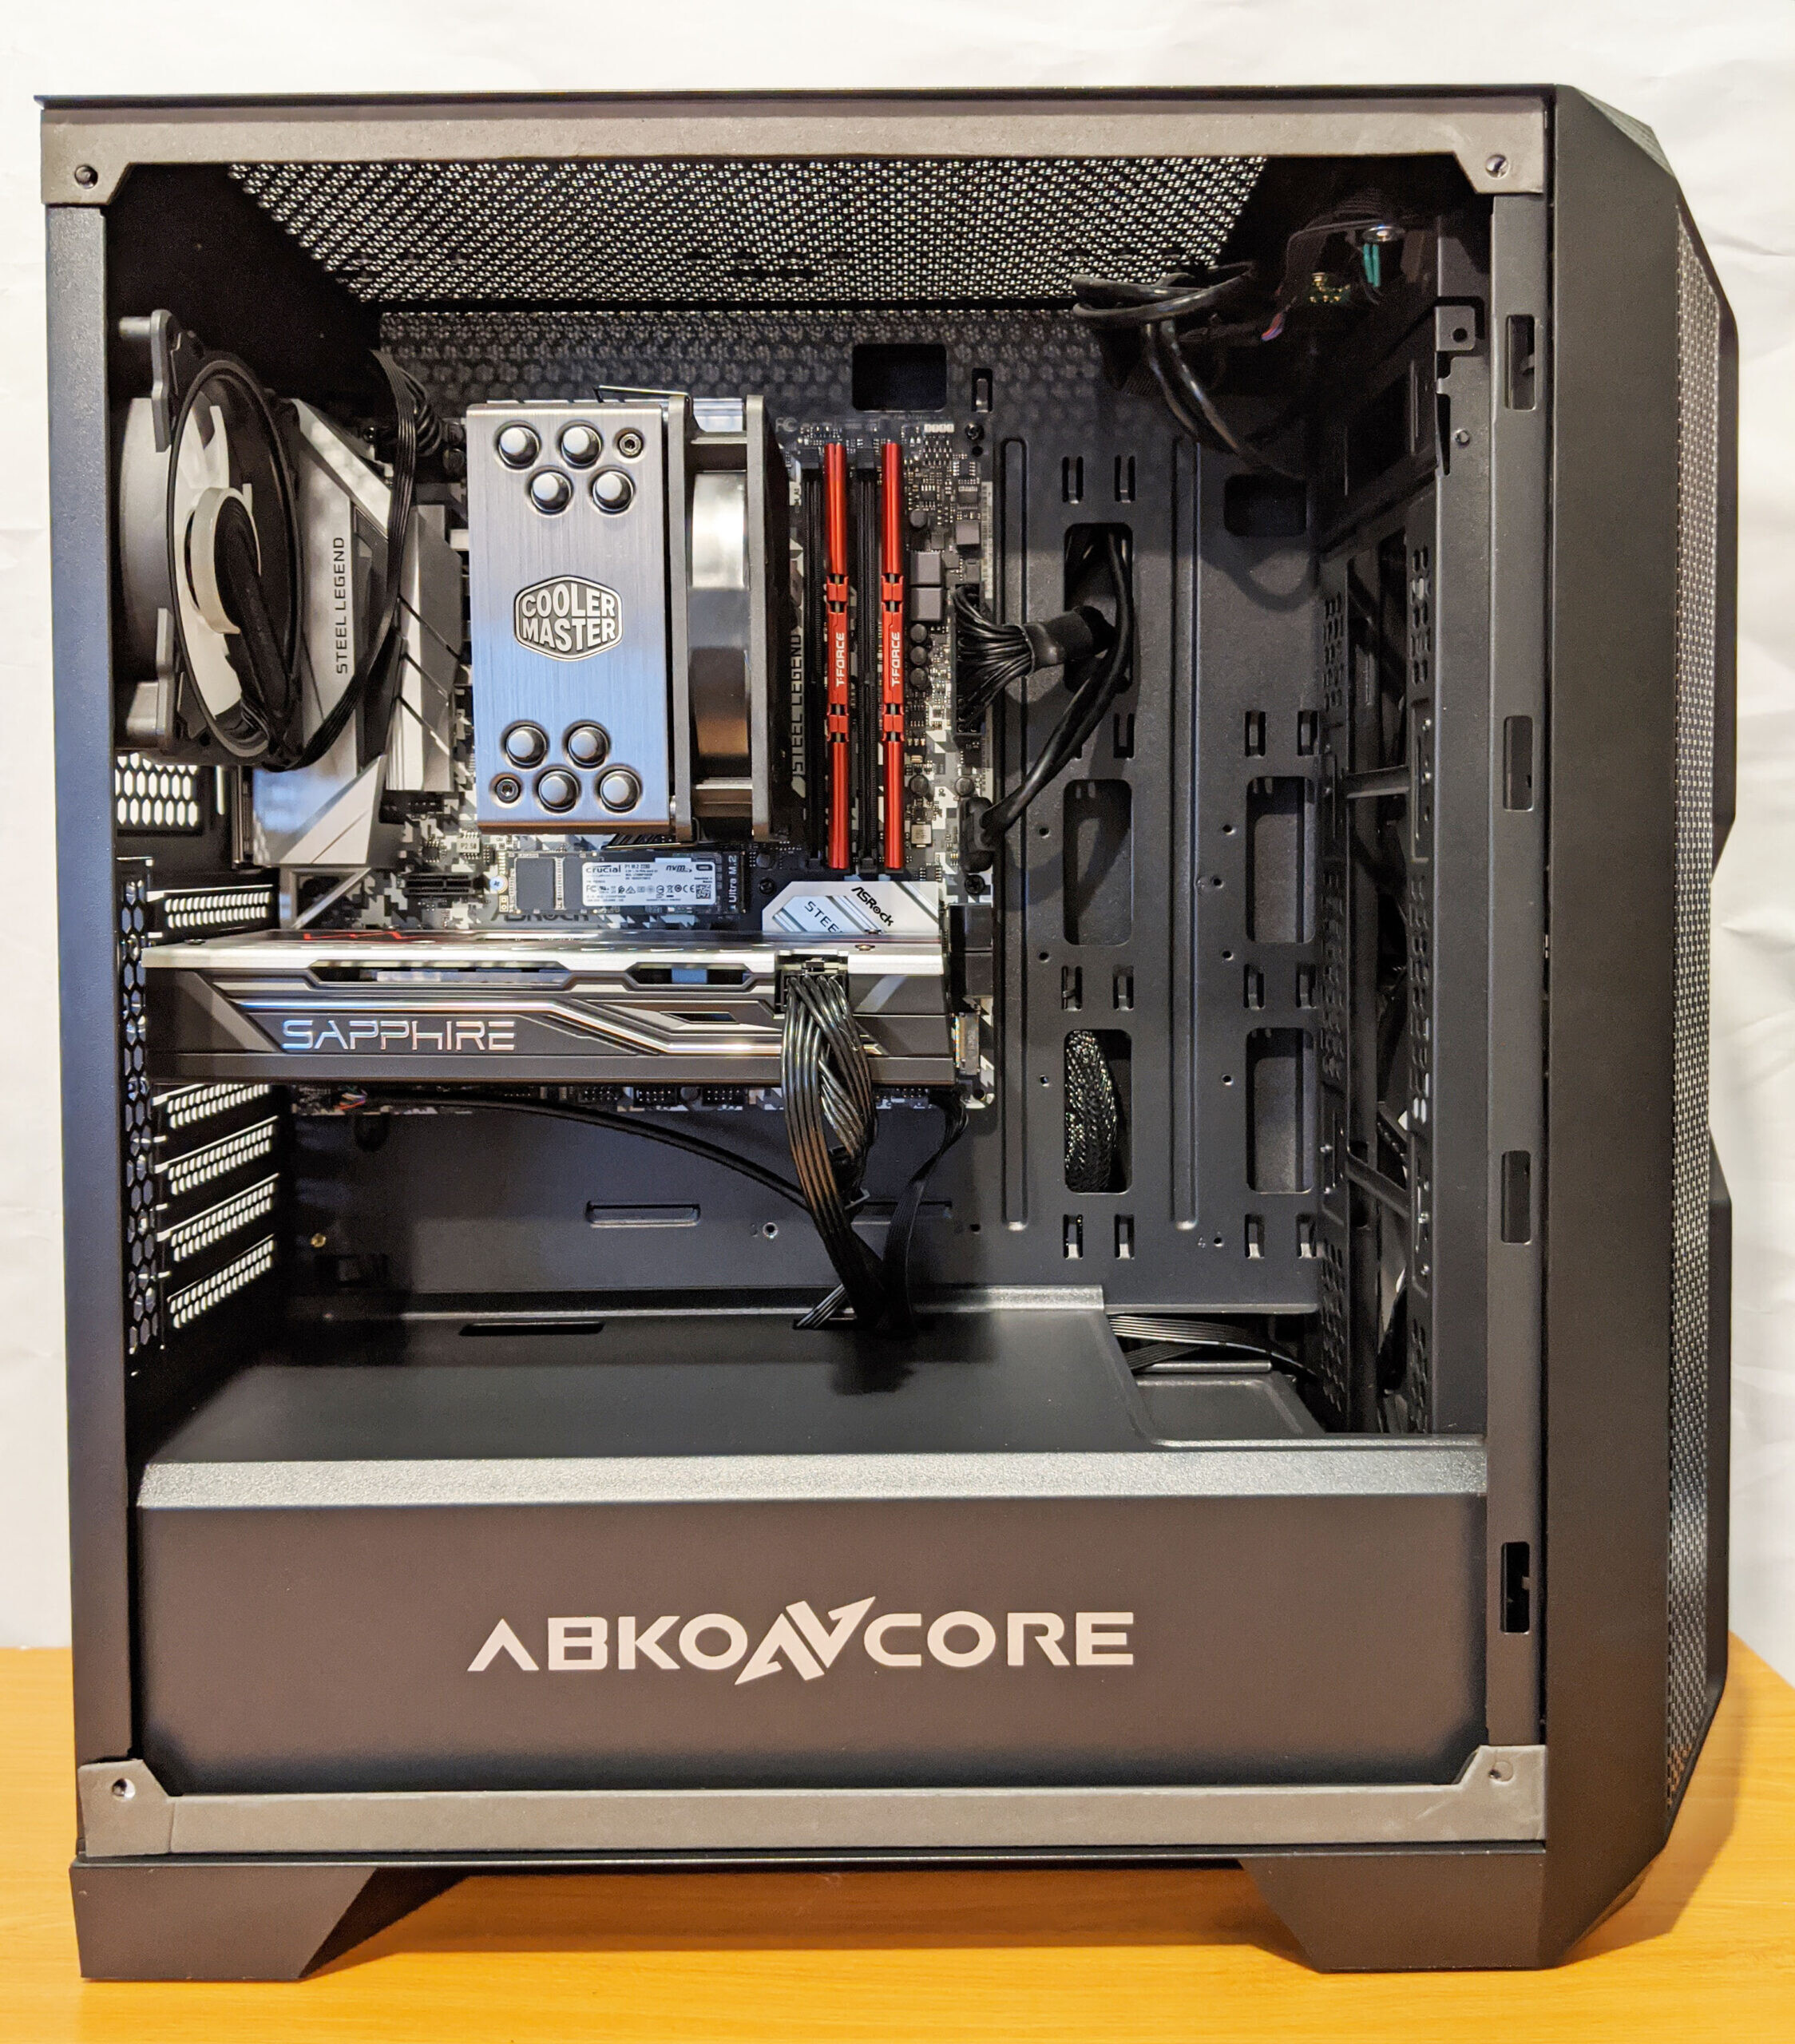
With the side panel removed, we get a better look into the case’s interior.
The overall design features the typical split level design we typically see on almost any modern case we’ve reviewed in the past. The PSU and HDDs and SSDs are isolated from the rest of the components by the shroud located at the bottom. This helps a bit with thermal regulation, isolating hot components from the rest of the system, this way your PSU isn’t sucking in hot GPU air, for example.

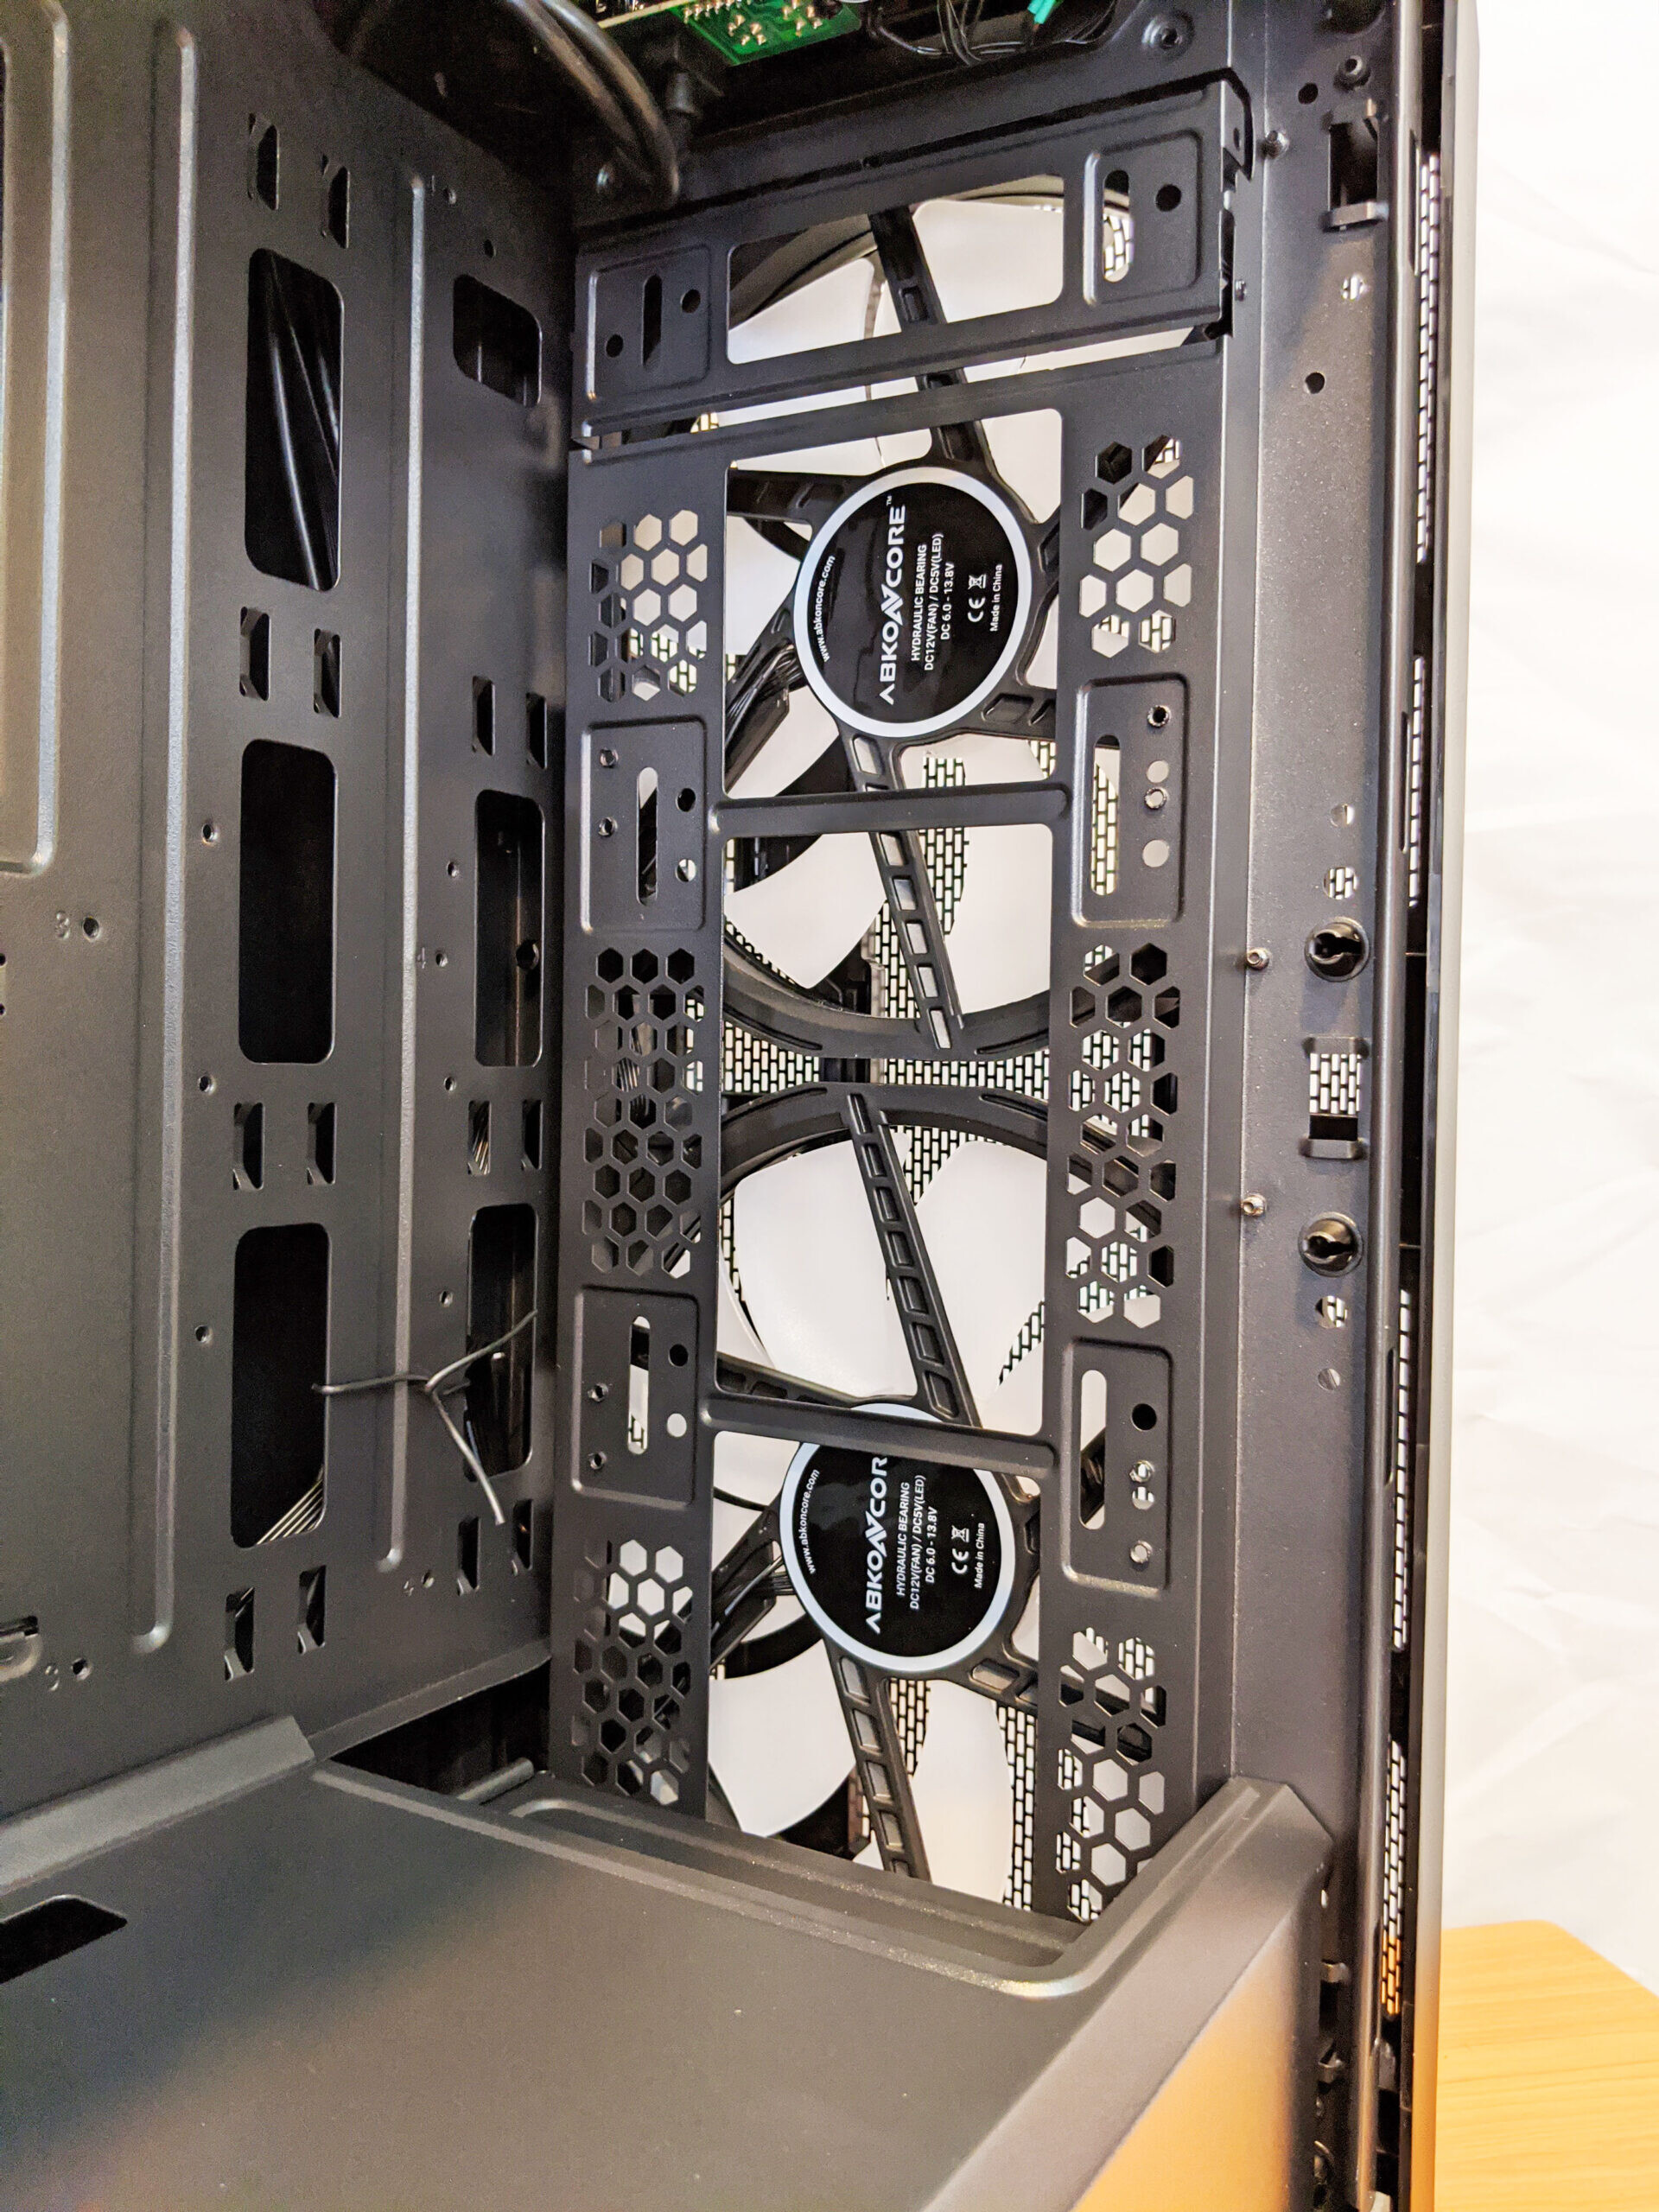
We’ve not got a look at the reverse side of those massive 200mm fans. The two fans (according to the sticker) feature hydraulic bearings and operate from 6.0V-13-8V DC. Unfortunately, no current ratings were represented.
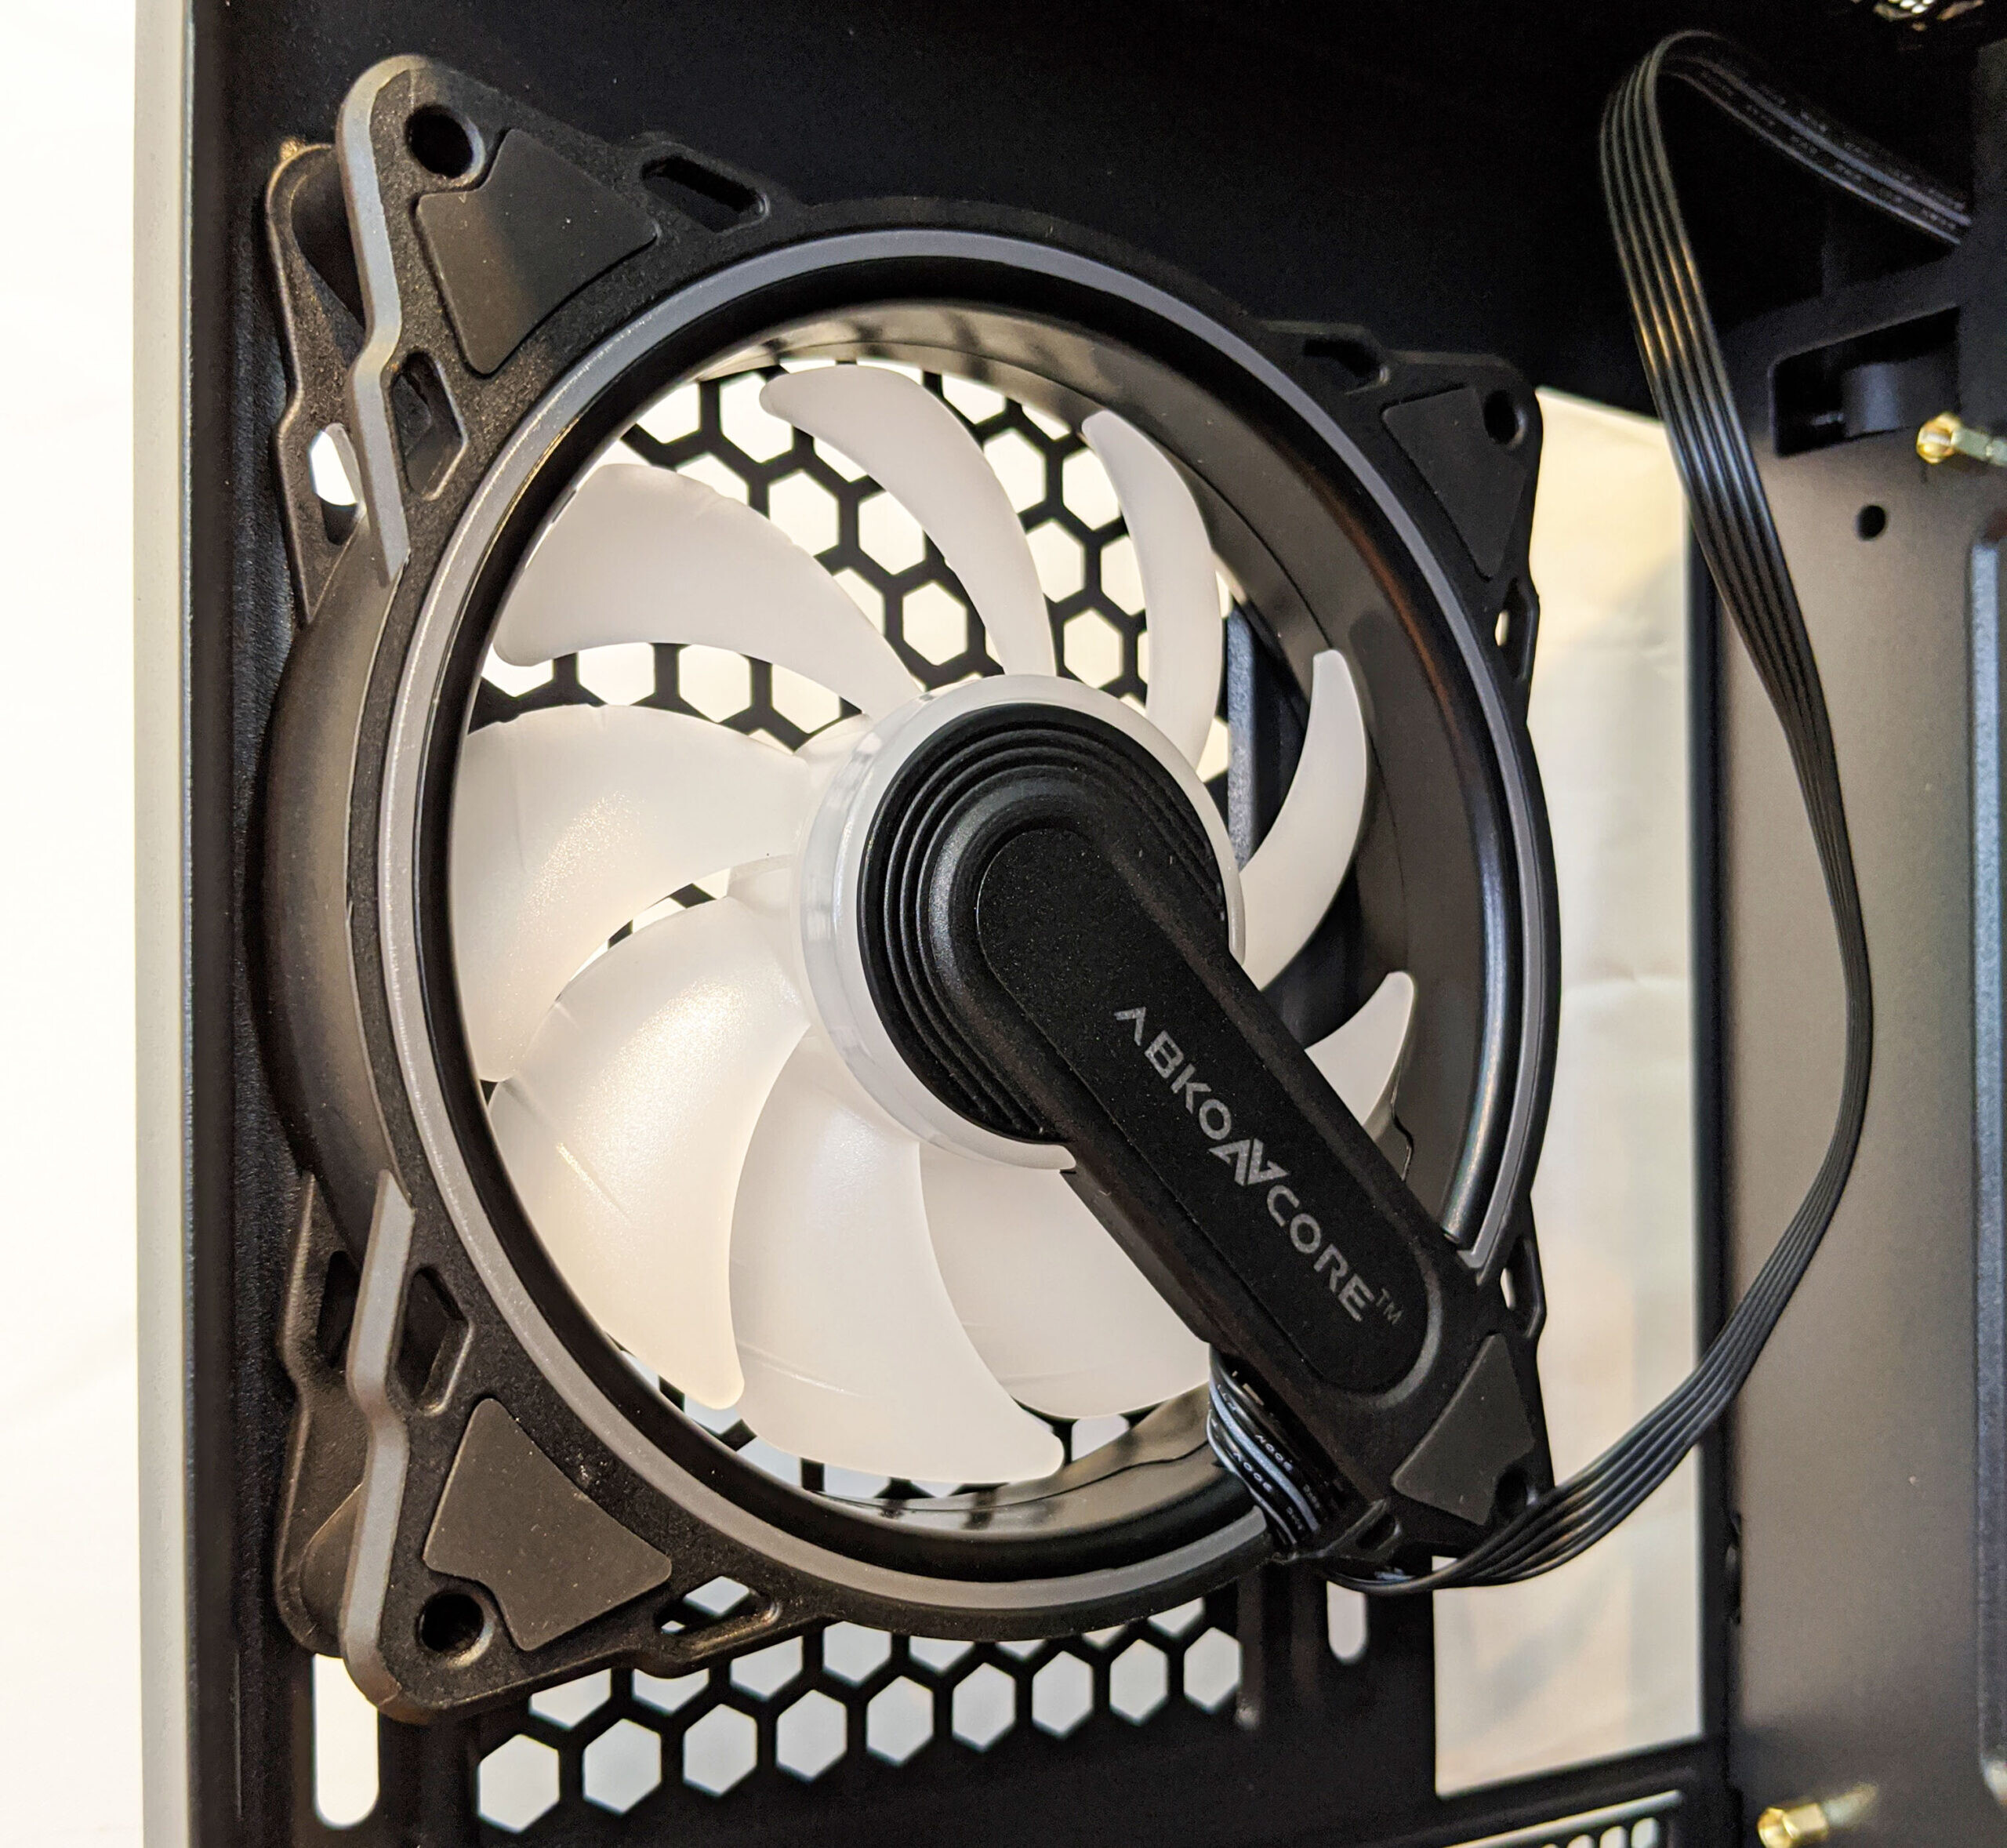
The rear exhaust fan is definitely one of a kind. The single support arm is definitely a head turner, and I’m excited to power this thing on to see those RGBs in action. I believe this is the safe fan featured on Abkoncore’s website: the HR120 SPECTRUM SYNC. If that’s the case, the fan is rated for 38.2 CFM with a 25dbA noise rating making it overall pretty quiet. This 120mm fan also comes equipped with a hydro bearing.
Shifting gears and moving over to the reverse side of the H600X, there are a definitely a few noteworthy items here worth mentioning. First, just below the motherboard access port, are two 2.5″ SSD mounts which are held in place by a single thumb screw.

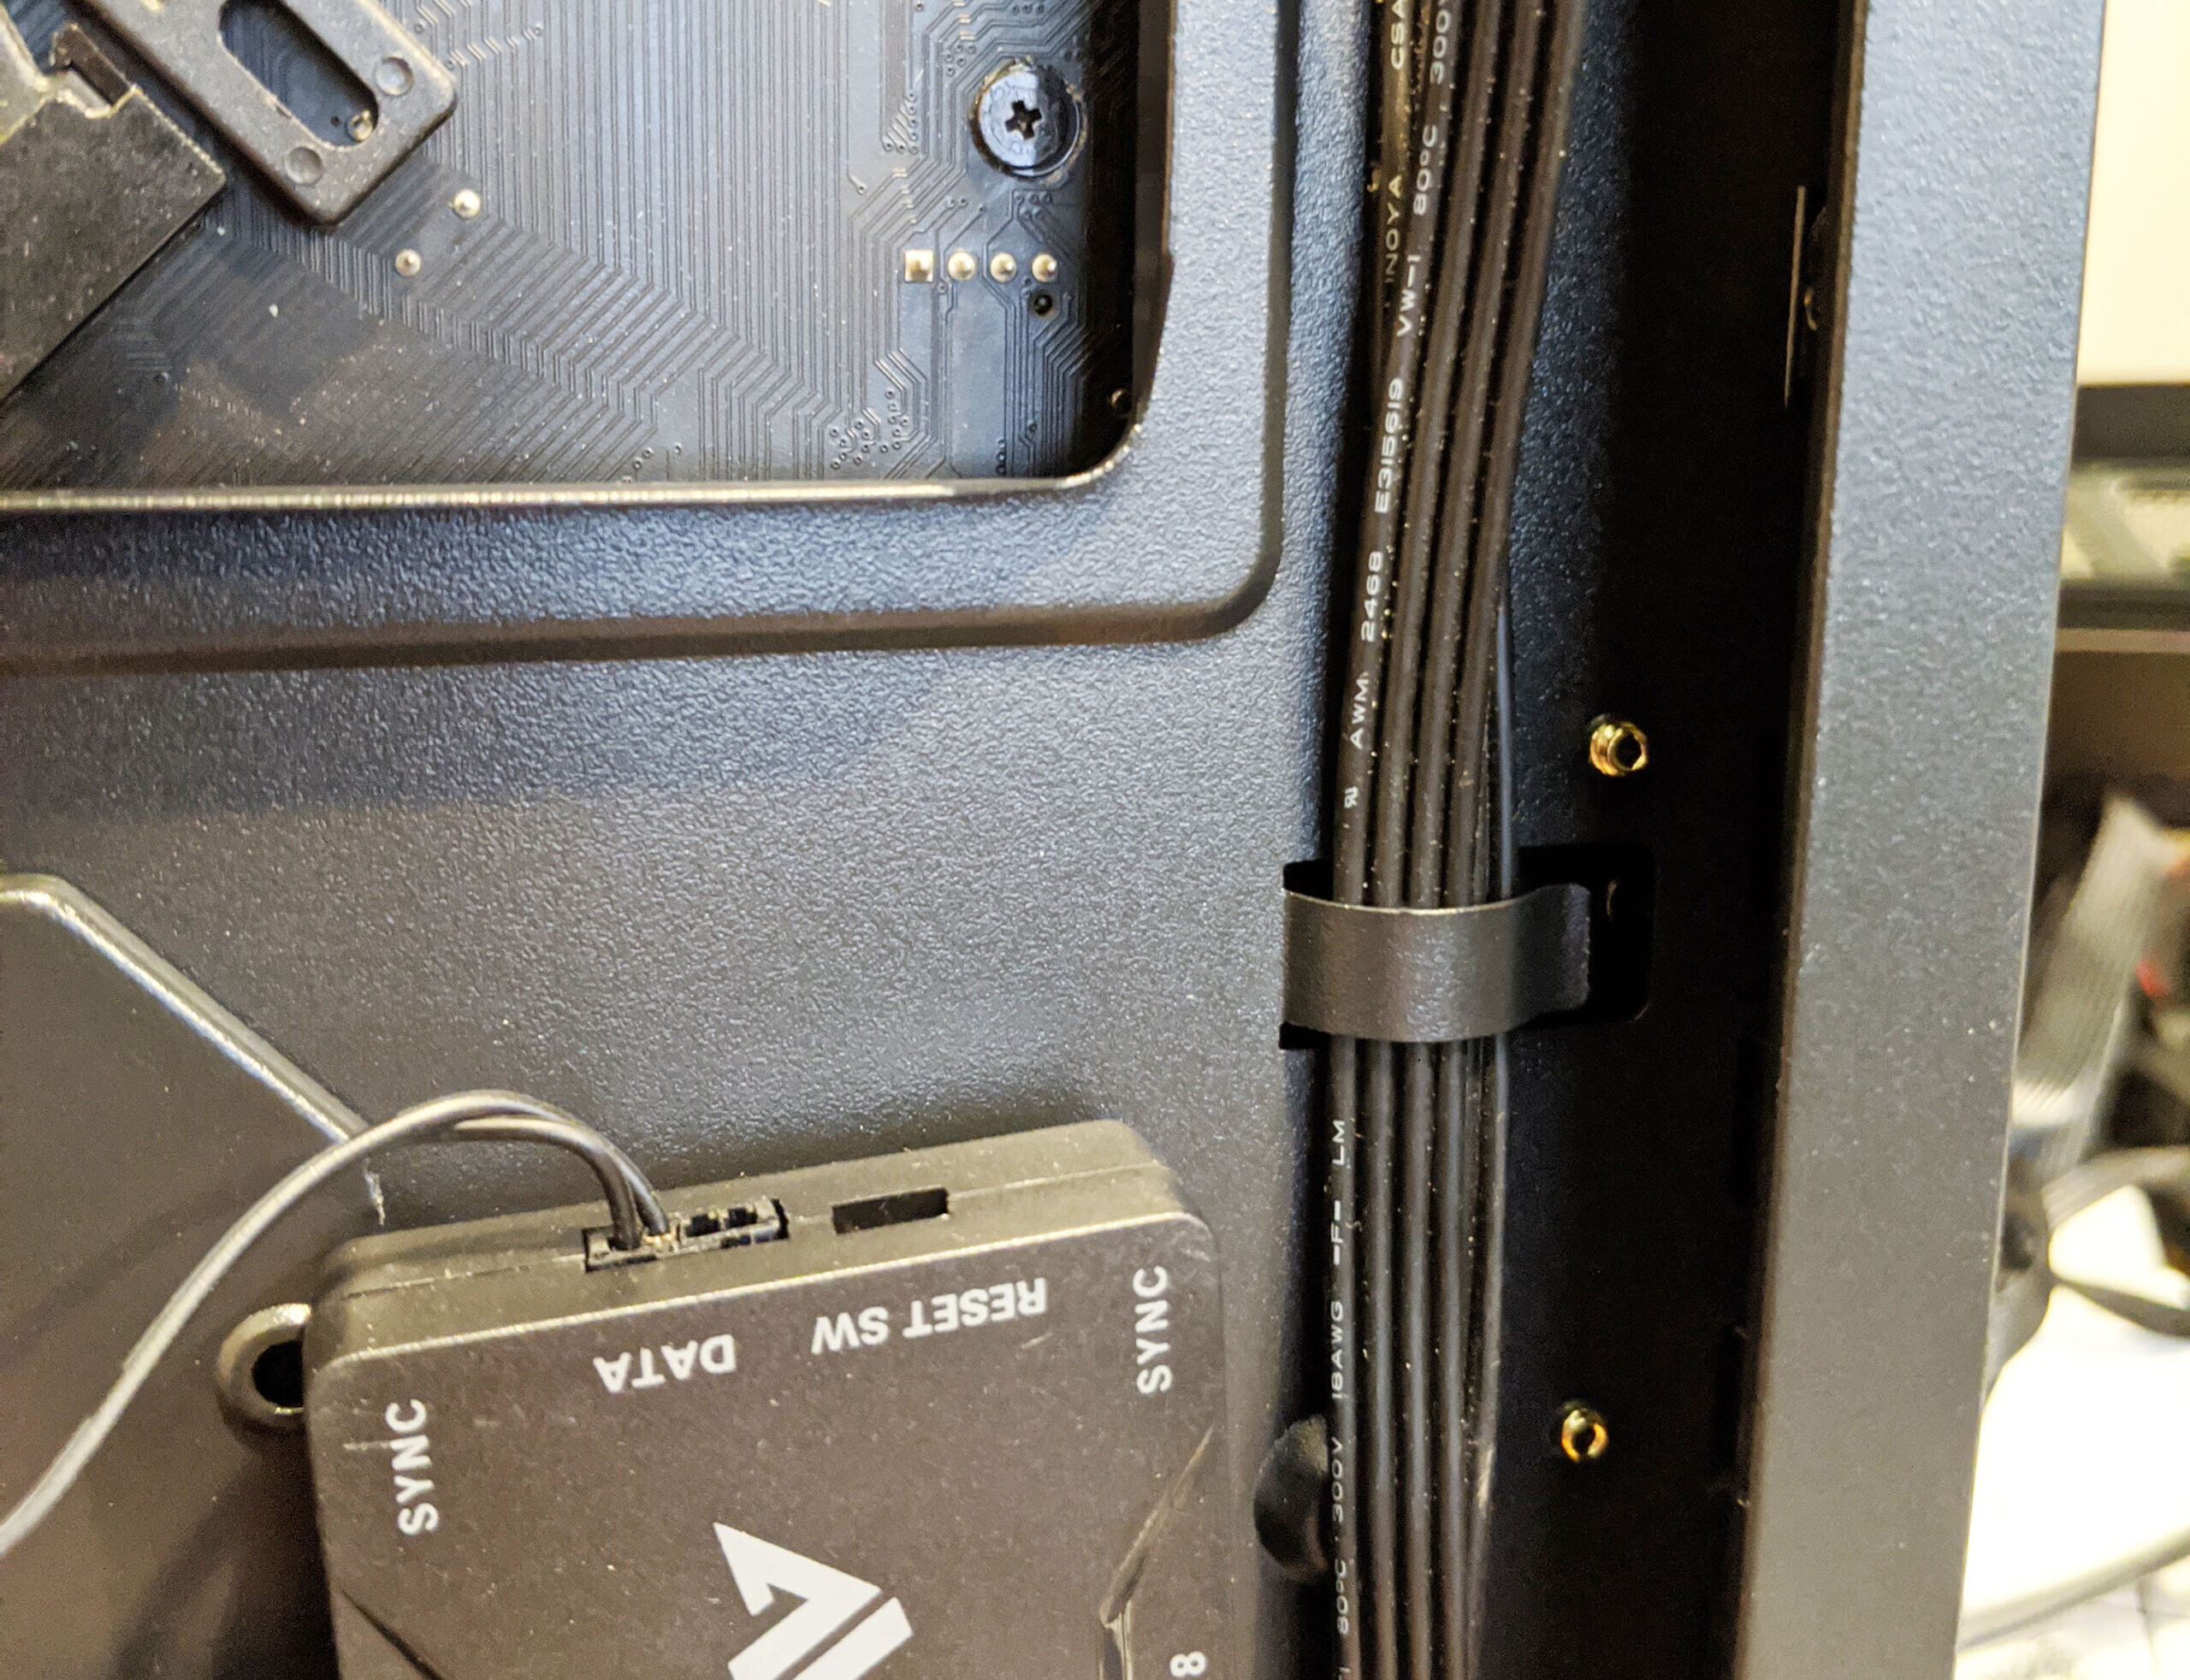
To the right of the SSD mounts is the RGB fan controller. It looks like there is a bunch of room for expansion as only three out of the eight fan ports are populated! The (possible) drawback is that existing fans you may have acquired over the ages may not work as the connector appears to be proprietary to Abkoncore. Be sure to provide power to the controller via a single 4-pin molex connector.

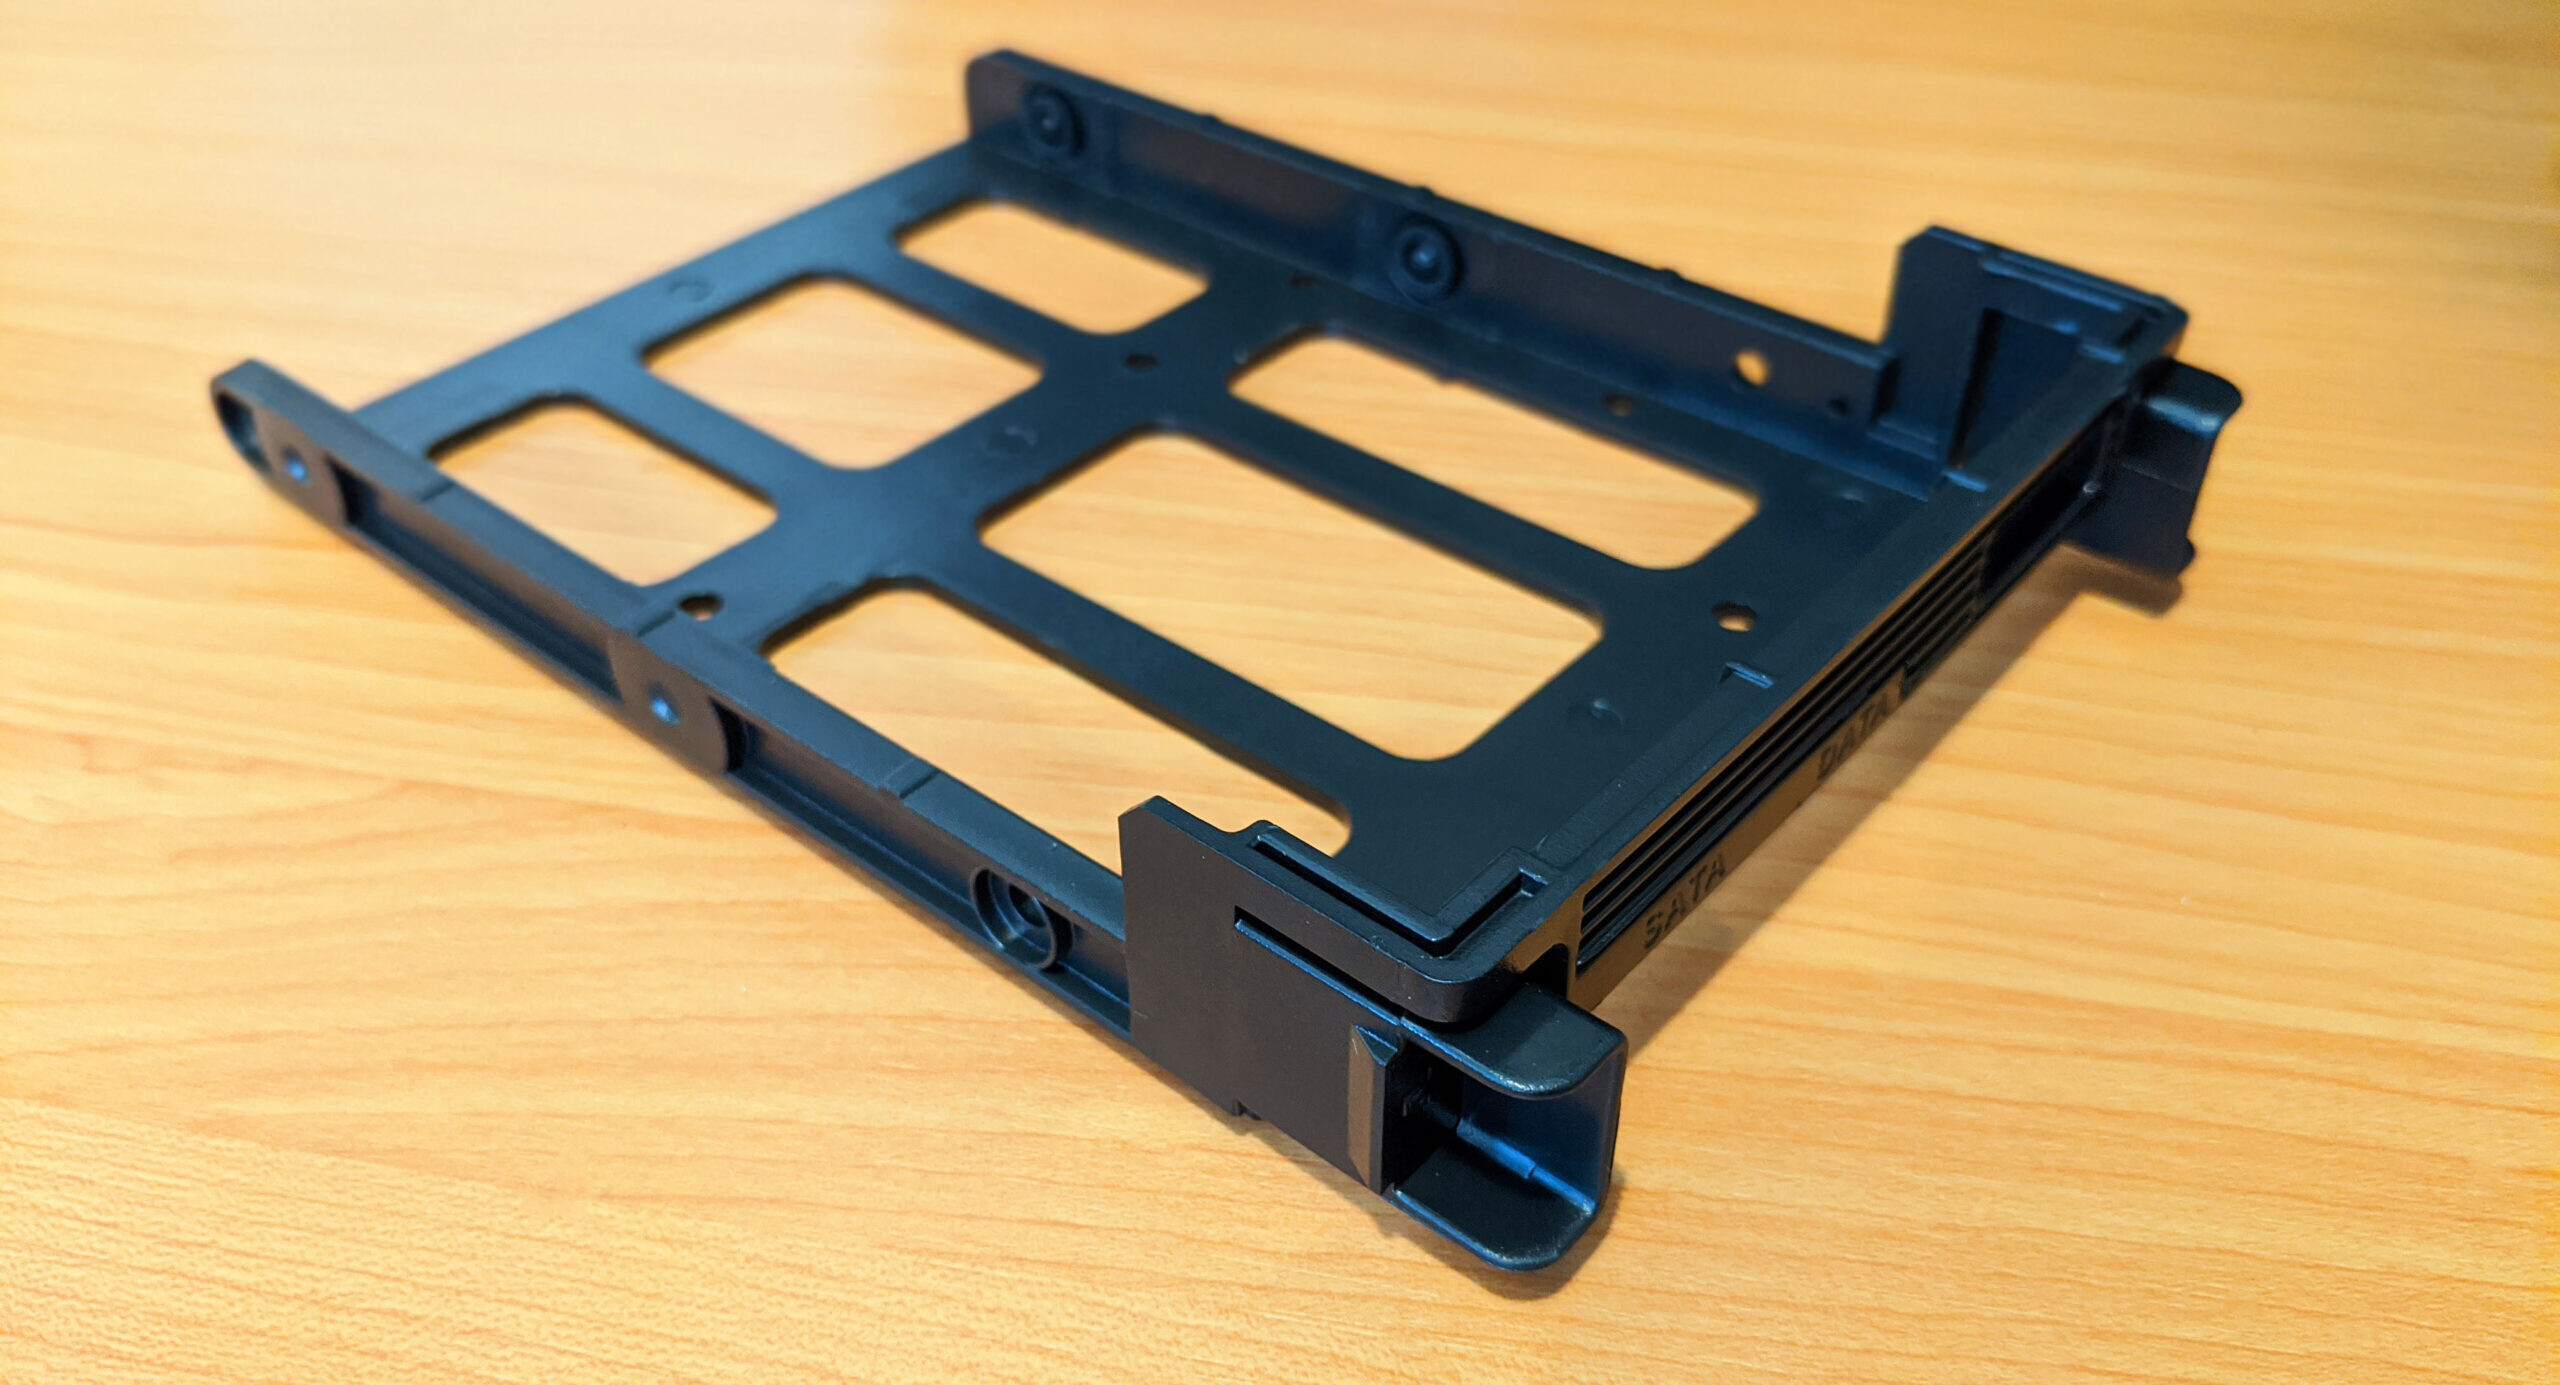
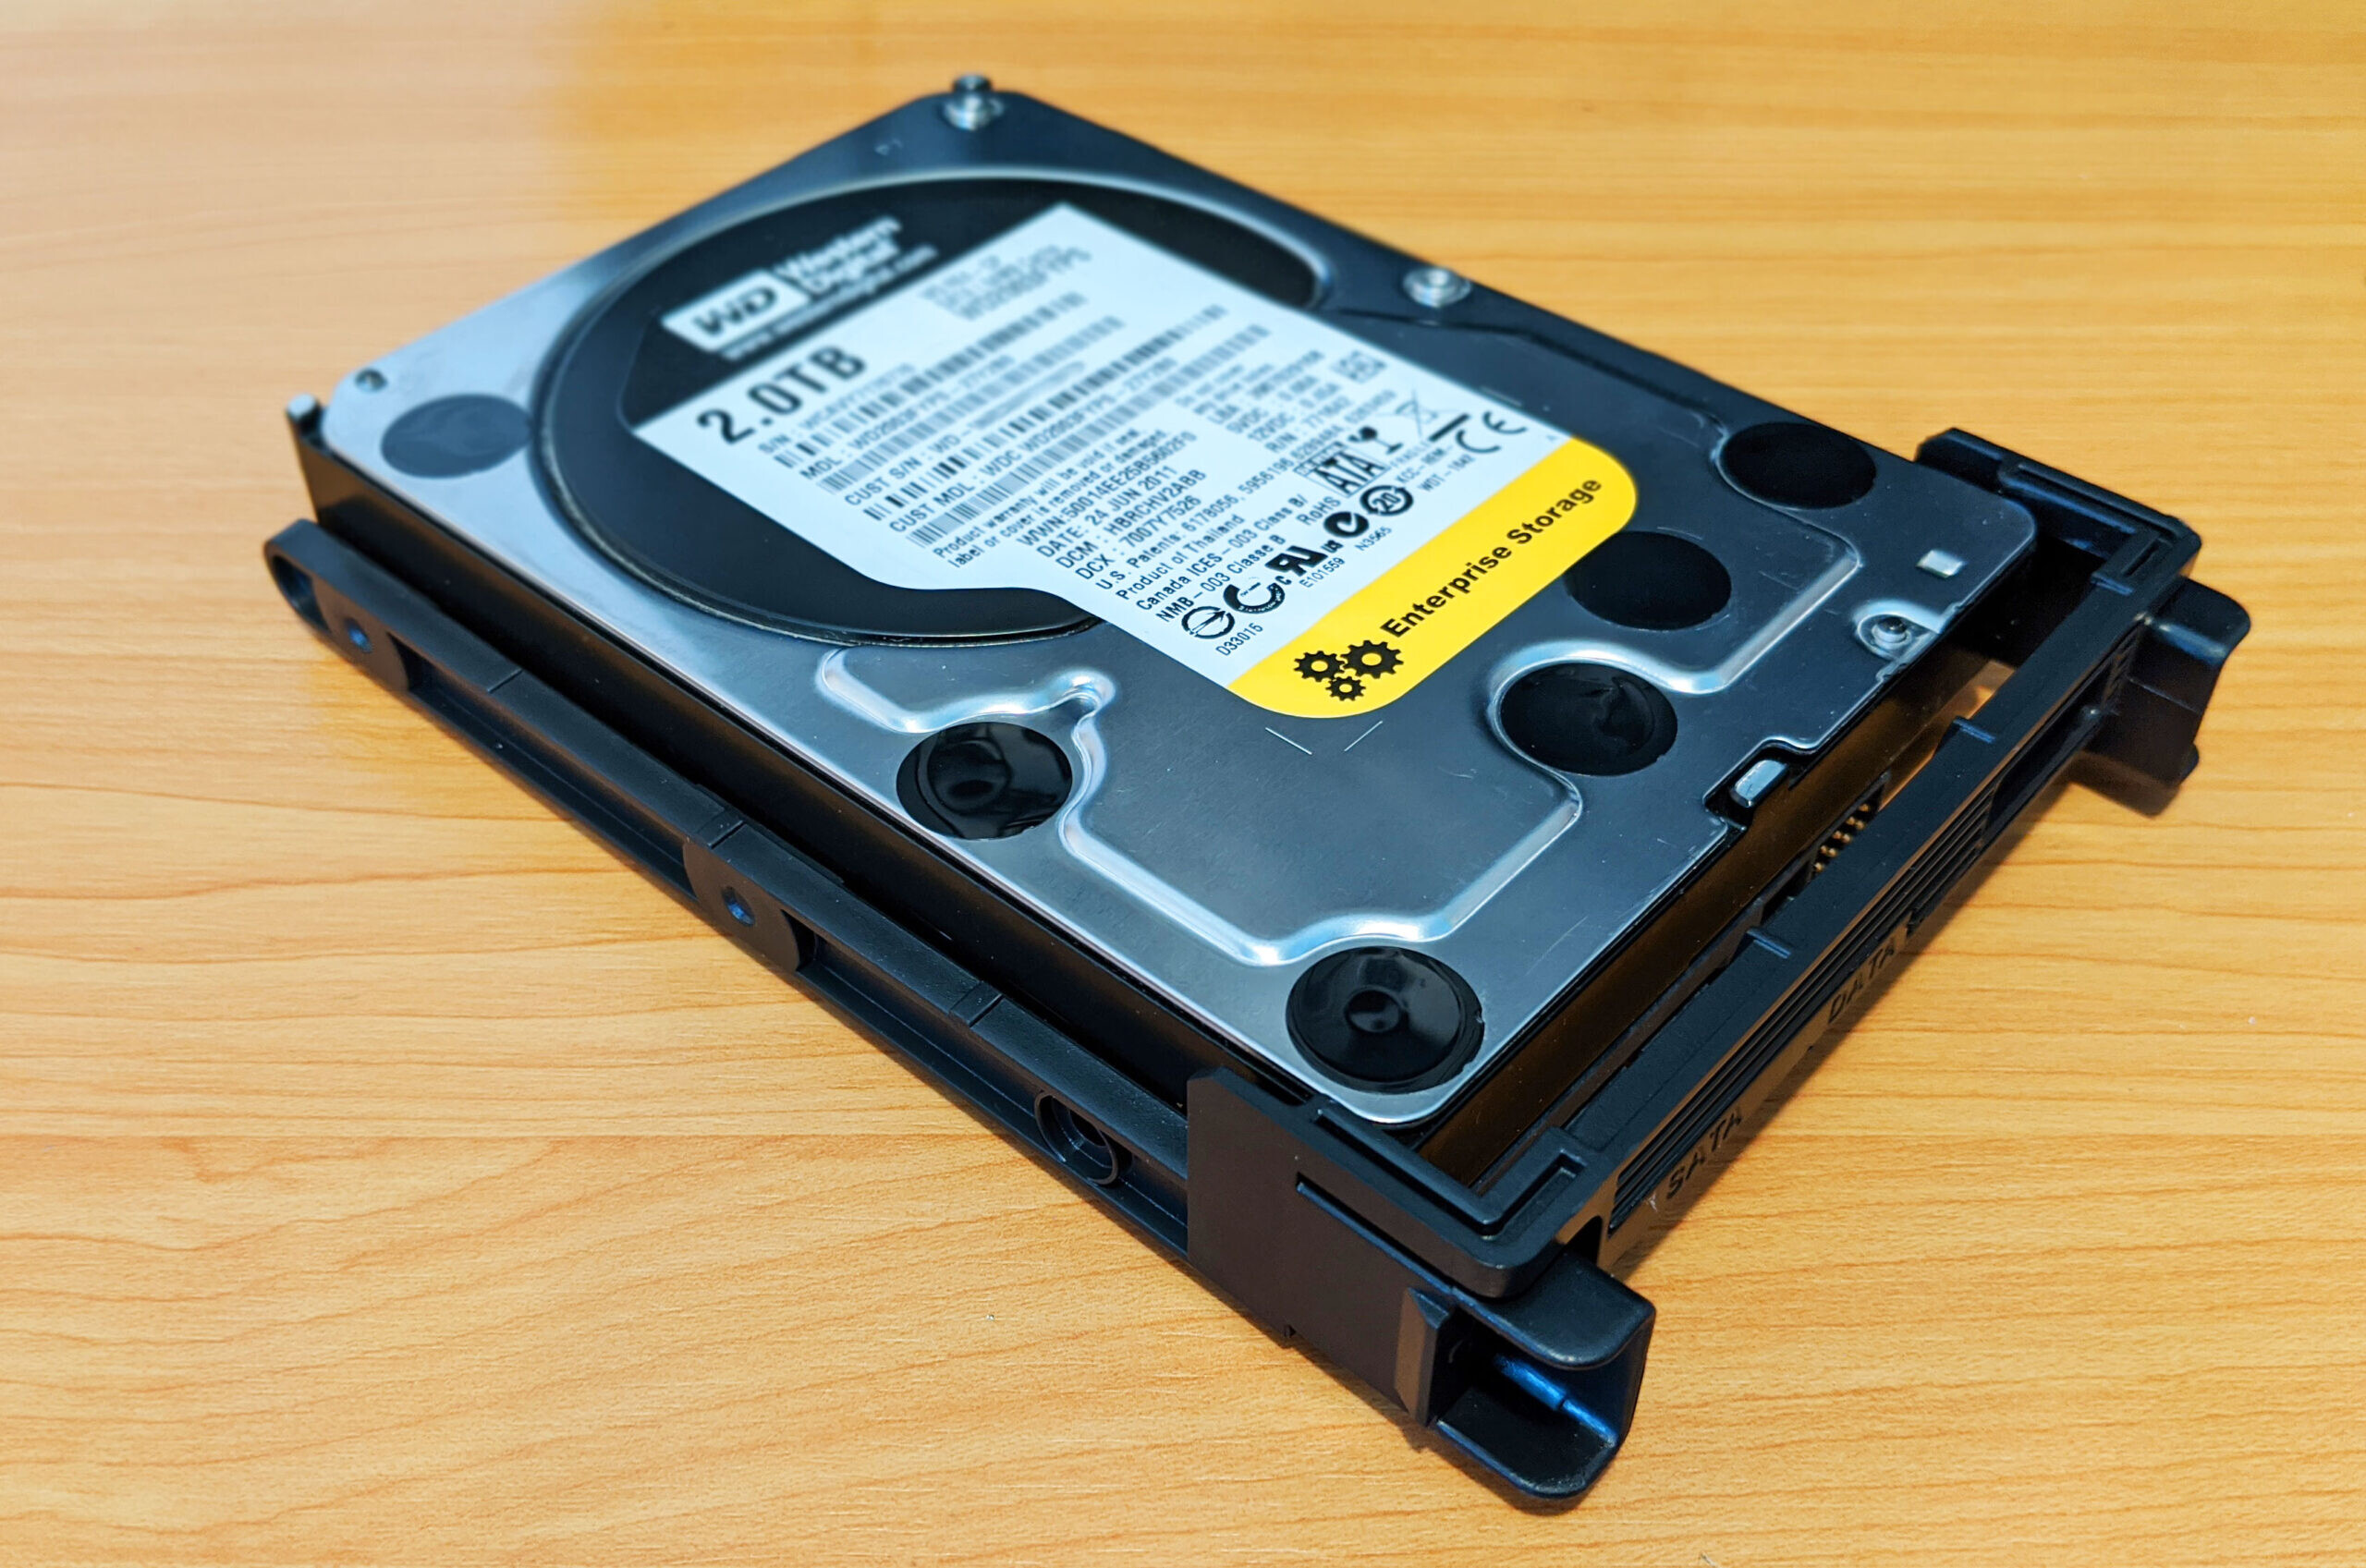
Moving on down south, we’ve got the PSU mount, and just to the left of that two 3.5mm HDD trays.
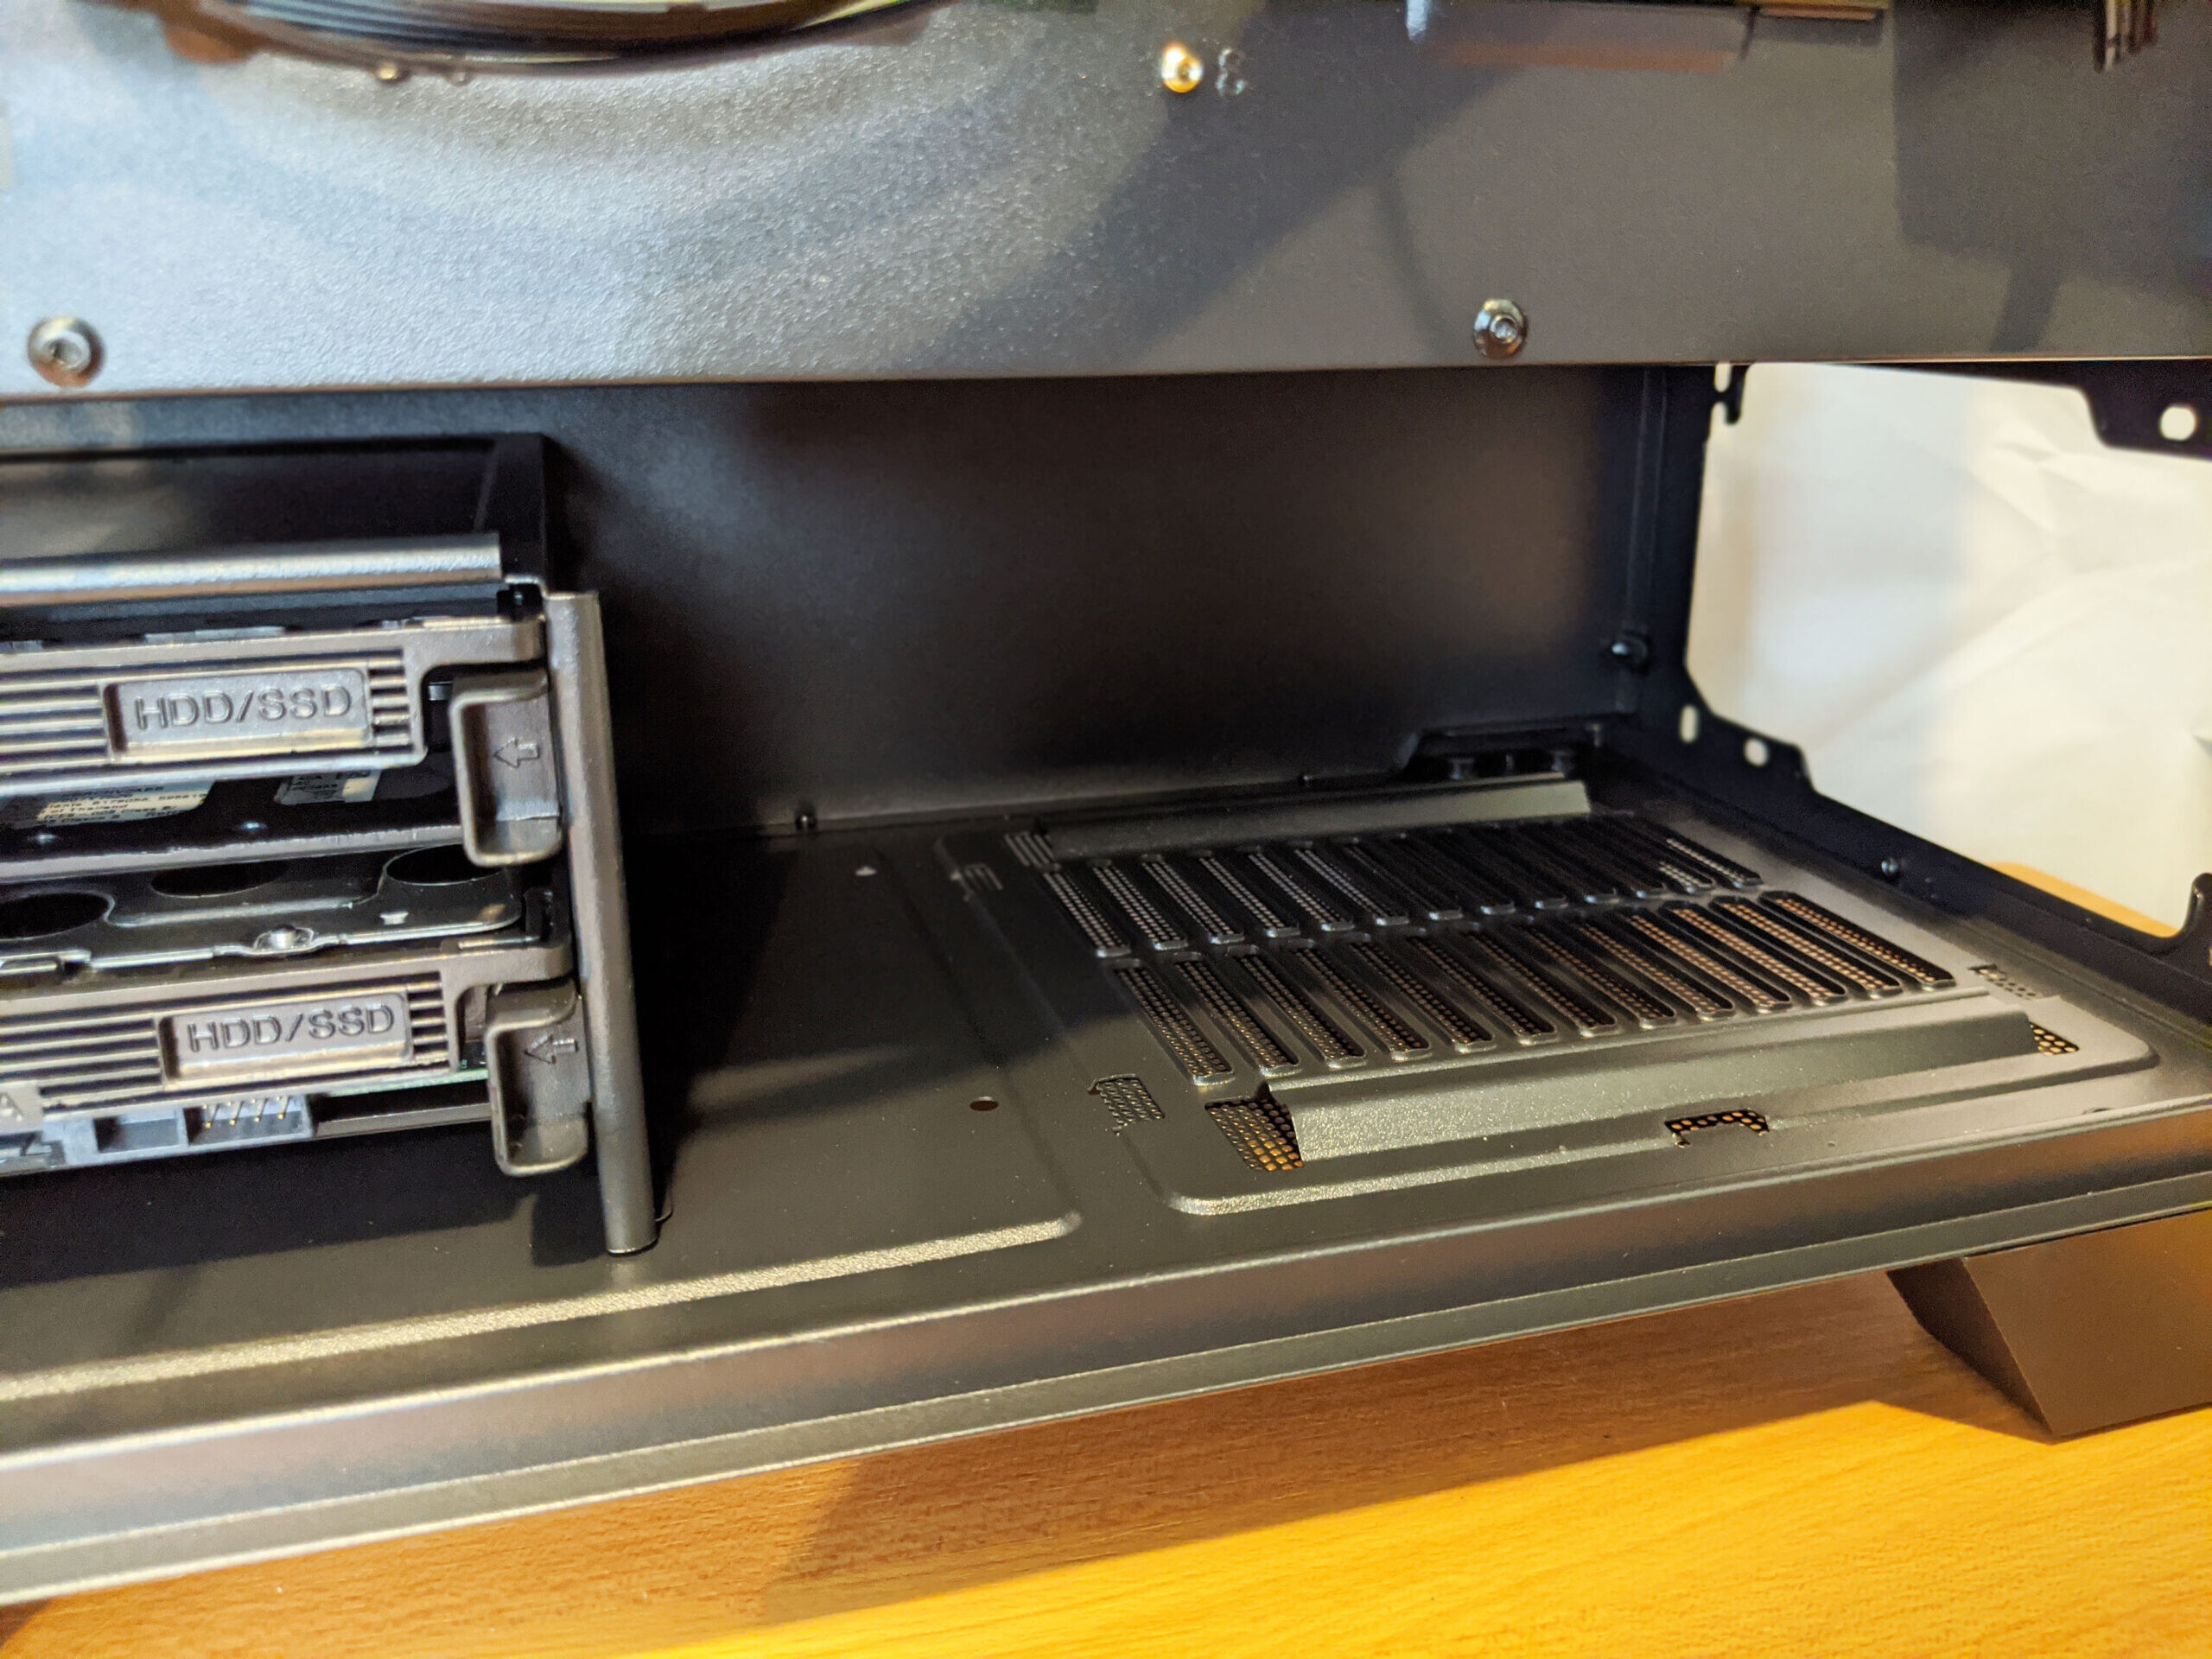
Installing a HDD is pretty simple. Just remove the tray, bend the tray around the HDD which will stap into place, and re-insert it back into the case. Be sure to orient the HDD ports towards the opening for easy access.
I was also pleased to see plenty of cable management options scattered around the backside of the motherboard tray. This definitely helps with organization as well as making it easy to reinstall the back panel once you’re done with your build.
Next, let’s get some hardware into this thing and get it powered on!
Hardware Install & Final Build
For this test build, we decided to go with a clean, entry level build. The hardware is as follows:
- CPU: AMD Ryzen 5 2600X
- CPU Cooler: Cooler Master Hyper 212 Black Edition
- Motherboard: ASRock B450 Steel Legend
- Graphics Card: Sapphire PULSE Radeon RX 580
- Memory: Team T-FORCE VULCAN Z 16GB (2 x 8GB) PC4-24000
- PSU: Seasonic FOCUS GM-550, 550W
- Storage: Crucial P1 500GB NVMe M.2 SSD
Installing typical PC hardware into the Abkoncore H600X is about as easy as it gets. The case has plenty of space inside the case for routing cables, or installing components. At no point during the install did I wish the layout was any different. The ports for routing cables lined up perfectly with motherboard power and other hookups.
Here are some finalized build images:

With all the components installed, let’s apply some power! Each of the RBB fans lit up beautifully. Definitely take a moment to bust out the remote control and play around with all of the many lighting options. There are many!

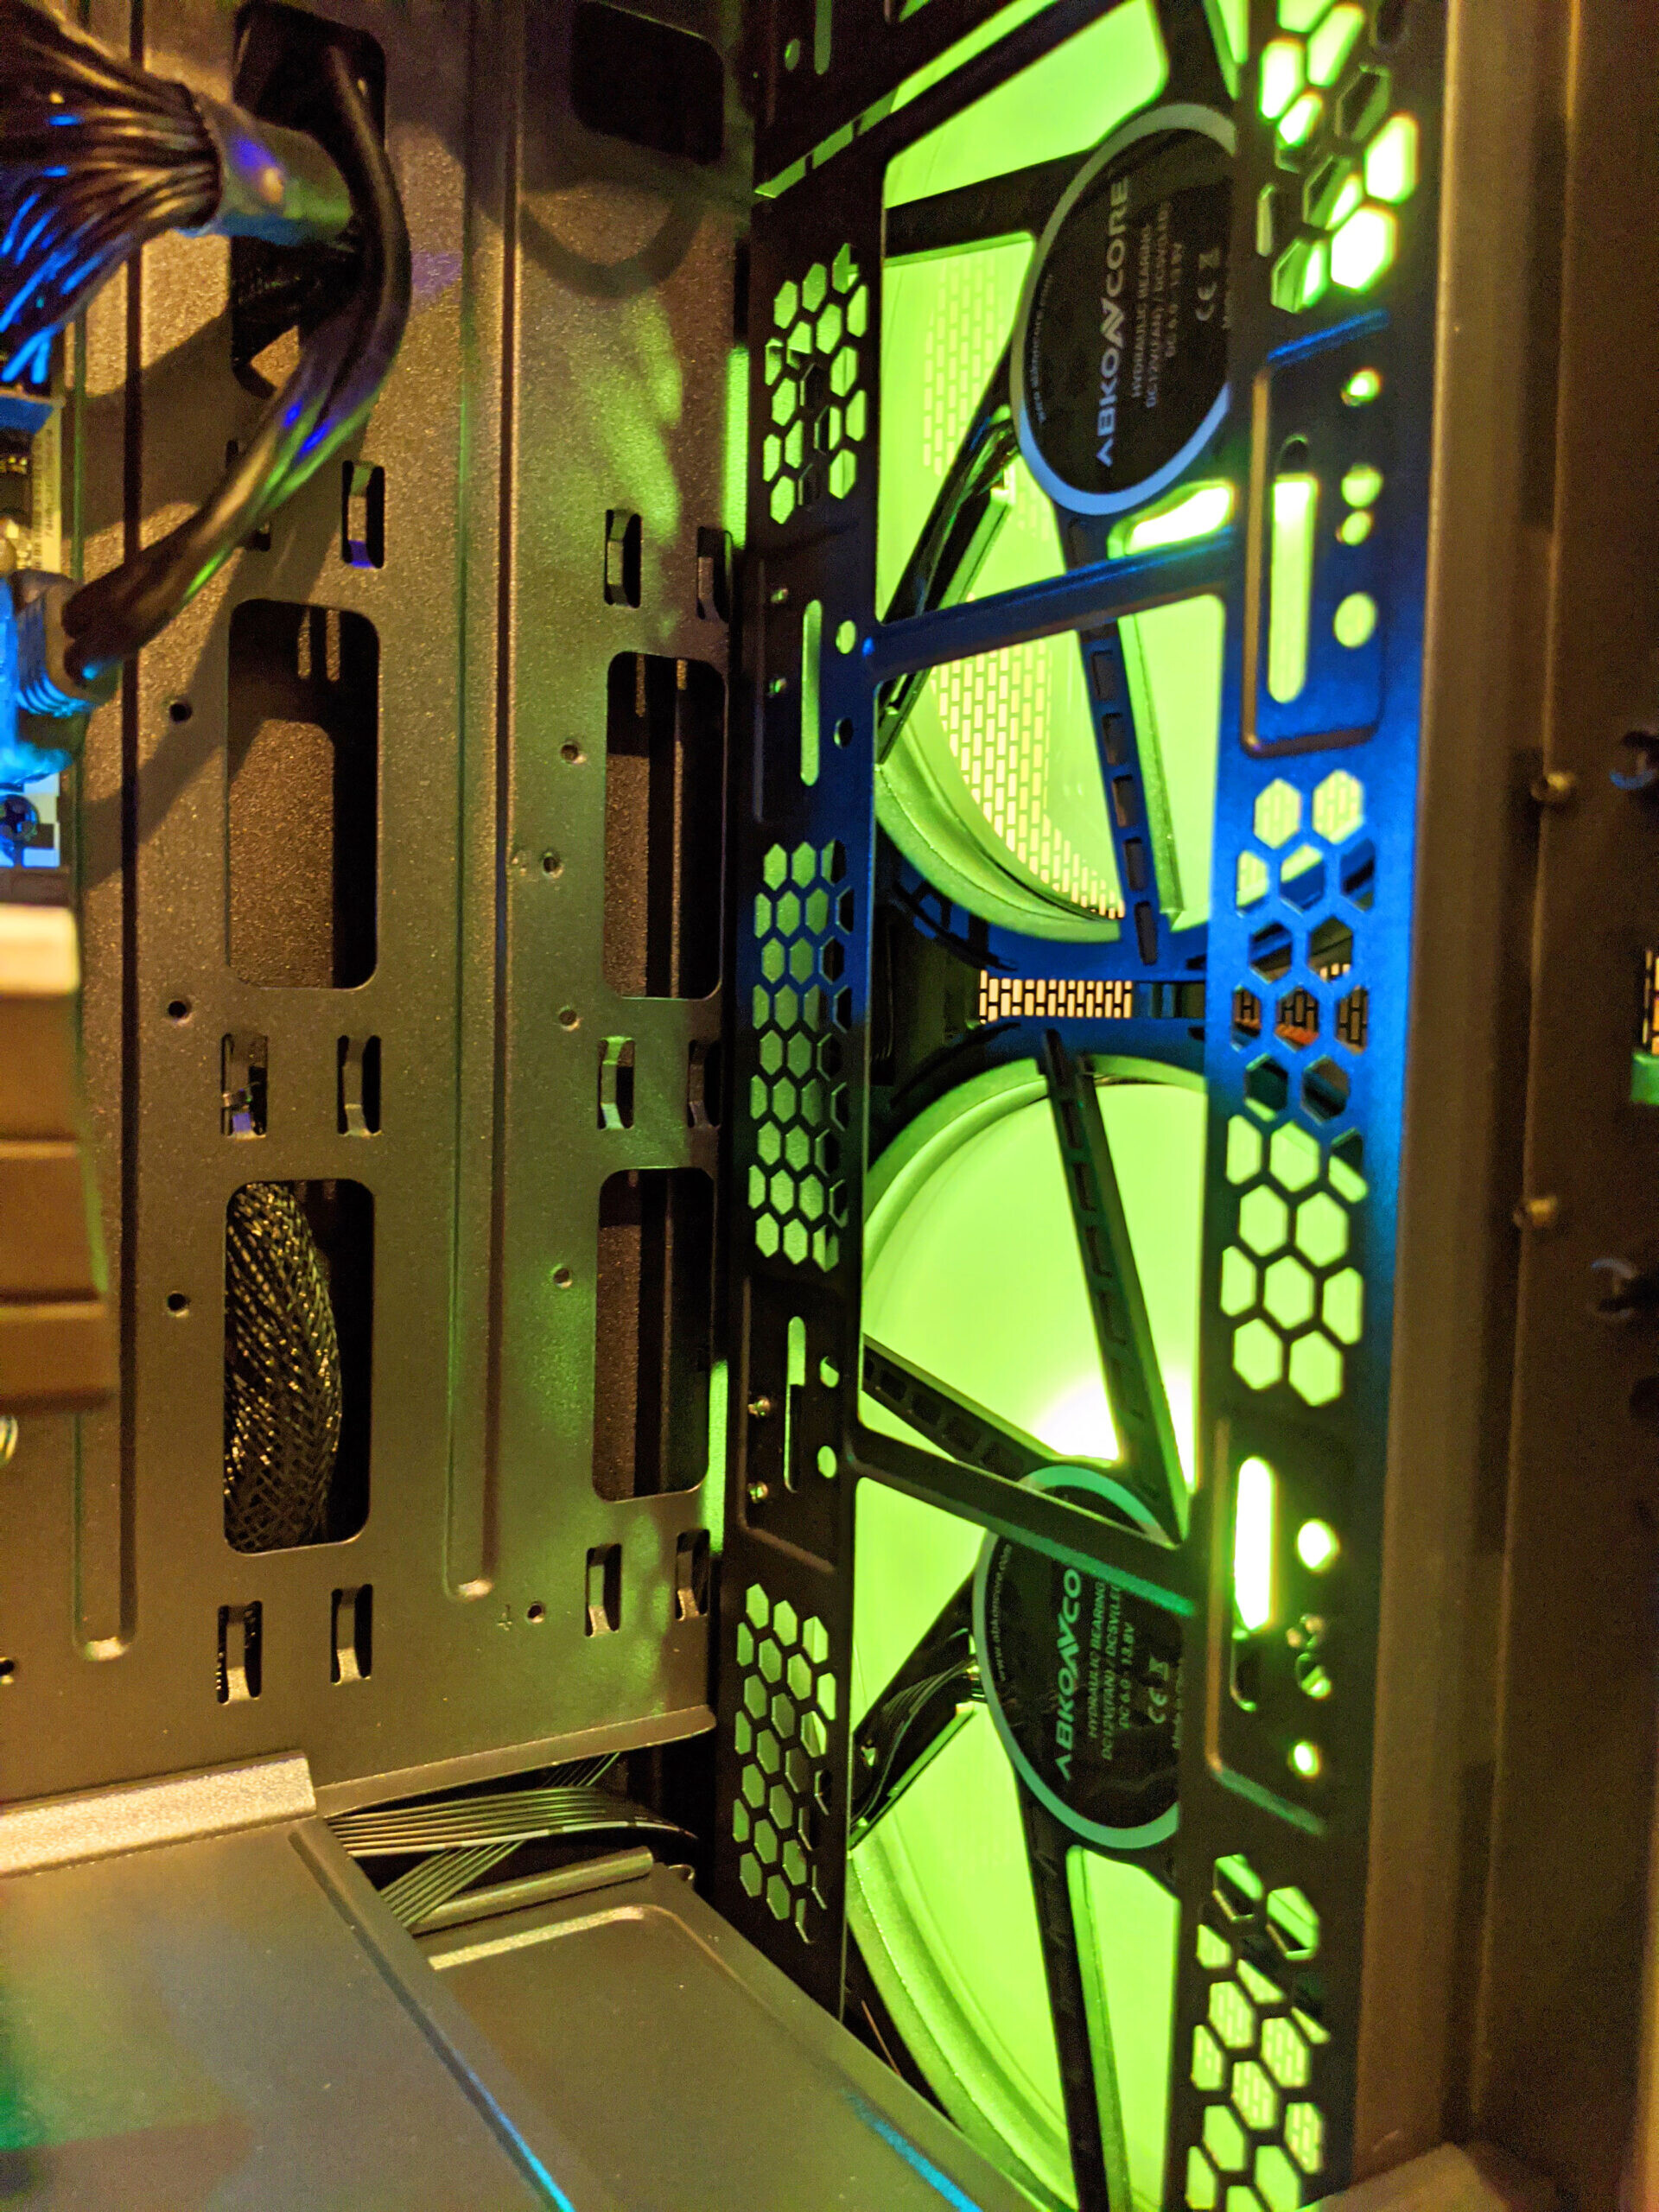

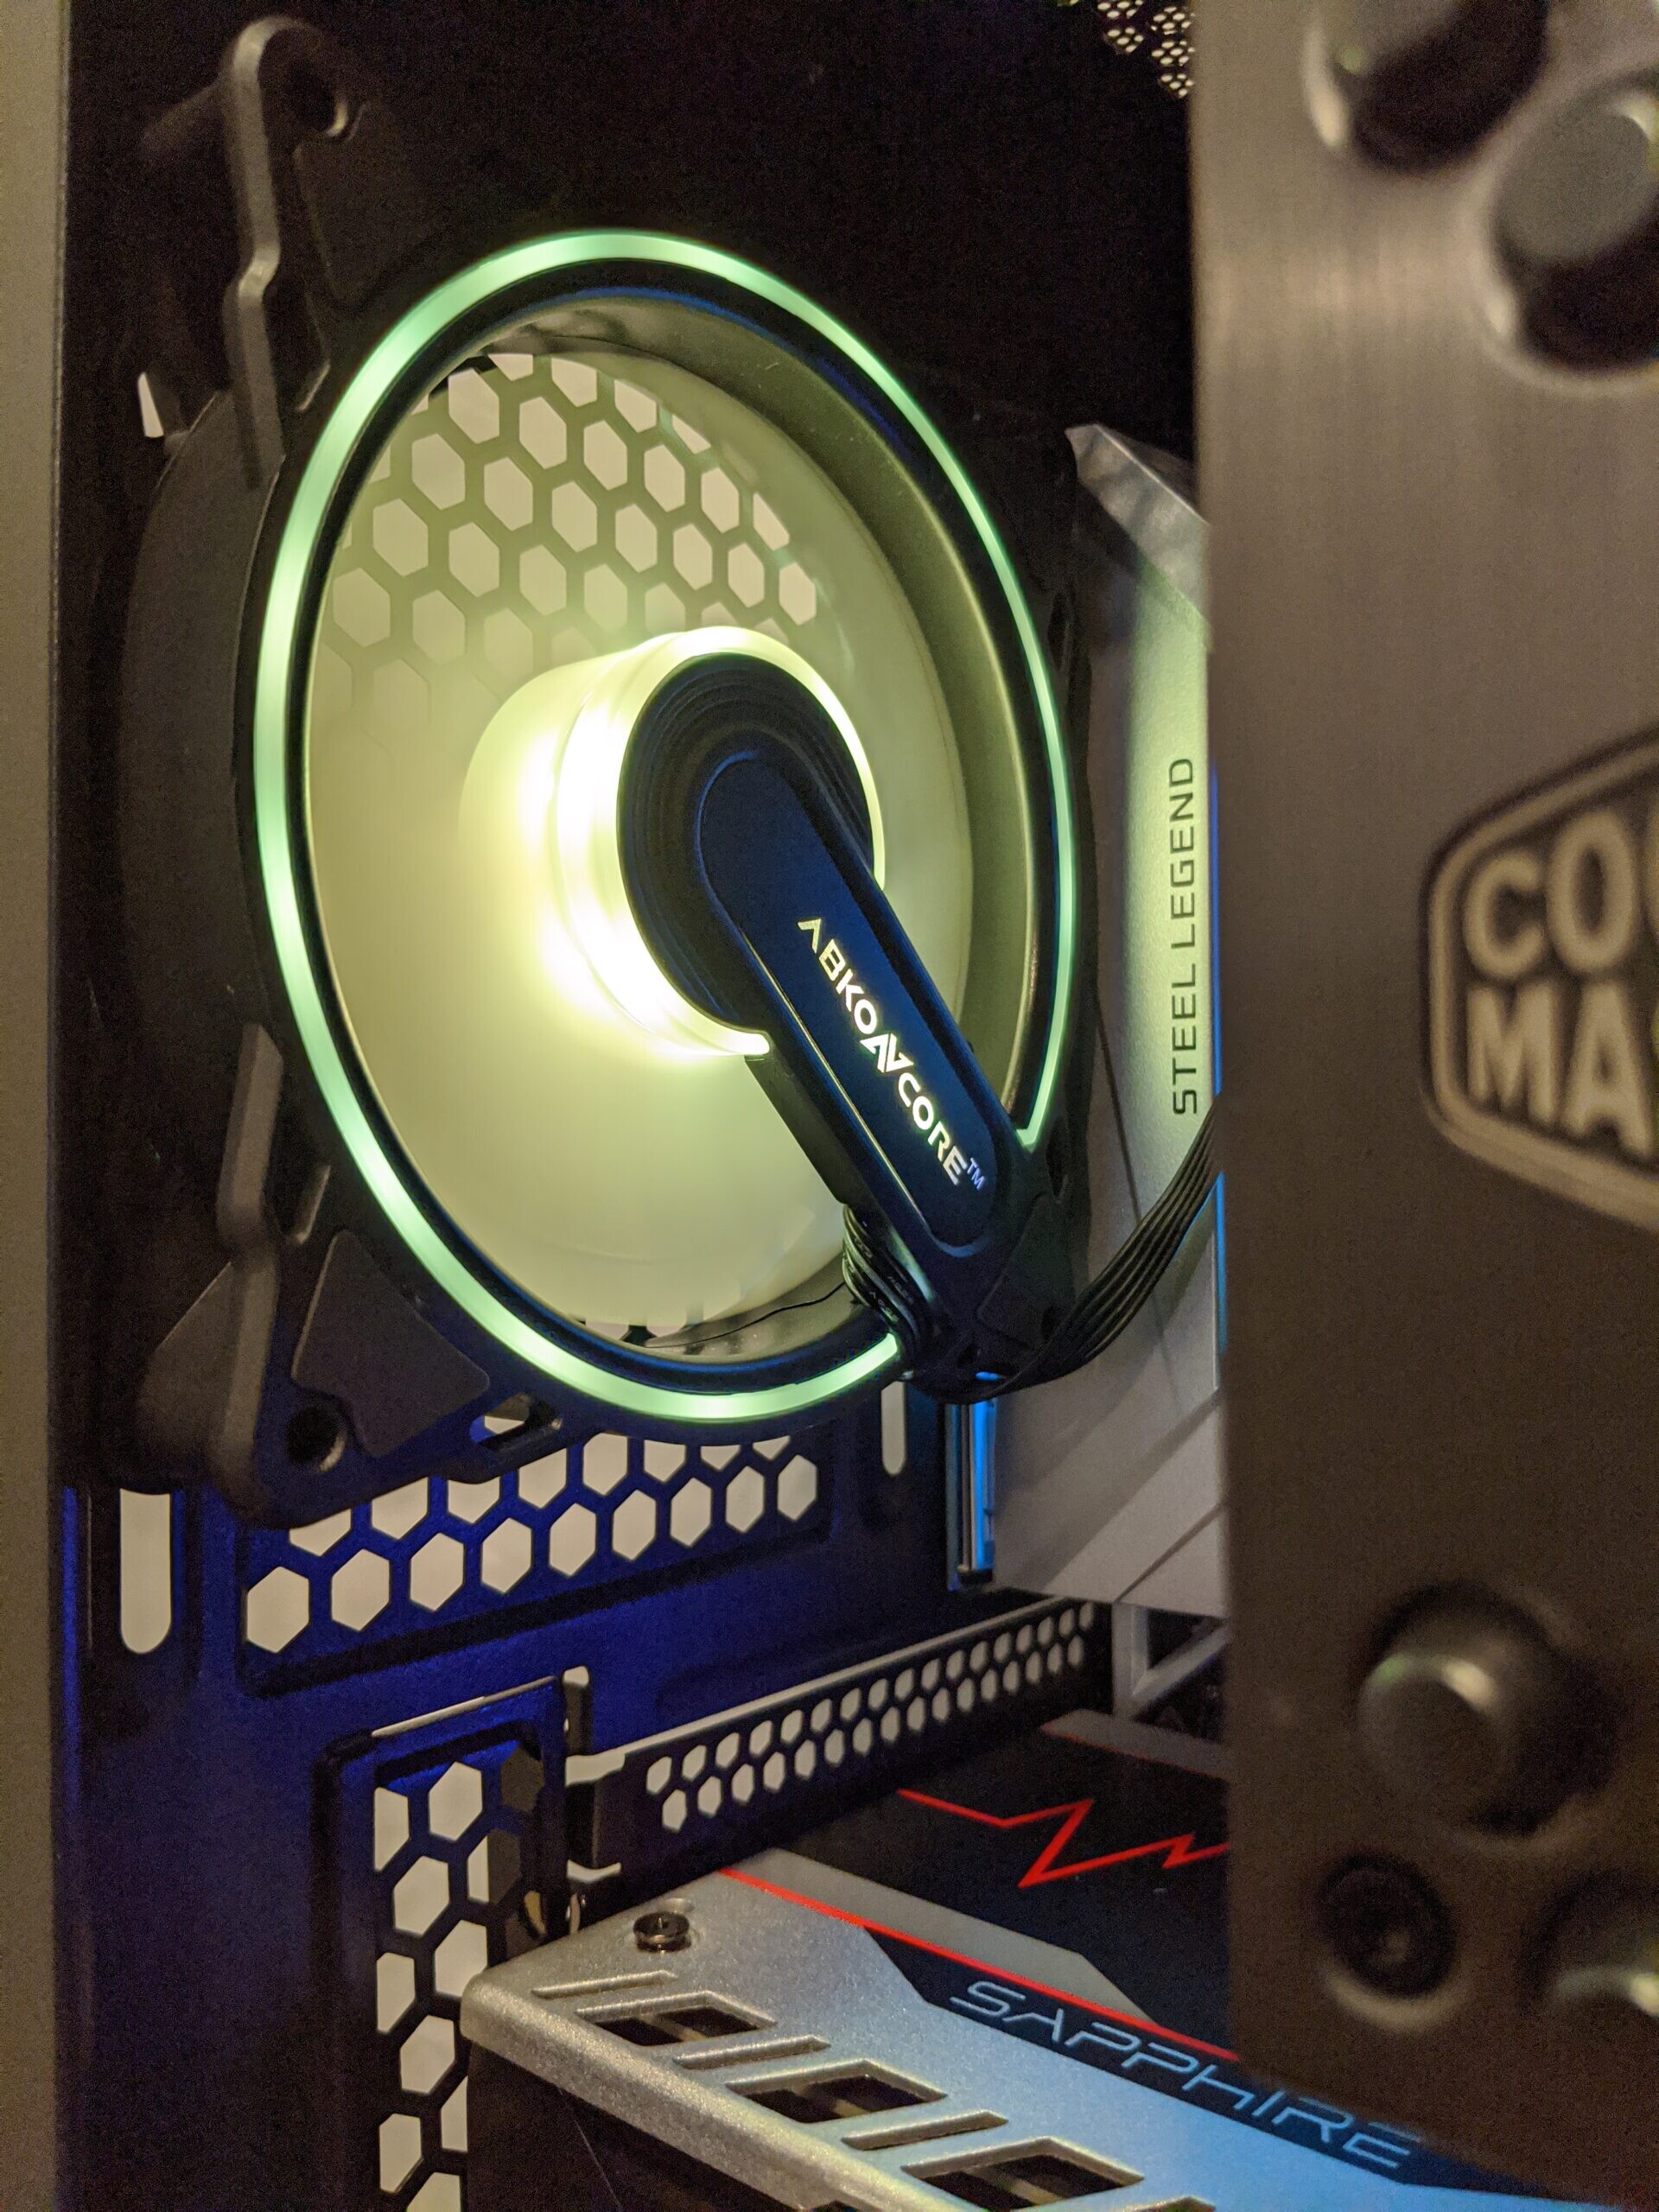
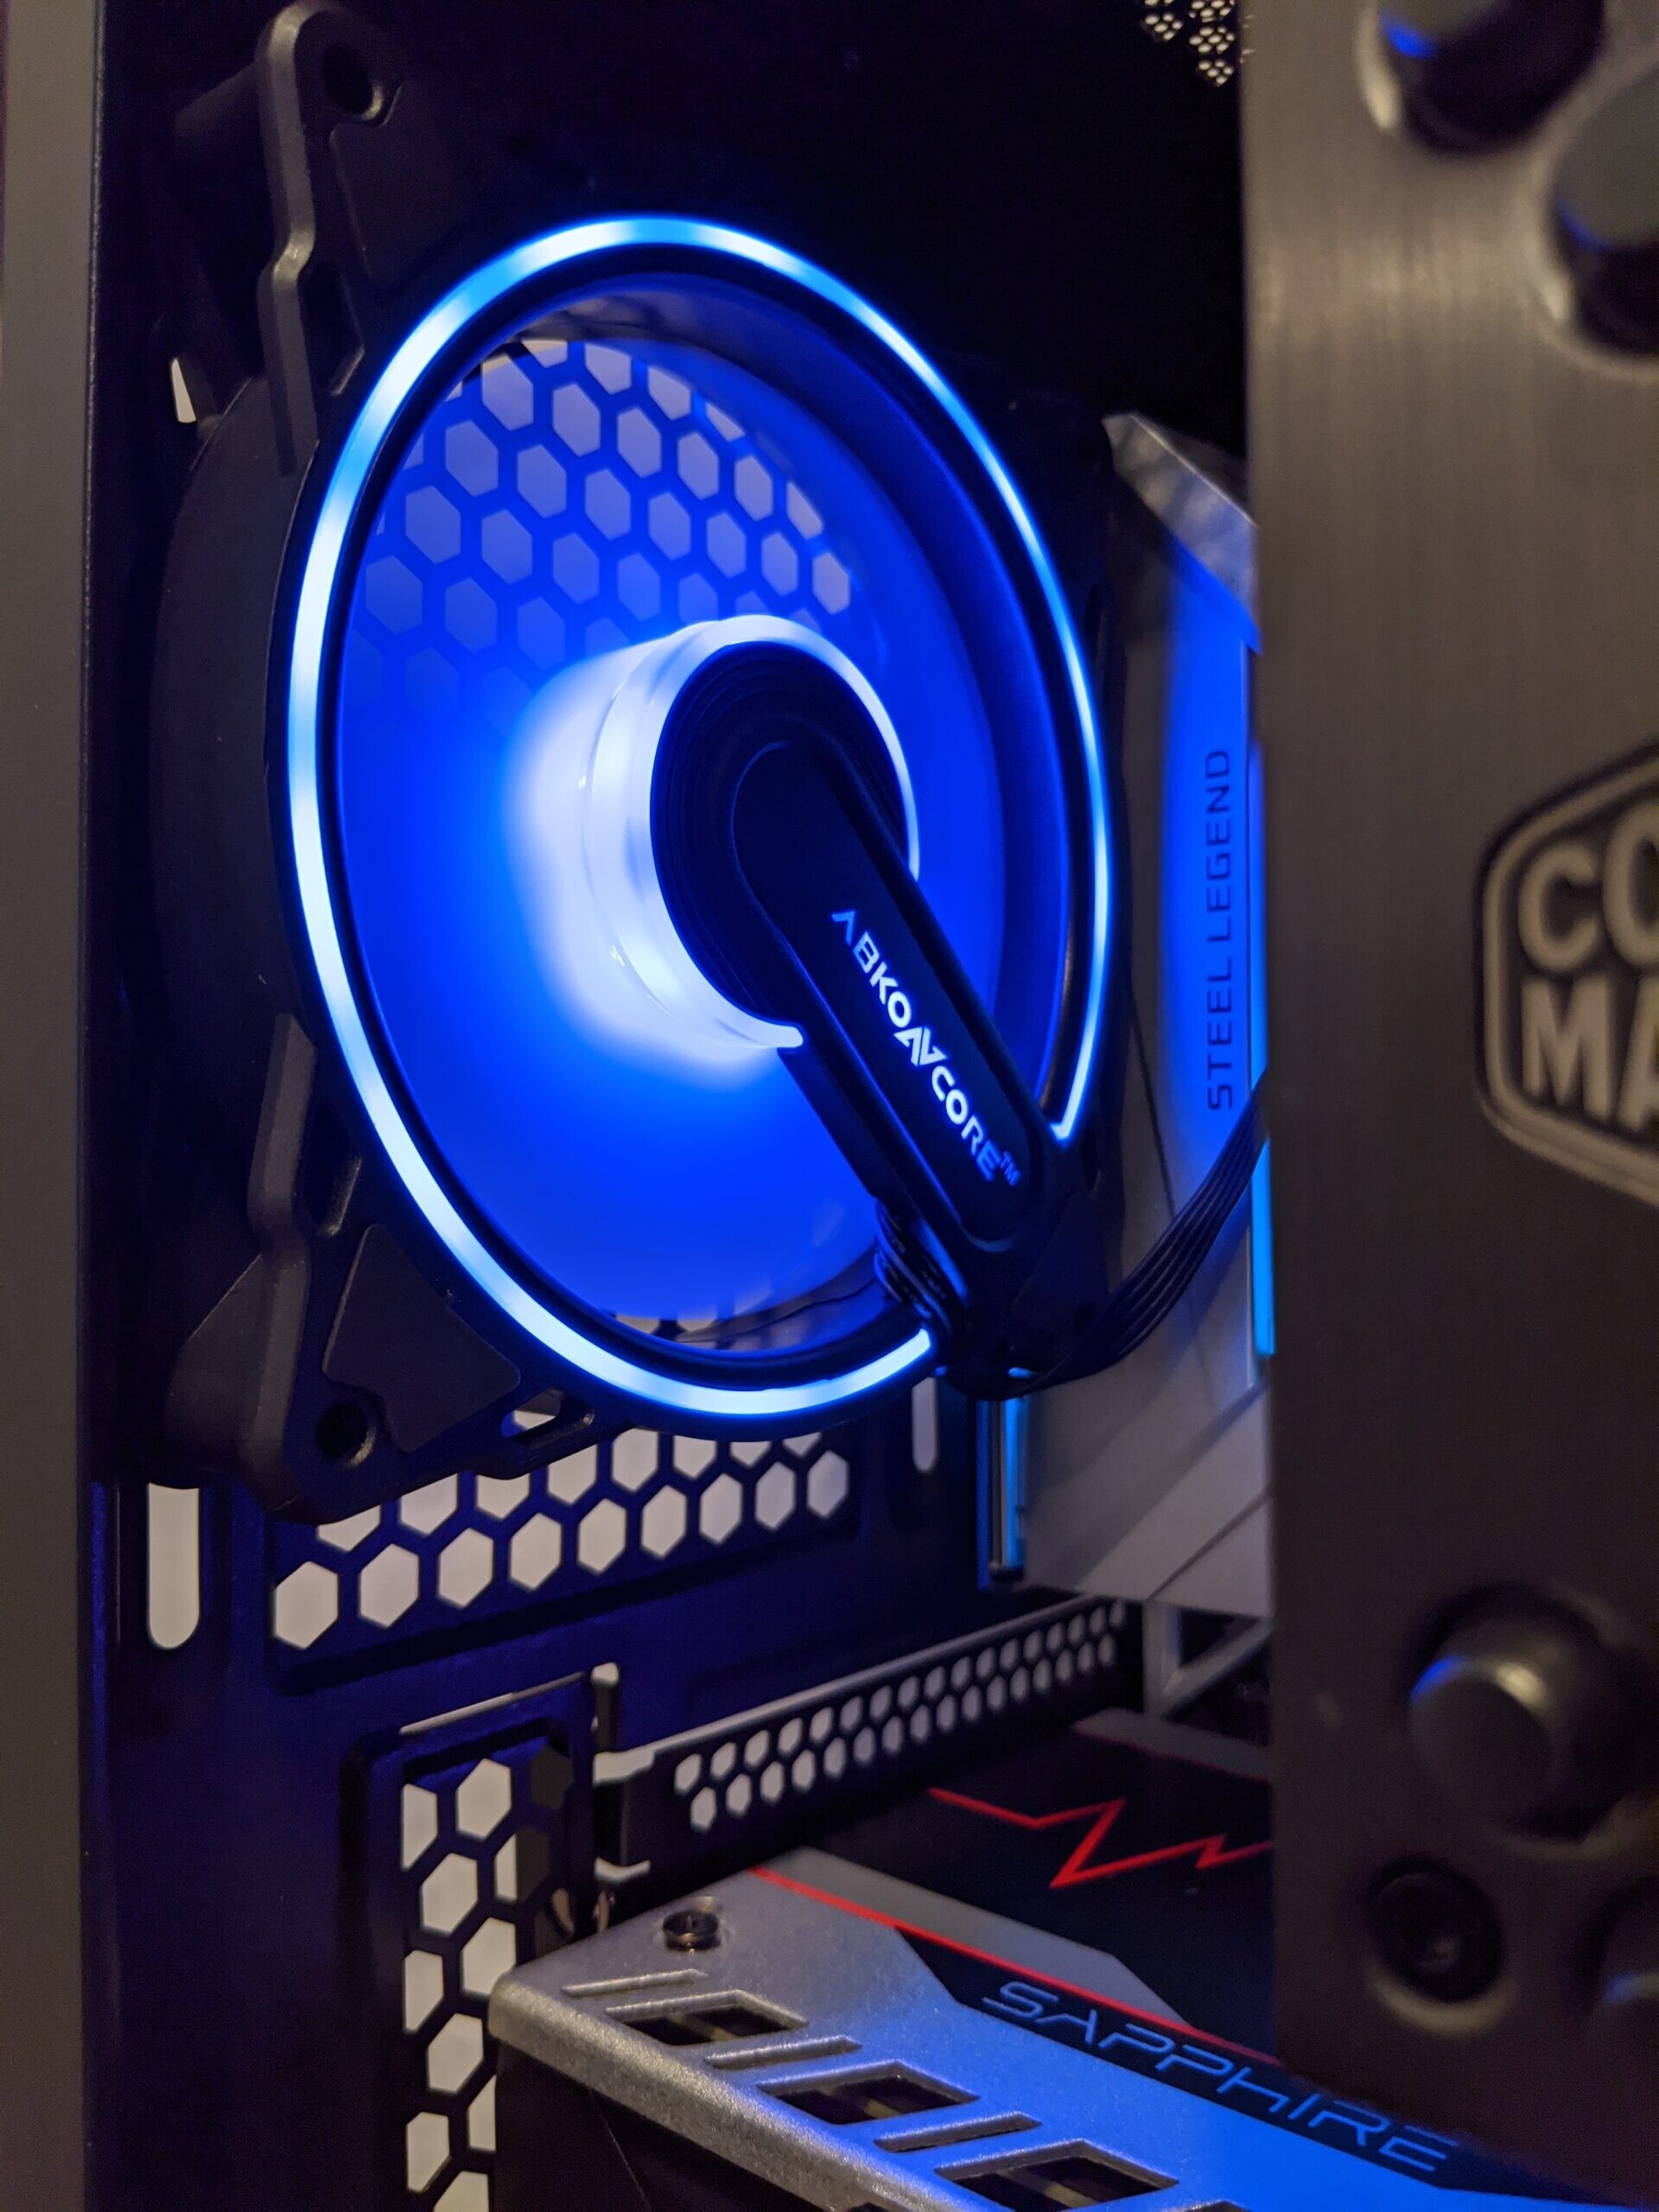
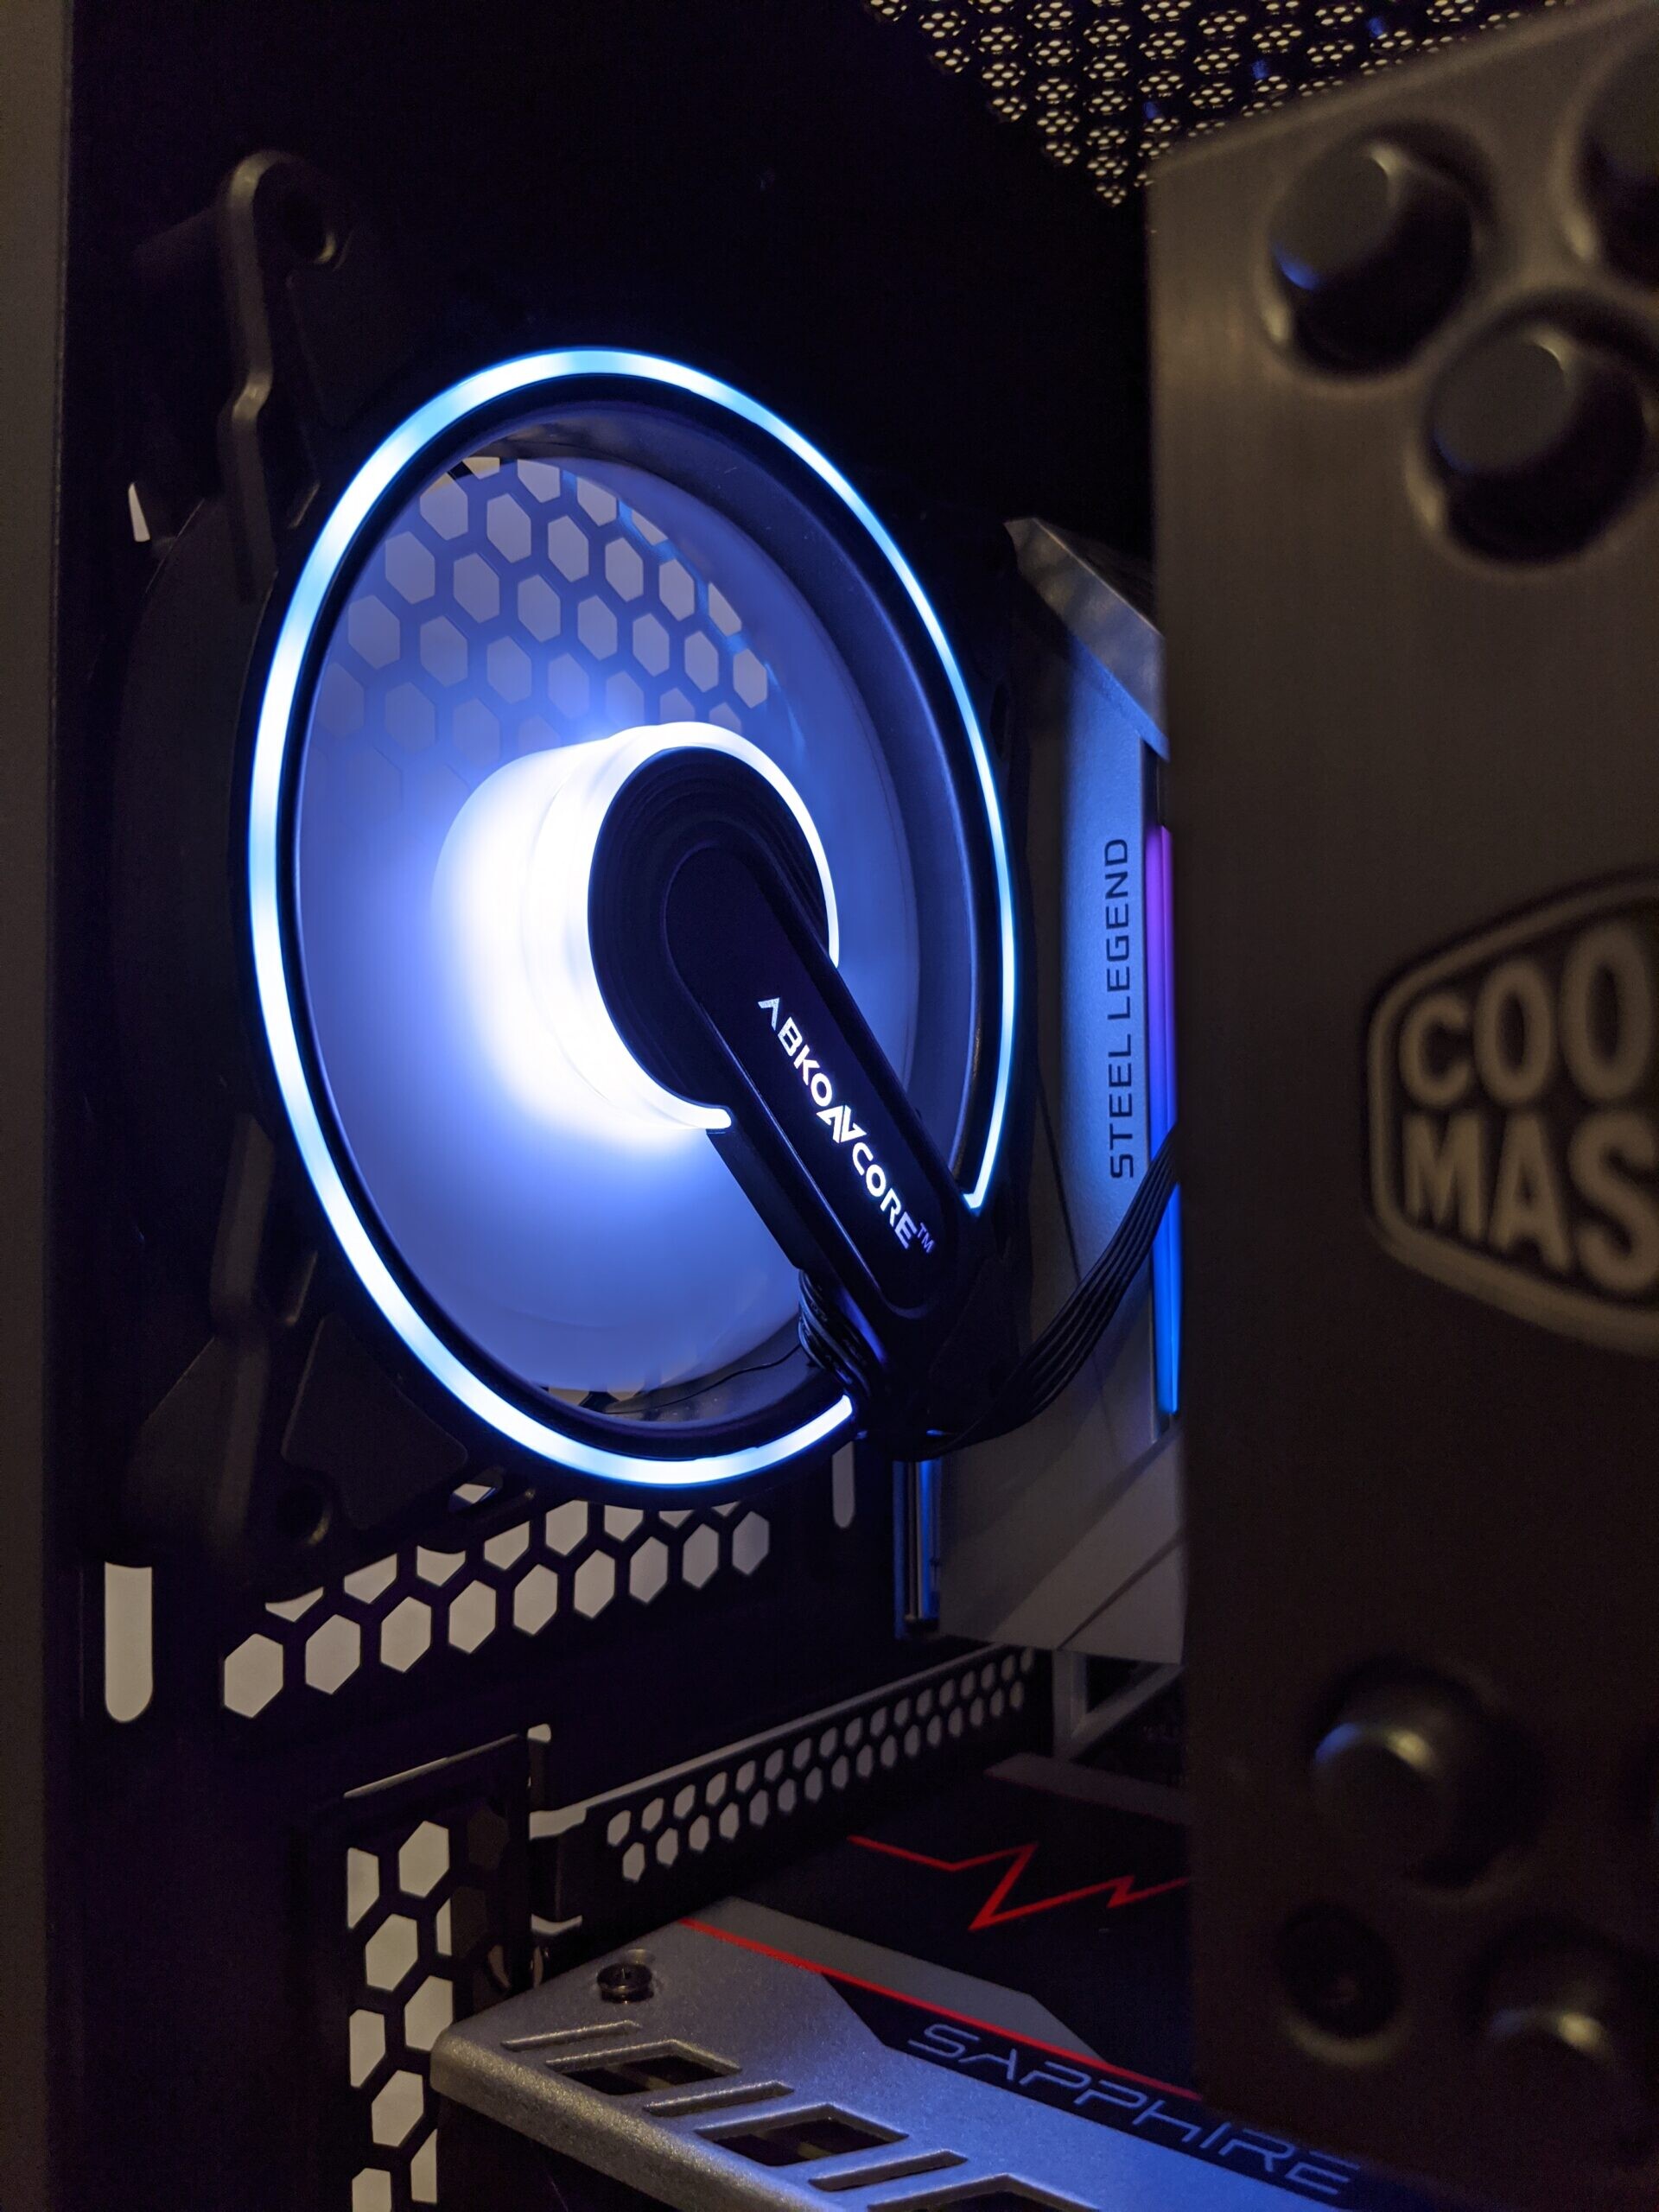
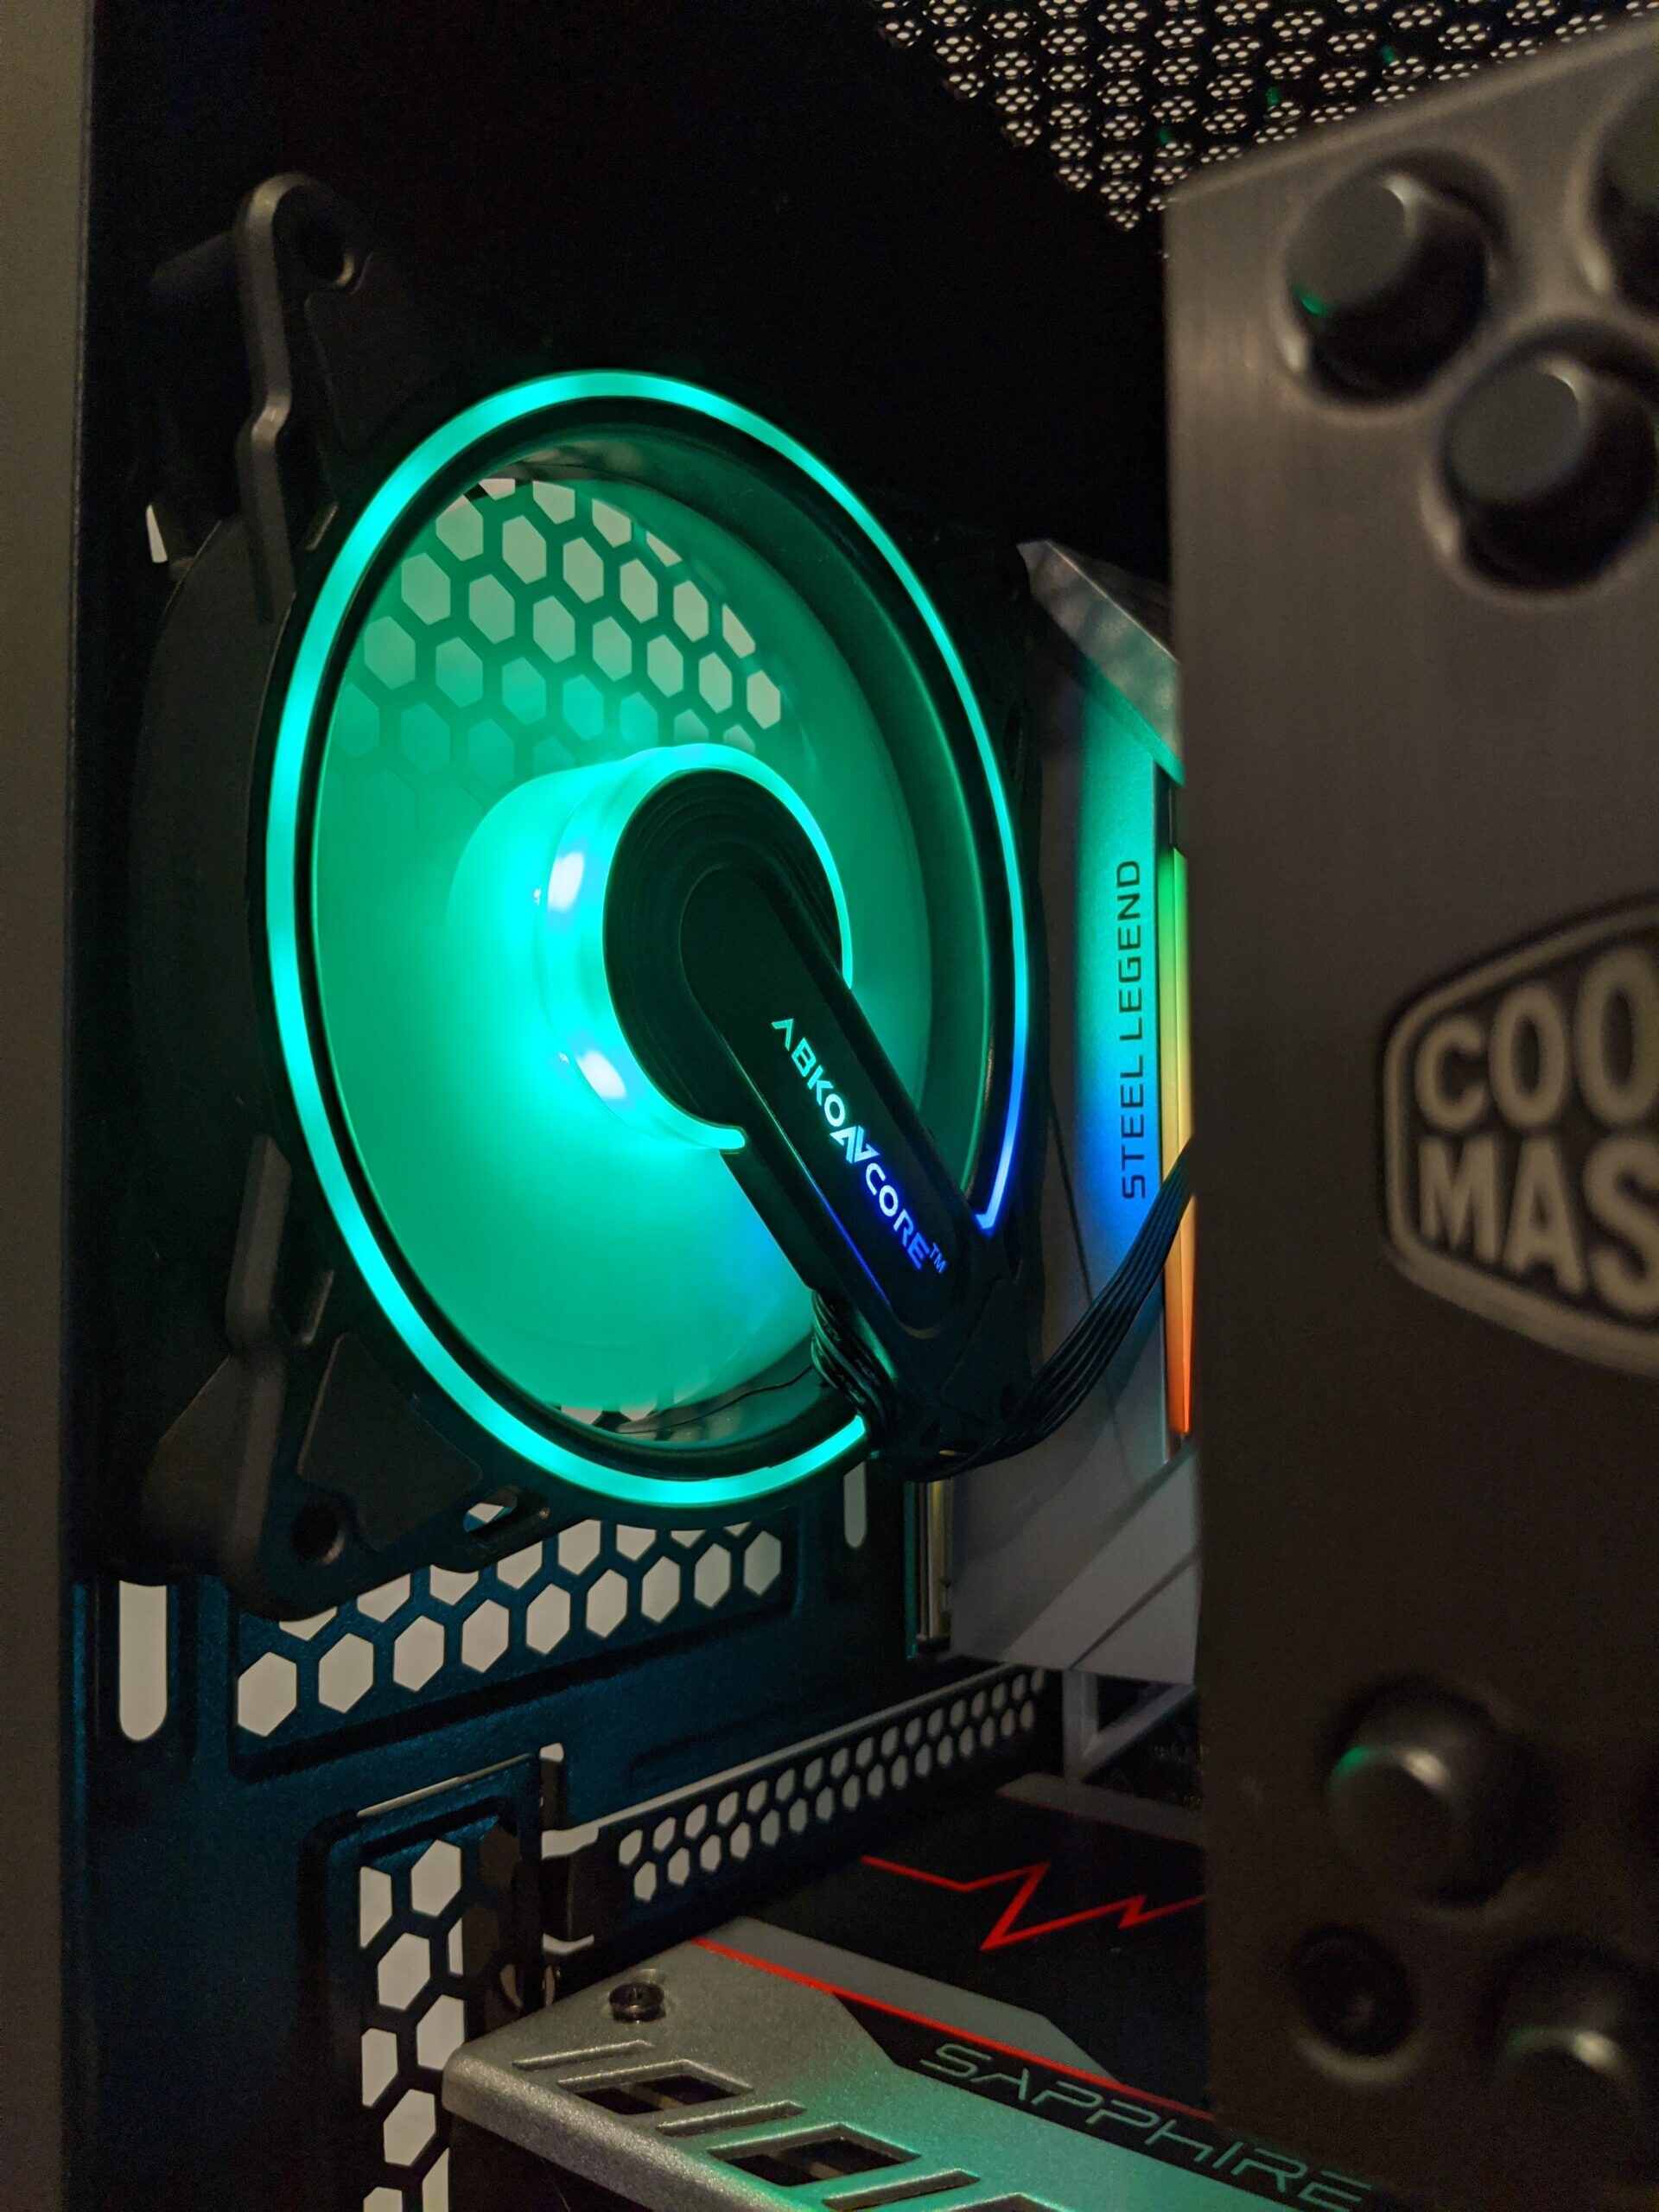
I really love the attention to detail of that exhaust fan. It features many more RGB LED’s that I originally would have guess. The center, outside ring and logo each contain individual RGB LEDs. Overall, I’m quite happy with how the build turned out!
Final Thoughts & Conclusion
The Abkoncore H600X was an outstanding mid-tower case that definitely held its own from build quality through its feature set. The design is likable and made even better by the three included ARGB fans. To me the fans were probably the biggest value add. The quality and lighting effects of the fans were fantastic and the wireless RGB lighting and fan speed controller was a hidden gem that we were definitely not expecting.
Probably my only gripe was the use of cheap break-away expansion slot covers at the rear of the case. These can easily damage the motherboard if a user is trying to remove them with the motherboard installed. In the end, it’s not a huge deal; if anything it’s confusing as we didn’t see any evidence of corner-cutting throughout the rest of the H600X.
- Build Quality: 8.4/10 – Overall, the case is solid and should withstand years of abuse. The packaging material housing the unit down to its construction were fantastic. My only ding here are the break-away PCI-E expansion slots.
- Appearance: 9.0/10 – This area is definitely subjective, however, being as non-objective as I can be, the overall design is good and will definitely appeal to a large set of system builders.
- Functionality/Performance: 9.2/10 – This case will have absolutely no issue housing almost whatever hardware you can throw at this thing. For a mid-tower ATX case, even with a full sized E-ATX motherboard, there’s still tons of room leftover for other options such as custom loop liquid cooling solutions. The fans were probably one of my favorite features. They’re bright, fun and definitely the centerpiece of this build.
- Value: 8.9/10 – Currently MSRP of the Abkoncore H600X is priced at €82,95 / $92.95 putting it in the mid tier range of cases. After having a chance to get up close and personal with this case, and considering its many features, I believe this price is fully justified.
Final Score: 8.9/10
Product Page: https://abkoncore.com/post/968

Abkoncore H600X Review
"The Abkoncore H600X was an outstanding mid-tower case that definitely held its own..."