In this review we’ll be taking an in-depth look into one of DeepCool’s more recent offerings the Gamer Storm Captain 240 Pro RGB equipped CPU AIO cooler. What first caught our eye was the unique design of the pump and the fact that the cooler supports the AMD TR4 socket for first and second generation Ryzen Threadripper HEDT (which we’re definitely going to have to test!). The new cooler definitely has enough to set it apart from the rest, but support and looks are one thing, performance is another.
Later on in this review we’ll see ho this cooler does with a second gen AMD Ryzen CPU as well as a Threadripper. Each will be measured at stock speeds as well as a hefty overclock to see if this thing can keep up. Before we dive into testing, let’s get a better idea as to what we’re working with.
Gamer Storm Captain 240 Pro Specifications
At a glance, the new DeepCool AIO cooler features a 240mm radiator which of course is cooled by two 120mm fans. Both the fans and the pump feature RGB lighting which is controlled by either the included RGB controller or by the ARGB header on your motherboard. According to DeepCool, the cooler’s RGB controllers are supported by common motherboard software such as ASUS Aura Sync, MSI Mystic Lighting, ASRock Polychrome, and Gigabyte RGB Fusion.
Below are the detailed technical specifications provided by DeepCool:
| Model | CAPTAIN 240 PRO (DP-GS-H12AR-CT240P) |
|---|---|
| Motherboard Support | Intel: LGA20XX/1151/1150/1155/LGA1366 AMD: TR4/AM4/AM3+/AM3/AM2+/AM2/FM2+/FM2/FM1 |
| Radiator Dimensions | 290×120×27 mm |
| Radiator Material | Aluminum |
| Net Weight | 1478 g |
| Tube length | 300 mm |
| Pump Dimensions | 93.7×93×85 mm |
| Pump Speed | 2200 RPM±10% |
| Pump Noise | 17.8 dB(A) |
| Pump Connector | 3-pin |
| Pump Rated Voltage | 12 VDC |
| Pump Rated Current | 0.13 A |
| Pump Power Consumption | 1.56 W |
| Fan Dimensions | 120×120×25 mm |
| Fan Speed | 500~1800 RPM±10% |
| Fan Airflow | 69.34 CFM |
| Fan Air Pressure | 2.42 mmAq |
| Fan Noise | ≤30 dB(A) |
| Fan Connector | 4-pin PWM |
| Bearing Type | Hydro Bearing |
| Fan Rated Voltage | 12 VDC |
| Fan Rated Current | 0.17 A |
| Fan Power Consumption | 2.04 W |
| LED Type | Addressable RGB LED |
| LED Connector | 3-pin(+5V-D-G) |
| LED Rated Voltage | 5 VDC |
Now that we’re all theoretical experts at the DeepCool Captain 240 Pro, let’s dive right into the review and get a better idea of what we’re working with!
Packaging
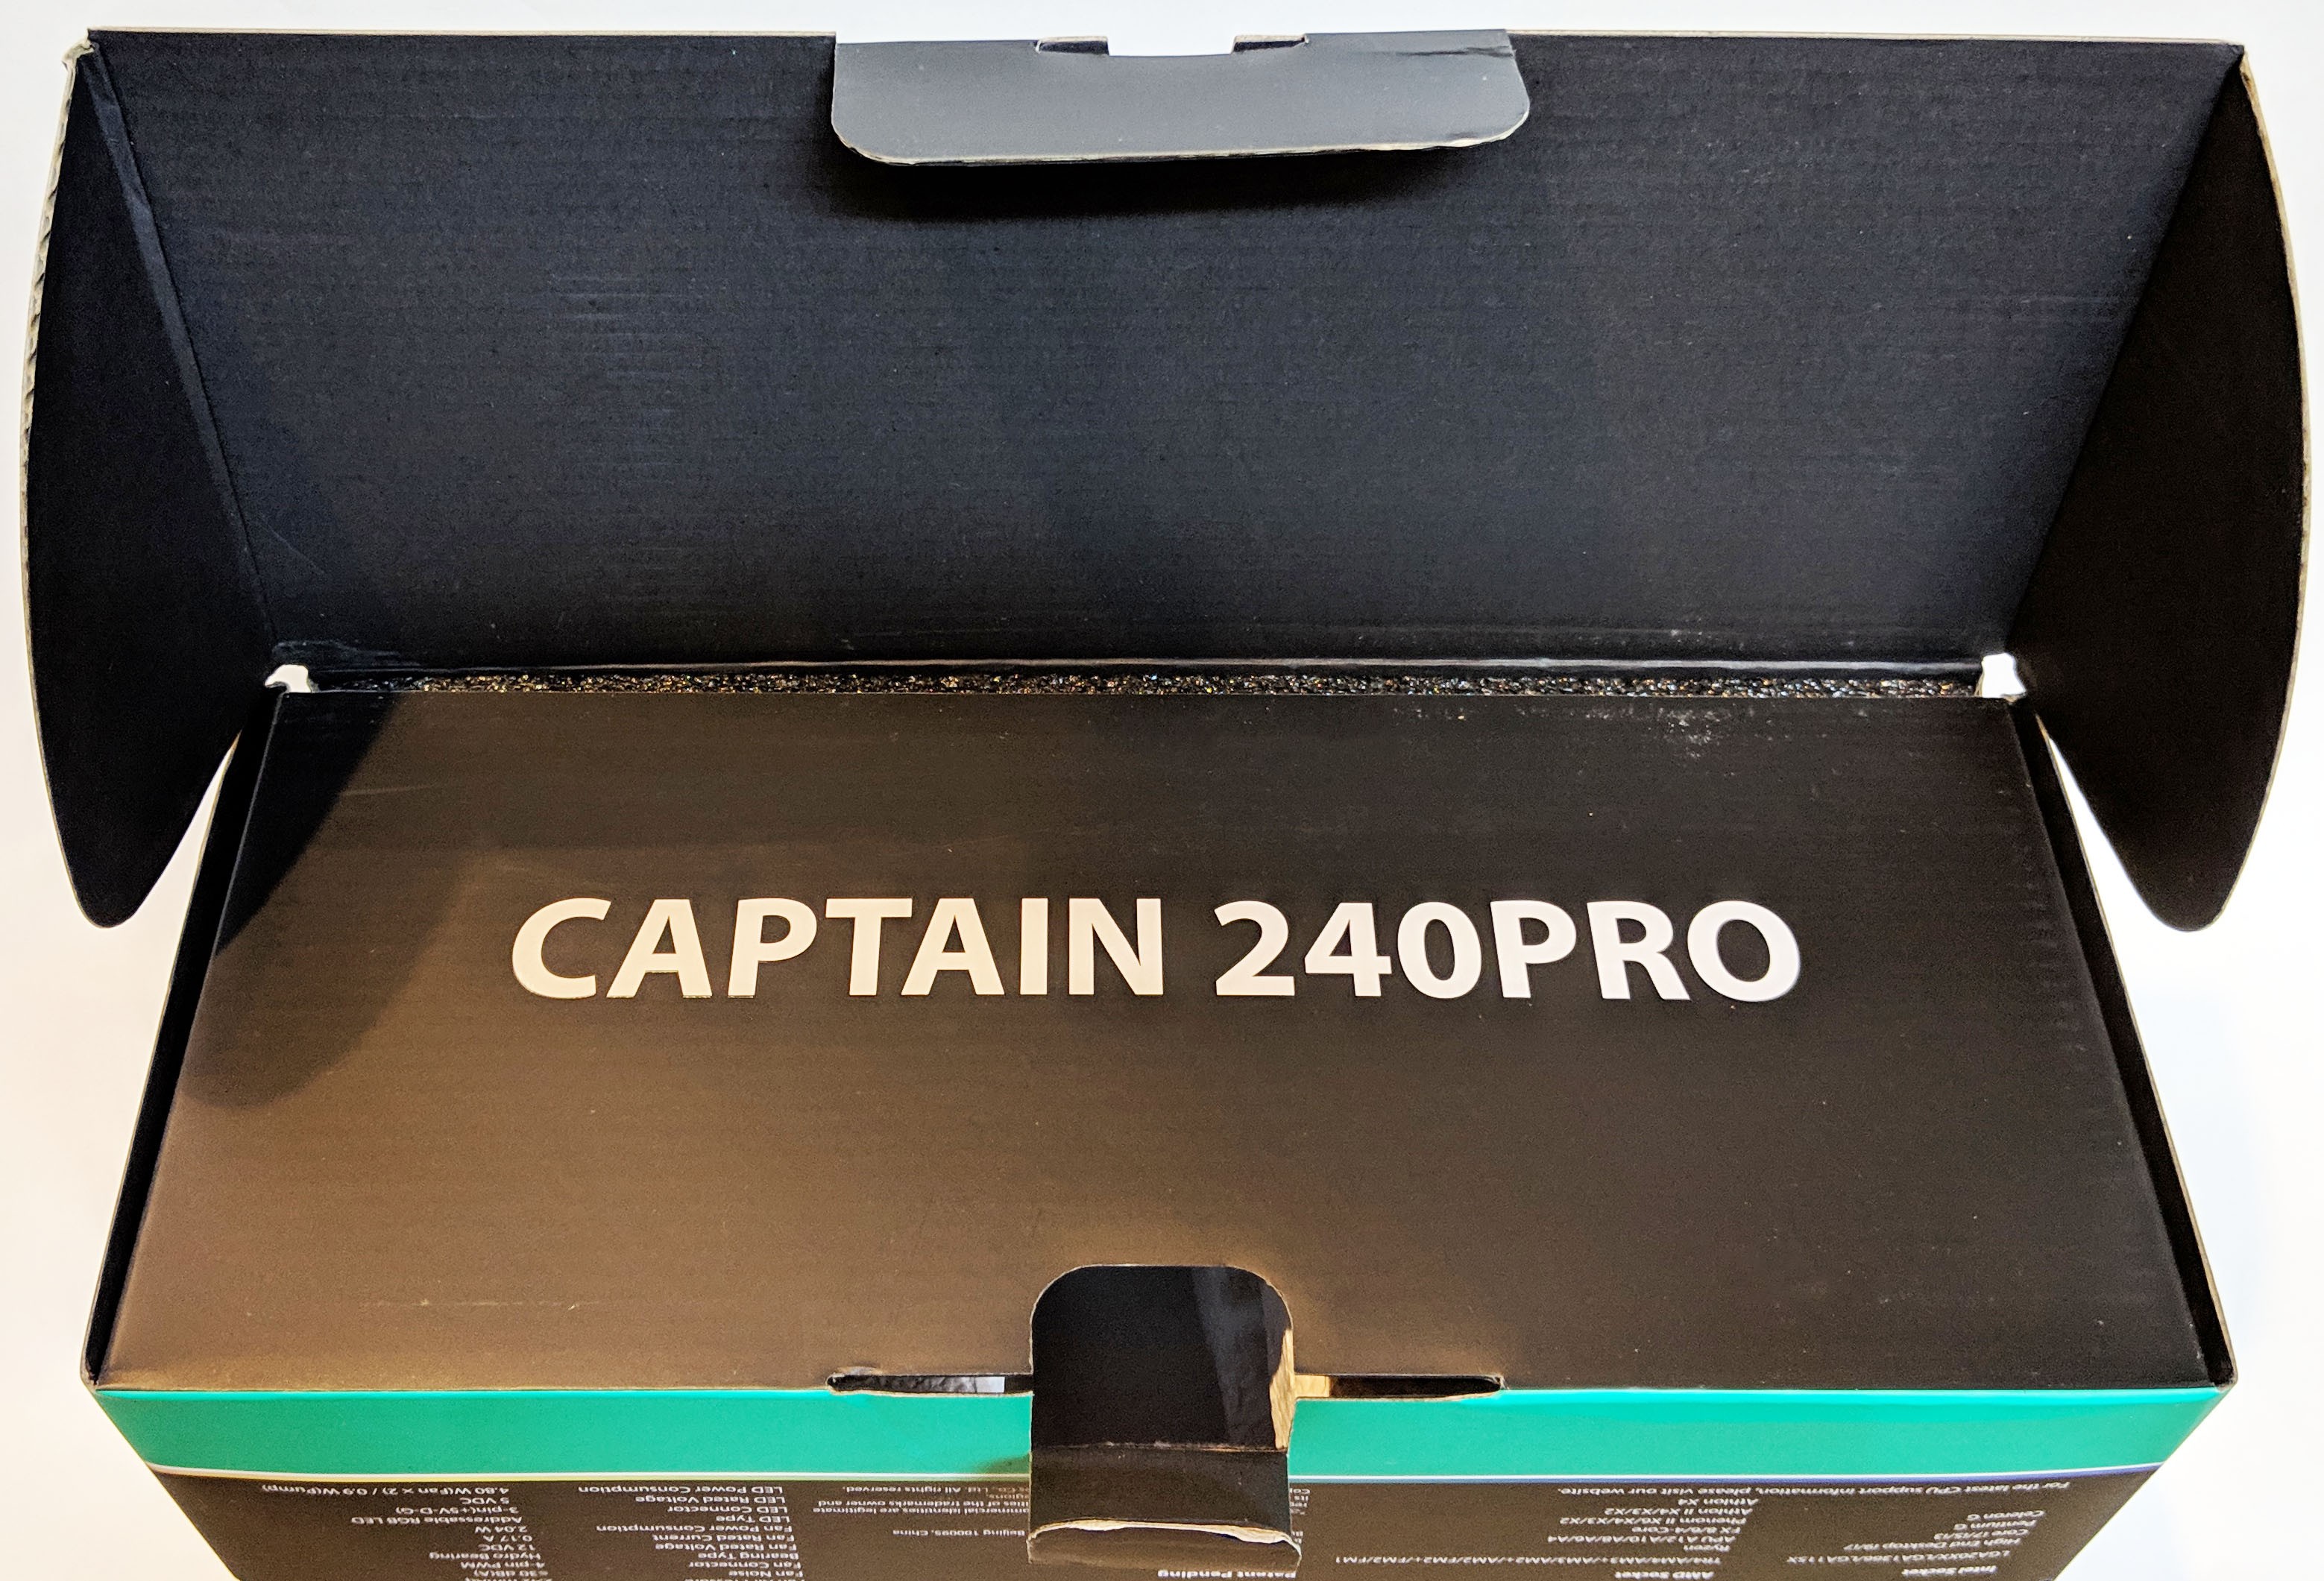
The DeepCool Captain 240 Pro AIO cooler arrived at our research facility in perfect shape and unscathed. The outside of the box is wrapped in vacuum sealed plastic to protect the outside of the box from scratches and scrapes.
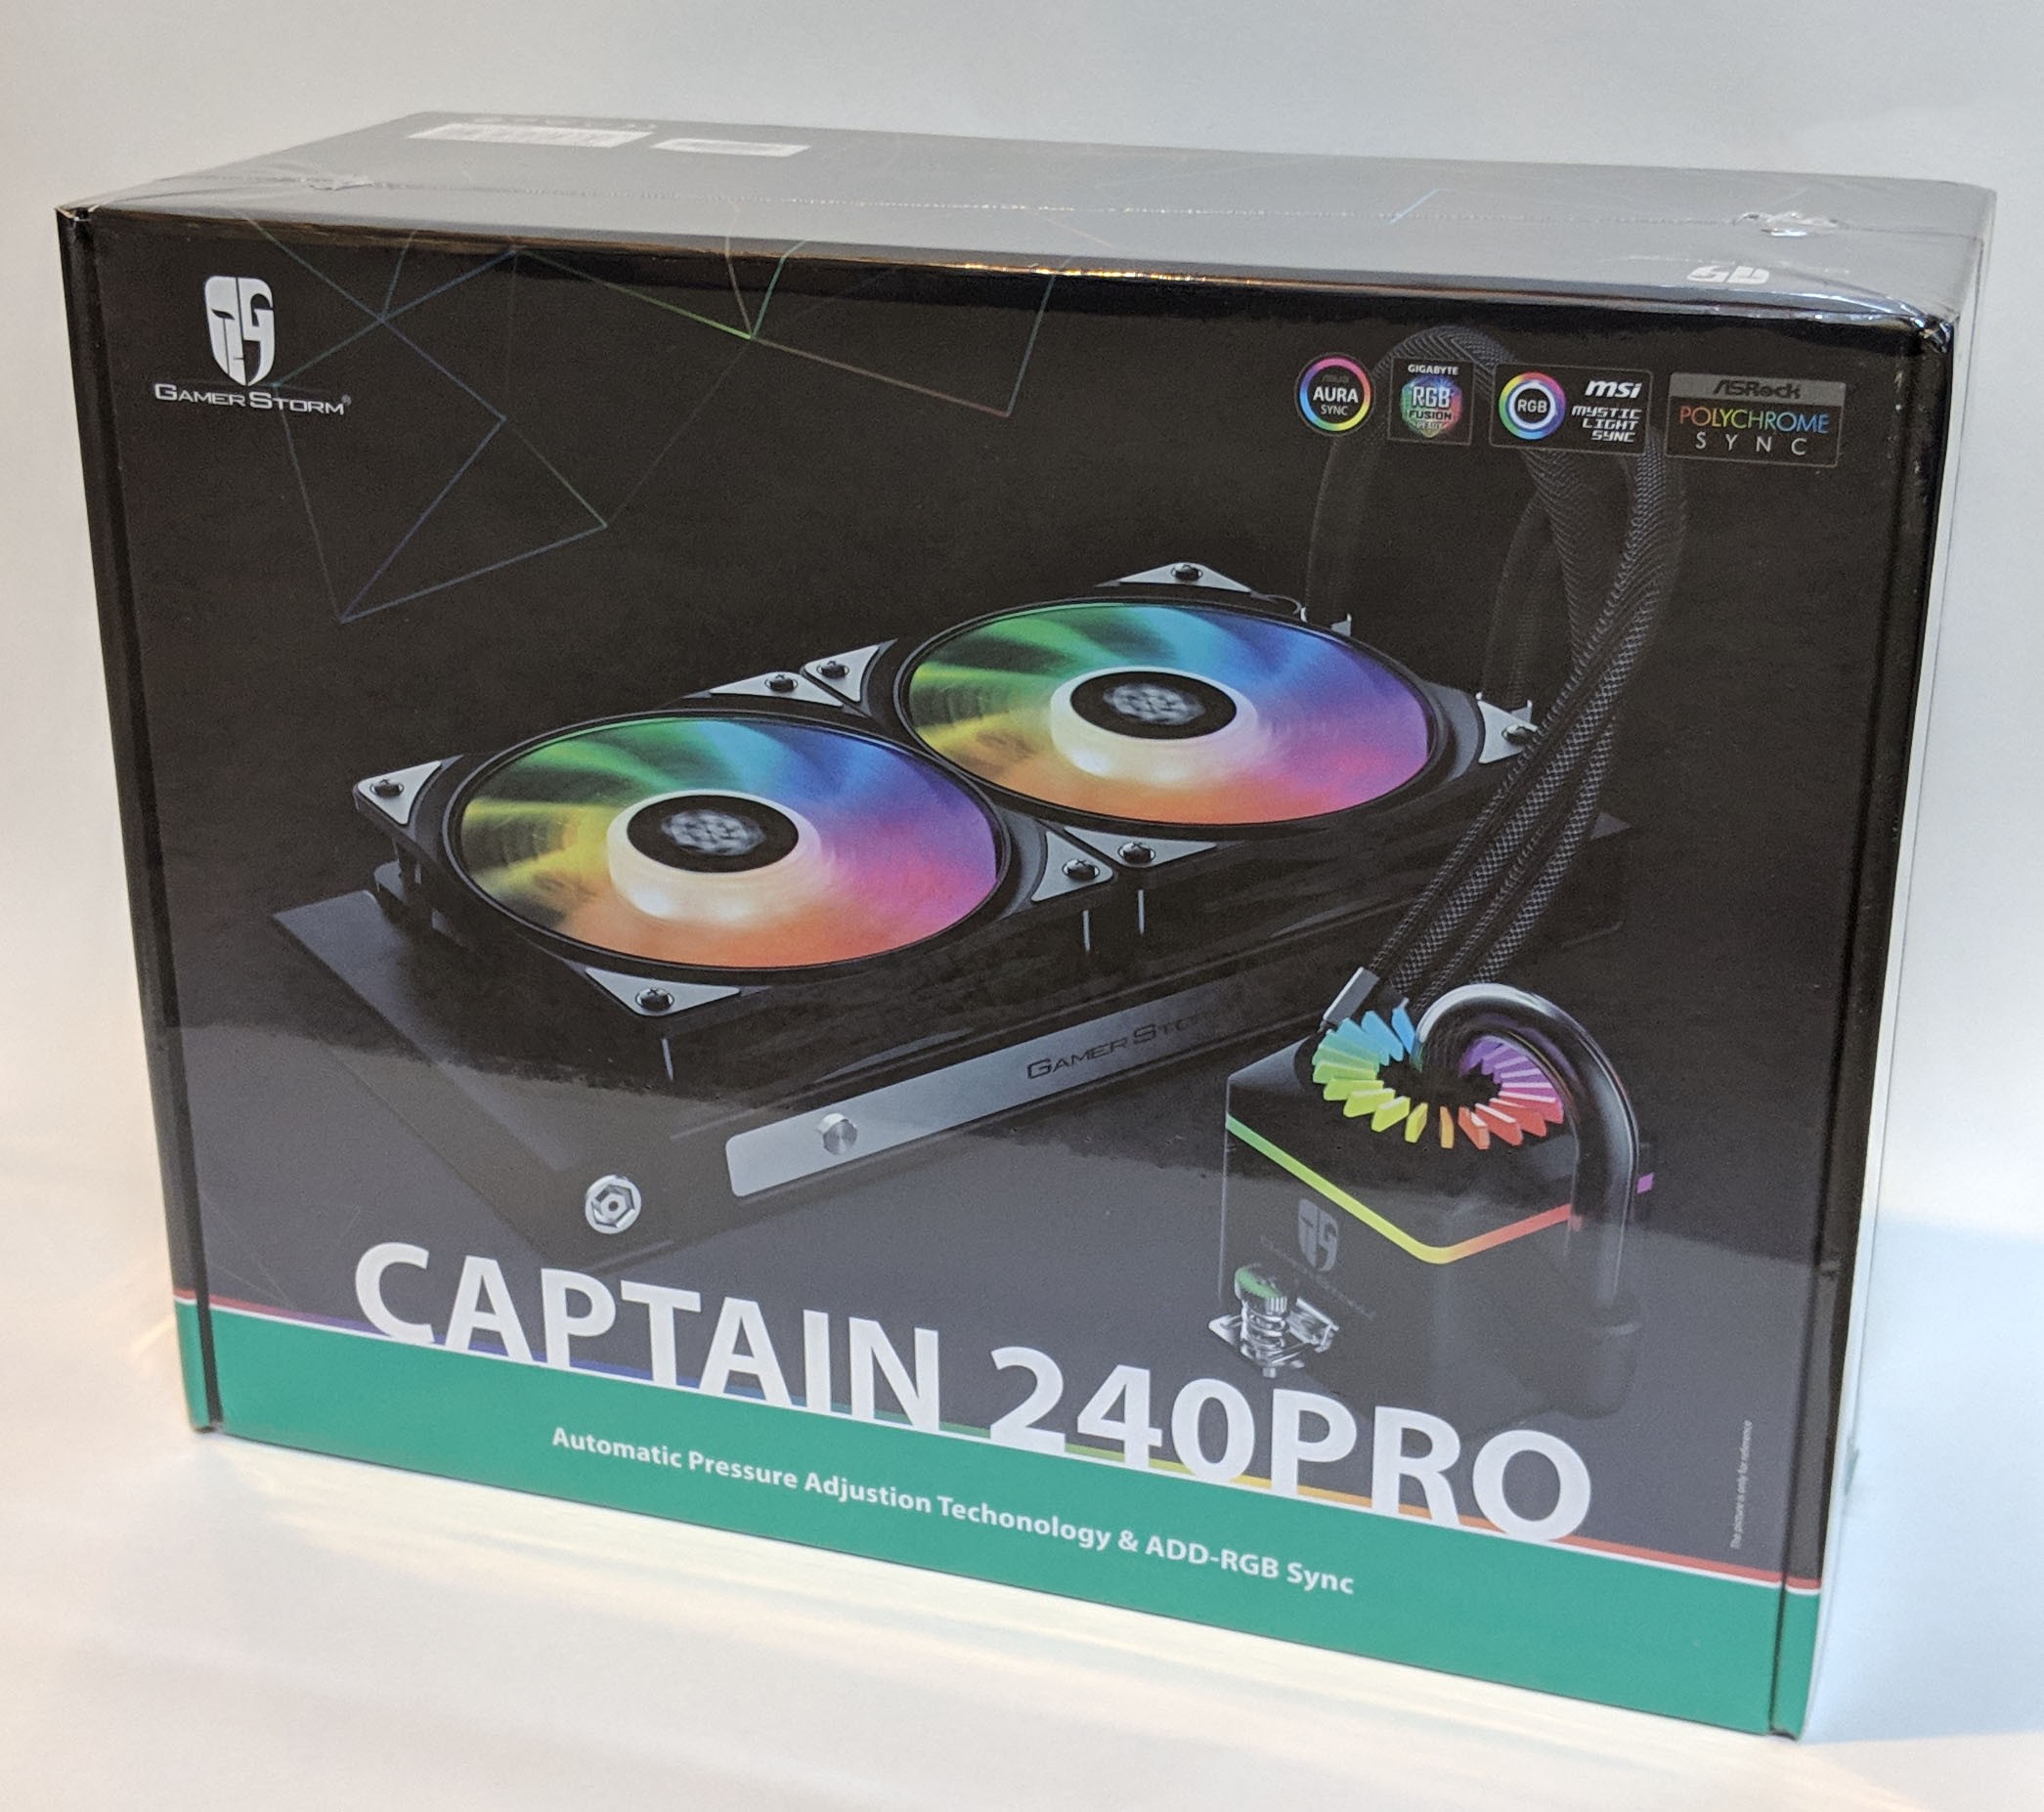
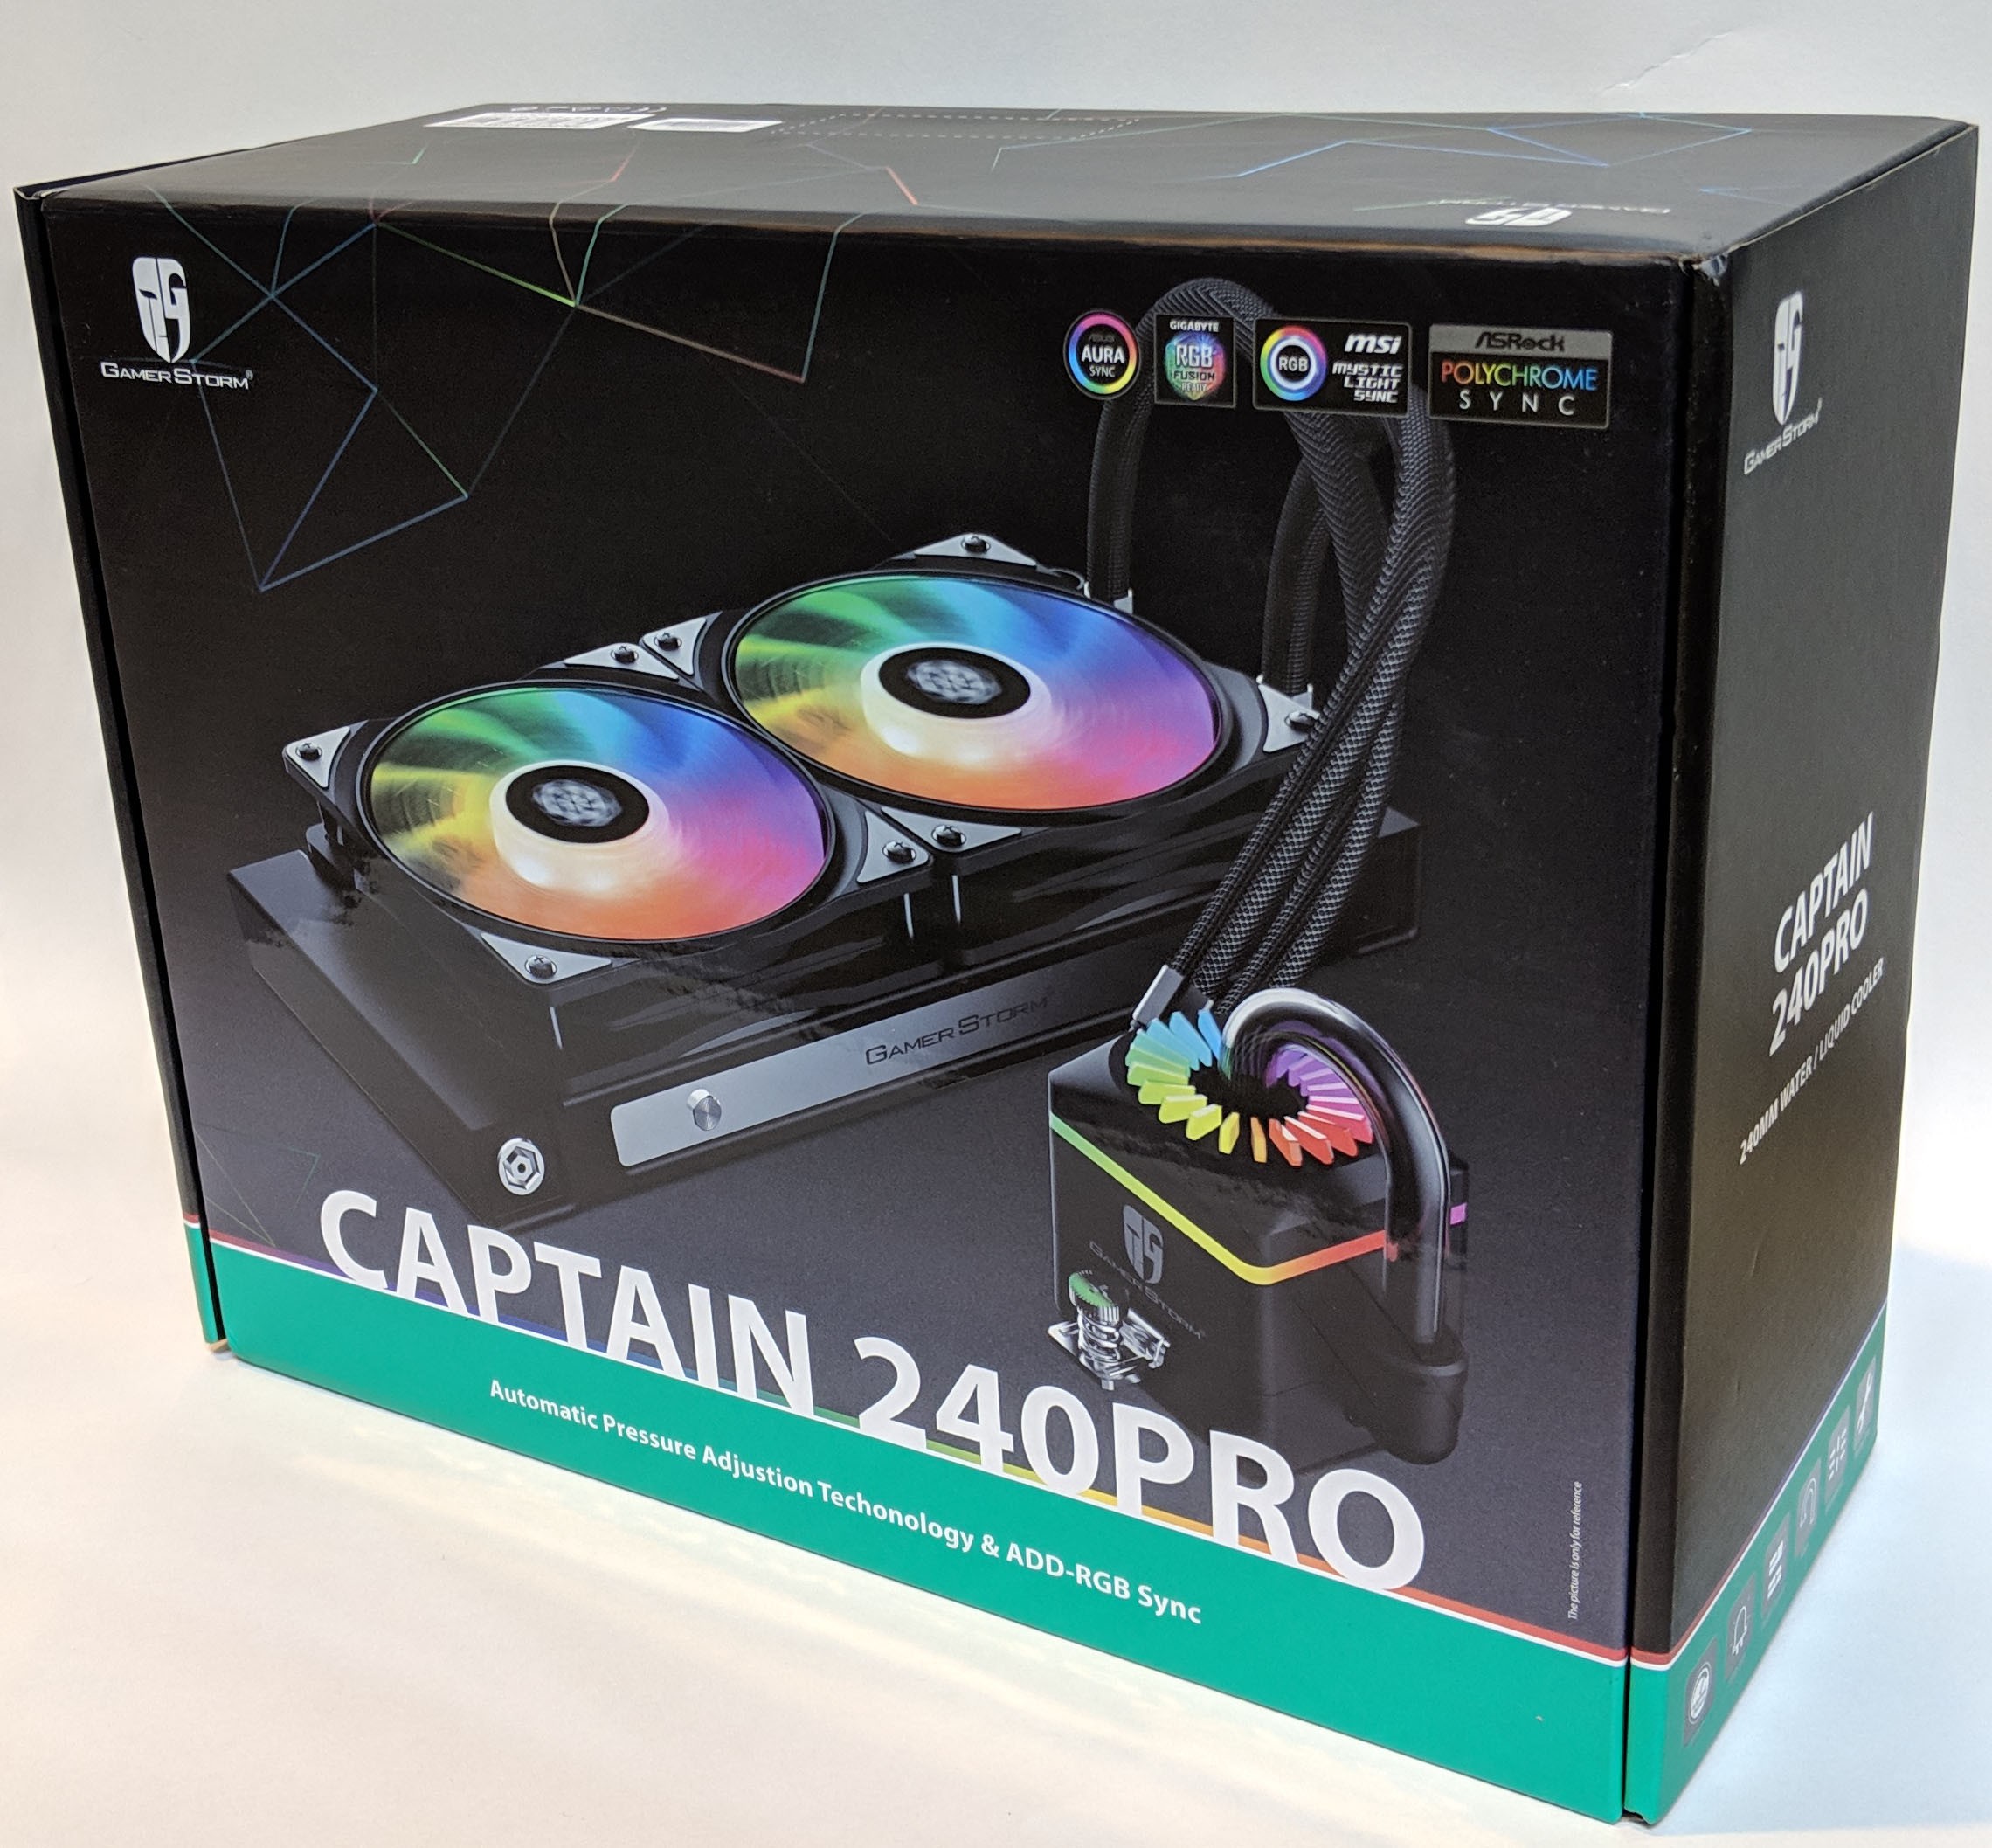
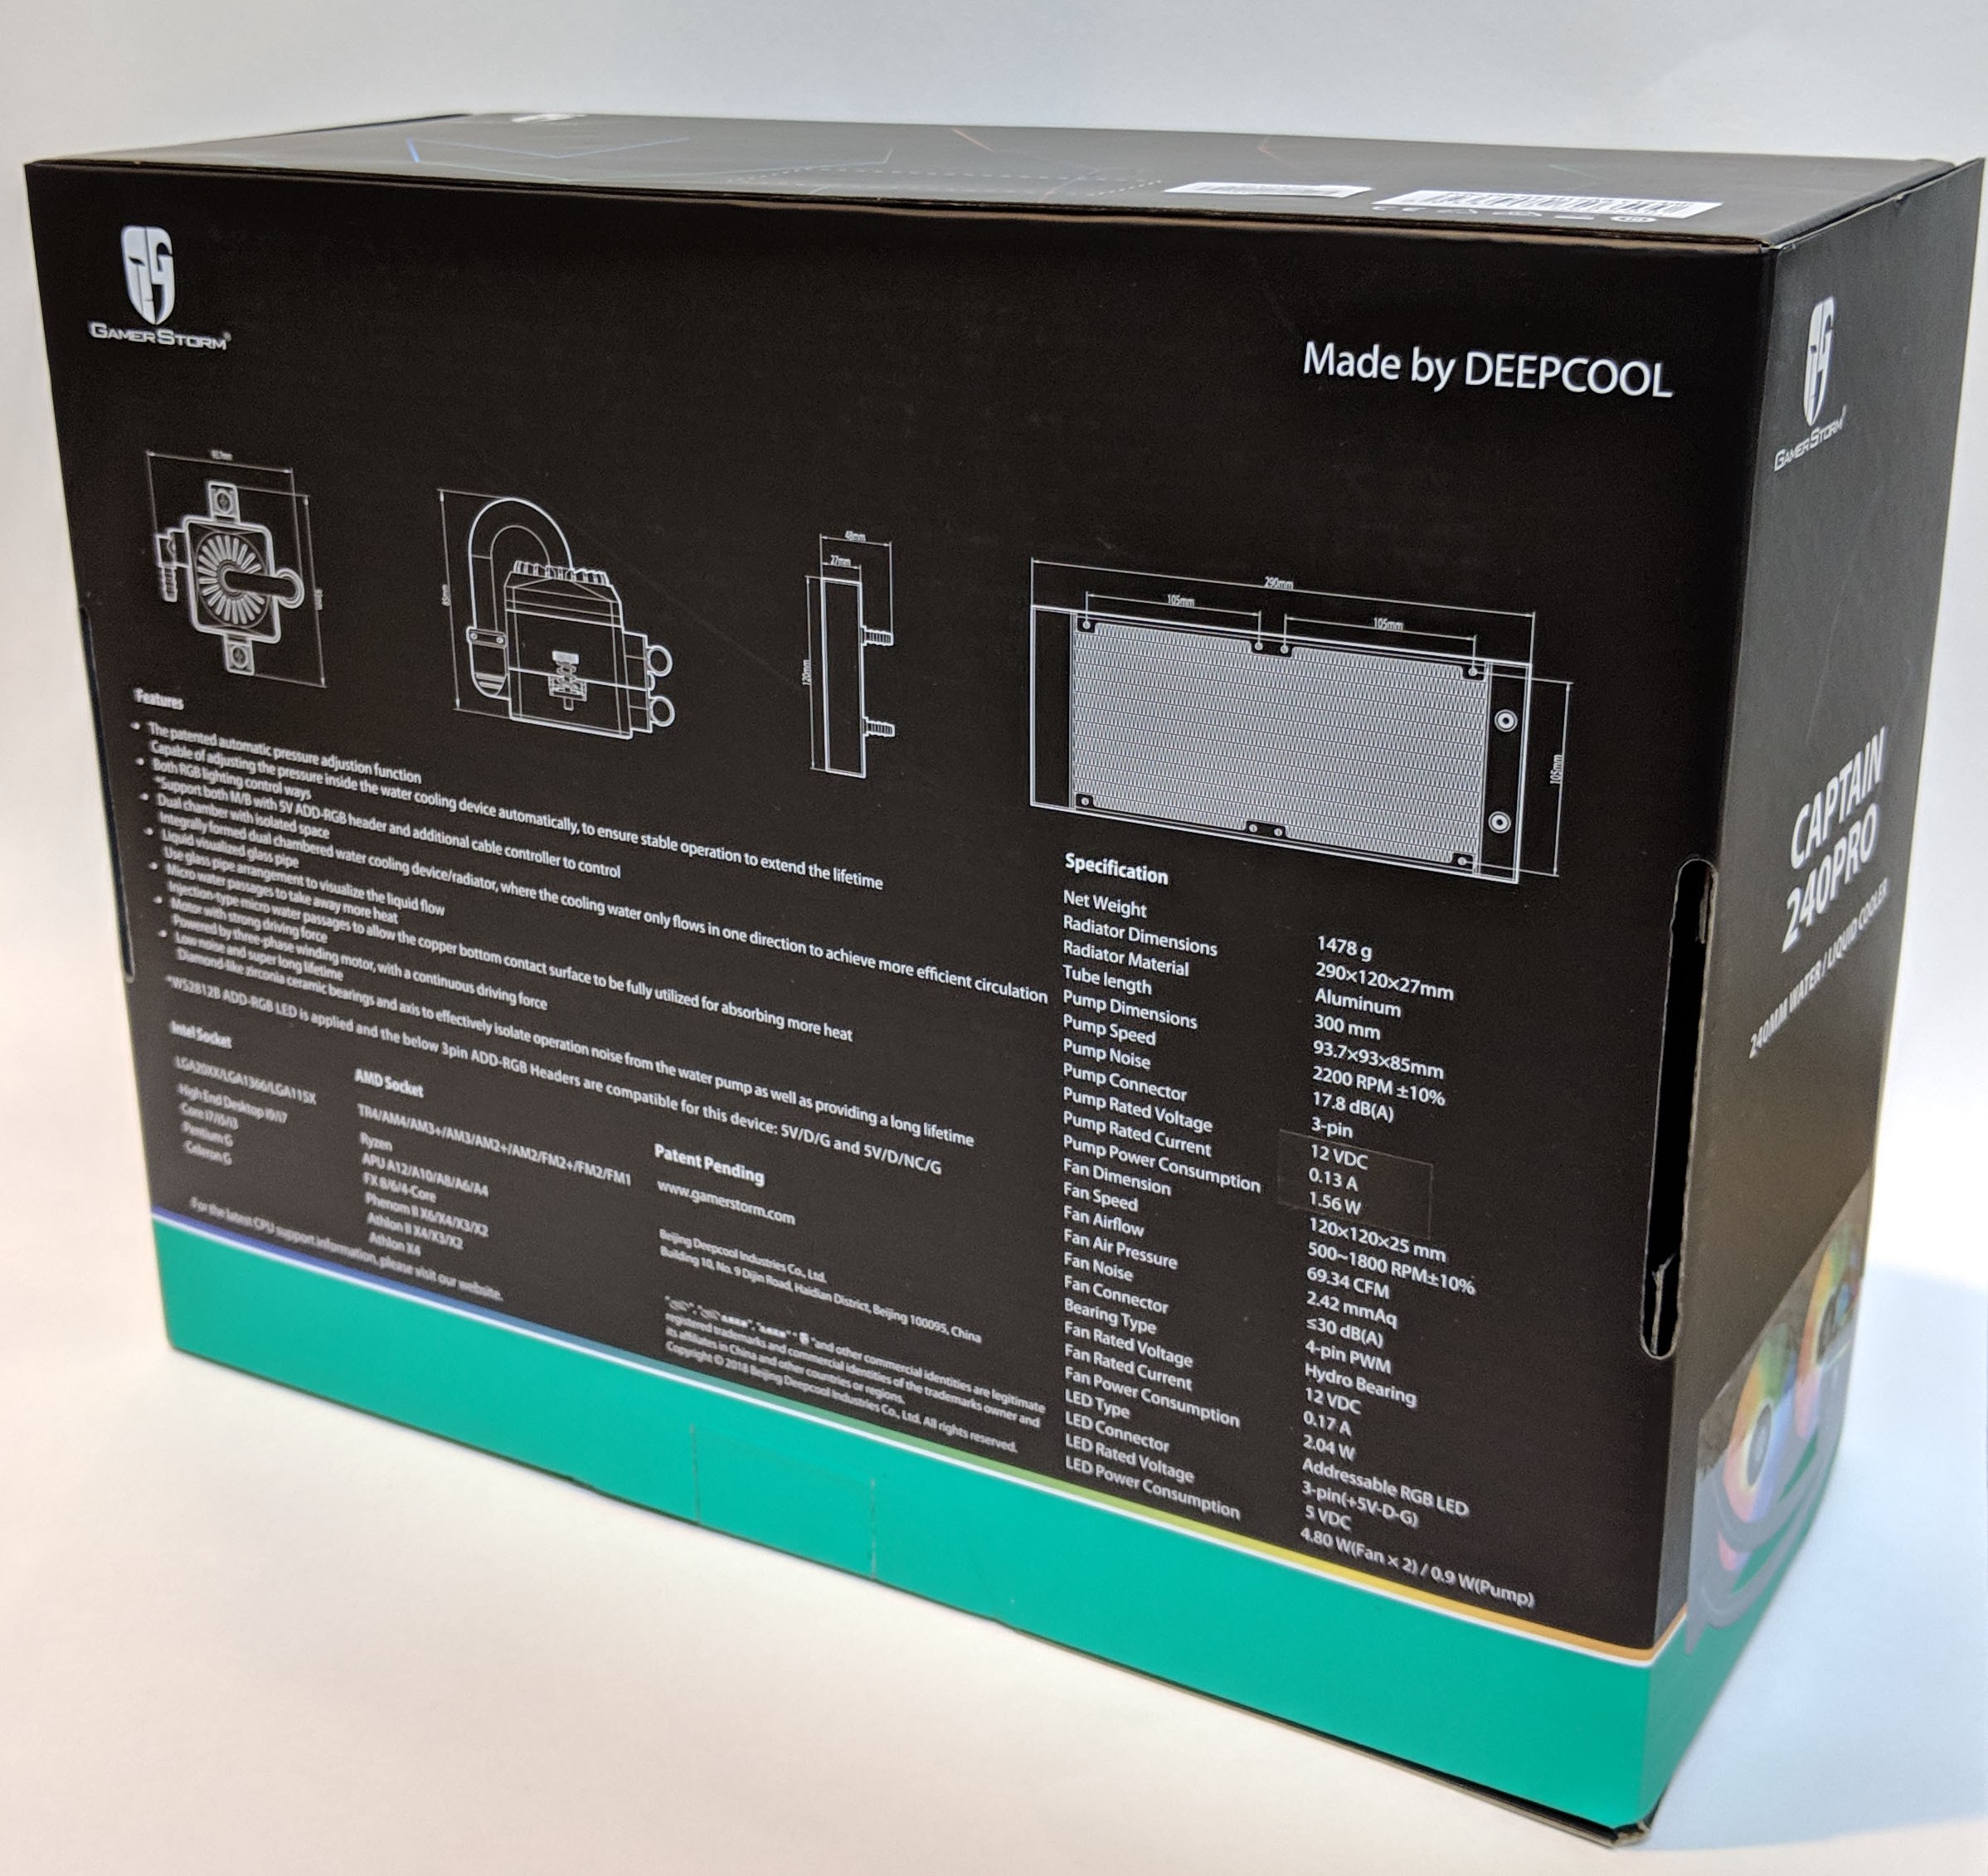
The front of the box features a cool graphic of the AIO cooler in all its RGB glory. Other details such as RGB motherboard support are also provided. The back of the box provides technical details such as the pump and radiator dimensions, and an overview of its features.
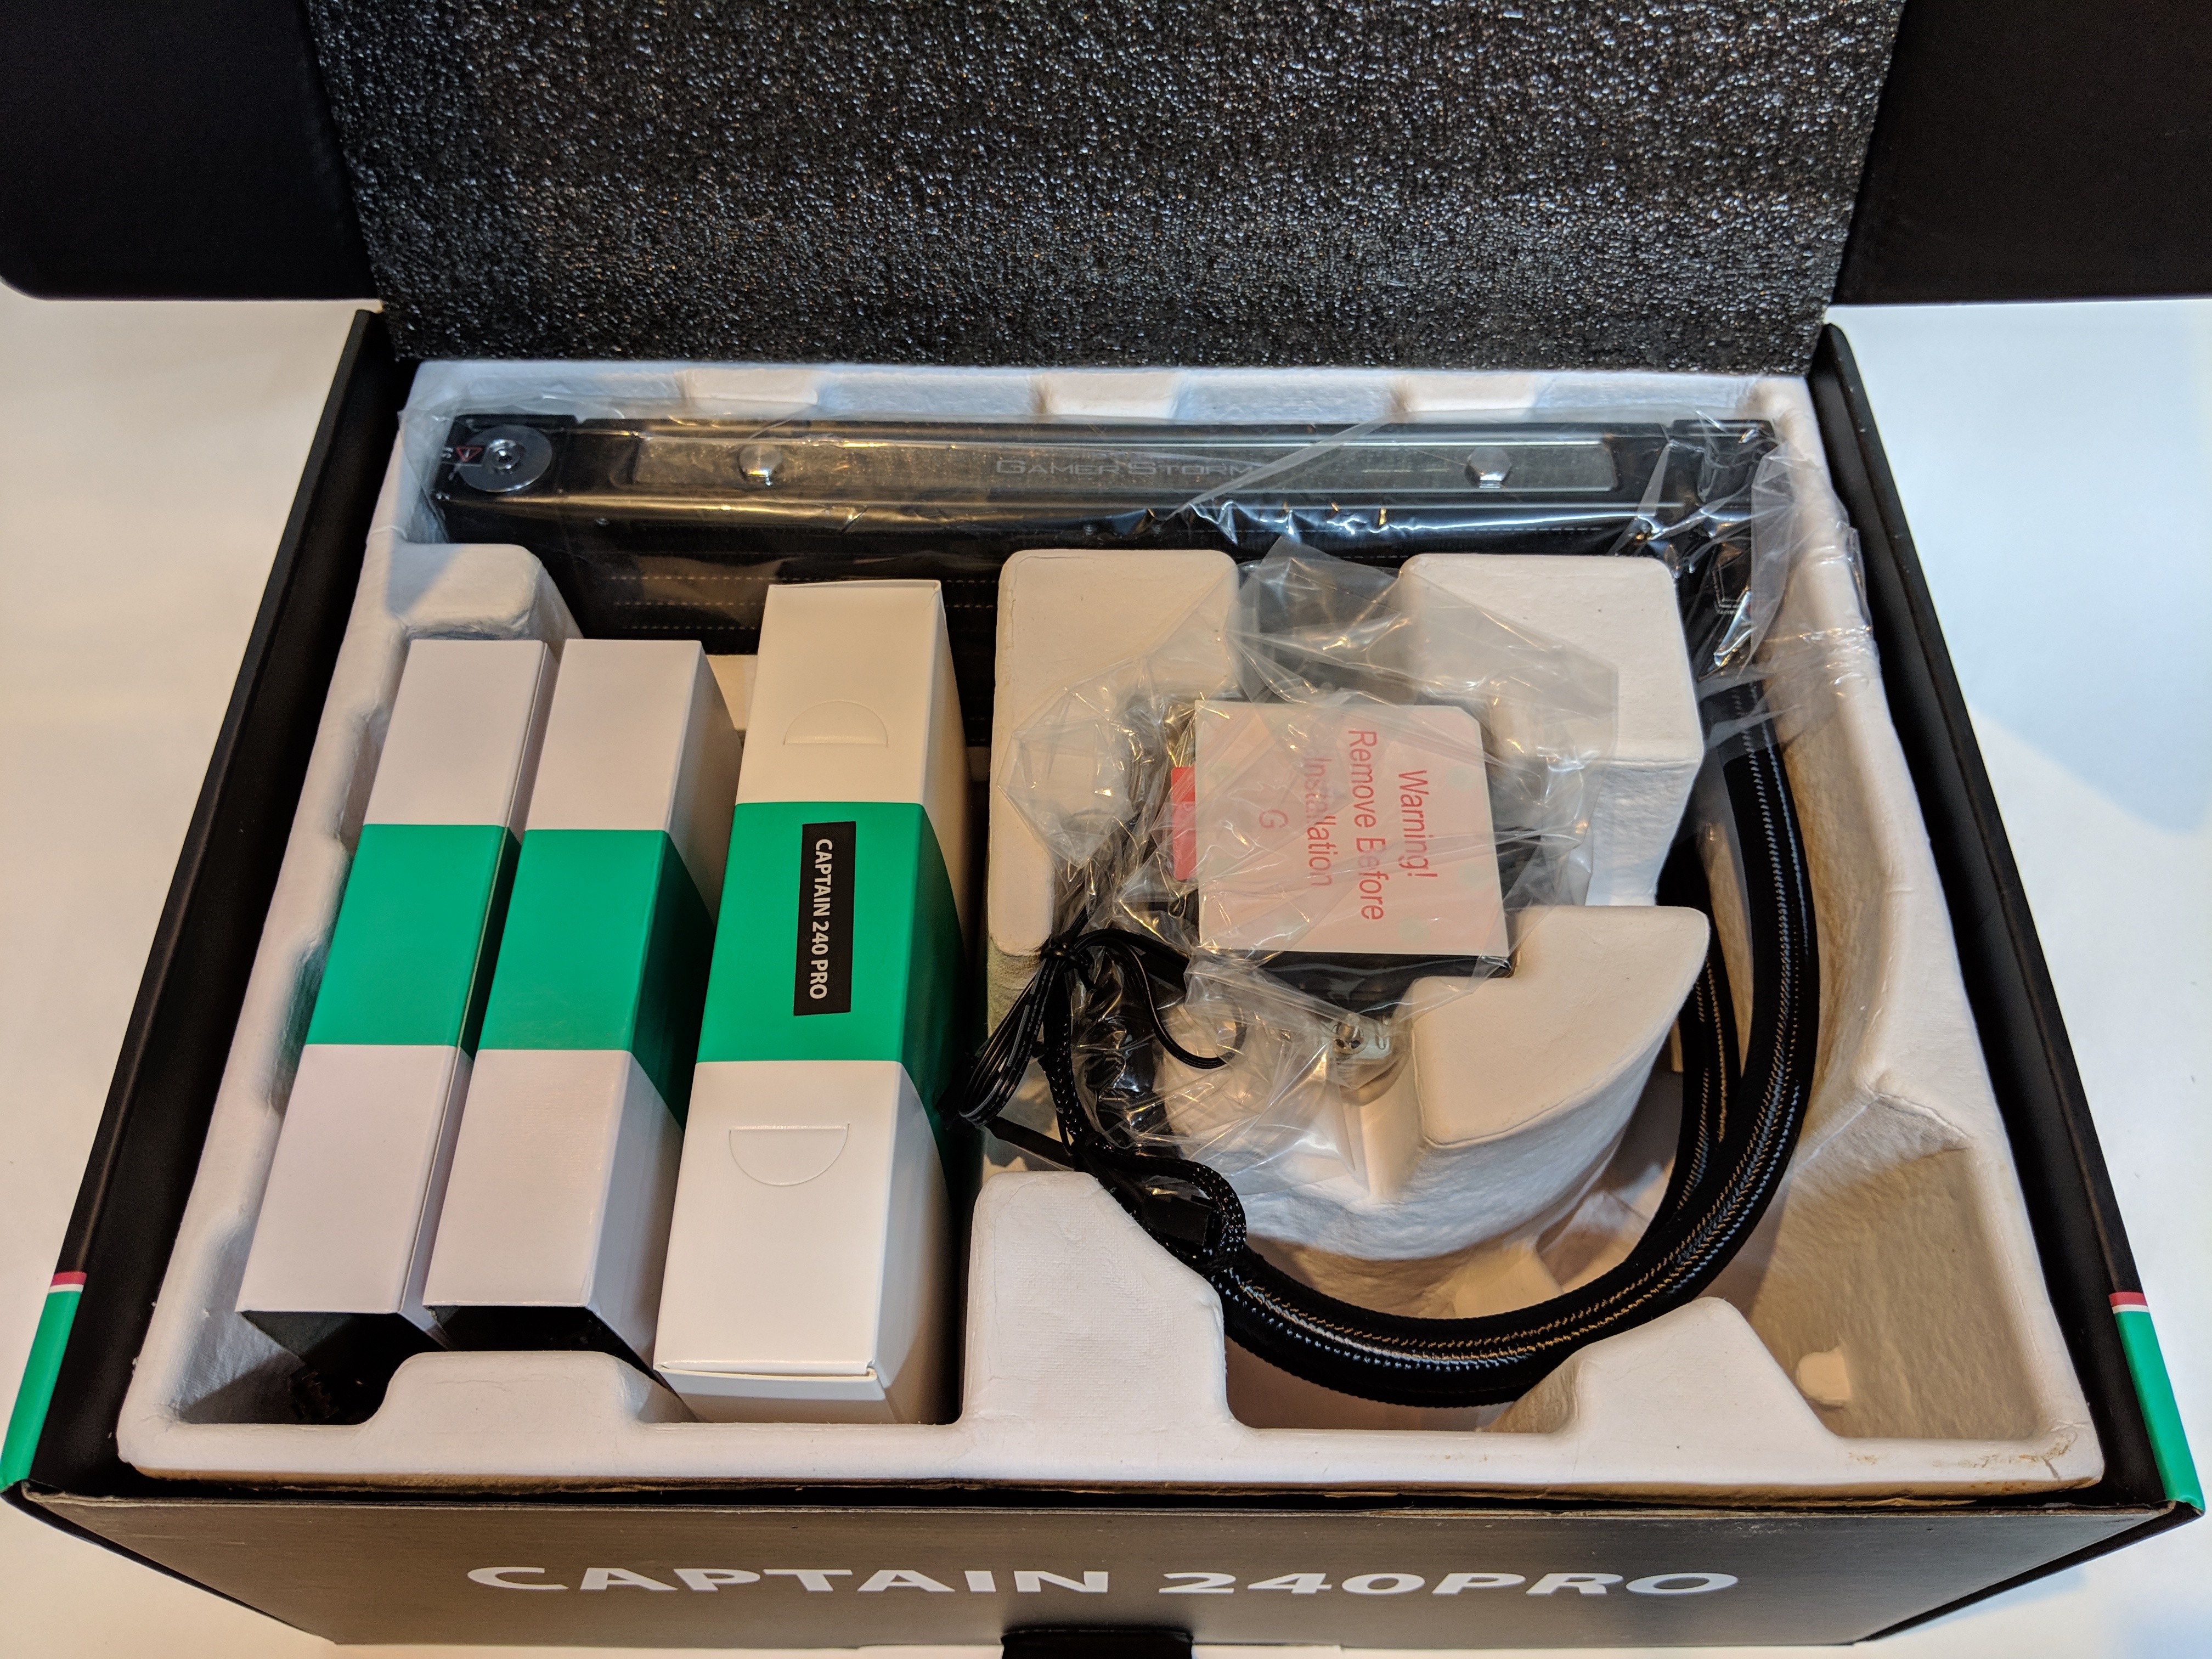
Next, let’s crack open the seal to get a feel as to how this thing is packaged. The bottom of the box flips open to reveal the cooler and all of its many included items. Each of the components are contained in a stiff paperboard mold designed to provide isolation and to keep items from shifting around. The fans are individually packaged in cardboard sleeves and the mounting hardware is packaged inside the larger box in the center. The cooler’s radiator and pump are placed inside a protective bag to keep it from scuffing during handling.
Overall, the packaging for the Captain 240 Pro is effective and about what we’ve come to expect from most AIO coolers. It’s adequate but a bit underwhelming.
A Closer Look…
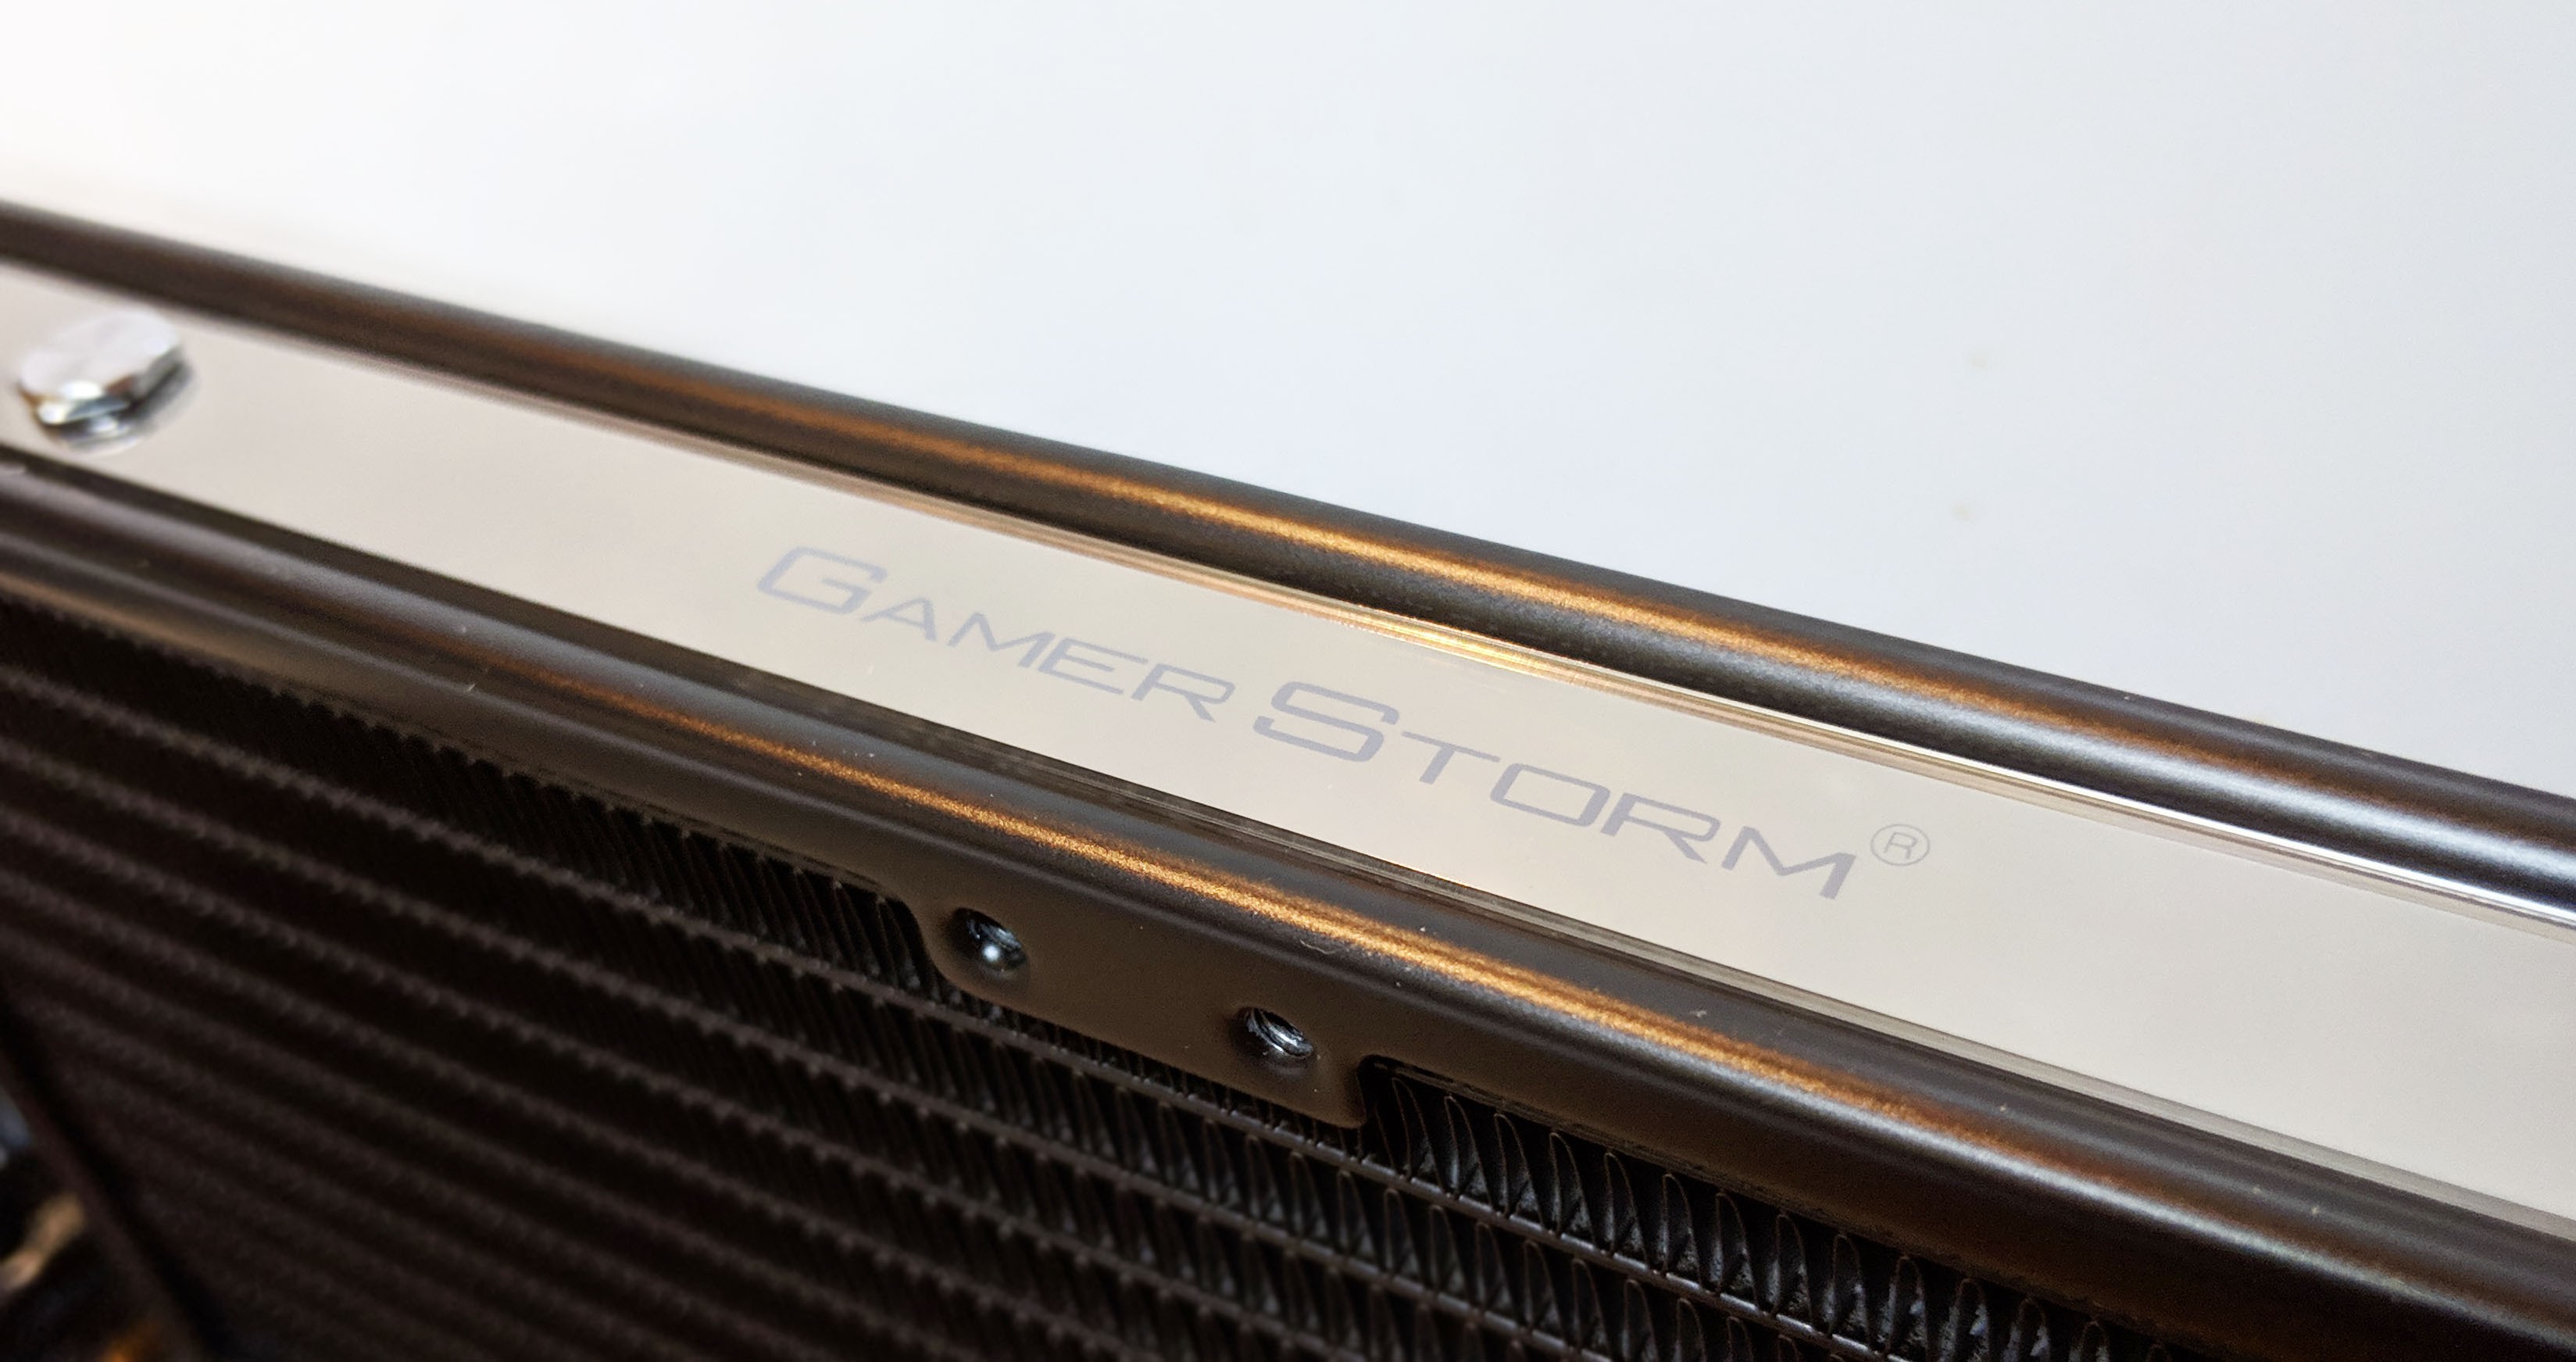
With everything out of the box and separated, we can get a better look at the AIO cooler and it’s many many included components. I’m really liking the design of this cooler at first glance. It’s different enough to provide a unique look to any build. The radiator is also something I’m liking. The custom “Gamer Storm” styling with chrome hardware definitely adds some separation from your average AIO cooler.

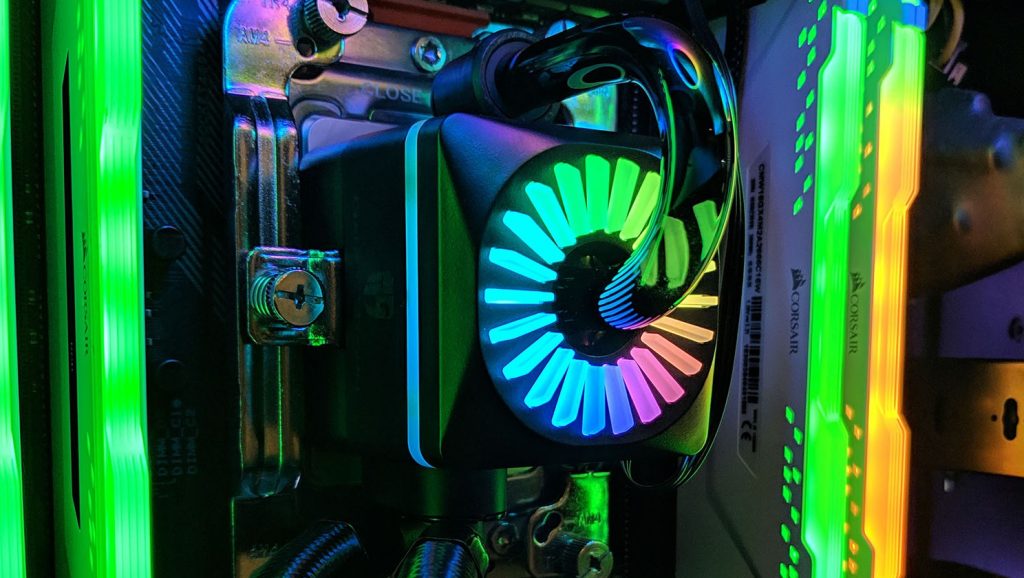
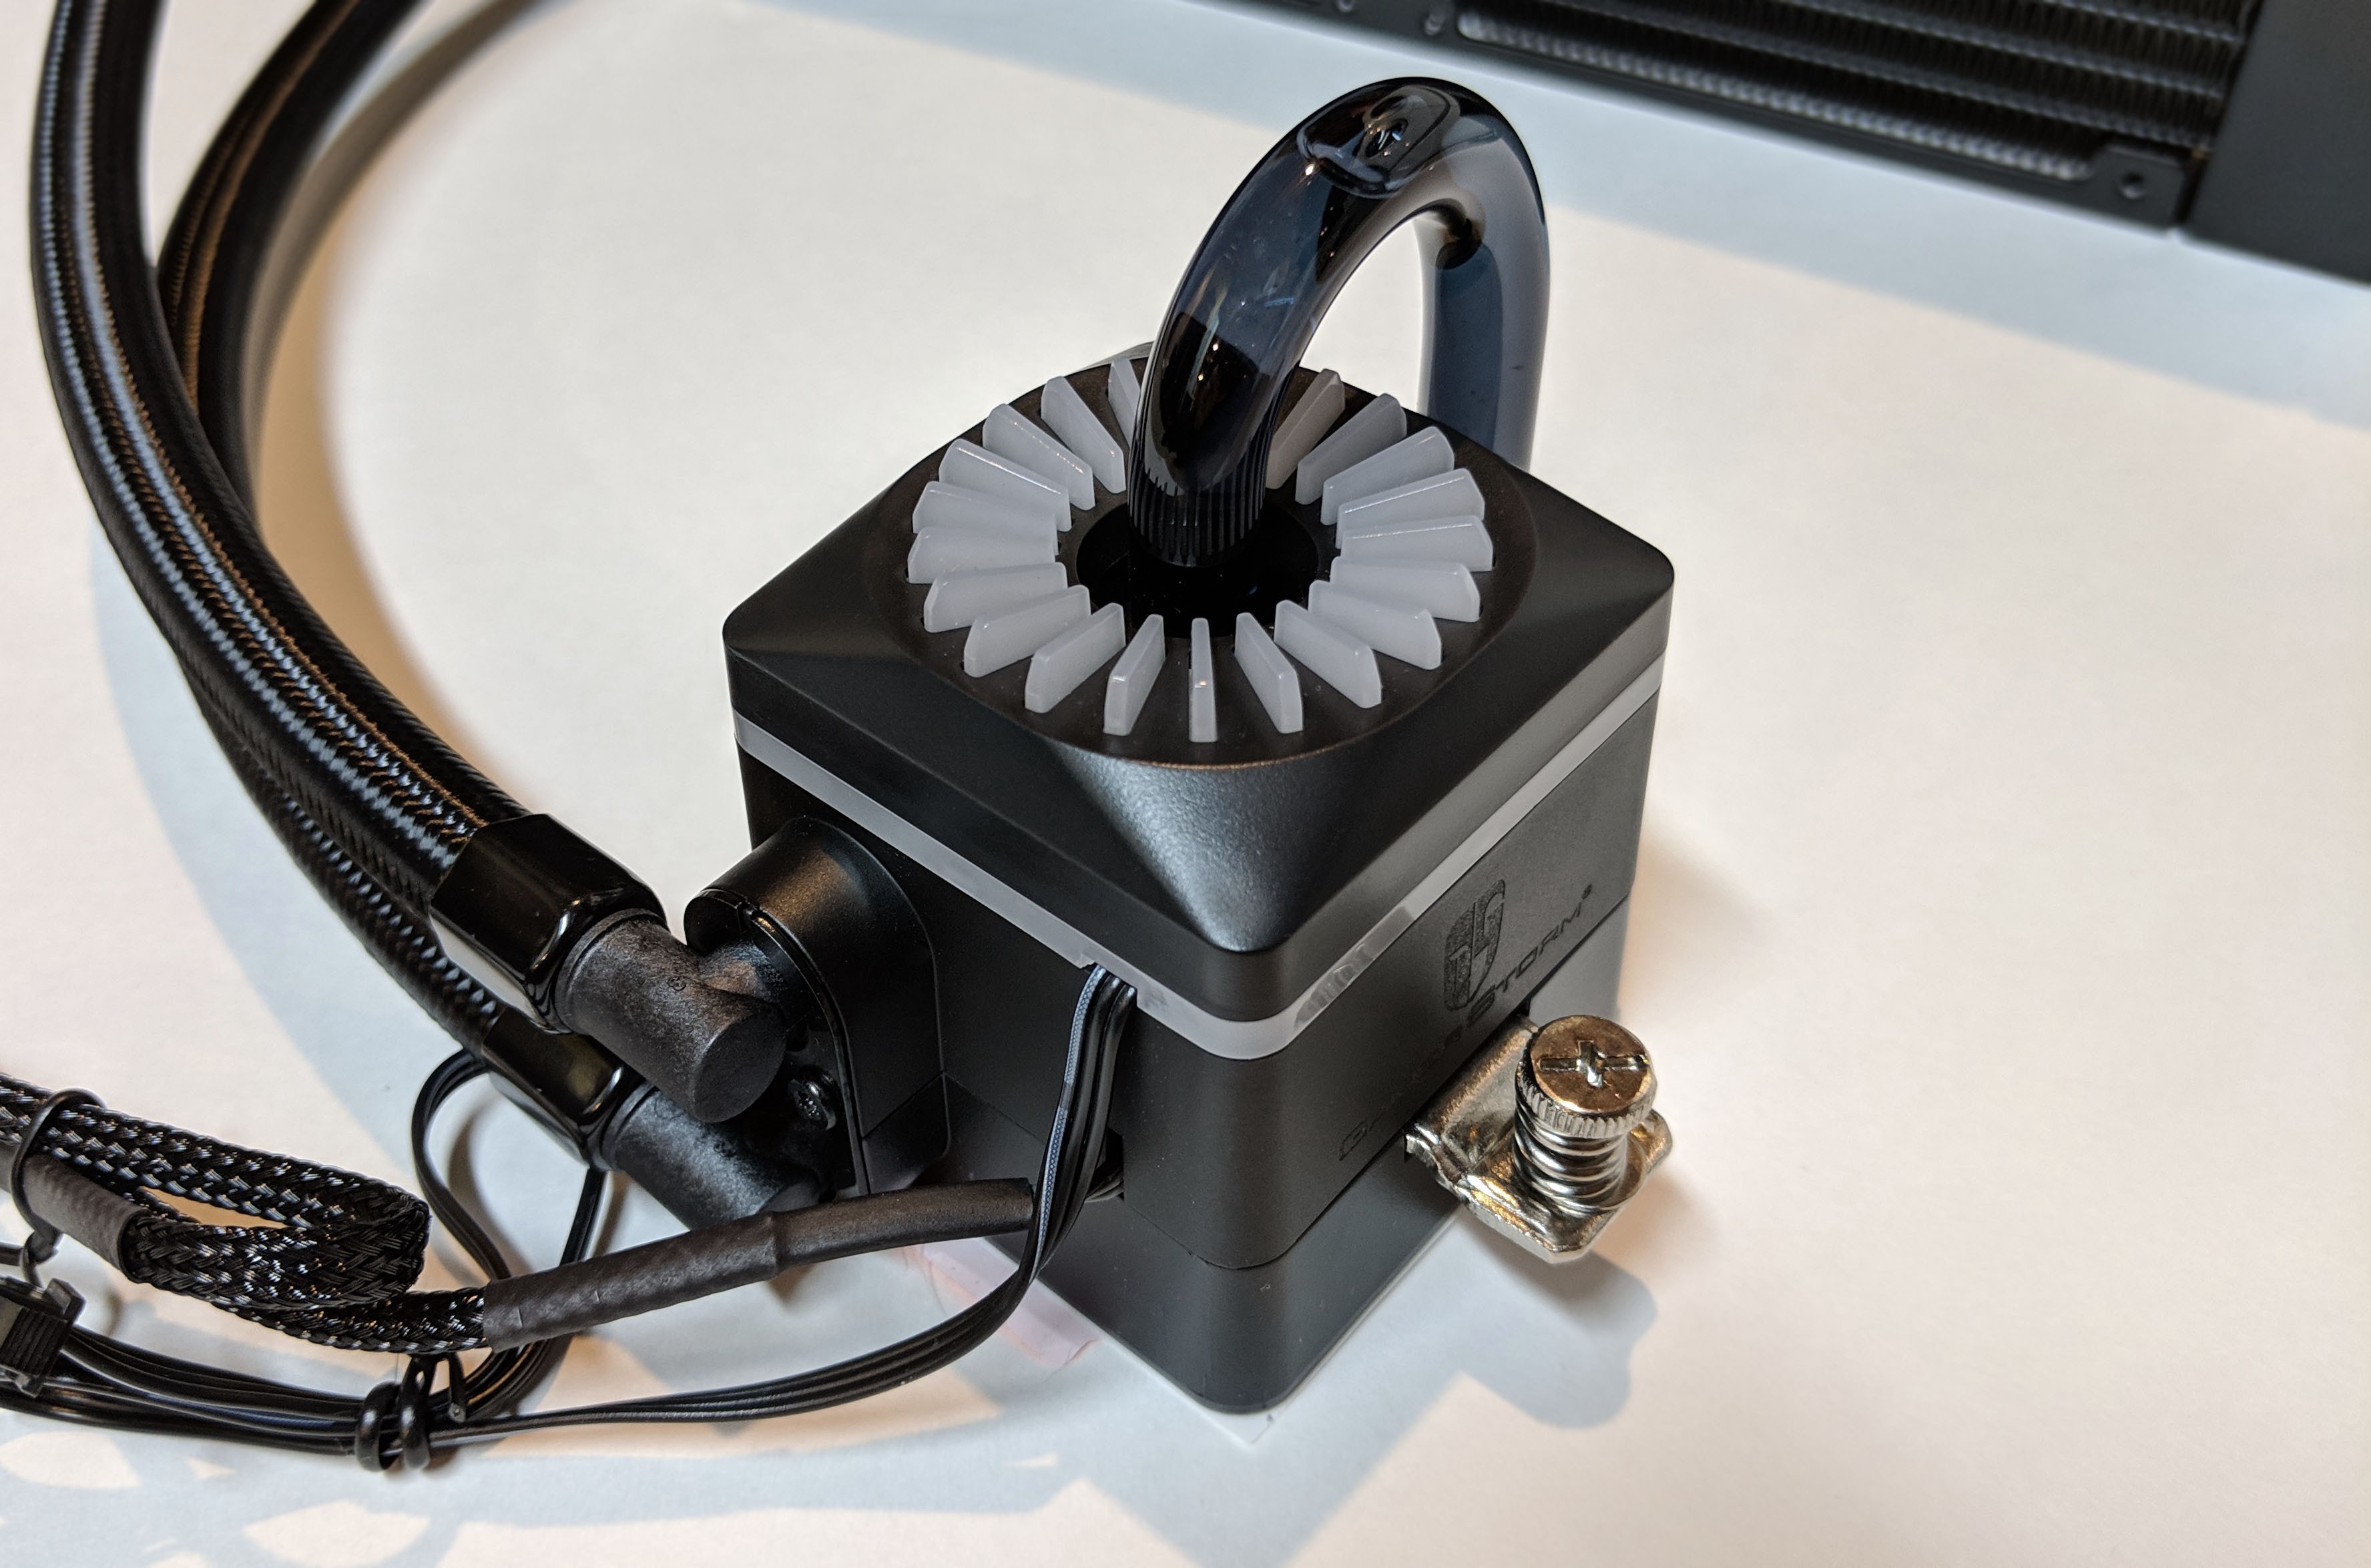
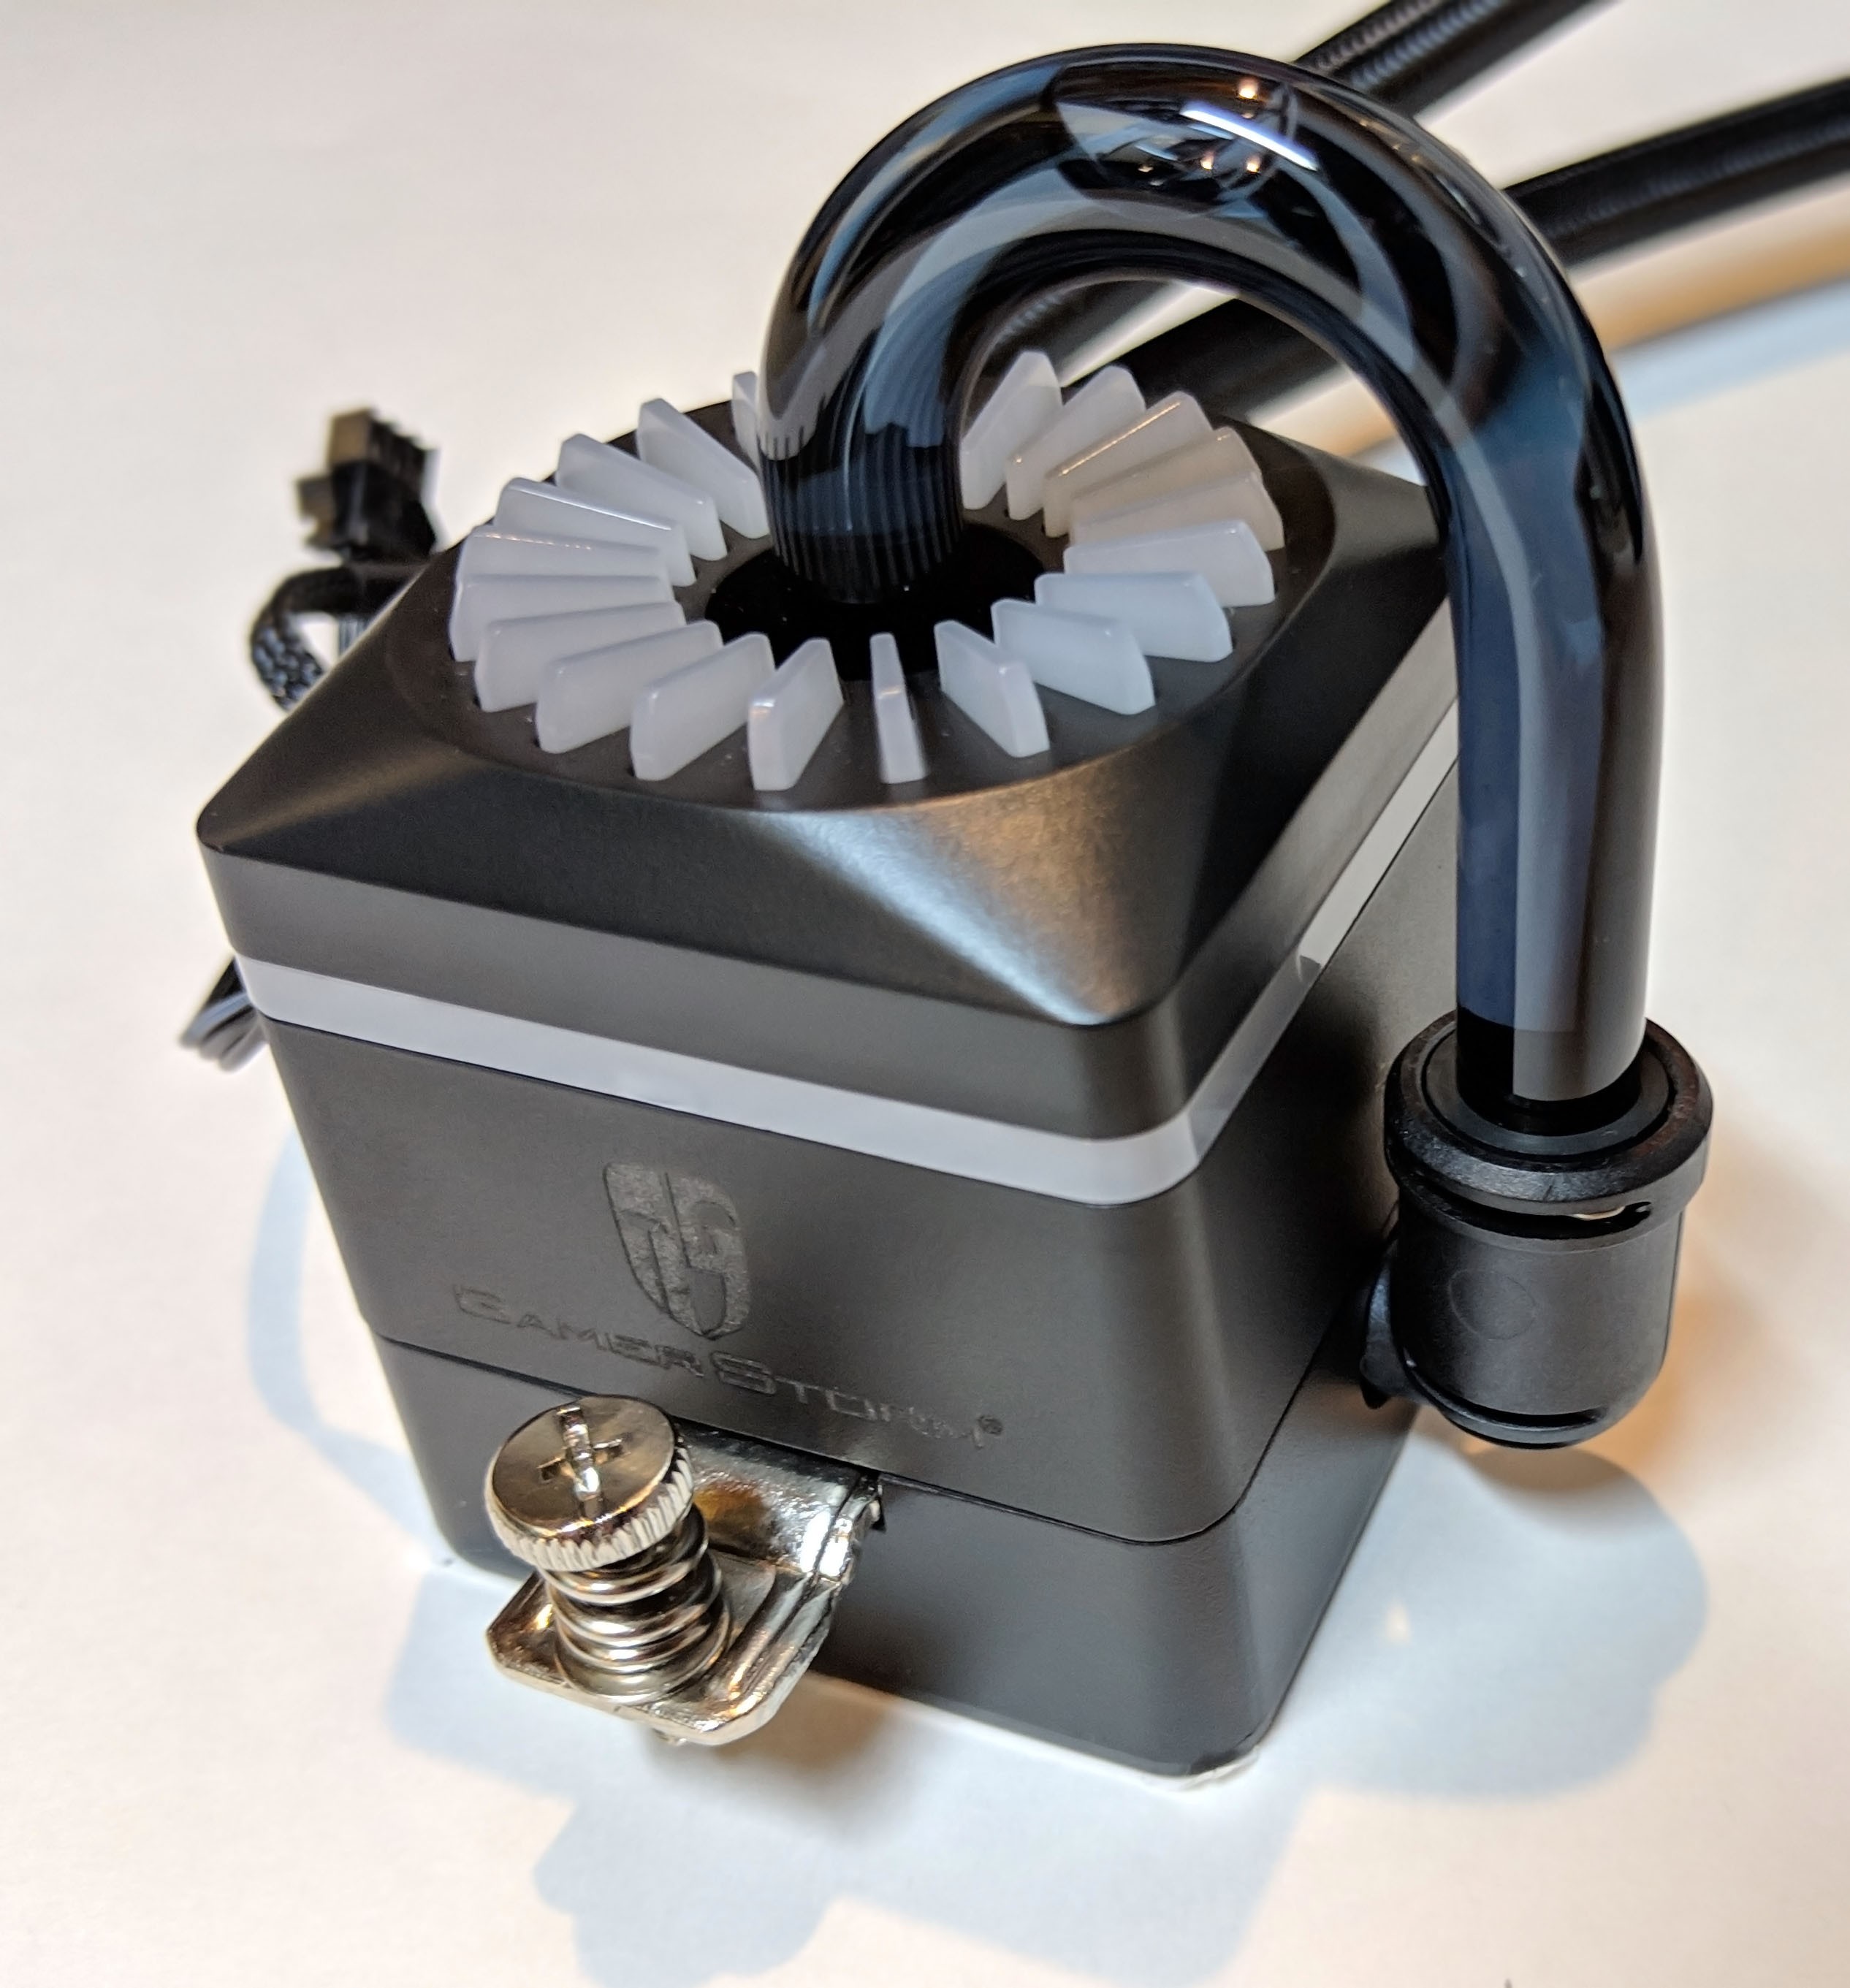
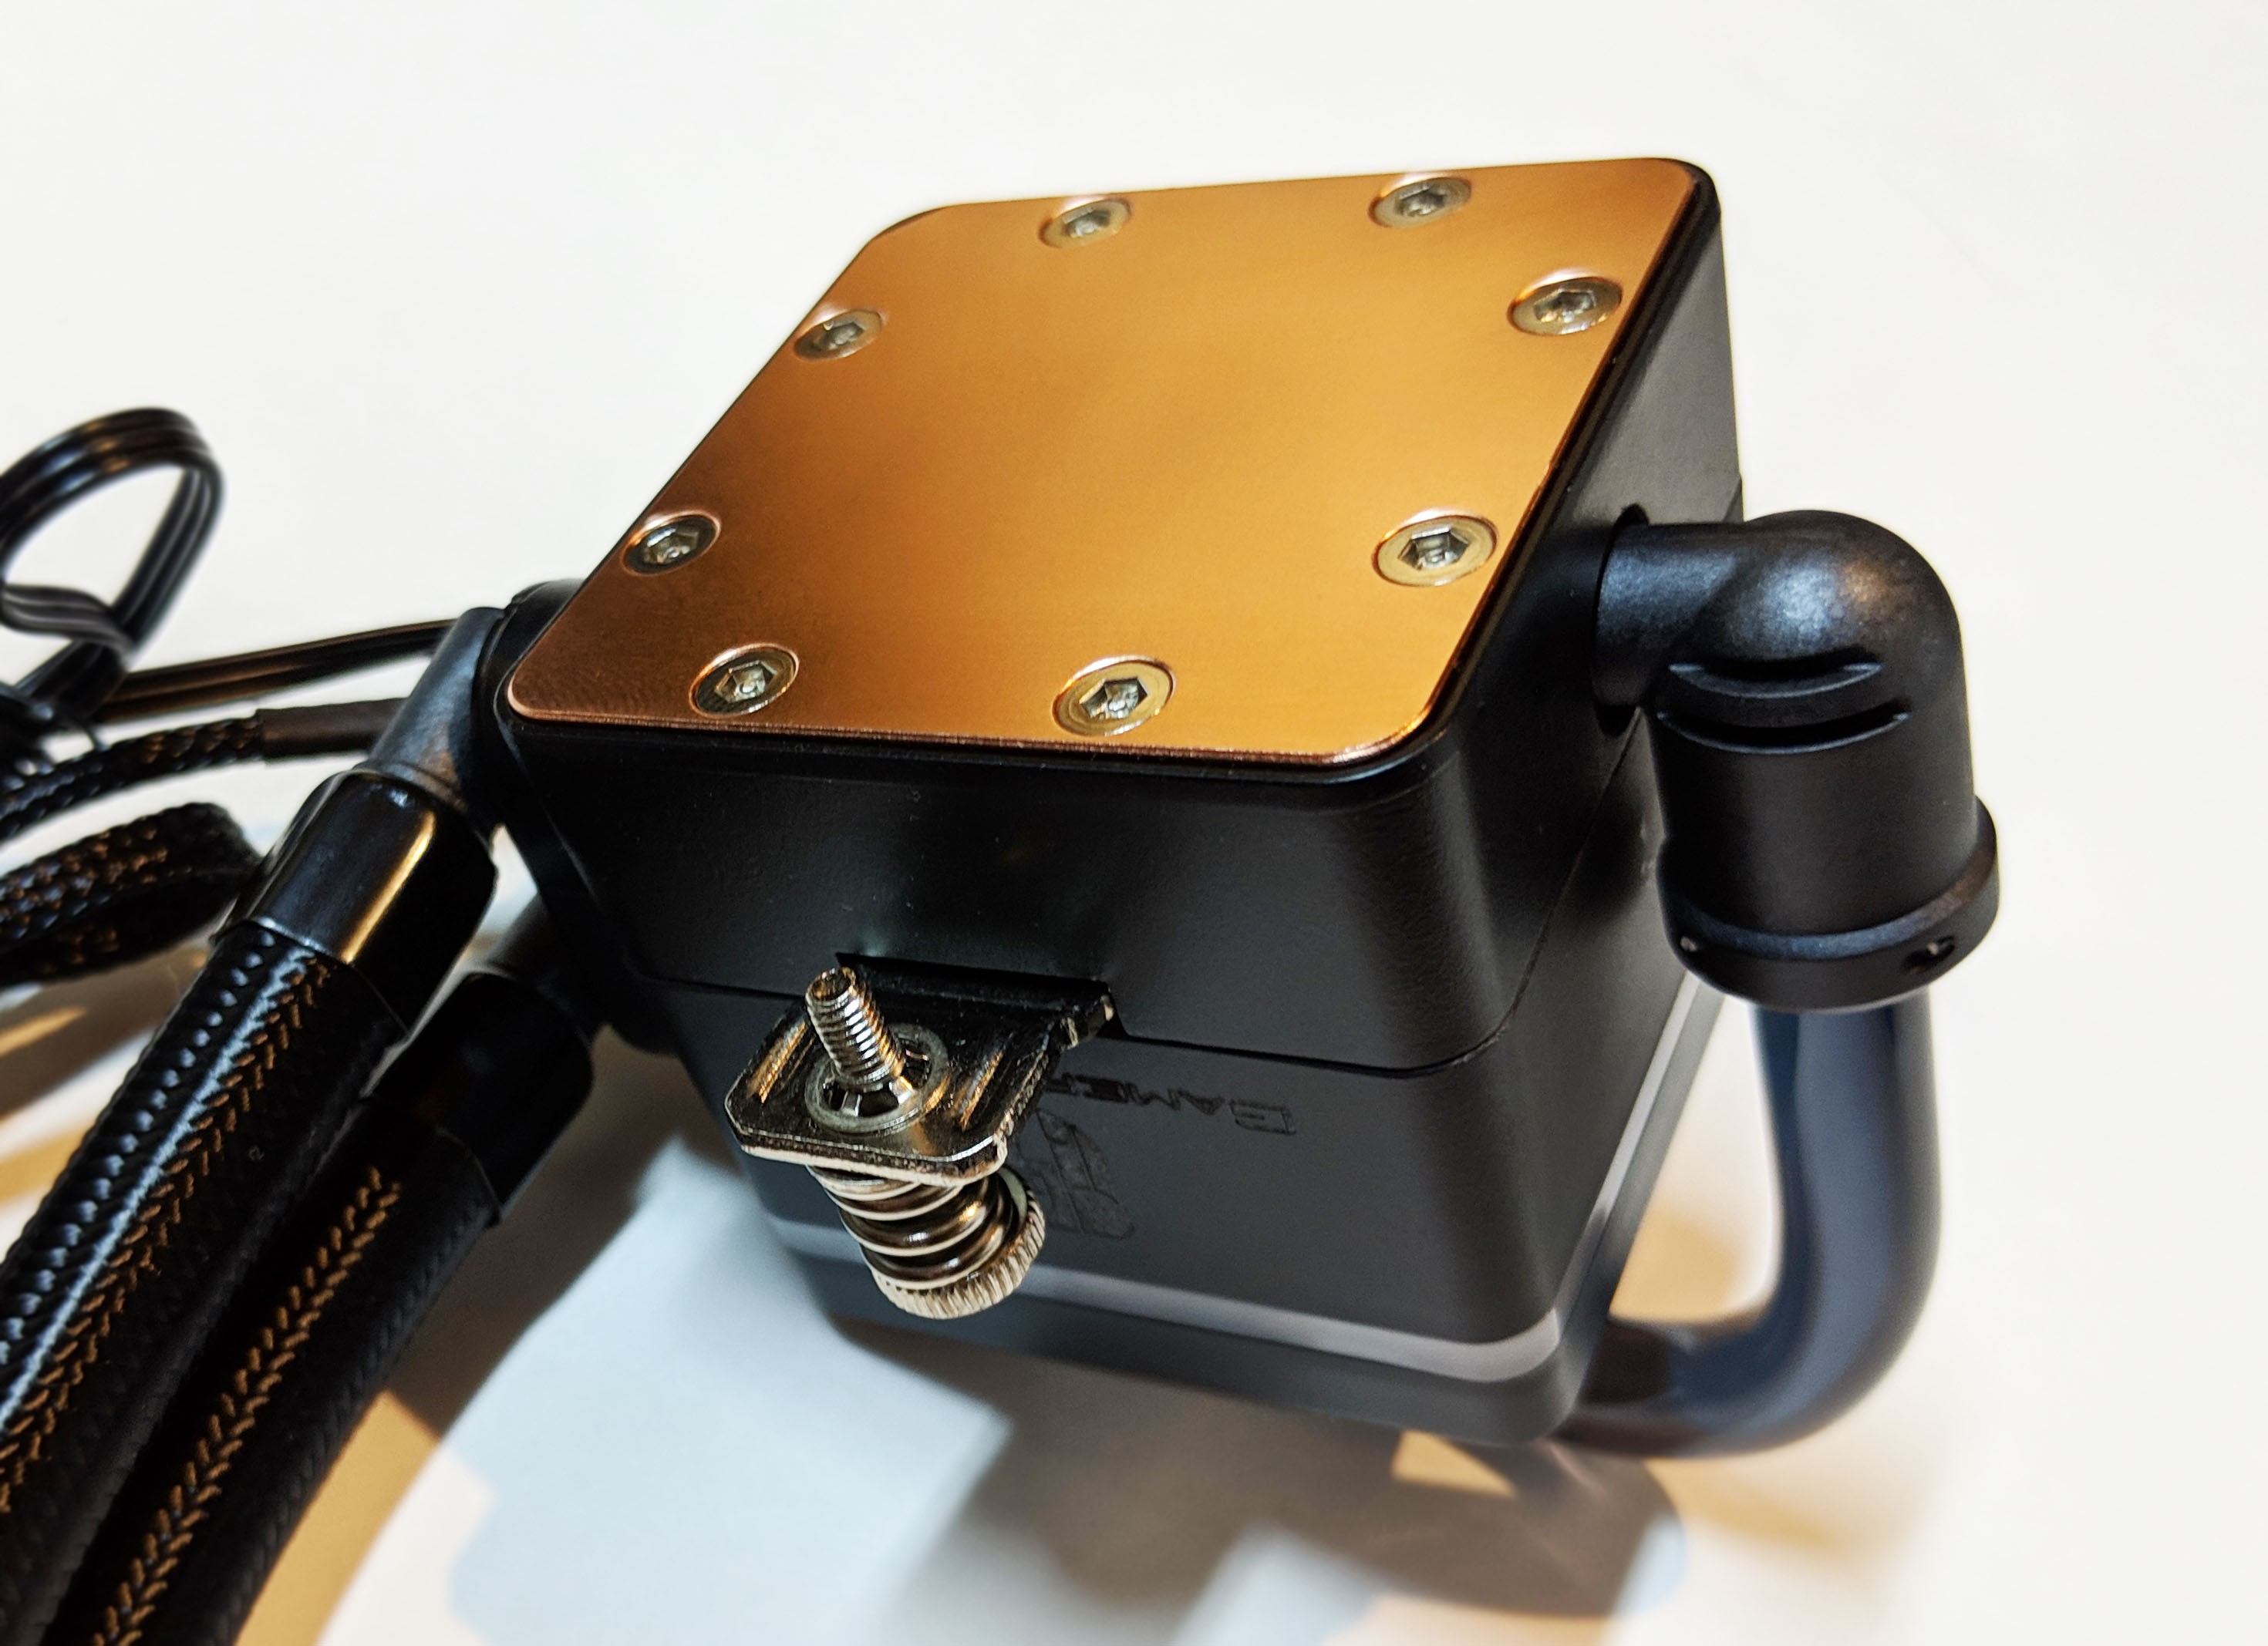
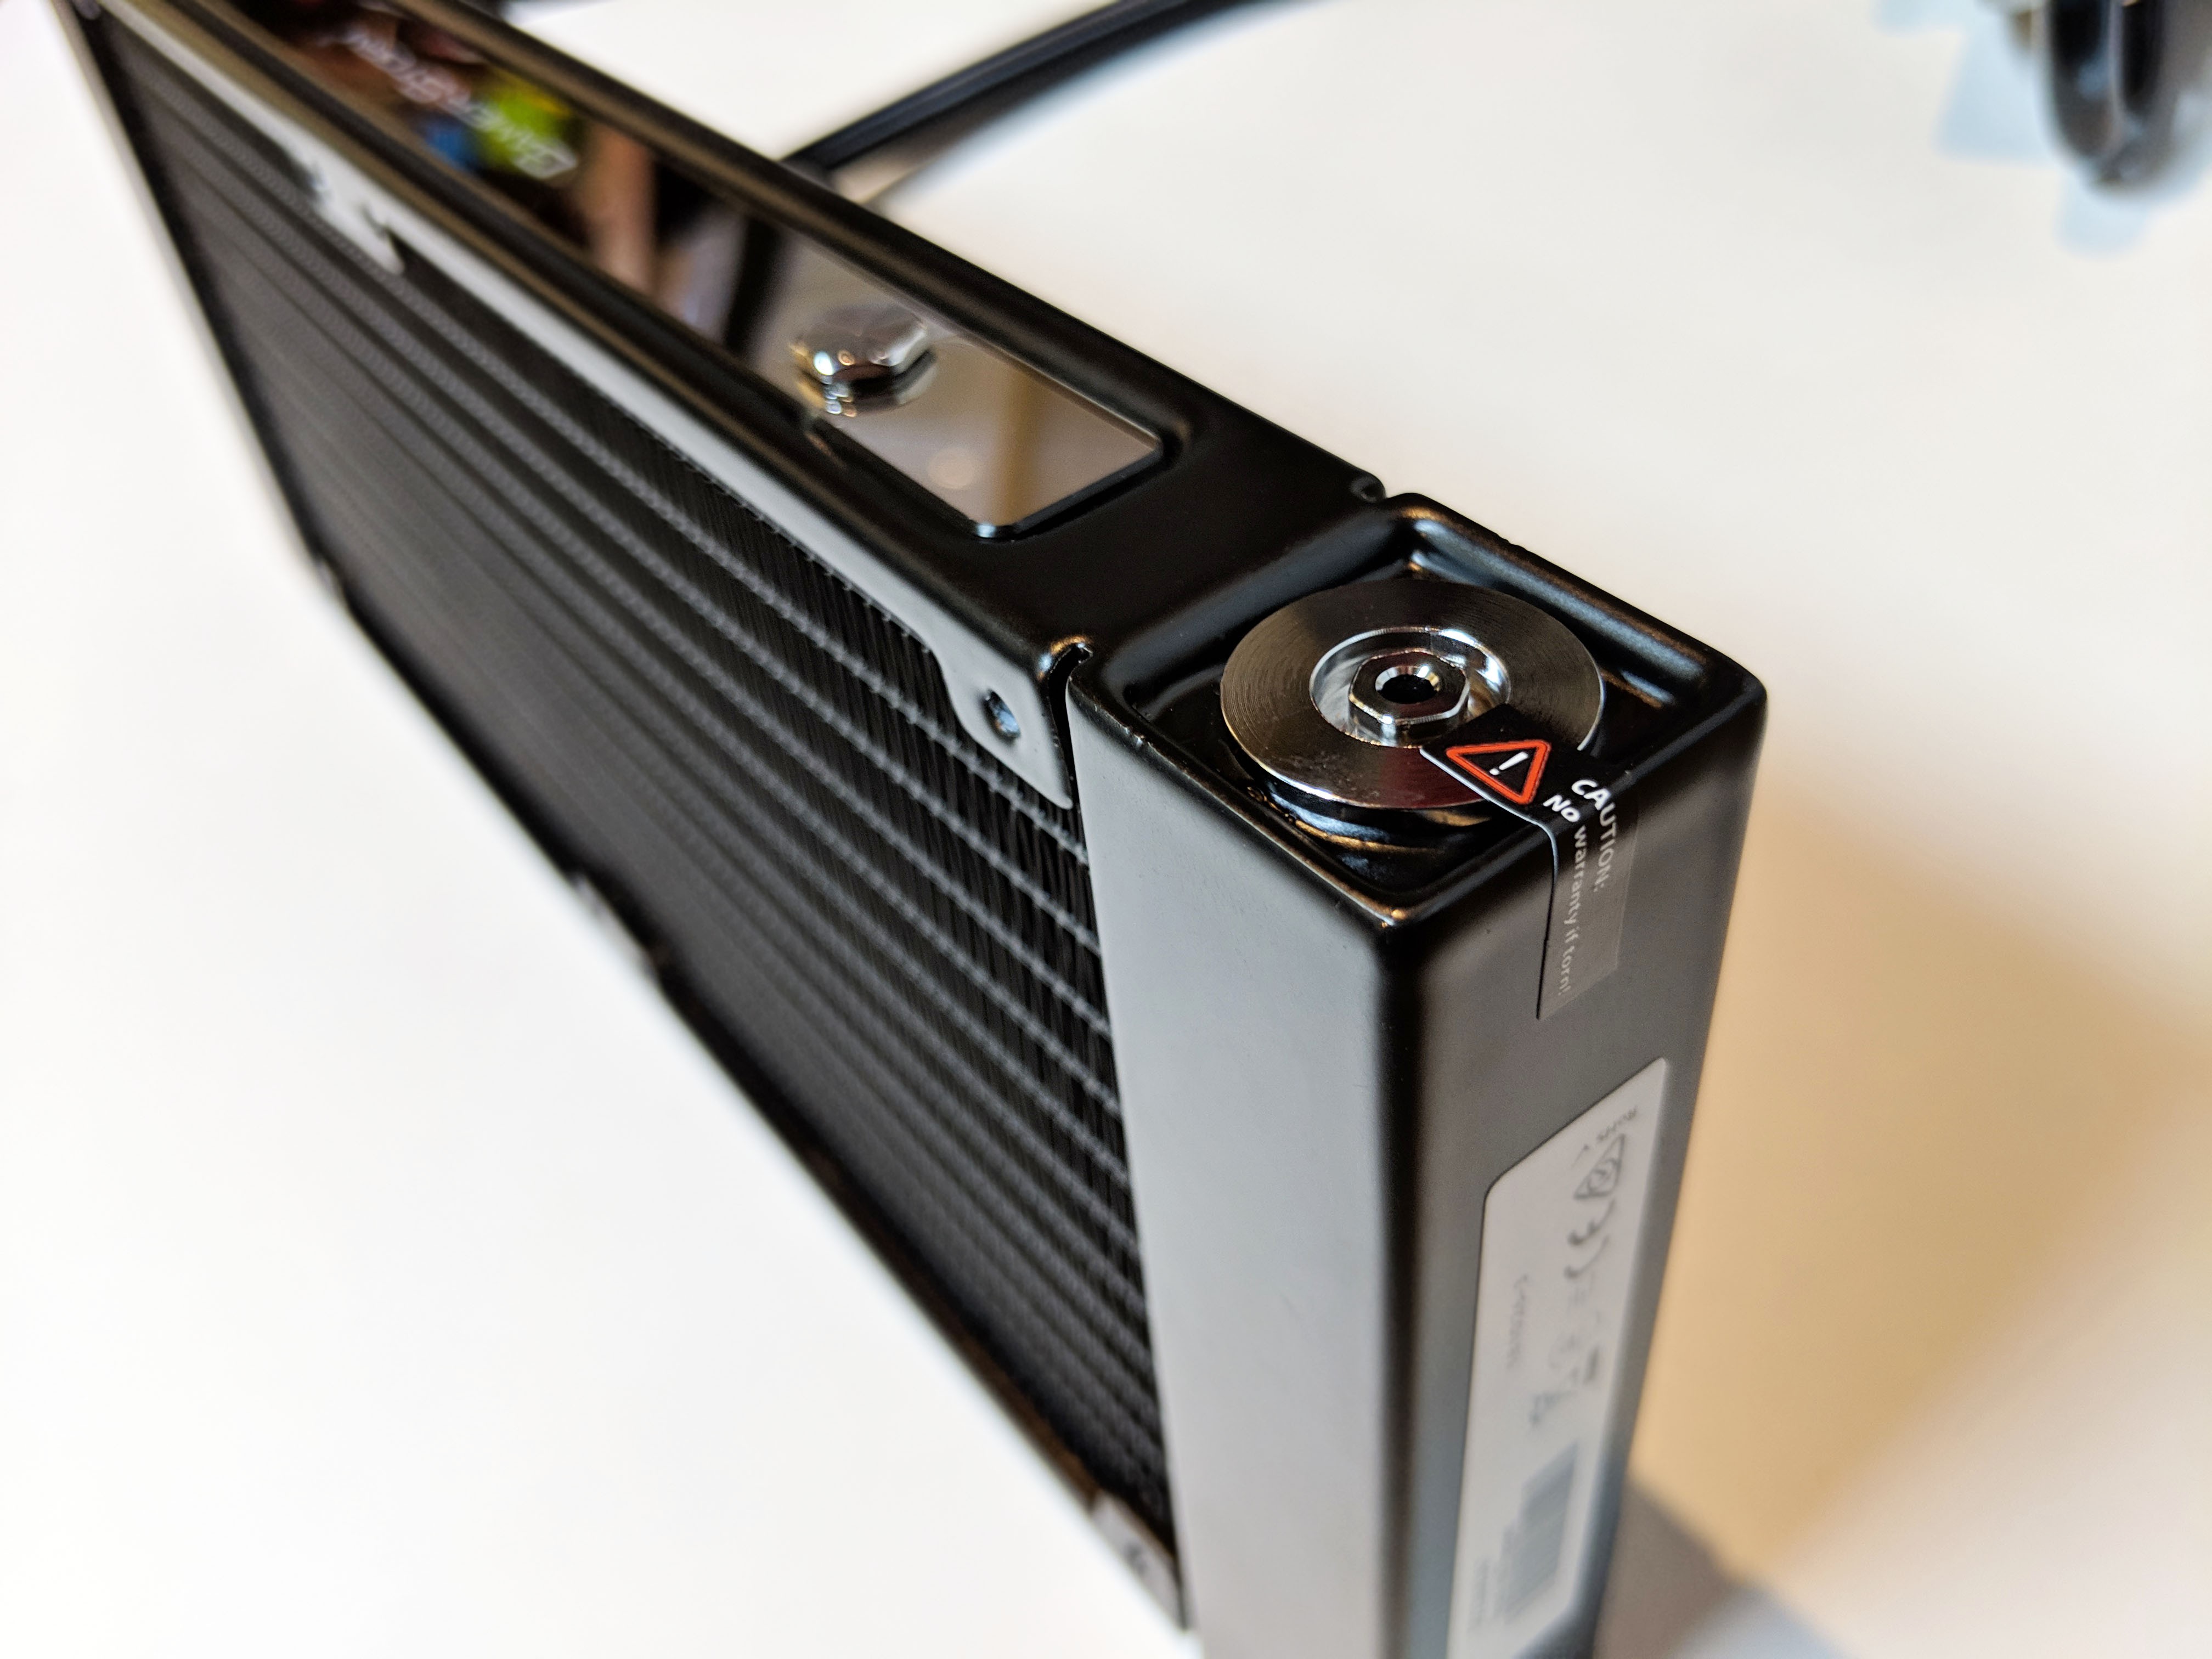
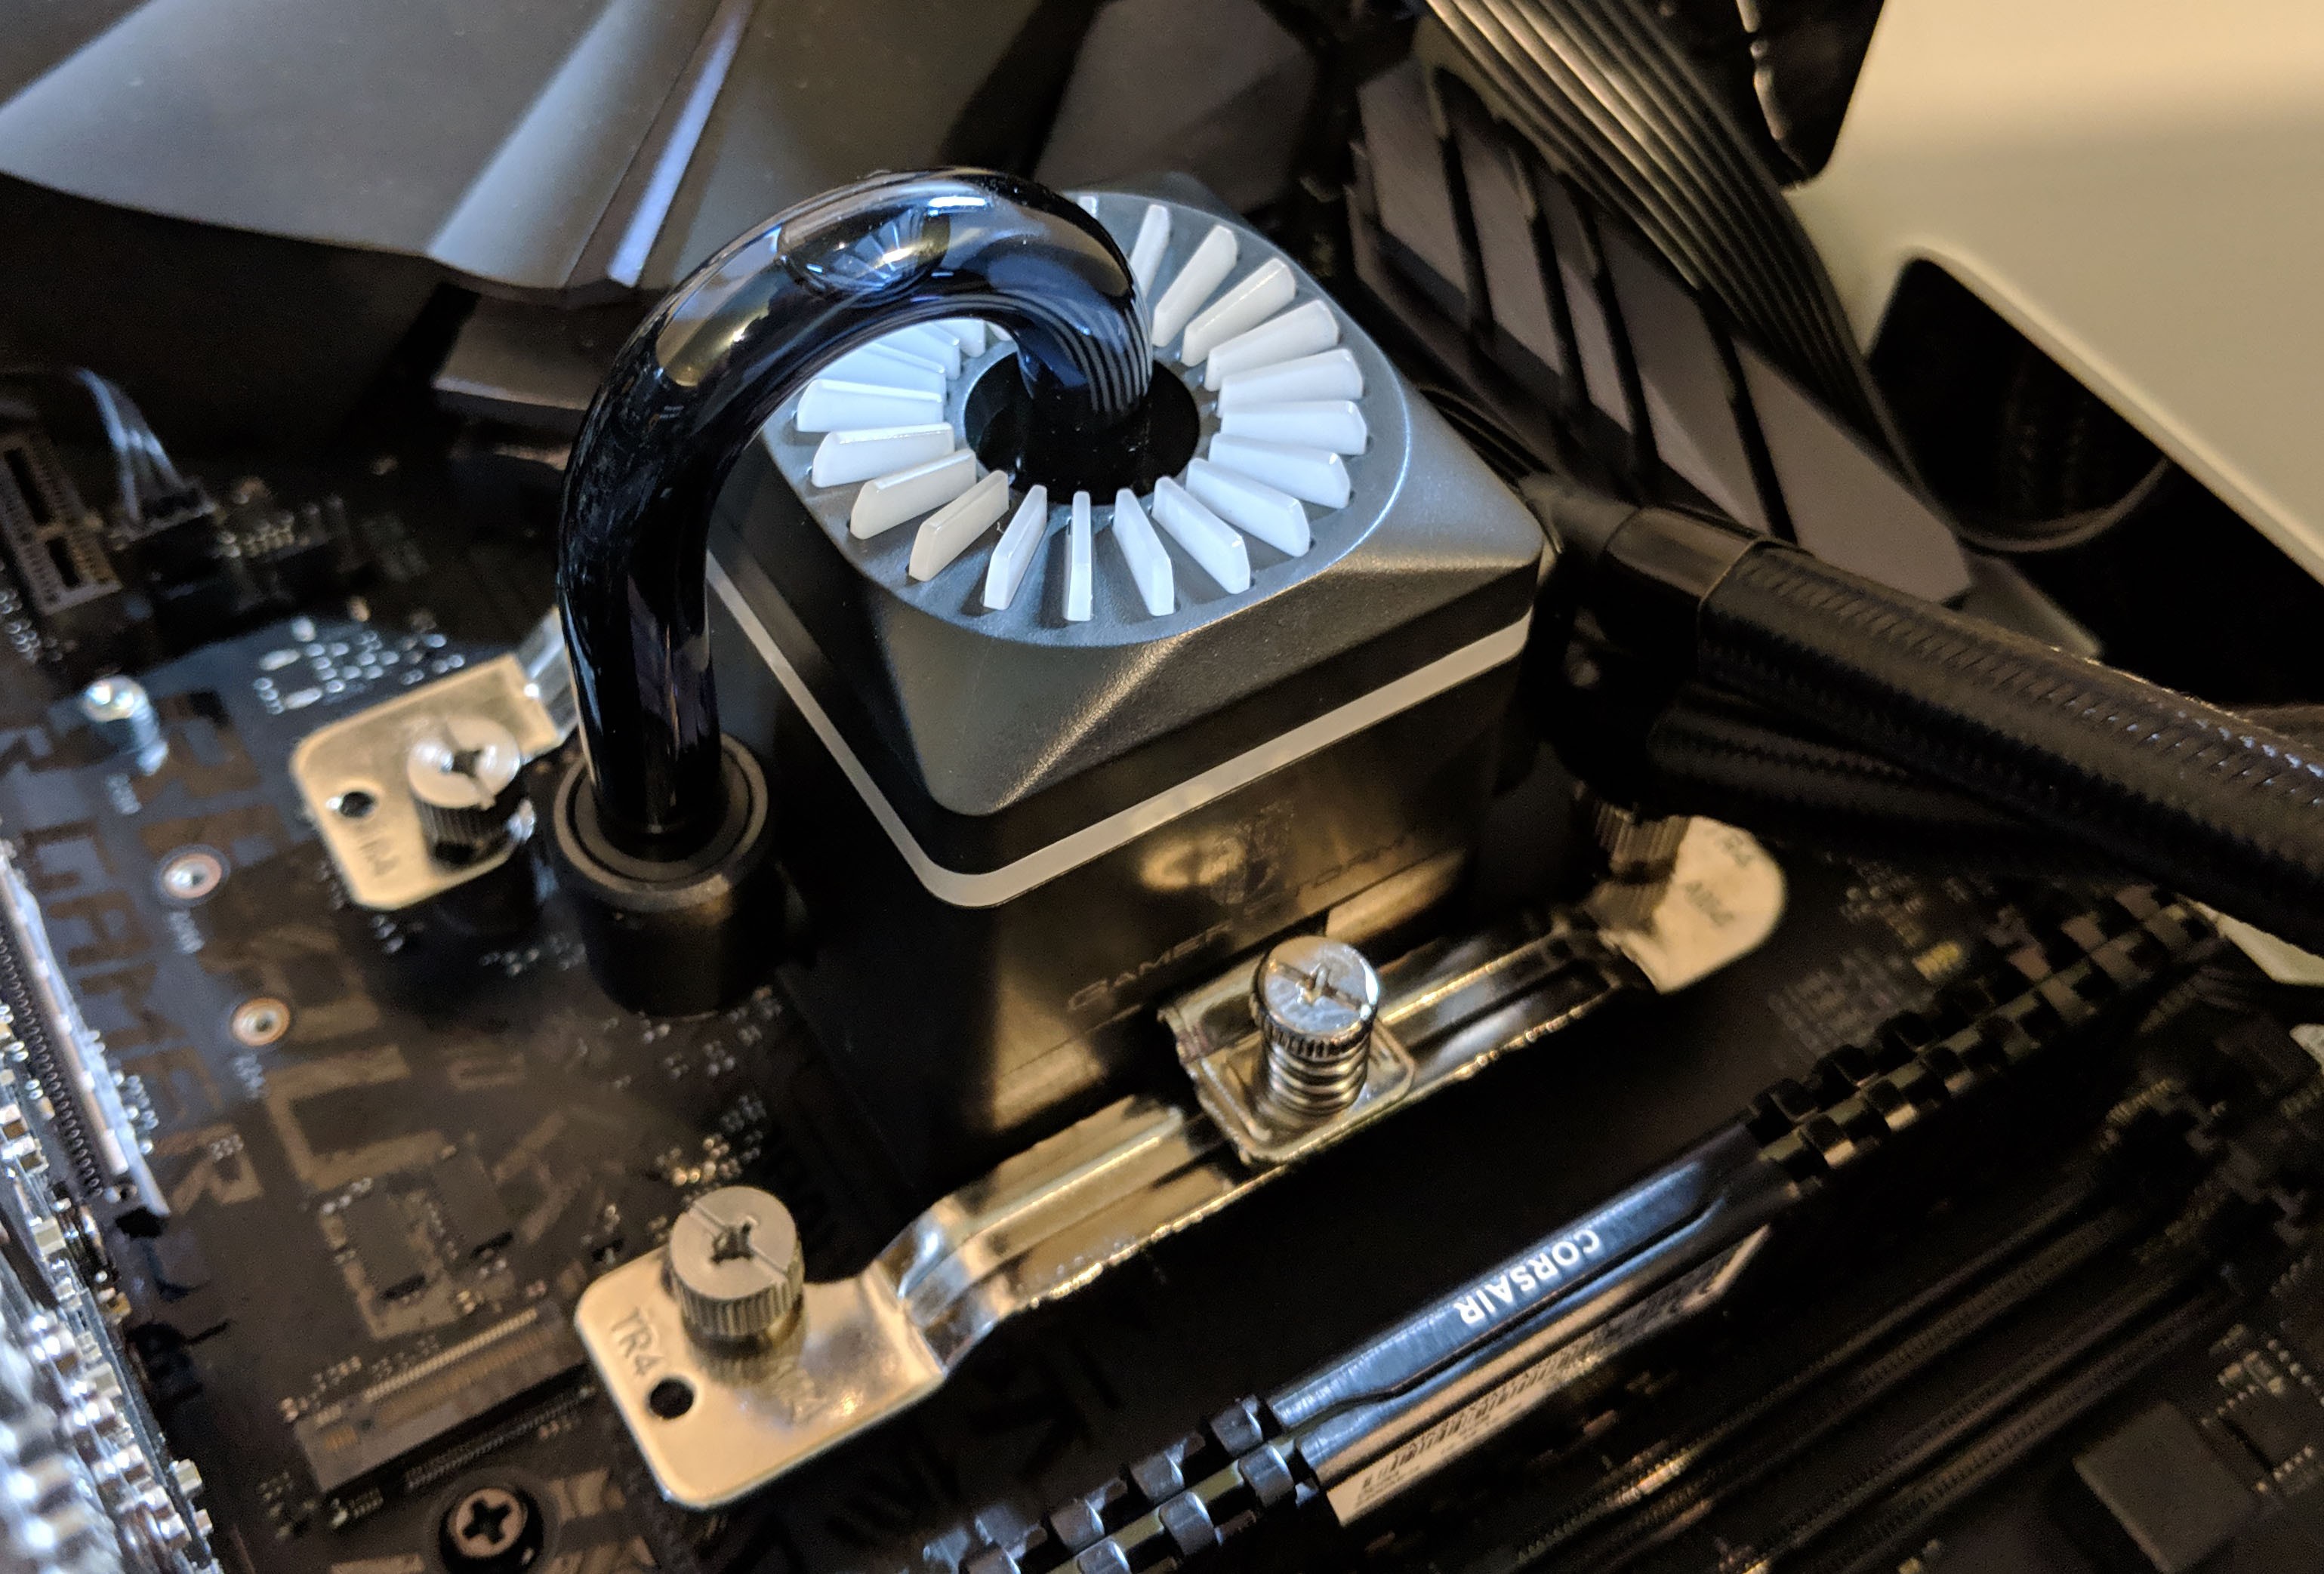
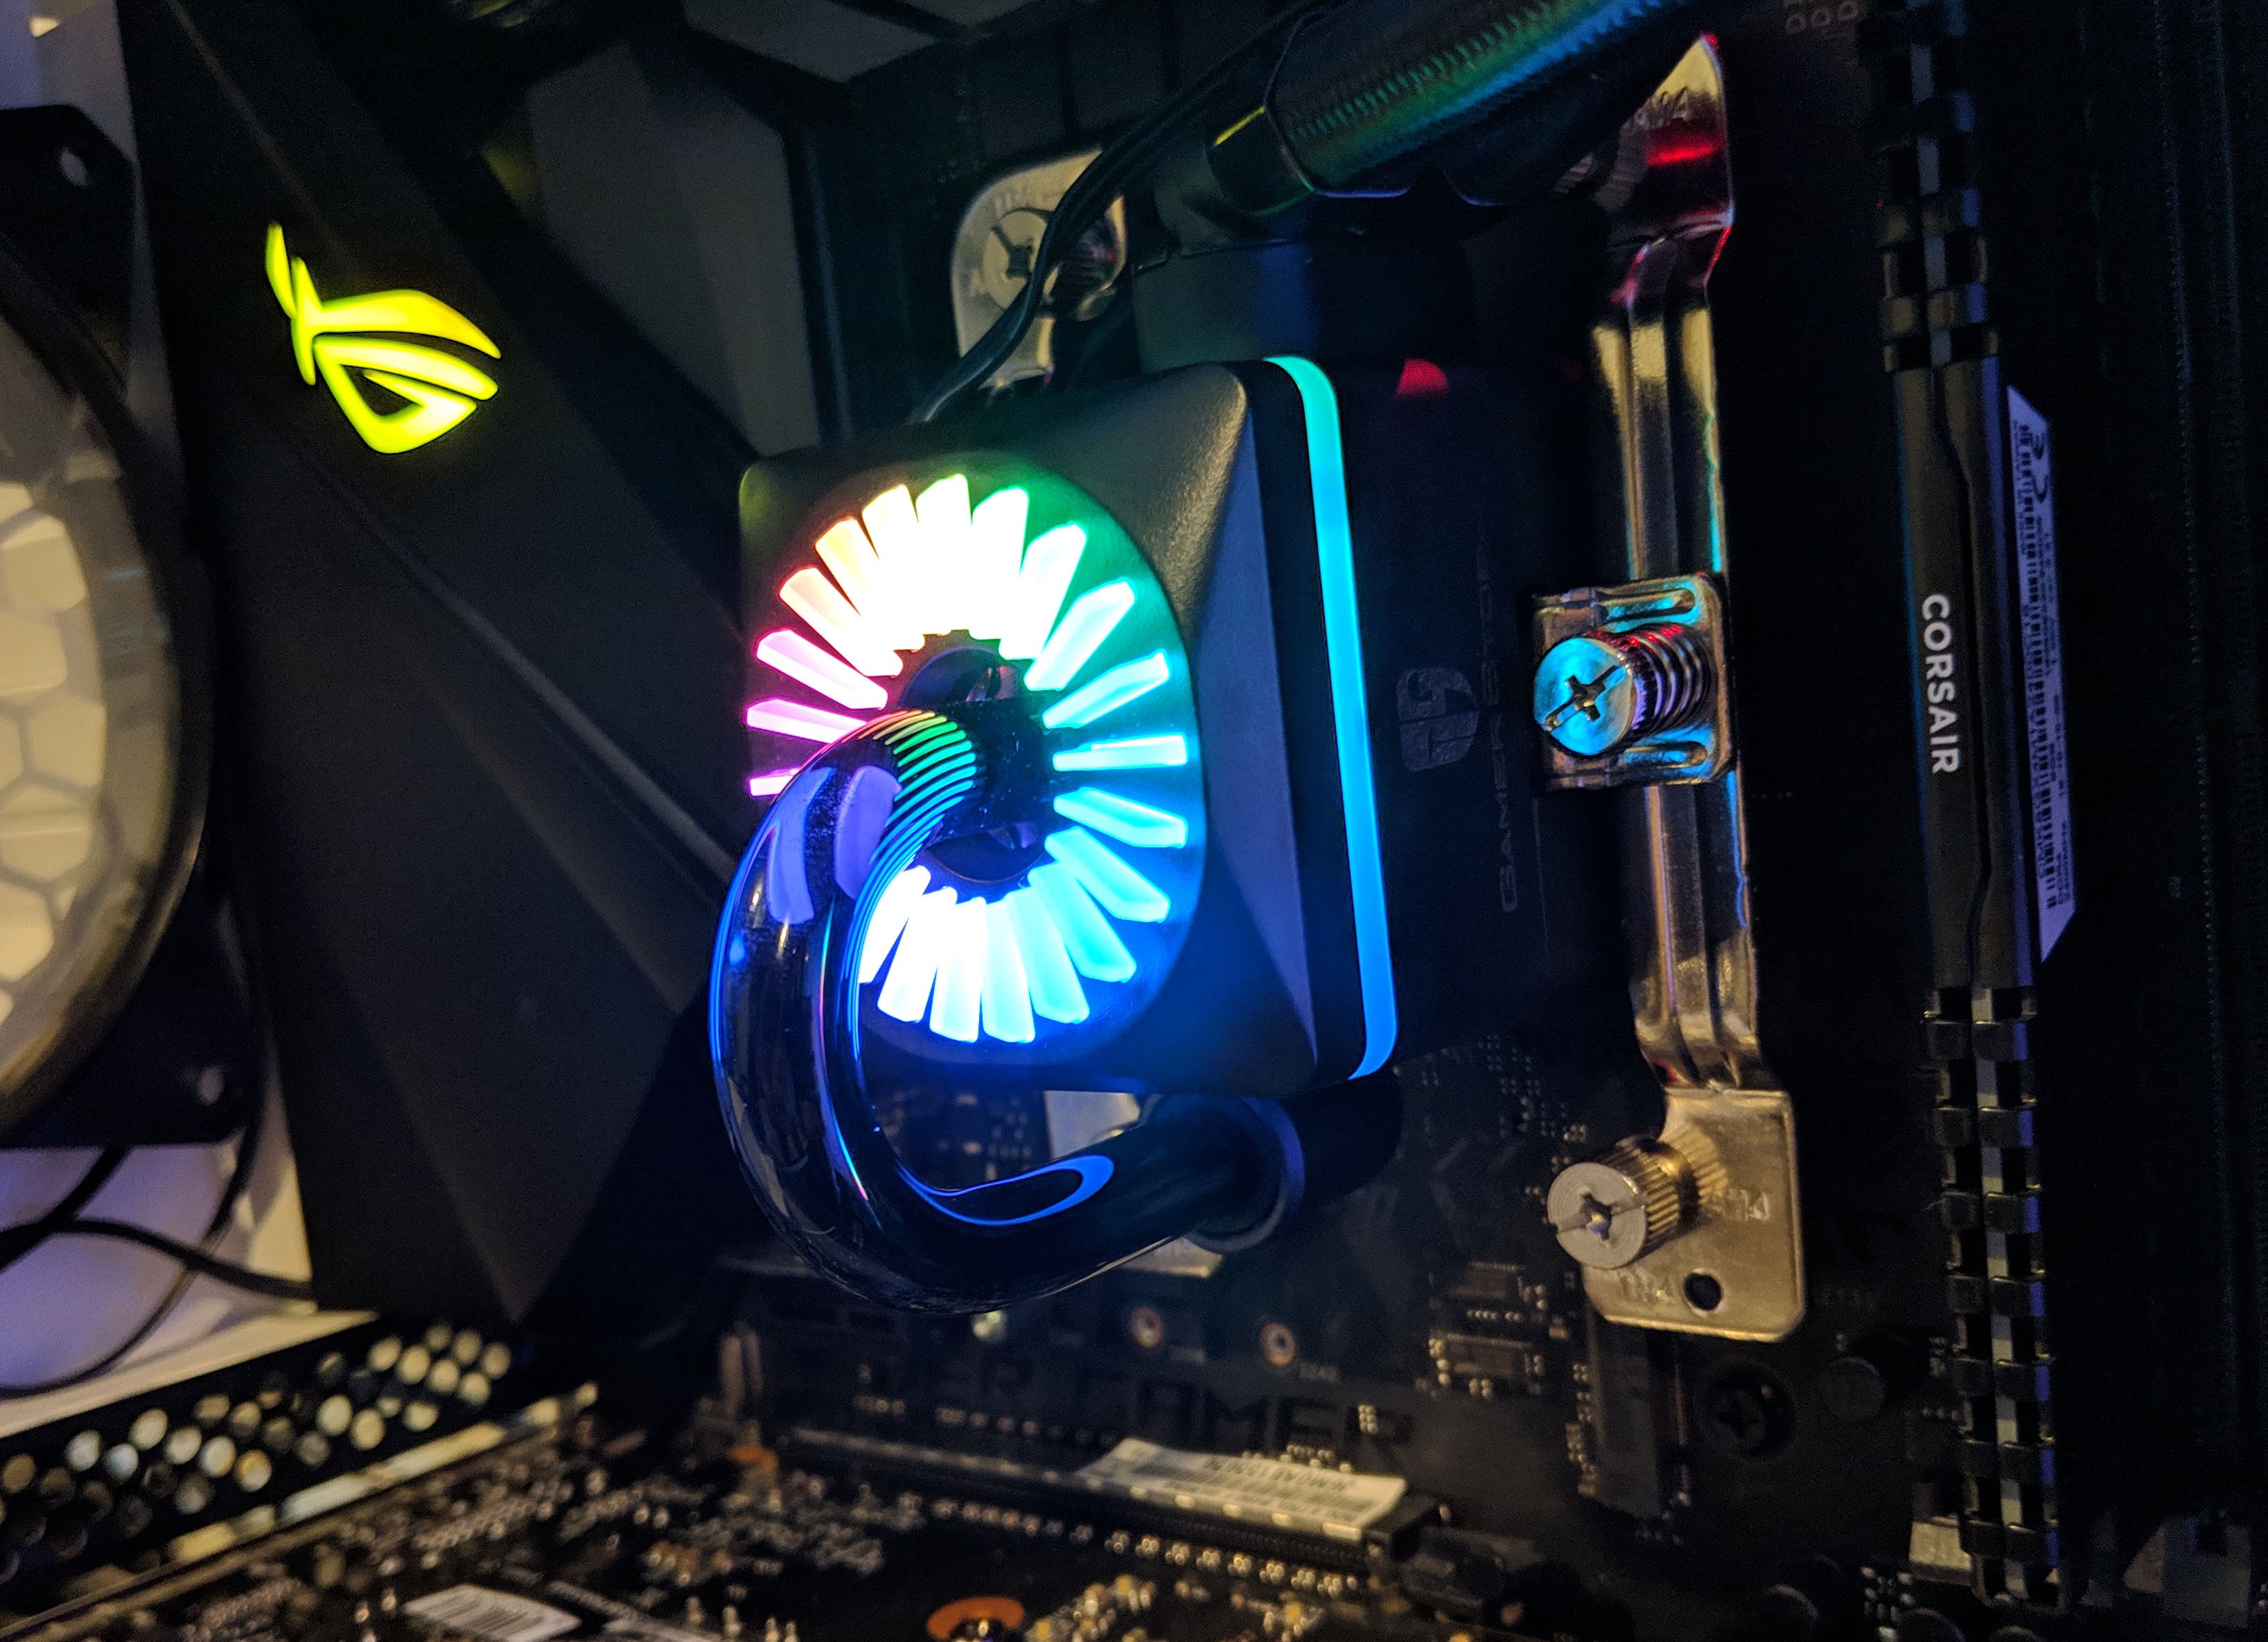
The pump features an array of RGB lights arrayed in a circle around the glass water port located in the center. The transparent tube is probably one of the more unique designs I’ve ever seen which allows a clear view of the internal liquid. Keep in mind though that as this is a sealed system, you won’t likely see the liquid flow when powered on, but still, looks pretty neat.
The pump is powered by a single 3-pin power braided connector. No PWM needed as the pump is designed to run at 100%. Also connected to the pump is the RGB connector. This connects into the RGB hub which we’ll go over later.

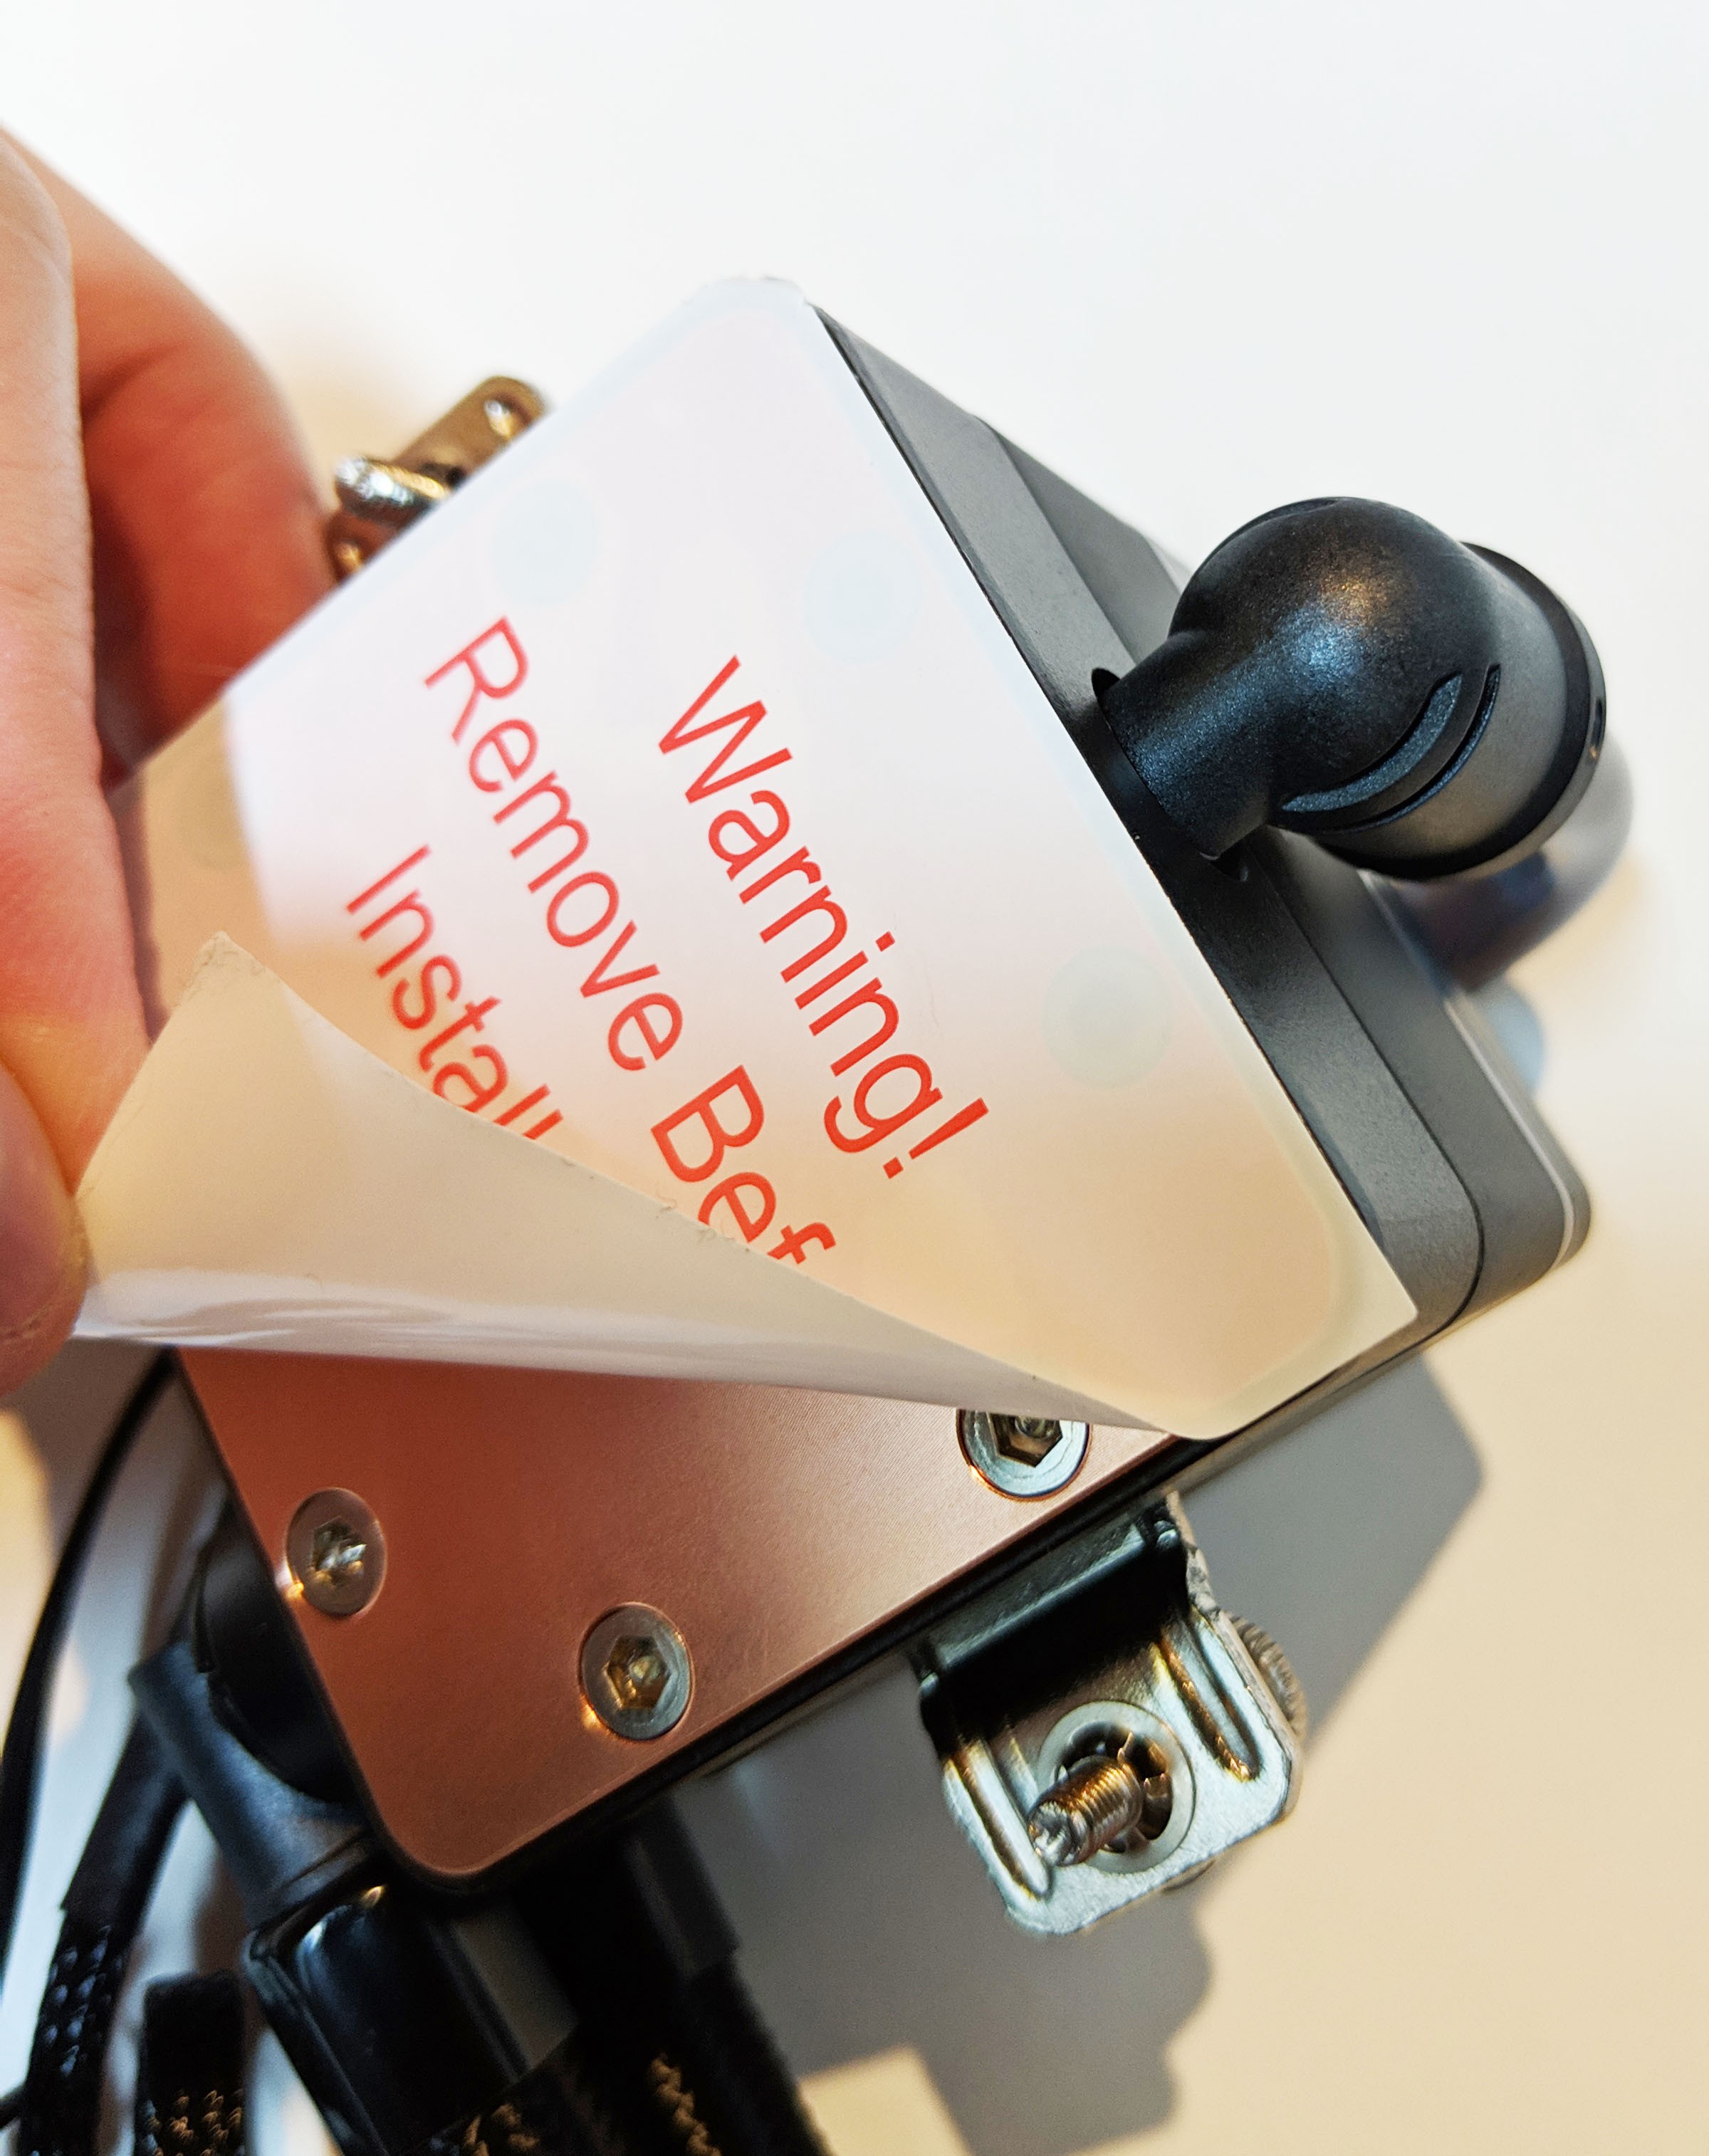
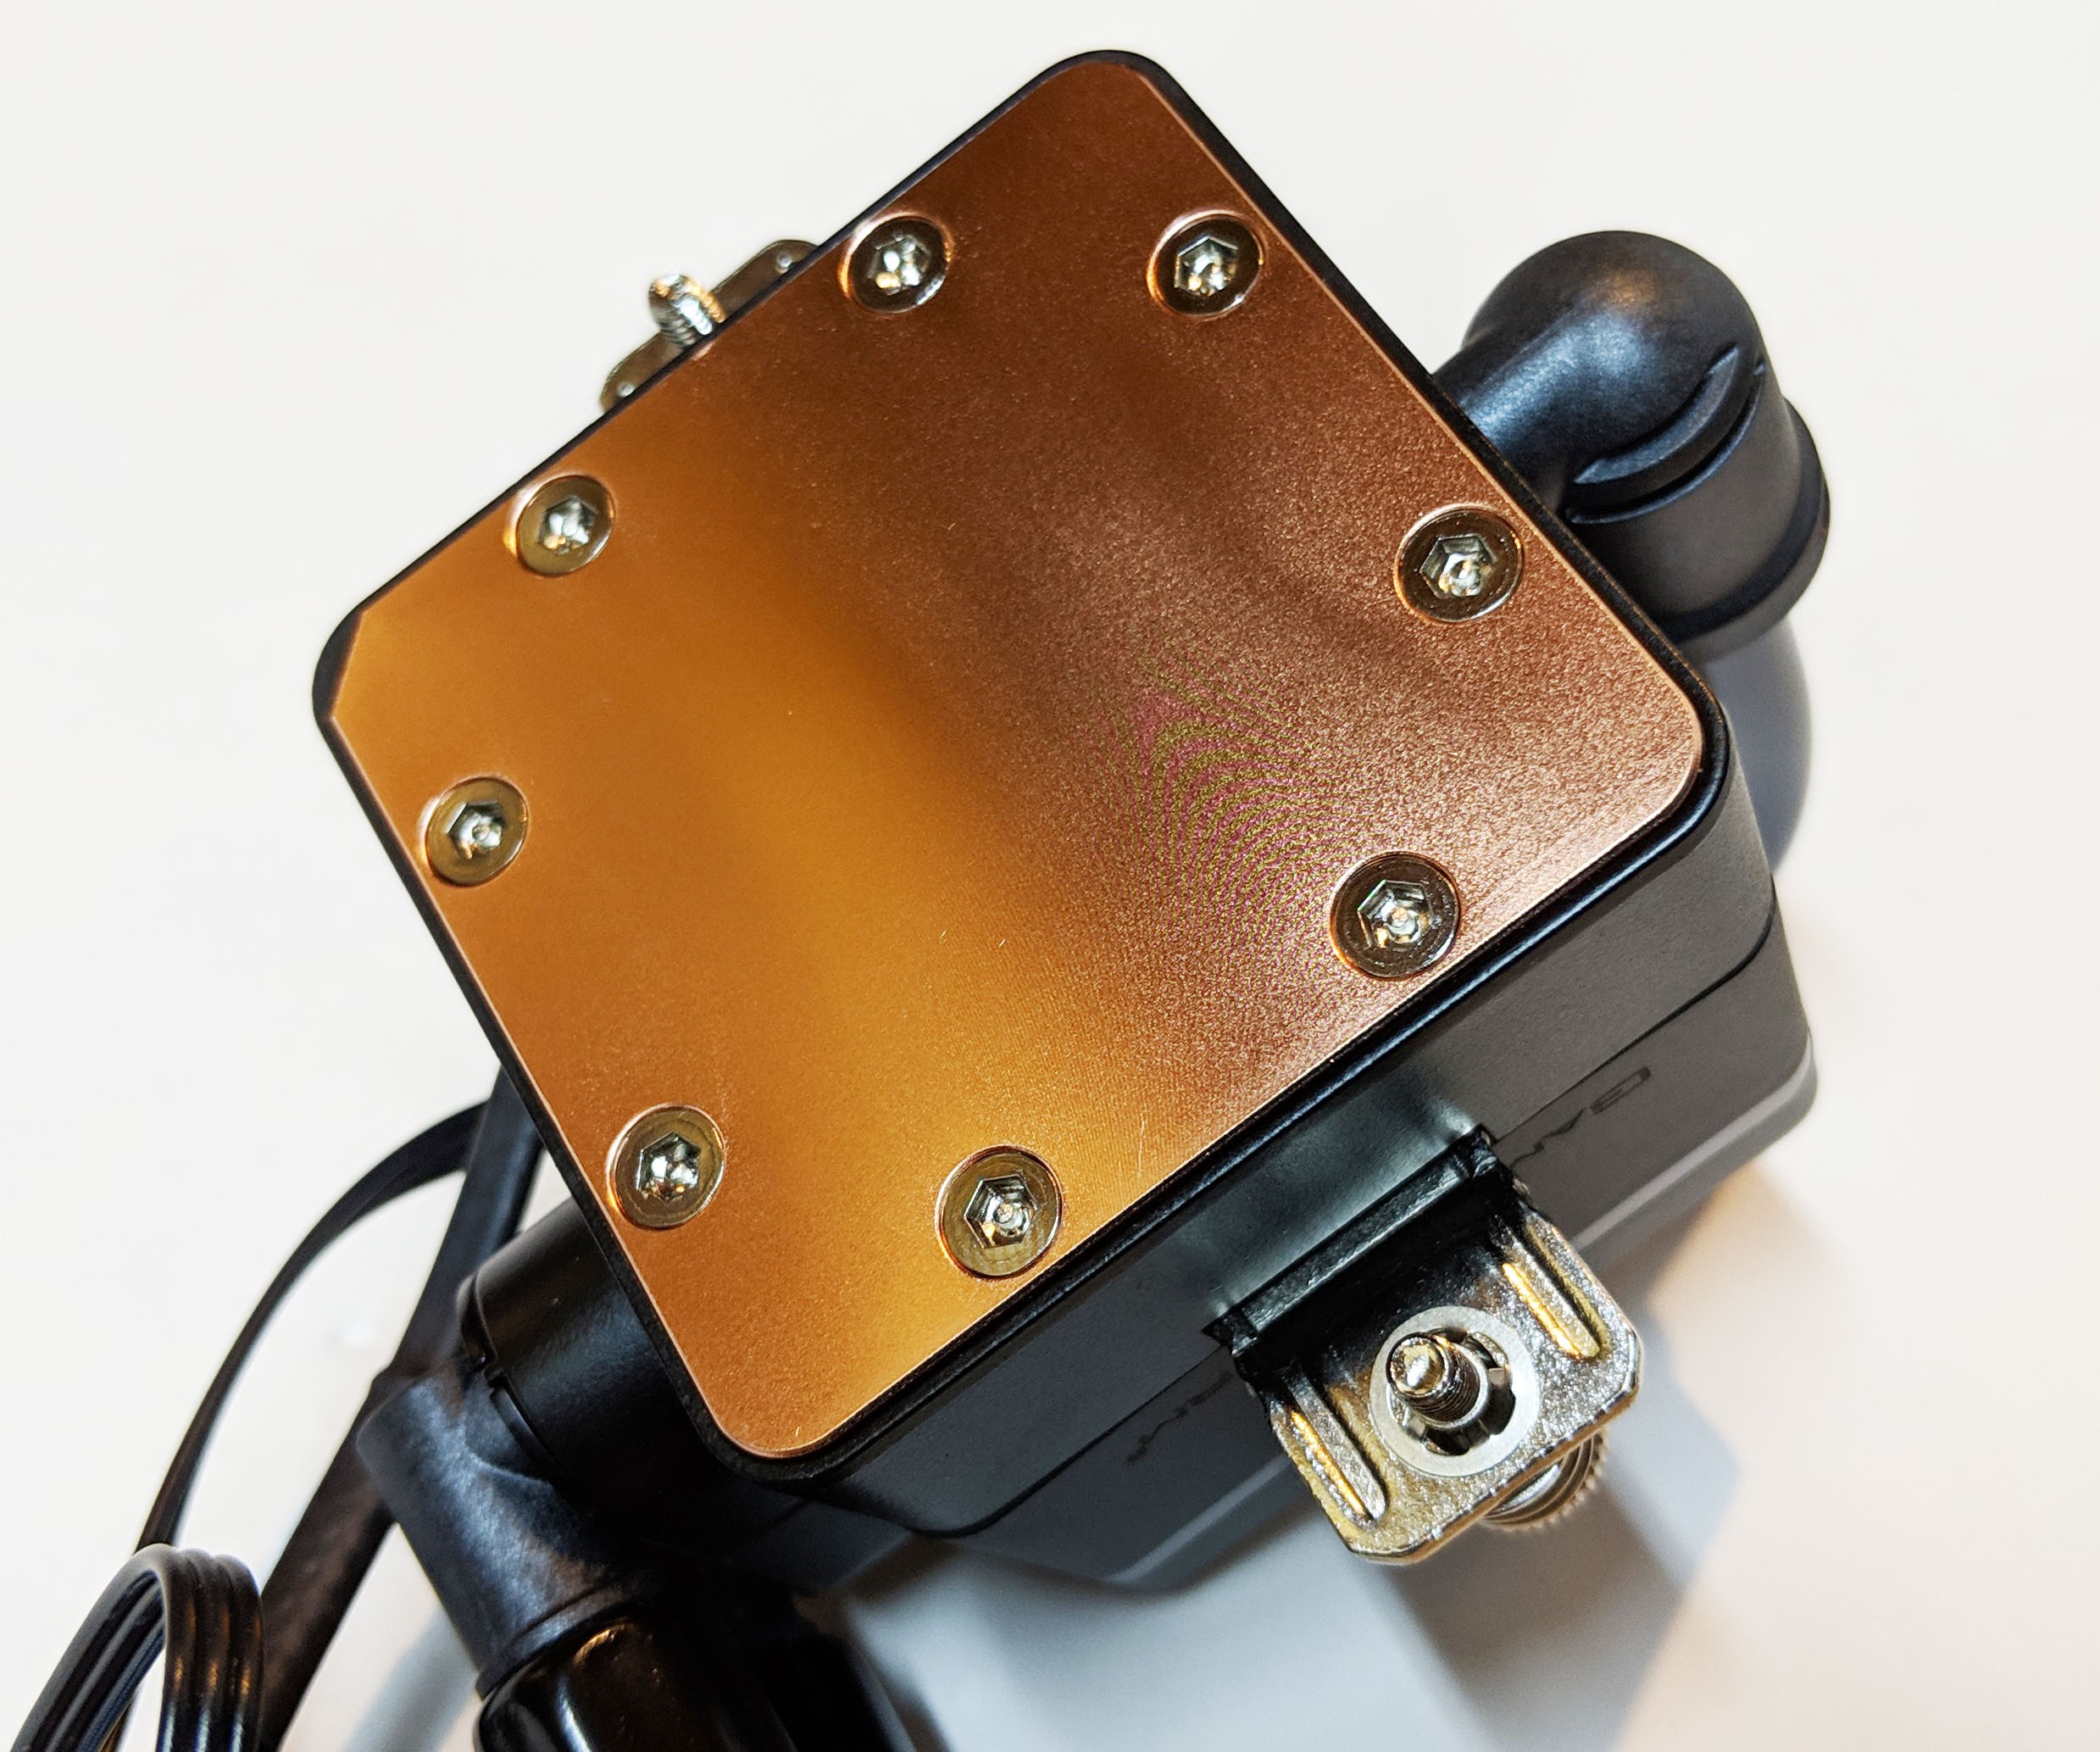
Flipping the pump over we get a better look at the water block base of the AIO cooler. The copper base is slightly textured which produces a fuzzy reflection, though it is very flat and a bit larger than most, likely due to the TR4 support. be sure to heed Deep Cool’s warning and remove the protective film prior to installation!
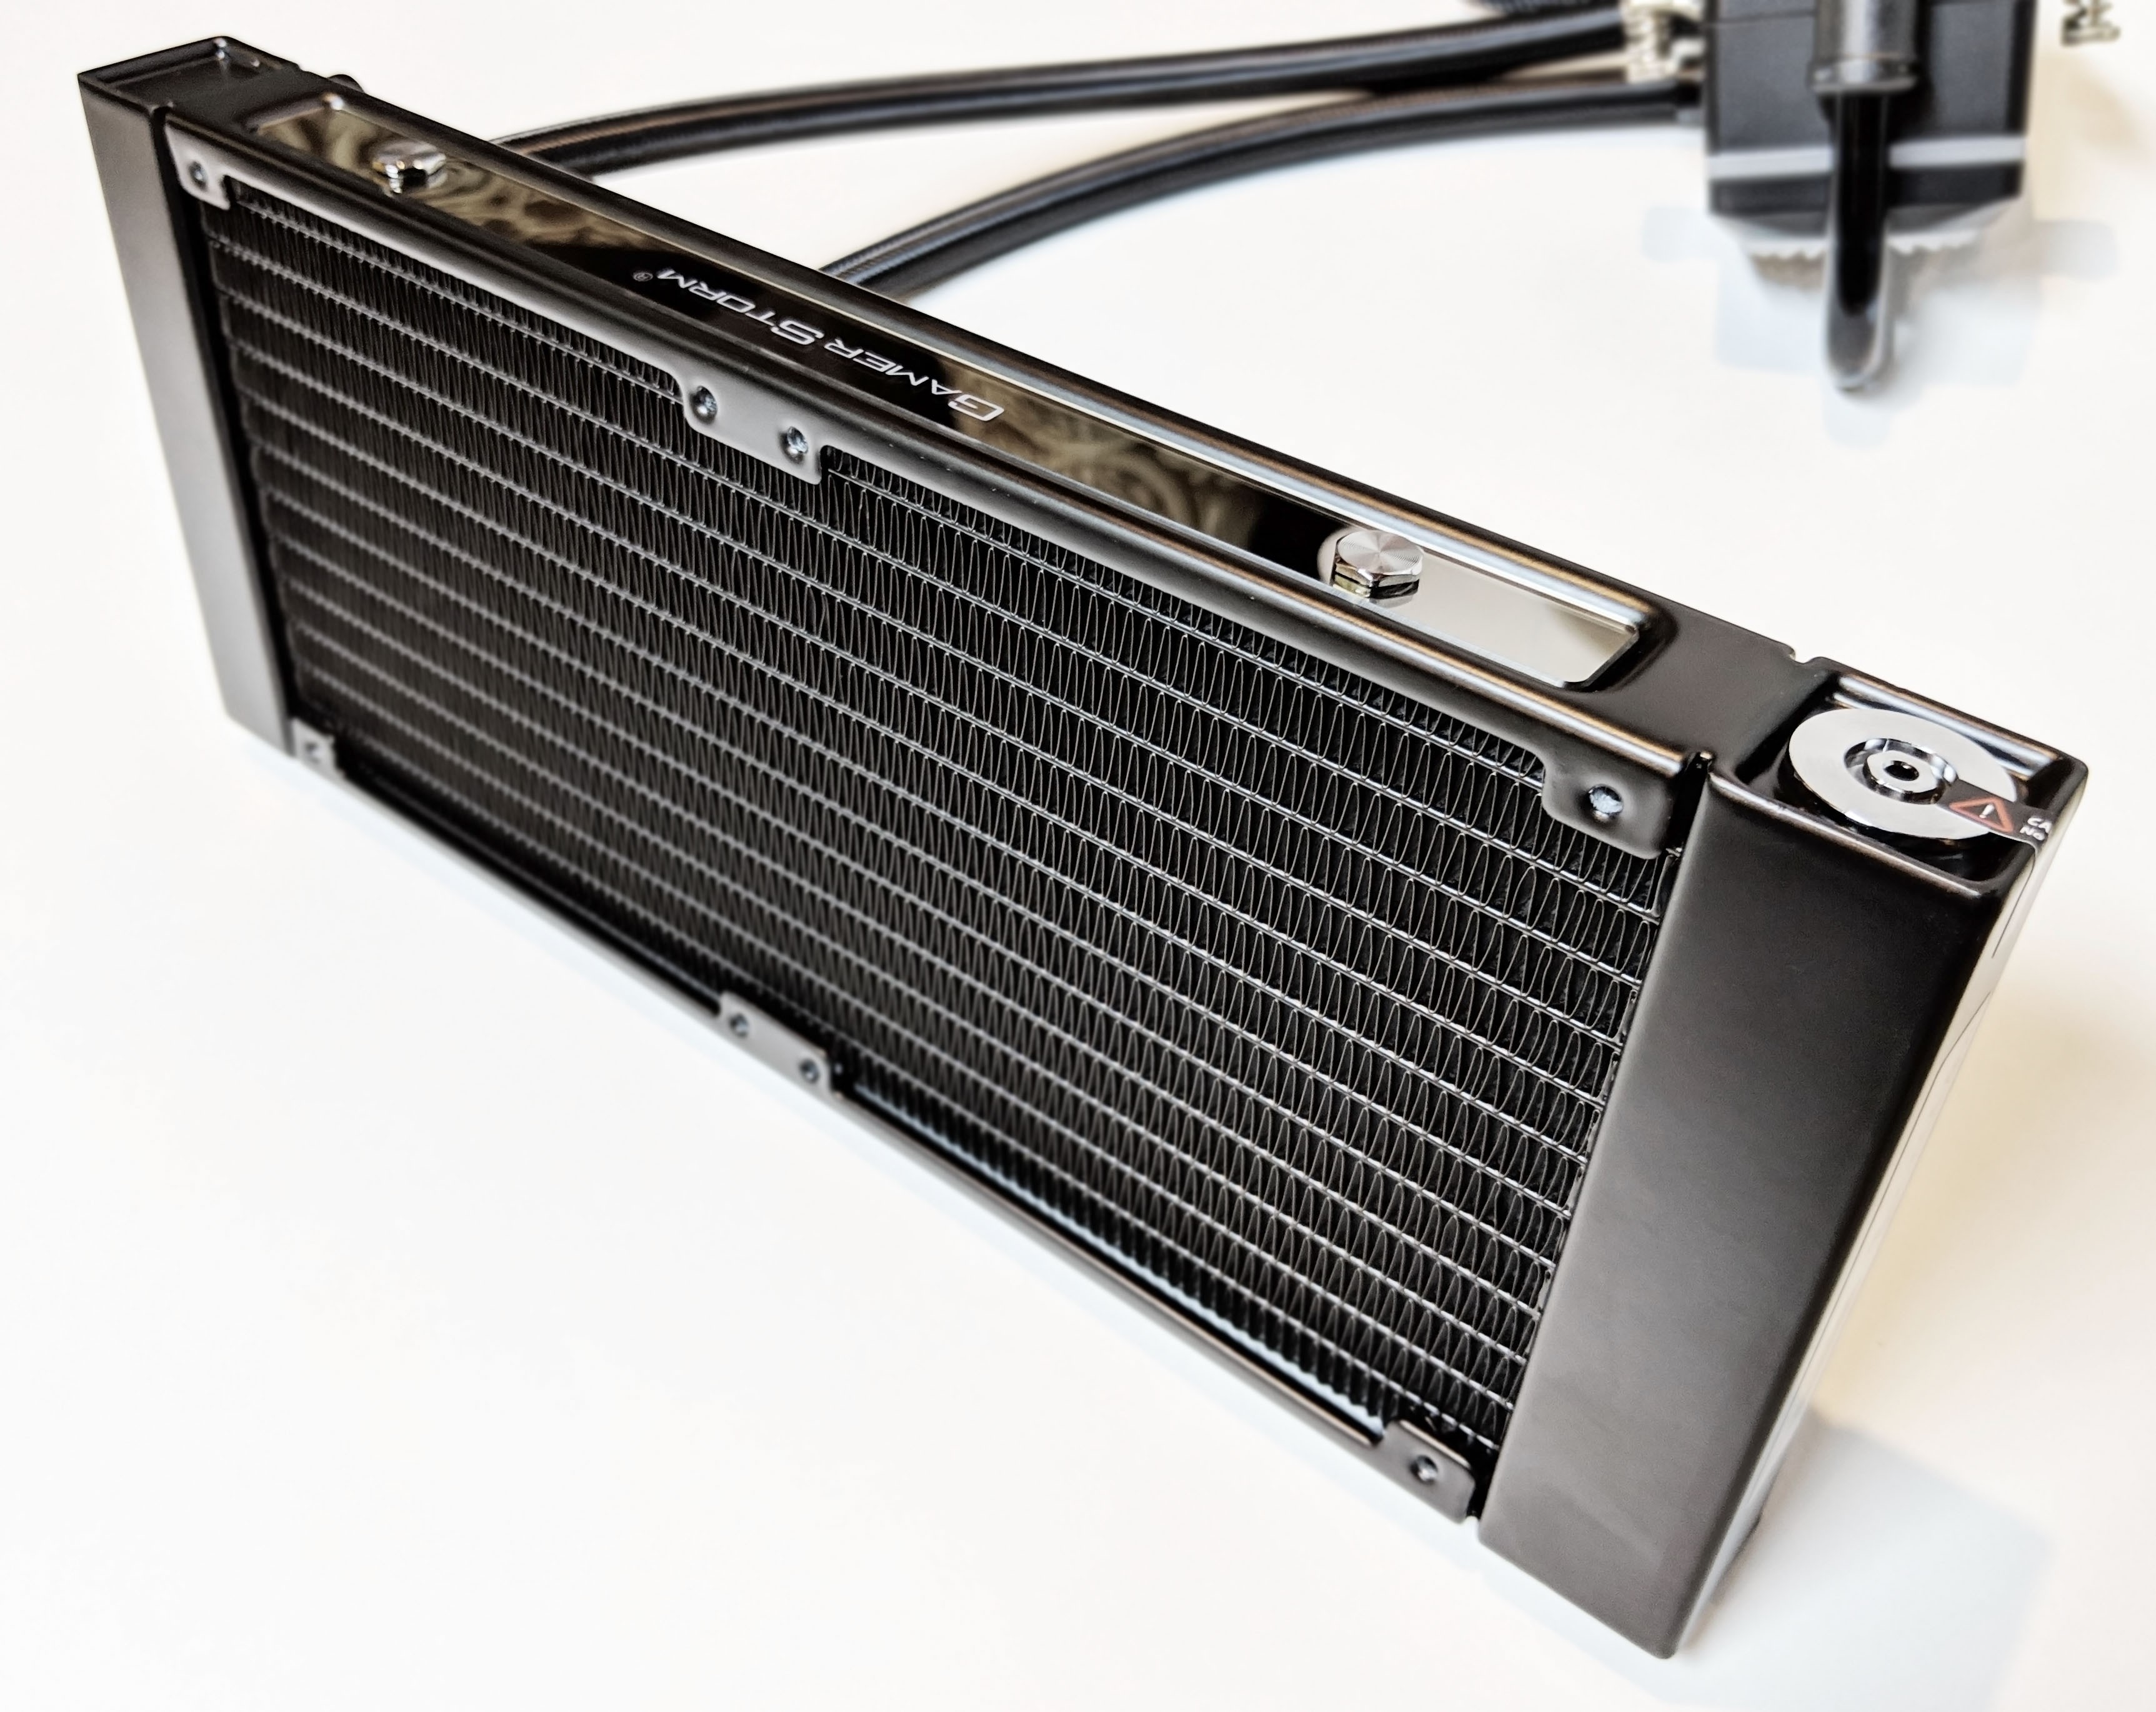
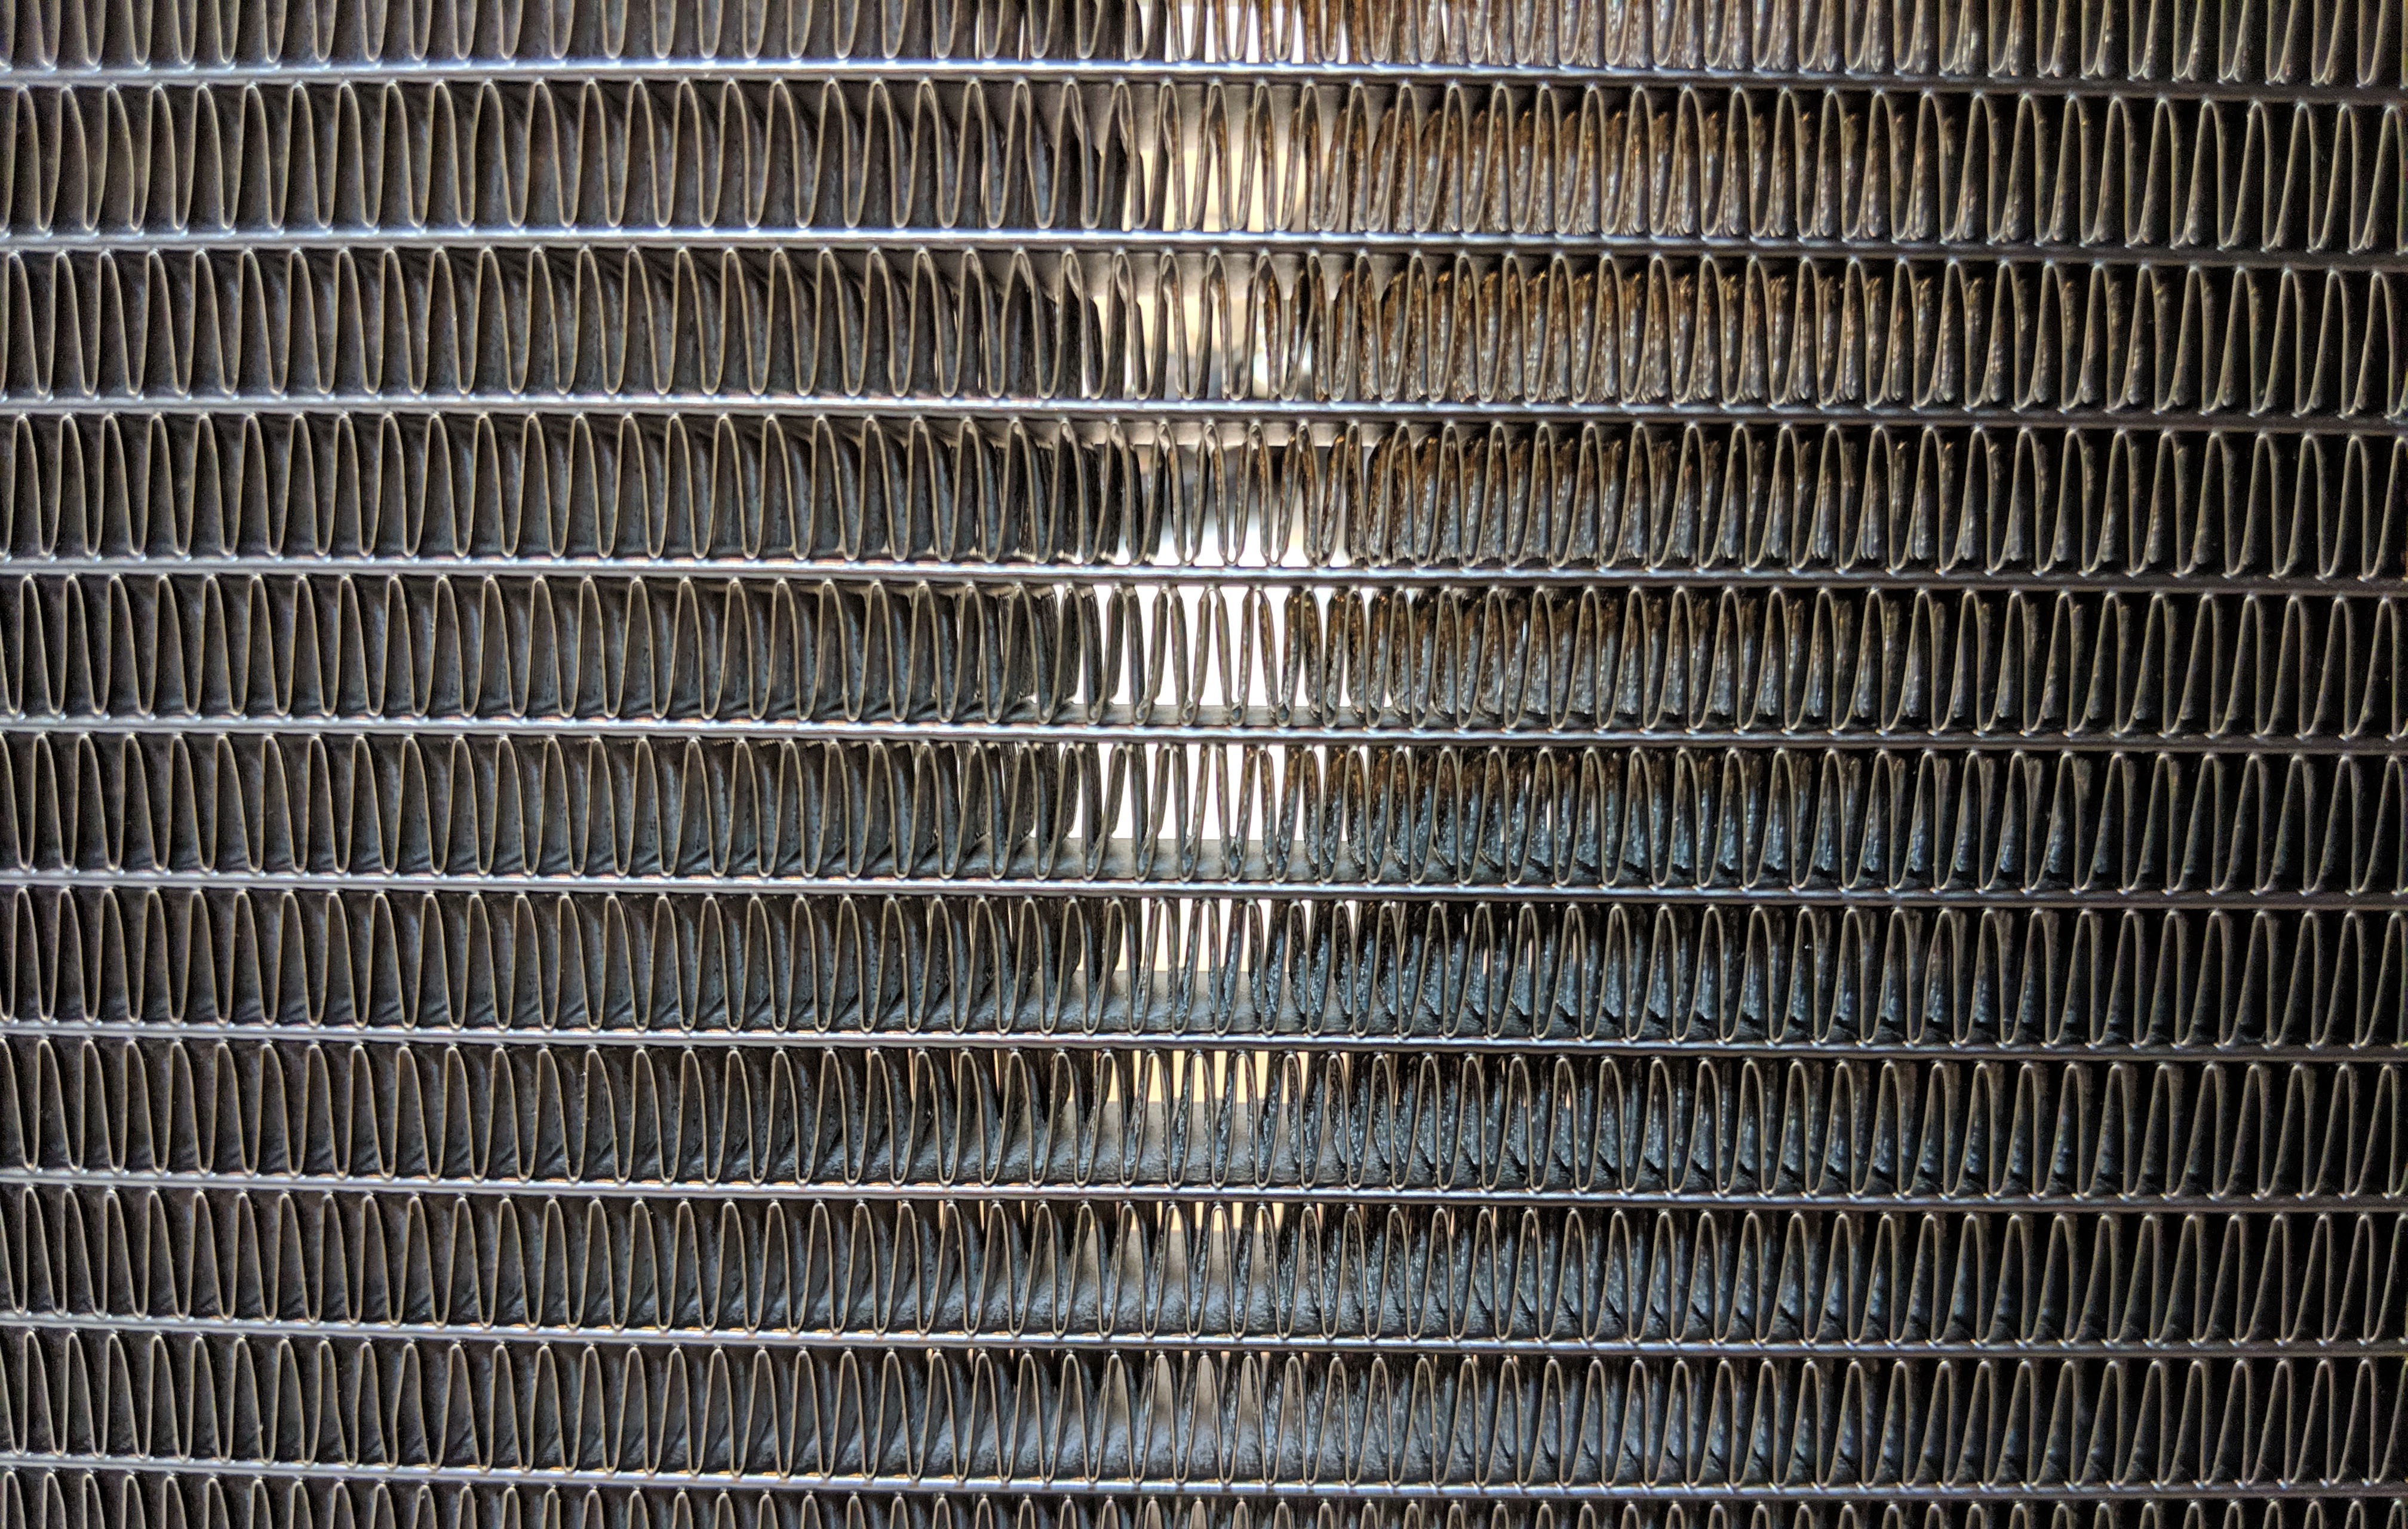
Moving on down the pipes so to speak we find the affixed 240mm radiator. Aside from some cool aesthetics, the radiator is pretty typical to most out on the market today. It features an aluminum core housed in a a steel casing used for mounting fans as well as the radiator itself.
Personally, I really like the chrome and black color scheme going on. It adds to the premium feel of the cooler which will make it stand out in any build.
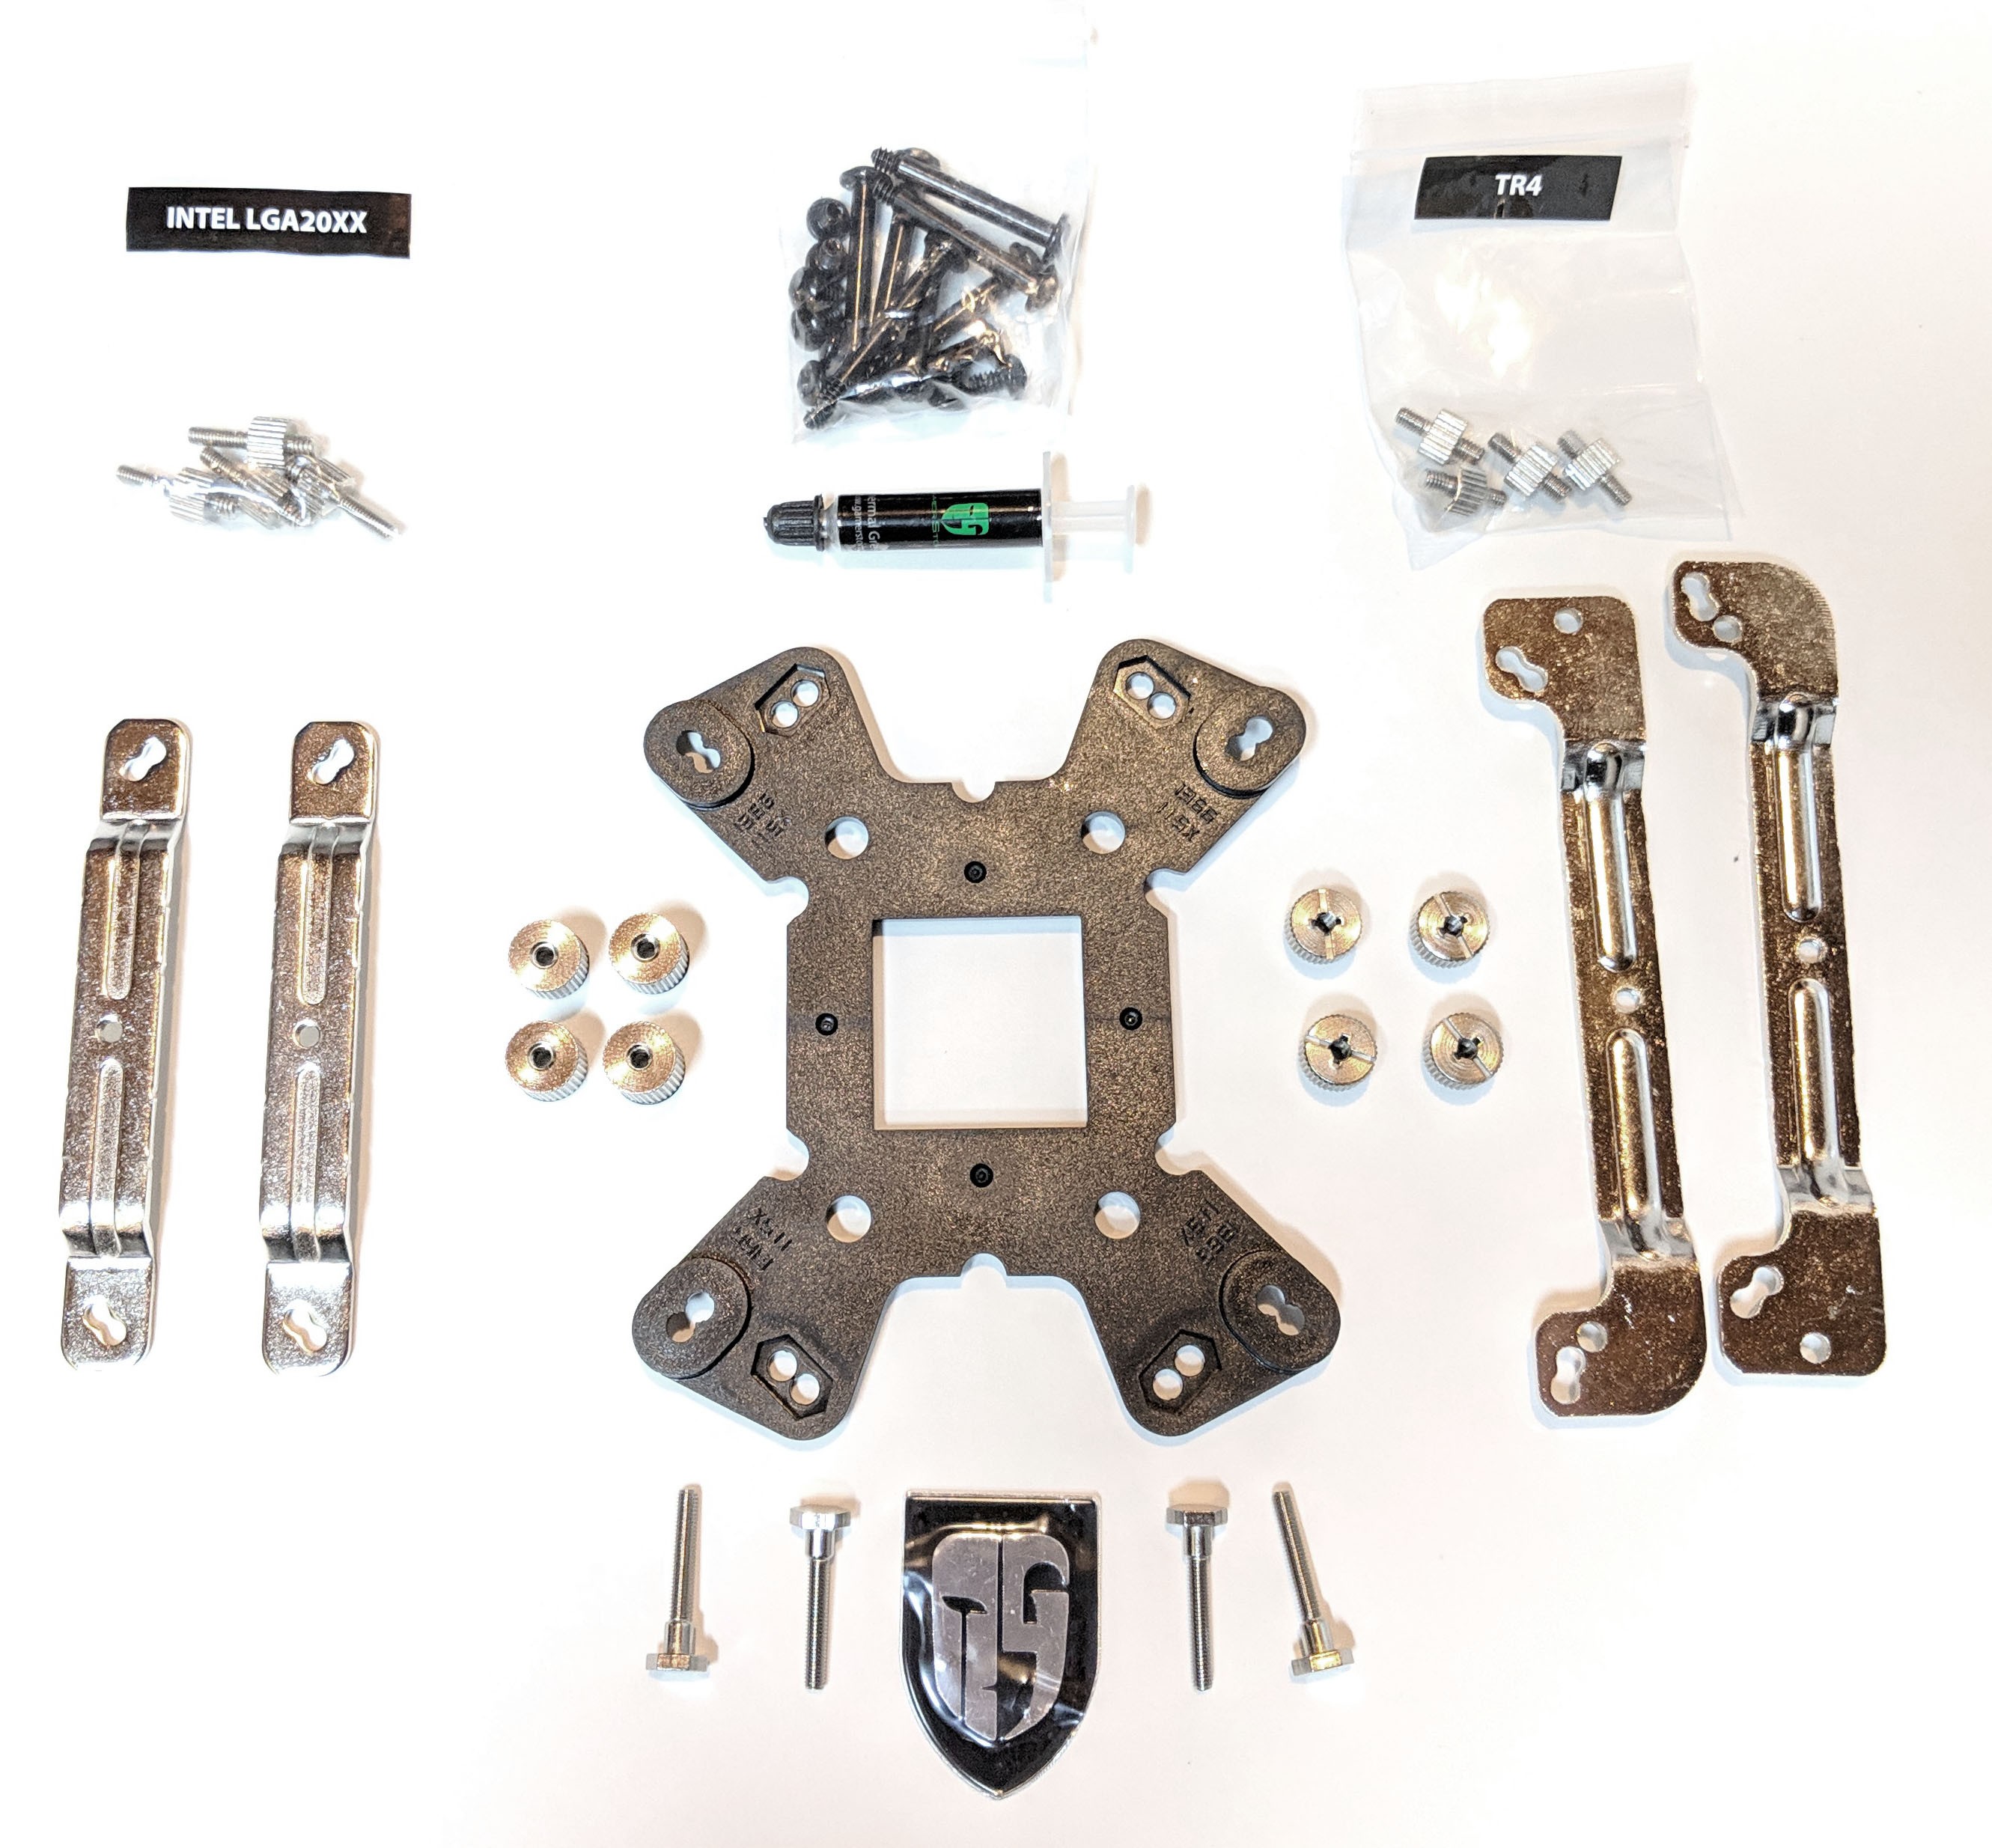
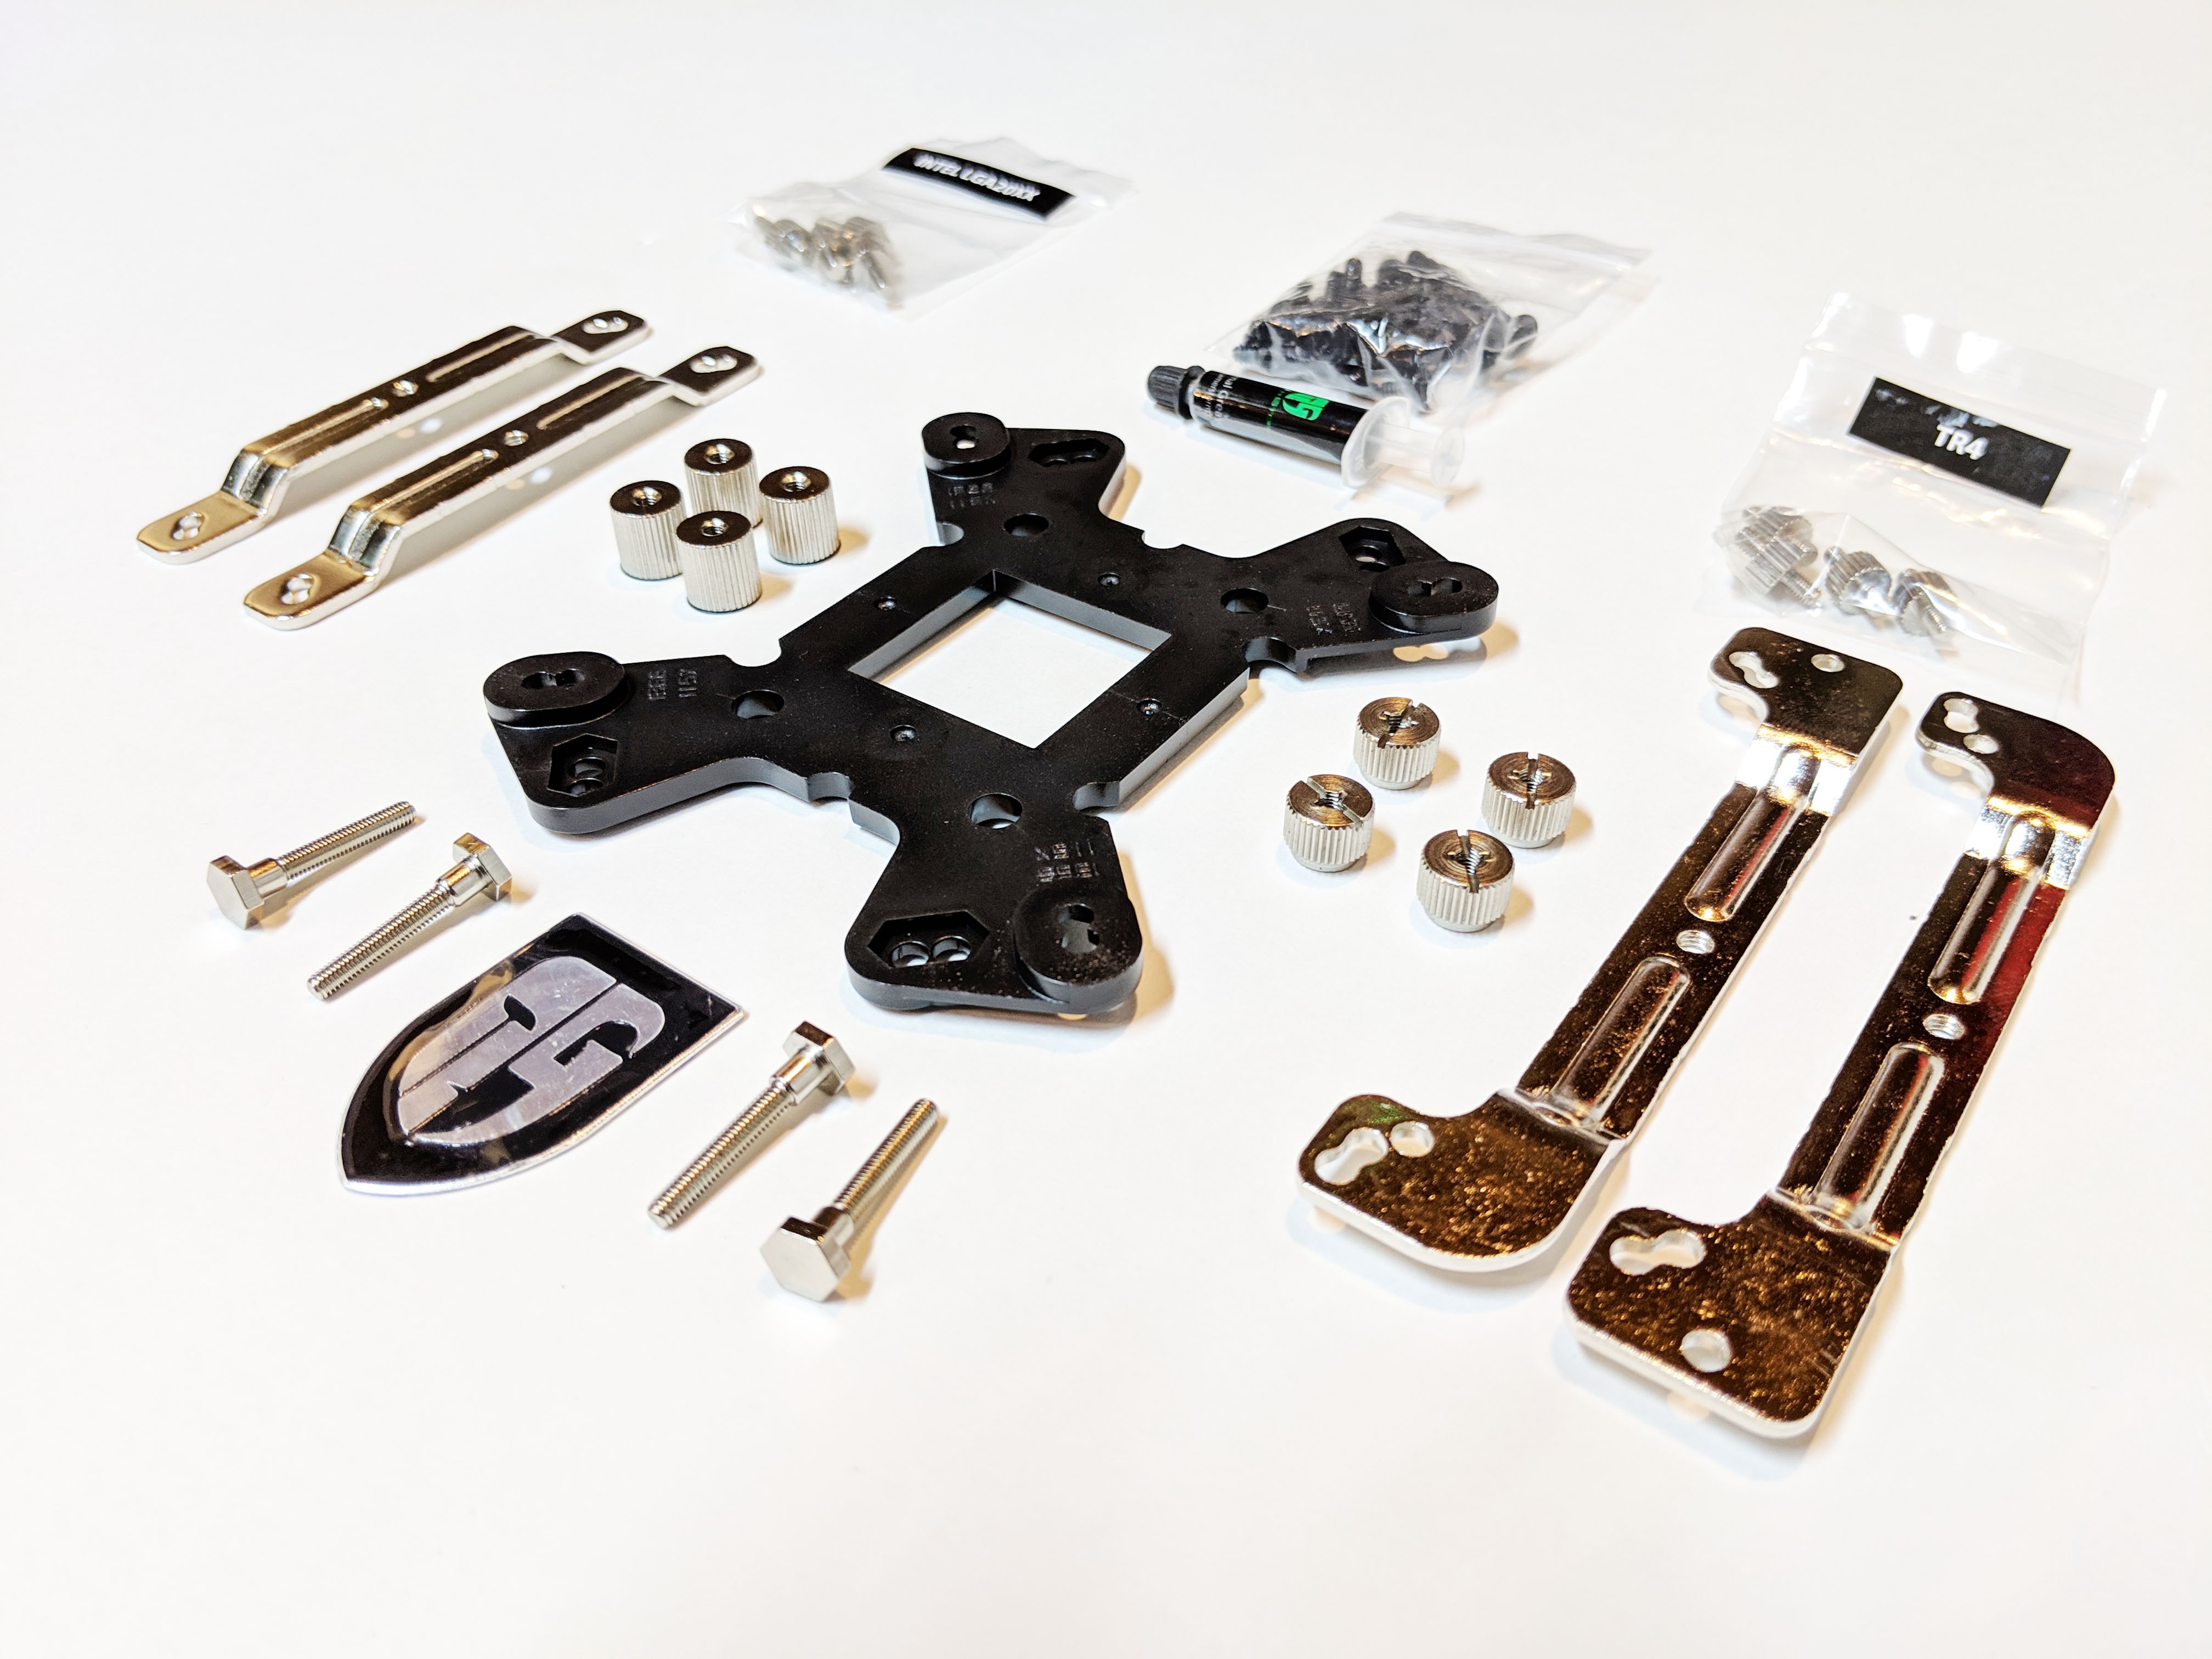
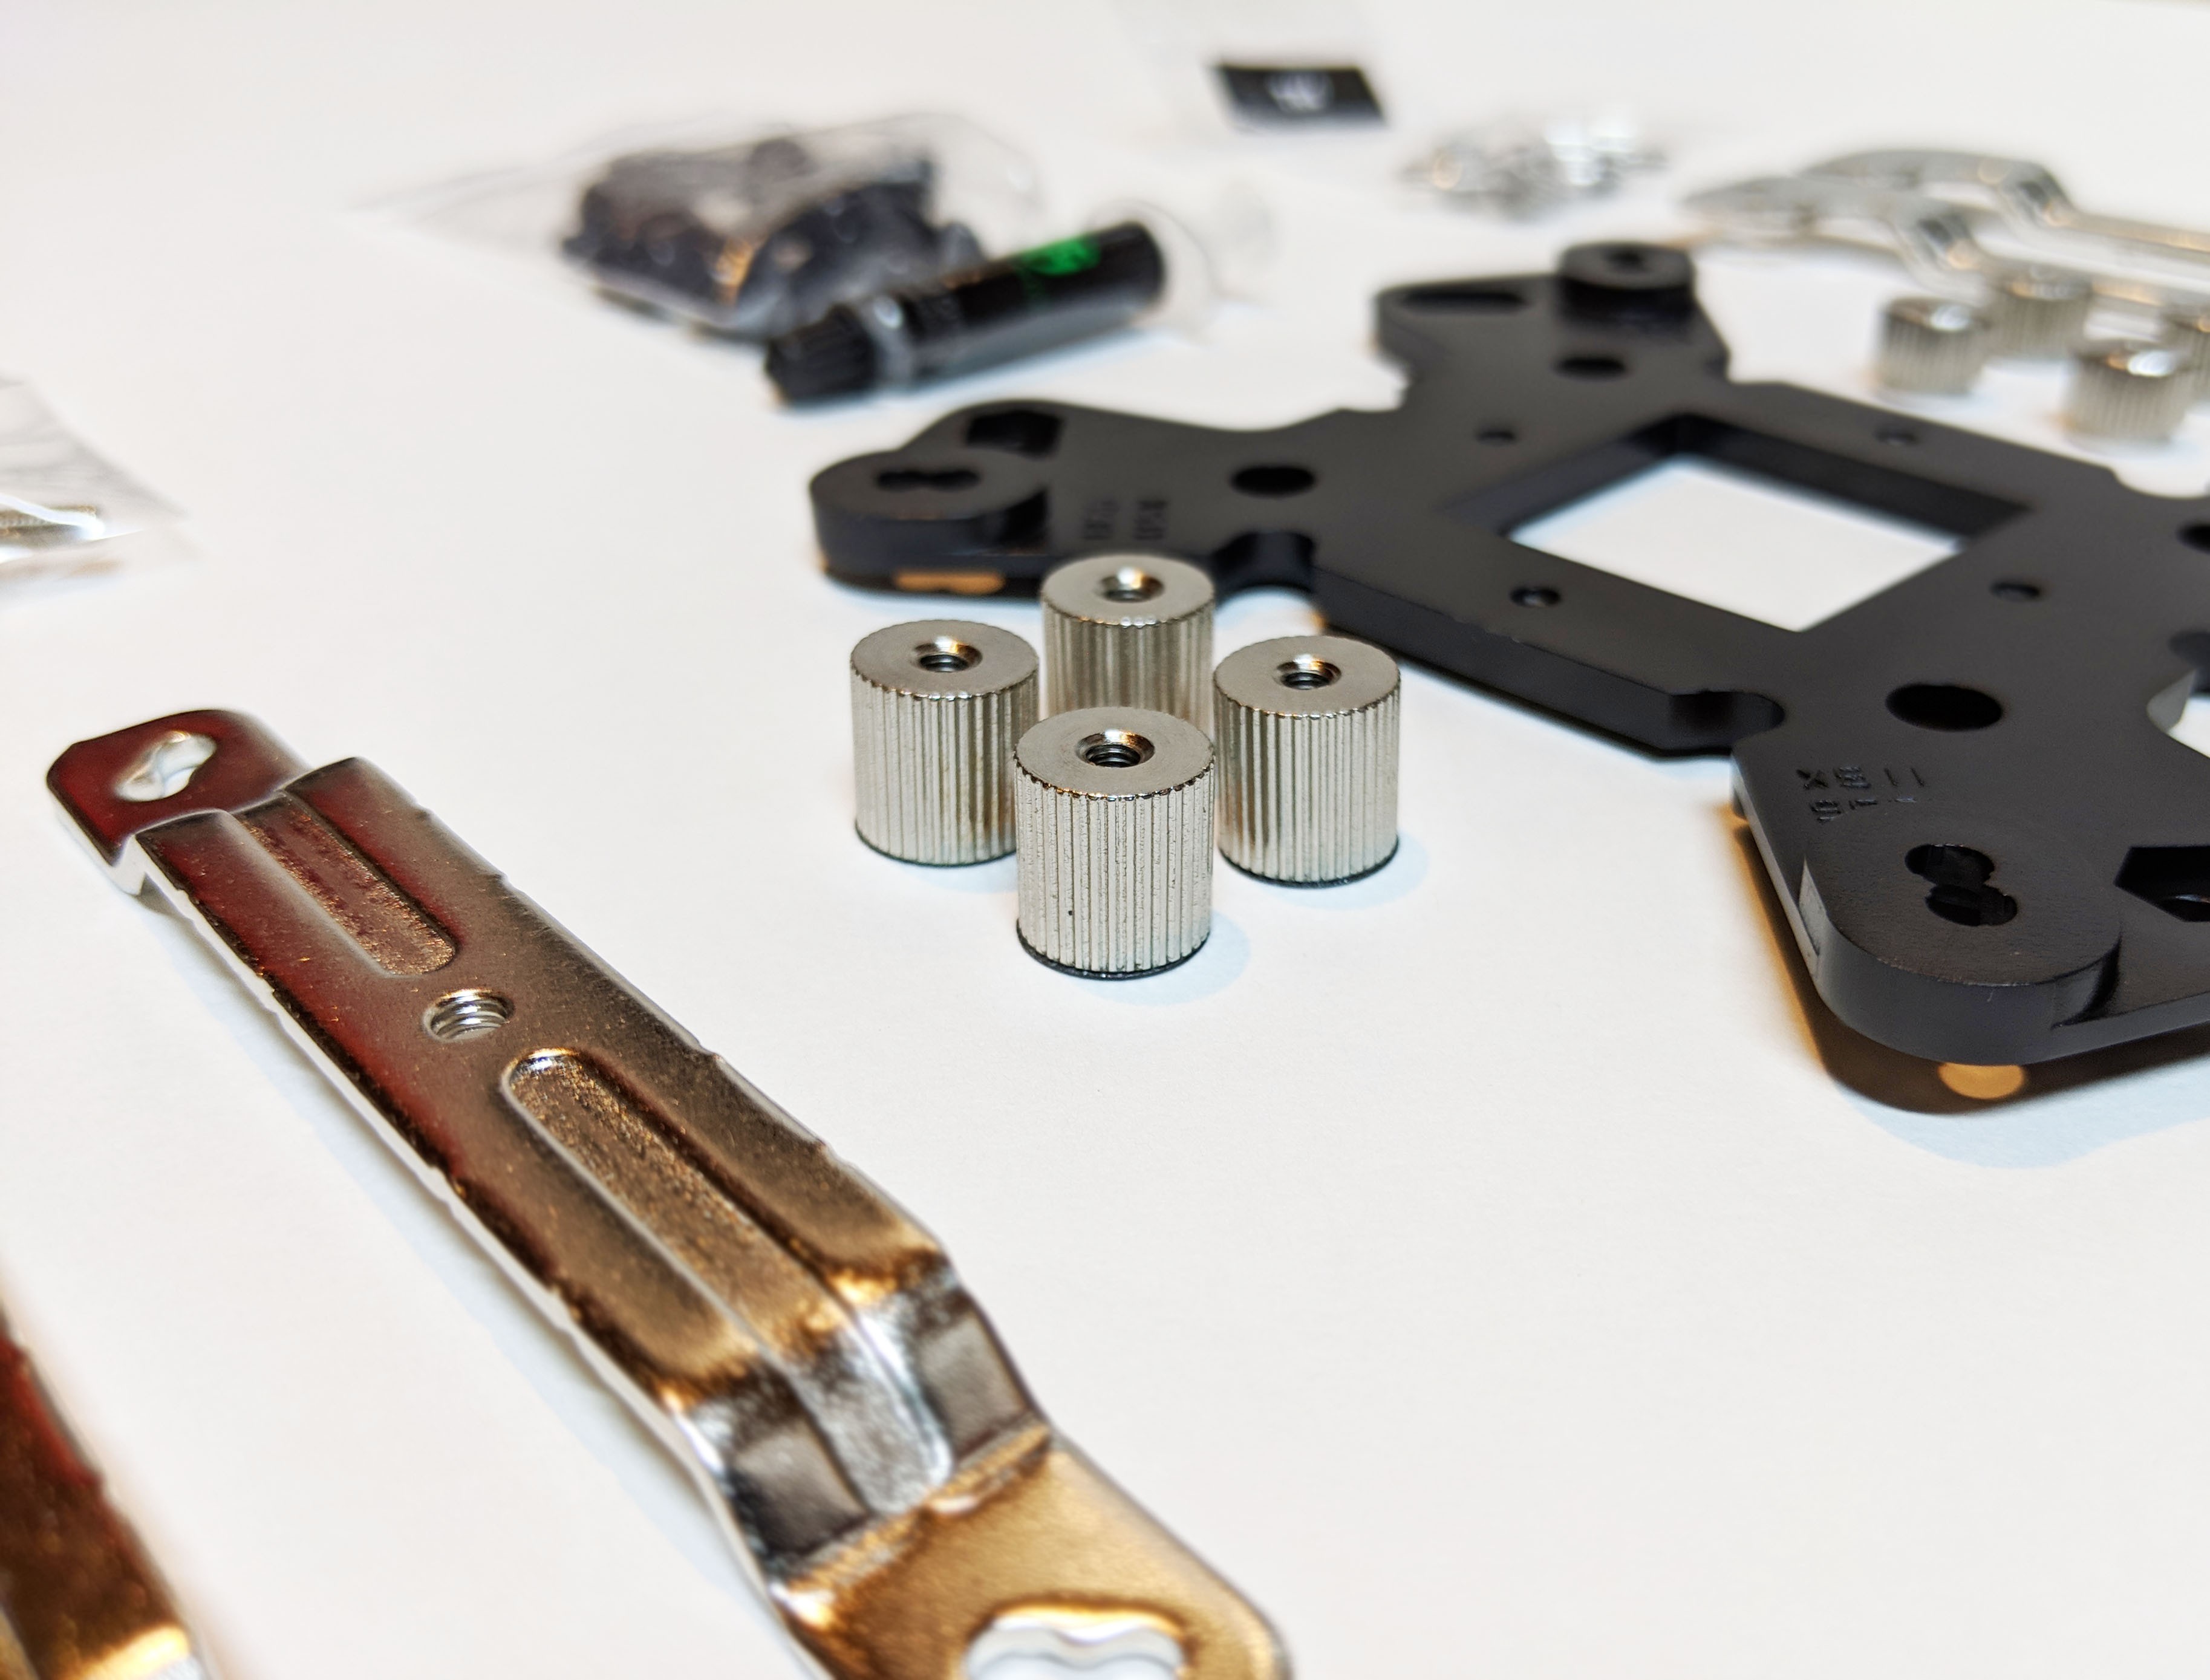
As I mentioned earlier, the Gamer Storm Captain 240 Pro comes with a ton of included items, much of which is mounting hardware. I really like the way that the hardware was packaged. Each platform is separated into separate labeled bags making it easy to identify in a per-build basis.

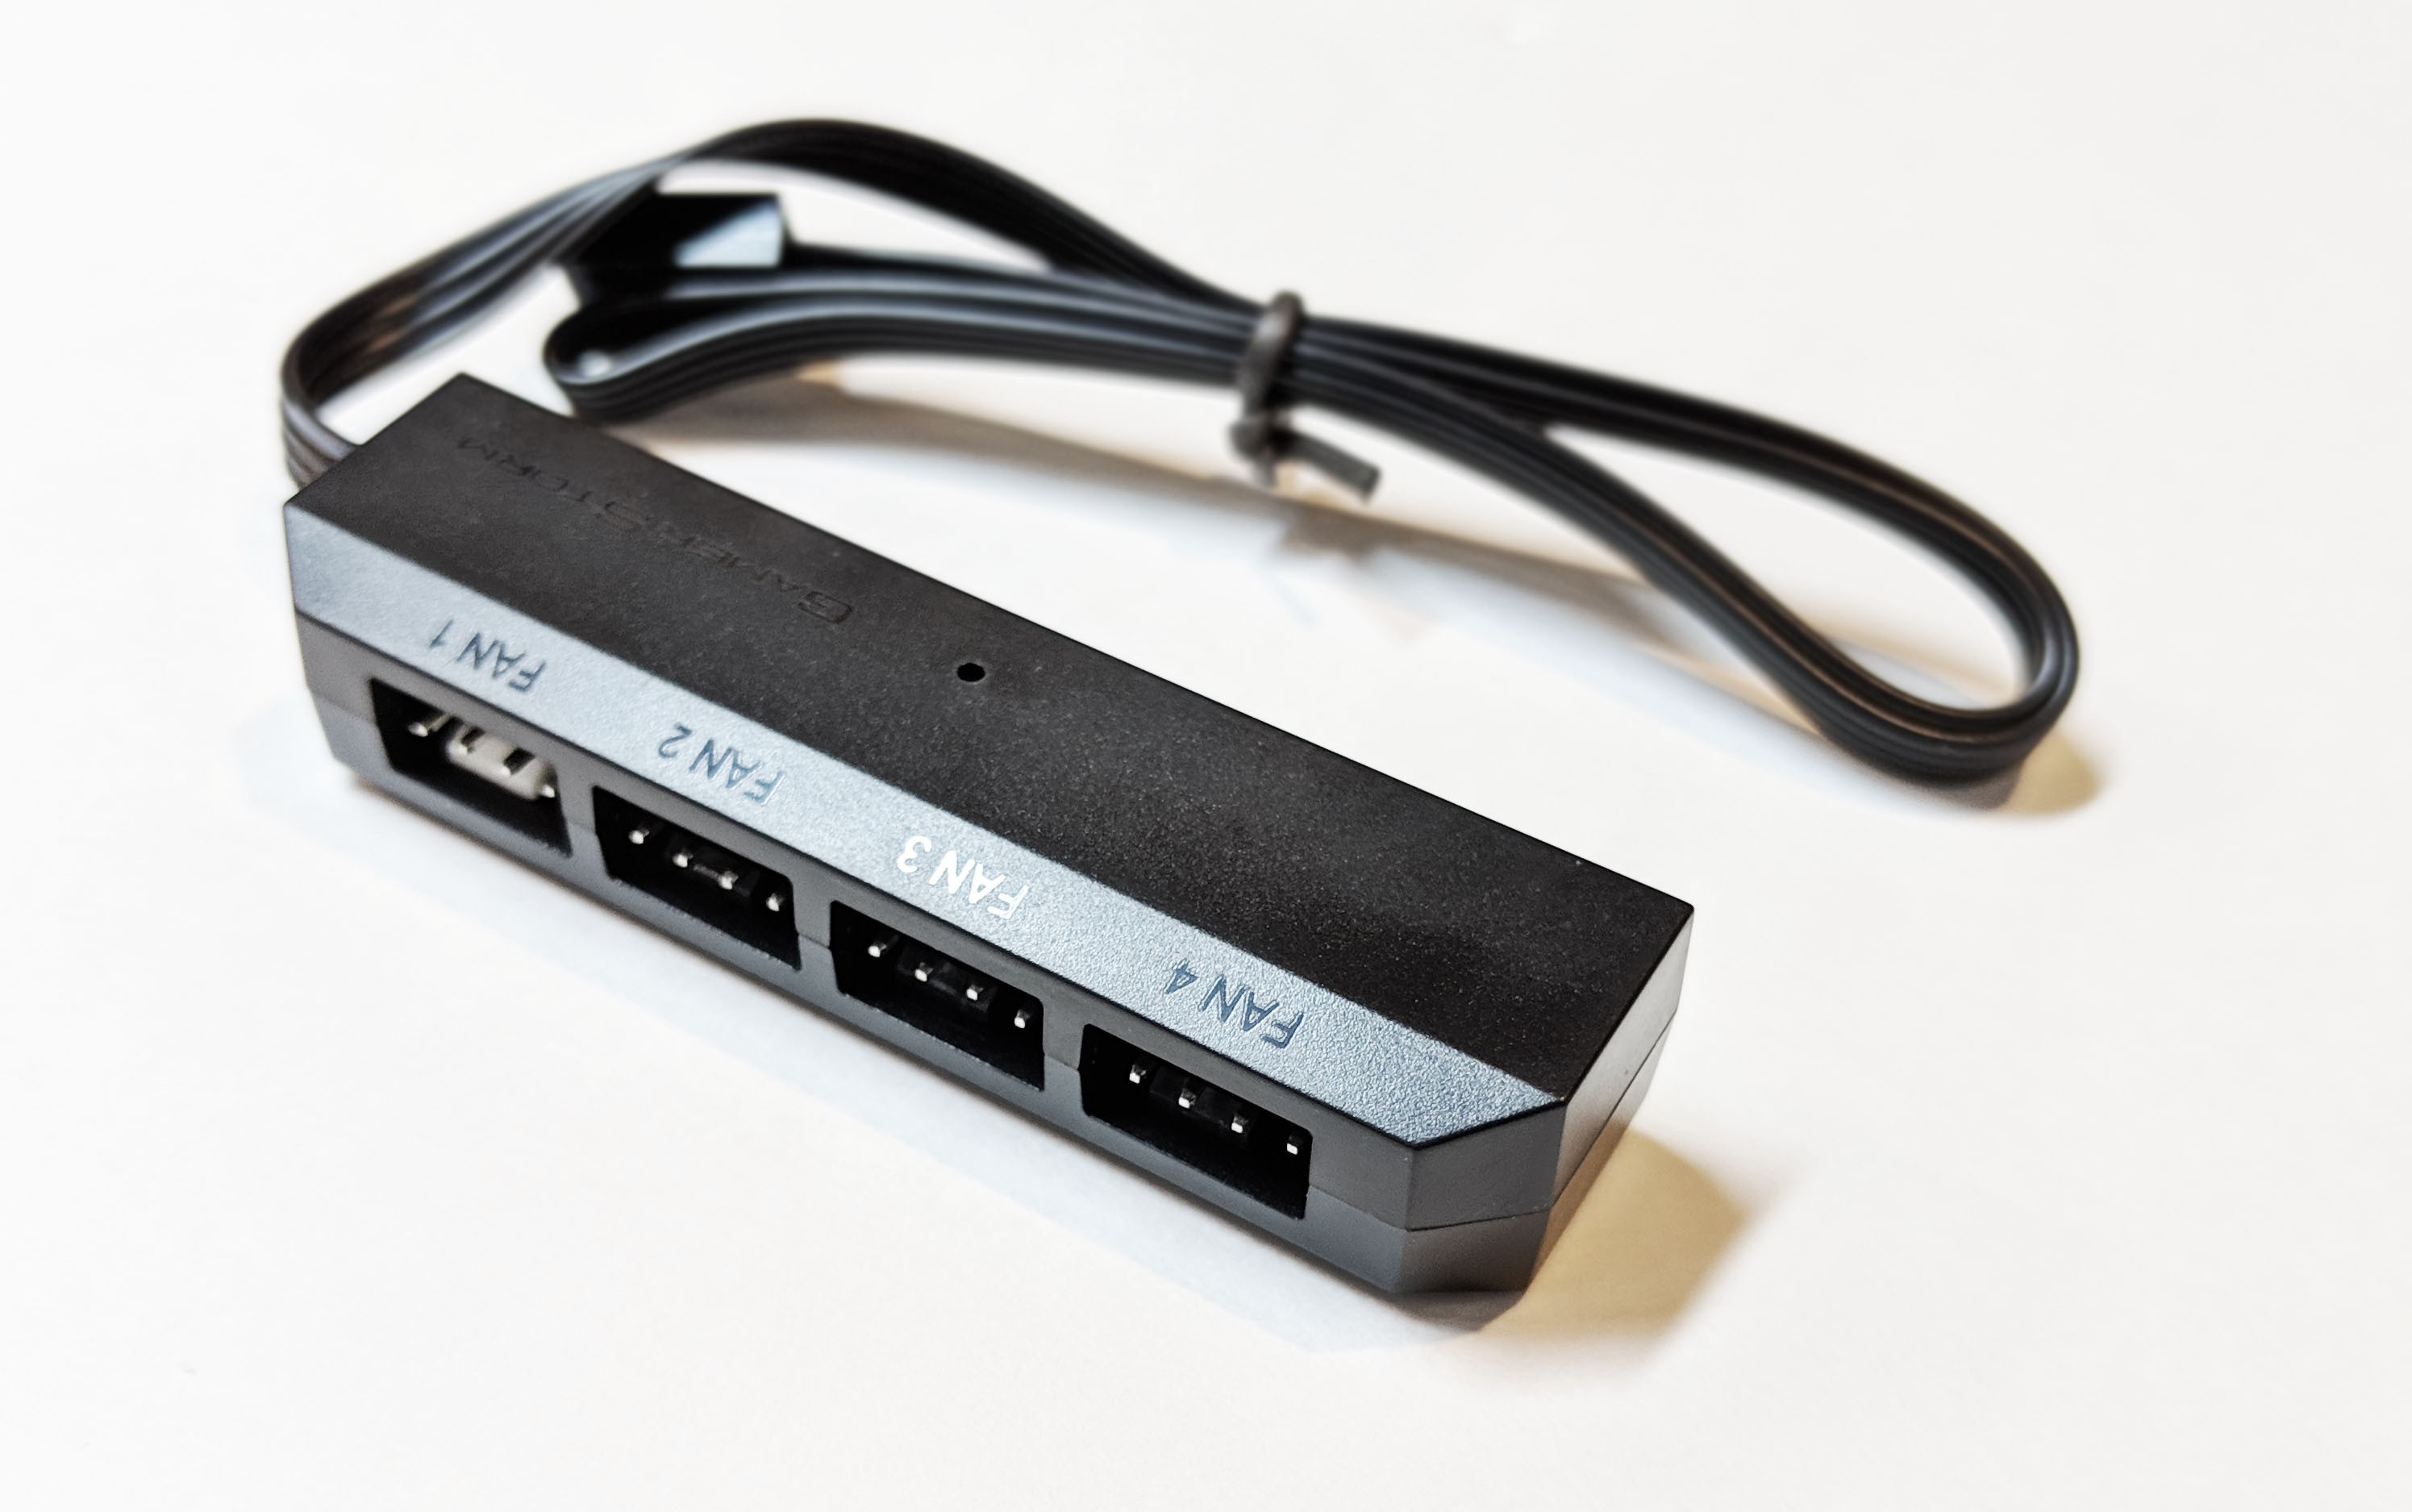
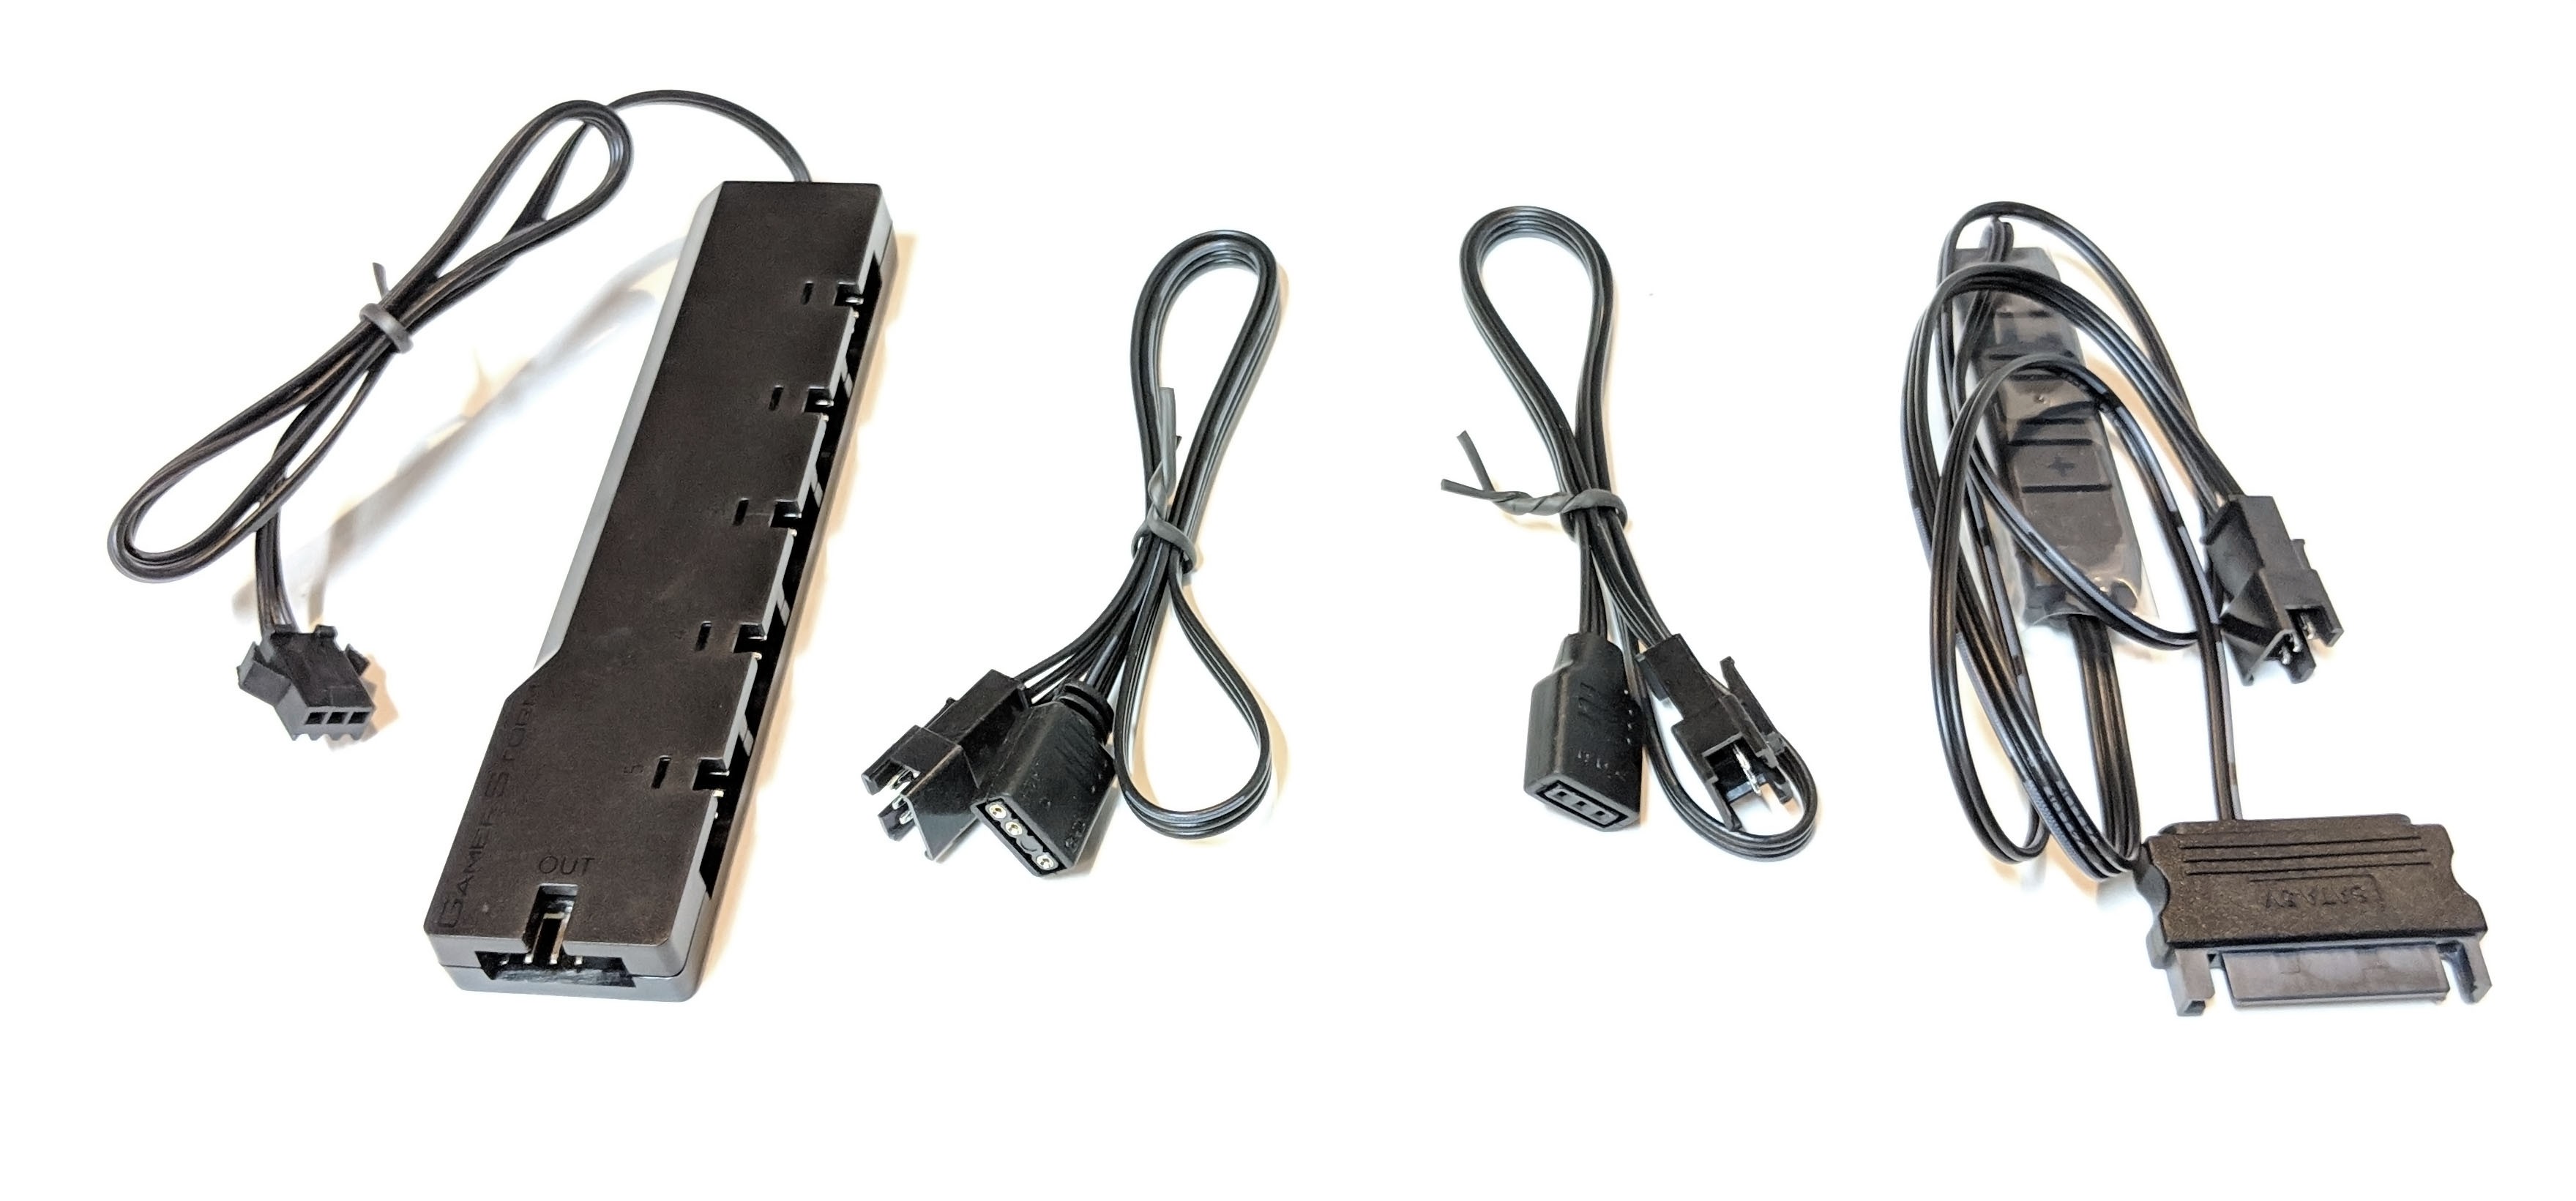
Also included is the PWM fan hub which is designed to be connected to the CPU_OPT (option) port which provides four additional PWM fan headers.
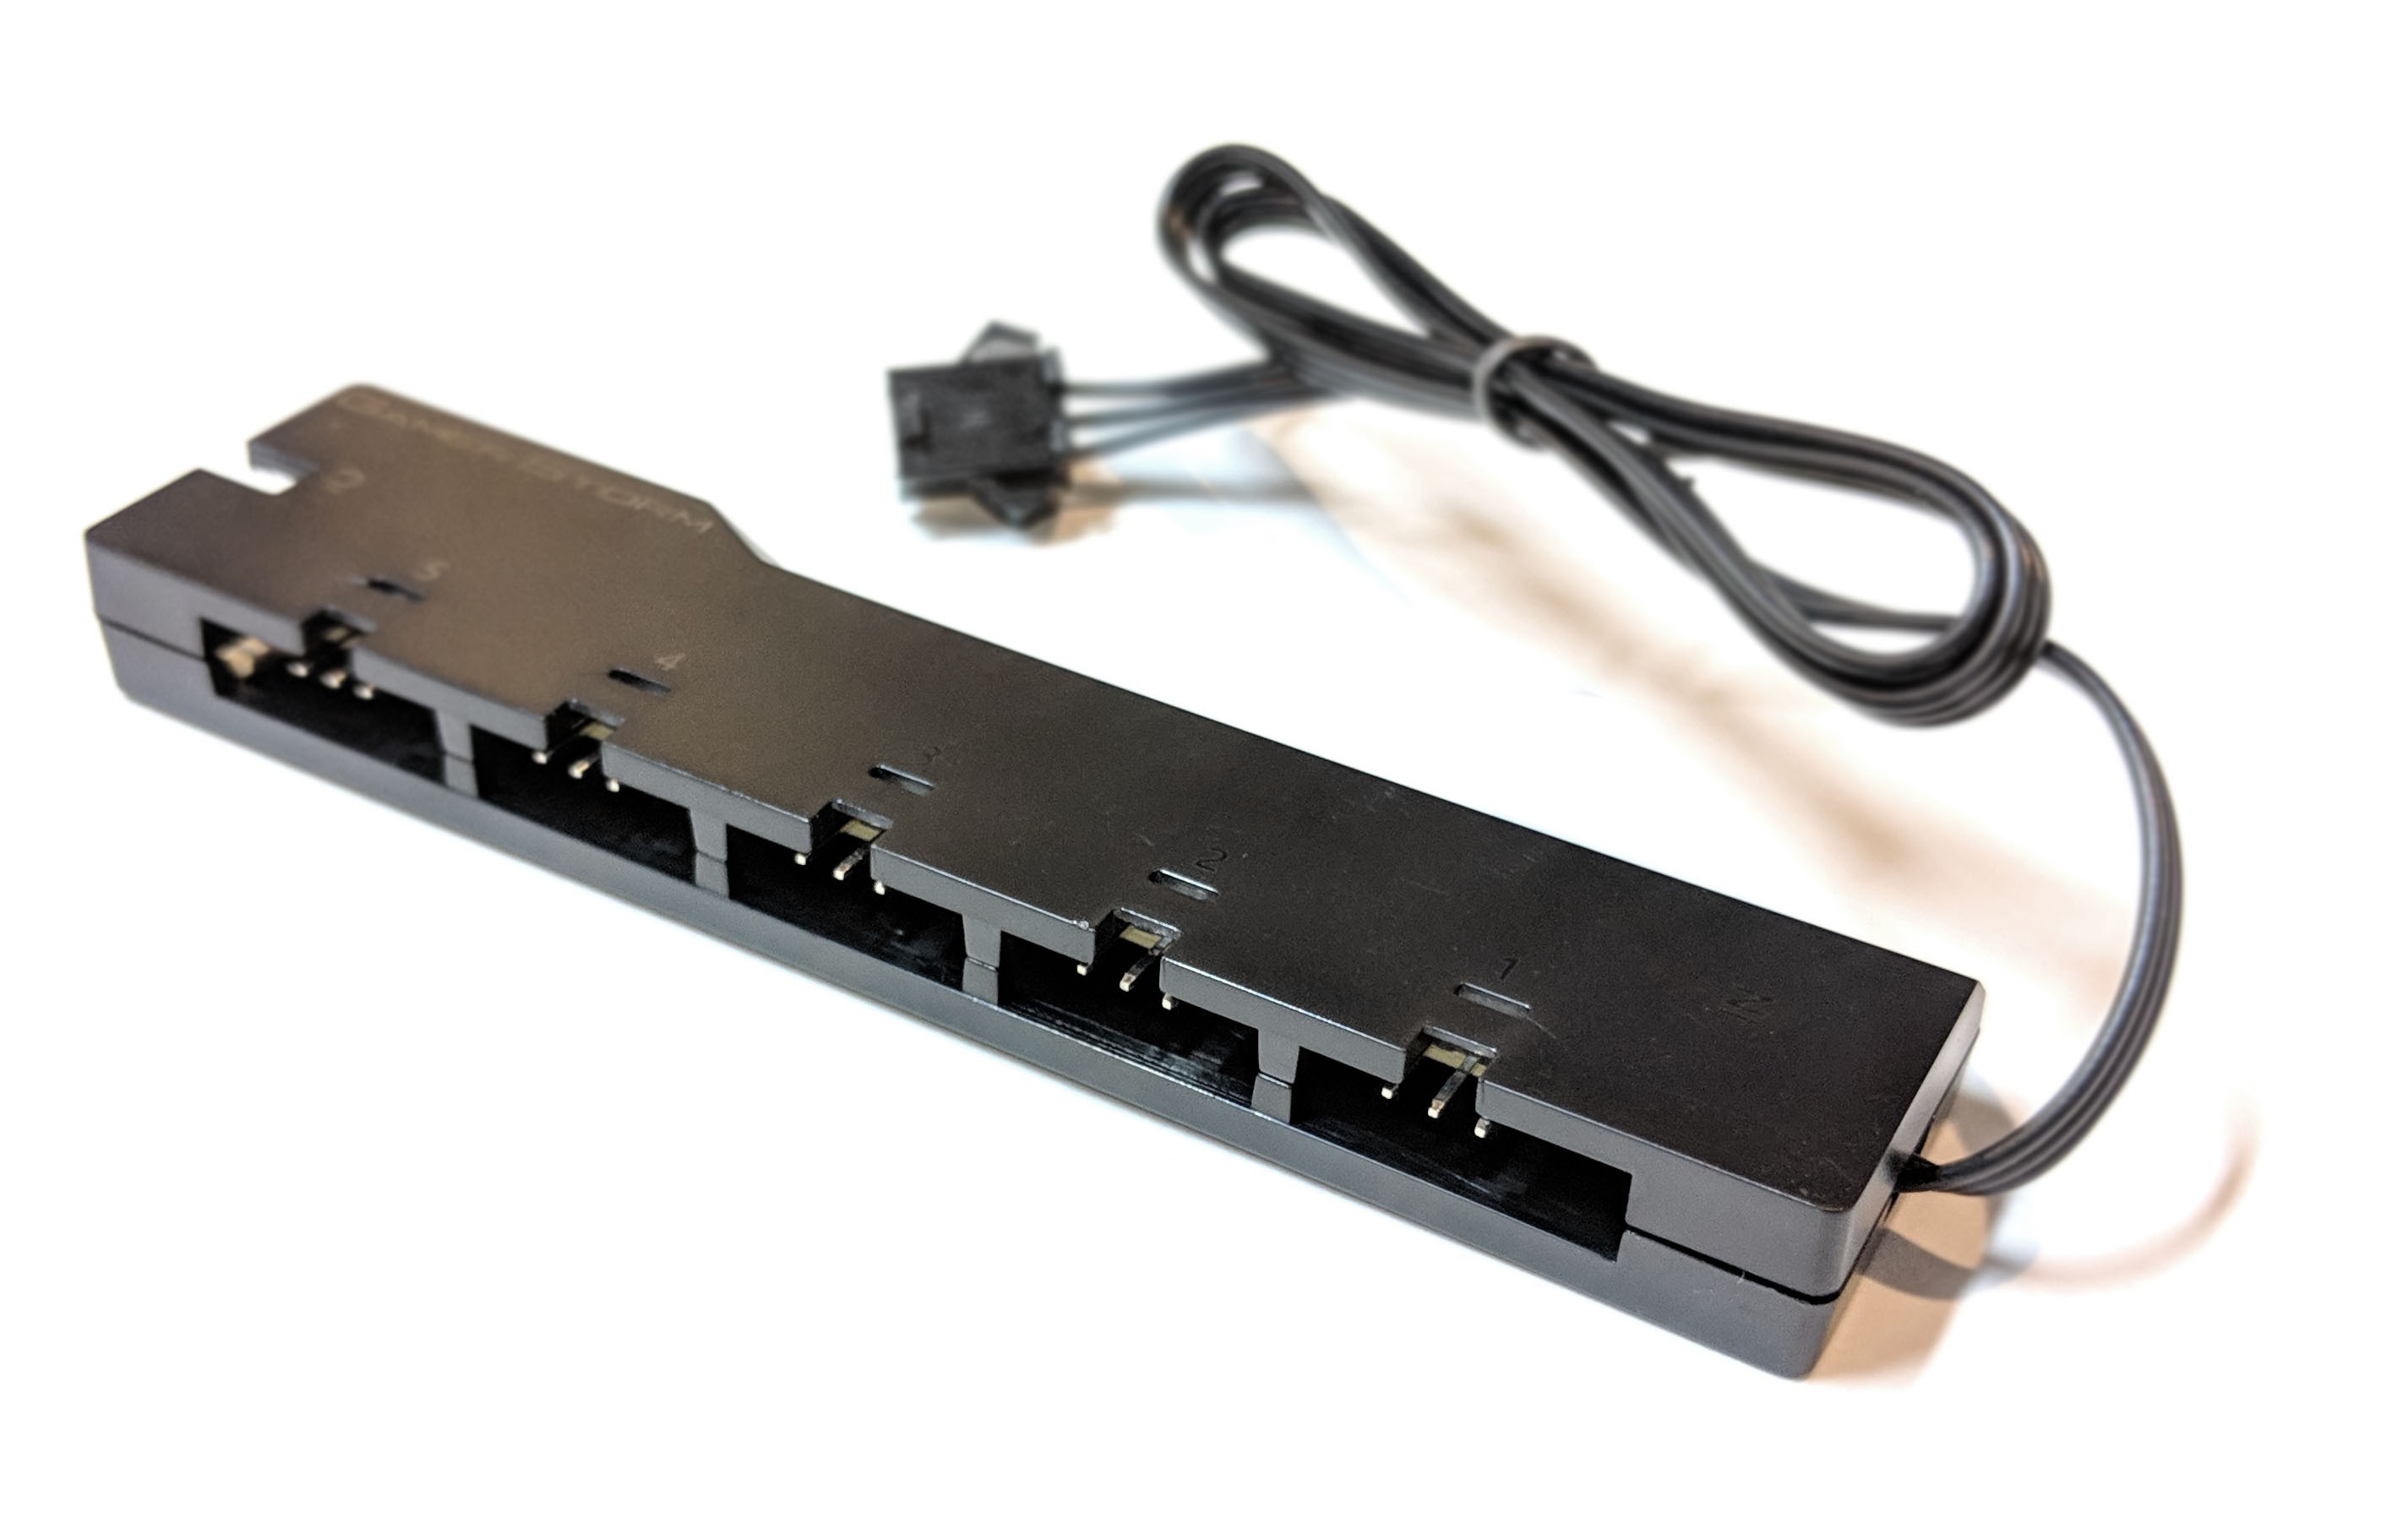
The RGB hub can either connect to the ARGB header on the motherboard or connect directly to the RGB controller for managing and powering the RGB lights on the pump and fans. The RGB hub uses either the included adhesive to attach to the case, or can attach magnetically.
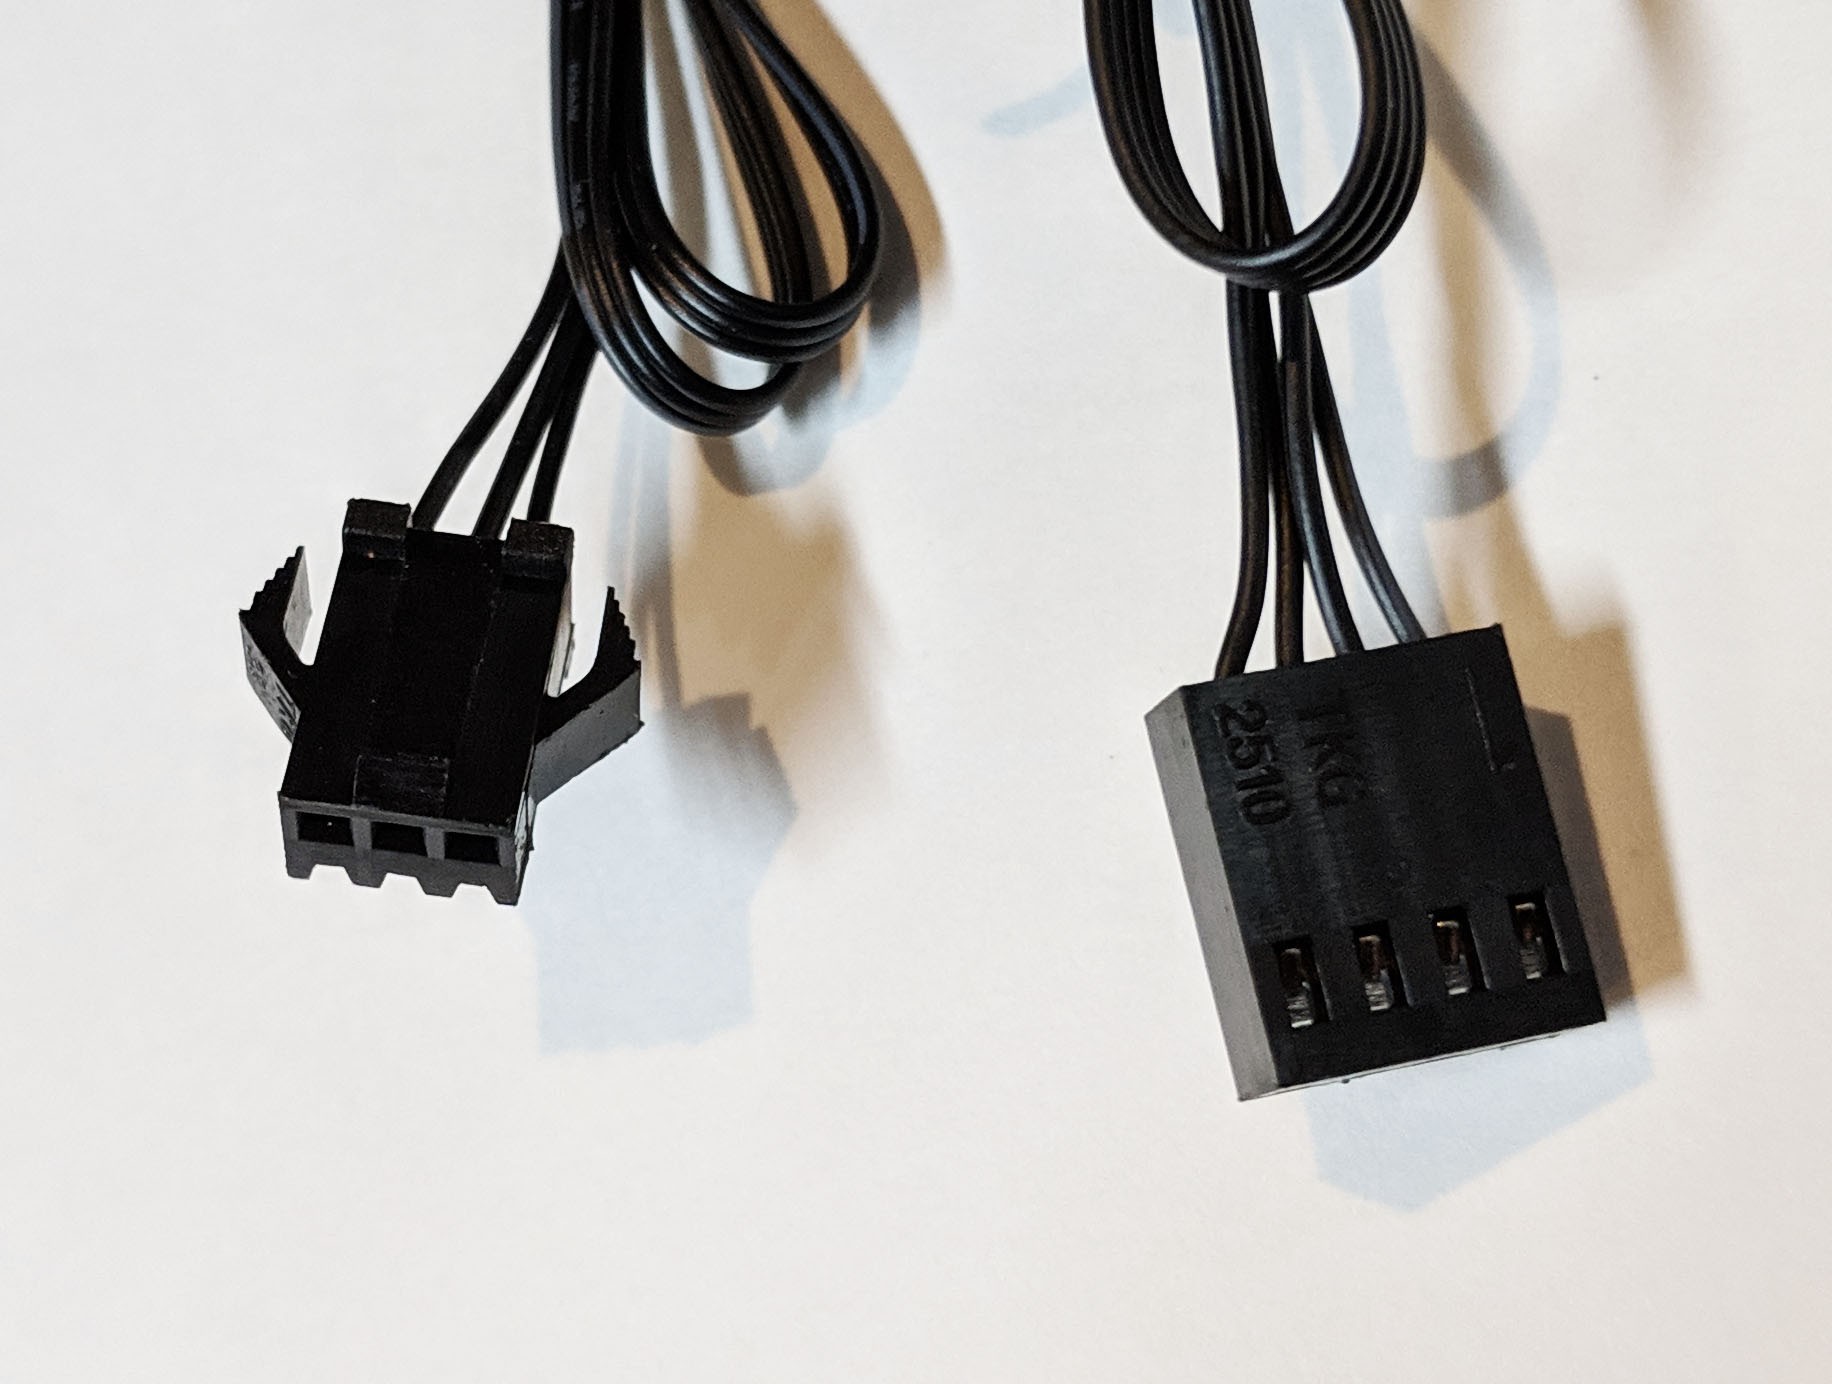
One thing I’m not too thrilled about is the proprietary connectors used for RGB devices. The 3-pin connectors found on the controllers, hub and fans feel cheap. There’s already a really great ARGB standard that exists and I wish DeepCool would have defaulted to that rather than the 3-pin locking connector they opted to use. In the end, they’ll function, but that’s just me being picky.

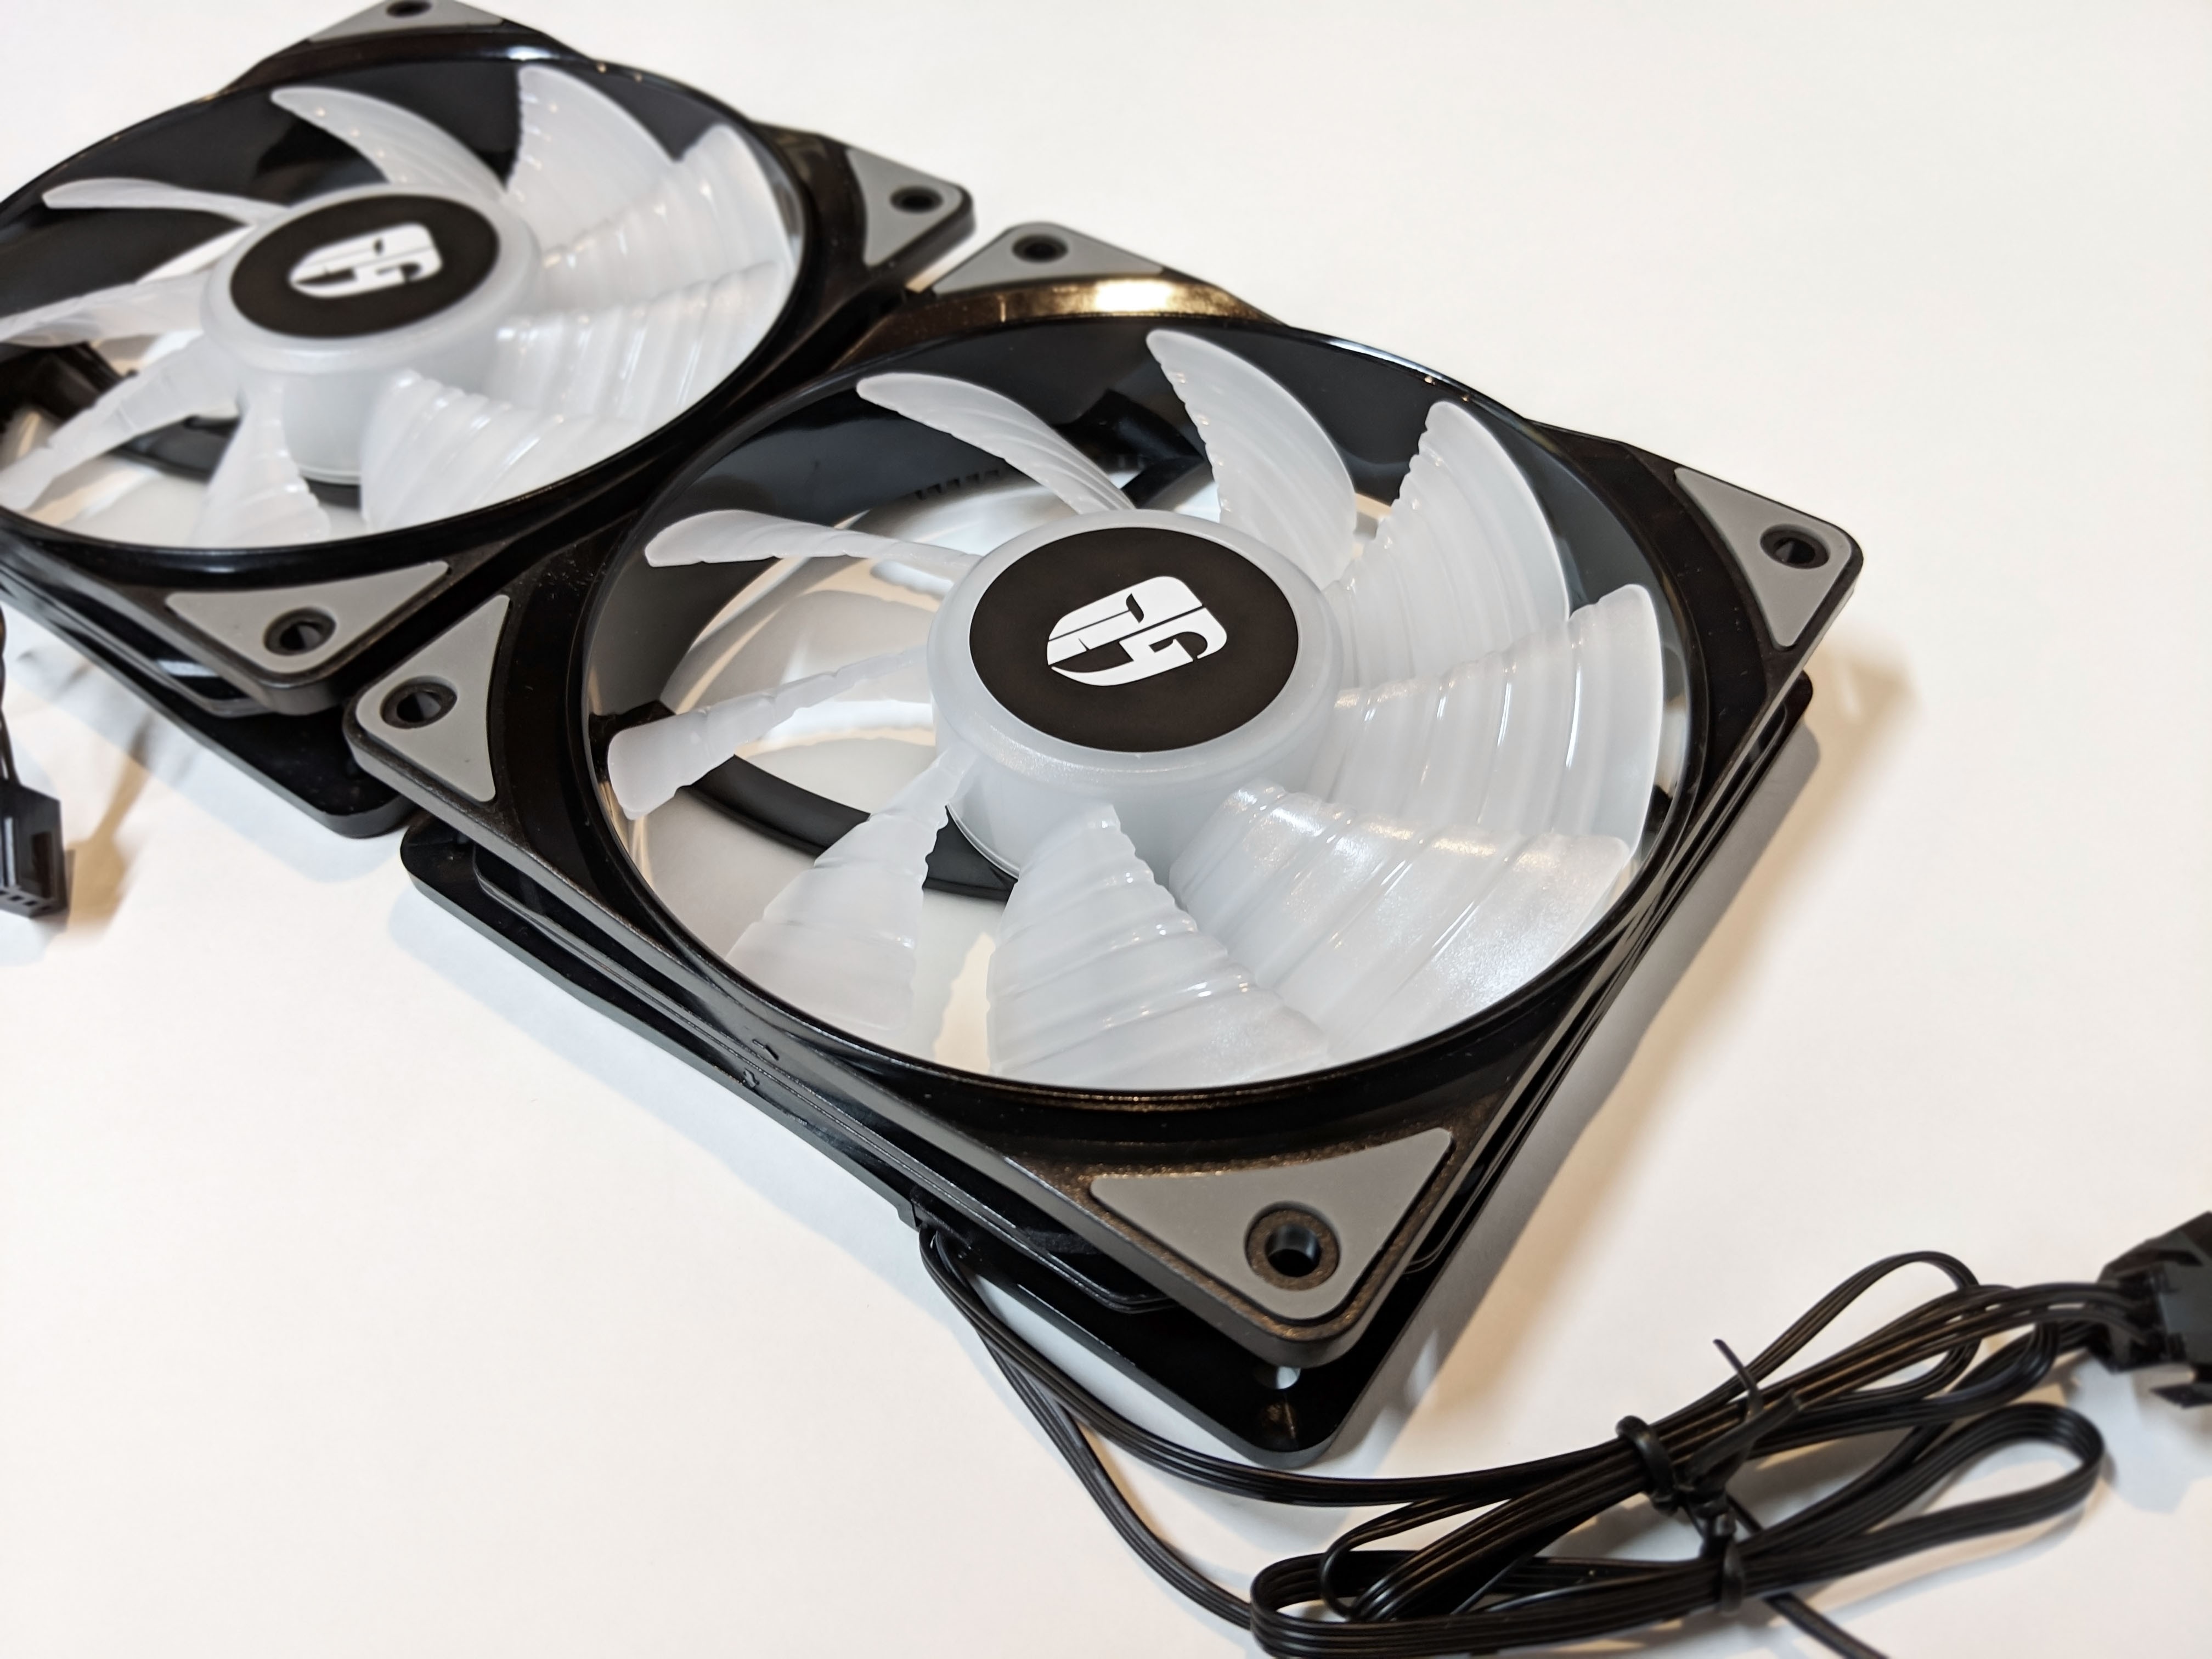
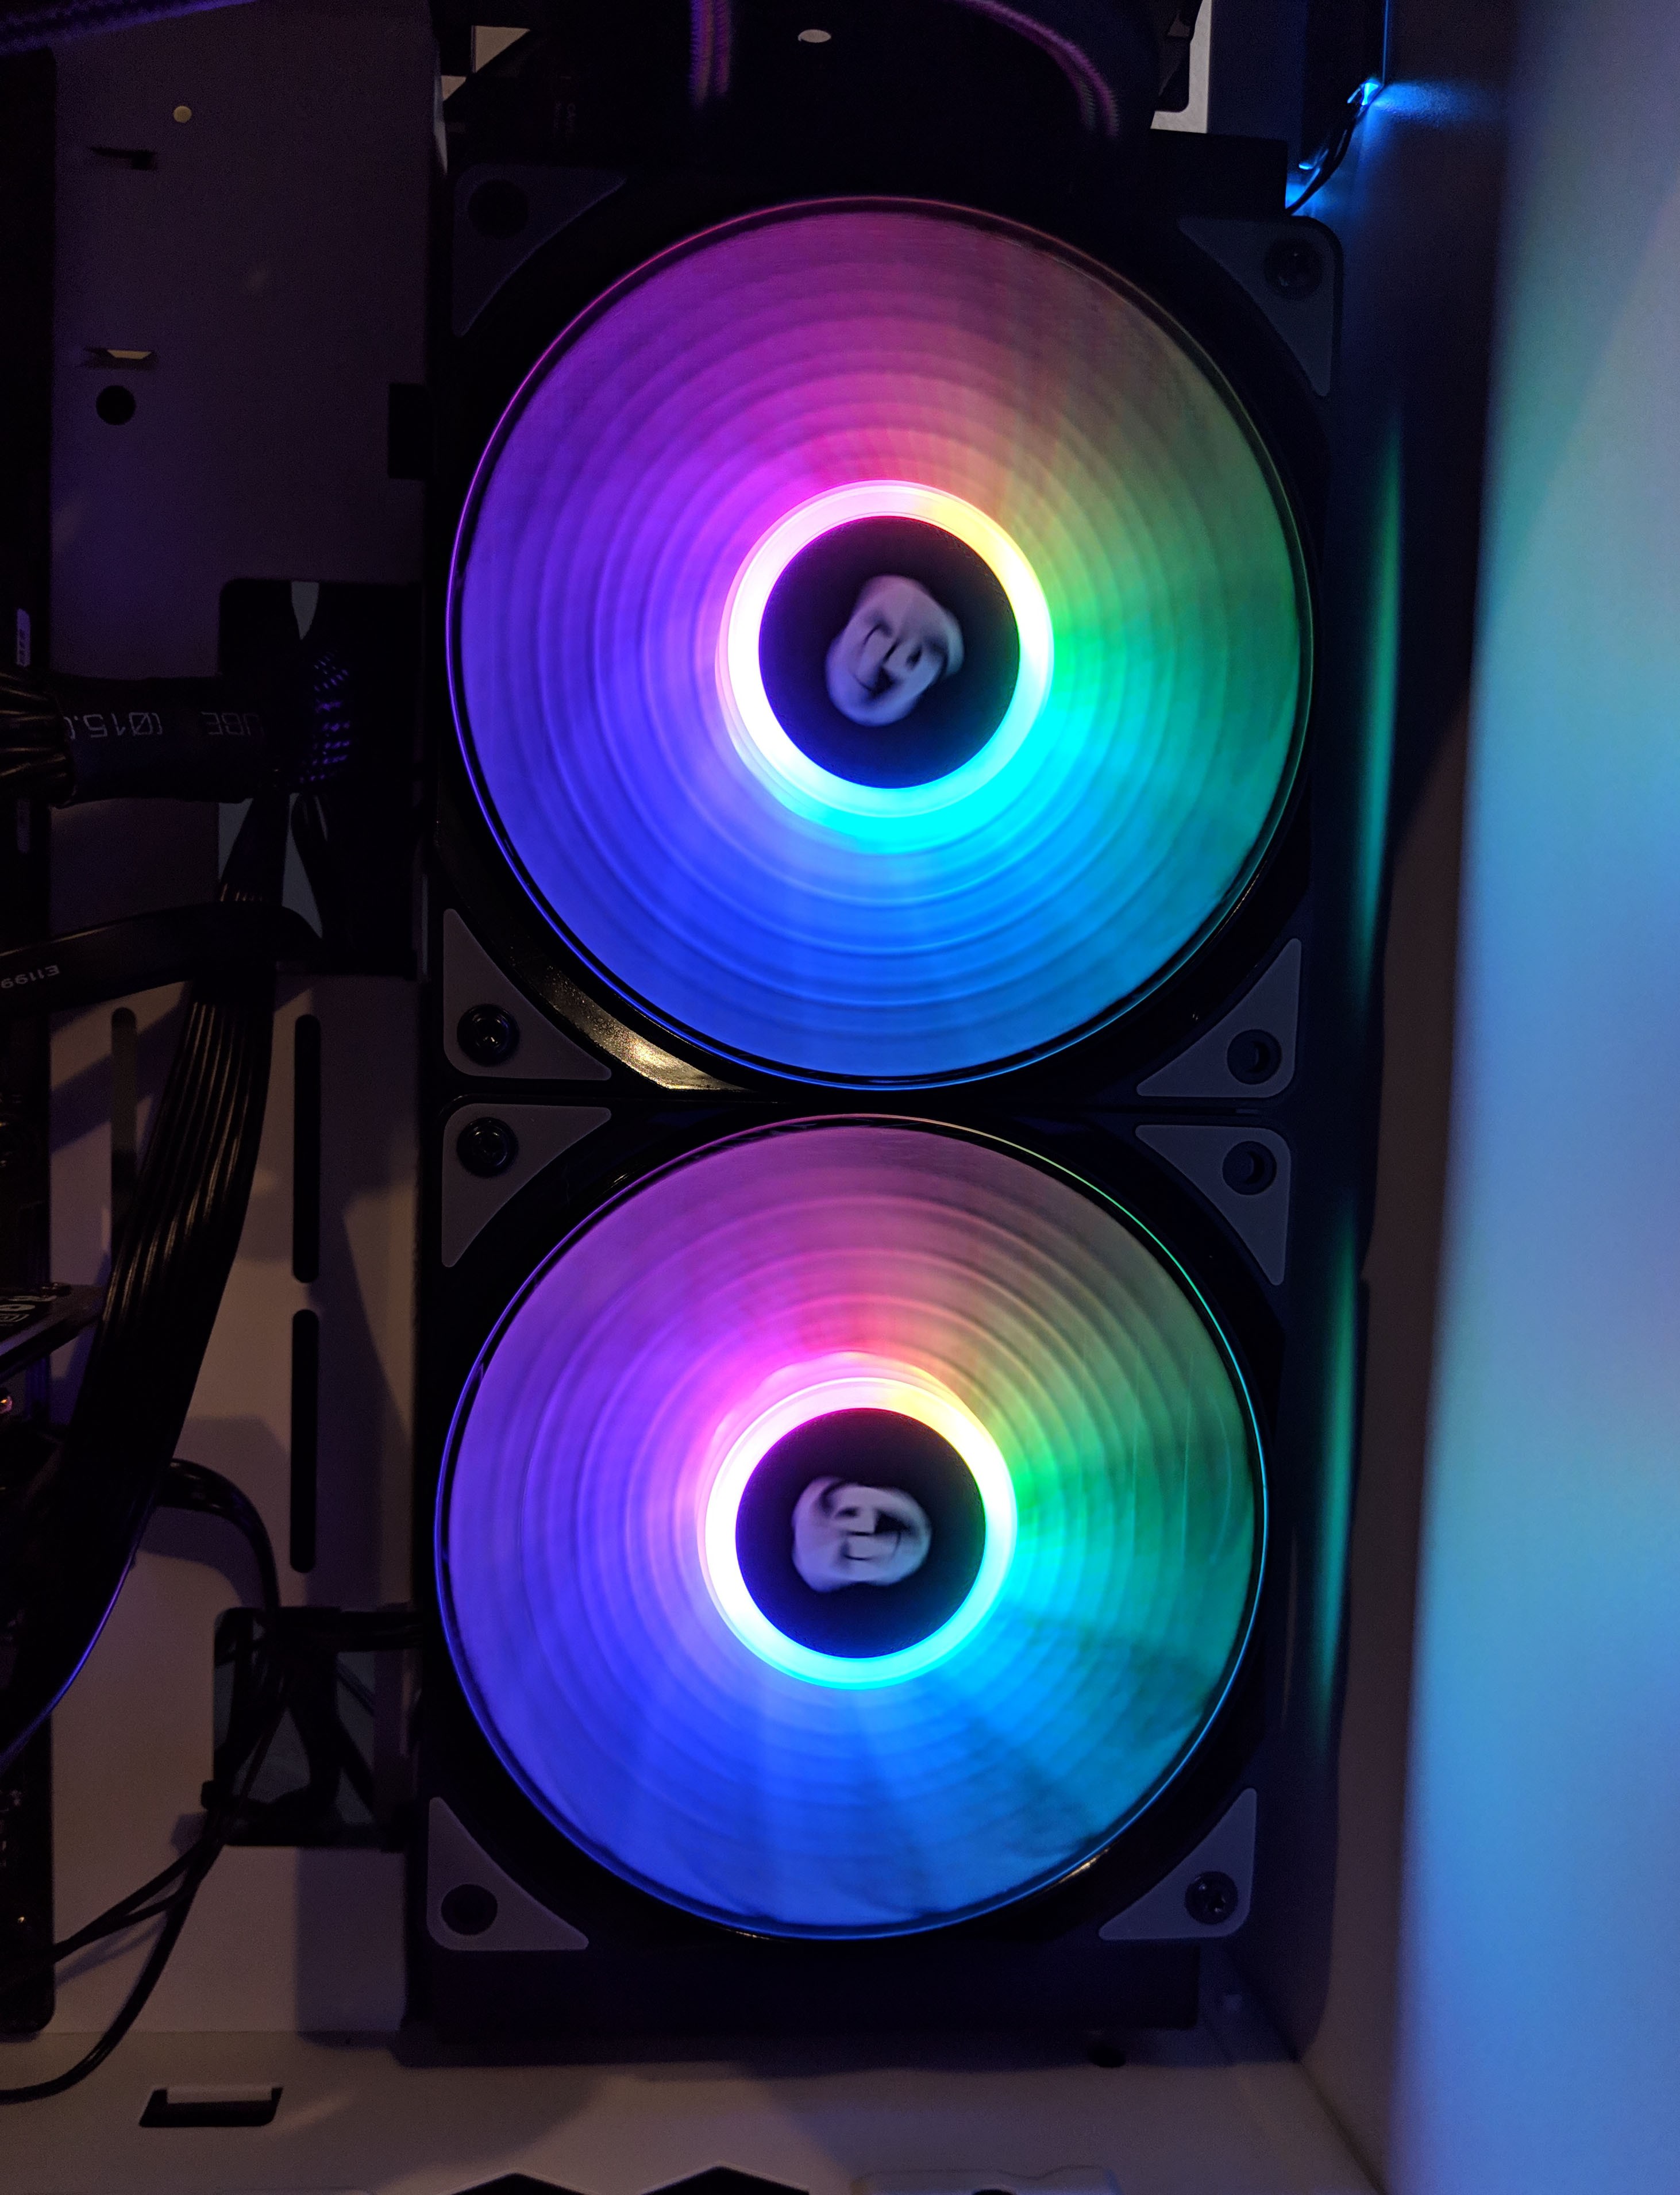
The two included 120mm fans each feature a 4-pin PWM connector as well as the proprietary RGB connector which is designed to plug into the RGB hub. The RGB lights are emitted from the center of the fan under the motor housing outwards towards the fan blades.
According to the sticker on the back, the 120x25mm fan (DF1202512CM-012) is a DC 12V fan which draws 0.17A of current. Overall, the fans appear high quality and I’m glad to see included rubber mounting pads which should aid in reducing vibration and noise.


Overall, I’m extremely happy with the overall quality and design choice of DeepCool’s Gamer Storm Captain 240 Pro. I personally couldn’t think of any way that the AIO cooler itself could be improved. The included electronics hardware on the other hand are… not my favorite. I’m not a fan of the proprietary connectors. They feel cheap and its connection is less secure than the tradtional 3-pin ARGB connectors we see on pretty much any other RGB fan or device.
Now that we’ve got a better idea as to what we’re working with, let’s hook this thing up to a couple test systems and see how it performs!
Installation
Installing the AIO cooler will take some time so be sure to clear out your schedule just in case things don’t go as planned (1-2 hours). The included instructions are simple and easy to follow and are separated per CPU socket type for clarity sake. For most motherboards, installation consists of installing a back plate prior to beginning work on the CPU-side of the motherboard, so be sure that either the motherboard is removed, or you have a case that allows for rear CPU access.
In our first test, we installed the Gamer Storm Captain 240 Pro on the following hardware:
System 1
- CPU: AMD Ryzen 5 2600 (AM4)
- RAM: 8GB Corsair Vengeance (single stick)
- Motherboard: ASUS ROG STRIX B450-F Gaming (review)
- Case: InWin 103 White Edition (review)
System 2
- CPU: AMD Ryzen Threadripper 1920X (TR4)
- RAM: 32GB Corsair Vengeance Pro RGB
- Motherboard: ASUS ROG STRIX X399-E Gaming (review)
- Case: Cooler Master MB530P (review)
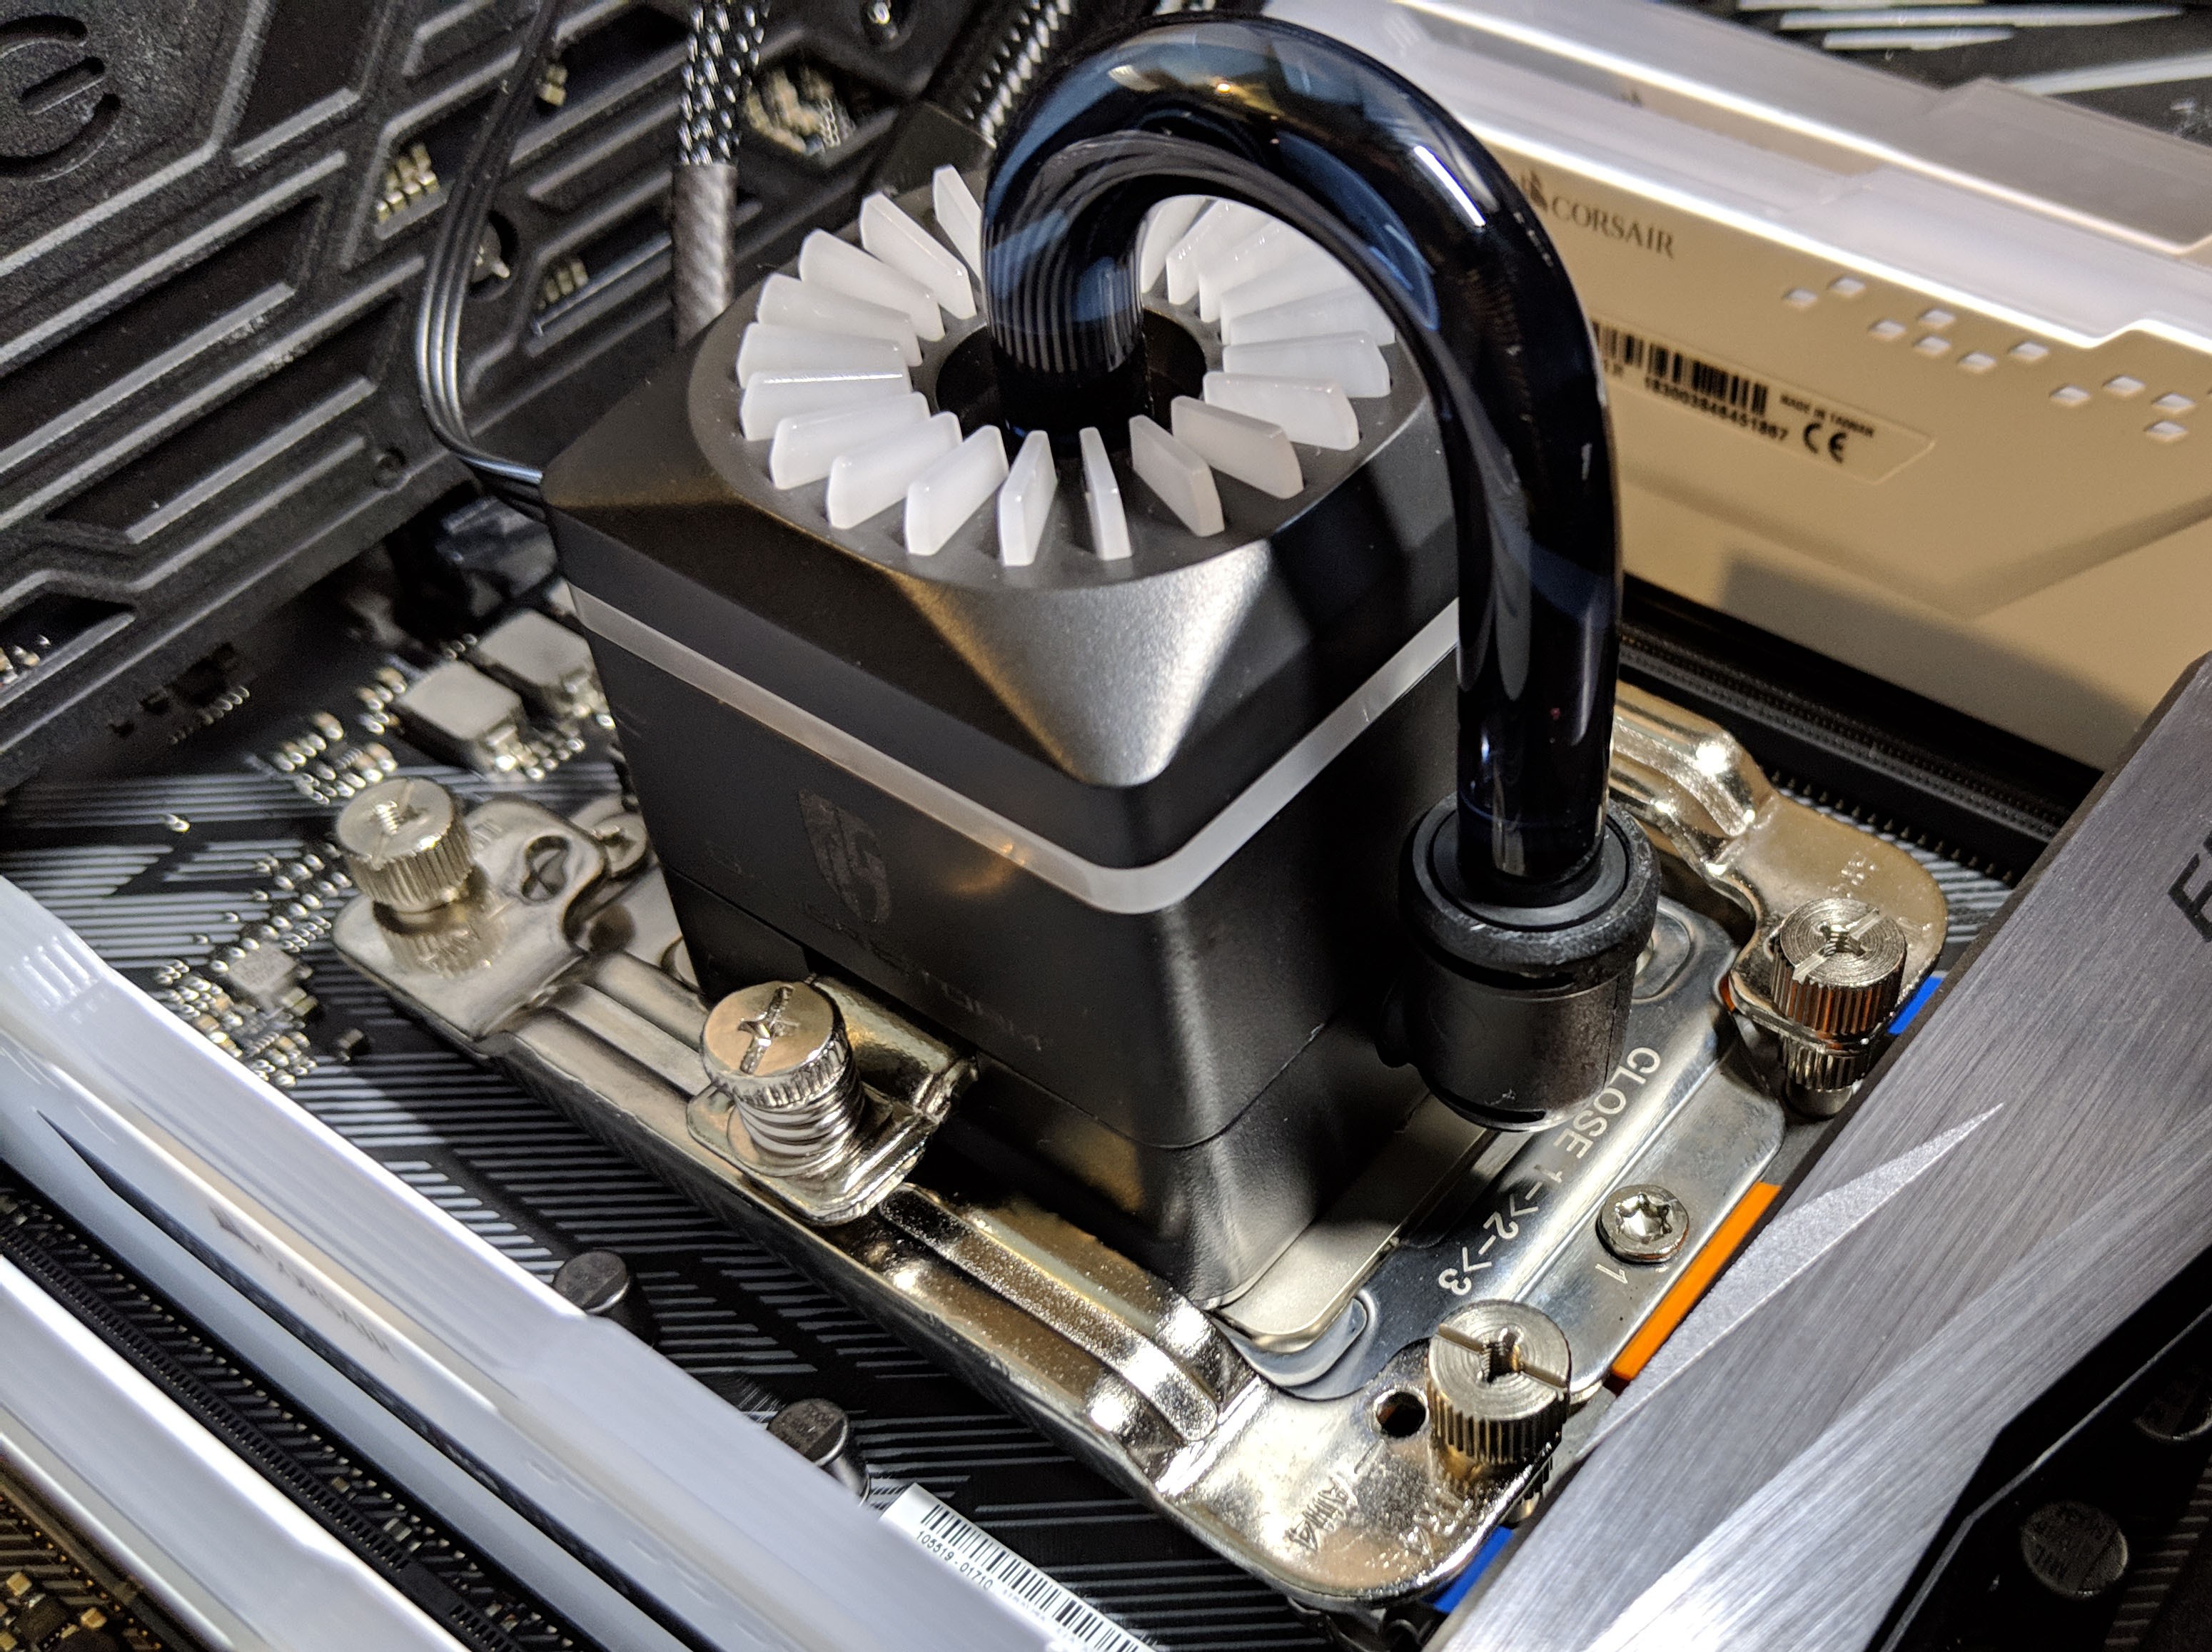
As you can see in the images below, the backplate barely cleared the rear CPU access port. We barely got away having to remove the motherboard, but your results may vary. The top mounted hardware then screws down through the protruting screws. Be sure not to over tighten the standoff screws (middle image) or you may risk damaging the motherboard.

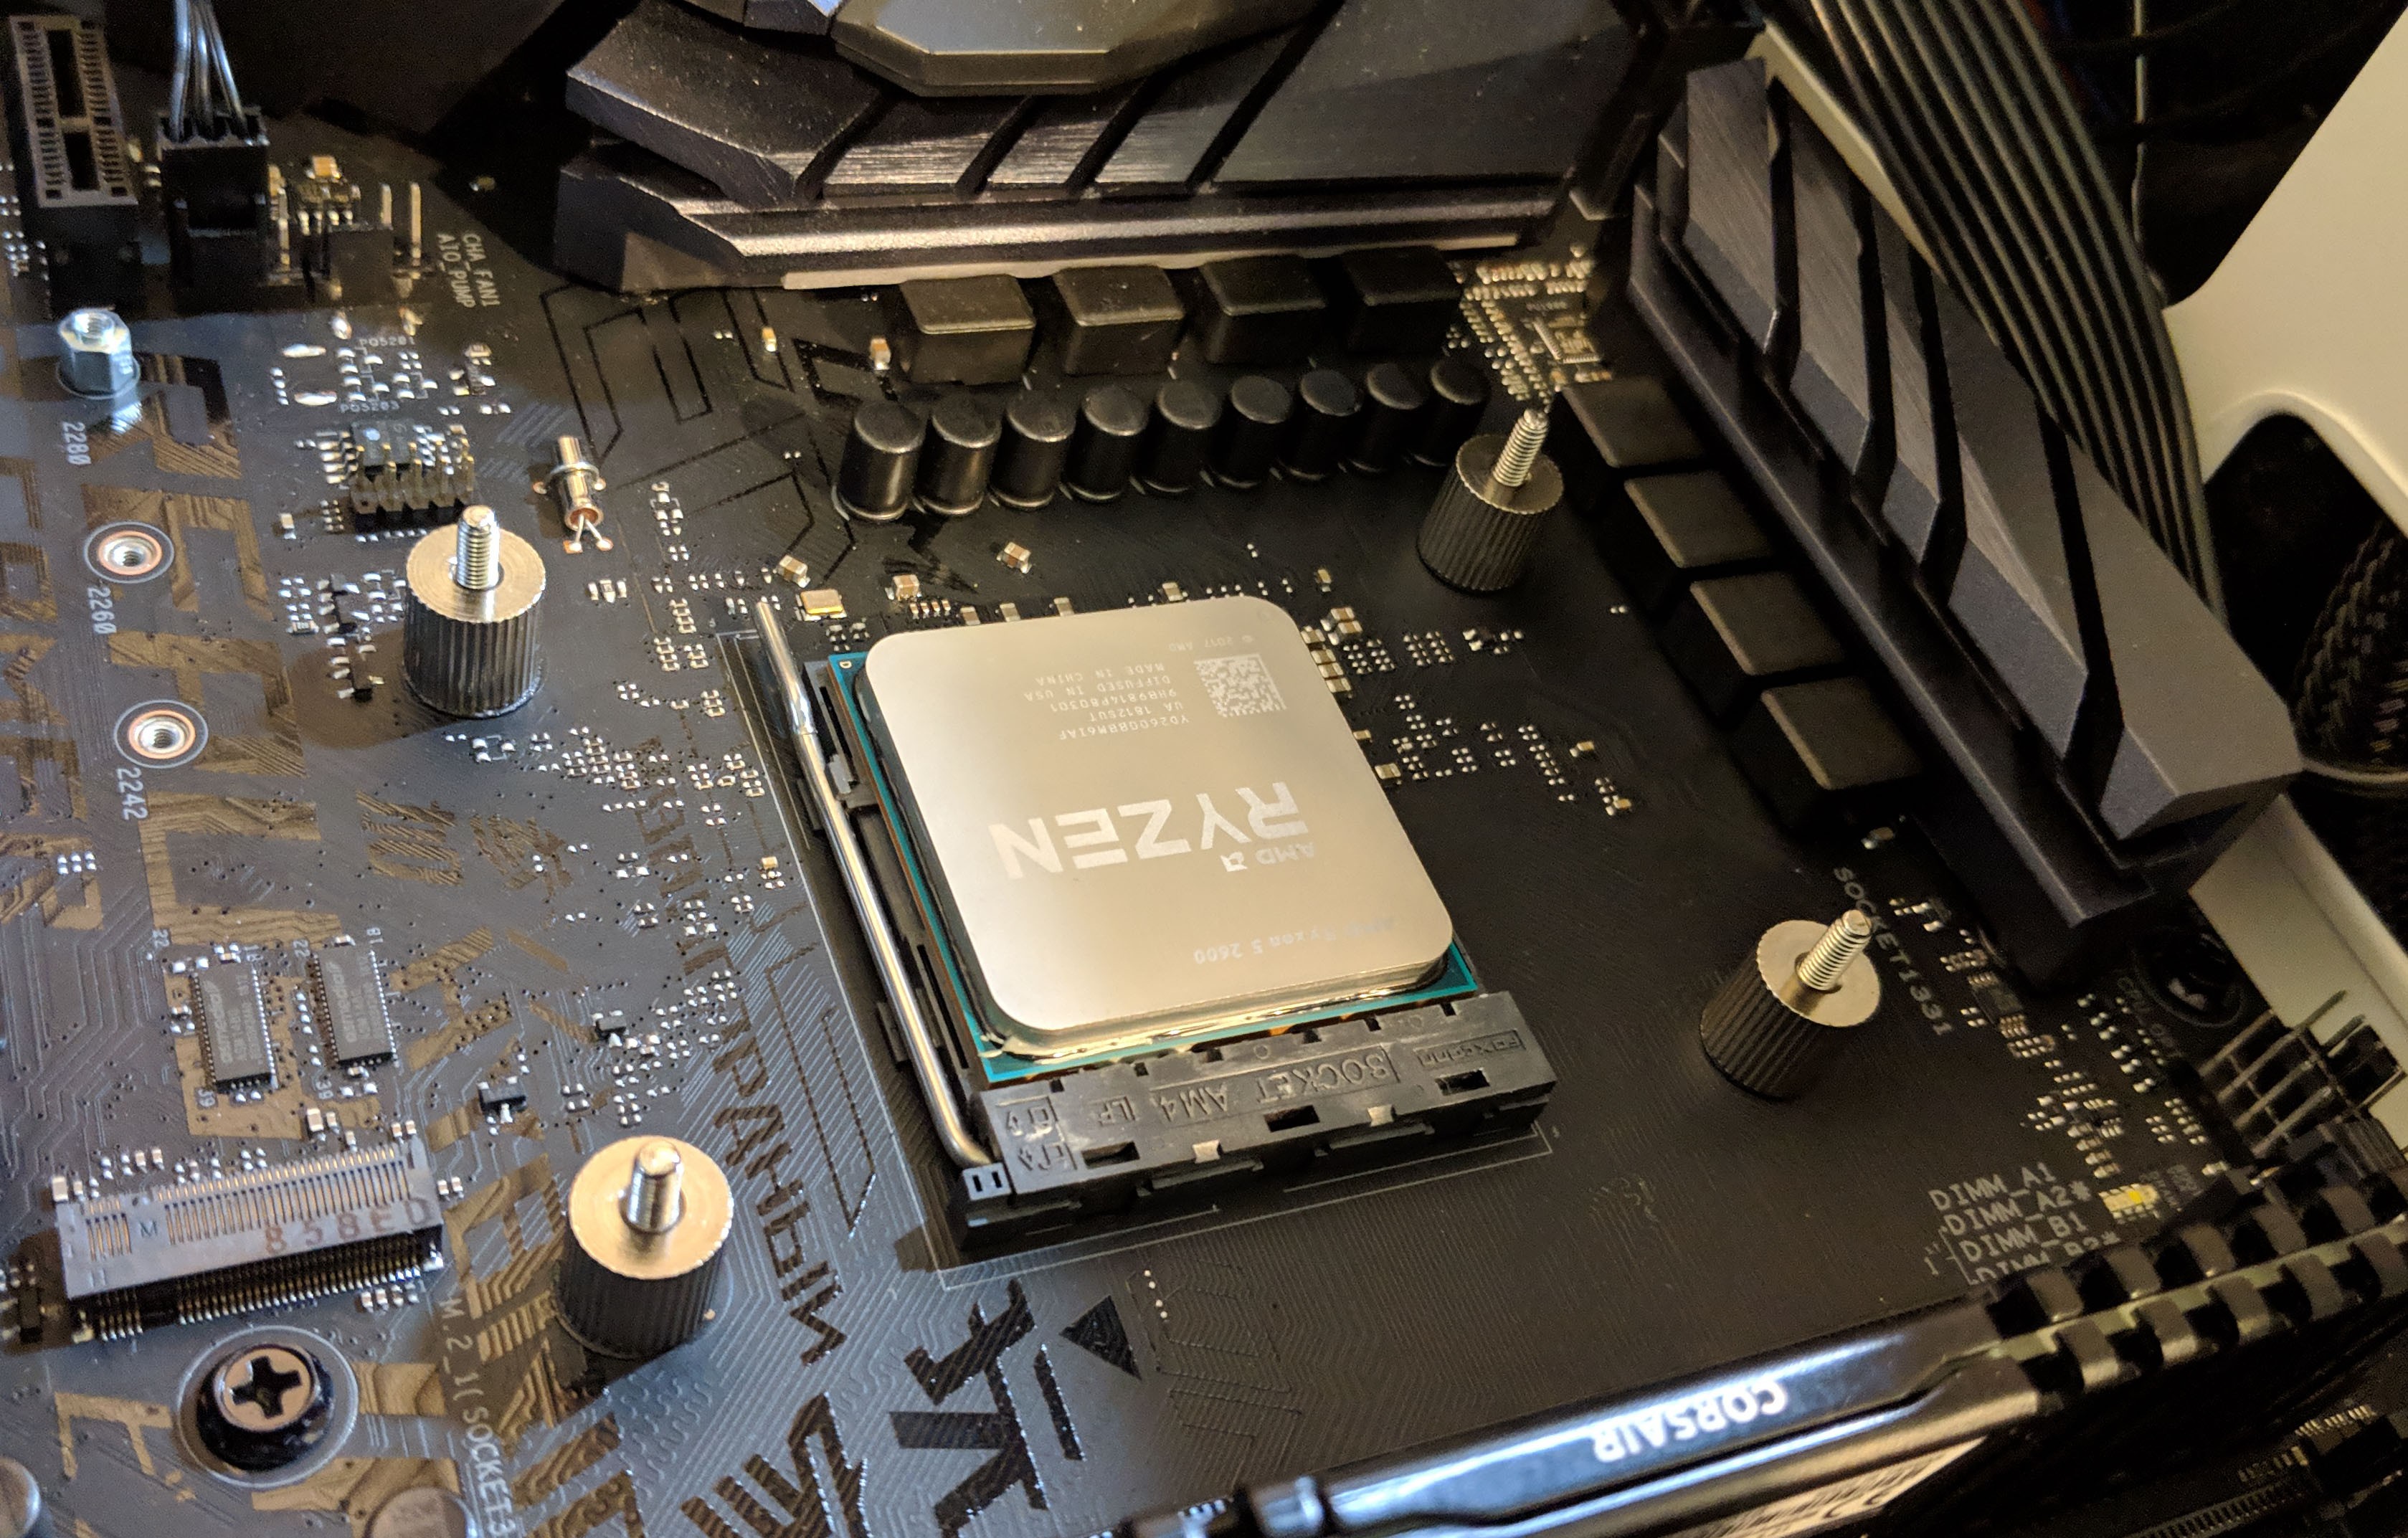
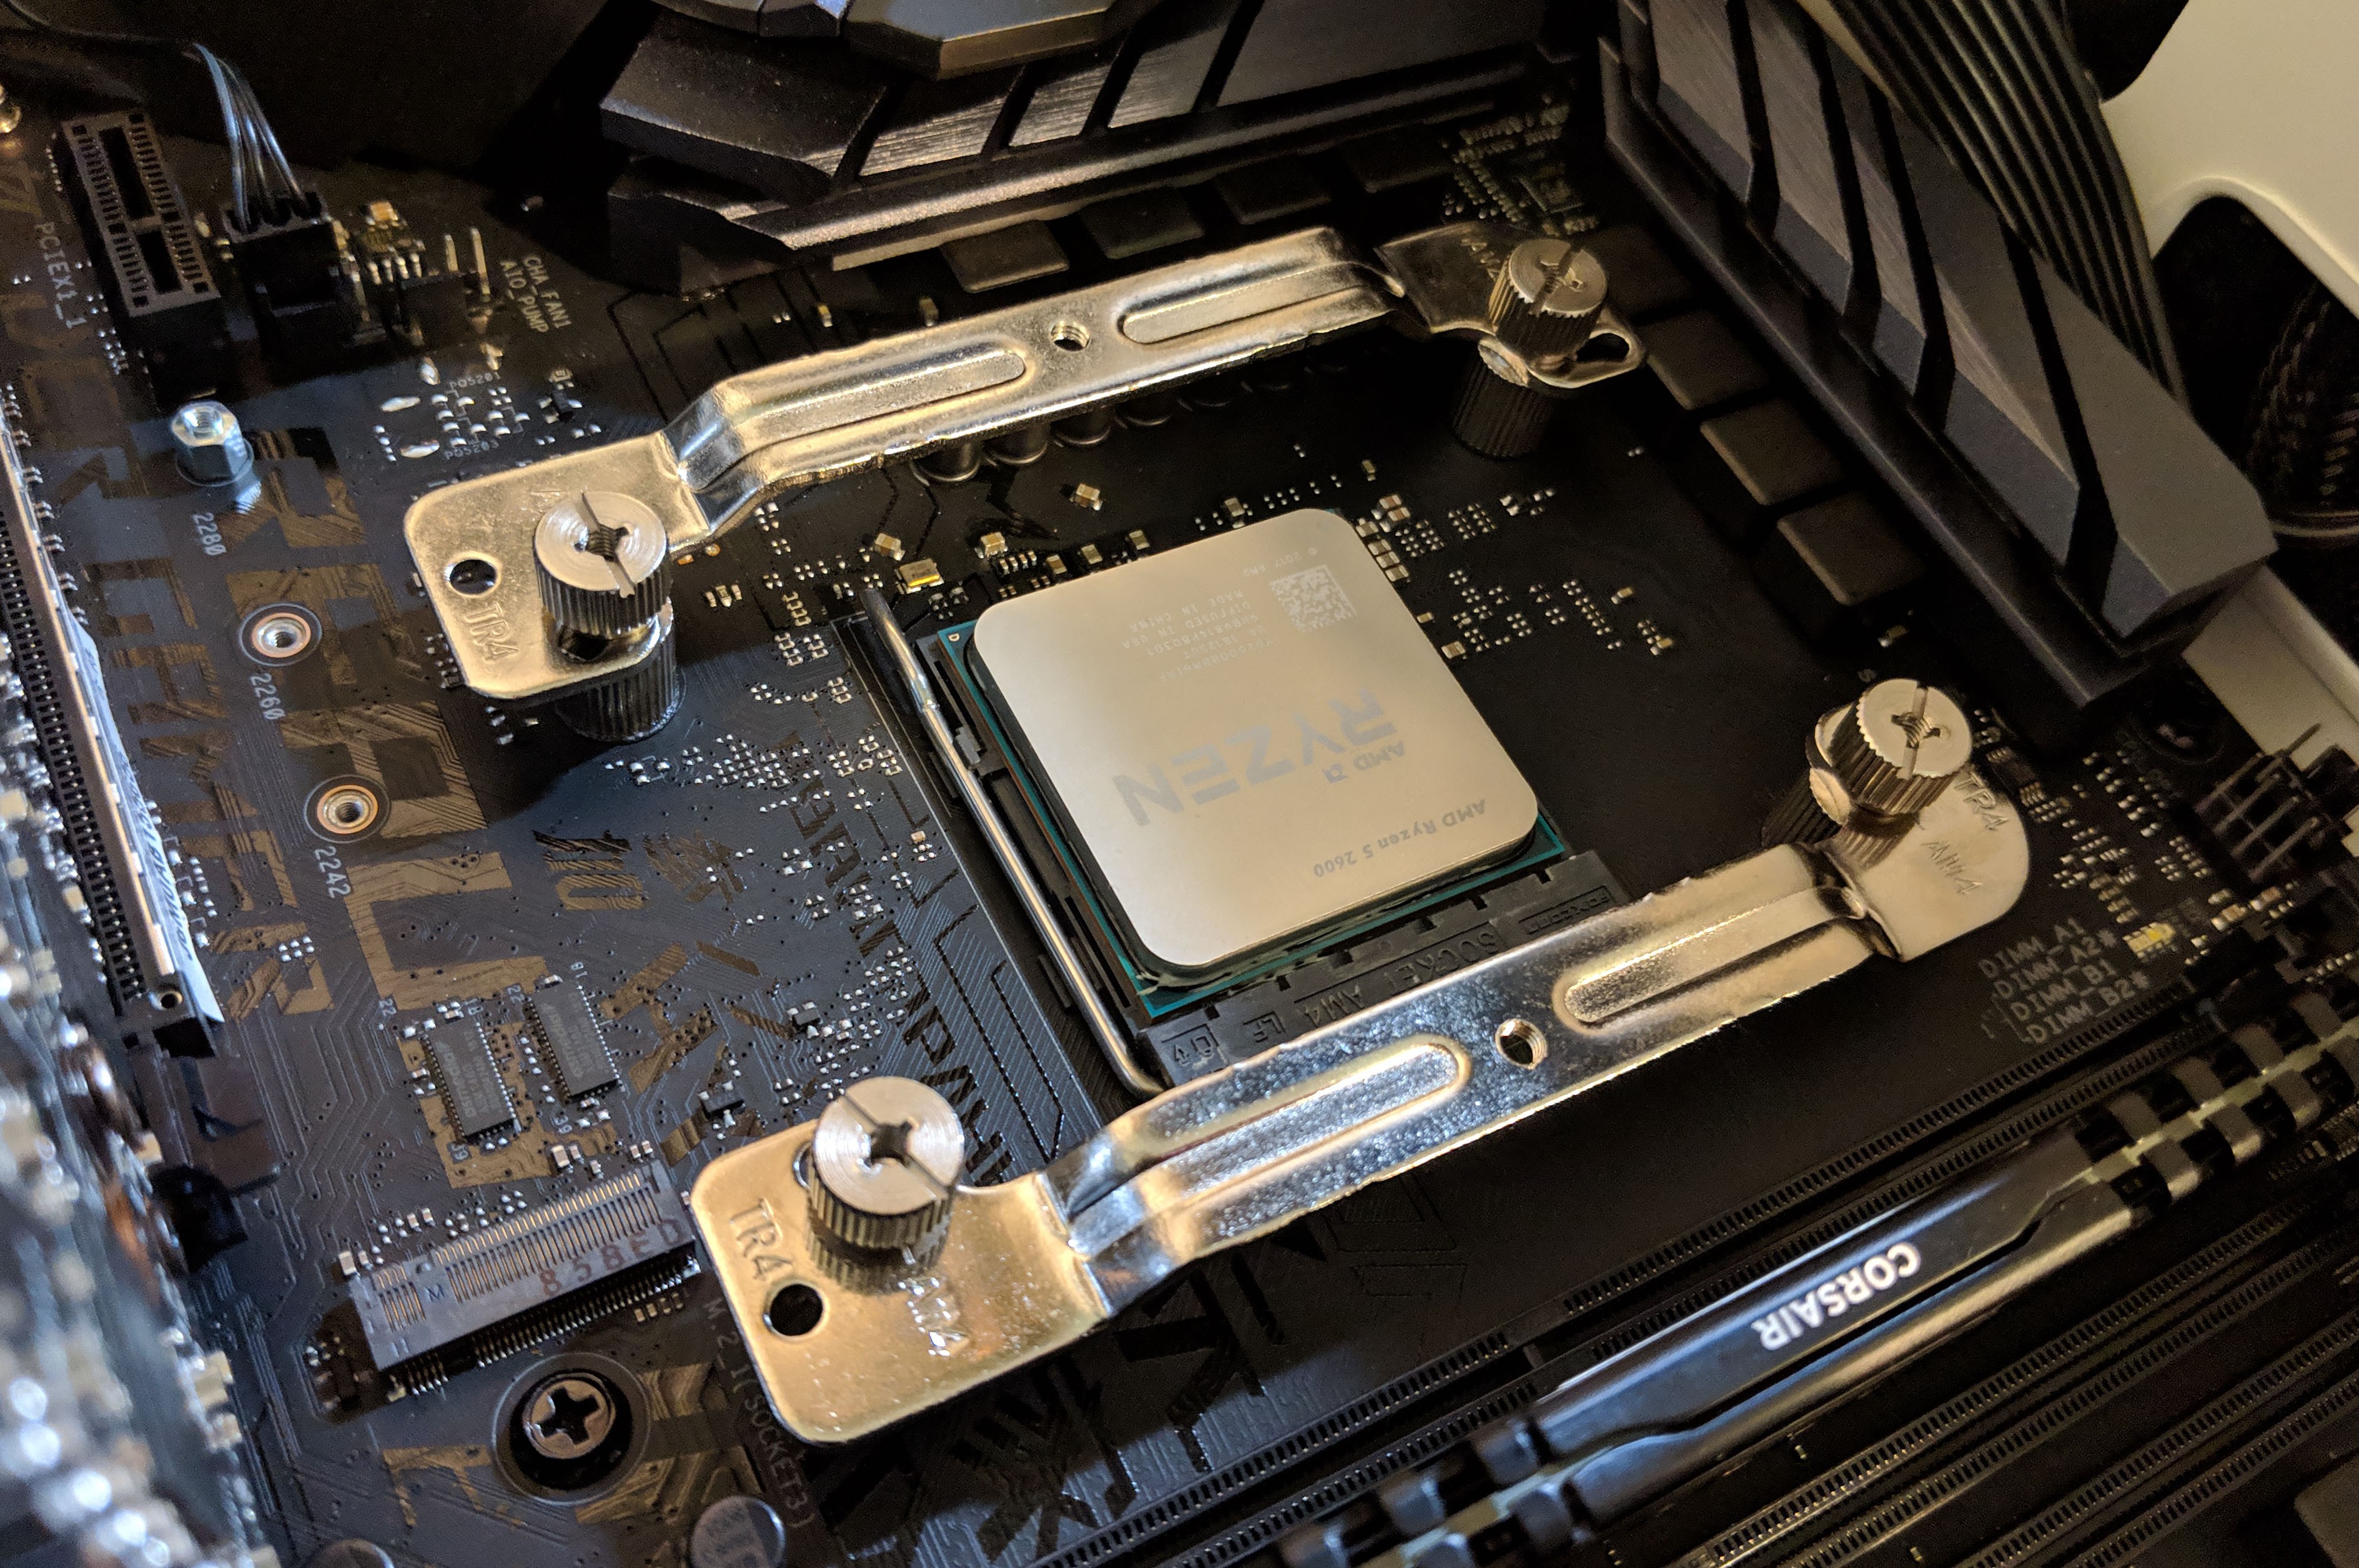
As you can see, installation is logical and straight forward. The pump is held into place using the two affixed screws on either side once the side brackets are installed. Each screw is spring tensioned and stops automatically as it is being tightened. This allows for just the right amount of pressure to be applied to the CPU.
Installation on our TR4 Threadripper build was even easier and does not require reverse-side CPU access. Standoff screws are installed directly into the existing CPU bracket as you can see in the images below.
As expected, CPU coverage is not 100% but it is close. It will be interesting to see how temperatures are affected when comparing this cooler to a full coverage CPU cooler such as the Cooler Master Wraith Ripper. You can see a little bit of CPU exposure on either side of the water block in the second image.

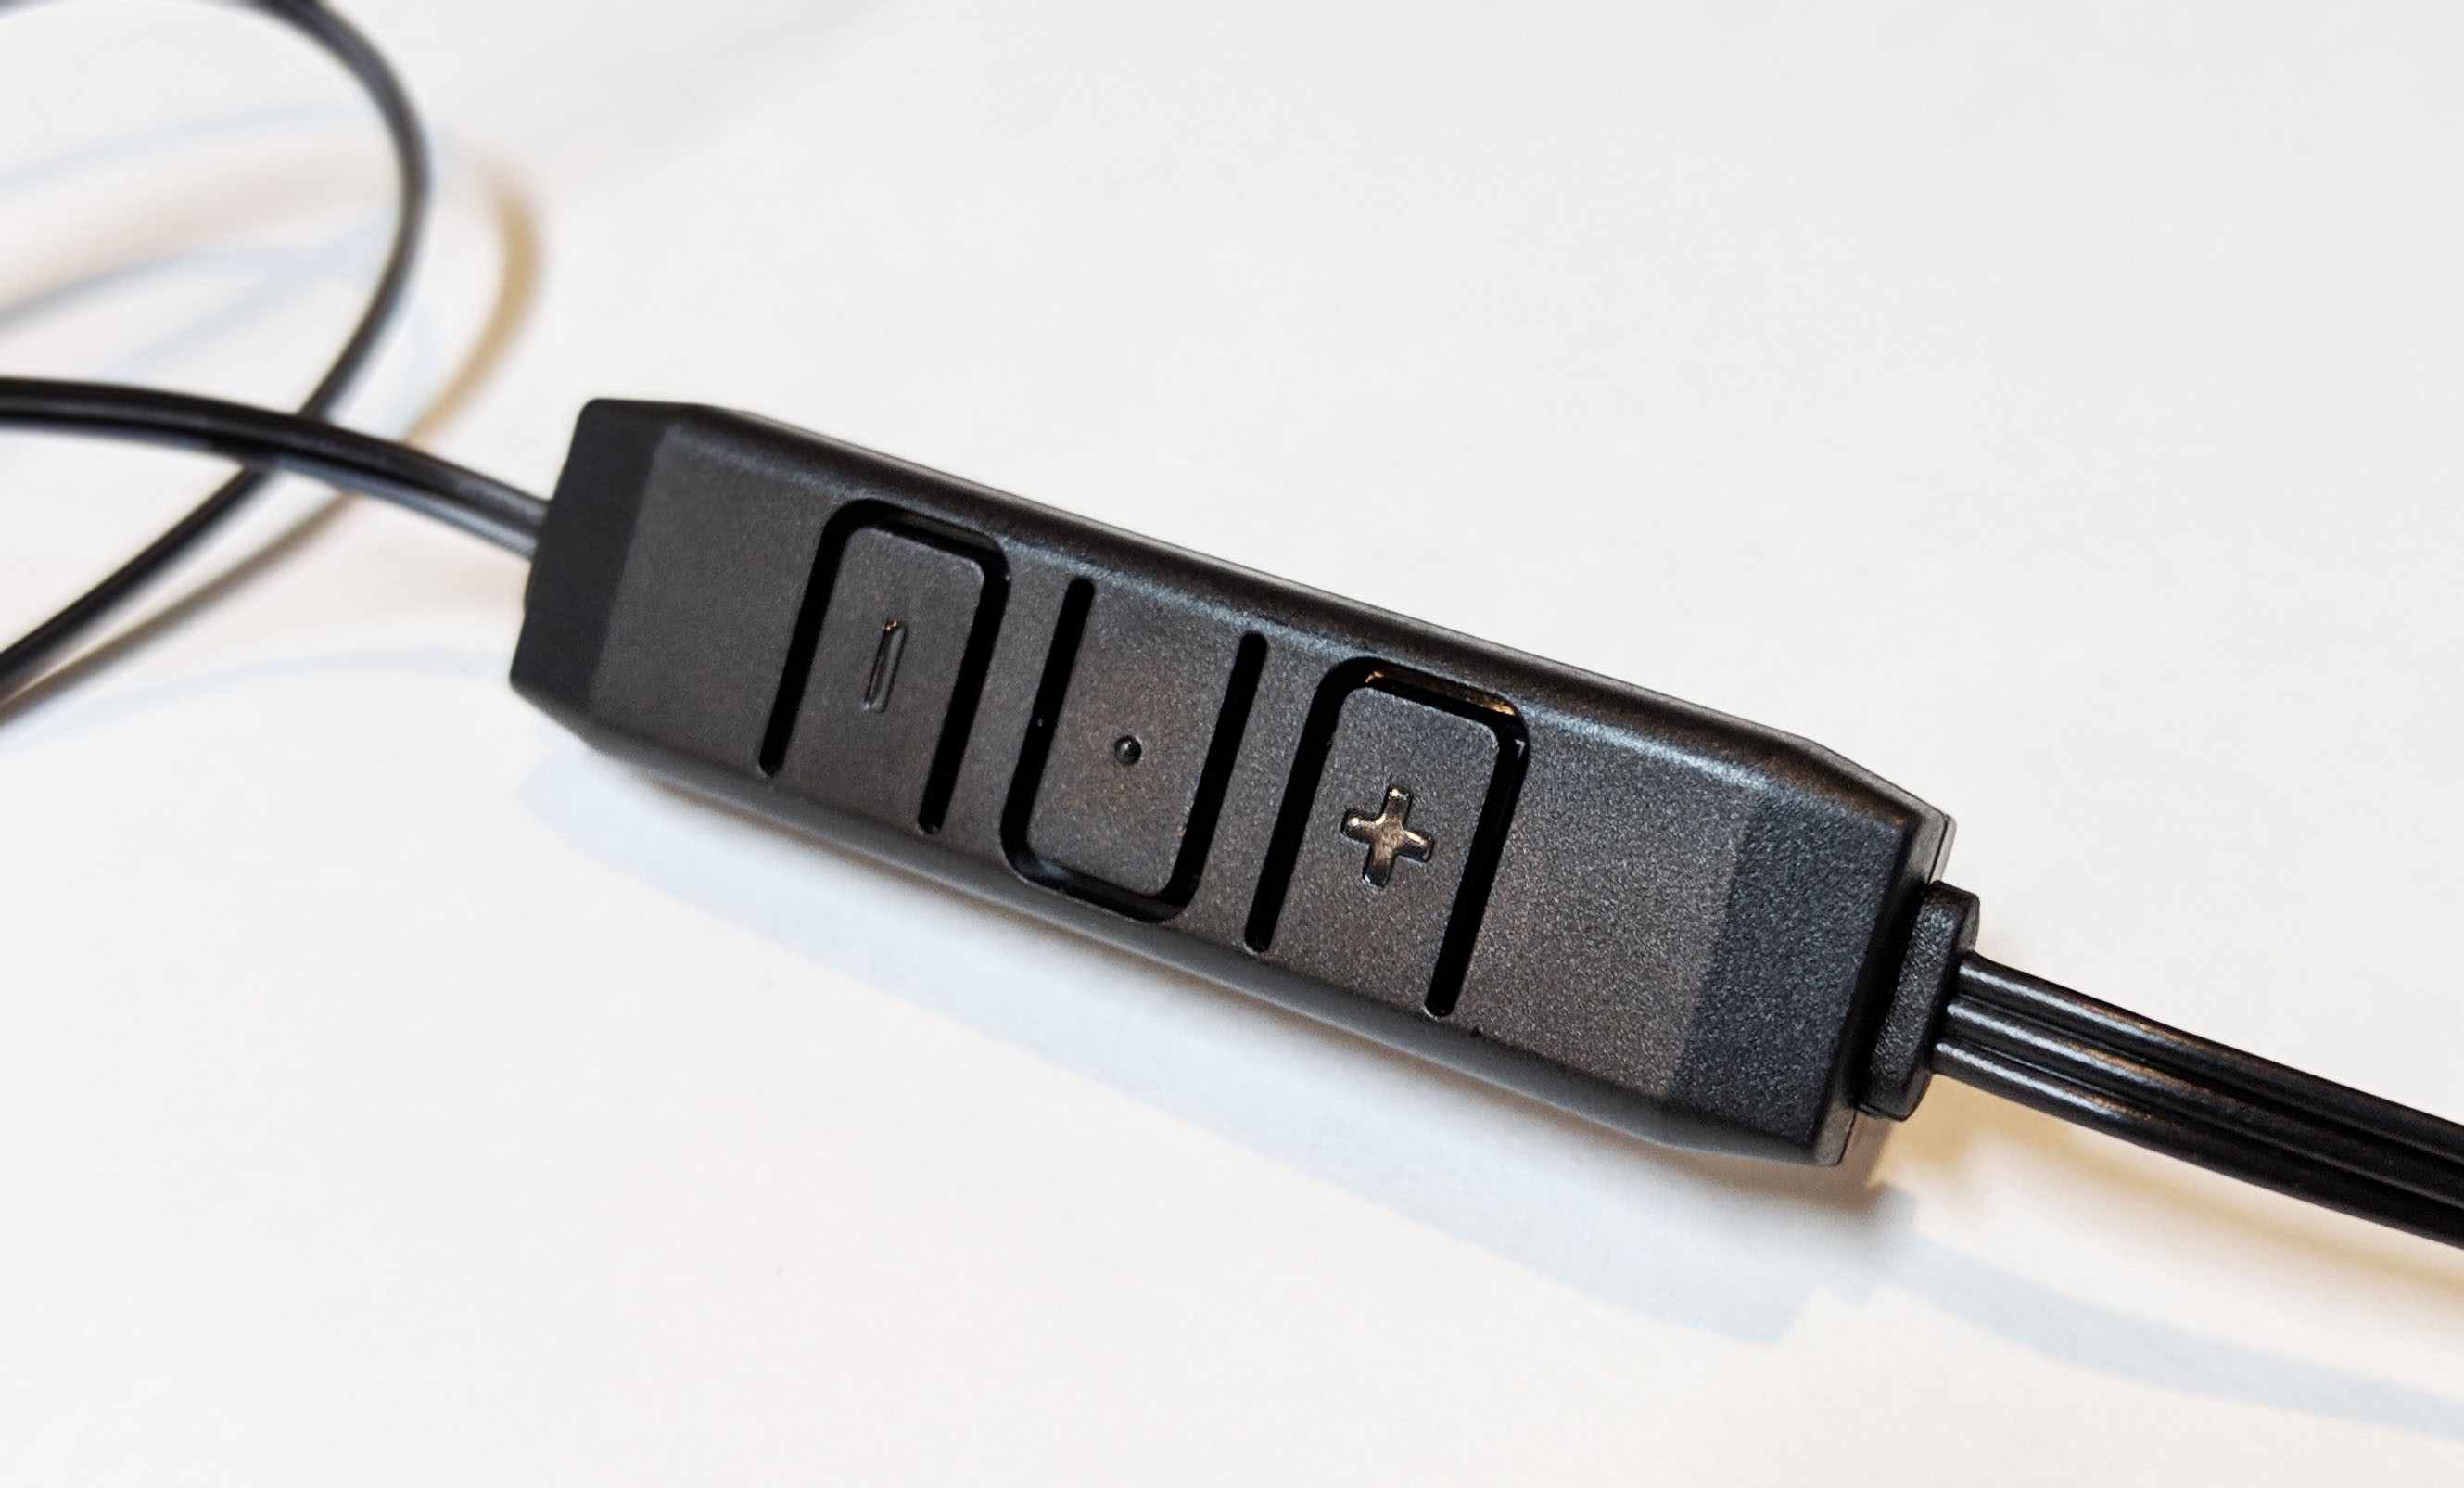
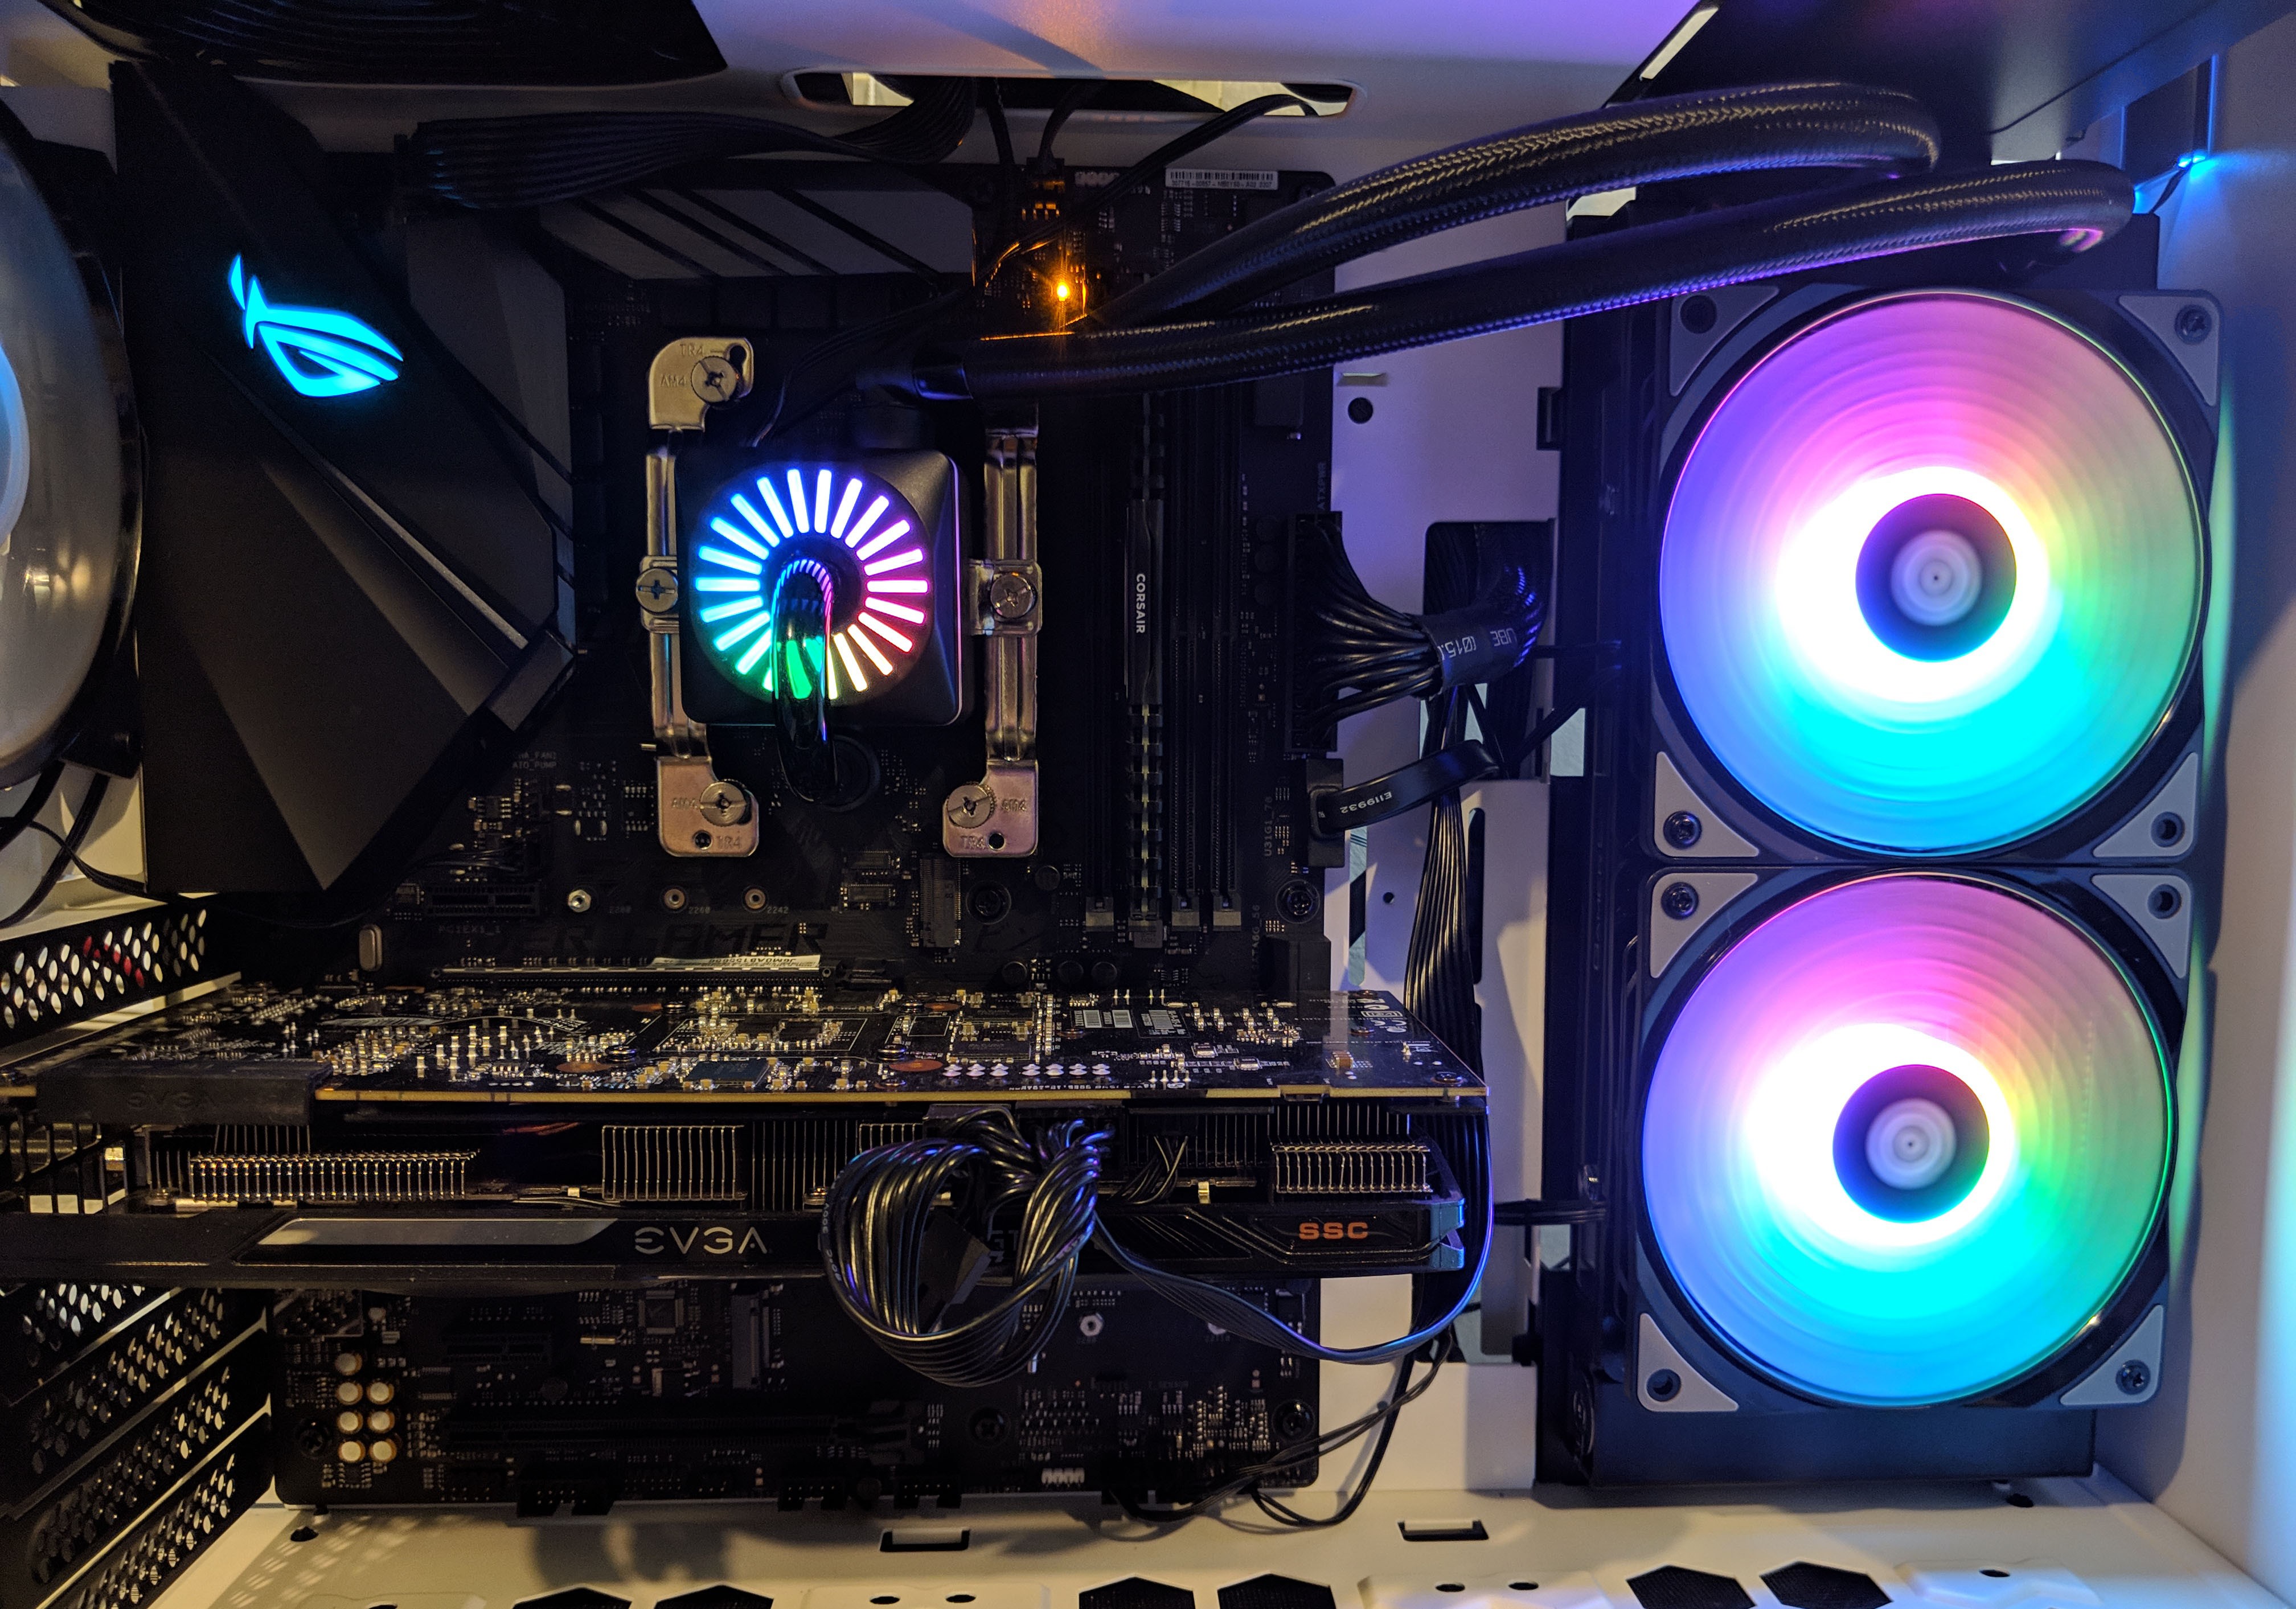
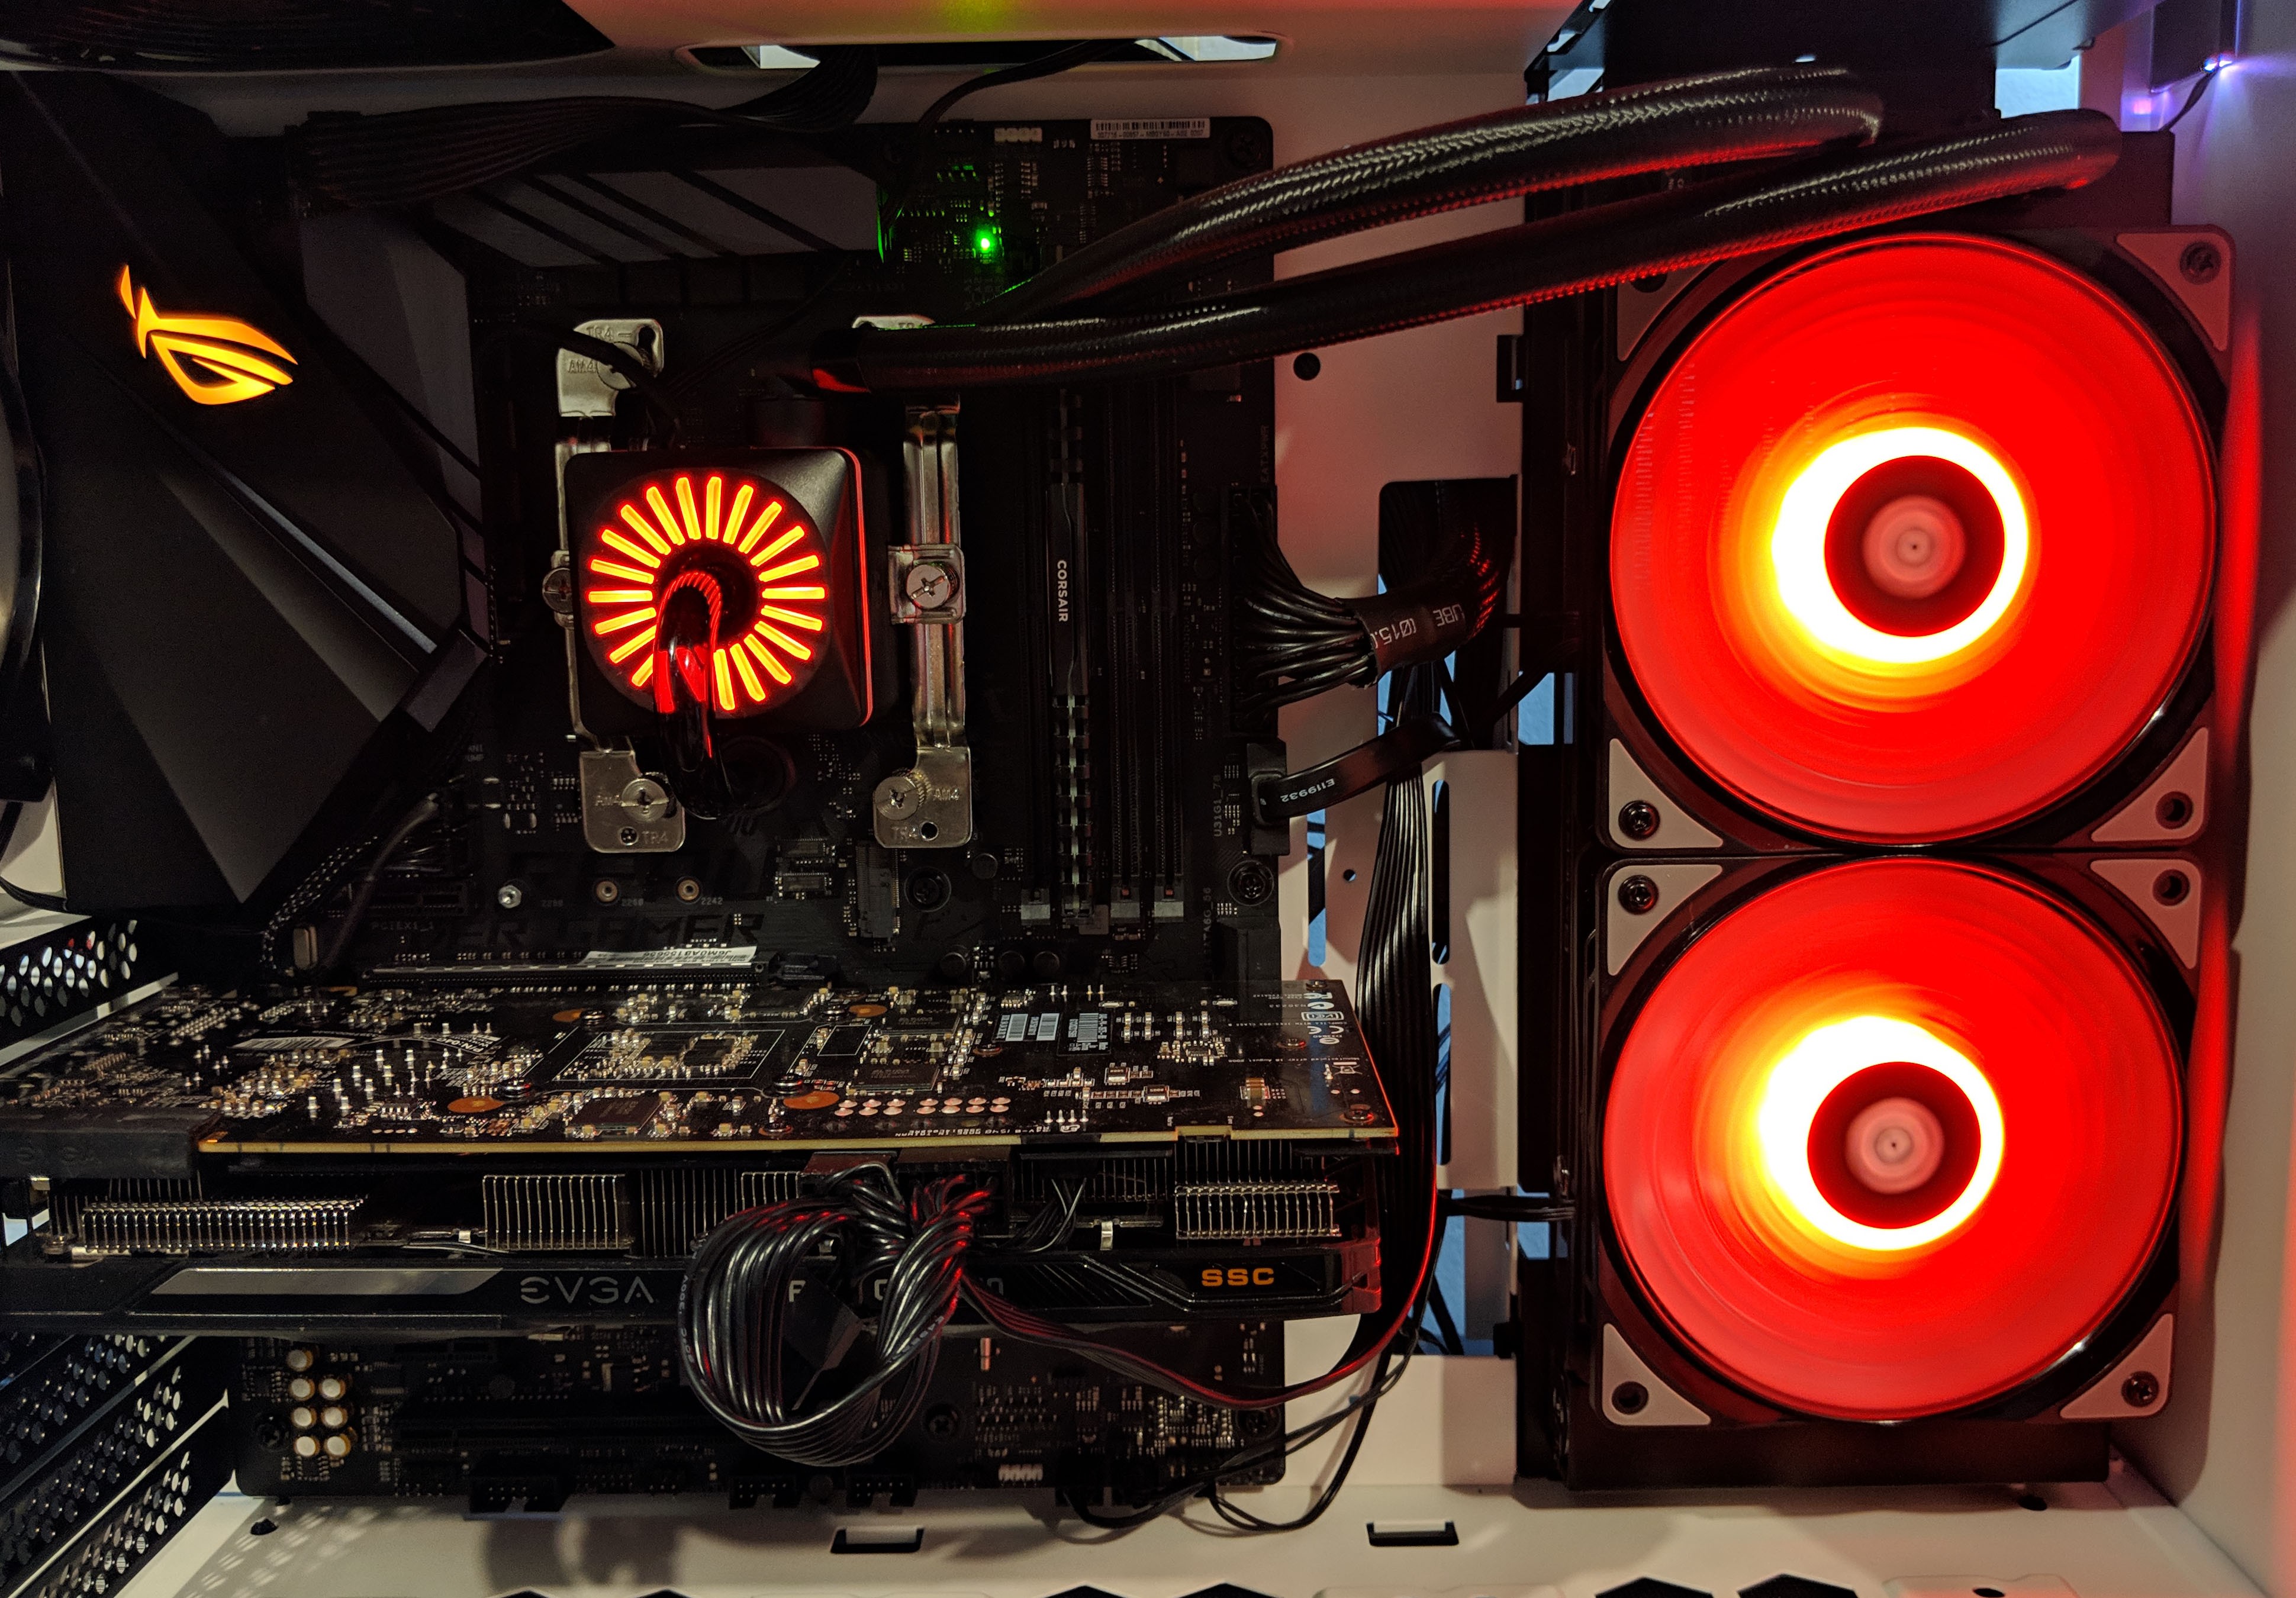
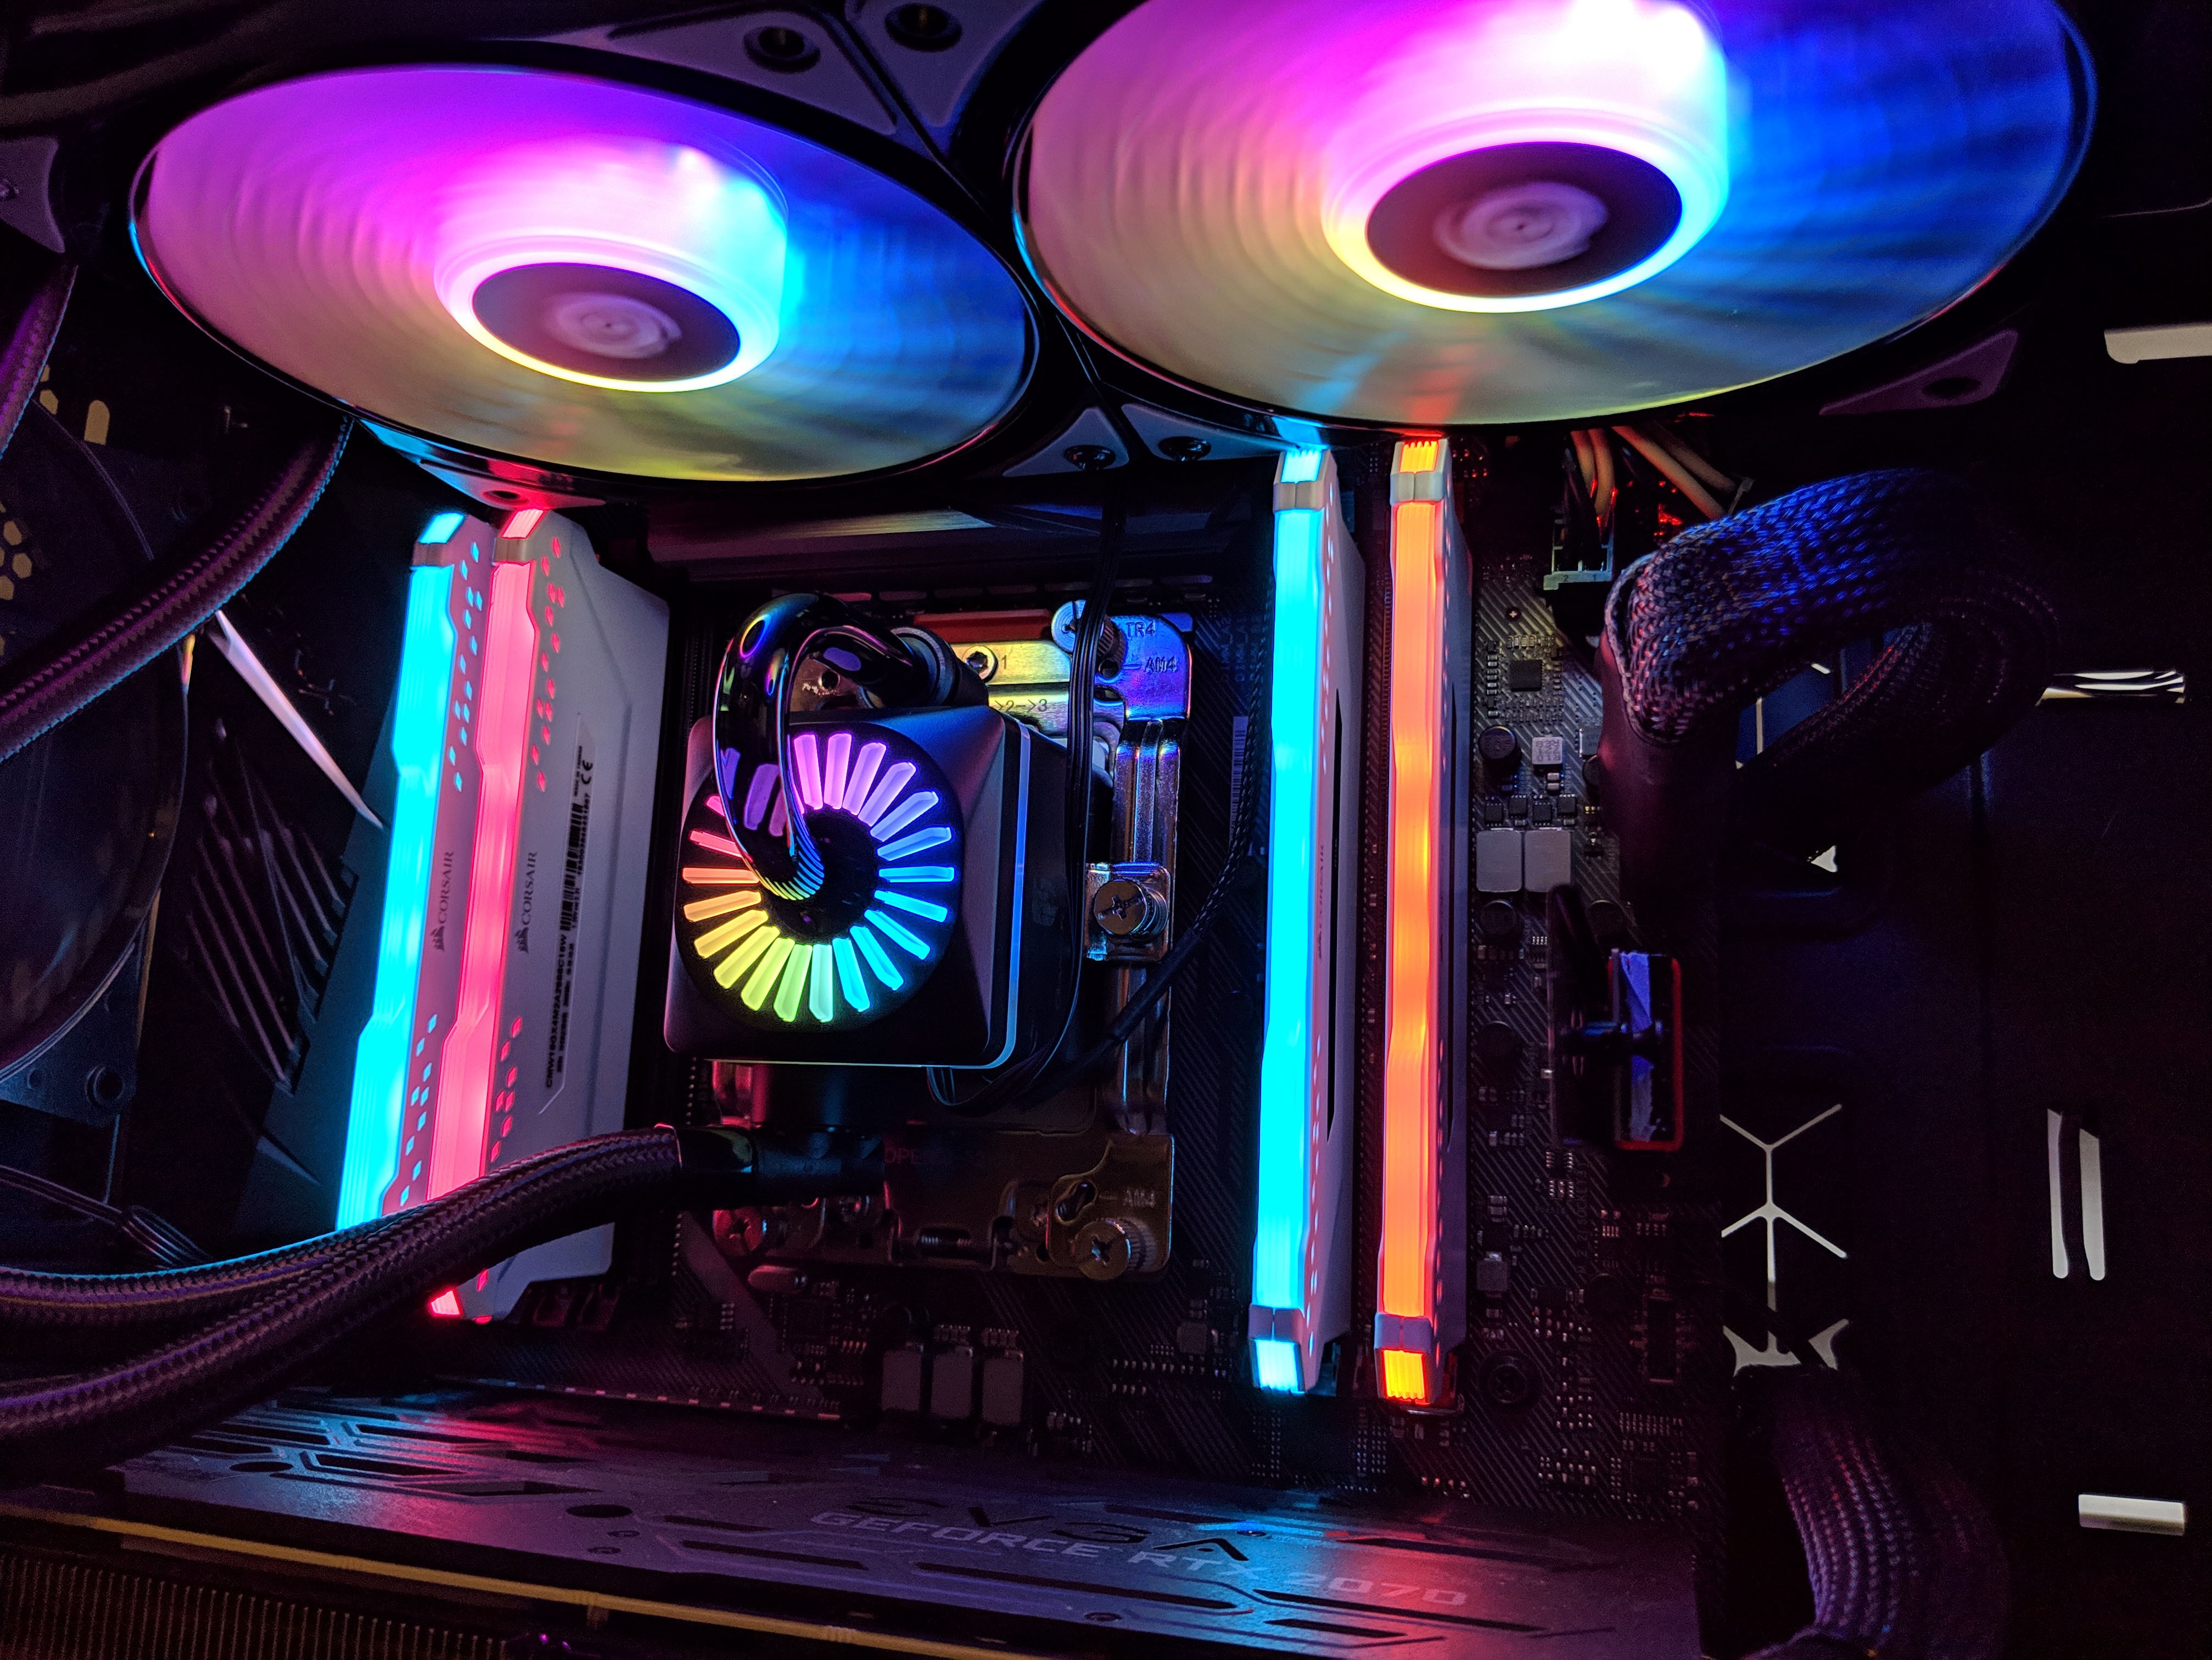
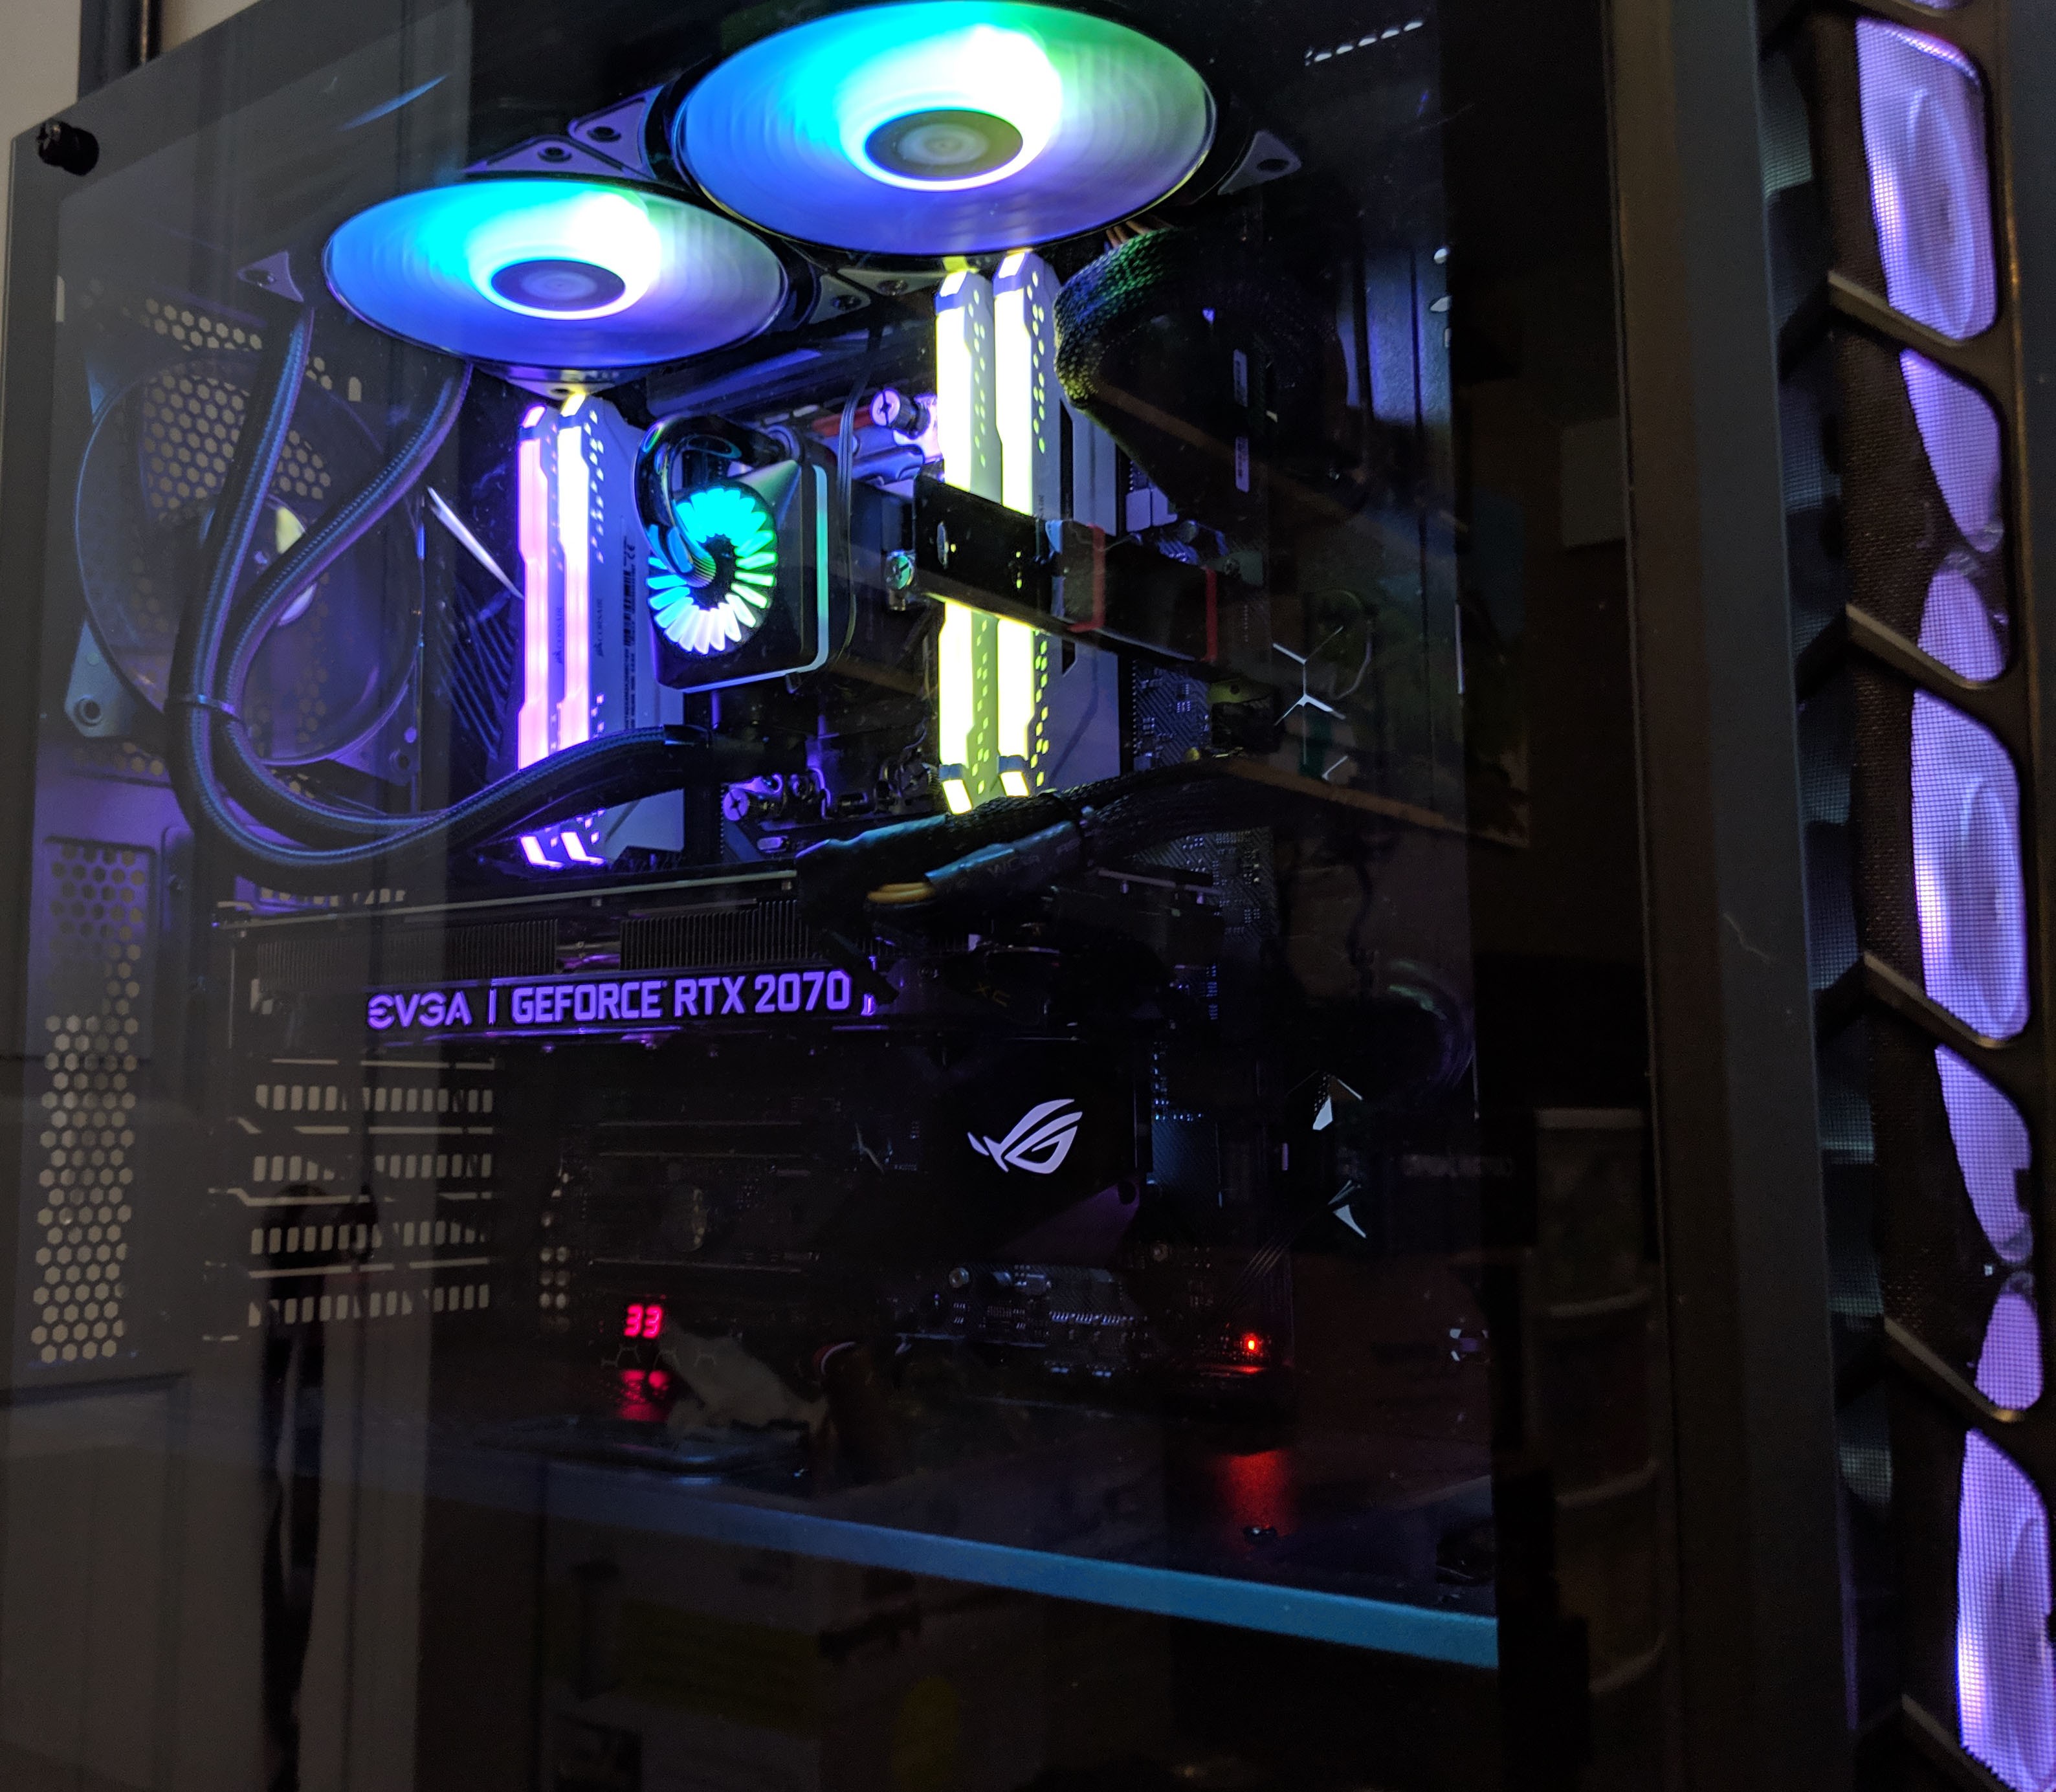
With the cooler fully installed and with power applied, you’re greeted with a brilliant display of rotating RGB effects. Be sure to play around with the included RGB controller as there are a TON of lighting options and effects. If using your motherboard to control the RGBs, you’re limited to effects whatever effects are included via the software.
AMD AM4 Build:
AMD TR4 Build:

Stress Testing
Well at this point we know that the cooler lights up and looks brilliant, so let’s see how it actually performs. In this test, we’ll run each CPU at stock speeds while recording minimum and maximum temperatures while running Prime95 for 20 minutes or so using Small FTT’s for maximum heat. We’re not testing CPU stability at this point, so 20 minutes should be more than enough time for the CPU to reach maximum temperatures.
After testing at stock speeds, we’ll run each again at a 4.0GHz overclock.
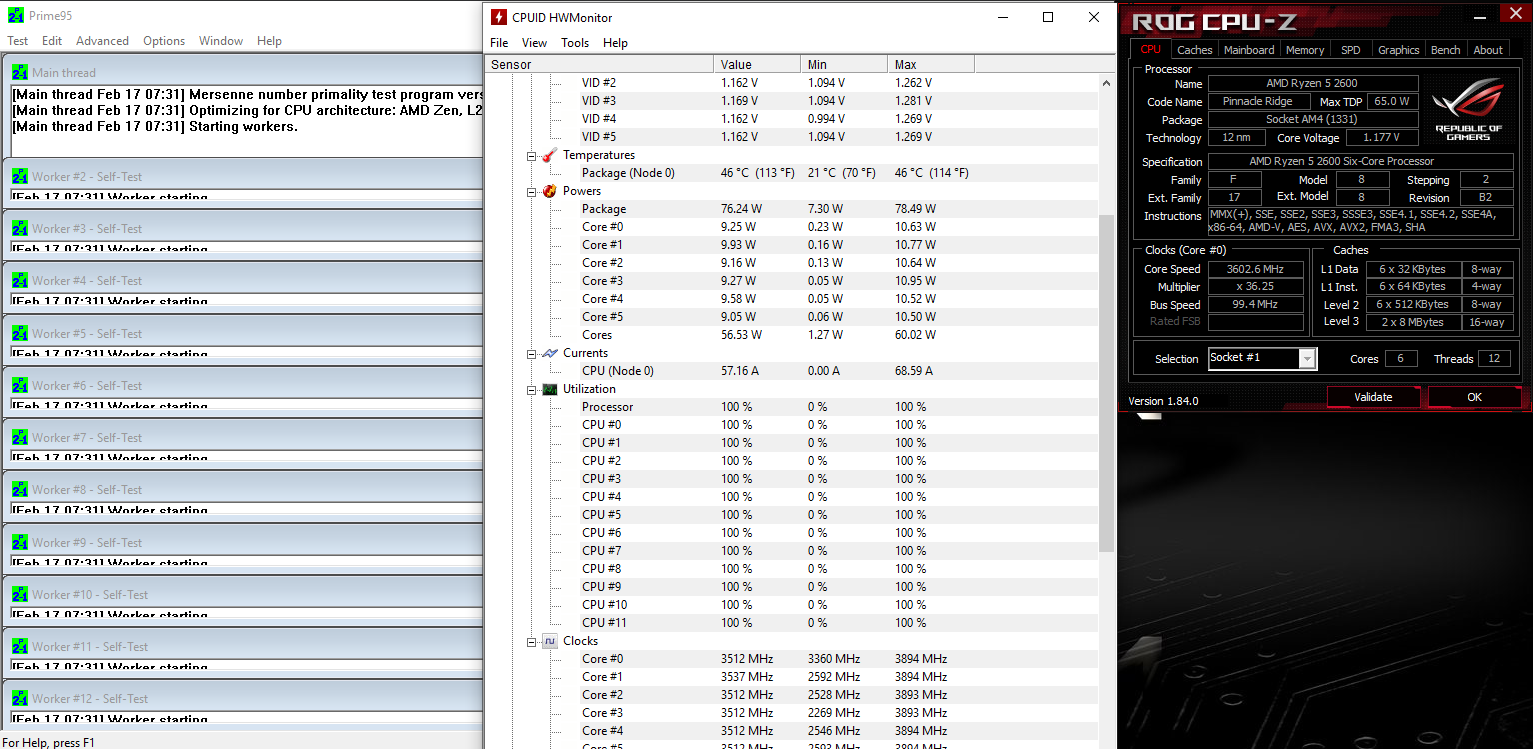
AMD Ryzen 2600 Stock Speeds
At completely stock speeds and voltages, the numbers were expectedly very low. The CPU would idle in the low 20’s which reached a minimum of 21C. Under 100% load using Prime95, the hottest we could get the CPU to hit was a very low 46F. With such a low maximum temperature, we’ve definitely got some room for overclocking.
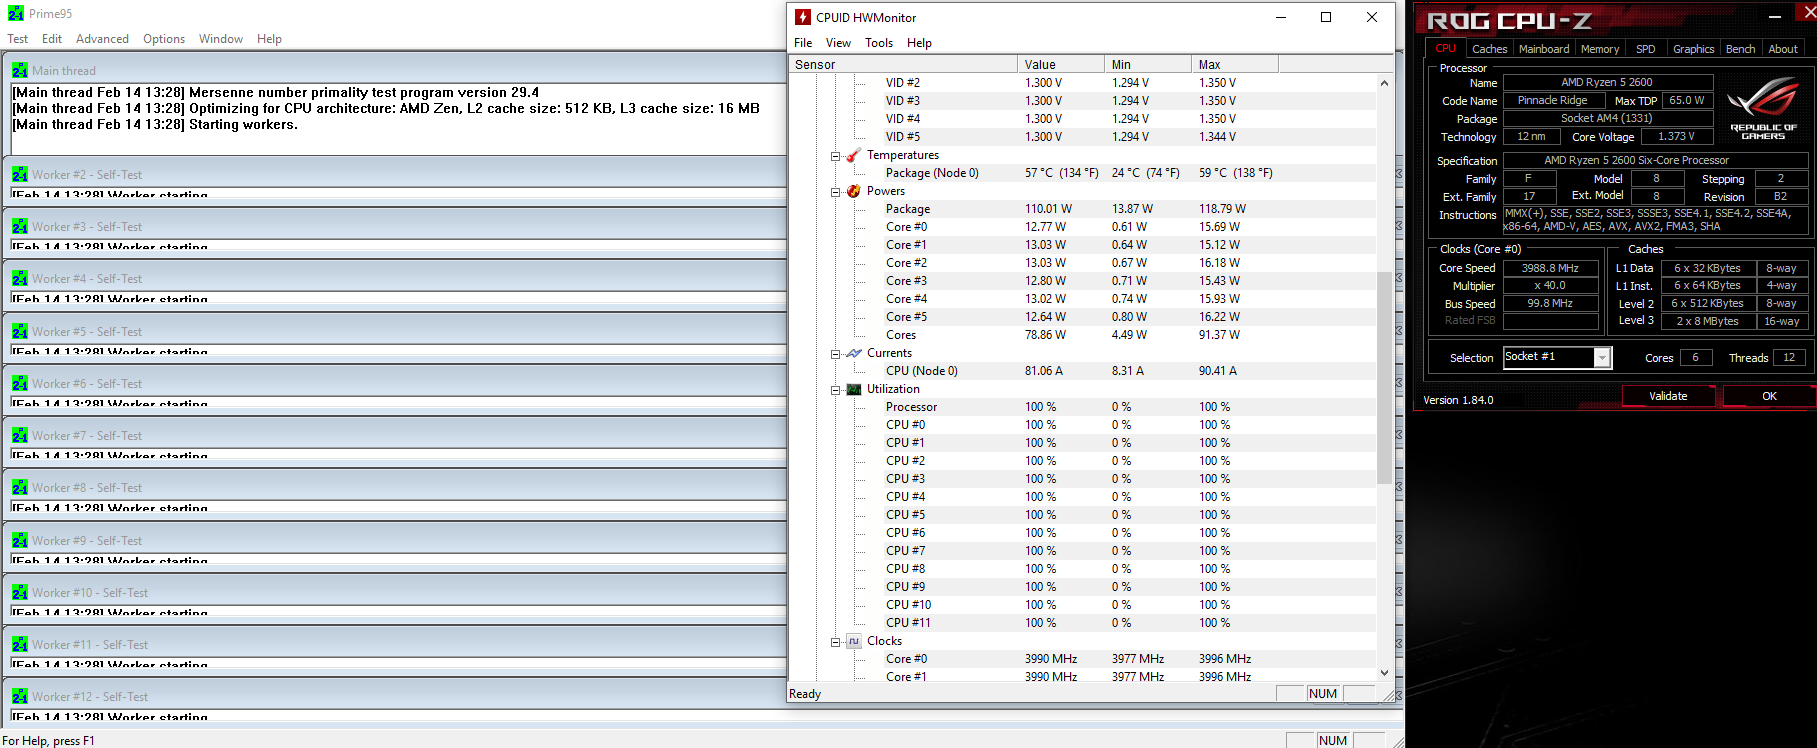
AMD Ryzen 2600 4.0GHz Overclock
At a conservative 4.0GHz overclock our idle temperatures were also quite low, bottoming out at only 24C. With Prime95 running in the background doing its thing, the hottest recorded temperature topped out at a mere 59C. There’s no doubt that we could have pushed the Ryzen 2600 even further.
Overall, the Gamer Storm Captain 240 Pro produced fantastic results for our AM4 build. Next, let’s see how it handles a CPU with a 180W TDP.
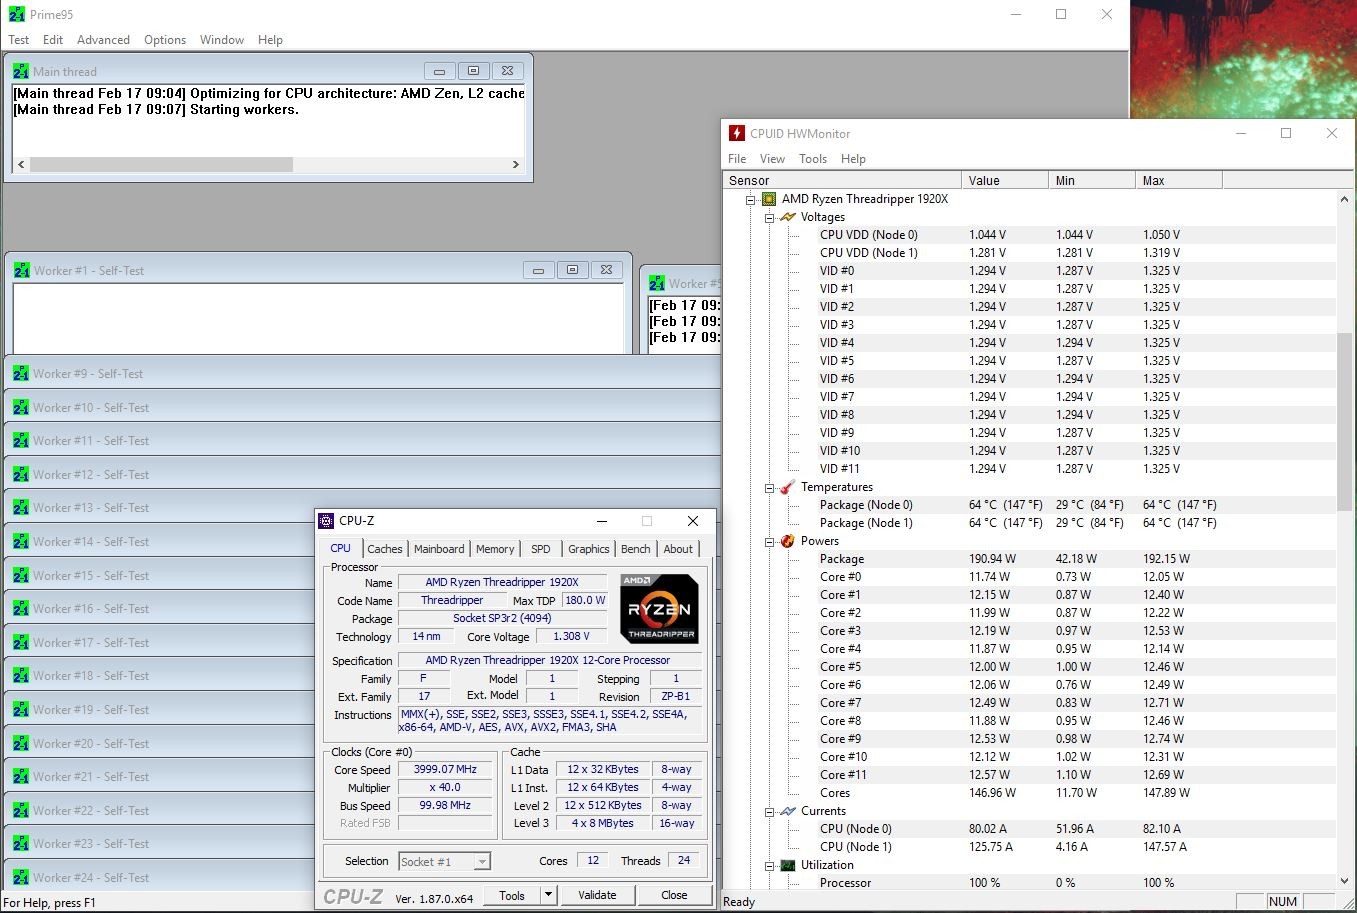
AMD Ryzen Threadripper 1920X 4.0GHz Overclock
Since our temperatures were so low for the AMD Ryzen 2600, for this test, I jumped straight into a 4.0GHz overclock to which I was once again quite impressed with the results. Despite the lack of 100% CPU coverage, the AIO cooler cranked out some pretty impressive numbers. Our lowest recorded idle temperature bottomed out at 29C and with all 24 threads of Prime95 running, our maximum recorded temperature topped out at 64C. With a maximum this low, it’s likely we could have pushed this chip all the way to 4.2GHz.
BONUS ROUND: Gamer Storm Captain 240 Pro vs. CM Wraith Ripper
As TR4 coolers are few and far between, how does this stack up to Cooler Master’s iconic Wraith Ripper? I figure this is a good comparison as the Wraith Ripper has a couple advantages over the Captain 240 Pro. First, the Wraith Ripper is designed solely for the TR4 Threadripper platform which means it is one of the few coolers out there sporting a full coverage base. The base of the Capitan 240 Pro only covers ~80-85% of the CPU. The Wraith Ripper is also MASSIVE and uses seven heat pipes. AIO coolers will almost always beat traditional air coolers in an arms race, so at this point it’s anyone’s game.
The Result……Our Wraith Ripper produced a 31C minimum rating with a 66C maximum while using the same 4.0GHz overclock. This puts the Capitan a few points cooler despite the lack of 100% coverage!
| Gamer Storm 240 Captain 240 | Cooler Master Wraith Ripper | |
|---|---|---|
| Idle Temp | 29C | 31C |
| Load Temp | 64C | 66C |
Scoring and Final Thoughts
The DeepCool Gamer Storm Captain 240 Pro AIO cooler ended up producing some fantastic results on both our AM4 and TR4 platforms. The cooler would definitely be a unique choice for any custom build. Both the pump and radiator offer clean and eye-catching aesthetics you really won’t get anywhere else.
From start to finish, we didn’t have any installing the cooler in either of our systems. Installation is straightforward and DeepCool’s instructions are clear and easy to follow. The radiator tubing is pretty flexible so mounting the radiator doesn’t take a whole lot of effort as well.
With that being said, let’s give this thing a final score!
- Appearance – 9.8/10: The cooler looks fantastic. I really like the chrome and black radiator and the RGB’s pretty much all over the place. The unique glass tube on the pump is definitely a nice touch as well.
- Construction – 8.2/10: The AIO cooler itself is solid and well built, to which I don’t really have anything negative to say about it. My only gripe are the included electronics. The RGB hub feels cheap, and I especially did not like the proprietary RGB connectors DeepCool decided to use. Had the gone the typical route of using the ARGB plugs we see almost everywhere else, this score would have been almost perfect.
- Performance – 10/10: The numbers speak for themselves. For both AM4 and TR4 chips we achieved amazing results especially while overclocked. If you plan on heavily overclocking your processor, no doubt this cooler will handle it.
- Value – 9.0/10: At the time of writing this review, the DeepCool Gamer Storm Captain 240 Pro goes for ~$109.99. For a fully RGB 240mm AIO cooler, this is a bit less than you’d expect to pay.
"The DeepCool Gamer Storm Captain 240 Pro AIO cooler ended up producing some fantastic results on both our AM4 and TR4 platforms."Gamer Storm Captain 240 Pro Review

Thanks for taking the time to read this review and if you have any questions or comments, please feel free to leave a comment below!
- Product Page: http://www.gamerstorm.com/product/CPULIQUIDCOOLER/2018-09/1286_9557.shtml
- Amazon: Gamer Storm Captain 240 Pro