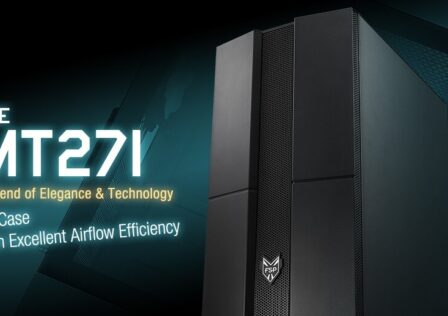
Today we’re very excited to take a deep dive into yet another one of FSP’s offerings, this time the CMT350 which just like the FSP cases we’ve reviewed in the past, this one also offers all the modern features that system builders and gamers demand. Some of these features include tempered glass and RGBs all in a sleek stealthy package.
The FSP CMT350 is a mid-tower PC case which has enough room and cooling to support any ATX or smaller motherboard from either Intel or AMD’s current offering. The case comes equipped with two front fans as well as a rear RGB enabled exhaust fan at the back of the case. Options for an additional front fan as well as two more fans at the top of the case are supported as well for a grand total of six supported 120mm fans all together.
MSRP for the new case is set at $94.99 USD, placing it in the more affordable “mid-range” category of cases. the MSRP will weigh in heavily at the end of the review when it comes time for scoring. Until then, let’s first take a closer look at the case’s features and specifications!
(header image credit: FSP Group USA)
FSP CMT350 Specifications
For a relatively inexpensive case, I’m quite impressed with the list of features packed into this case. As I mentioned earlier, this case is configured as a mid-tower case which typically means that it will support any ATX motherboard. Your mileage may vary when it comes with E-ATX, as these tend to come in all shapes and sizes. However, I’ve had pretty good luck fitting E-ATX motherboards into ATX cases without issue. The inside of the case is setup in a split-zone configuration meaning the motherboard and all its connected devices are isolated from the PSU and storage media. There are several benefits to this including a cleaner looking interior and better cooling performance as critical components are a bit more isolated.
The case has the ability to sport six 120mm fans, three of which are included: two at the front (non-RGB) and one at the rear (RGB). If liquid cooling is your jam, you’ve got support for a single 360mm radiator at the front as well as a 240mm at the top.
RGB functionality to both the rear exhaust fan as well as the RGB strip on the front of the case is provided by an addressable RGB controller mounted to the reverse side of the motherboard tray. The RGB controller supports up to eight devices so feel free to bring along extra fans when it comes time to build out the case! The RGBs can be controlled by either the motherboard’s onboard 3-pin addressable RGB header, or by using the RGB button located on the top of the case.
Below are the detailed specifications of the FSP CMT350 according to FSP:
| Product Name | CMT350 |
|---|---|
| Form Factor | ATX Mid-Tower |
| Construction Material | SPCC, Plastic, Tempered Glass |
| Weight | 6.04kg / 13.31lbs |
| Dimensions (L x W x H) | 368 x 206 x 471mm |
| Warranty | 2 Years |
| Maximum CPU Cooler Height | 160mm |
| VGA Card Length | 350mm |
| Expansion Slots | 7 |
| MB/Type | ATX, Micro ATX, Mini ITX |
| I/O Panel | USB3.0 x2, HD Audio |
| Power Supply Type | ATX |
| 3.5″ Drive Bays | 2 |
| 2.5″ Drive Bays | 2 |
| Cooling System |
|
| Fan & Liquid Cooling Support |
|
| Maximum PSU Length | 170mm |
Now that we’ve got a better idea as to what we’re dealing with, let’s get this bad boy unboxed!
A Closer Look: Unboxing
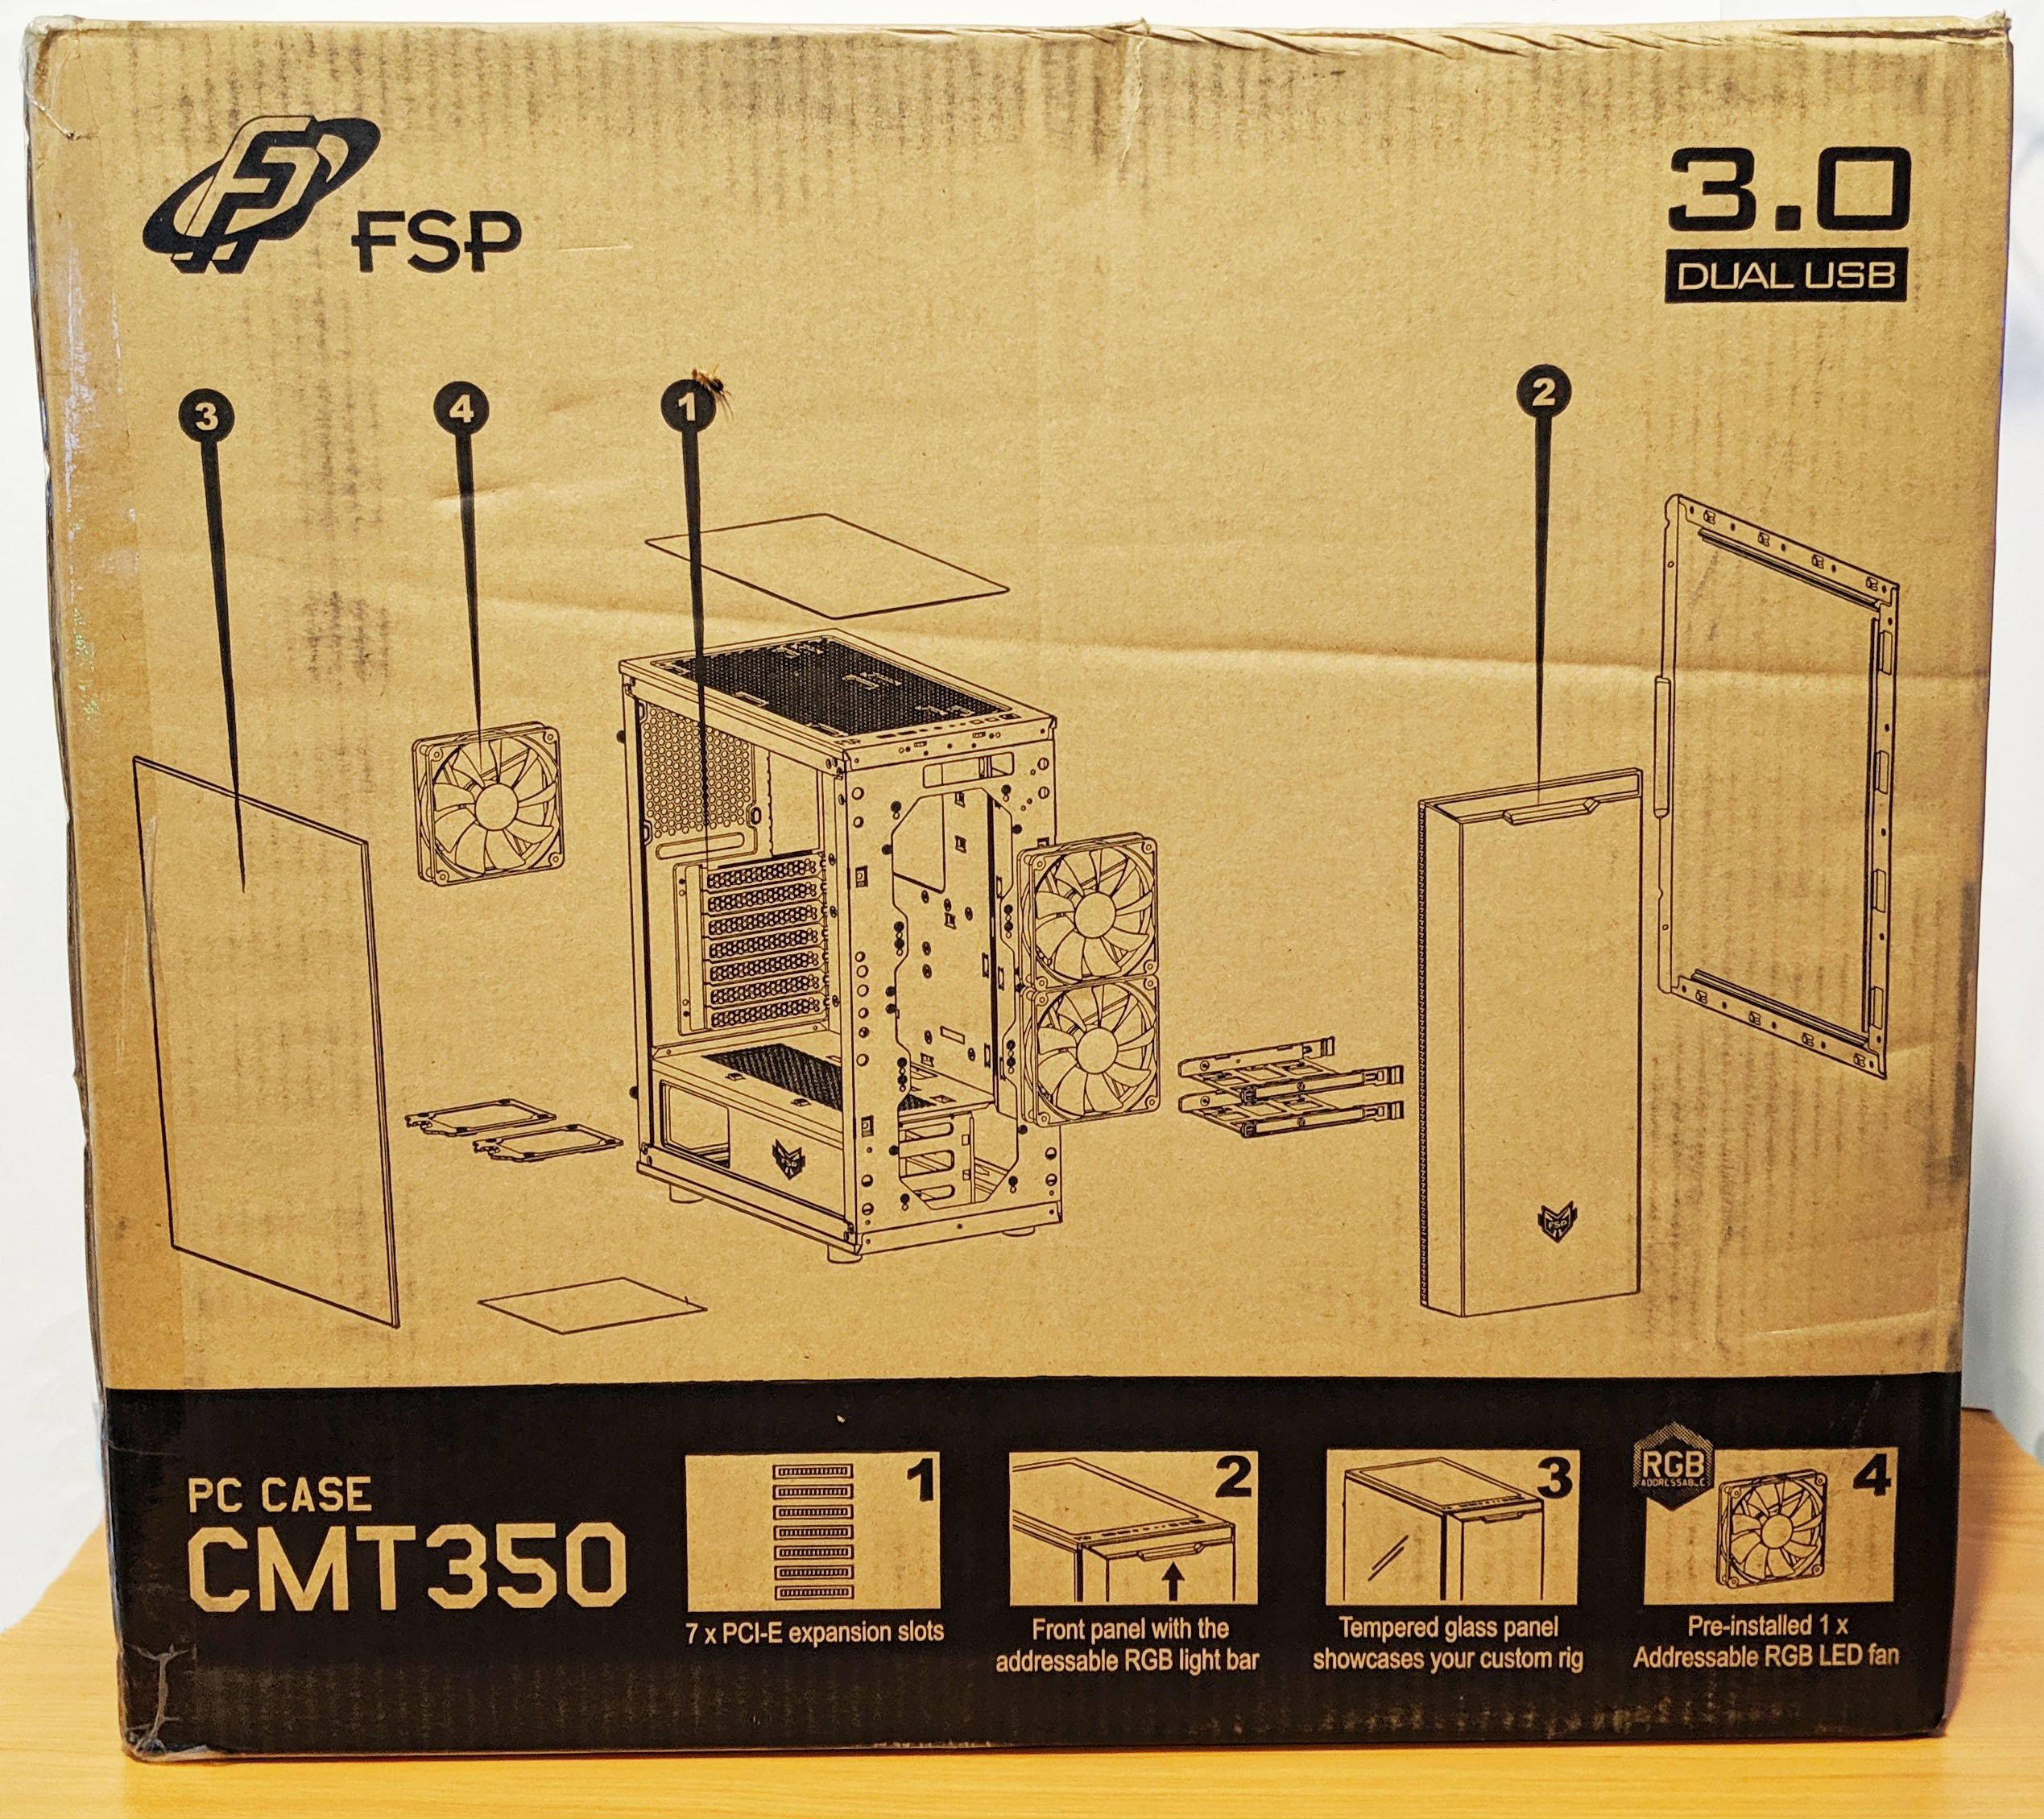
The box for the FSP CMT350 arrived to GND-HQ in perfect condition minus a few bumps and scrapes as we’d typically expect during transit. The outside of the box depicts the case with the model name clearly visible on the front. The back of the box has a nice, easy to read breakaway diagram of the case which points out several of the case’s features.

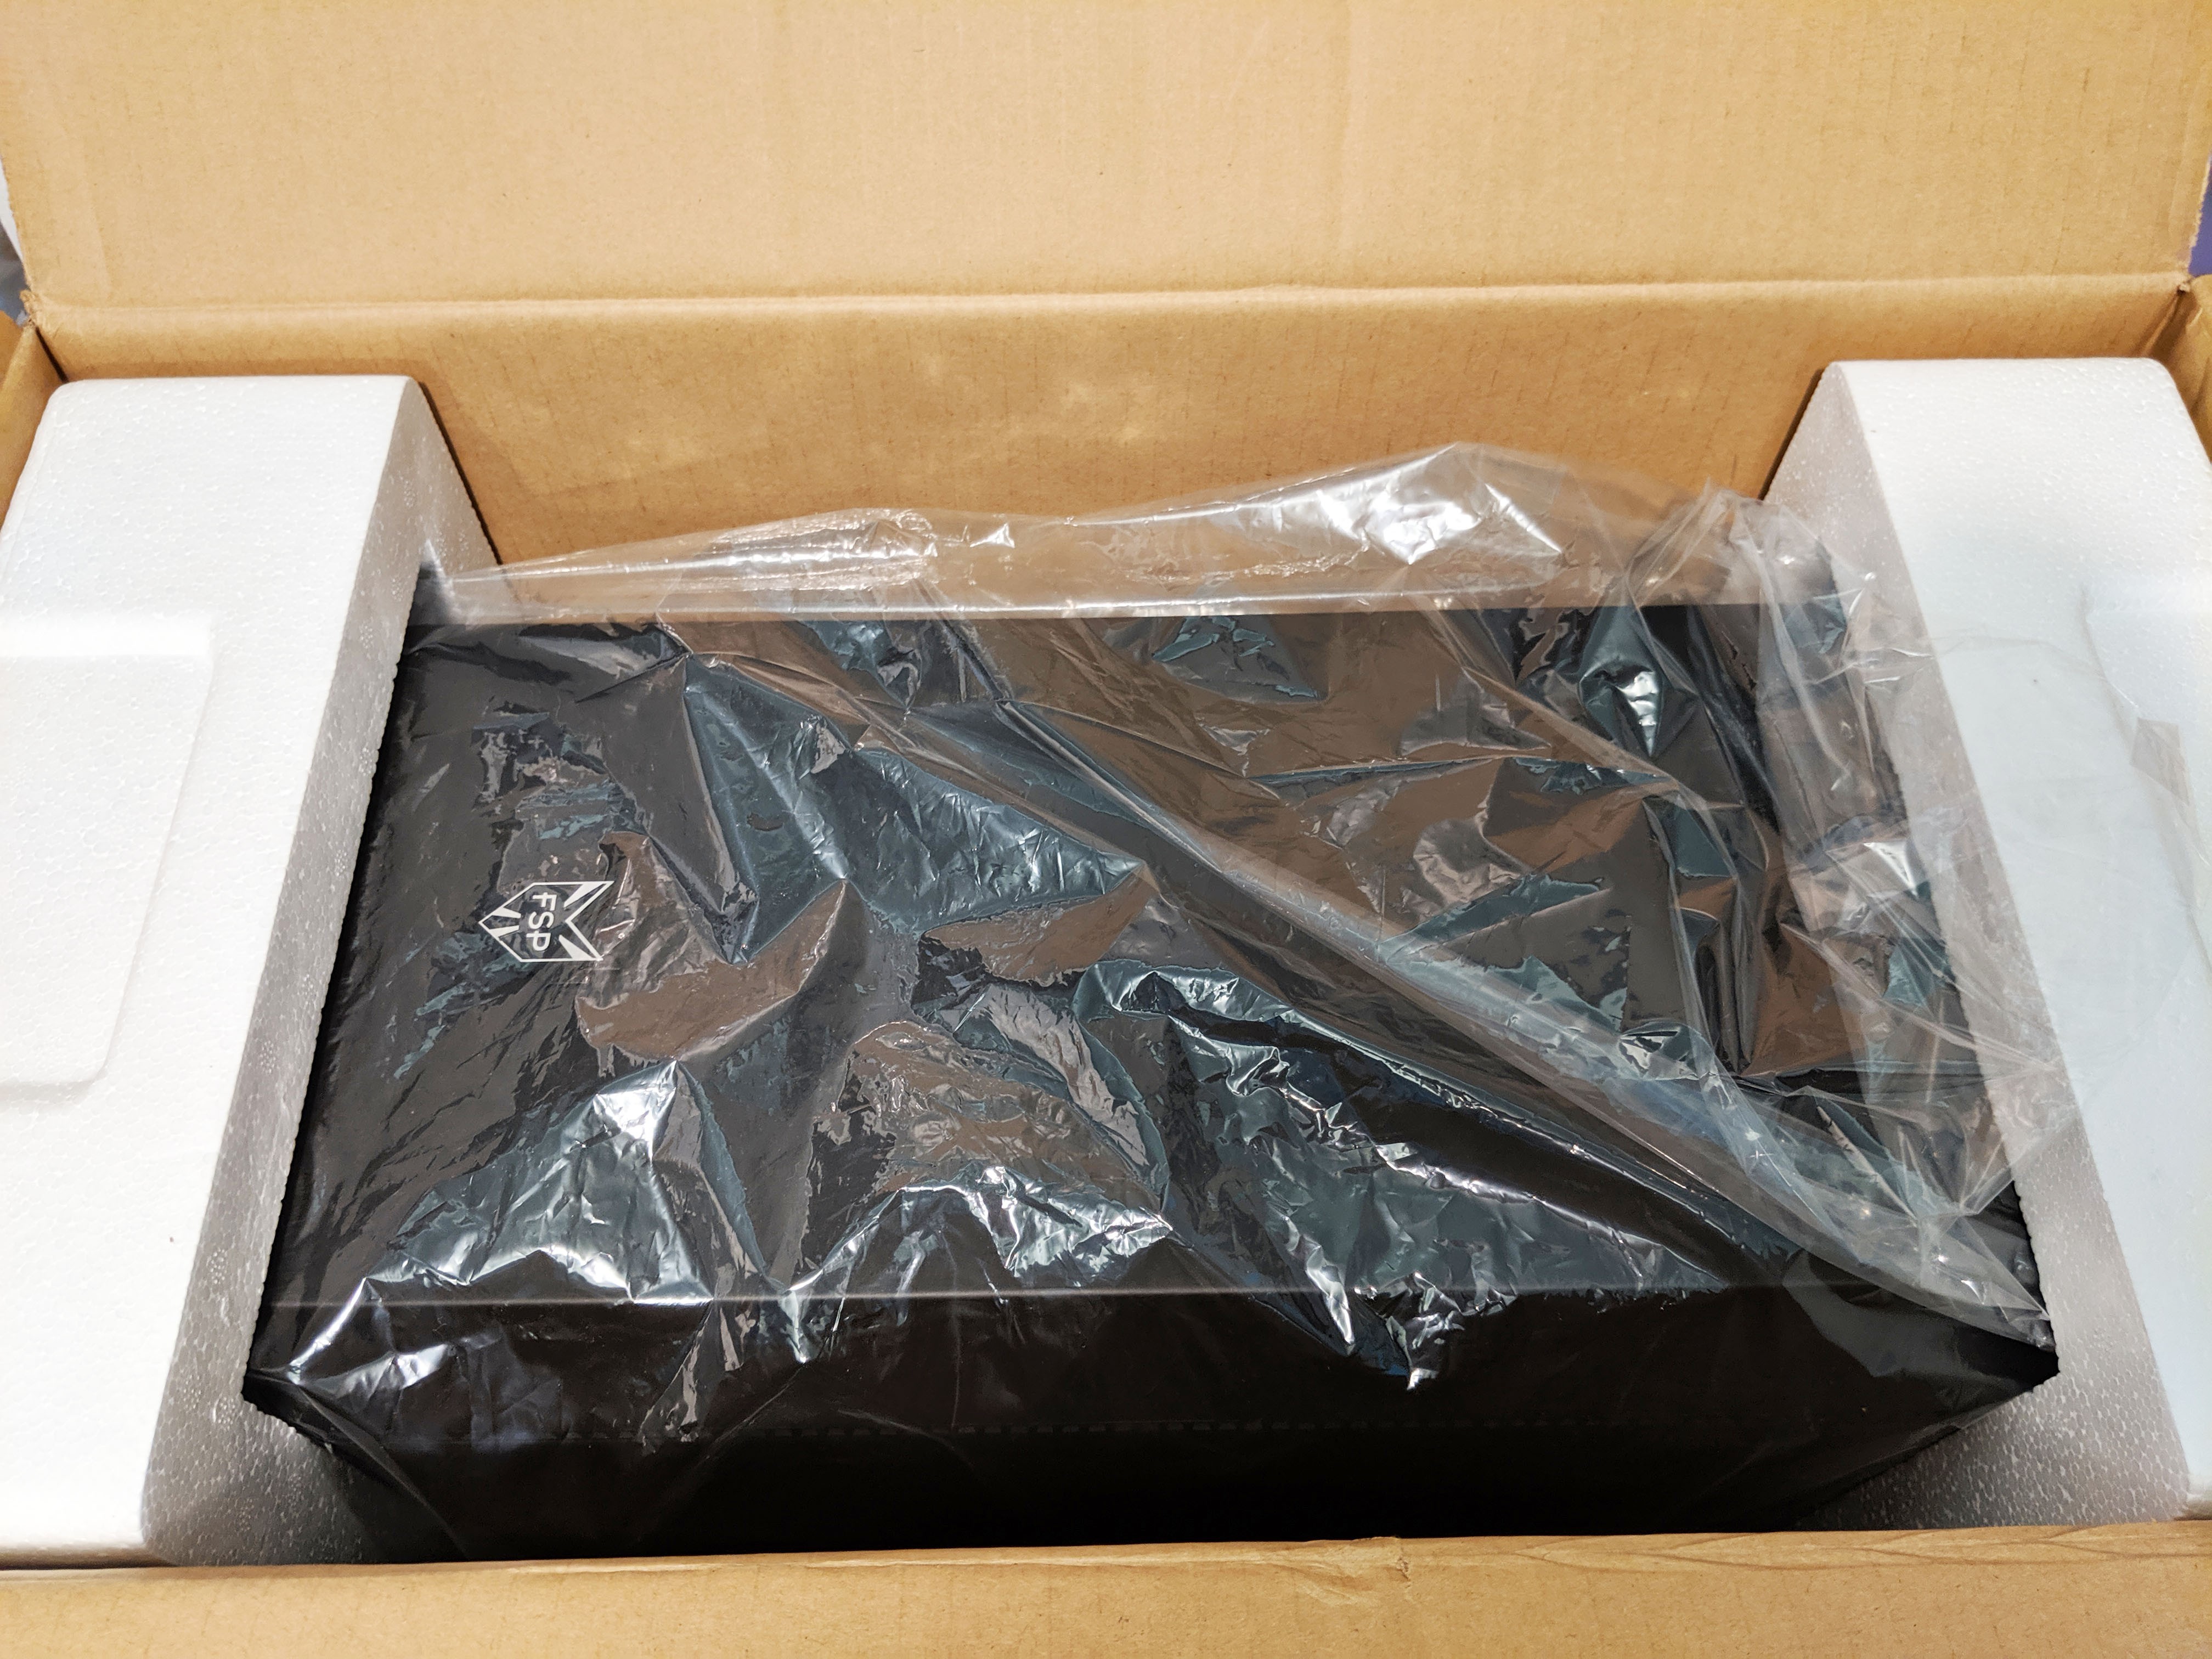
With the outer seal cracked, and the box opened up, we get a better look as to the case’s packaging. The case is placed inside a plastic bag and sandwiched in between two custom molded Styrofoam halves on either side. This method of packaging is pretty common with literally every case we’ve ever reviewed with the exception of the FSP CMT340 we reviewed earlier, which used a softer foam.
In the end, the packaging material did its job as the case arrived in perfect condition.

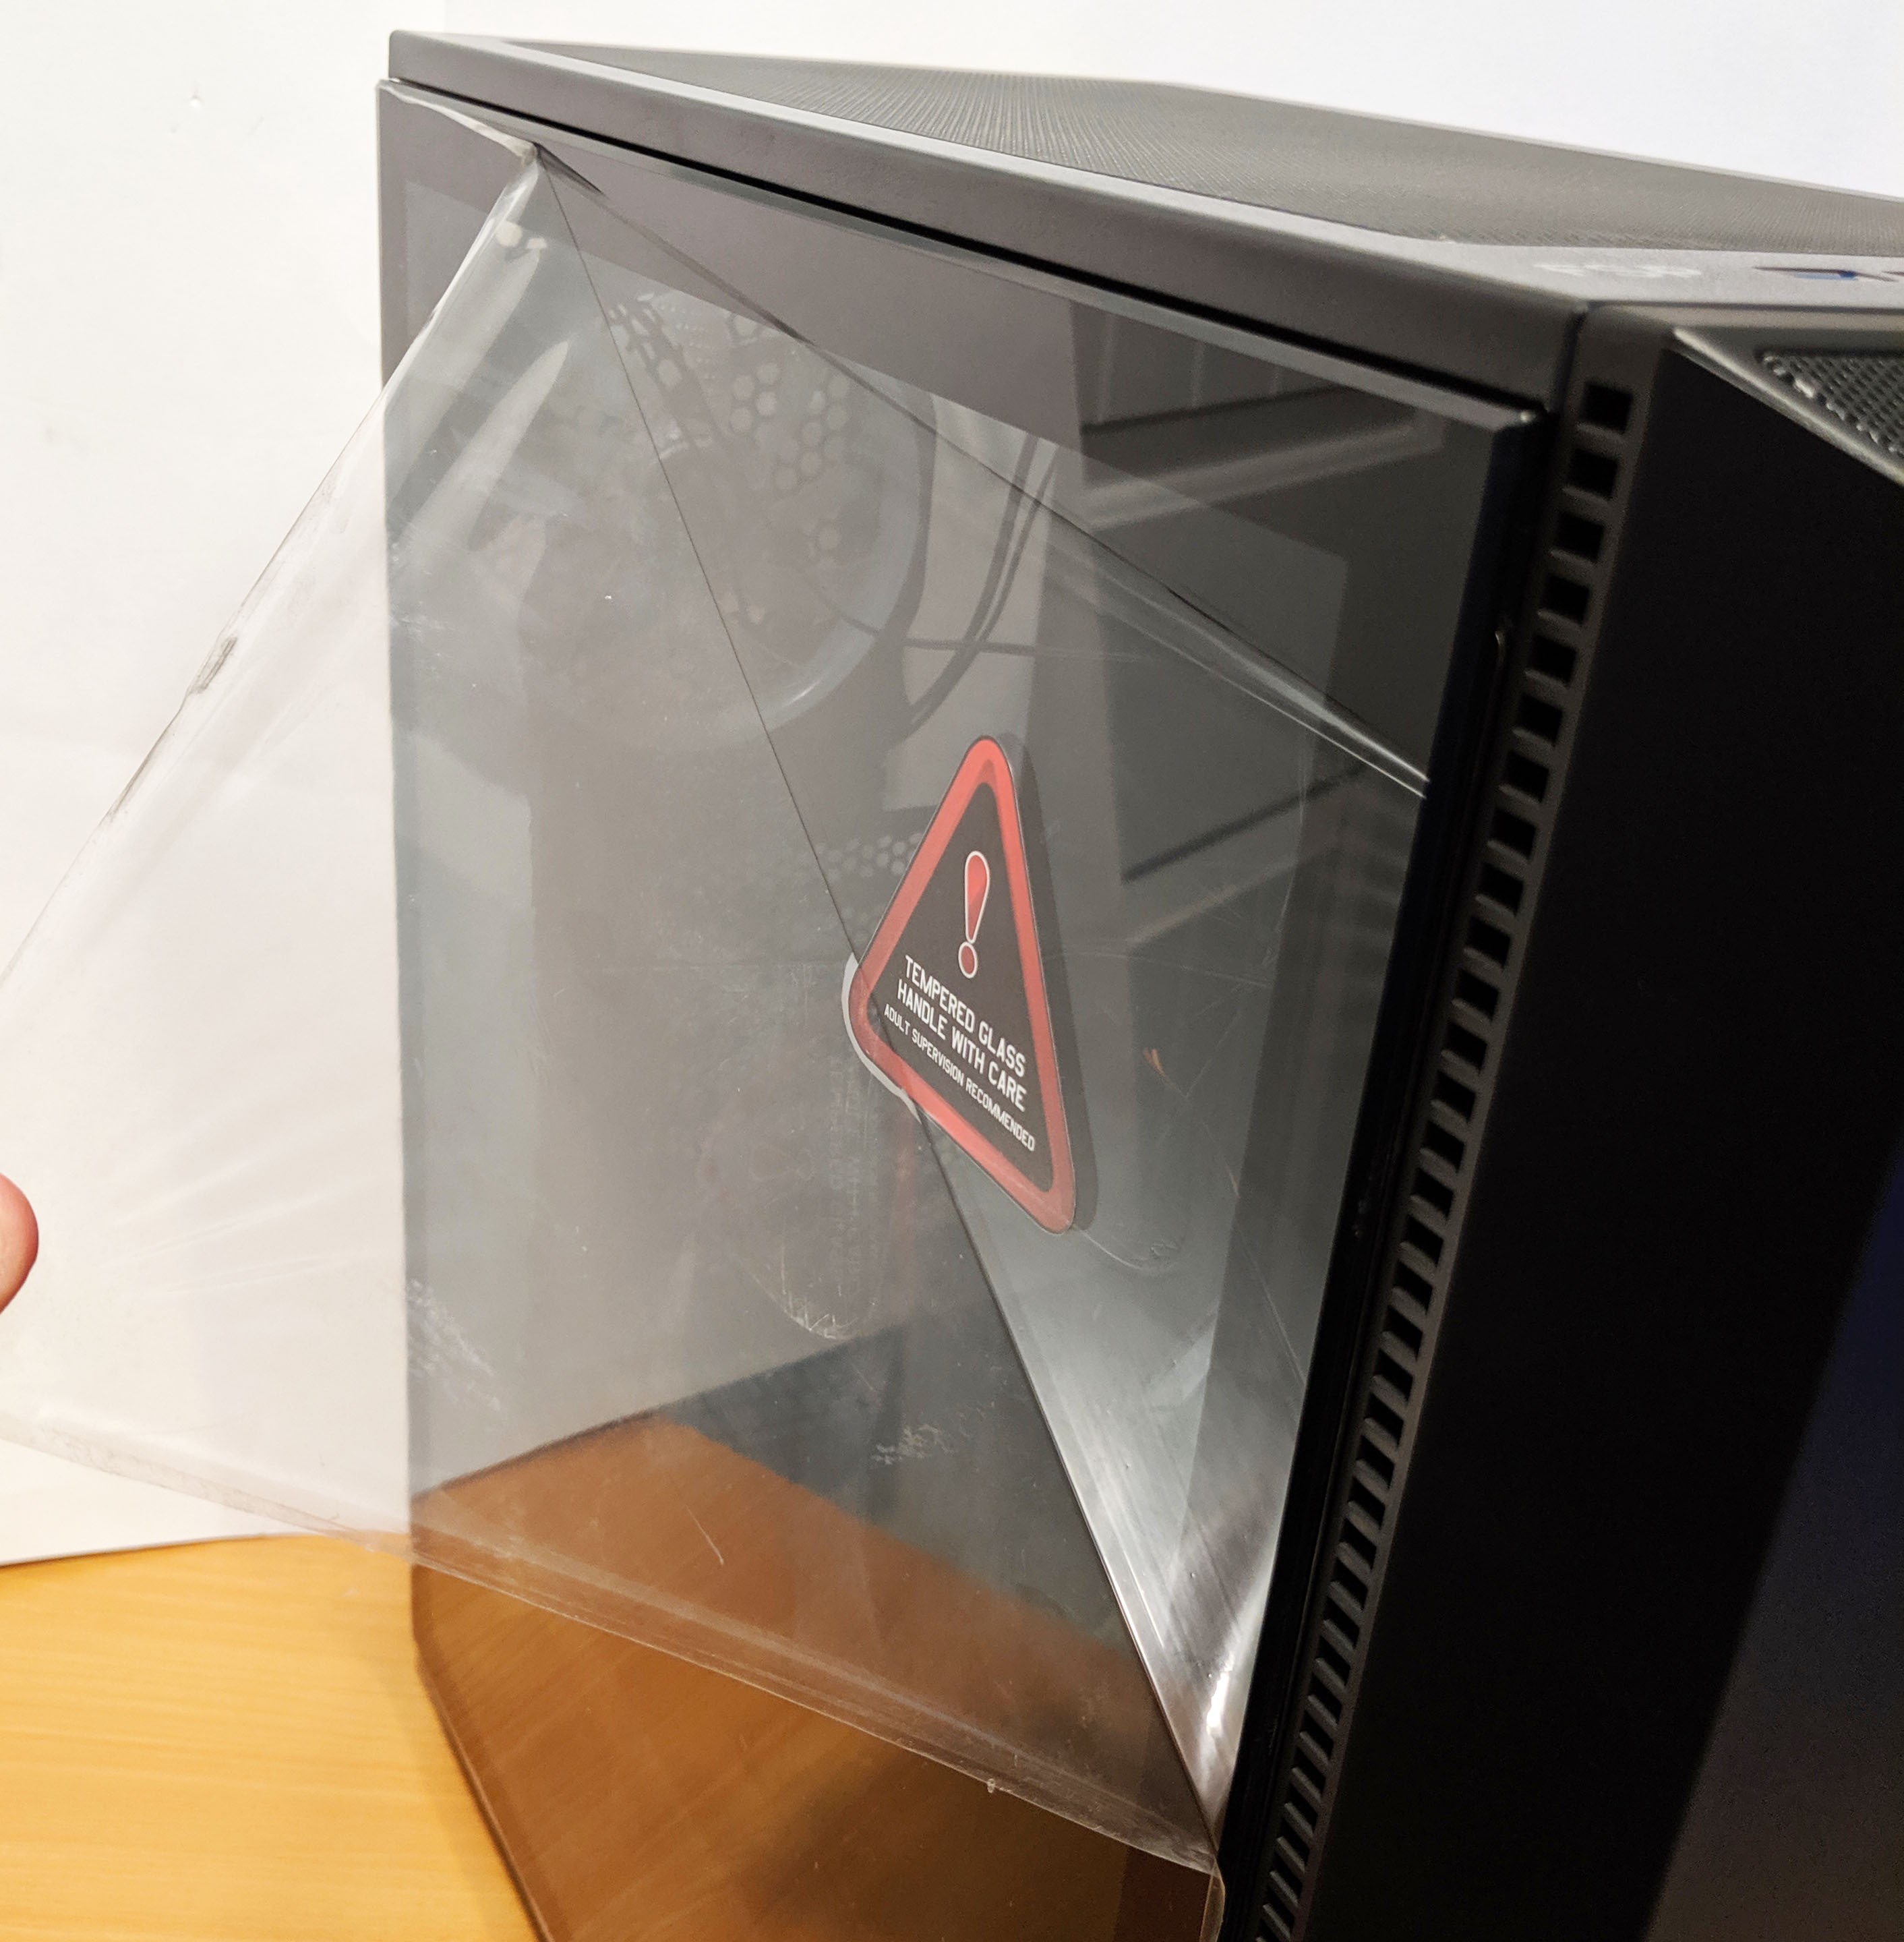
With the case out of its protective shell and bag, we get a better idea as to what we’re working with! The only final step is by far the most satisfying… removing the protective film off of the tempered glass side panel.
An Even Closer Look…
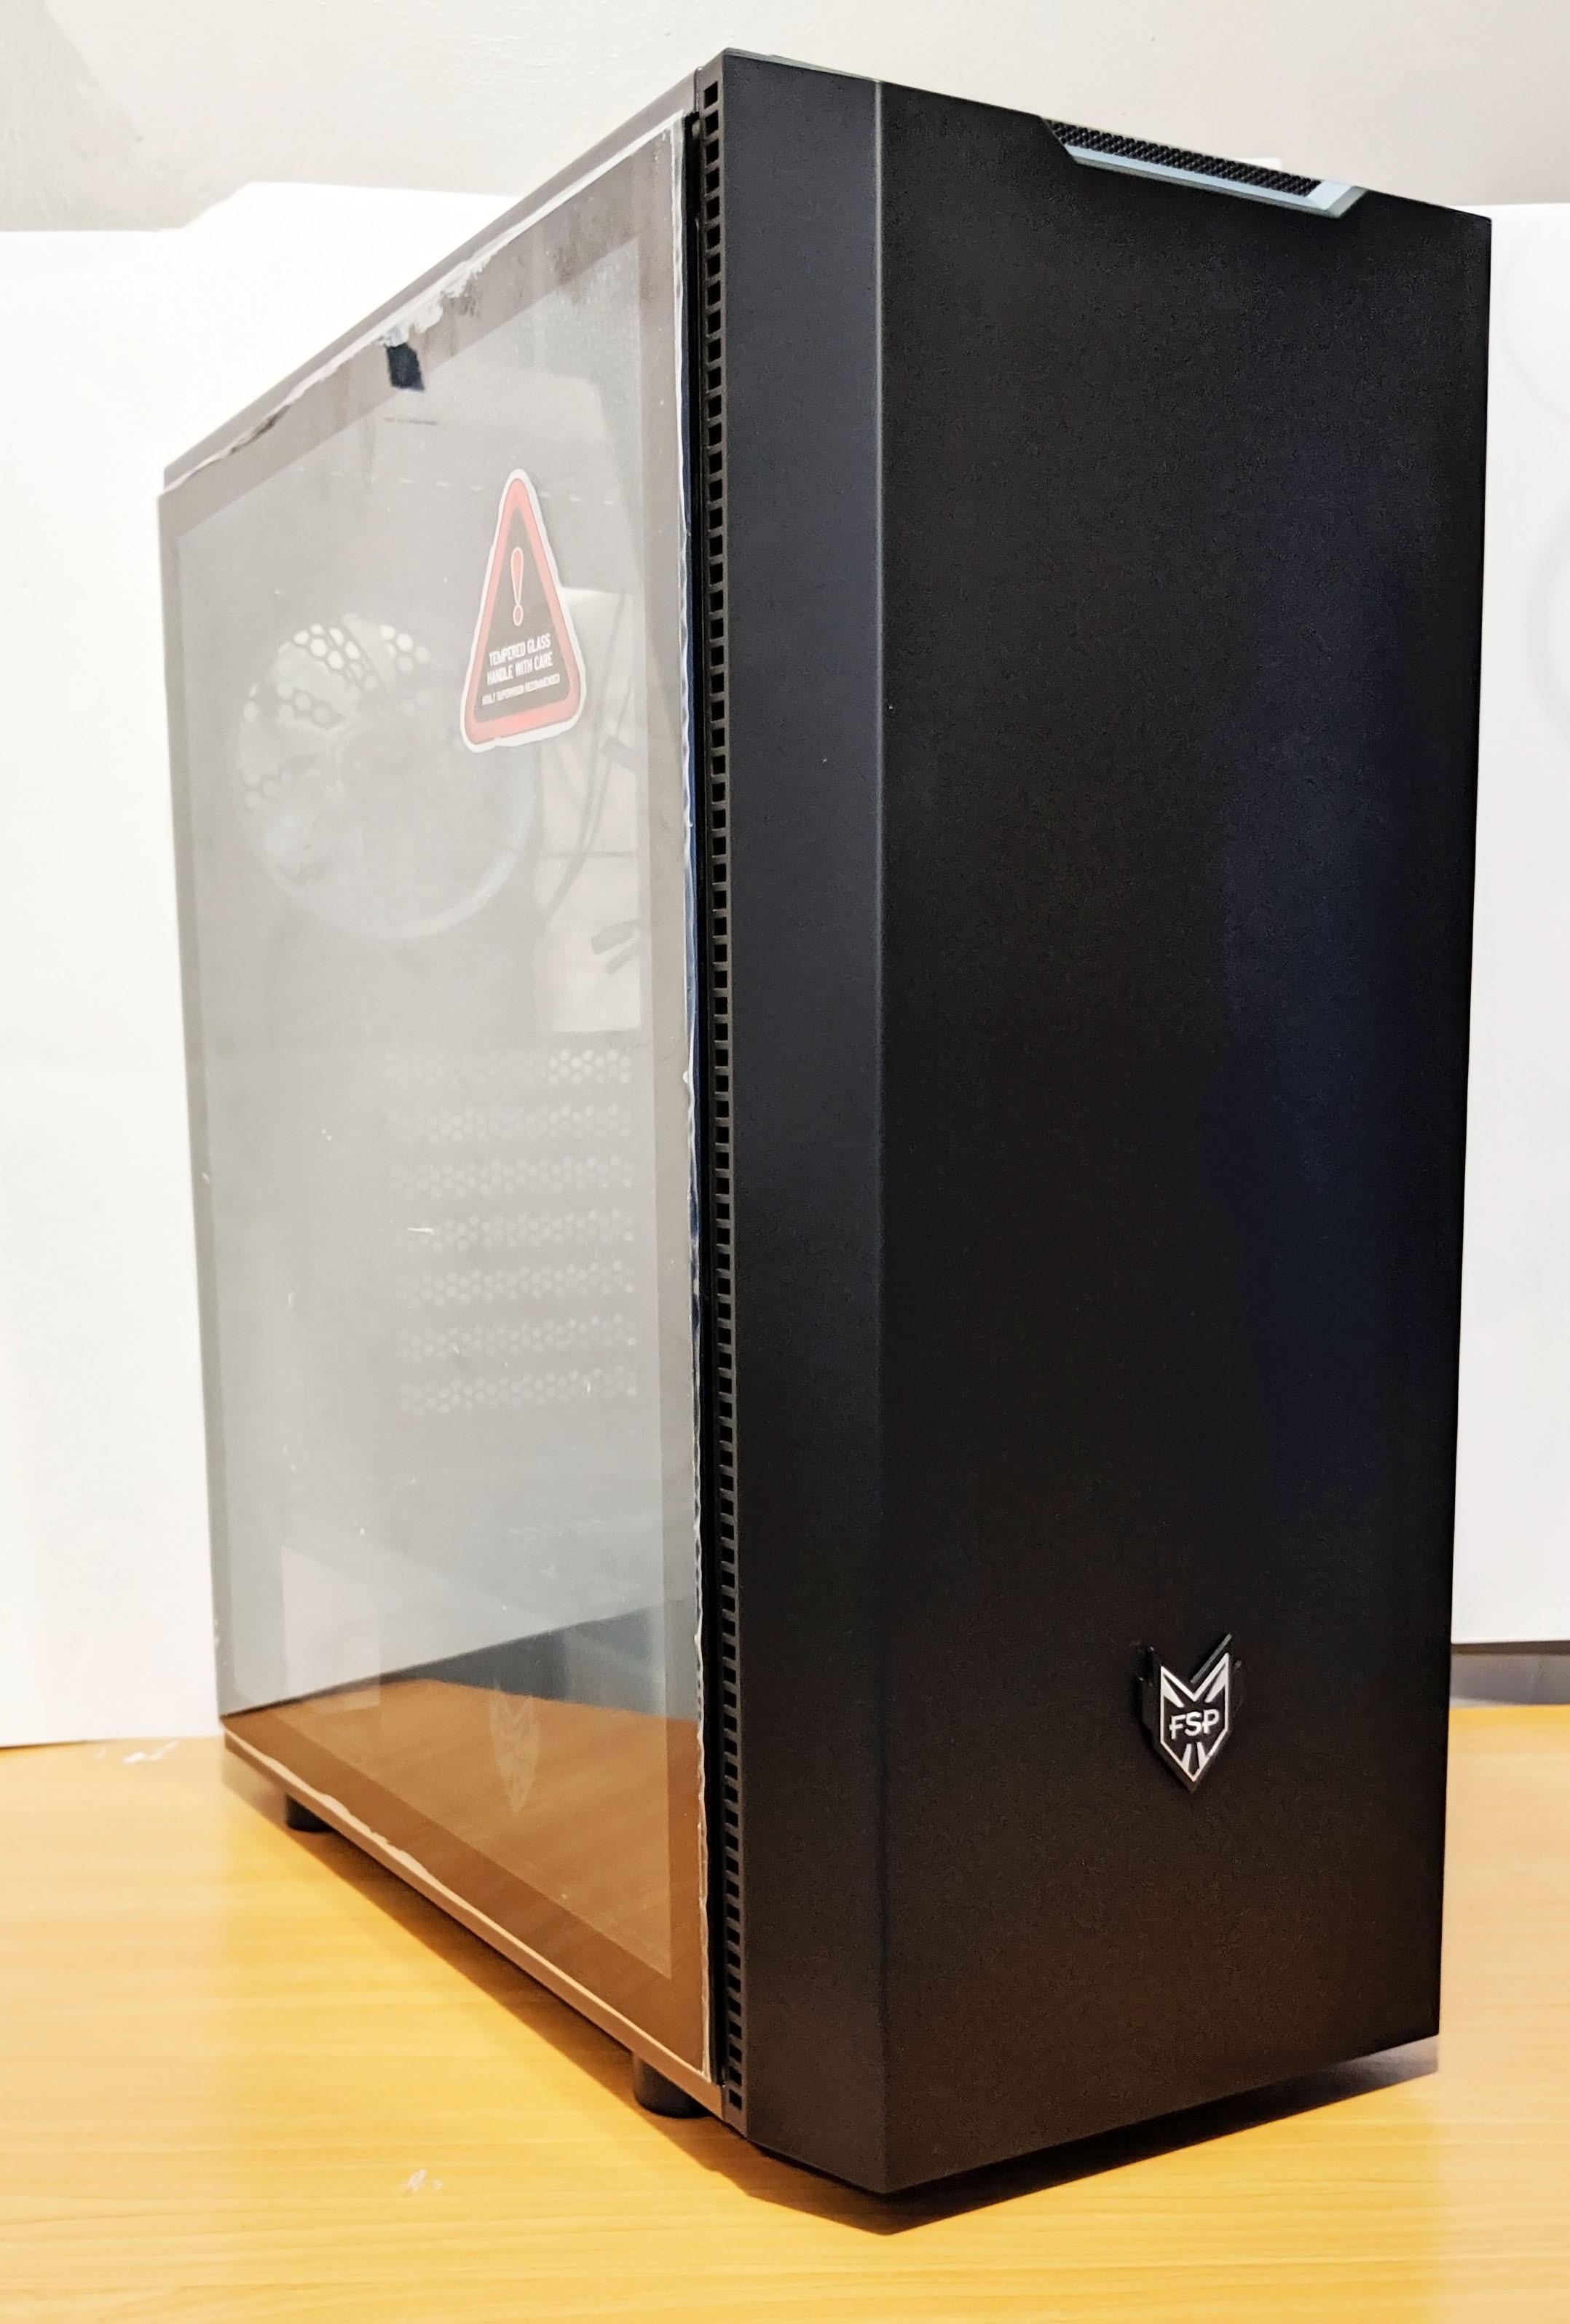
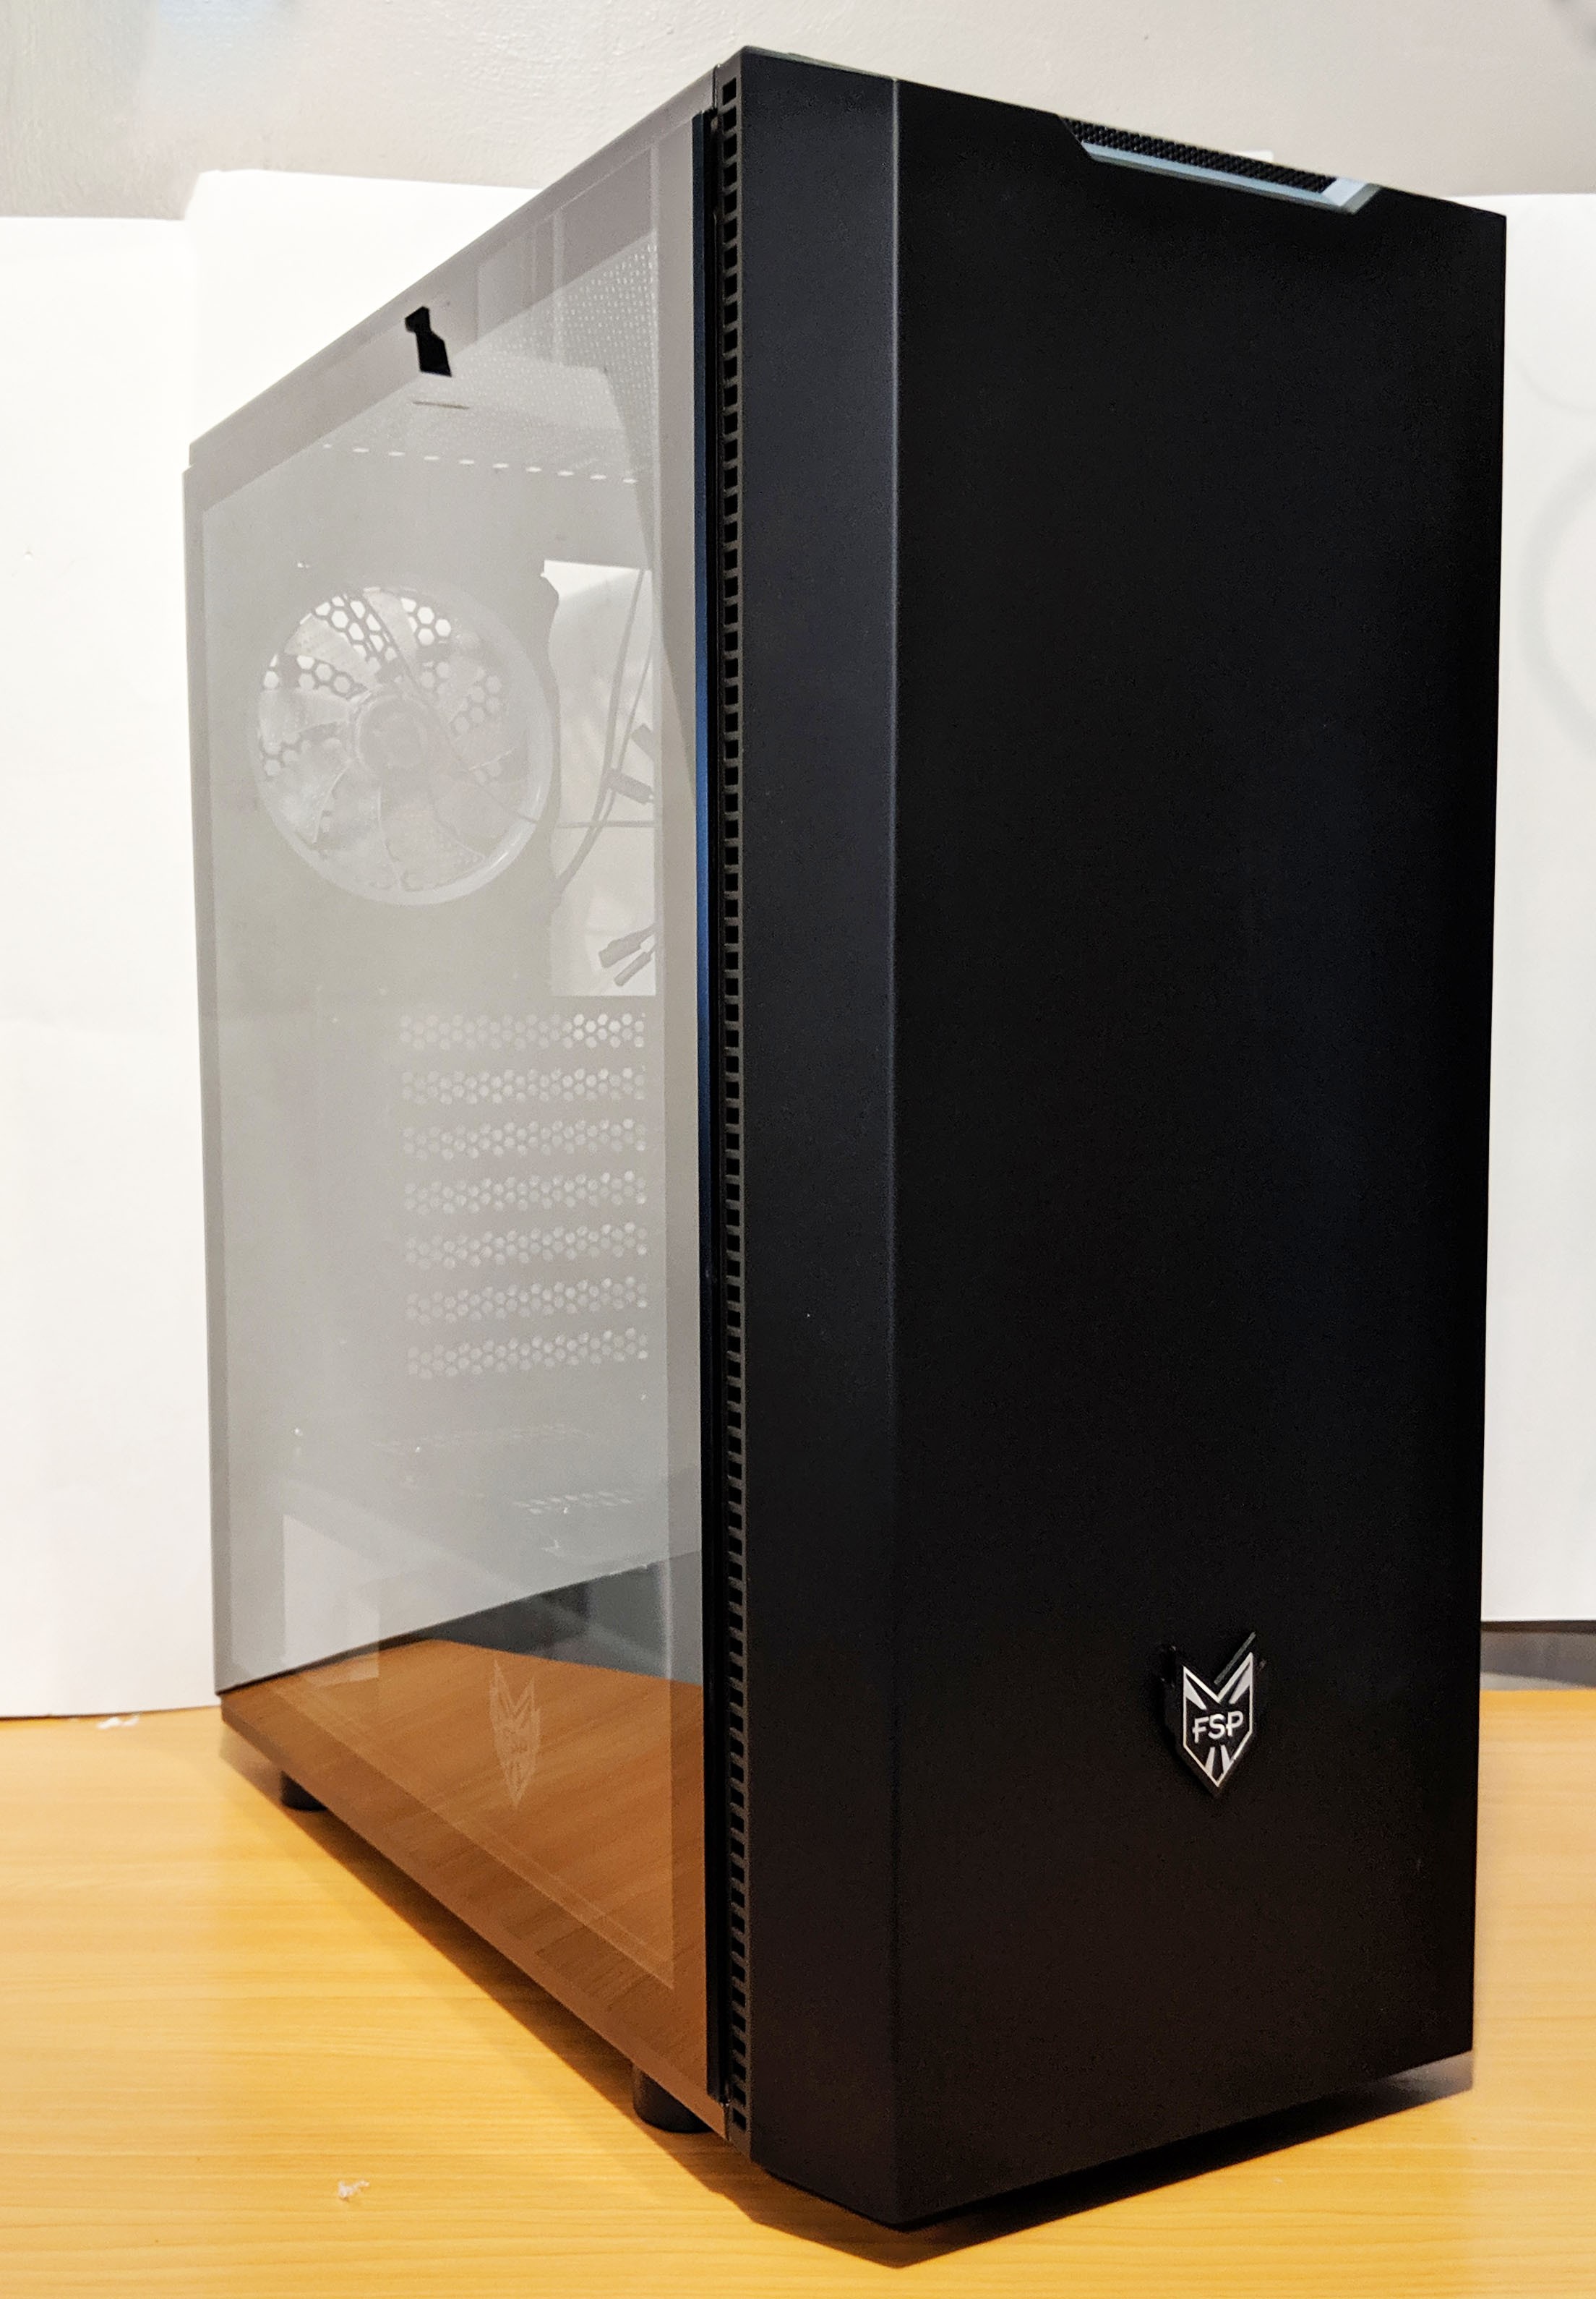
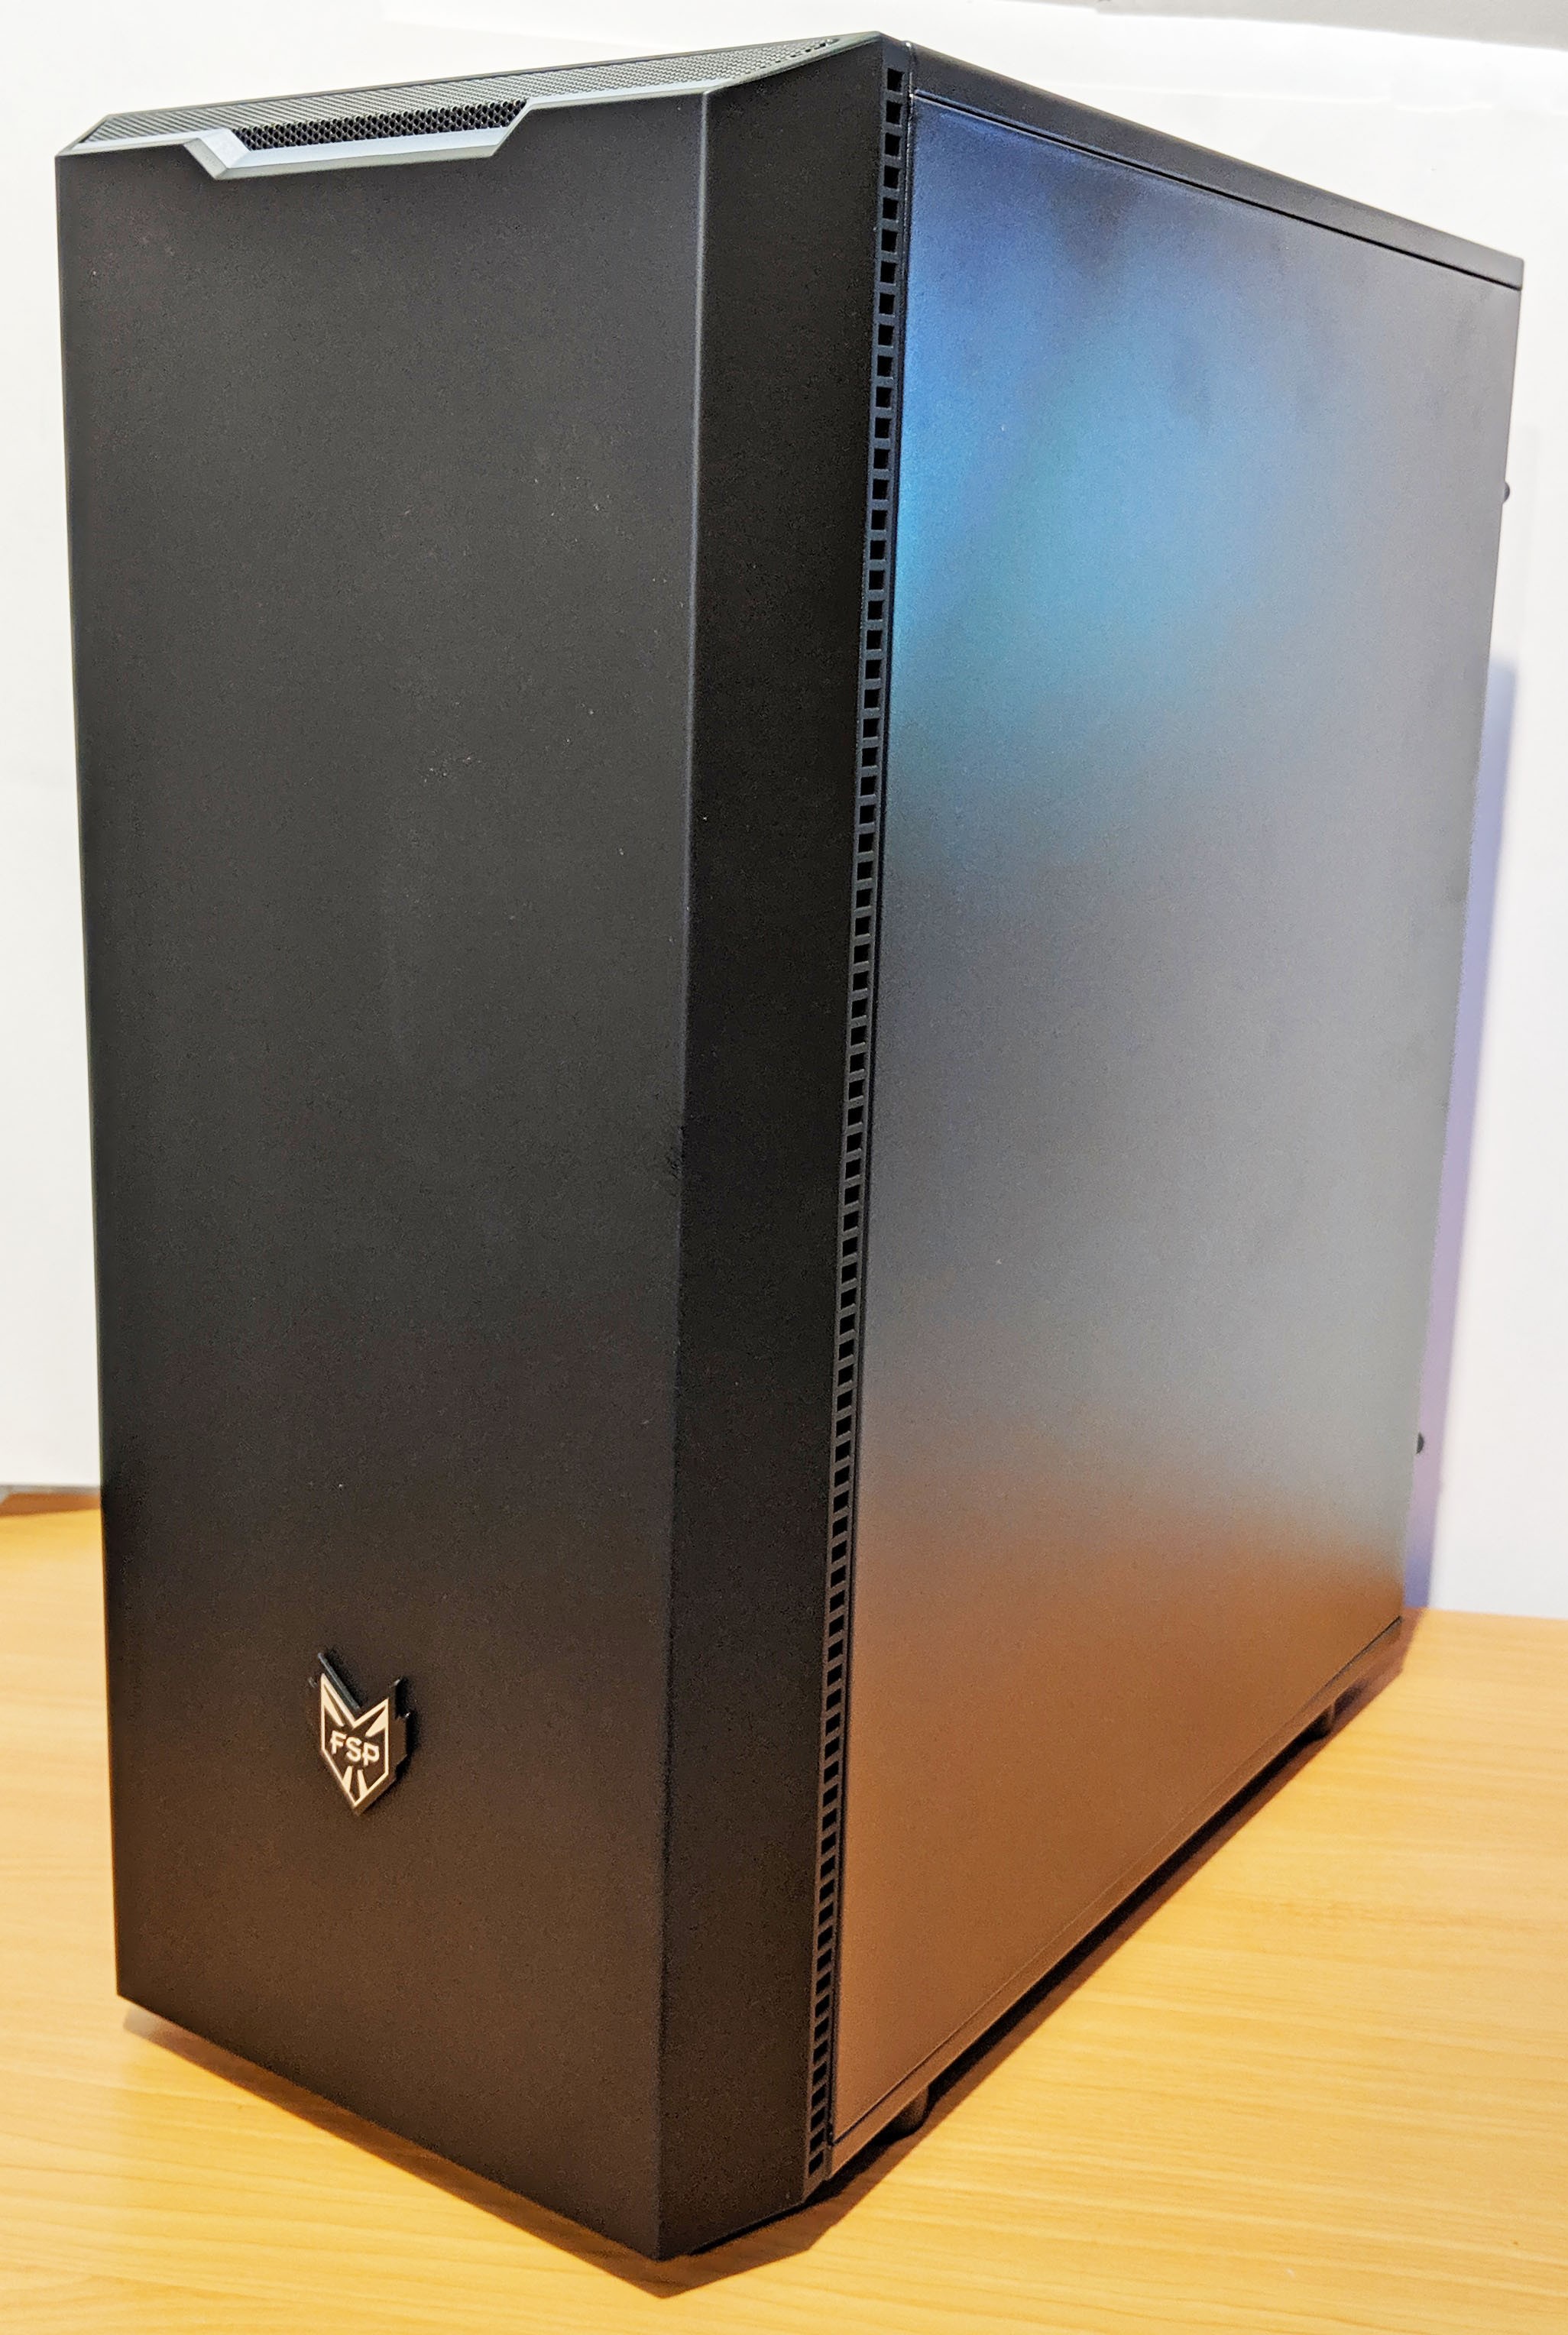
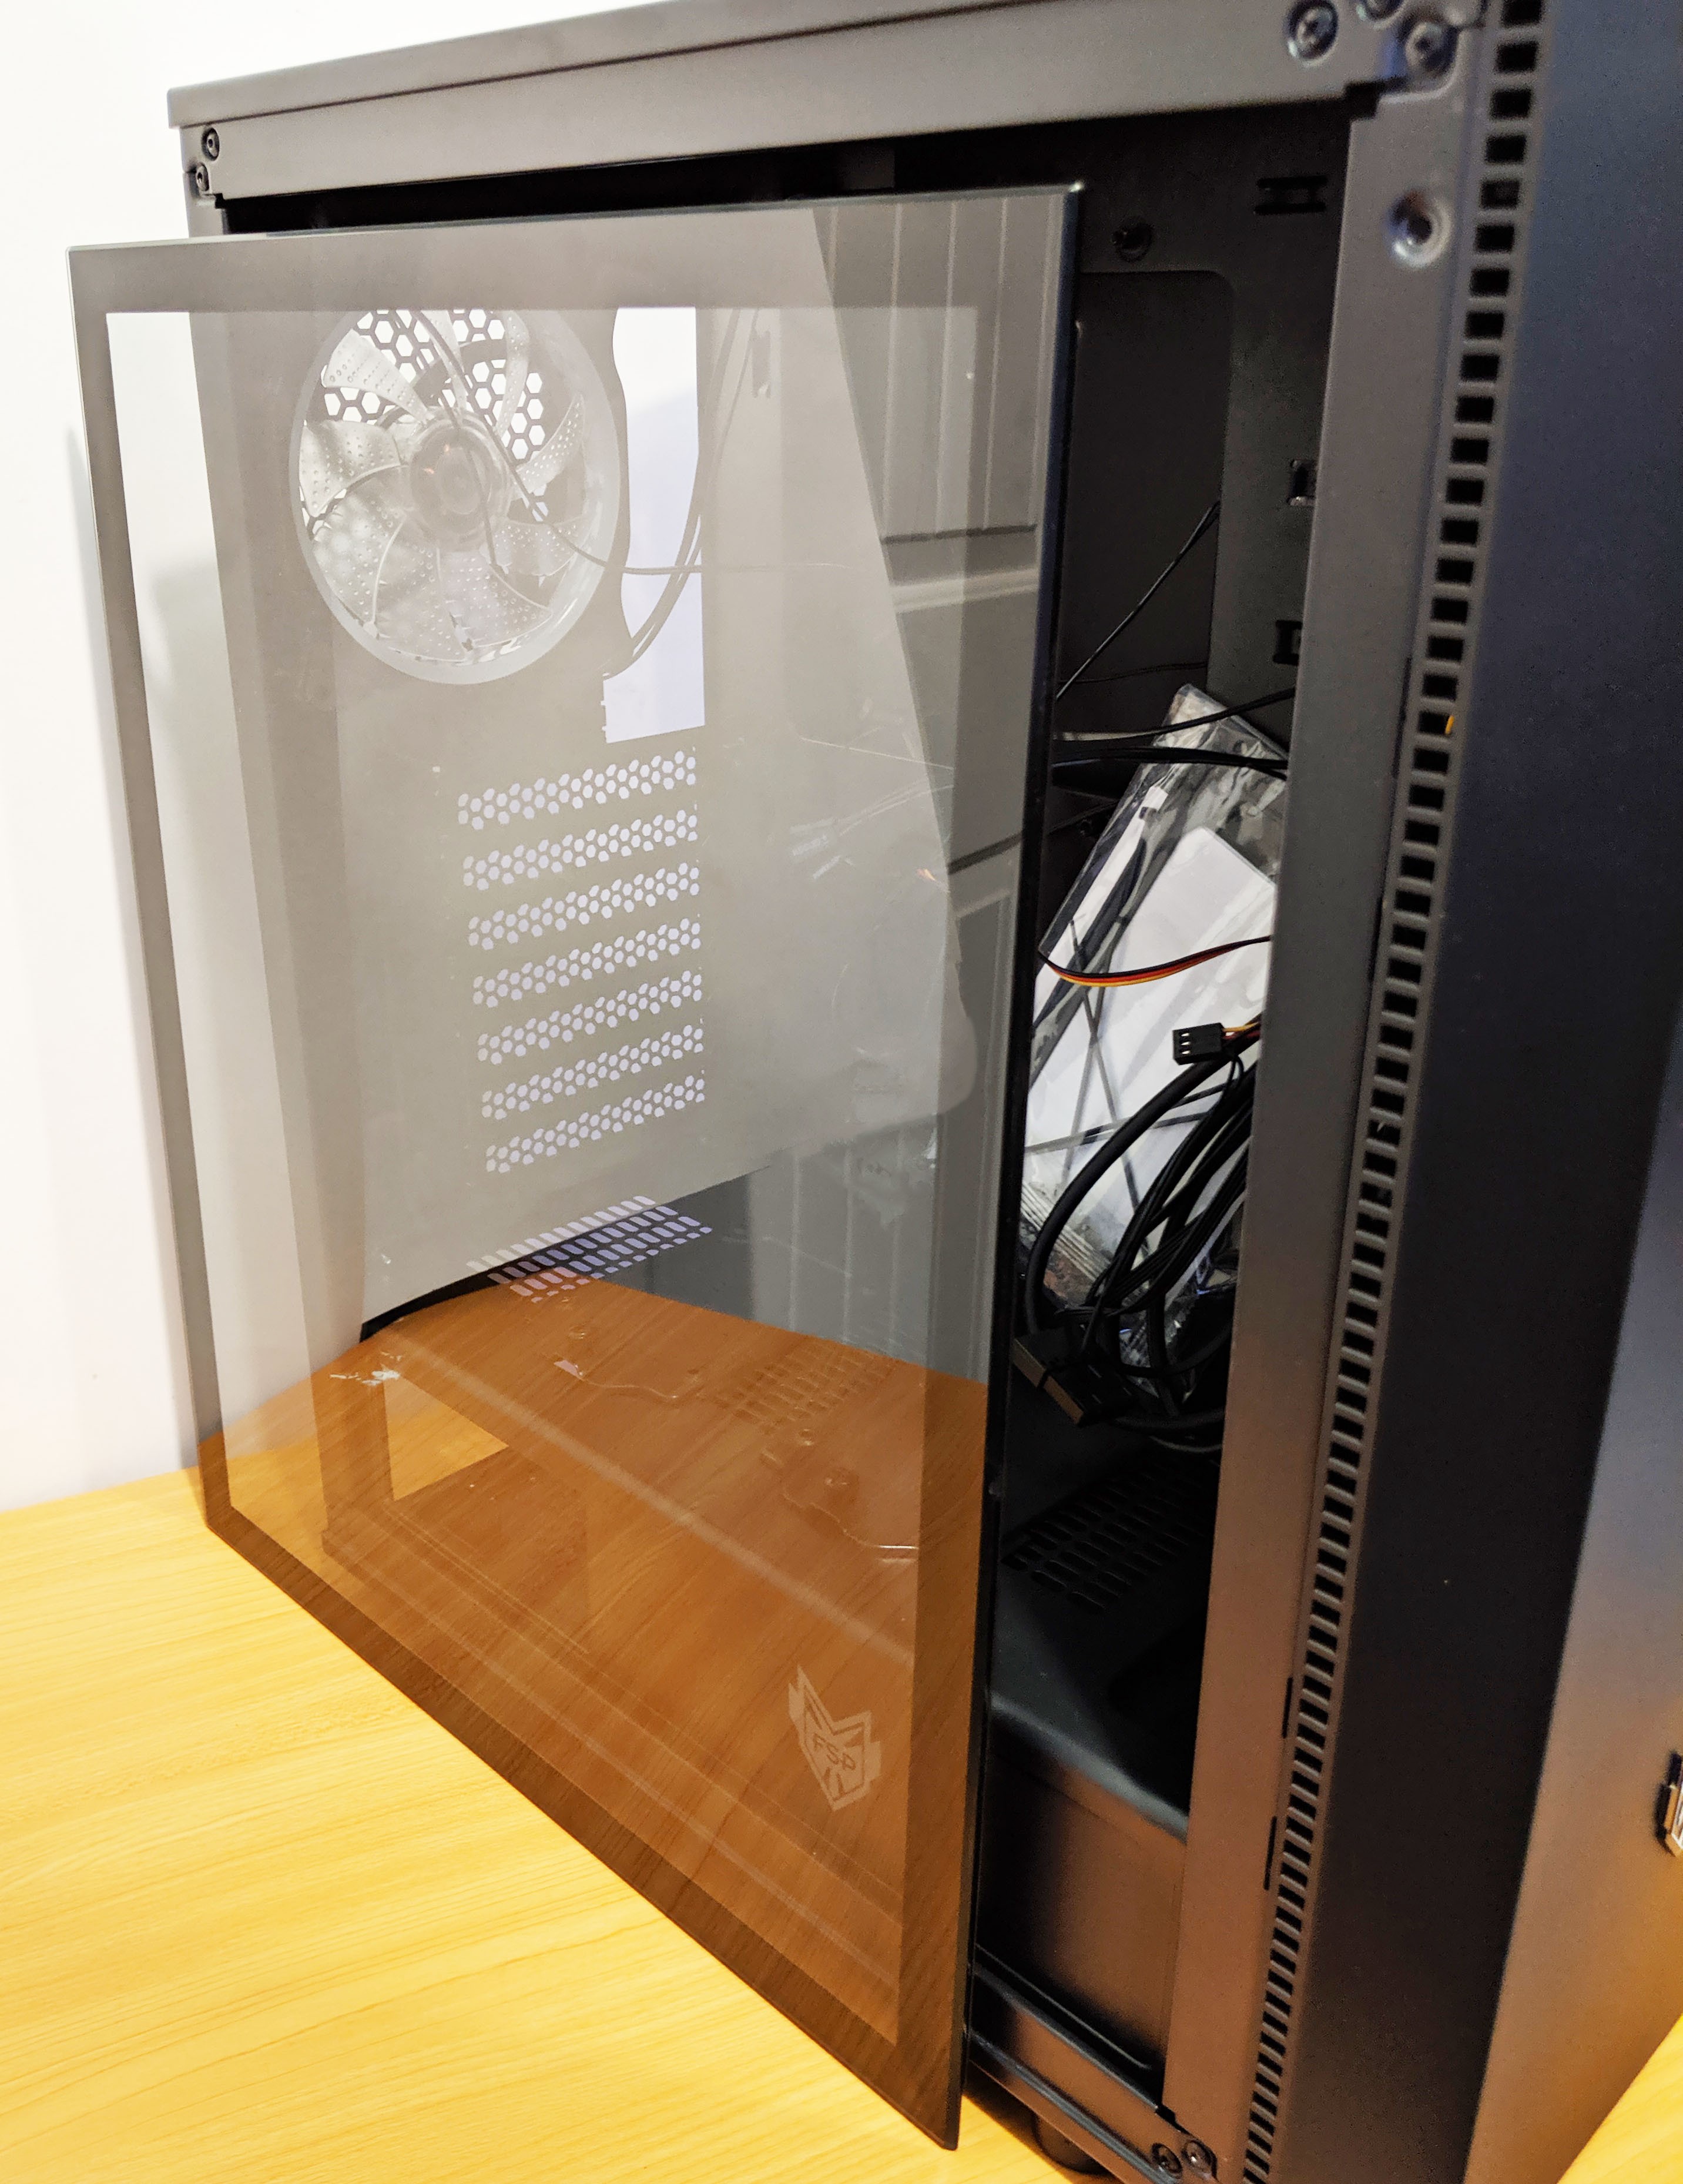
With the FSP CMT350 de-packaged, let’s walk around the outside of the case and take note of its features. Its overall appearance is very simple and stealthy which is a trend we’ve noticed with FSP cases in the past, and is a trend I personally gravitate towards. Overall, pretty much everything on the case is black, inside and out. To add to the stealthiness, the tempered glass side panel is tinted or smoked to subtly hide your internal components, while allowing the RGB goodness to easily shine through.
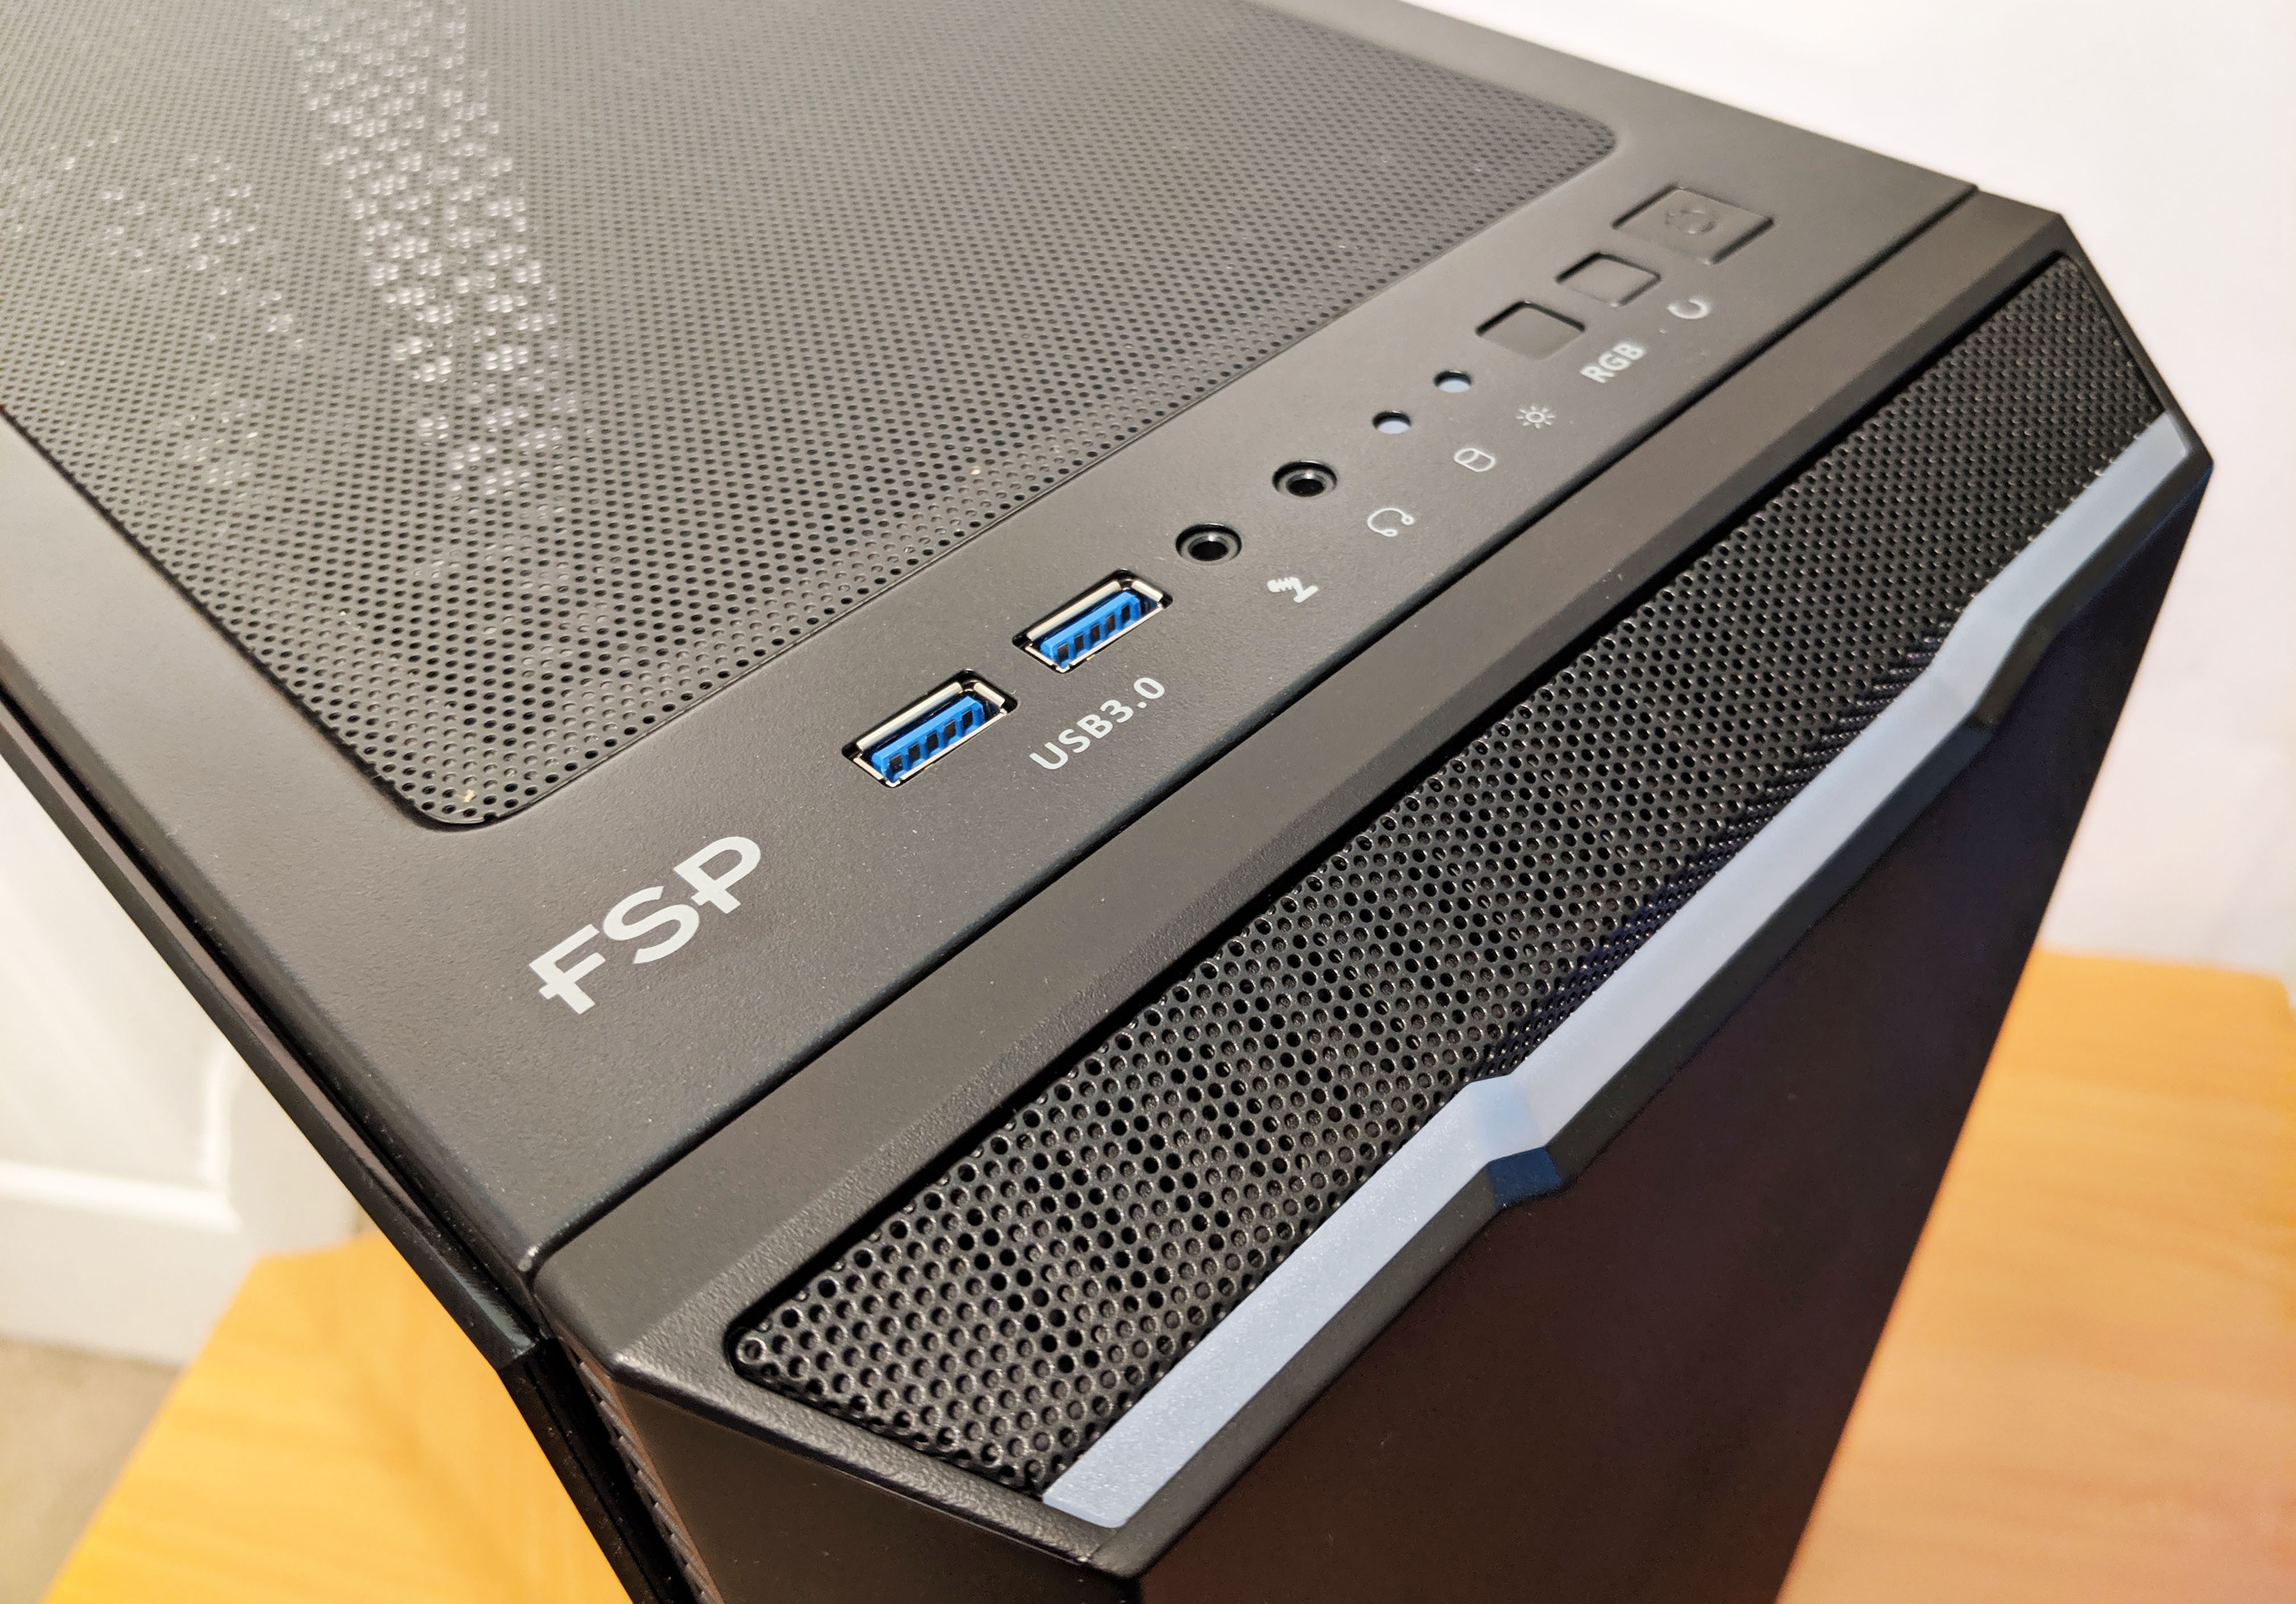
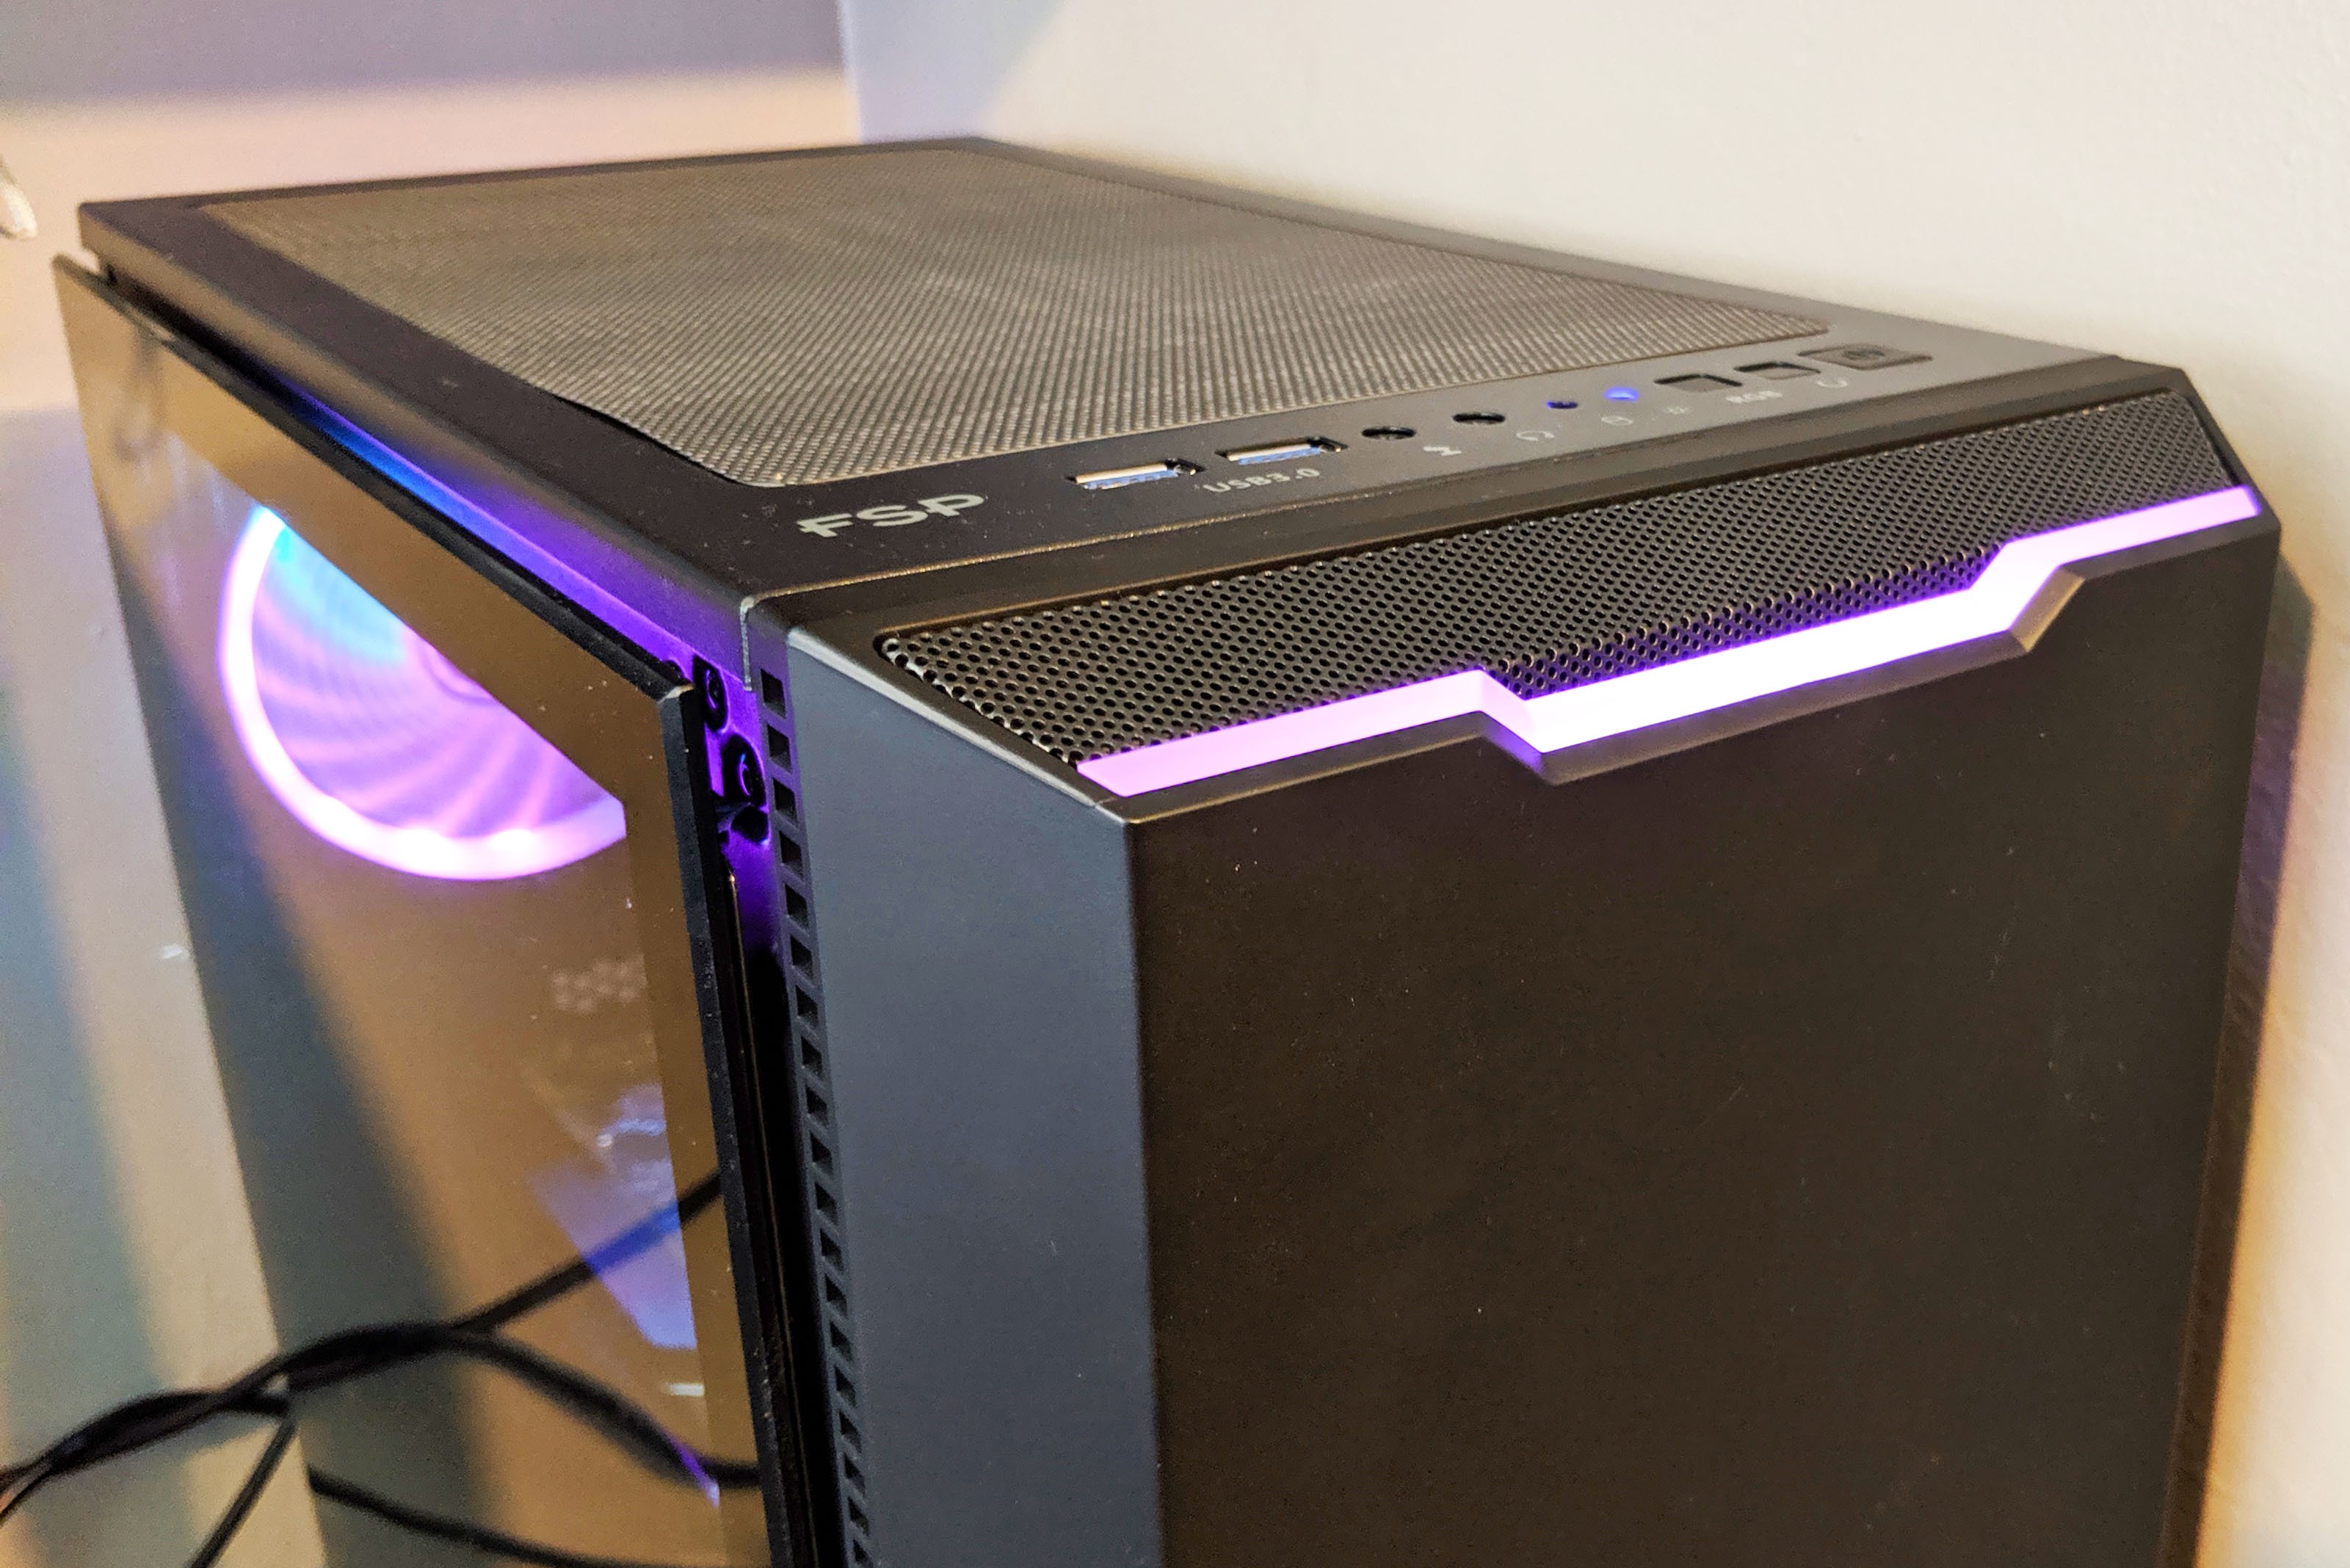
The top of the case is where you’ll find your front I/O connectors. One thing I’ve noticed in recent years is that case manufacturers are ditching the reset button for one reason or another. I’m glad to see FSP sticking to tradition and leaving it. I’m sure the rest of you overclockers will definitely agree. From left to right we’ve got two USB 3.0 ports, a 3.5mm mic and headphone jack, an RGB button, reset button, and power button.
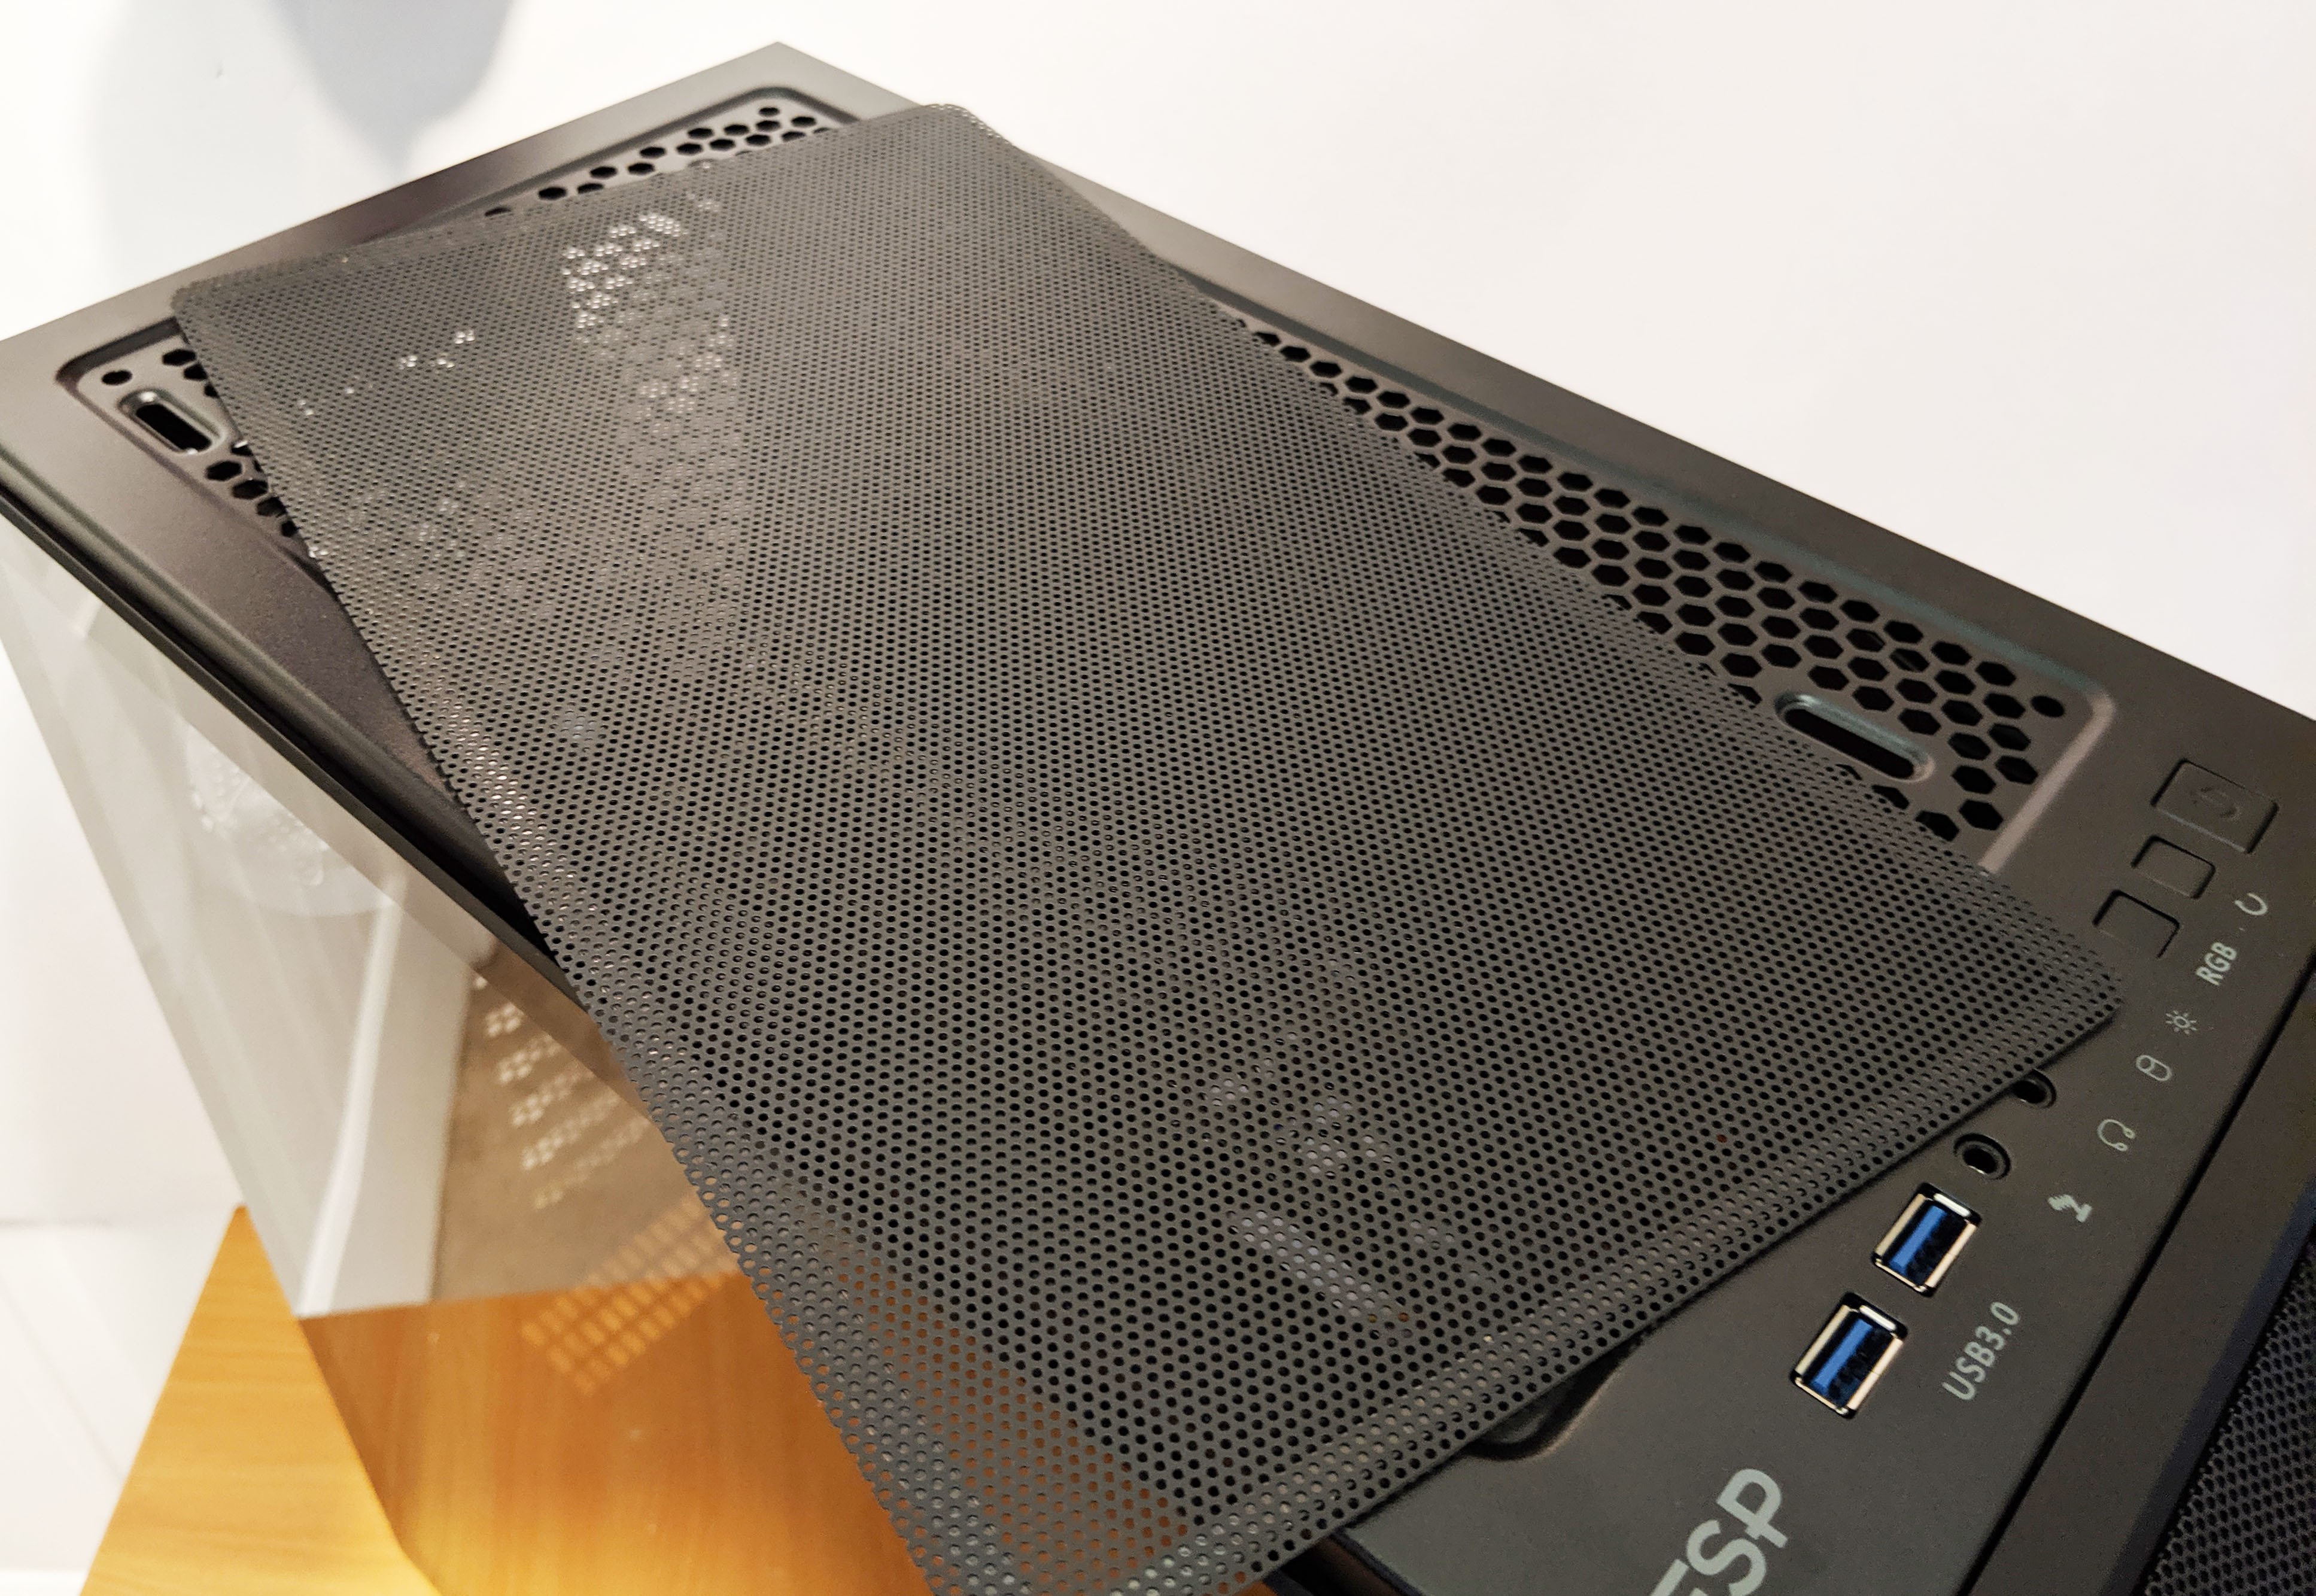
The top mounted dust filter is magnetically attached to the top of the case and can be easily removed. If you’re using the top fans configured to exhaust the inside air, I recommend permanently setting it aside it as it will only hinder airflow.
The front of the case is overall pretty simple. It features a simple textured plastic bezel with an FSP logo towards the bottom. The top, sides and bottom of the front bezel serve as an air intake for the two included fans (three if you add one more yourself). At first glance, it would appear that there is an inadequate amount of ventilation for three 120mm fans, however the hole located at the bottom of the front bezel is pretty large so there should be adequate airflow overall.
The front panel can be easily removed by grasping it from the bottom and giving it a firm tug. This step is required if you plan on changing out, or adding an additional fan. The two included fans are pretty generic looking. There wasn’t a sticker or anything that would indicate a model number, so I’m not 100% sure as to the fan’s specifications.
The back of the case is pretty standard overall. On either side, you’ve got the removable thumb screws used to remove the left and right side panels. At the top, we see the 120mm exhaust fan and the seven ventilated expansion slot covers just below that. At the bottom there is an oversized hole for installing the PSU. We’ll get into that later on in the review.
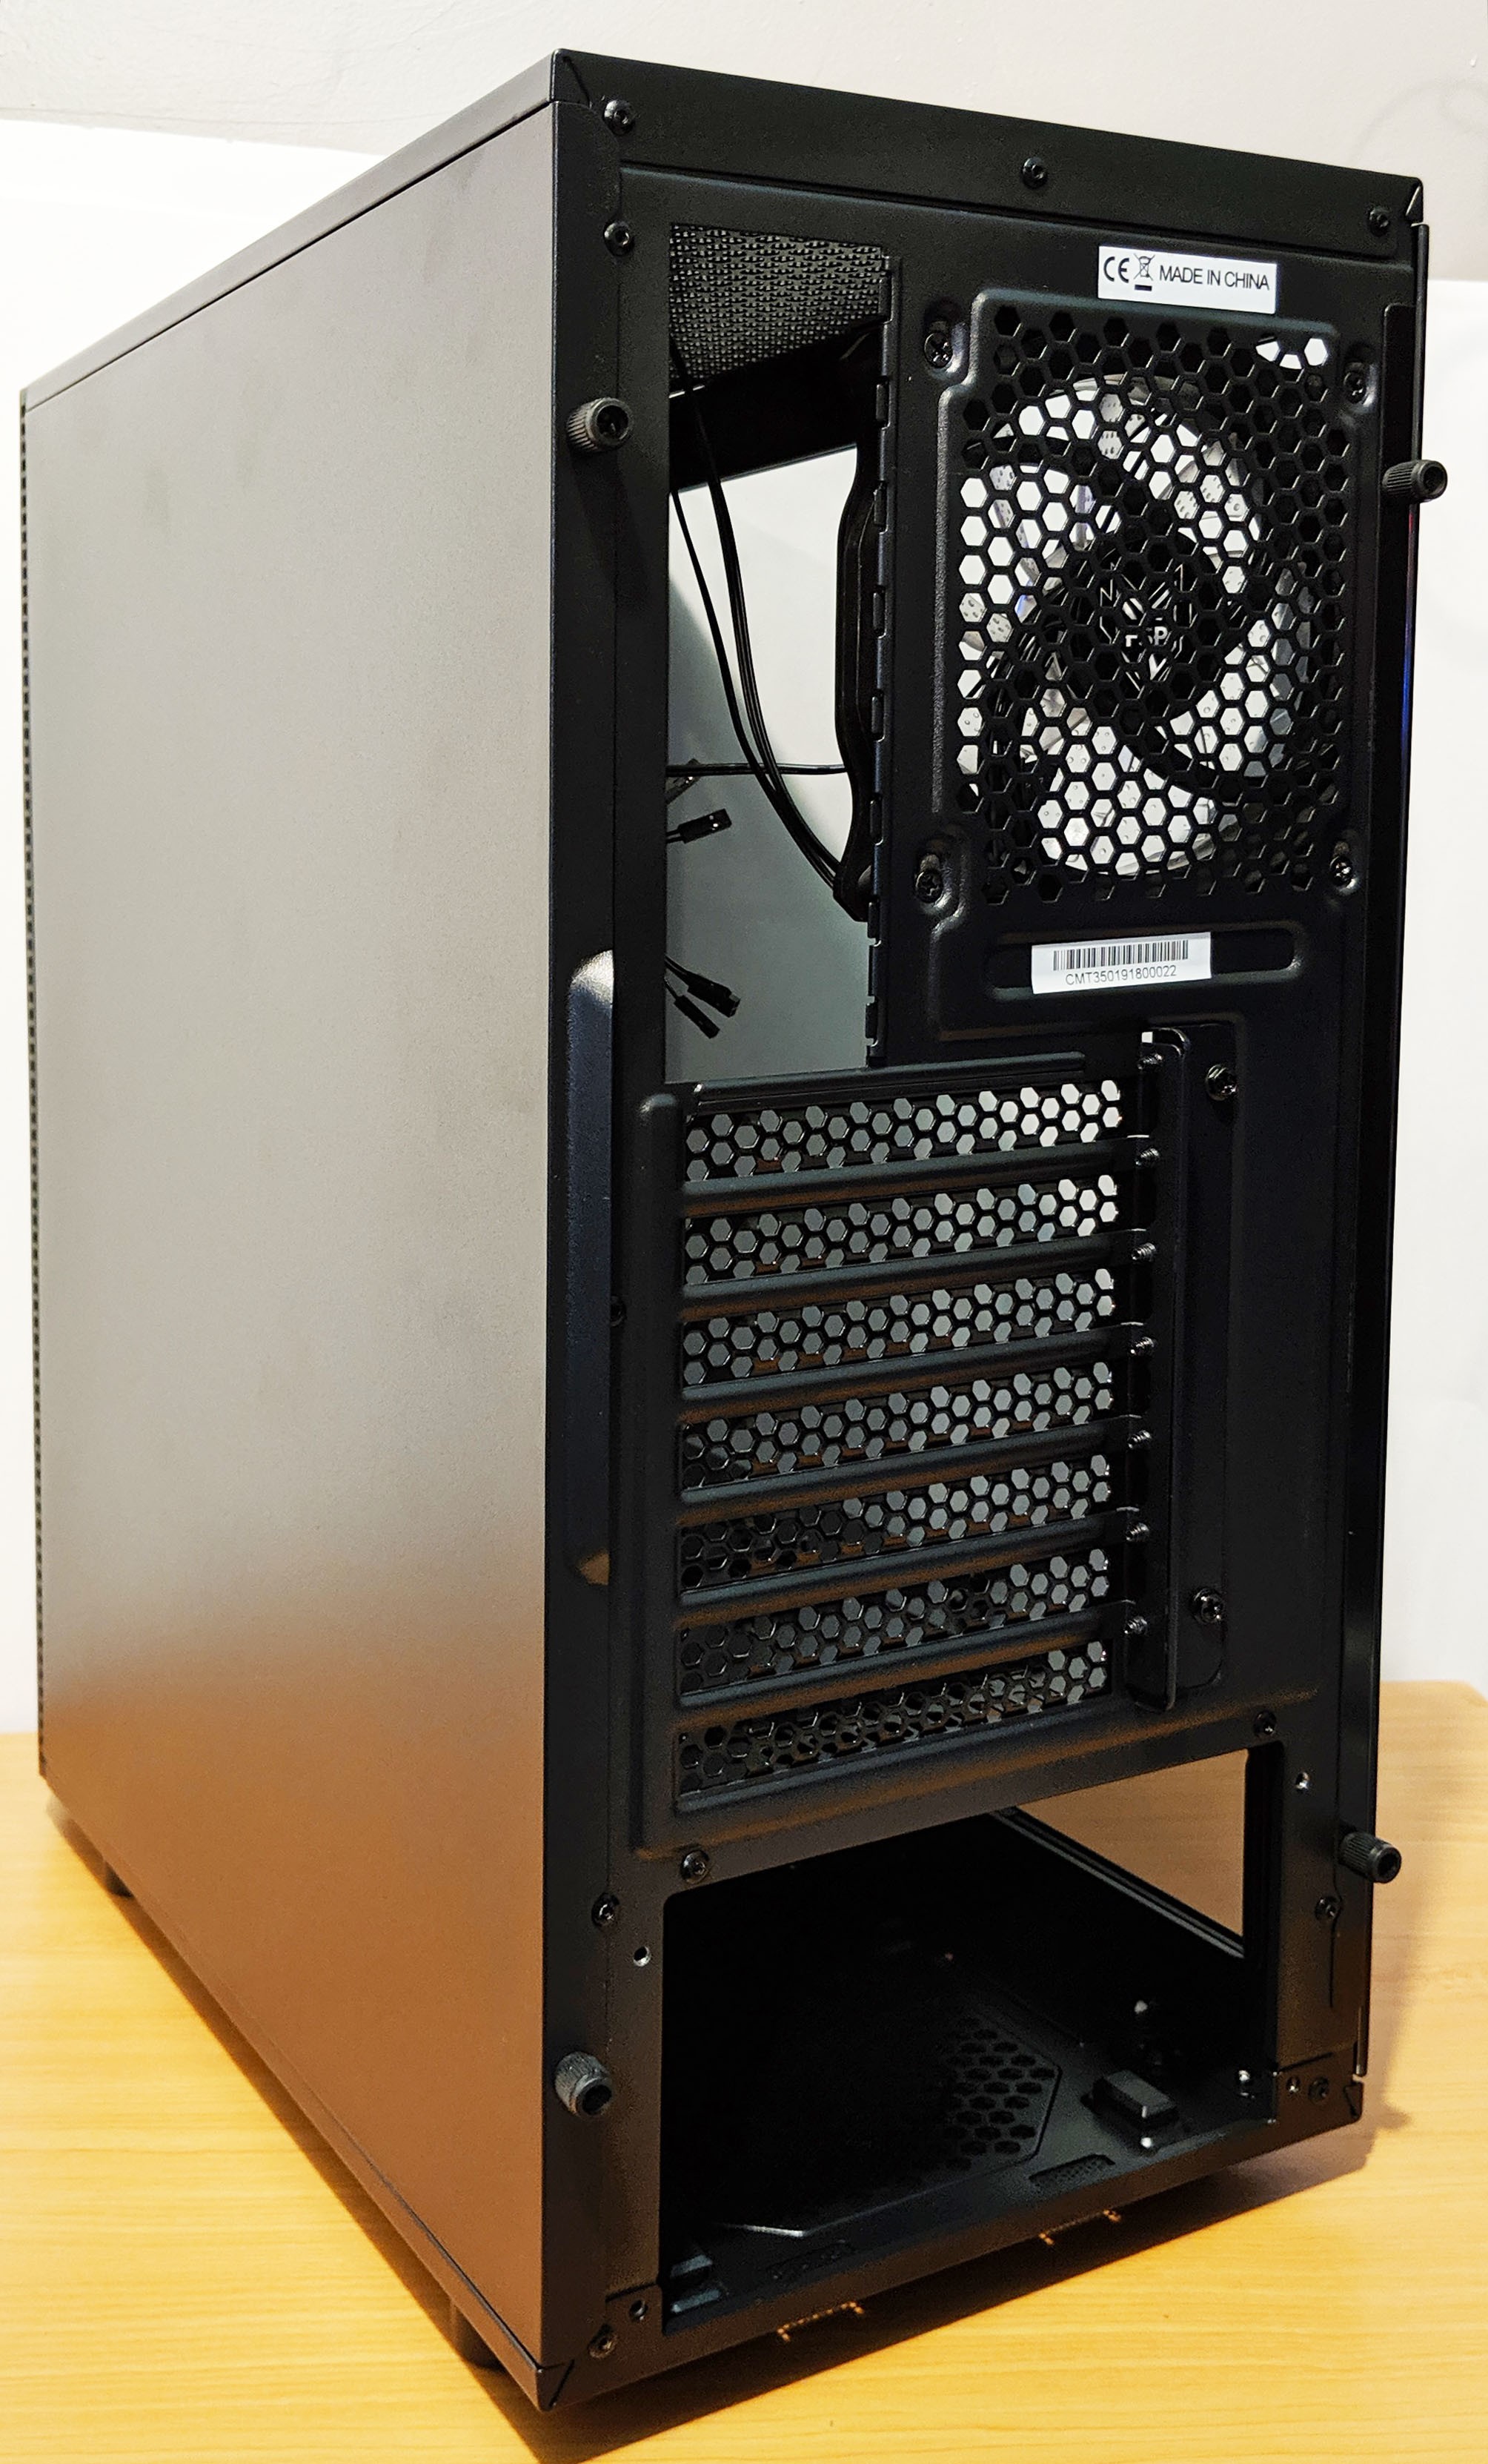
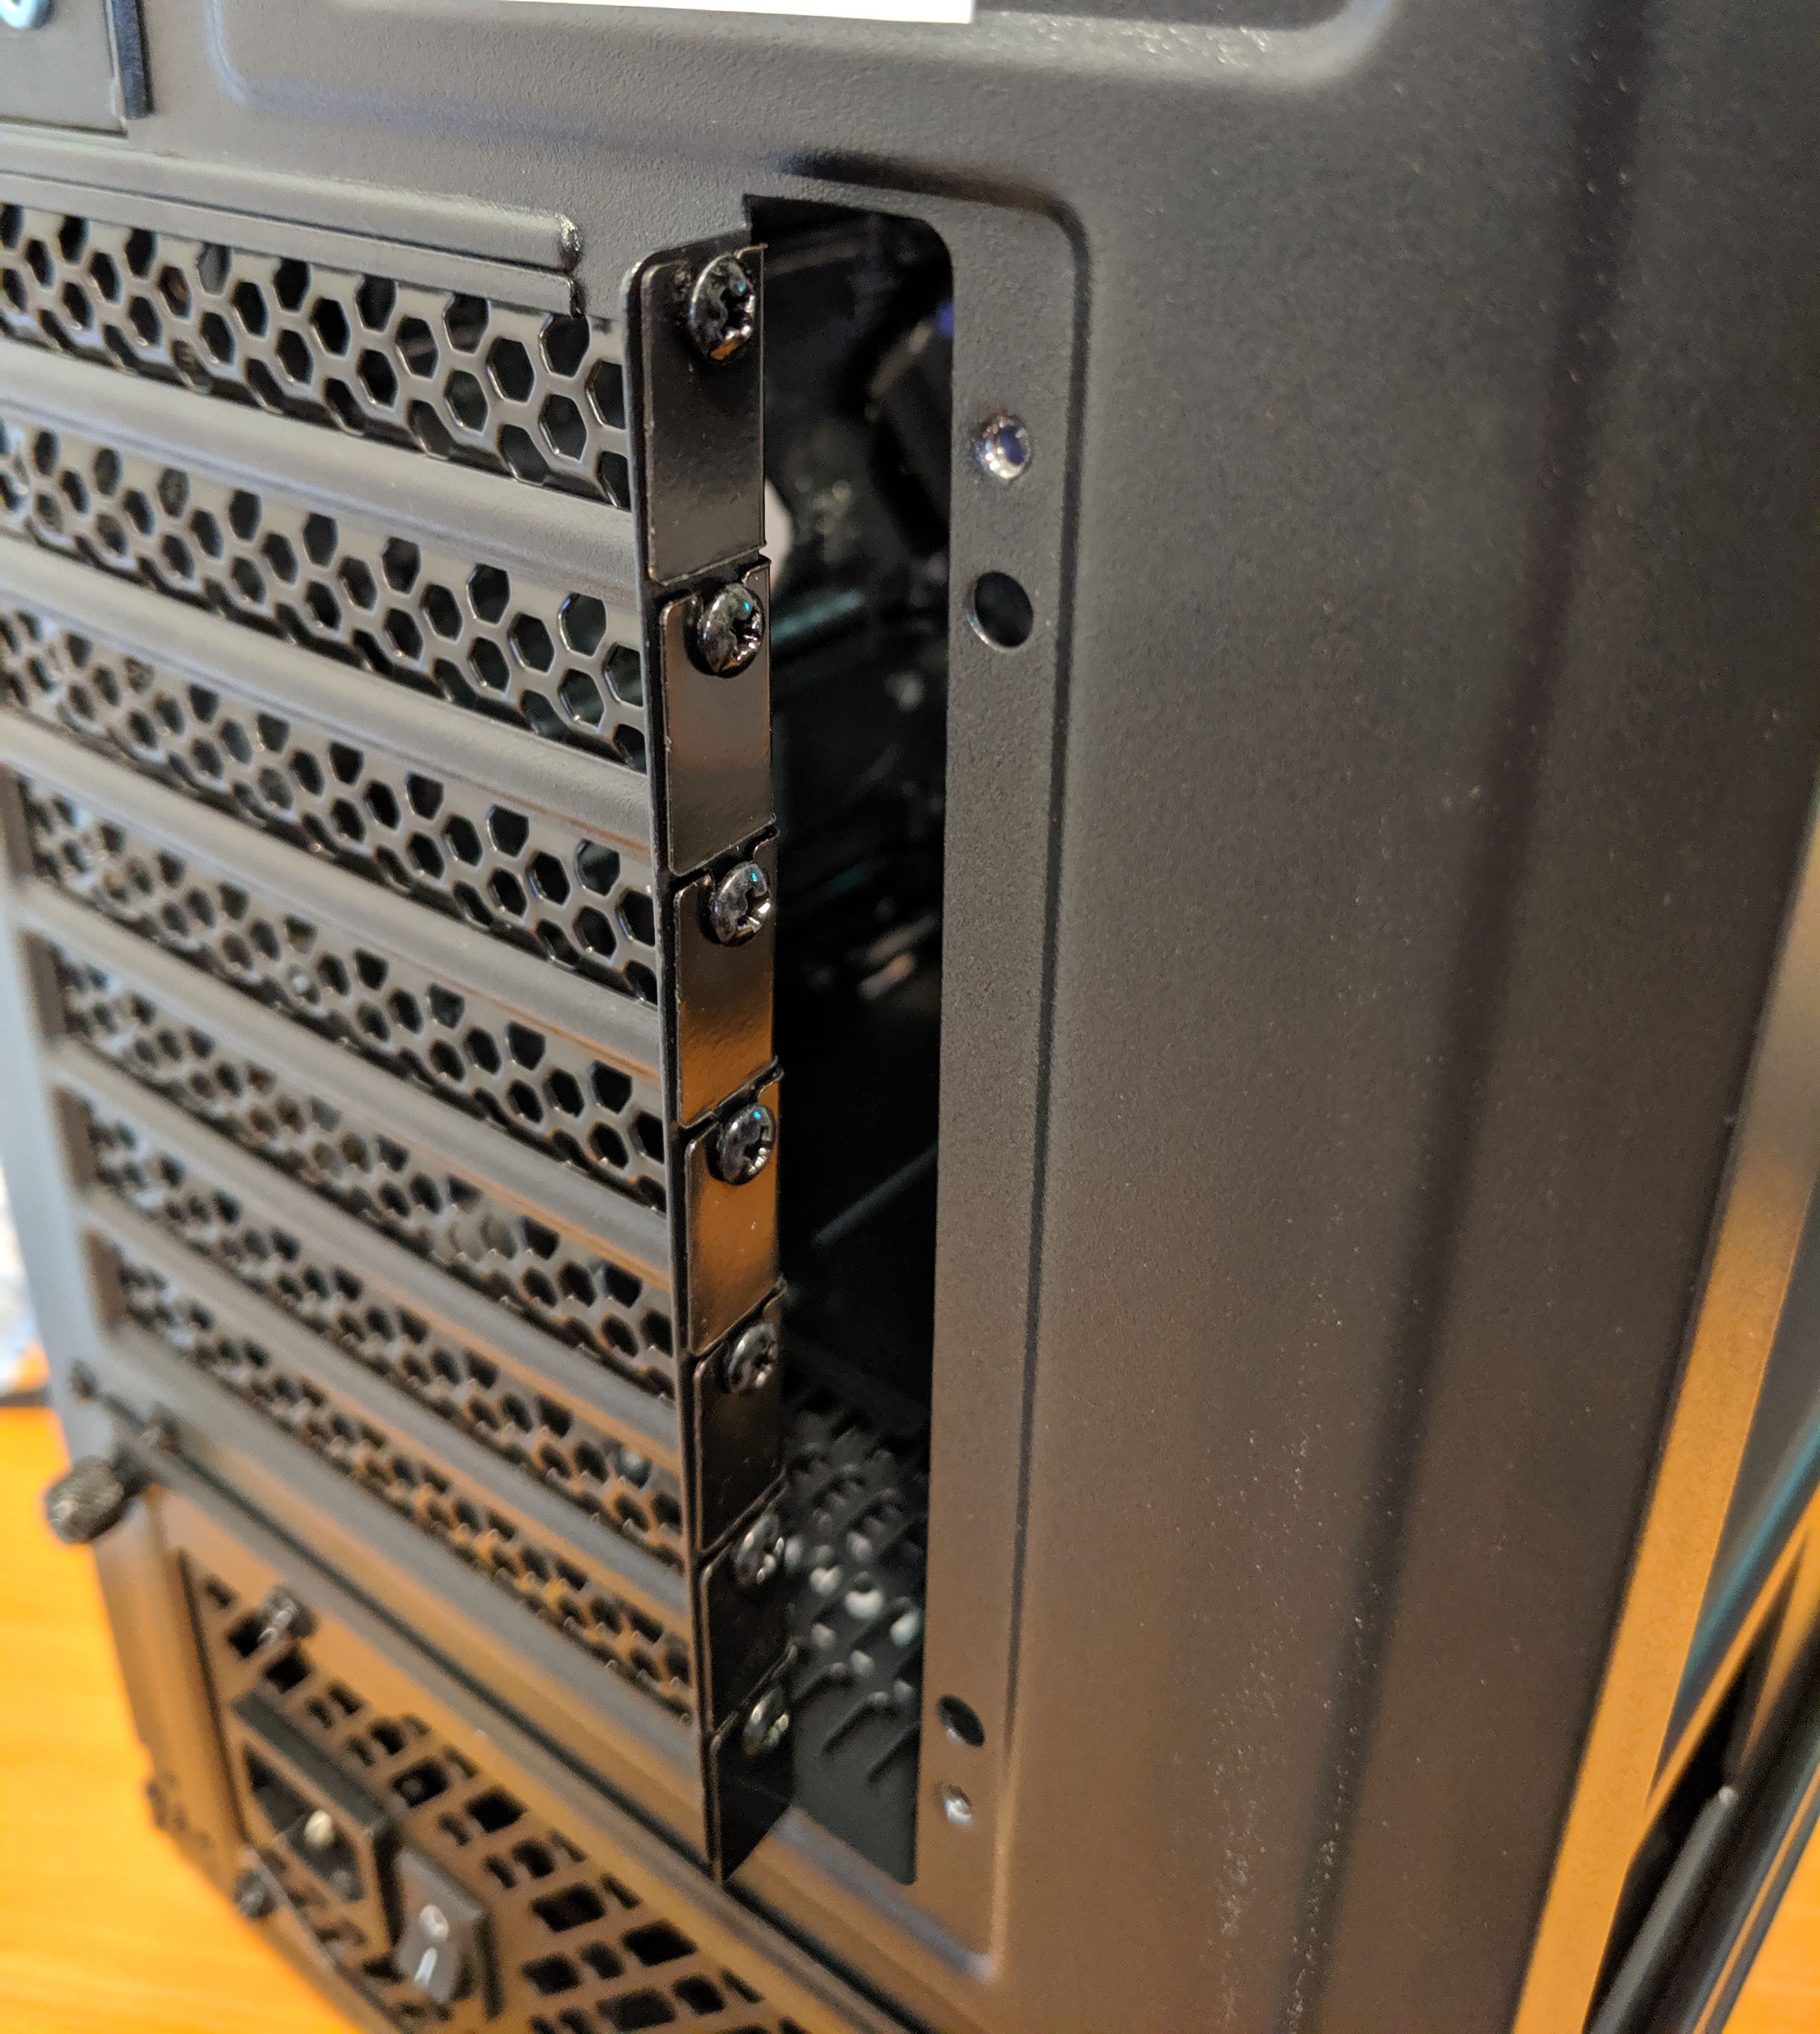
The expansion slot area is accessed by first removing the large expansion slot cover which is held on by two screws located on the top and bottom. Once removed, you’ve got access to the seven expansion slot screws which can then be removed.
The left and right side panels are removed the traditional method of sliding it towards the back of the case once the two retaining thumb screws are removed.
A Closer Look: Interior
With the side panels removed, let’s take a look inside the case! The first step here is to remove the bag of goodies from the motherboard tray and get a handle on the wires. I went ahead and relocated these wires to the back of the motherboard tray which will allow for a cleaner build later on.
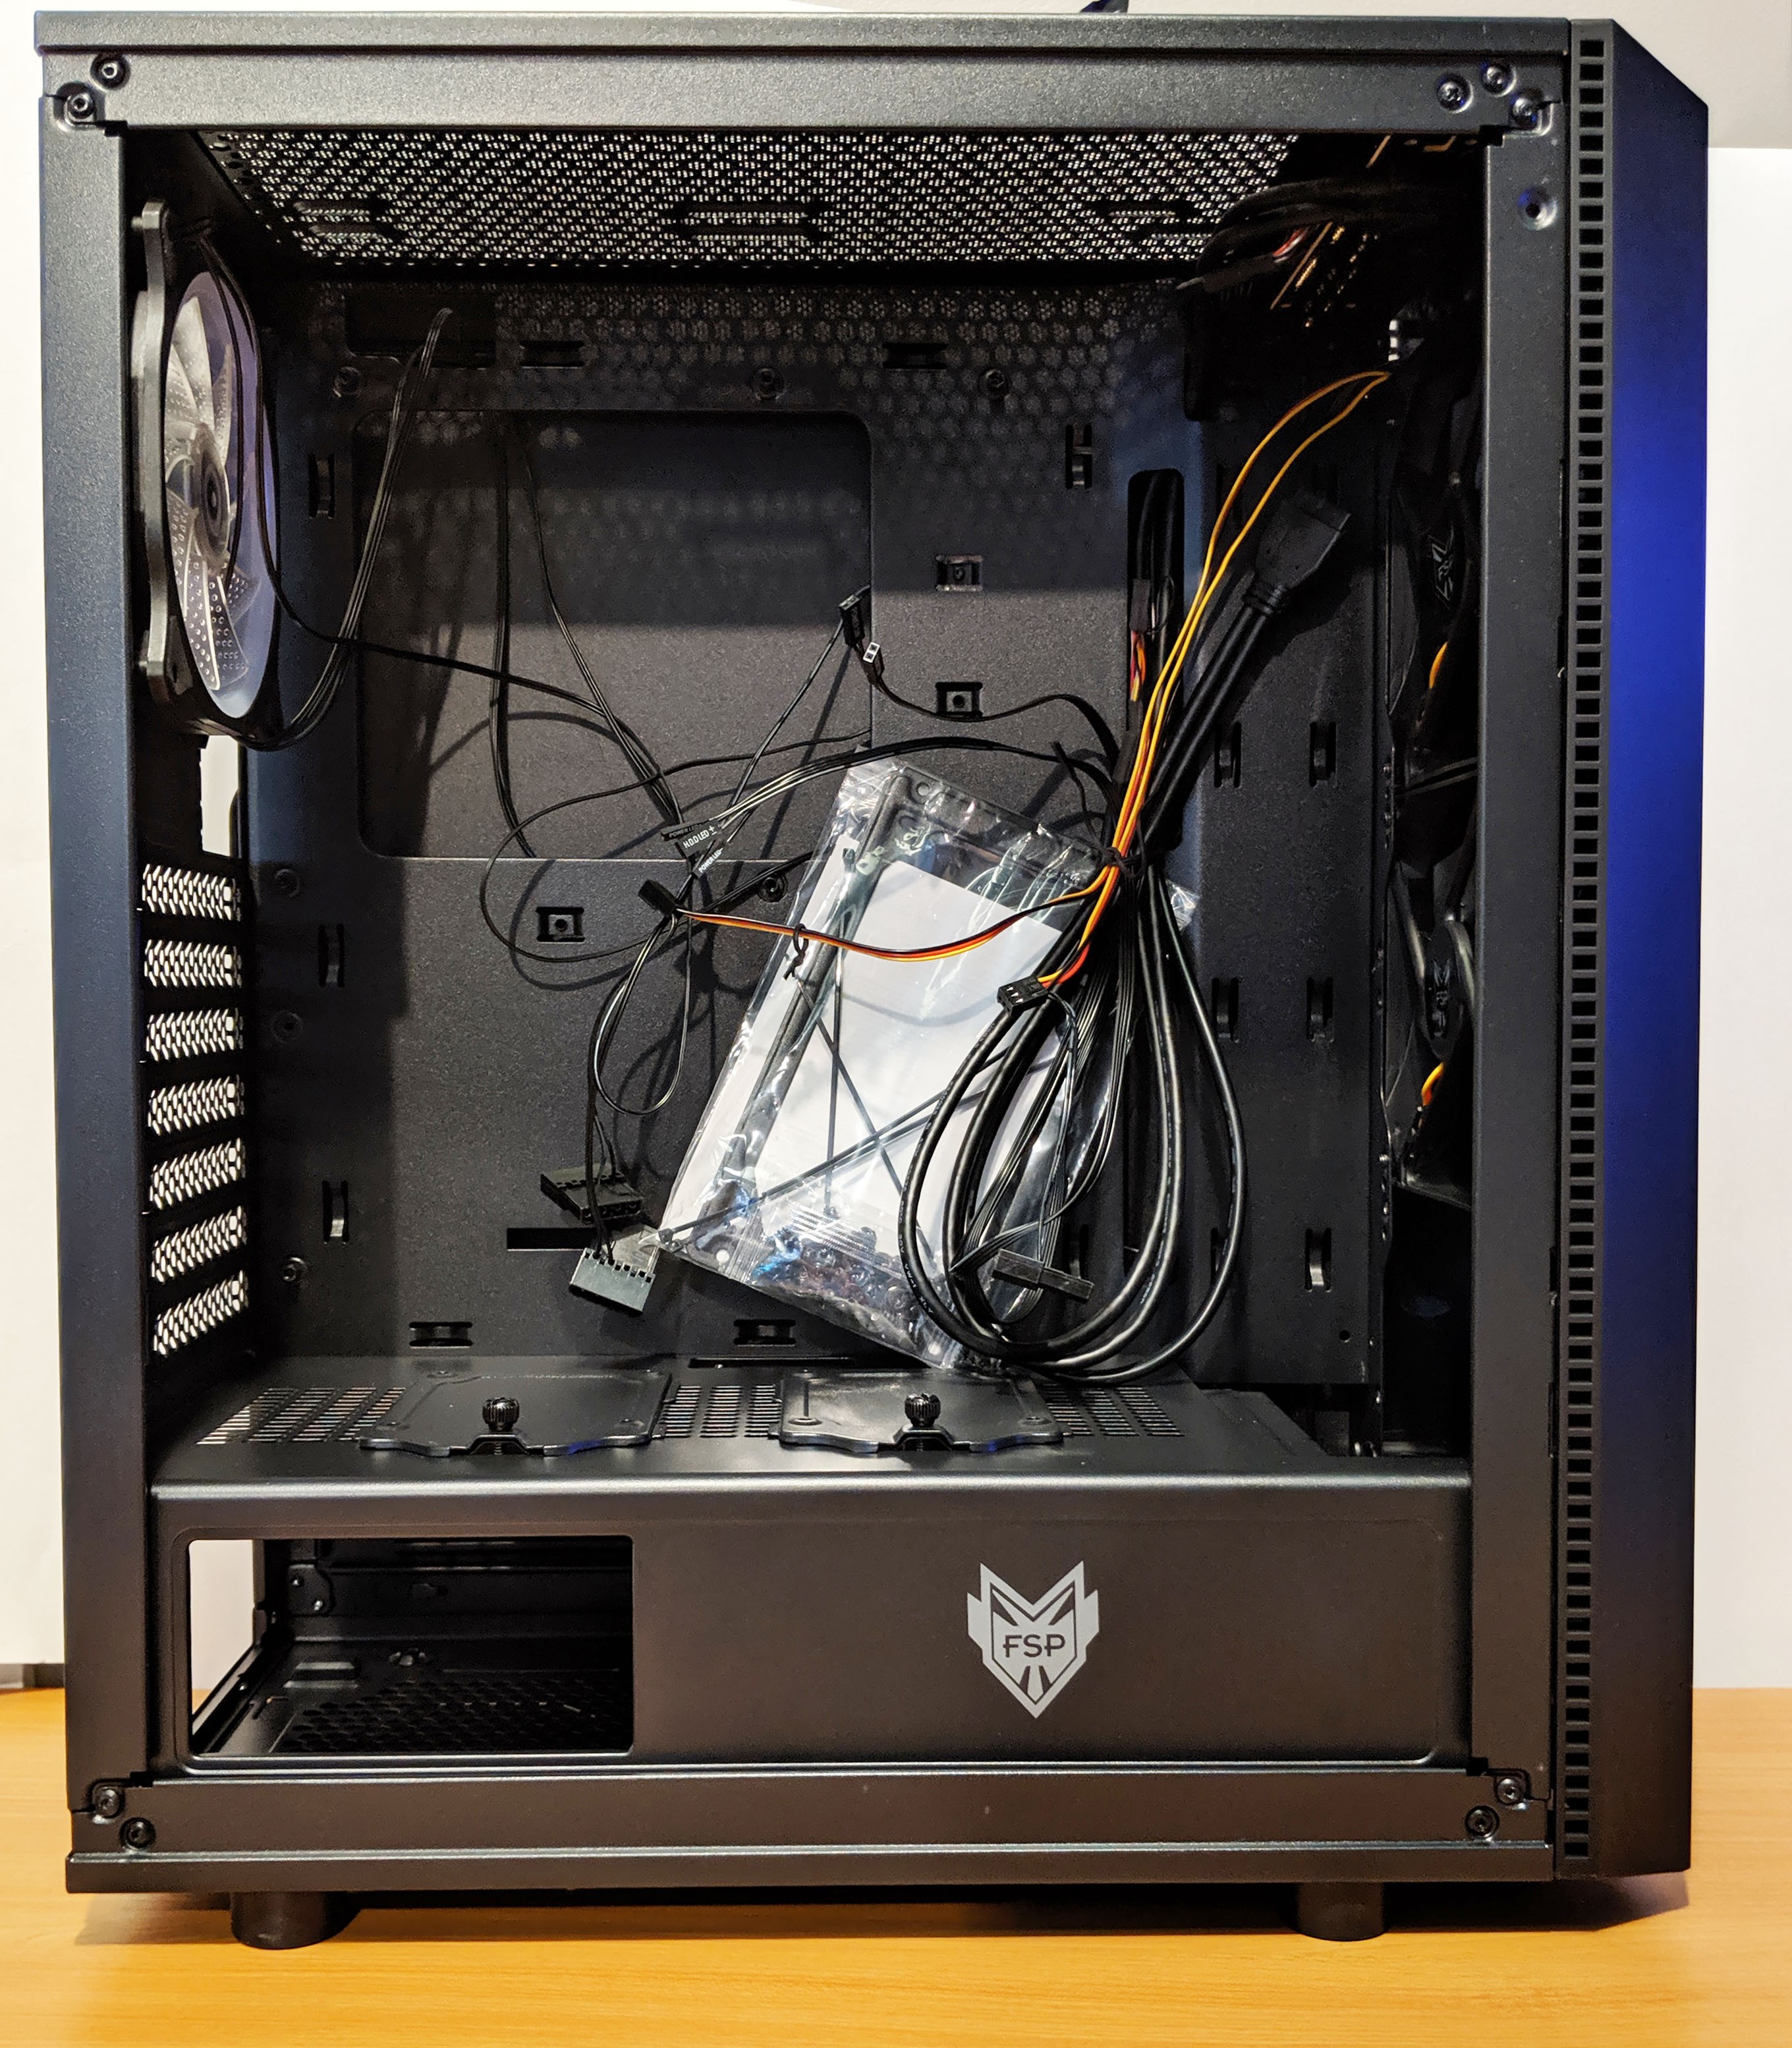
The bag of goodies includes the manual, PSU mount and all the screws you’ll likely need for a typical PC build.

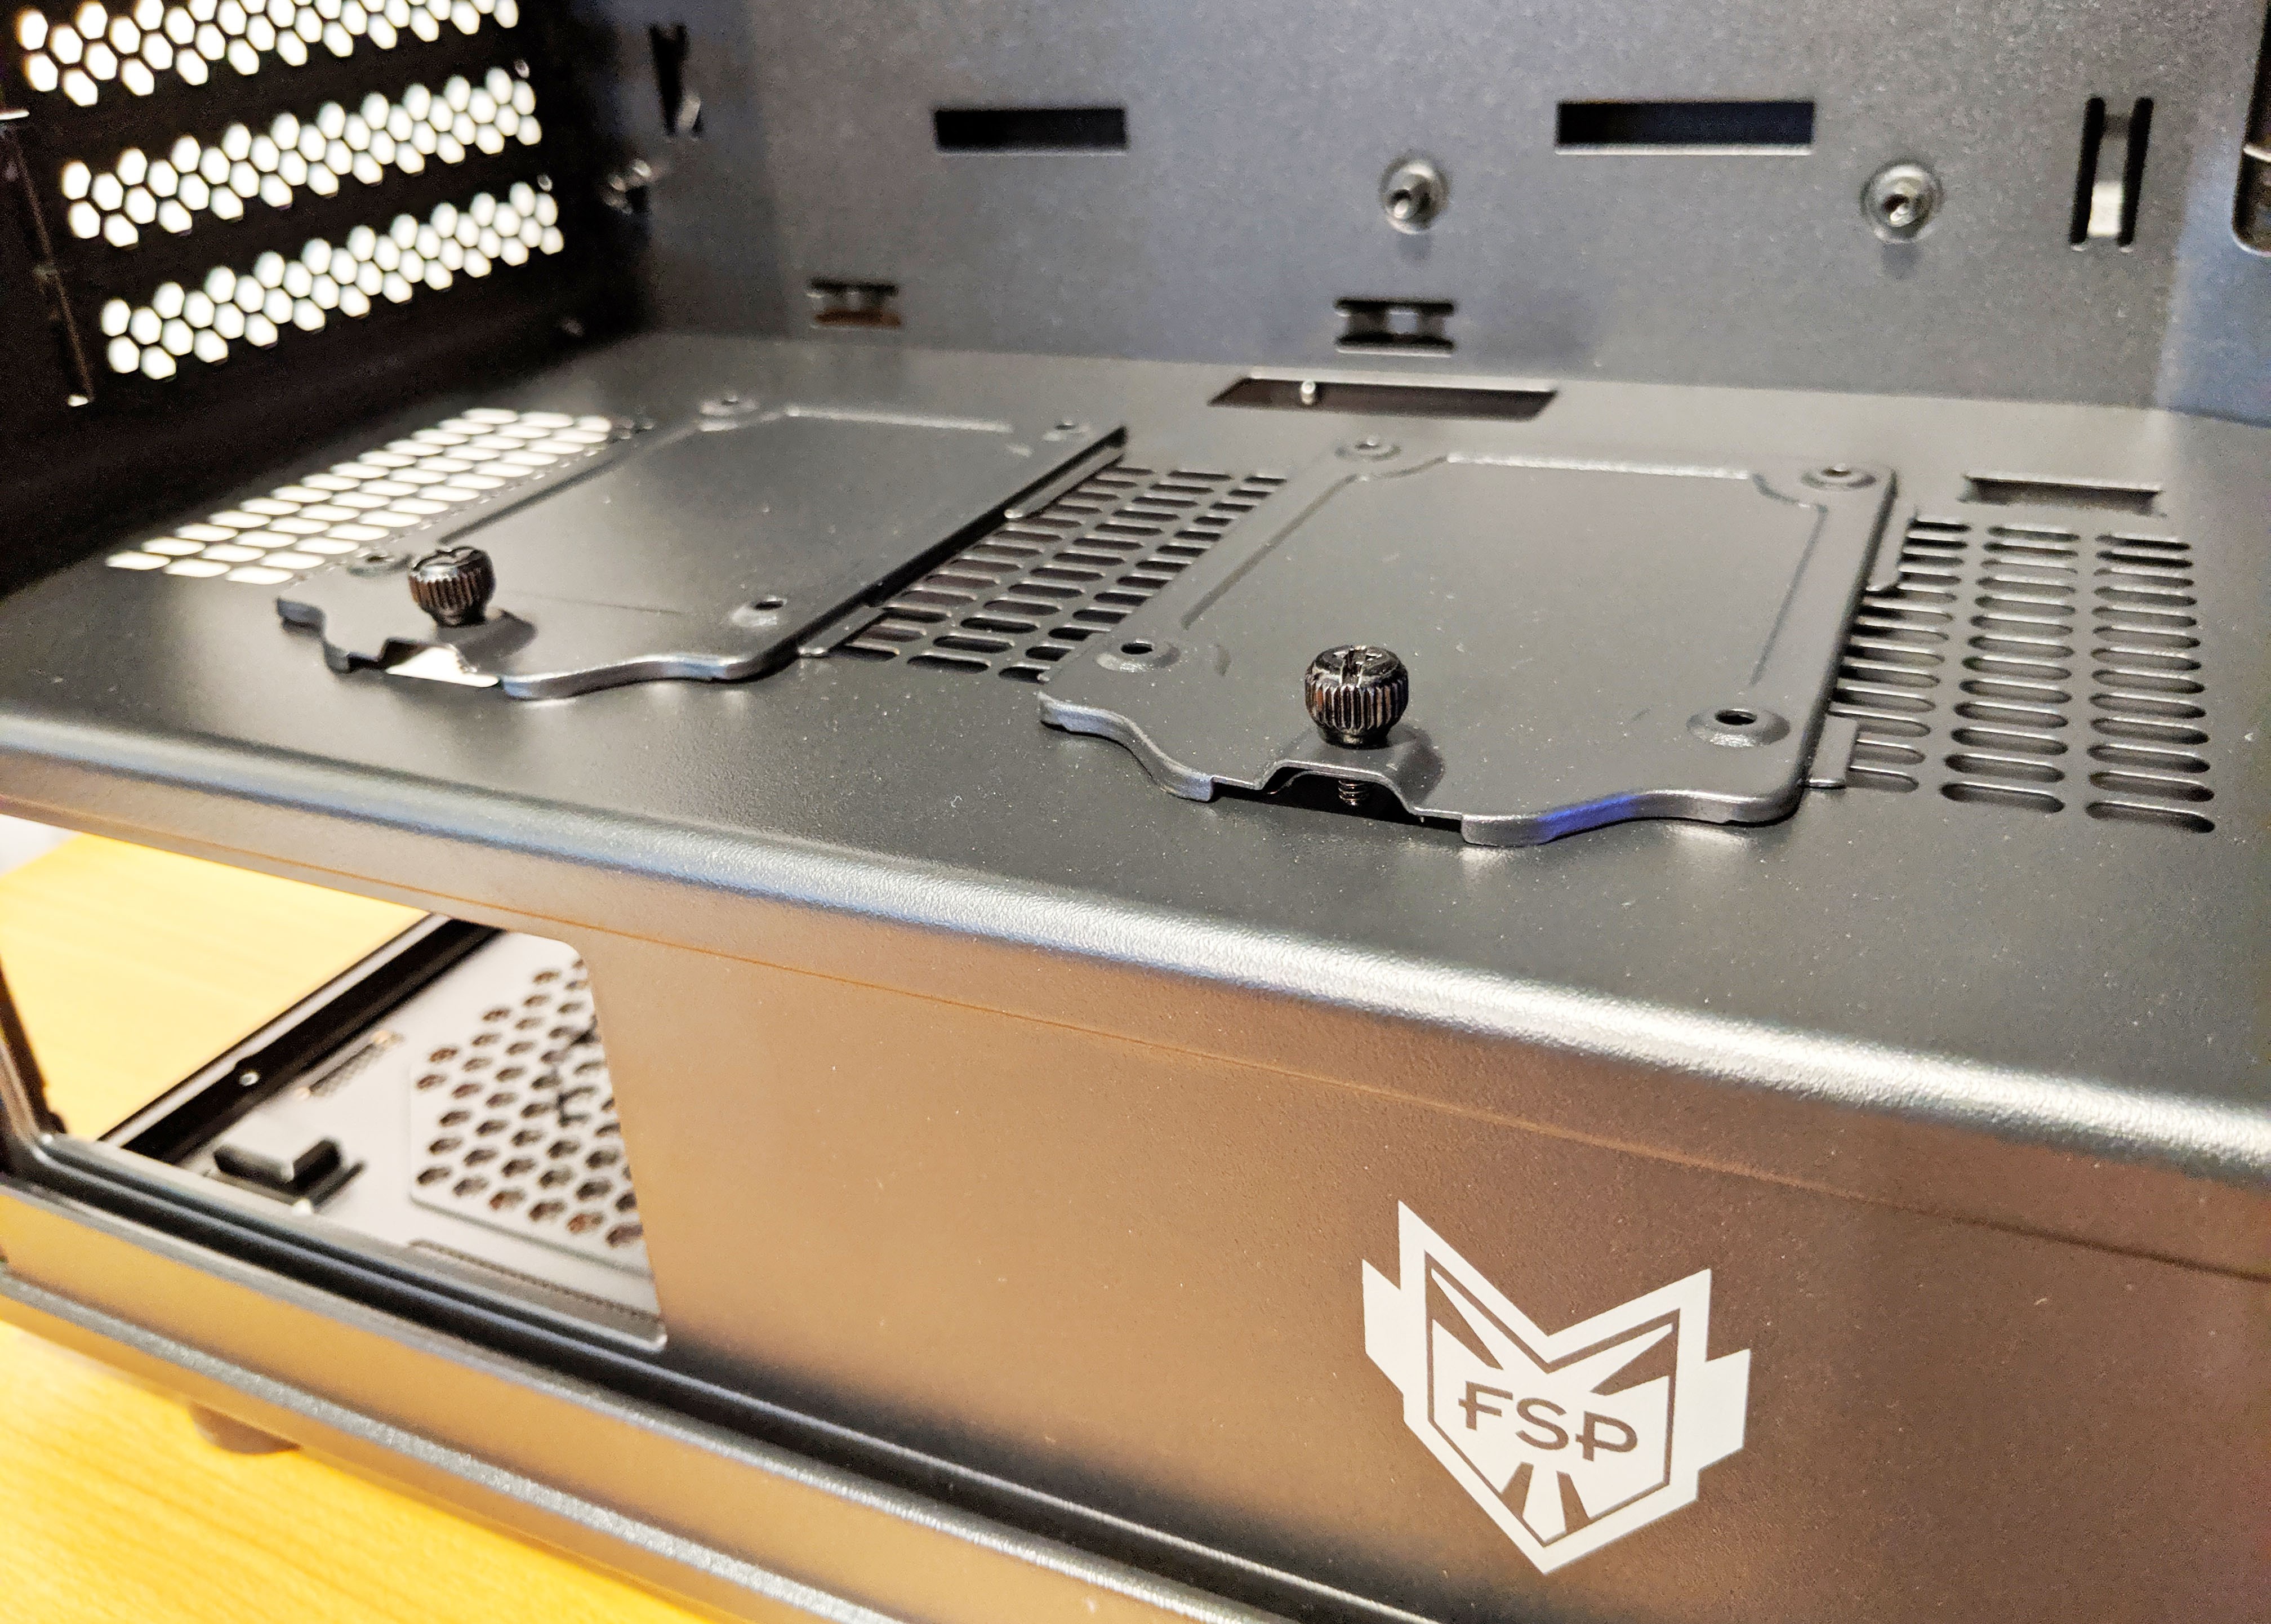
Moving back inside the case, the first thing you’ll notice is the split level design which definitely affects how some of the hardware, especially the PSU is installed. The PSU shroud has two 2.5″ SSD mounts located on the top which are attached via a single thumb screw. Since these are a little close to the motherboard tray, I recommend attaching your cables to the SSD first before screwing it down.
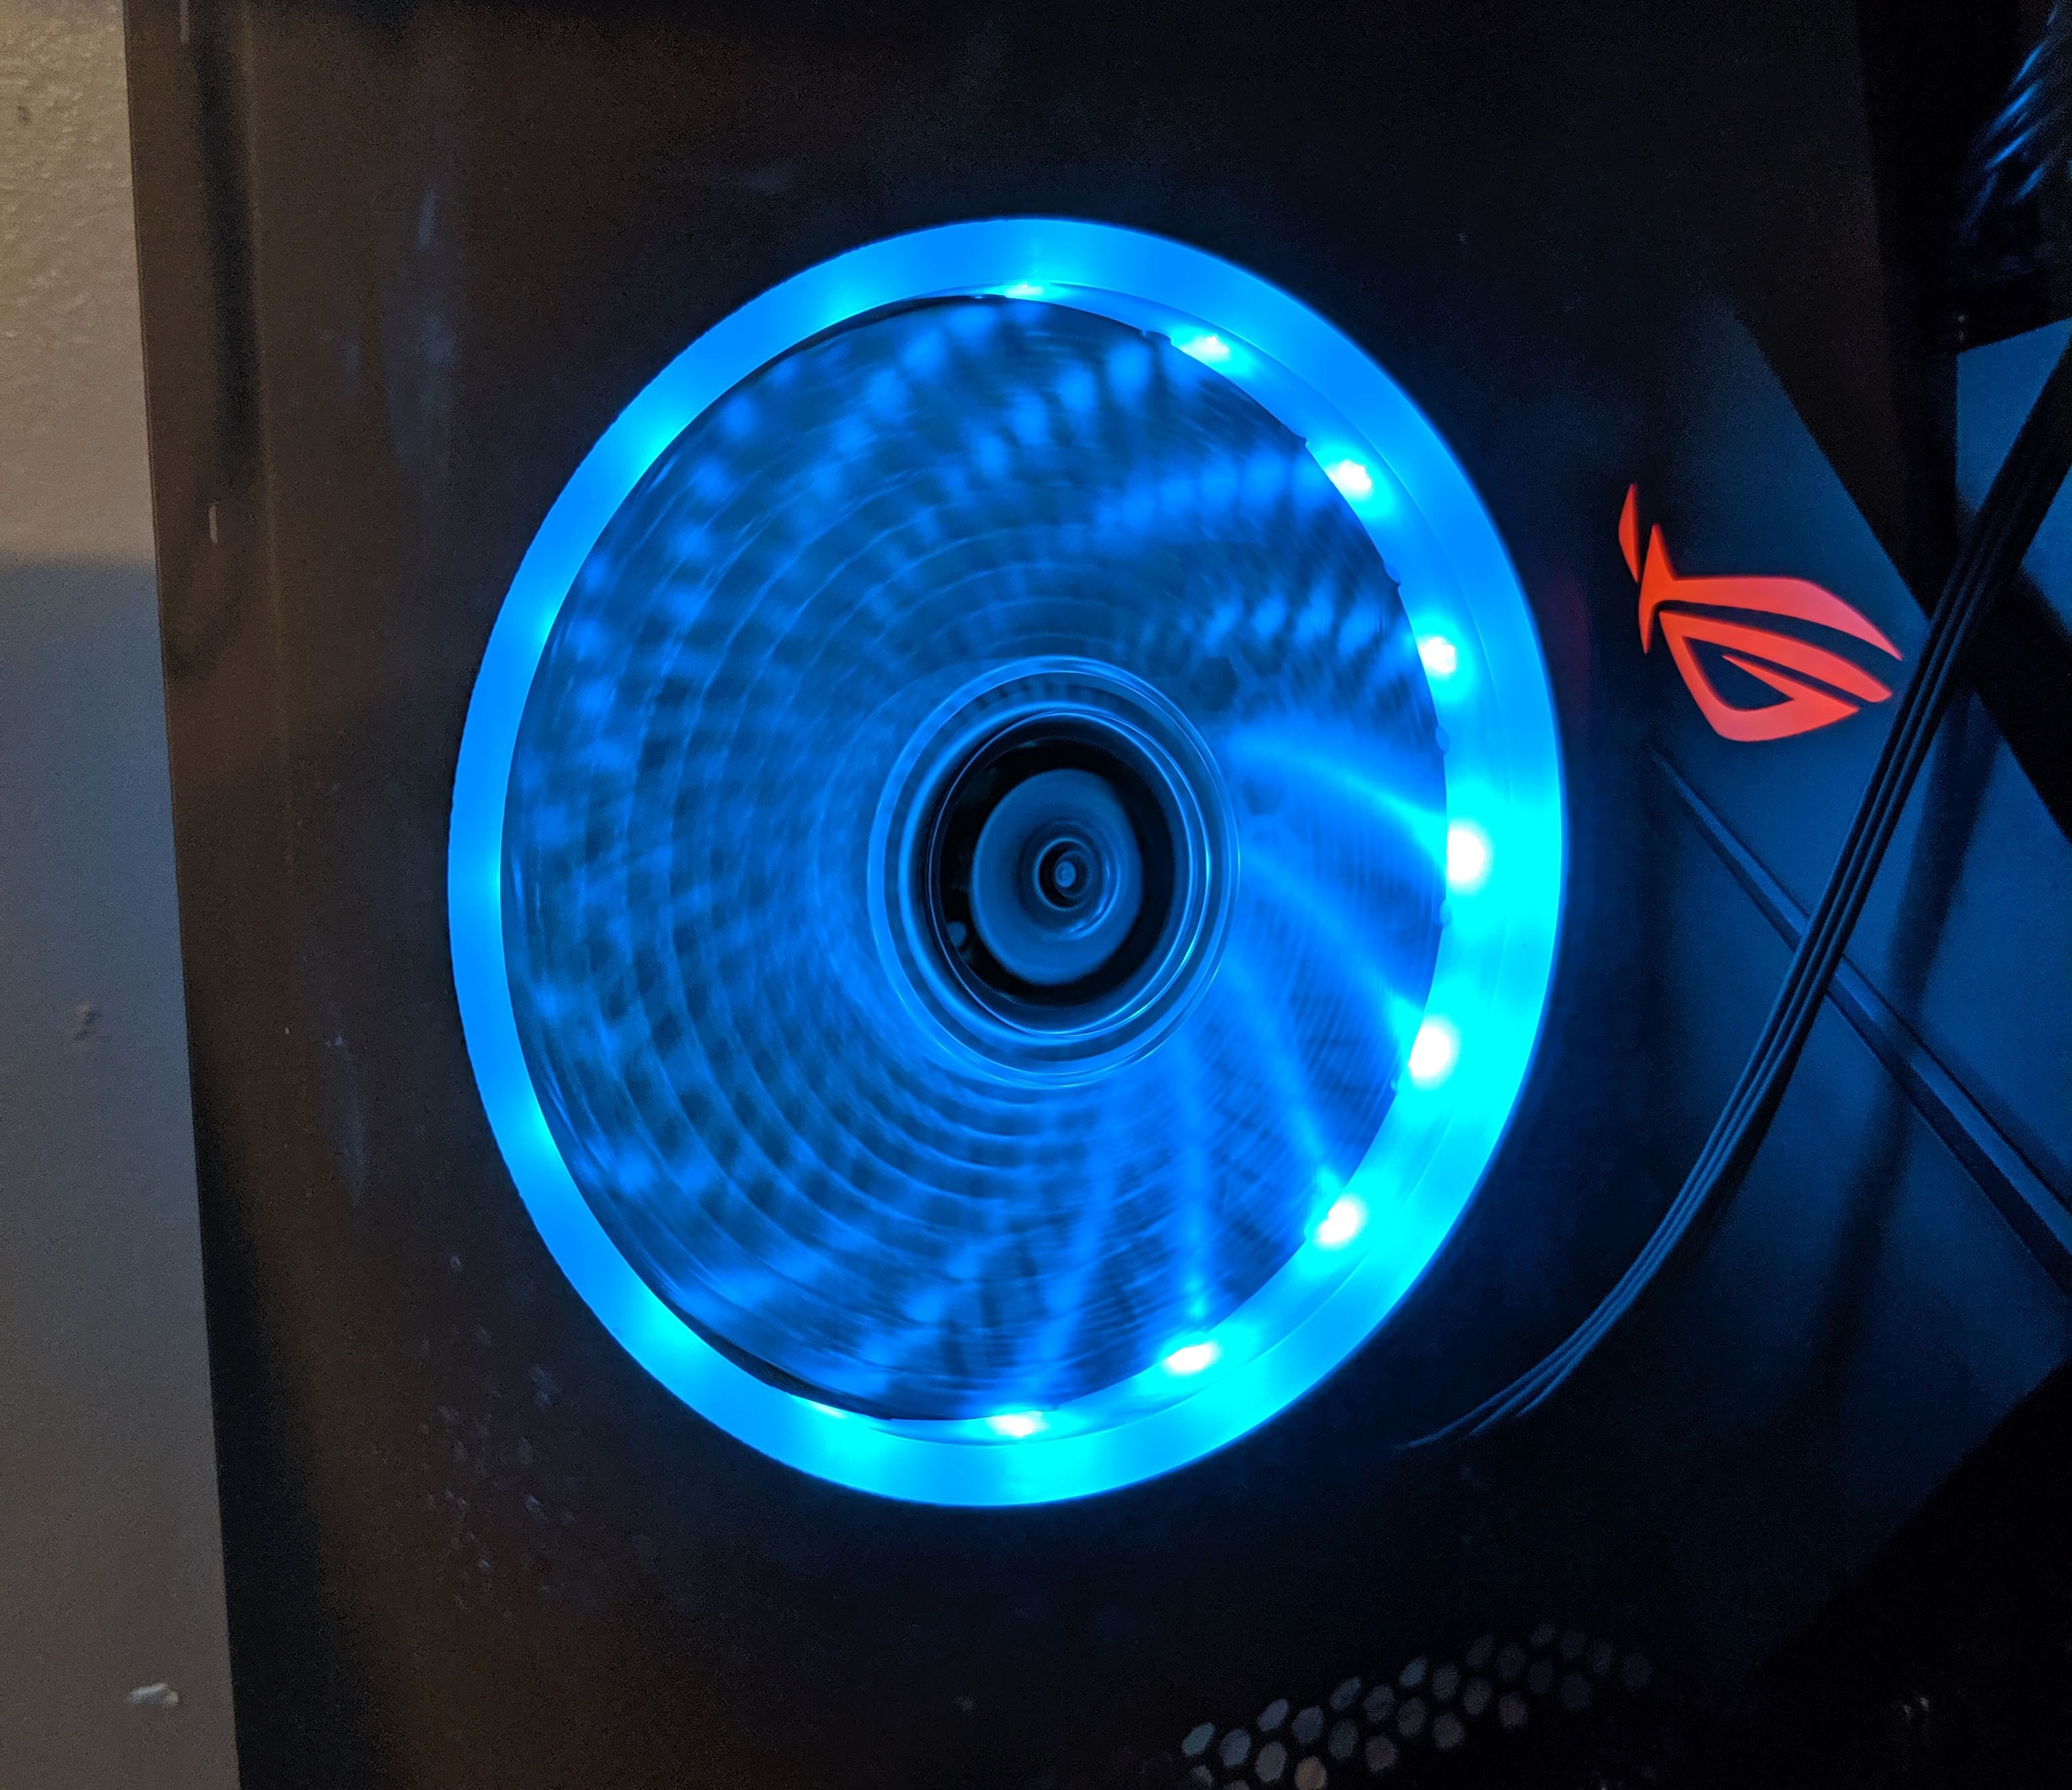
The back of the inside of the case is where you’ll find your seven expansion slots as well as the 120mm RGB exhaust fan. The fan has two cables, one for RGB control, which is already connected to the RGB controller, and a 3-pin fan header which will connect to your motherboard.
As you can also see in the image below, the motherboard tray has an open area which “should” sit directly behind the CPU. This allows for your CPU HSF assembly to be installed after (or changed out) motherboard installation. Also, all of the motherboard standoffs have been preinstalled for a typical ATX motherboard.

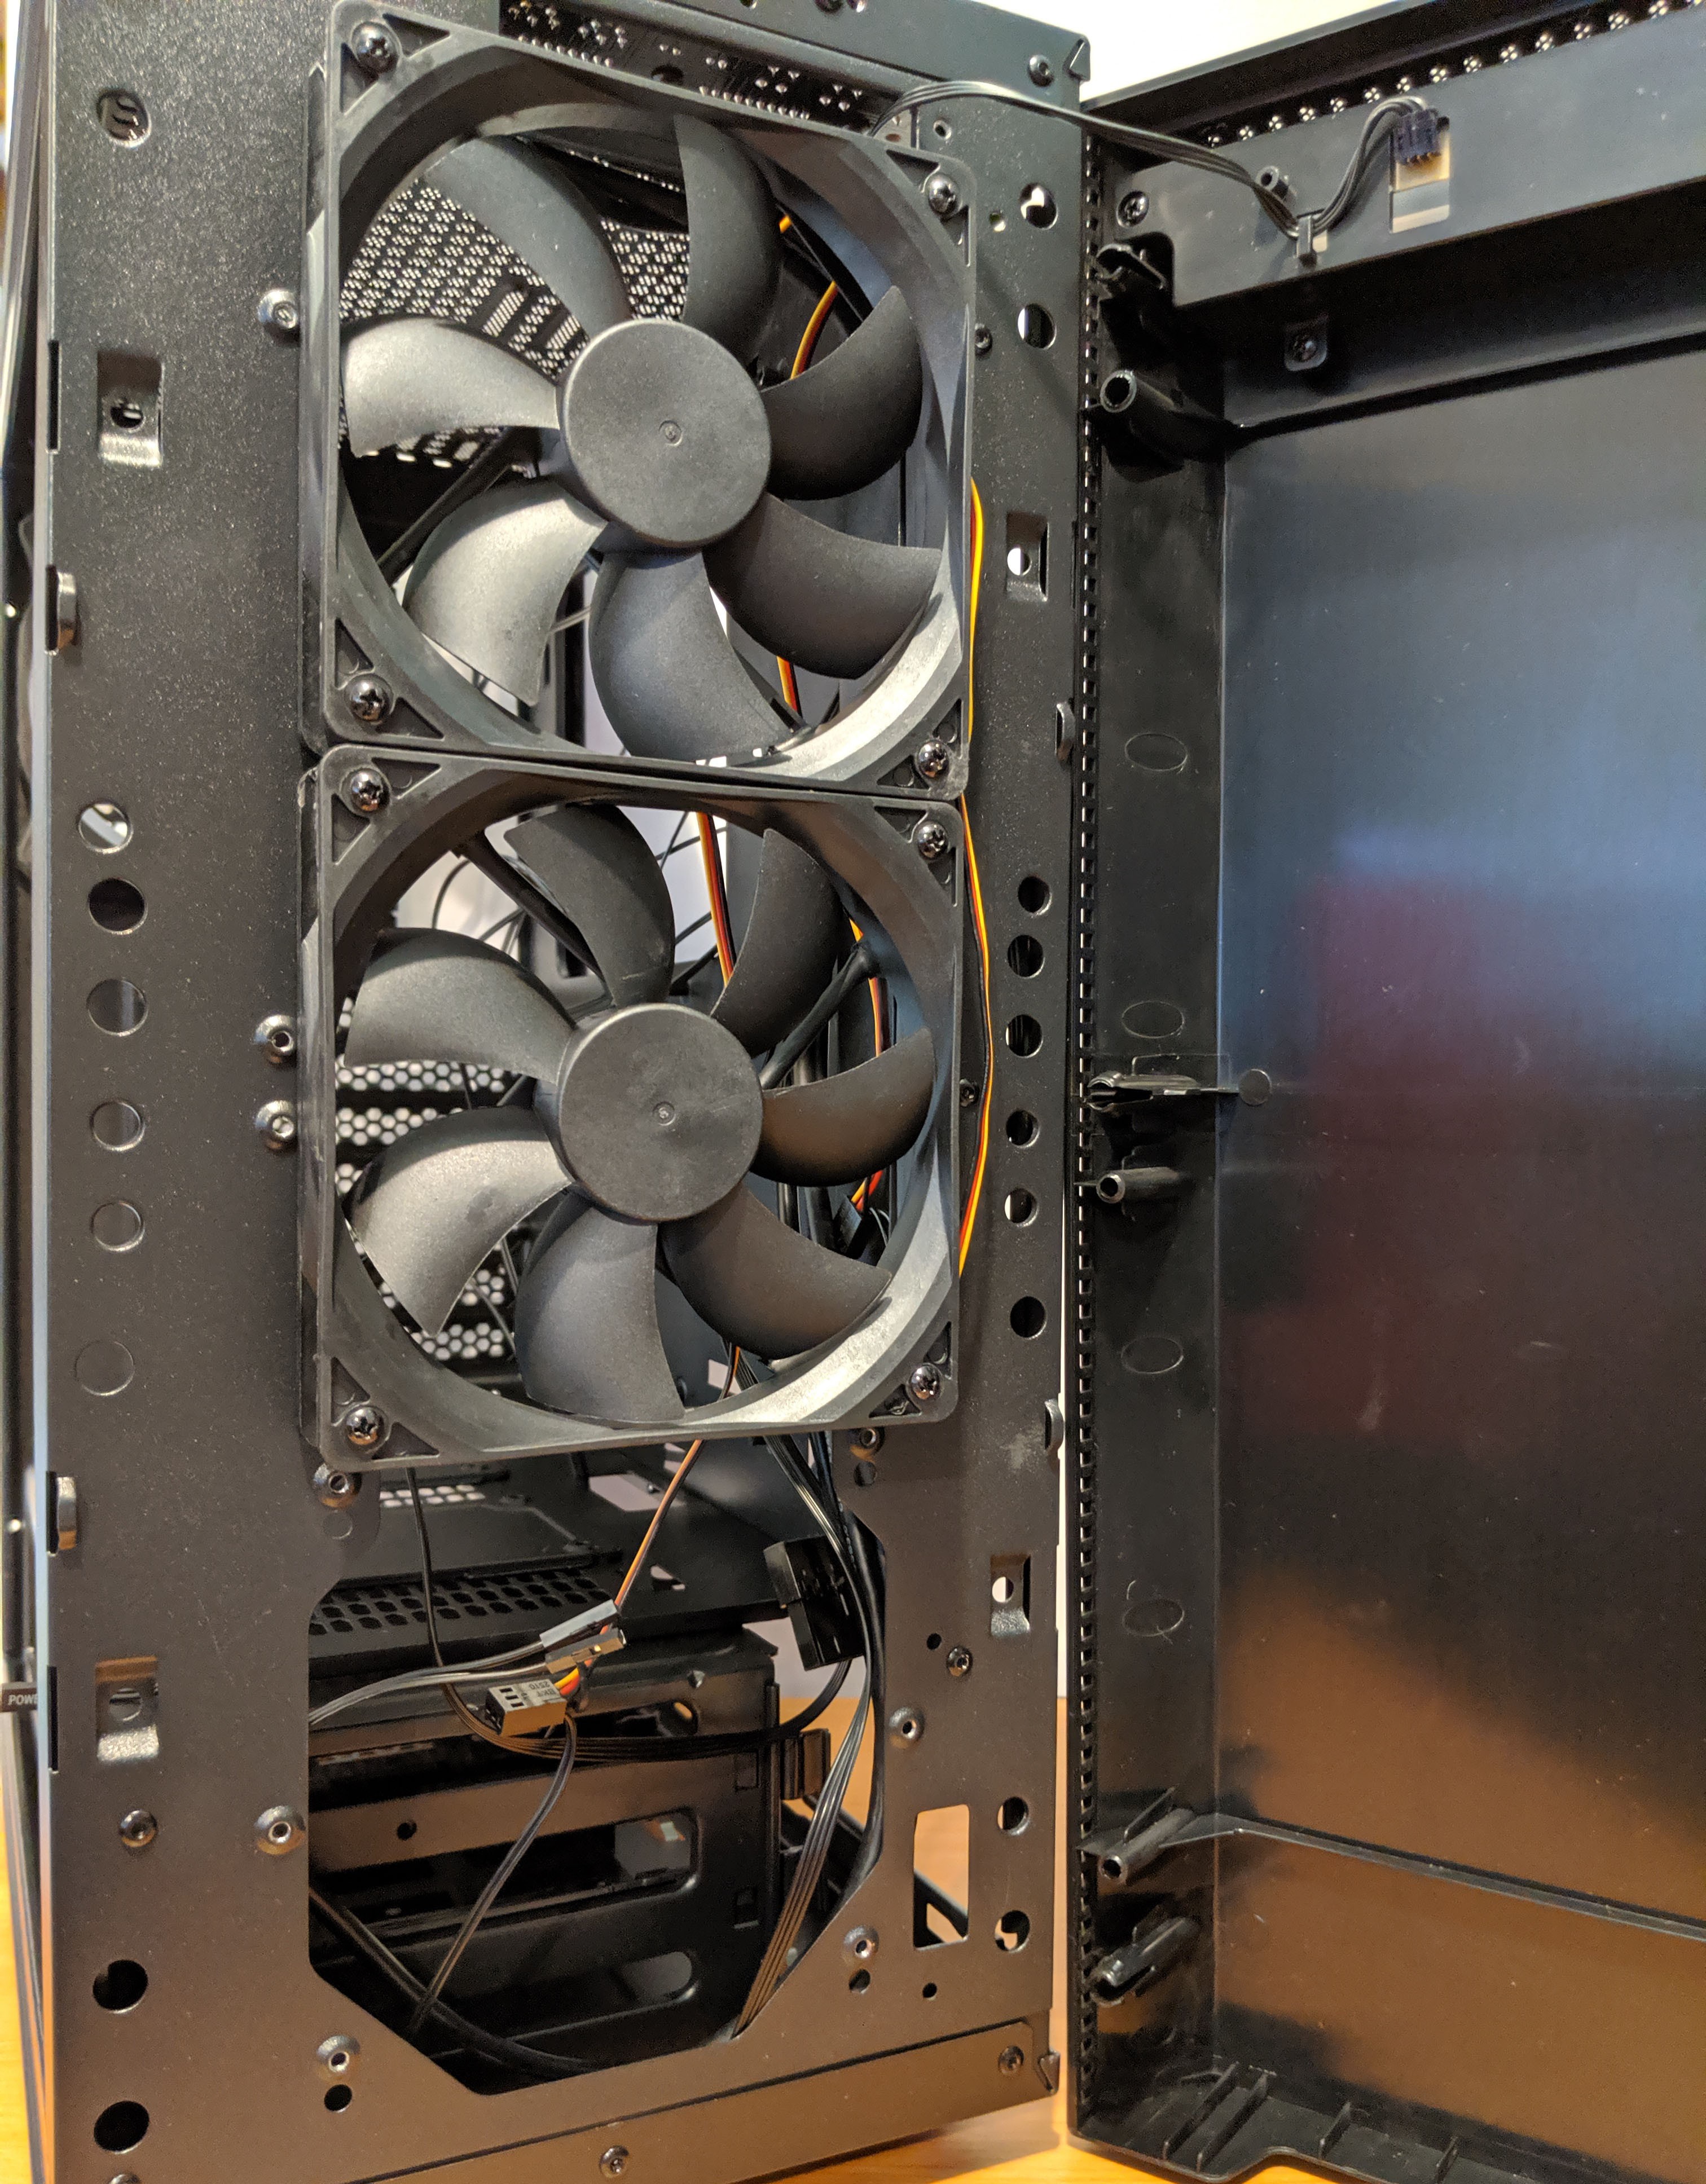
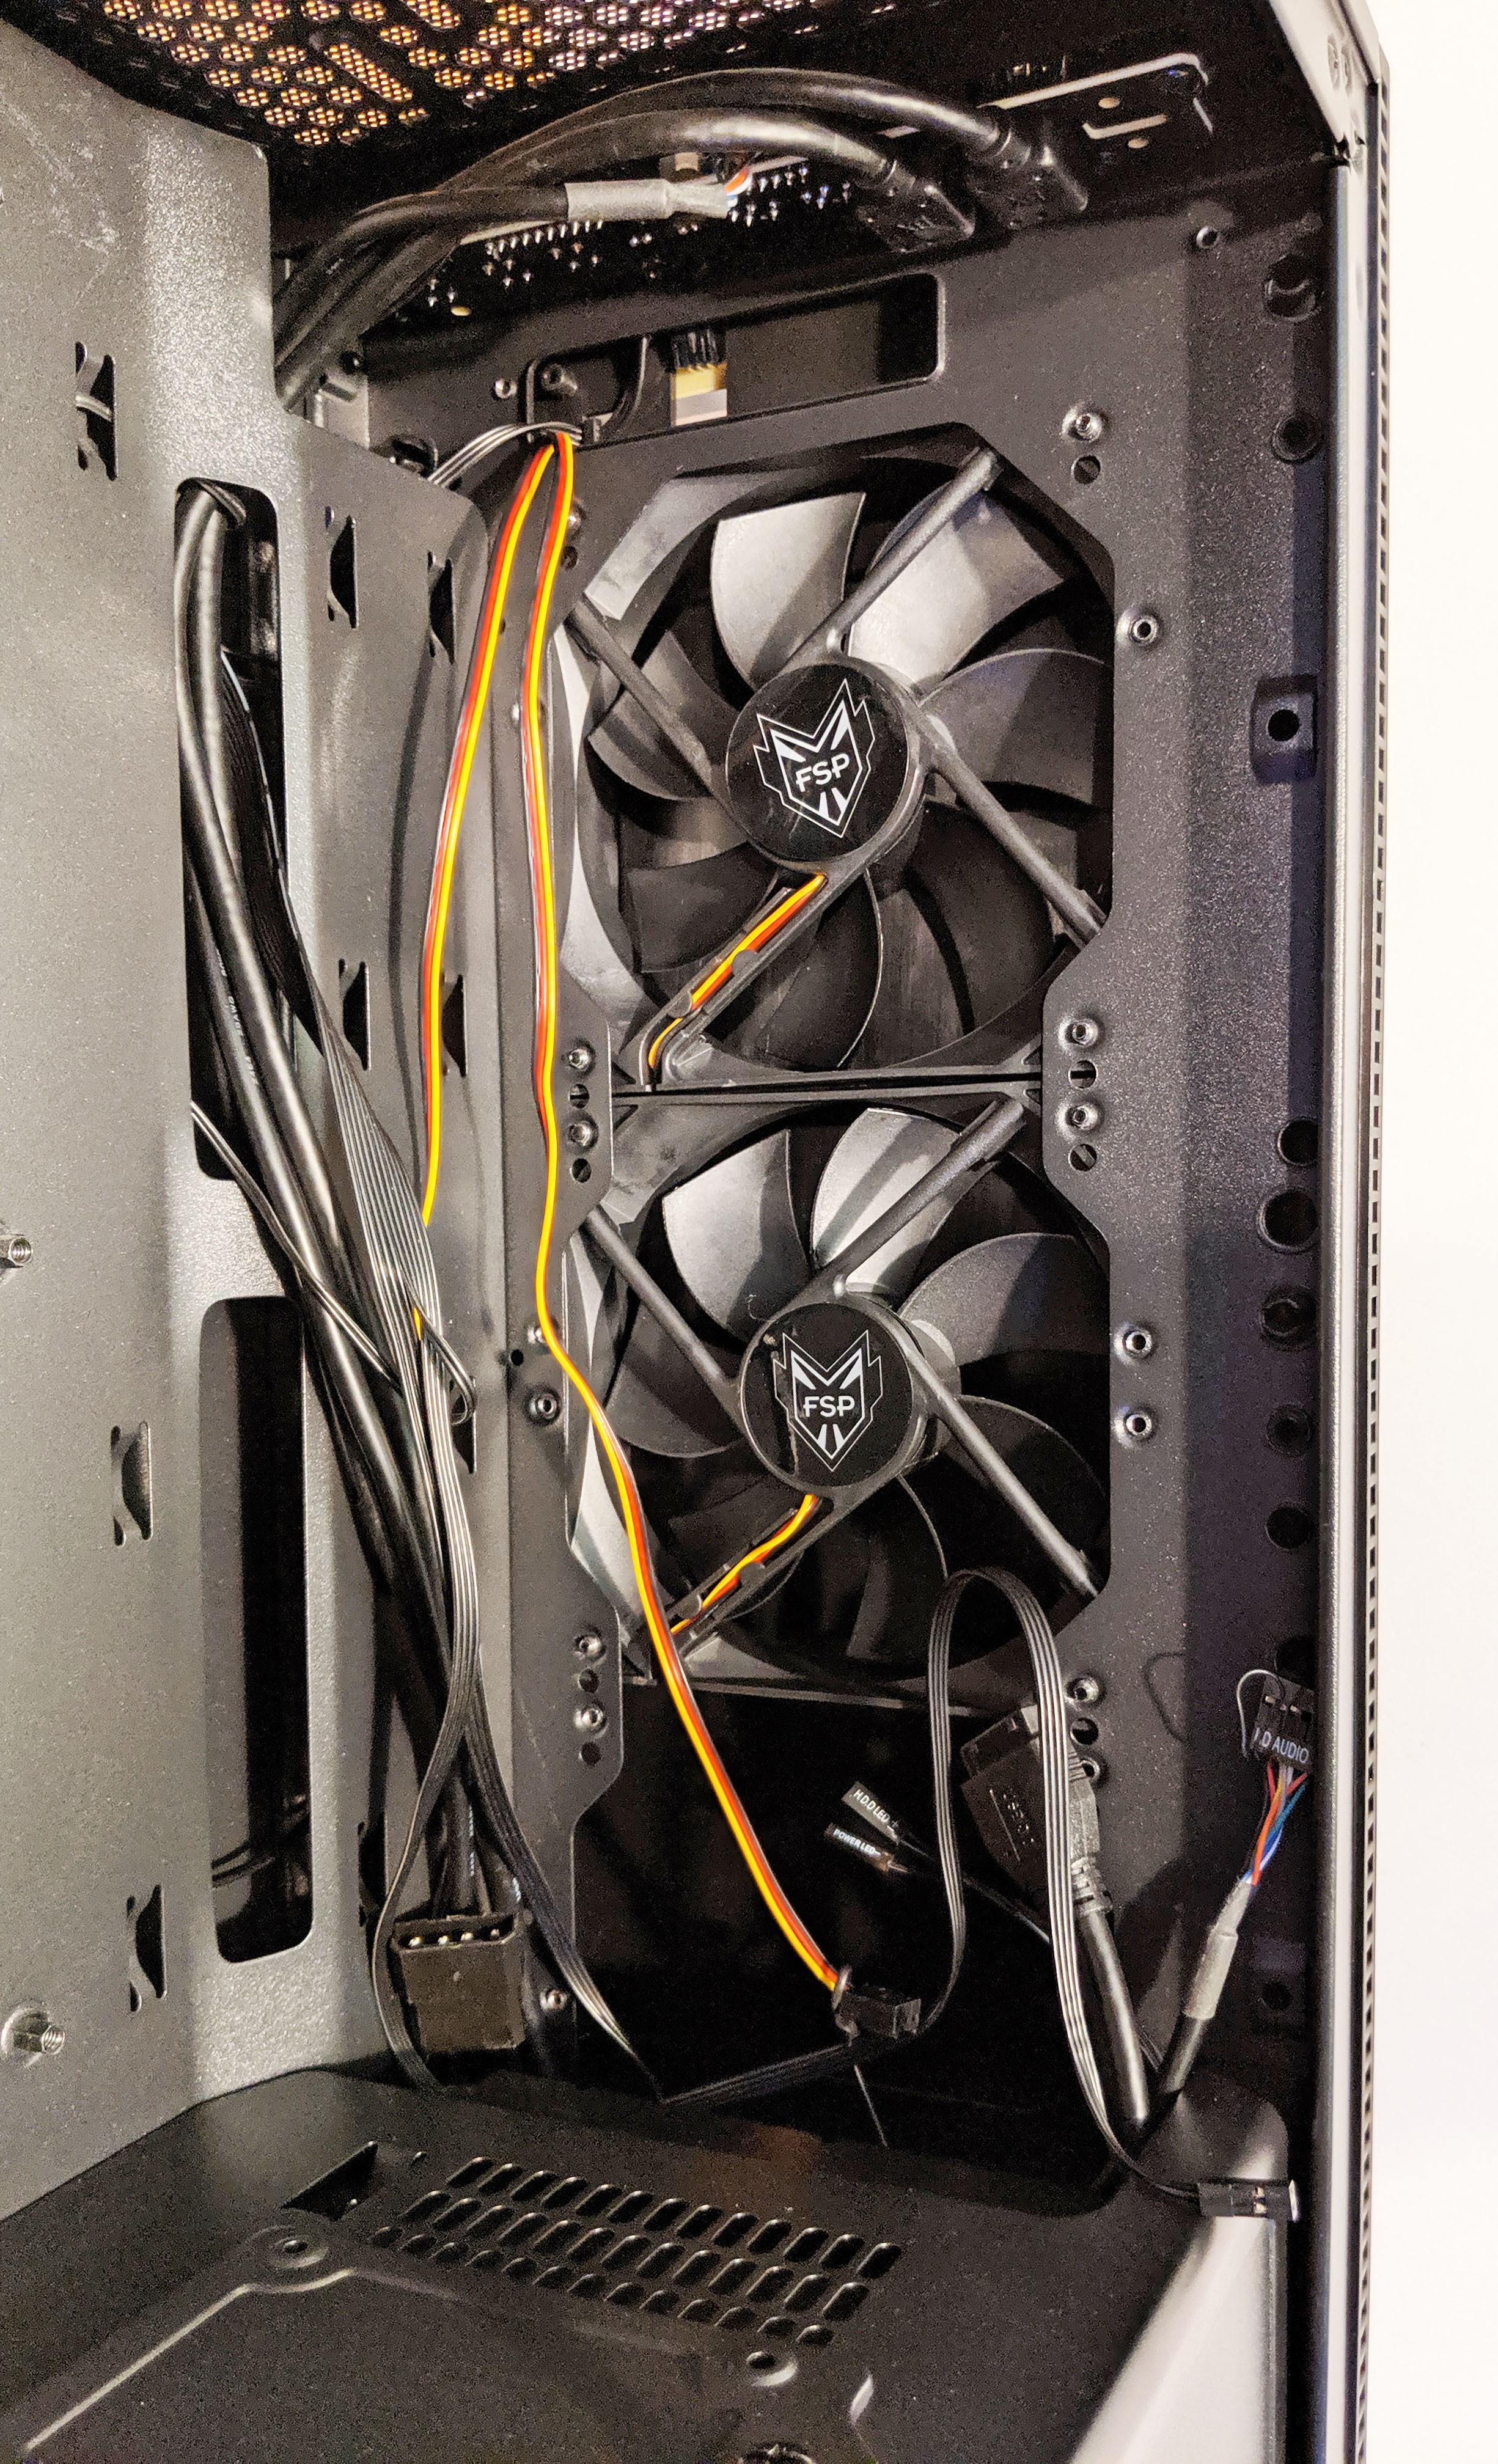
The inside of the front of the CMT350 is where you’ll find the two preinstalled 120mm fans with an option for a third.
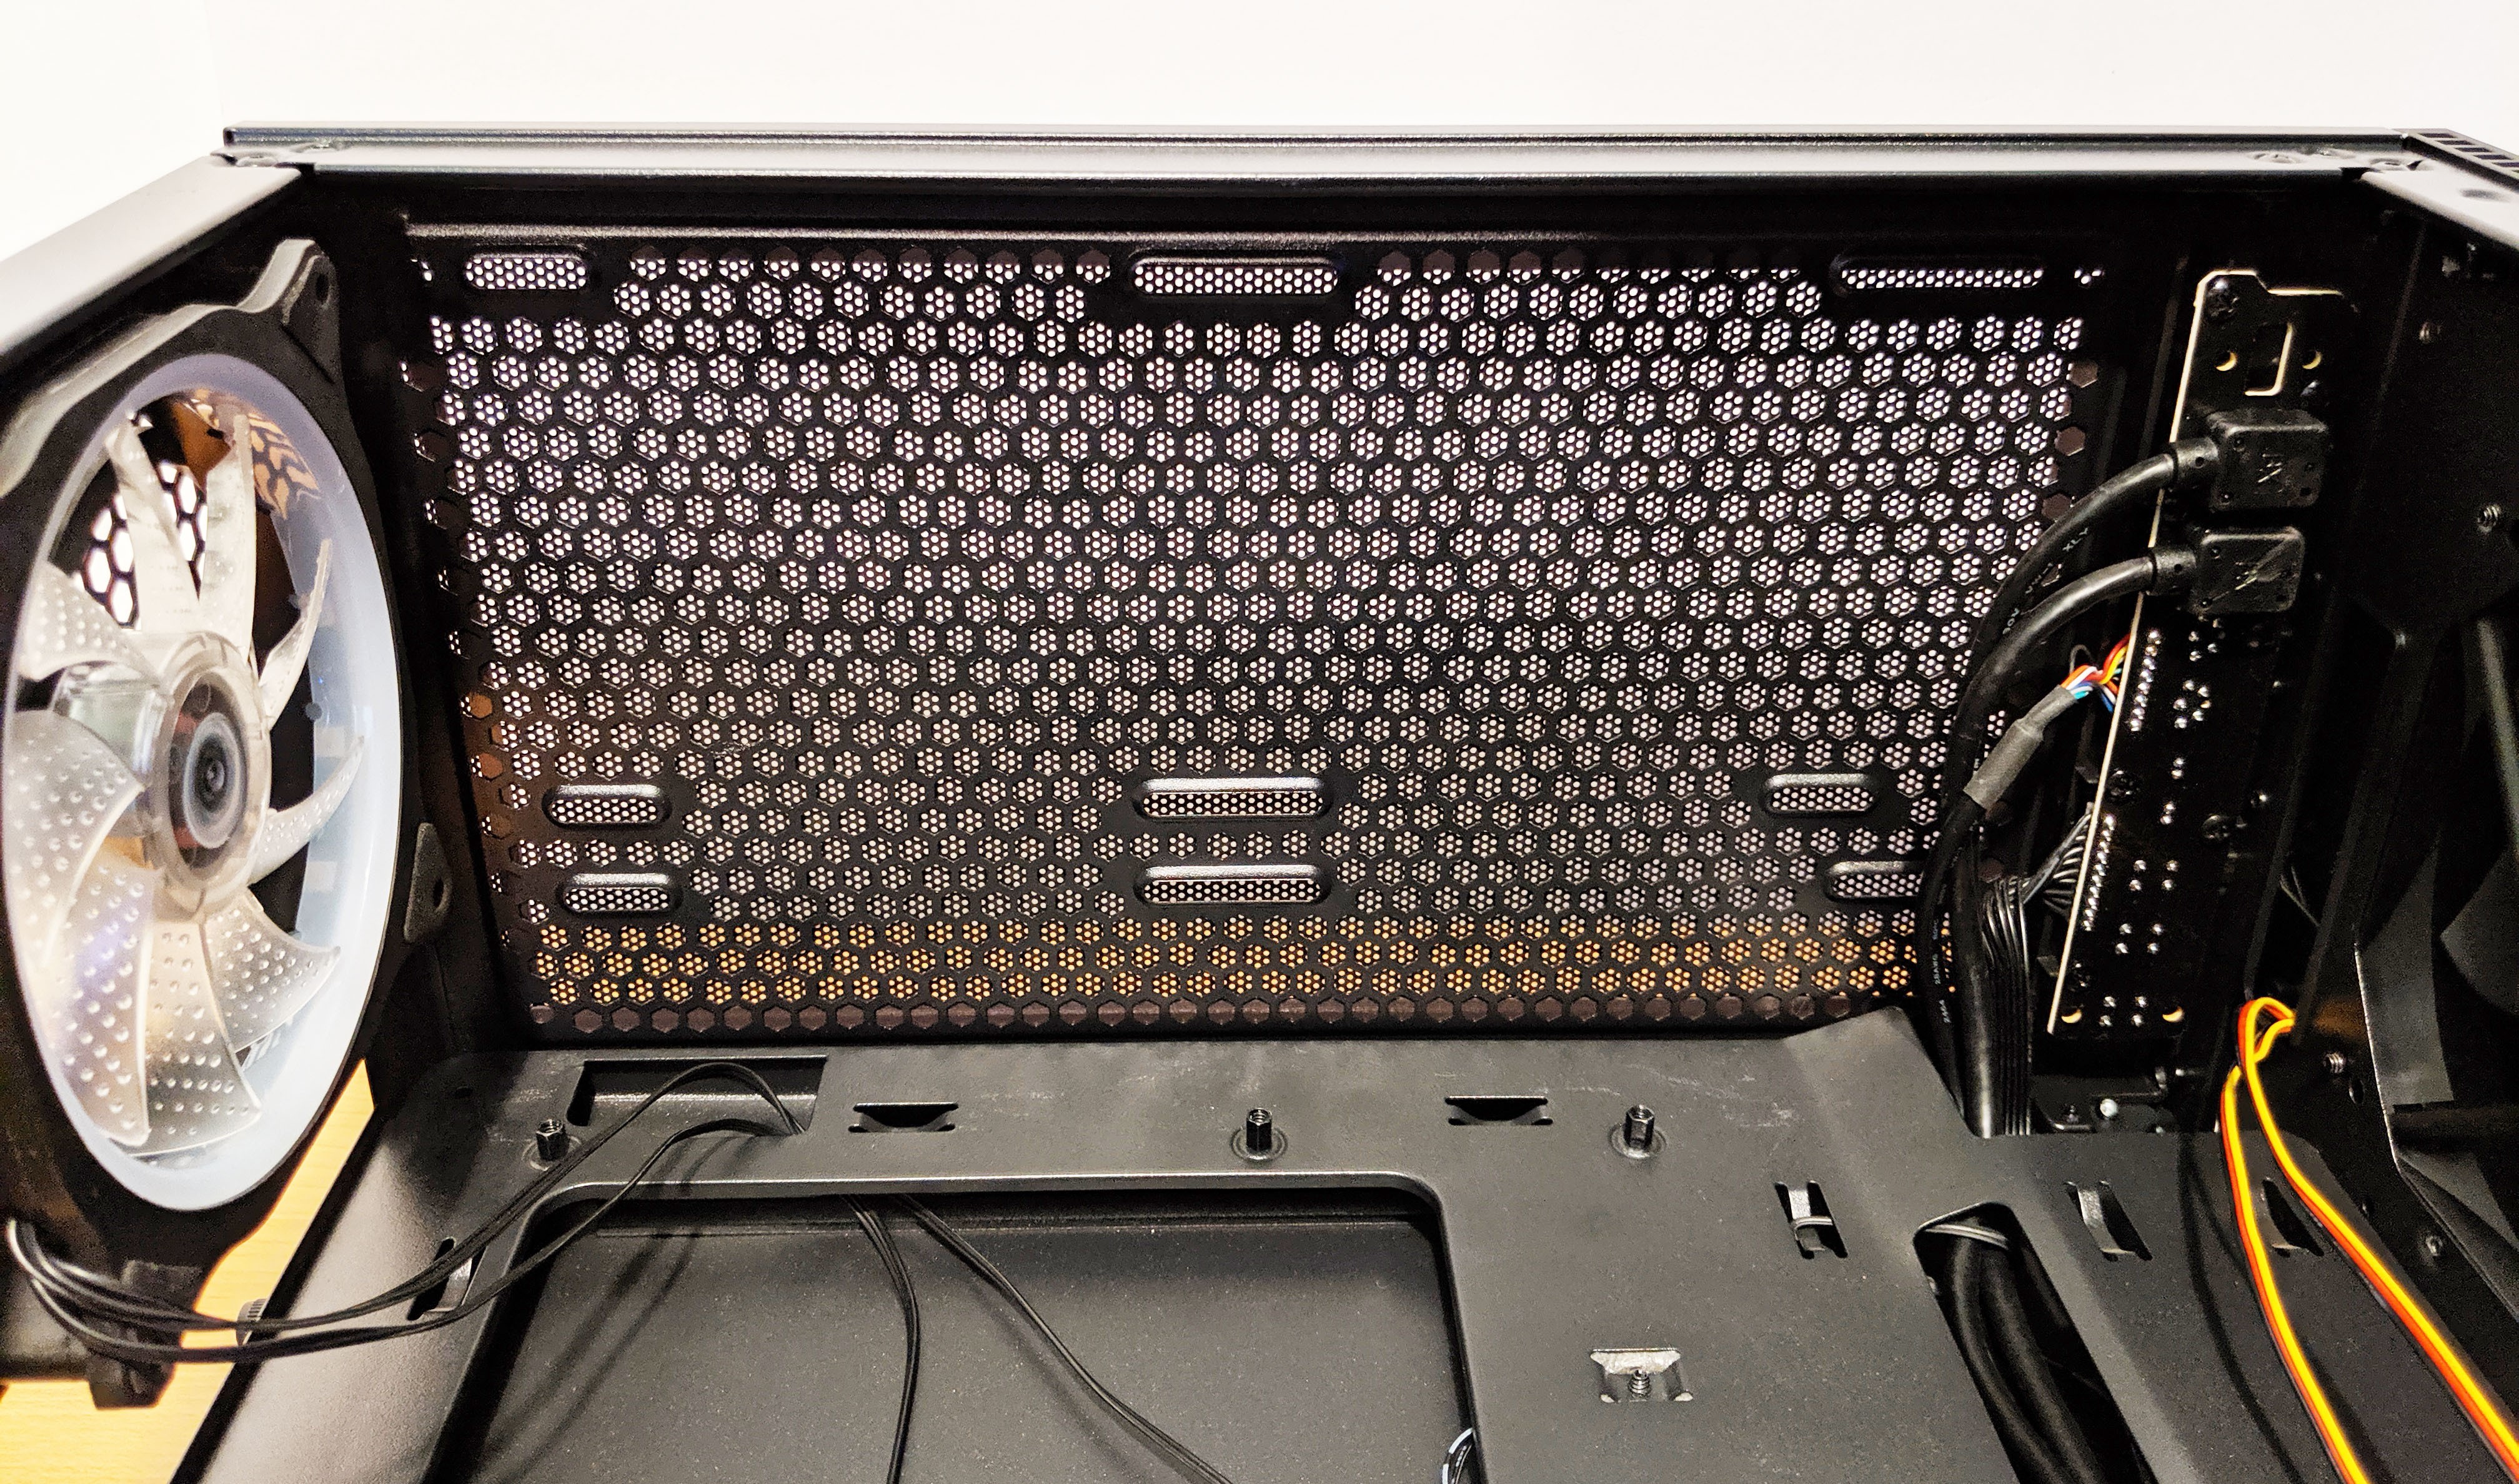
Here’s a shot of the top of the inside of the case. Nothing super cool going on here, however, you’ll notice the mounting screw positions for the fans also have options for 120mm AND 140mm fans which means you’ll probably be able to install a 280mm radiator into this case without issue. The only thing I’d be worried about is motherboard clearance and power plug access. I’m personally a big fan of the 280mm radiator configuration, however it’s strange that support for it is not listed in the official specifications.
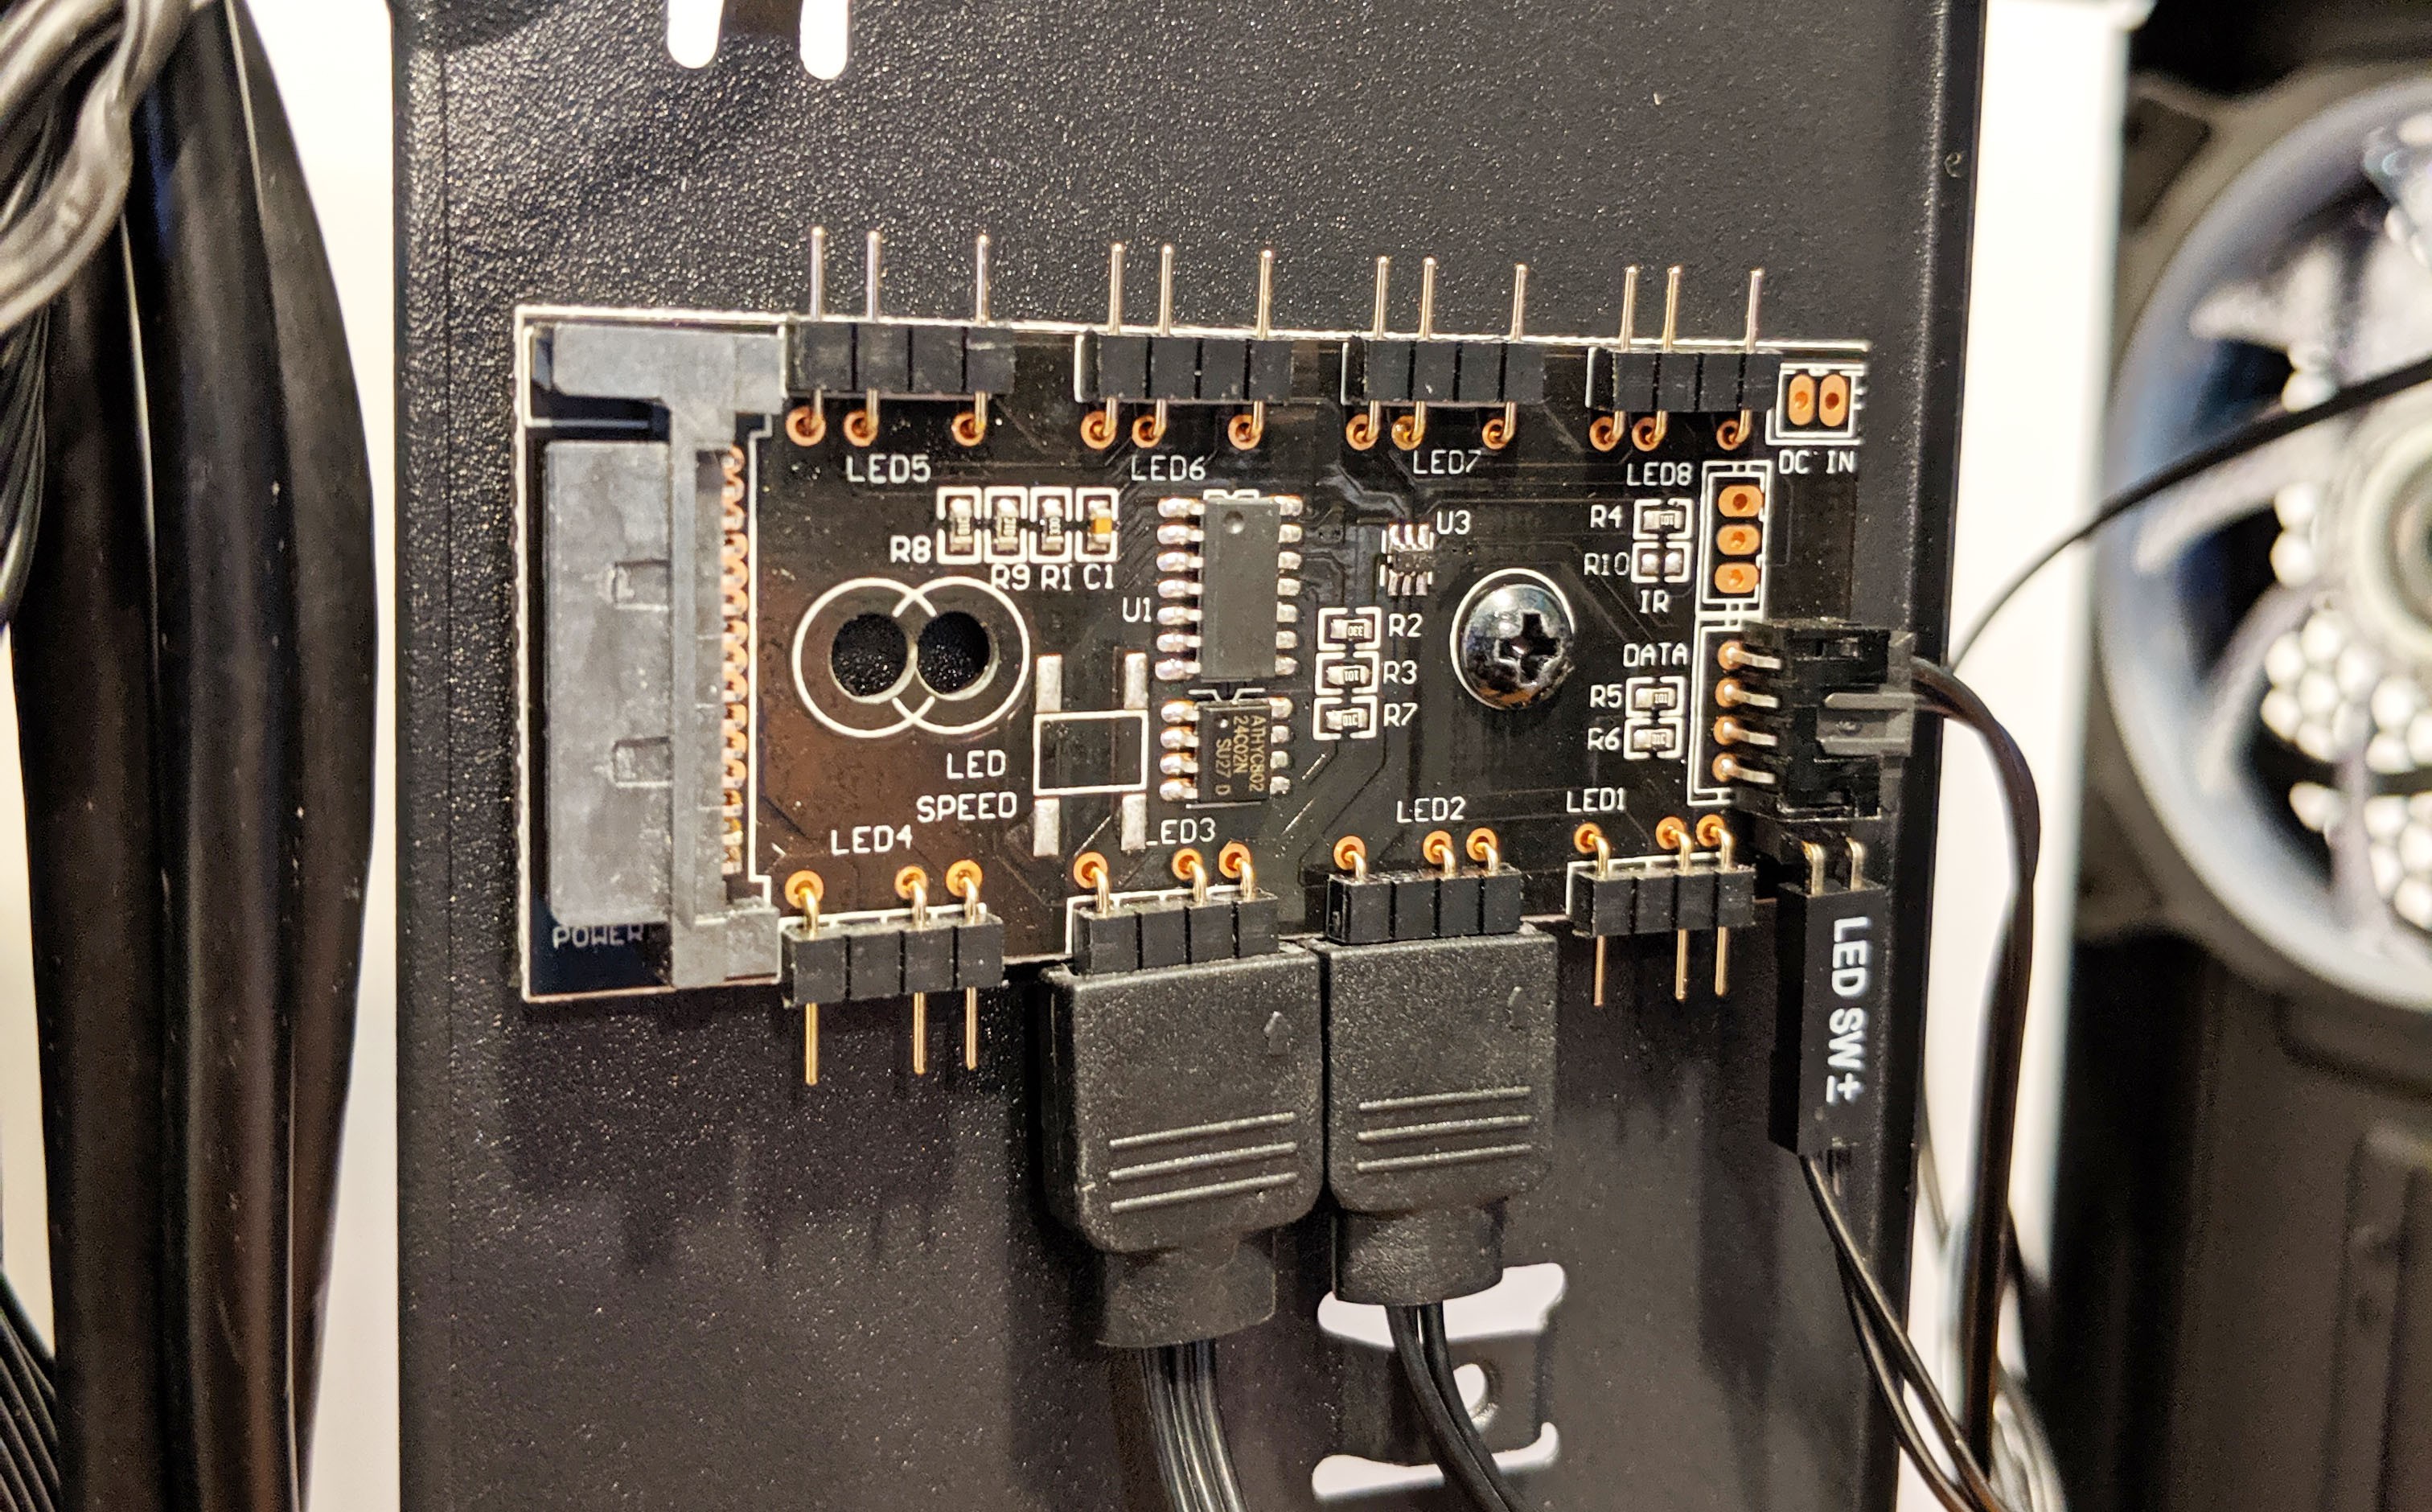
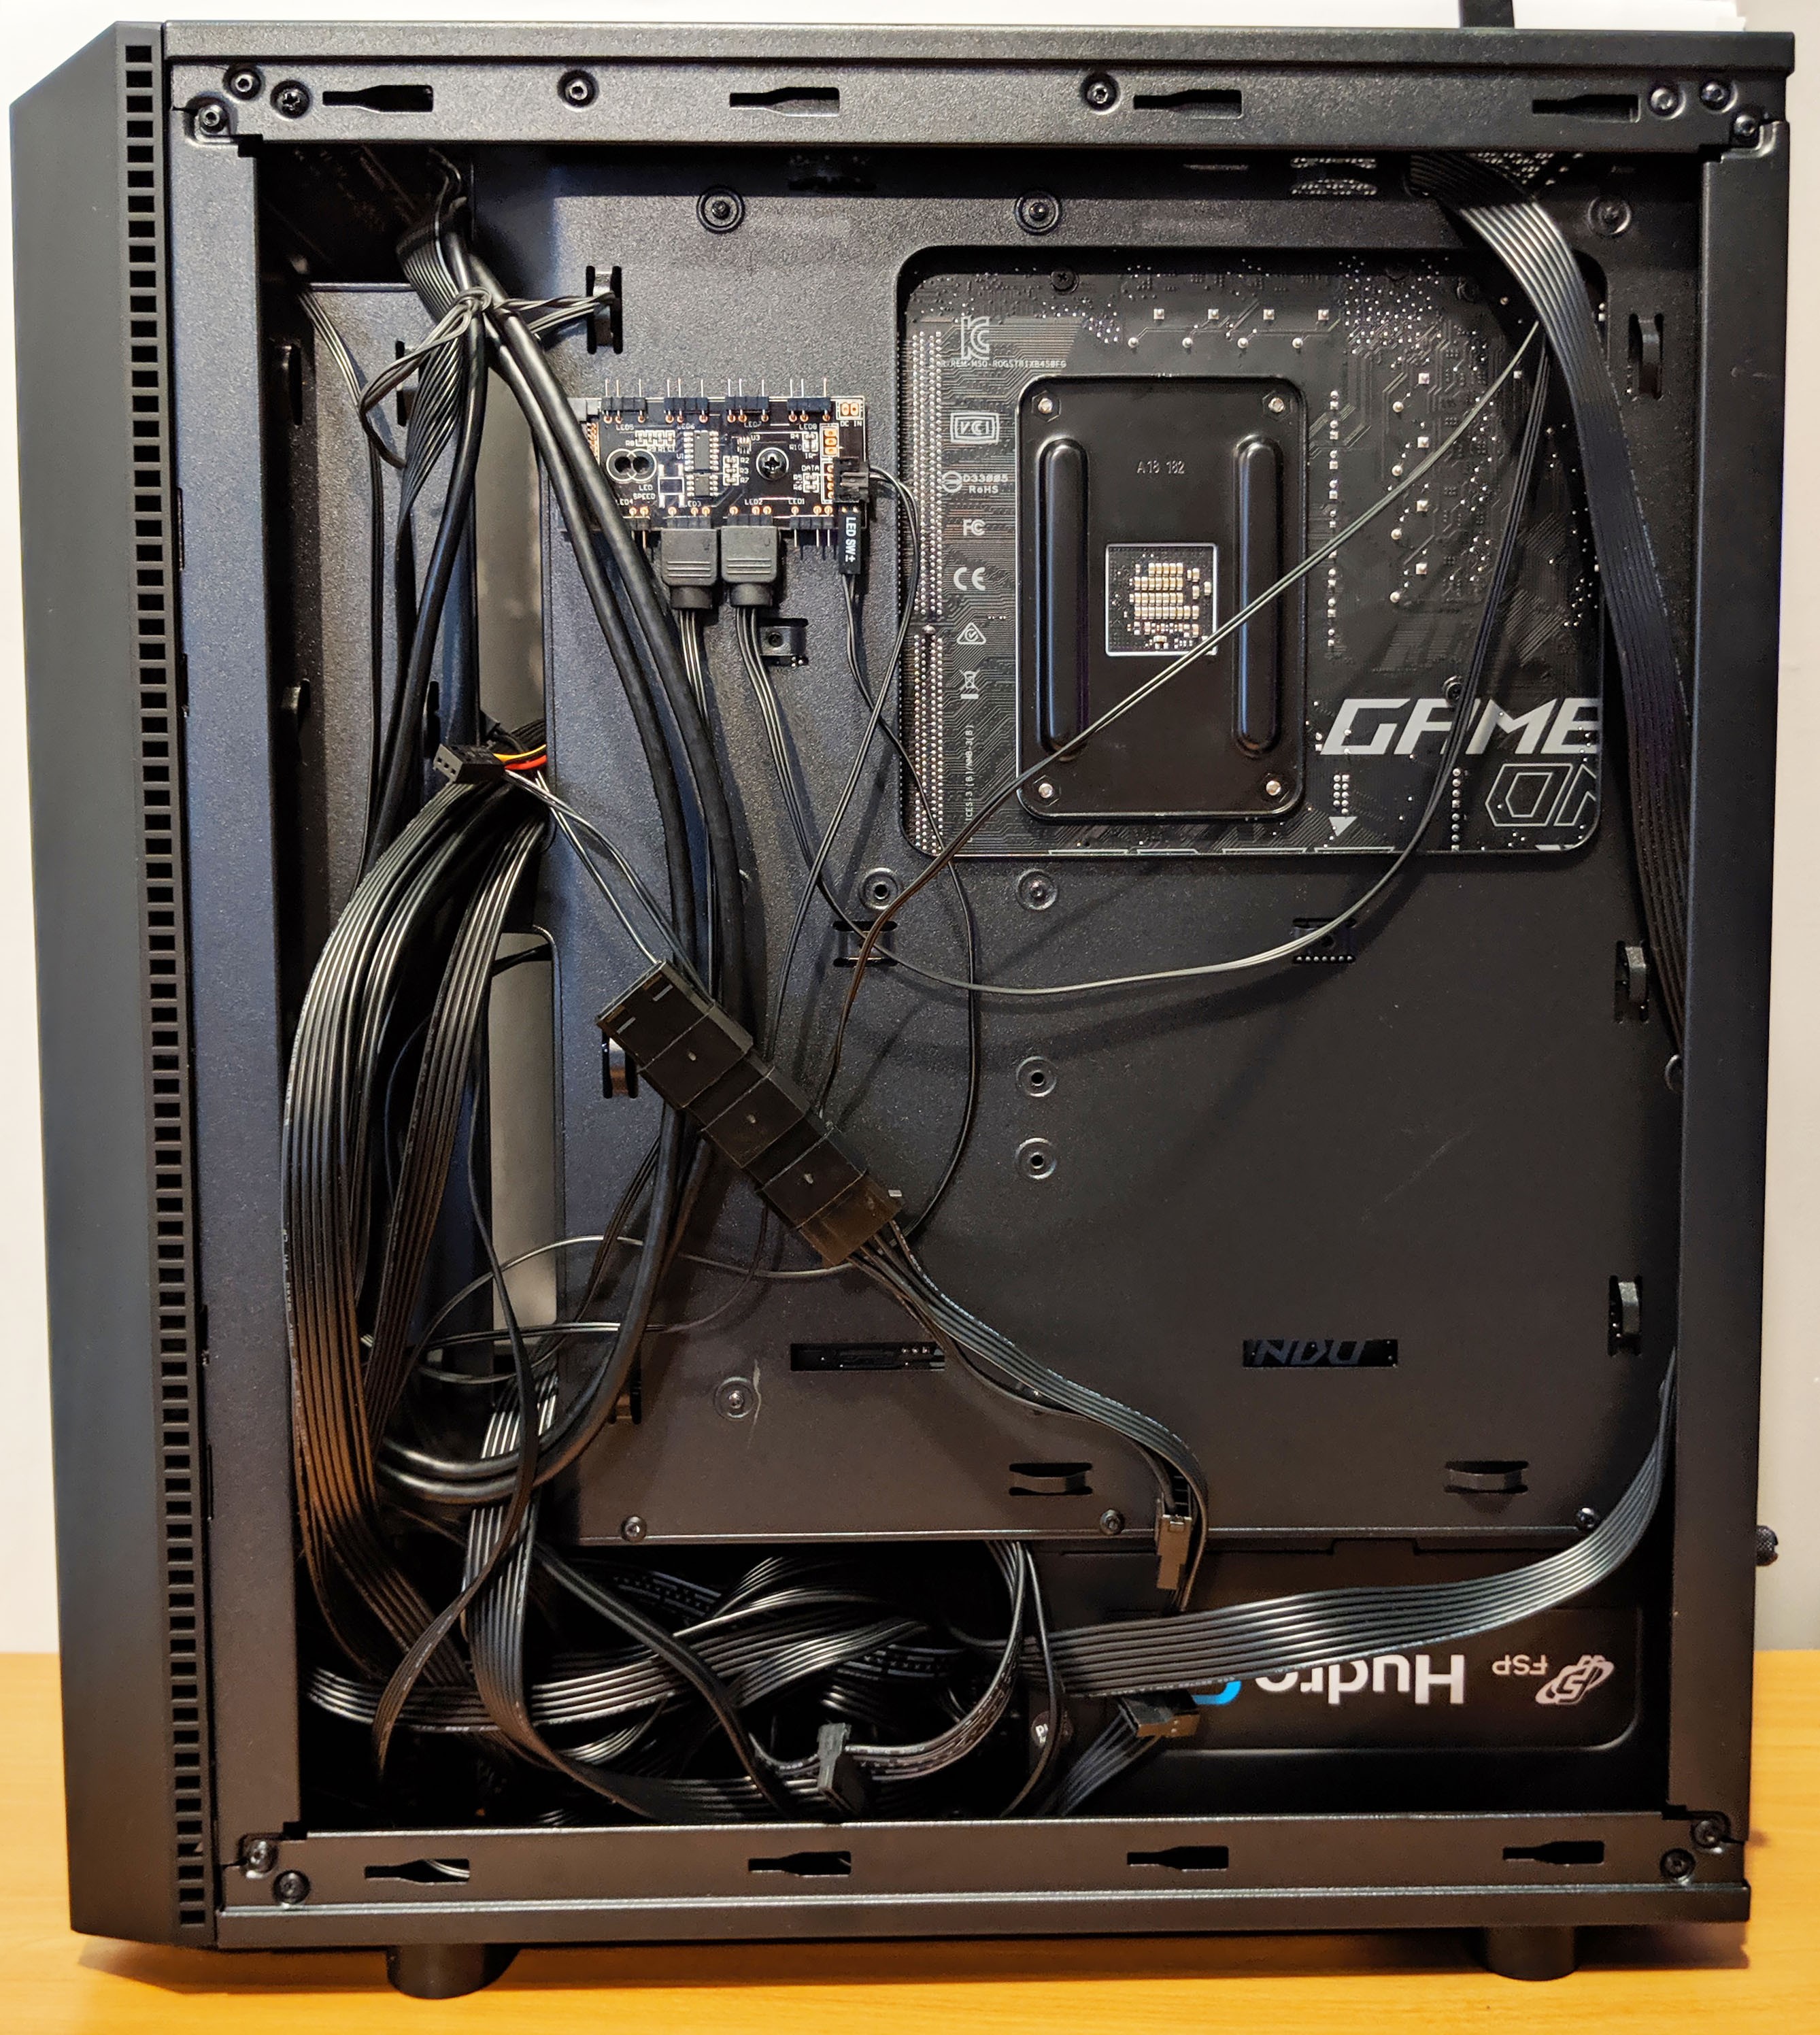
Alrighty, next let’s pop off the reverse side panel and see what we’ve got. Probably the most notable feature is the included RGB controller mounted to the reverse side of the motherboard tray. There are also sime pretty good cable management options available such as tie down points scattered all over the place as well as access ports along each edge of the motherboard for routing cables through.
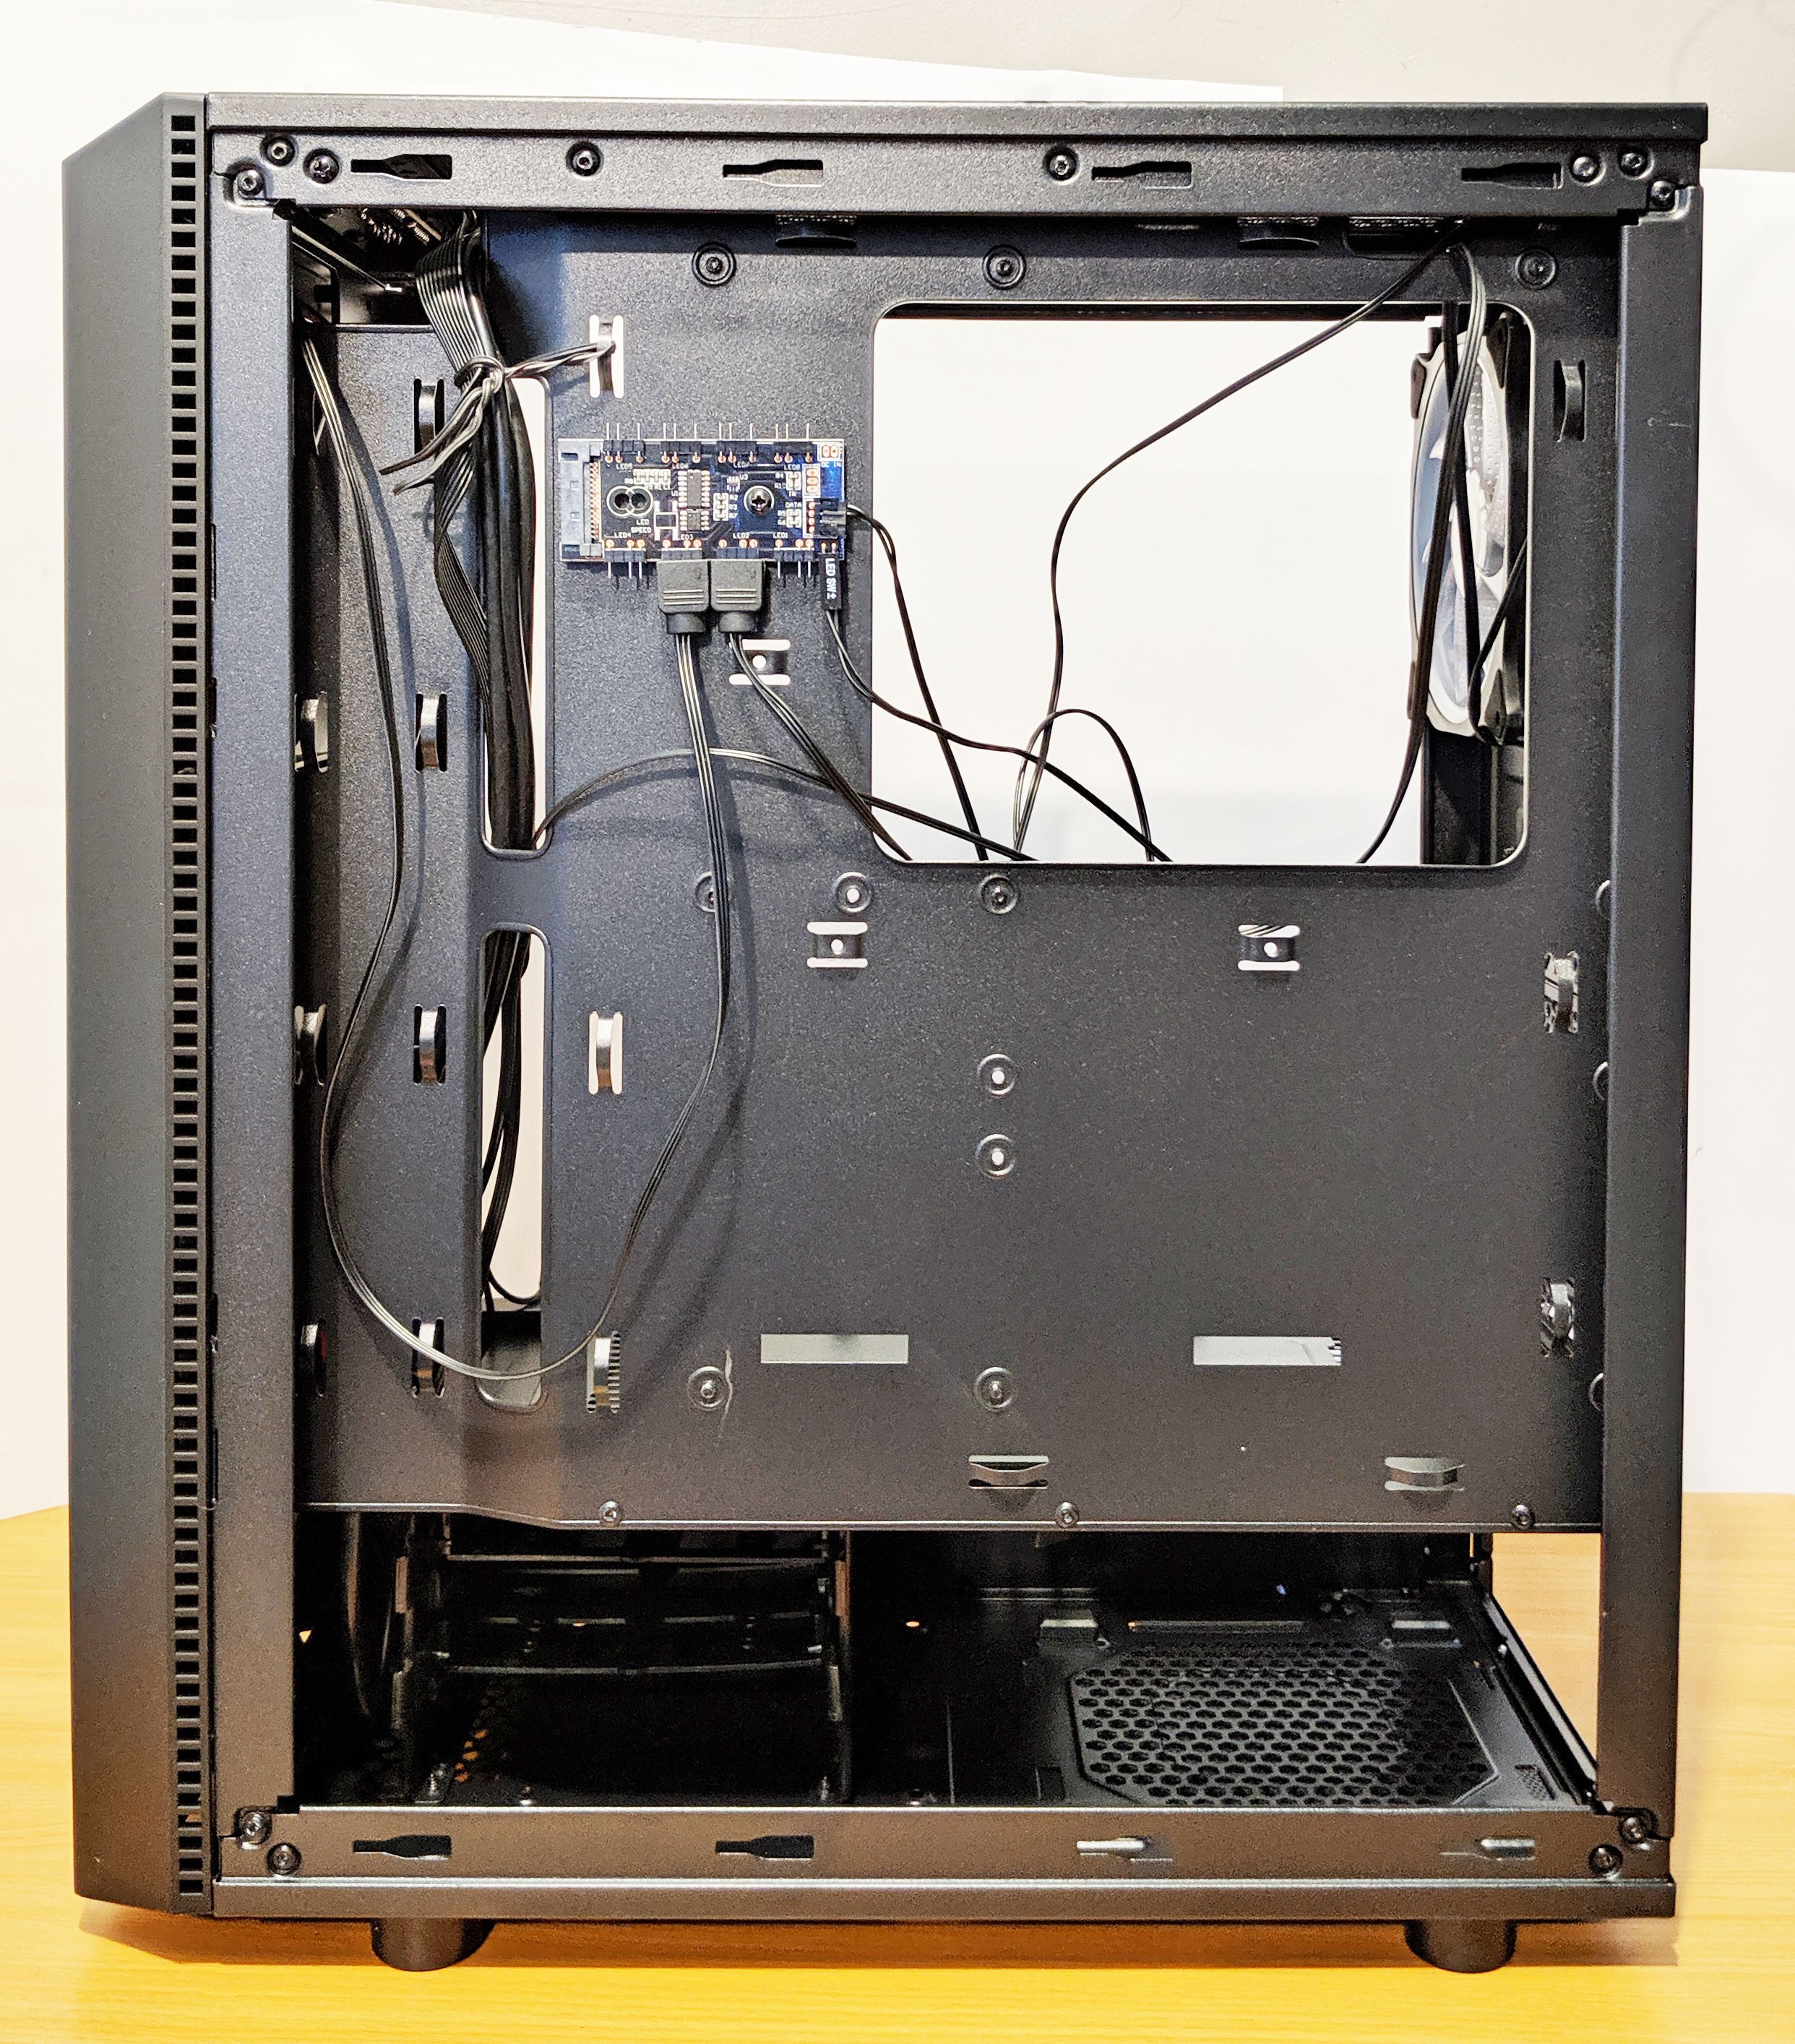
Back to the RGB controller, HUGE kudos to FSP for sticking to industry standard plugs. I feel like most cases that we review here on GND include RGB controllers with proprietary plugs for their fans that really limit the case’s modding potential. Here we see eight addressable RGB plugs using the standard 3-pin configuration.
The left edge of the controller is where you’ll plug in a standard SATA power connector, but other than that, it’s ready to go!
Located at the bottom is where you’ll mount the power supply as well as any 3.5″ hard drives you’ve got. The case provides support for up to two 3.5″ drives which are installed by squeezing the two tabs on either side of the mount and pulling outward. Then simply snap the bracket over the HDD, and reinsert the drive until it clicks in place.
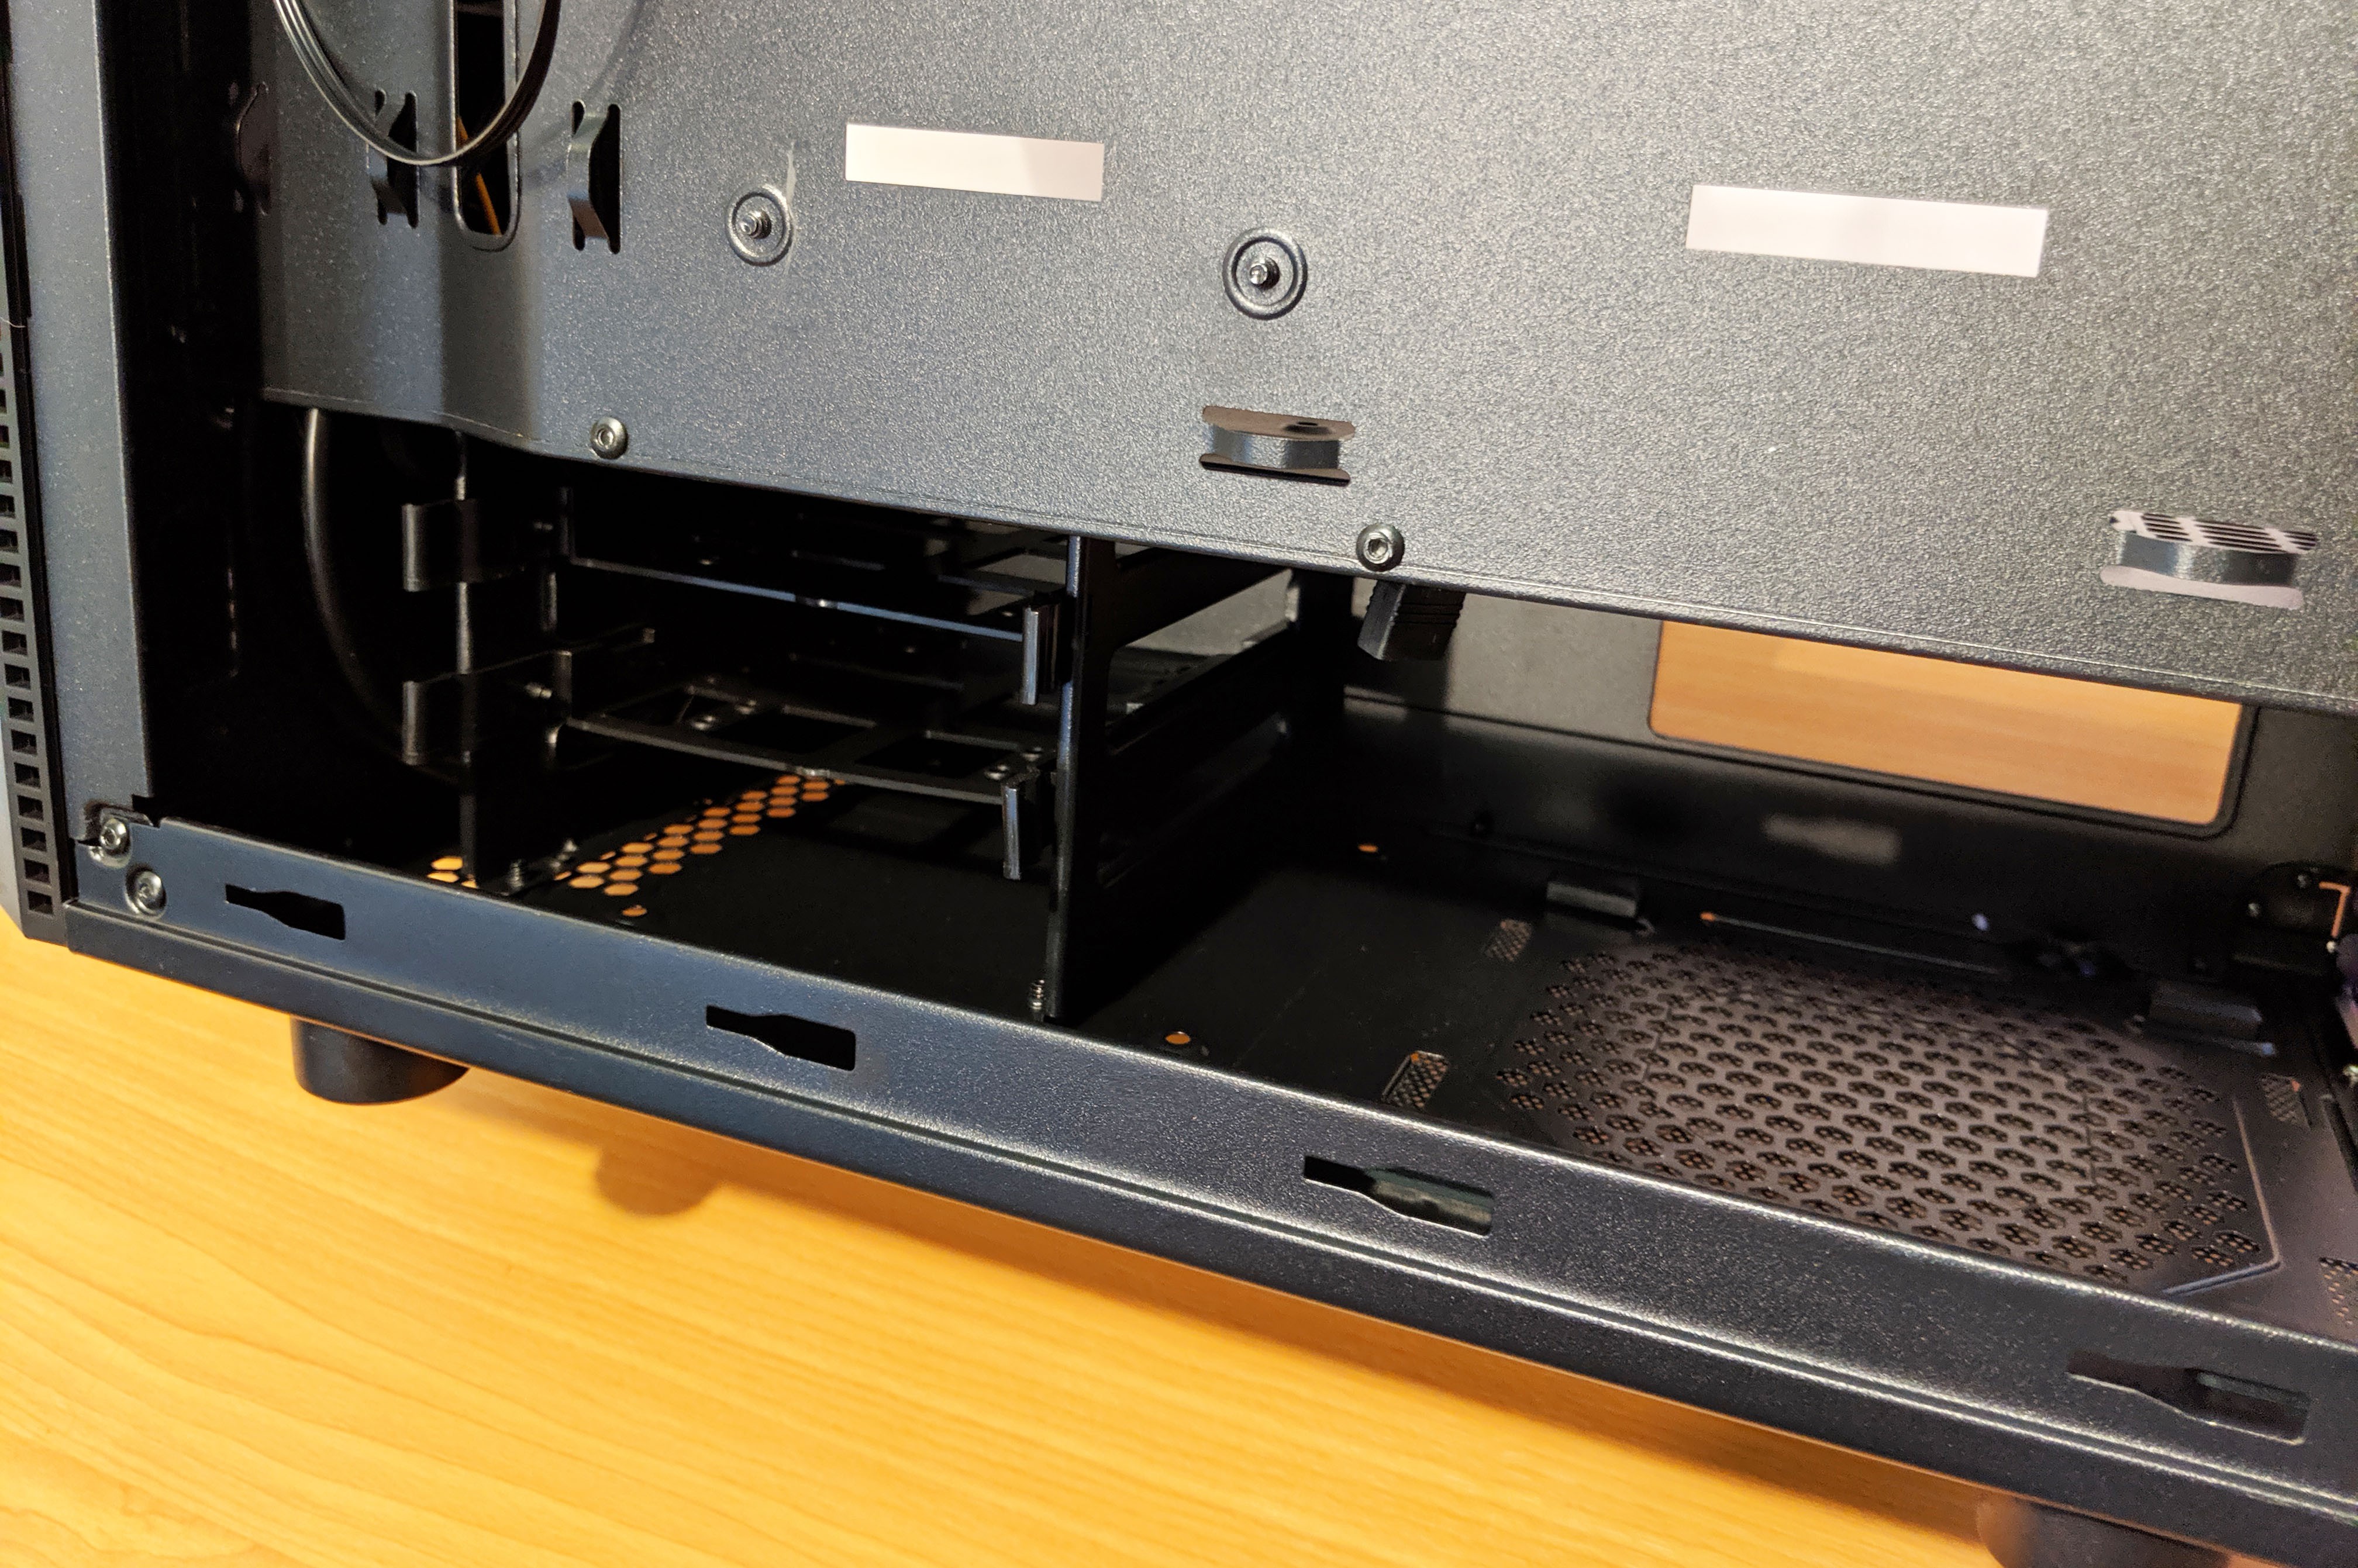
Here’s a shot of the HDD mount. Overall, pretty generic but it should do the job.

Hardware Installation
Now that we’re all certified FSP CMT350 experts, let’s throw some hardware at this case! The hardware I used is as follows:
- Processor: AMD Ryzen 2600X
- CPU Cooler: Corsair Hydro Series H60
- Memory: 8GB Corsair Dominator Pro
- Motherboard: ASUS ROG Strix B450-F Gaming (Review Here)
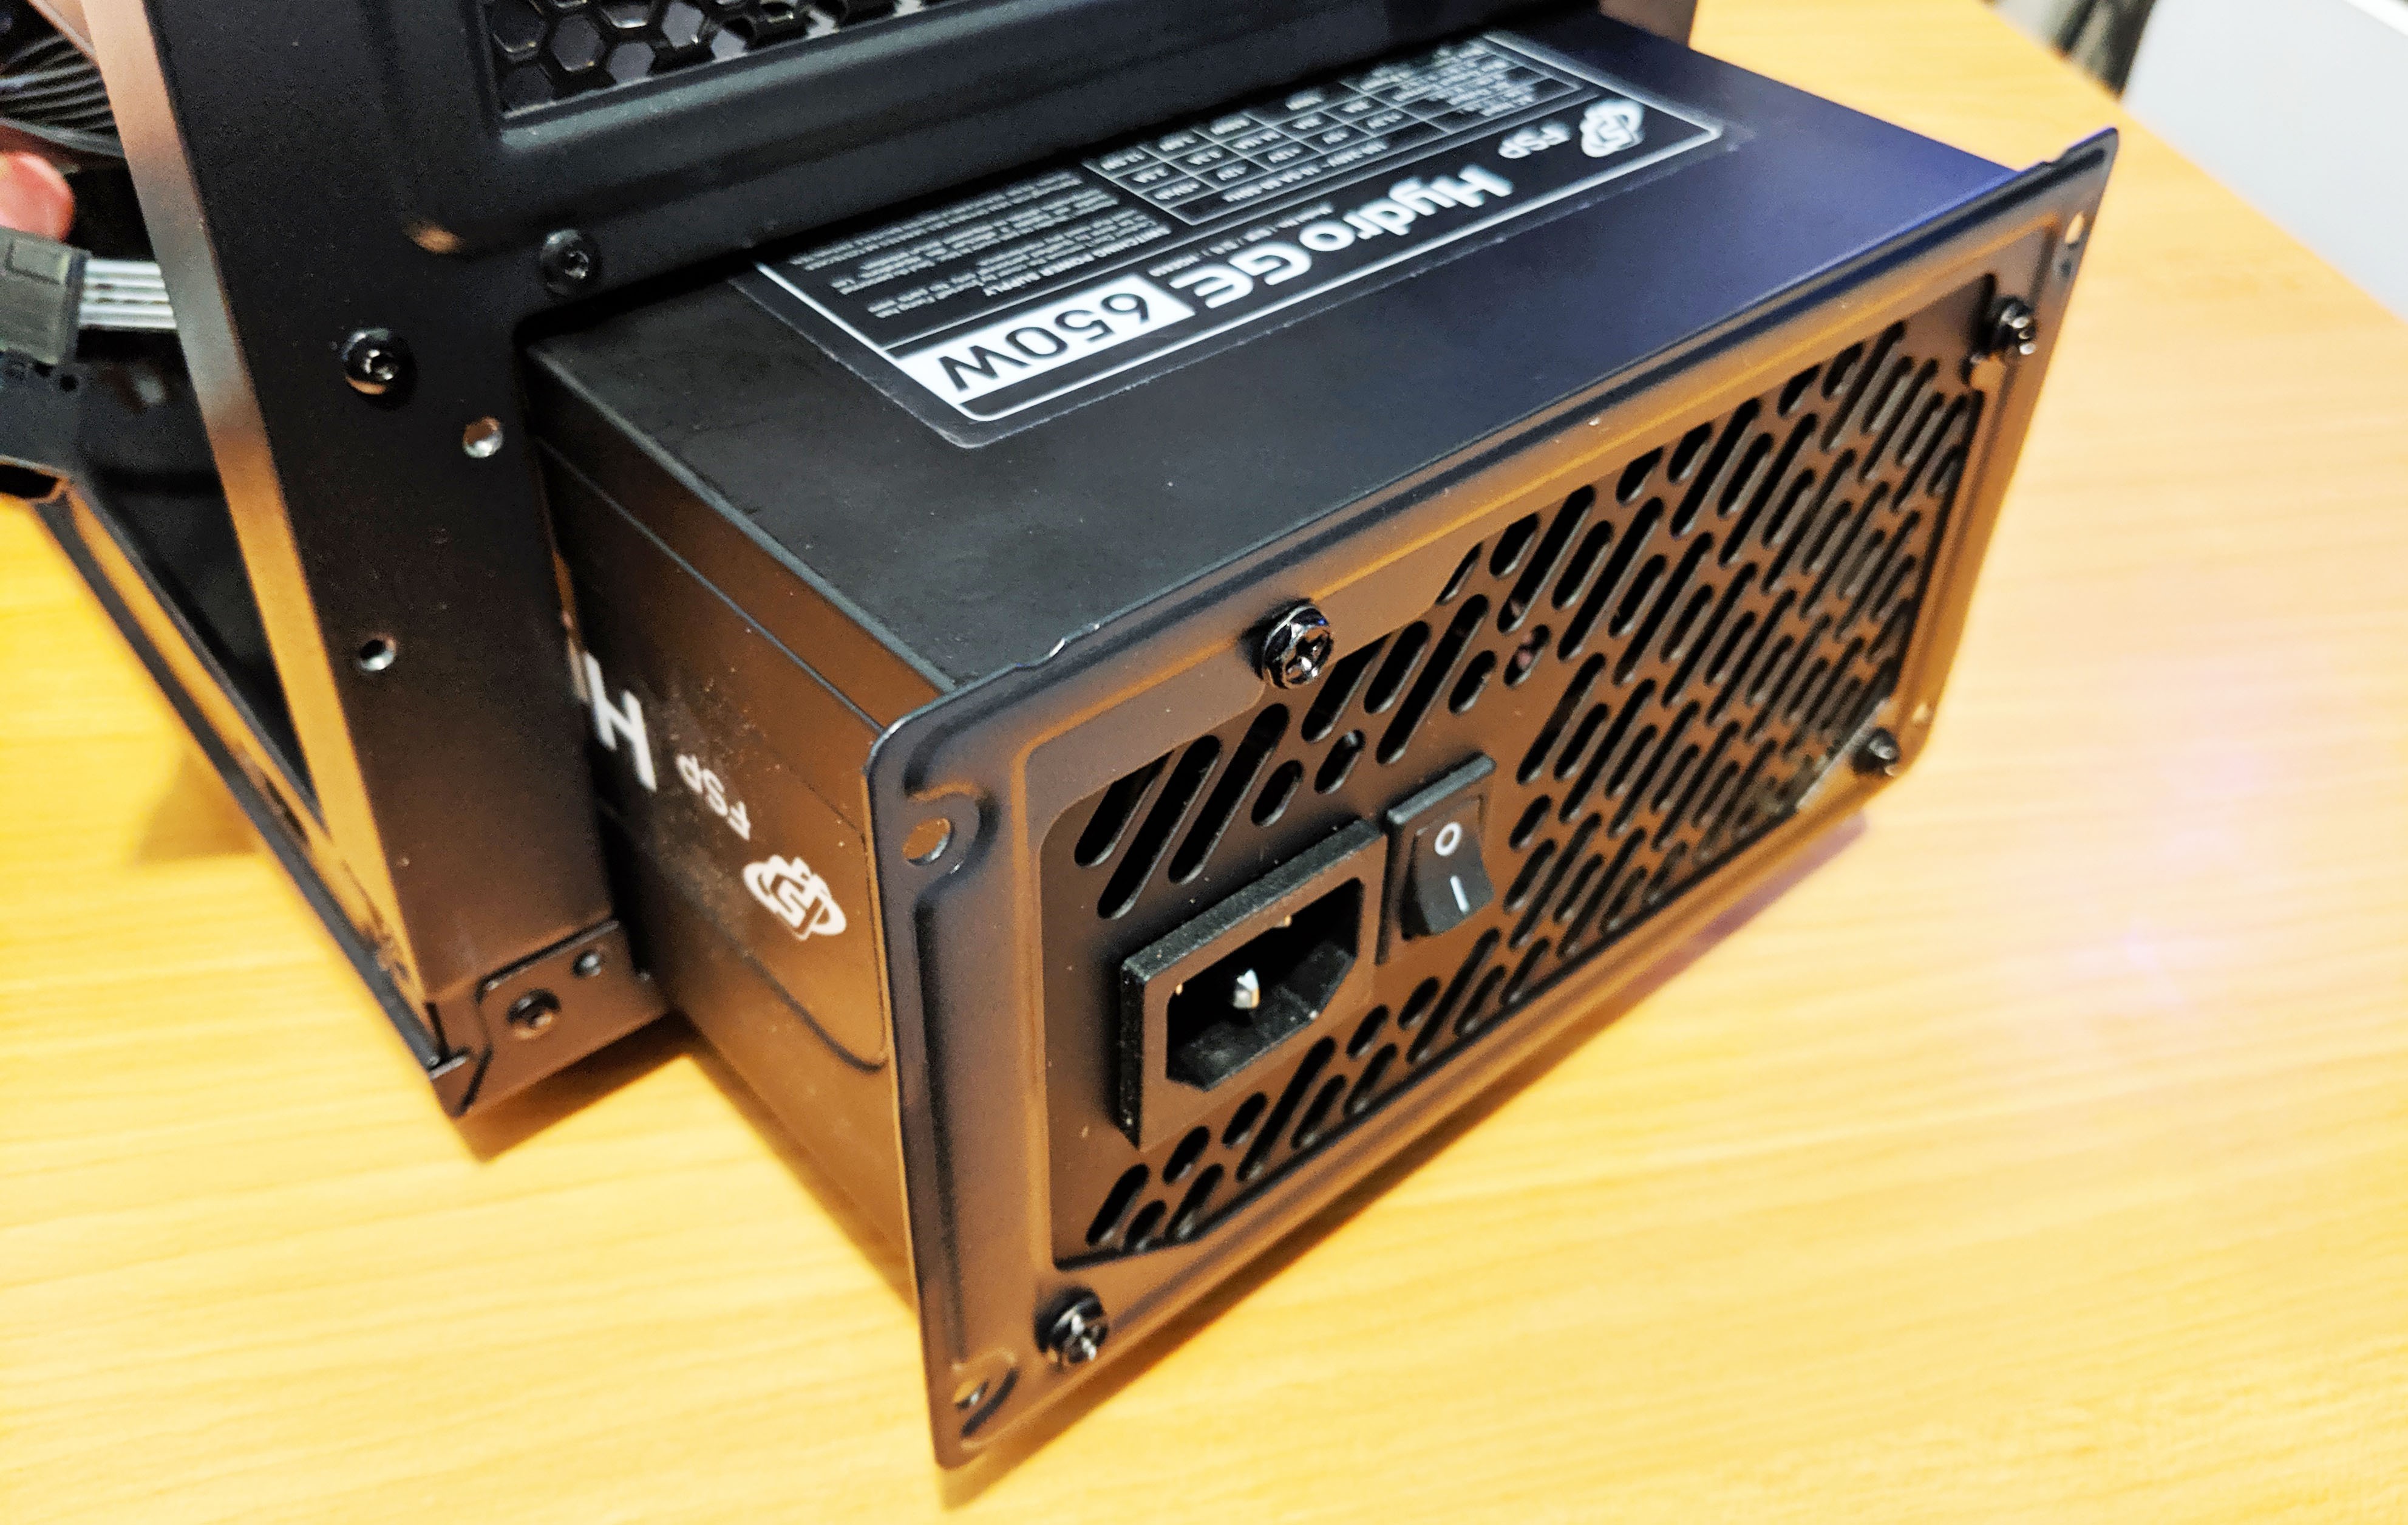
- Power Supply: FSP Hydro GE Series 650W (Review Here)
The first thing to take note of is how the PSU mounts into the case. The included bracket should be installed onto the PSU first before inserting it in through the back of the case. Also, if using a modular PSU, you may have to do some preemptive planning as to the cables you’ll need and attach them first. Once the PSU is installed into the case, access to the modular ports is pretty limited.
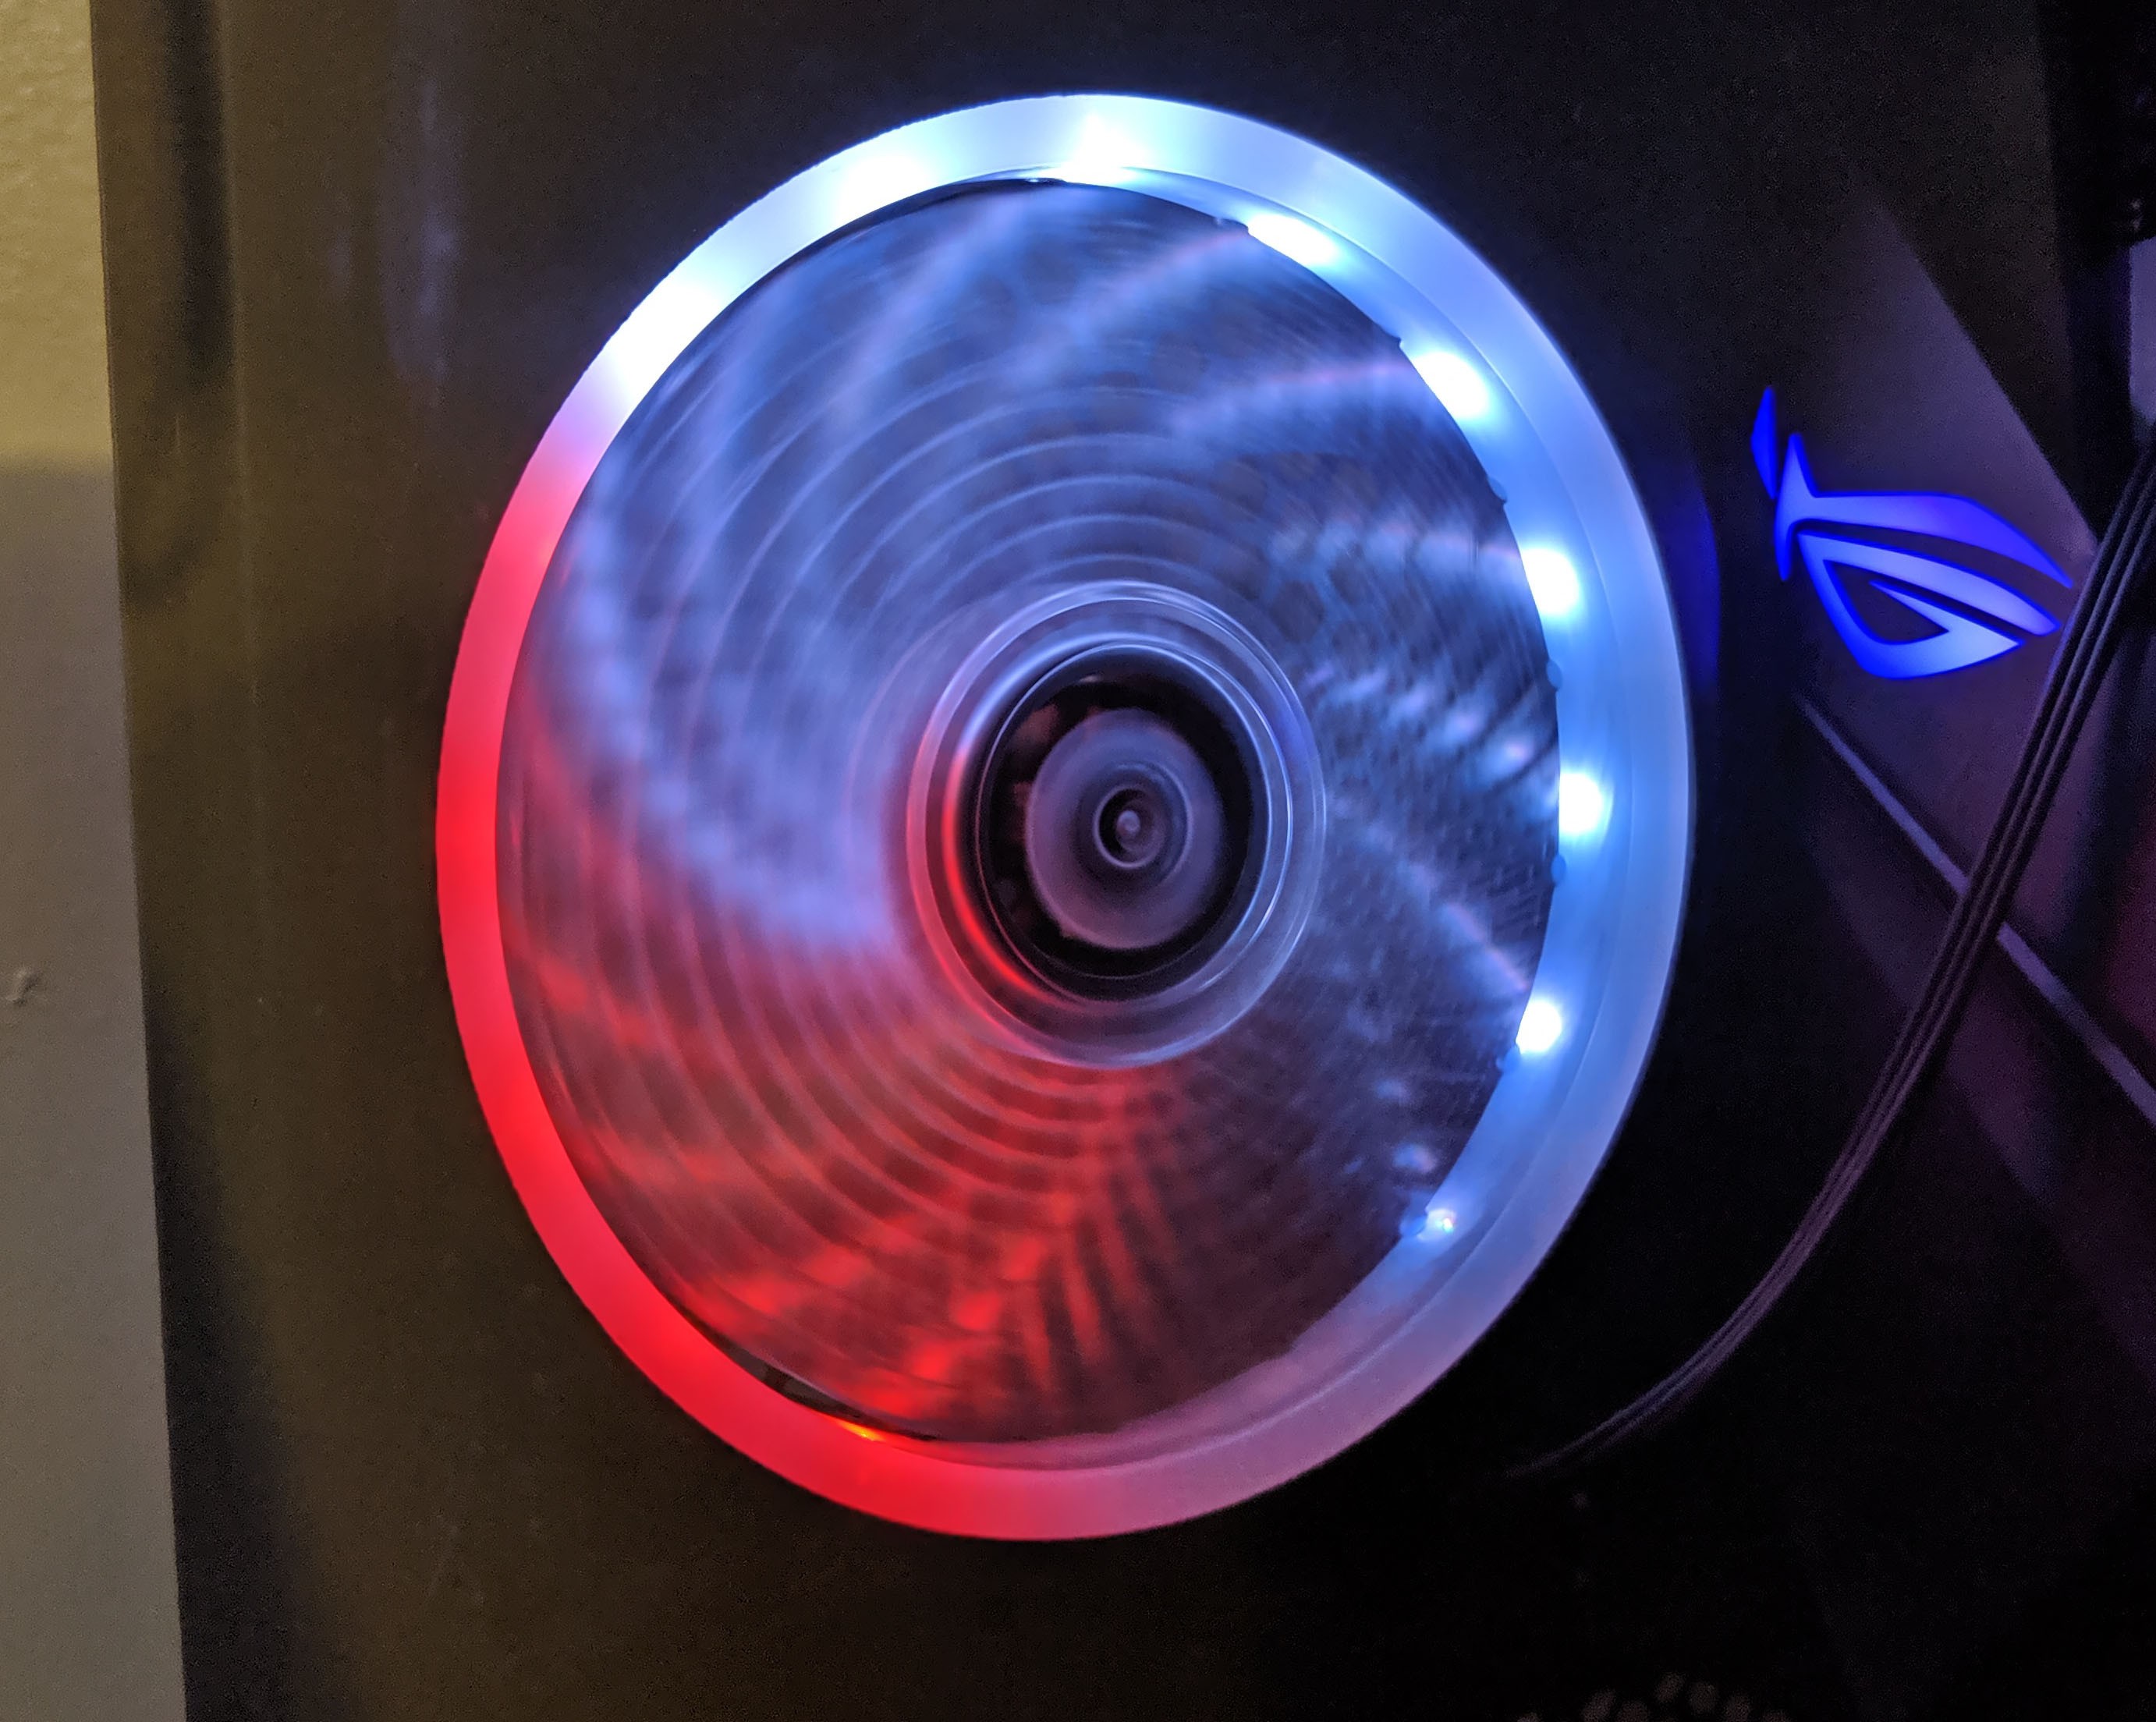
Other than that, installing hardware into the FSP CMT350 is overall pretty straightforward! During the course of the build, I didn’t feel like I was fighting for space or felt that routing cables around was awkward in any way. With all the hardware installed and the system powered on, I was immediately presented with brilliant display of RGB lights coming from the front as well as the rear fan! The LED lights surrounding the exhaust fan are quite bright and easily shine through the tinted tempered glass panel. Here’s some images of the completed build:

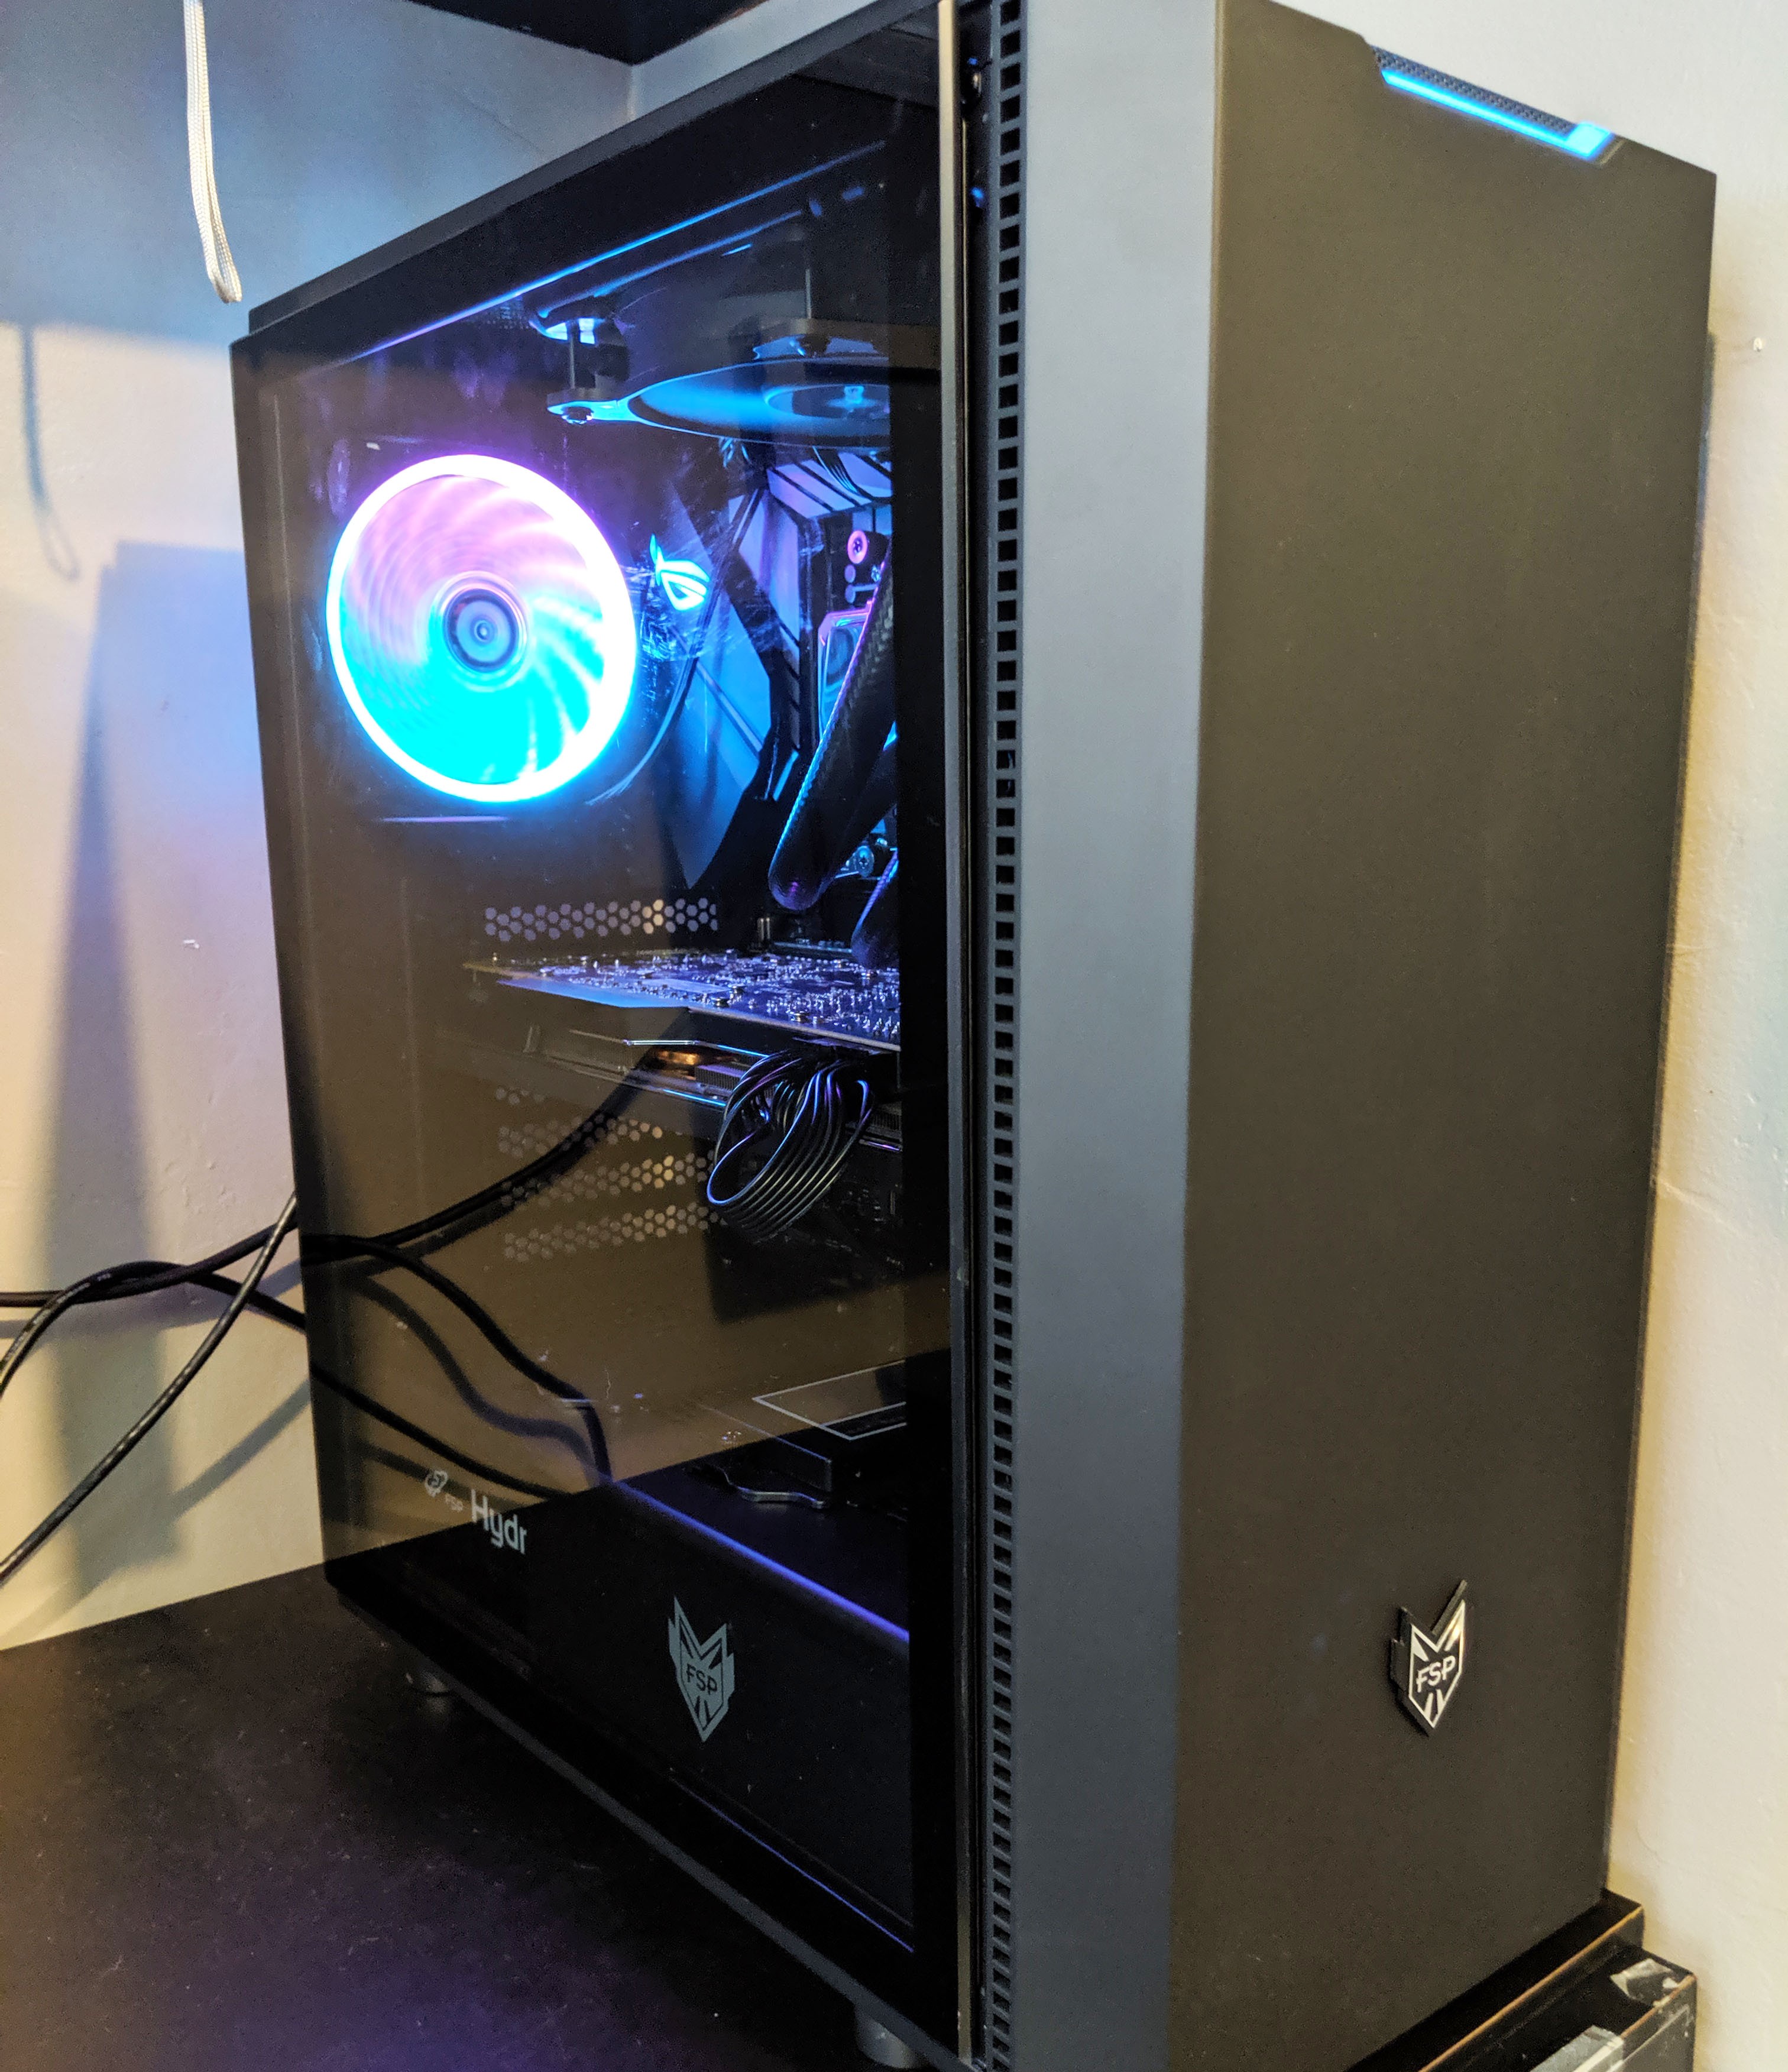

In the end, I was impressed with the case. The three included fans provided enough cooling to be effective, and was extremely quiet overall.
Final thoughts and Scoring
The FSP CMT350 case has all the high end, modern features that we’ve come to expect, and sports them nicely. It’s stealthy and sophisticated and didn’t leave me wishing for a whole lot more, especially considering the fact that this is a < $100 case. I love the use of the industry standardized RGB controller which will work with 90% of aftermarket addressable RGB fans out there should the need arise for more stylized cooling. Overall, the case is well constructed, looks great and comes with a decent amount of features overall.
My only gripe has nothing to do with the case itself, rather with the fans. My gripe is with the lack of PWM fans. The two front fans are just kind of “meh” and all three use the 3-pin standard which limits cooling customization and temperature control.
Next, let’s break down how this case did based on several categories:
- Build Quality: 9.5/10 – No real issues with quality, and at no point did the case give off any “cheap” vibes. Overall, it is a well constructed and rigid case that should stand up to years of abuse.
- Appearance: 9.1/10 – Great looking case overall, especially when powered on. The RGB strip added to the front of the case adds a decent amount of character without it being over the top.
- Functionality: 9.5/10 – For a mid-tower ATX case, the FSP CMT350 sports tons of cooling options and I was very surprised to see options for 140mm fans (and potentially a 280mm radiator) at the top of the case.
- Performance: 8.1/10 – You shouln’t have any trouble keeping your internals nice and cool. My only gripe here is again, the lack of modern PWM fans, and I felt that the front fans were ones that I’d end up replacing.
- Value: 9.3/10 – Overall, great deal overall considering the tons of features that come bundled in with this case. It looks good, and has the features to back it up. I’d say that the price is about what you’d expect for this particular case. (MSRP: $94.99 USD)
Product Page: https://www.fspgroupusa.com/ecommerce/case-case-fans/pc-cases/cmt340.html
Purchase: FSP CMT350 PC Case

FSP CMT350 PC Case Review
"The FSP CMT350 case has all the high end, modern features that we've come to expect, and sports them nicely"