We’re at it again with another gaming computer case from Cooler Master! This time we’ll be taking an in-depth look at a new edition to its mid-tower lineup, the MasterBox MB520. This particular case is very similar to the MasterBox MB600L we reviewed late last year, however this case features much larger front intakes and is able to support three 120mm fans (or a single 360mm radiator) without having to worry about intake restrictions. The MB520 also has additional support for two 120mm fans located on the top of the case allowing the unit to support up to six 120mm fans.
The MasterBox MB520 is an affordable mid-tower PC case that is able to provide plenty of options that the typical gamer would want, without having to break the bank. The front of the case does not feature any storage mounting such as 3.5″ drives or 5.52″ slots for that matter. This seems to be the direction that most case manufacturers are going as let’s be honest, disk storage on the PC has been slowly taken over by removable flash media for years. Personally, I haven’t rocked a CD/DVD/Blu-Ray disk drive in one of my PC’s since 2012.
With all the open space with the storage removed, it really presents a clean interior making cable management much easier, while also allowing smaller cases to support large graphics cards. The front of the case is now dedicated to cooling options, and in the MB520’s case, liquid cooling support. At the end of the review, I feel like we would not do justice without some sort of liquid cooling unit installed in the case.
MSRP for the case is $59.99 and is available now. More information can be found on Cooler Master’s Product page: http://www.coolermaster.com/case/mid-tower/masterbox-mb520/
Alright, enough intro… let’s dig into the review!
Features & Specifications of the Cooler Master MasterBox MB520
The MB520 is a pocket-rocket of mid tower cases. It’s small, sleek and packs quite a few features that you might typically find on higher end cases. Some of these features include PSU isolation, and dust filters on all the intakes. PSU isolation allows the PSU to draw cool air from within a closed system while not affecting airflow for the rest of the internal components. Dust filters…. yeah those are just a good idea which we’re pleased to see on this case.
While the case has a ton of cooling options, it doesn’t have a whole lot right out of the box. The only included fan is a single 120mm at the rear of the case. If you’re planning on building anything beyond a budget-build system, you should definitely stock up on a few more 120mm fans before putting it together.
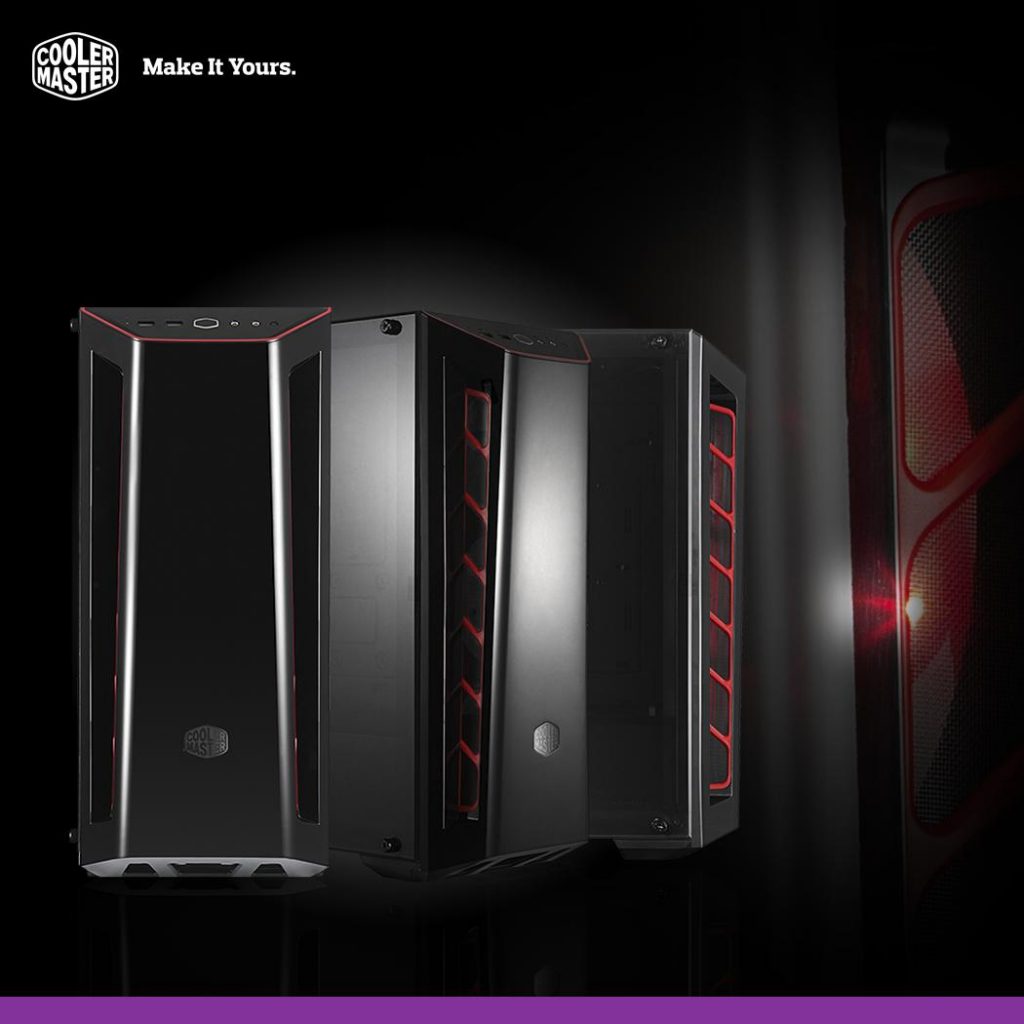
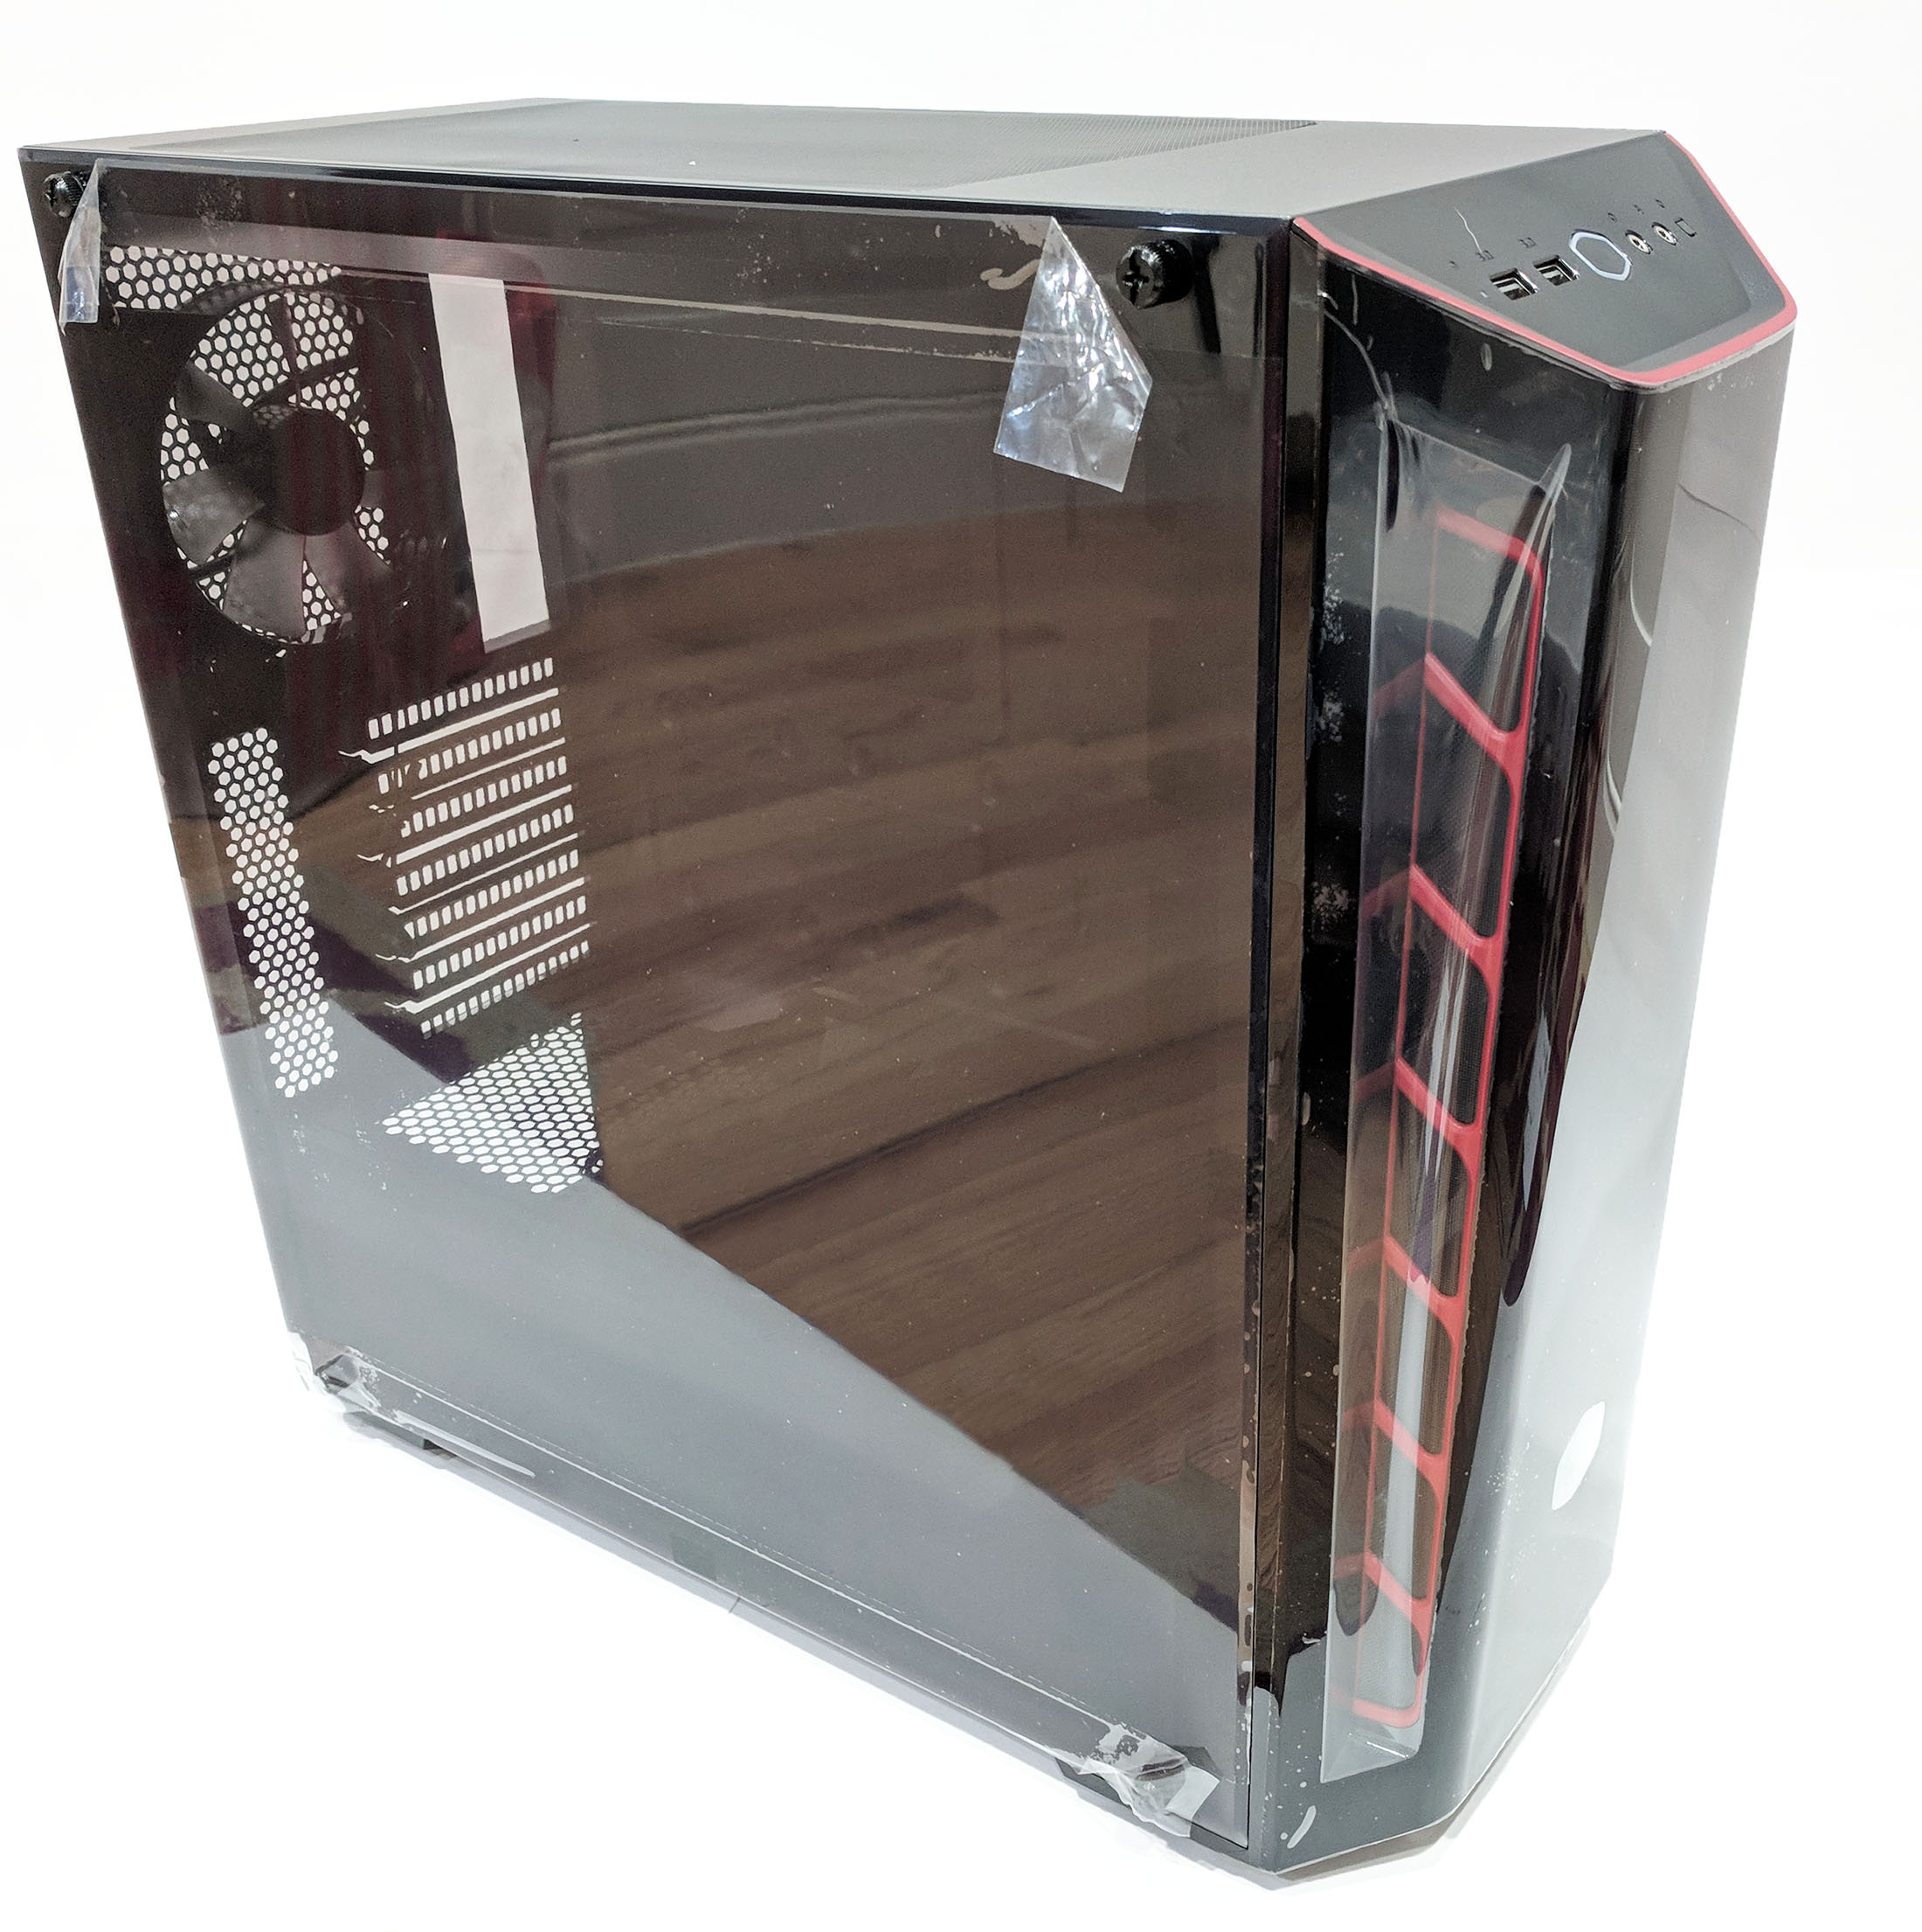
Looks are also important. The case also features an edge-to-edge removable clear plastic tinted side panel. The seamless design combined with the dark tint gives the case a sleek stealthy look. The shroud on the front of the case is also tinted which would give RGB lighting a more subtle look if you decide to mount RGB fans therein. The front protrudes out far enough to mount the fans on the outside of the case allowing more room on the inside for important things such as GPUs and radiators.
Here are the detailed specs of the MasterBox MB520 provided by Cooler Master:
| Product Name | MasterBox MB520 |
|---|---|
| Model number |
|
| Available Color | Red, Black, White, Blue *availability may vary depending on region |
| Materials | Steel, Plastic |
| Dimensions (L x W x H) | 496 x 217 x 468 mm |
| Motherboard Support | ATX, Micro-ATX, Mini-ITX |
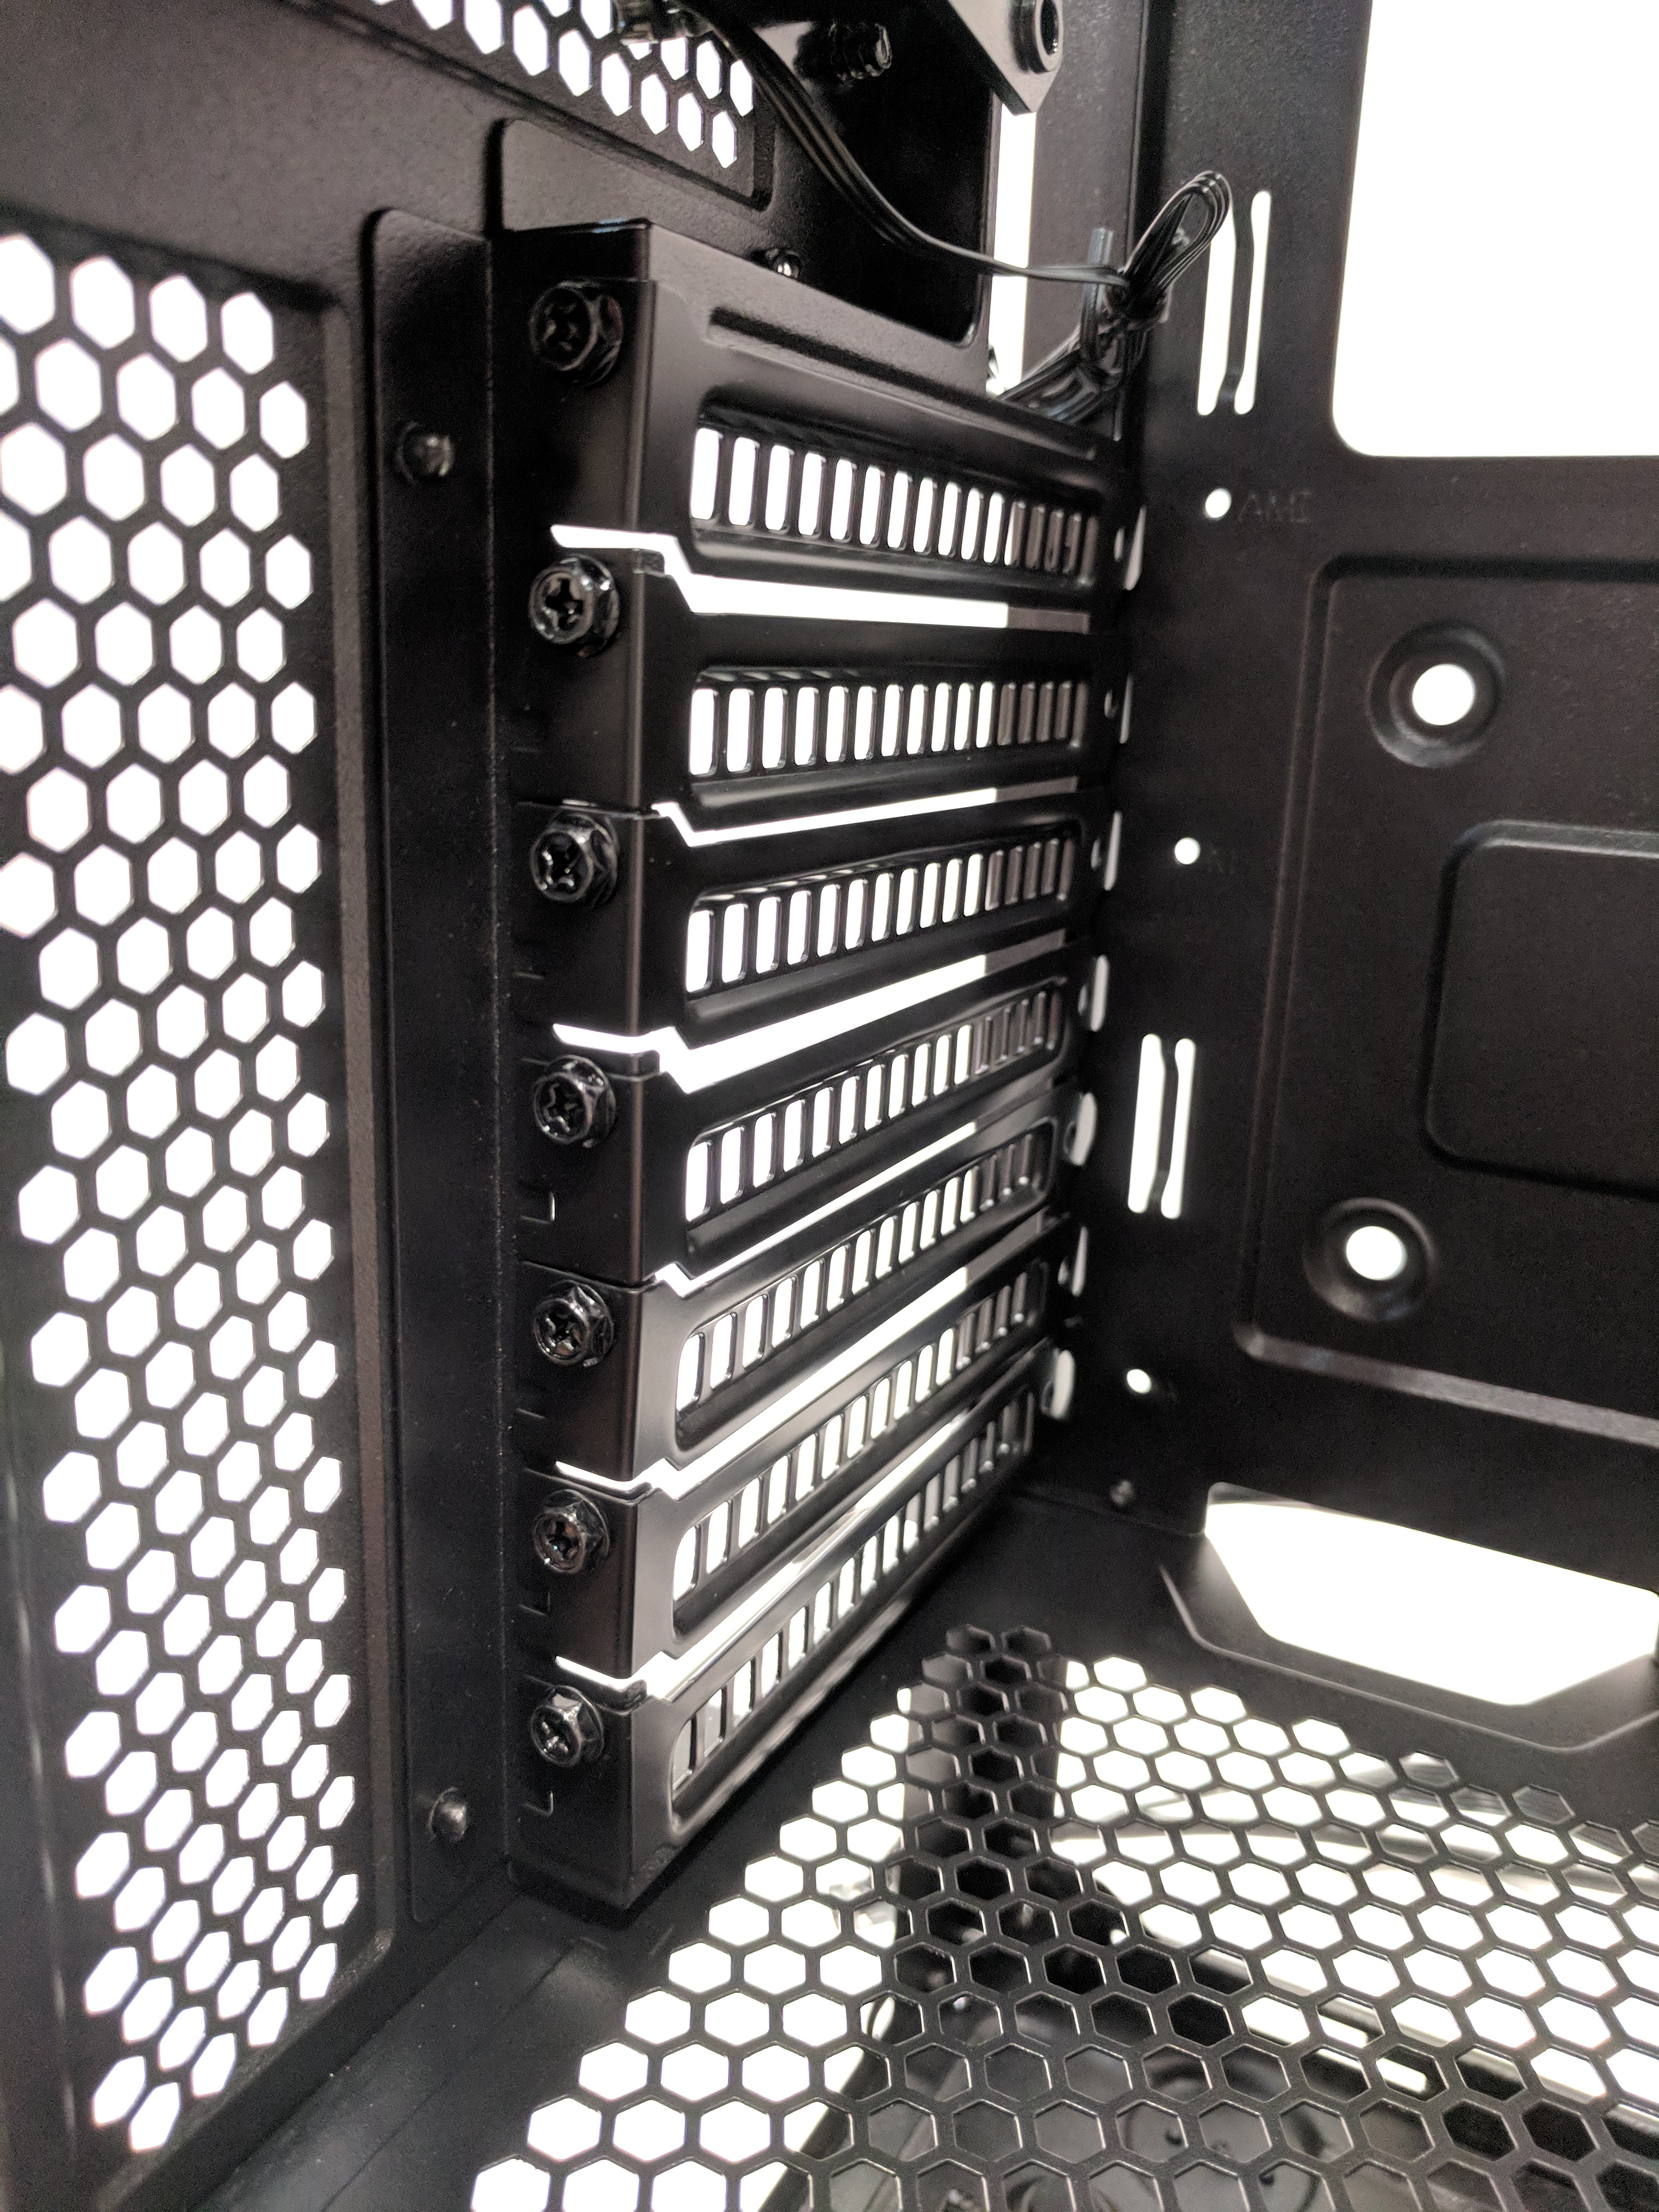
| Expansion Slots | 7 |
| 5.25″ Drive Bays | No |
| Combo 3.5″/2.5″ Drive Bays | 2 (Max. 2) |
| SSD Drive Bays | 4 (Max. 6) |
| I/O Panel | USB 3.0 x 2, Audio In / Out |
| Pre-installed Fan(s) | Rear: 120mm x 1 black fan |
| Fan Support |
|
| Radiator Support |
|
| Clearances |
|
| Cable Routing | Behind MB Tray: 19-27mm / 0.74″-1.06″ |
| Dust Filters | Front, Bottom, Top |
| Power Supply Support | Bottom Mount, ATX |
For such a small case, and considering the lack of front drive bays, I’m happy to see the large amount of storage options available. The MB520 has the ability to house up to six SSD’s or four if you need 3.5″ disk storage. Not bad especially considering most motherboards now are equipped with M.2 slots for SSDs.
Now that we’ve got a pretty good understanding of what we’re dealing with, let’s unbox this thing!
Unboxing
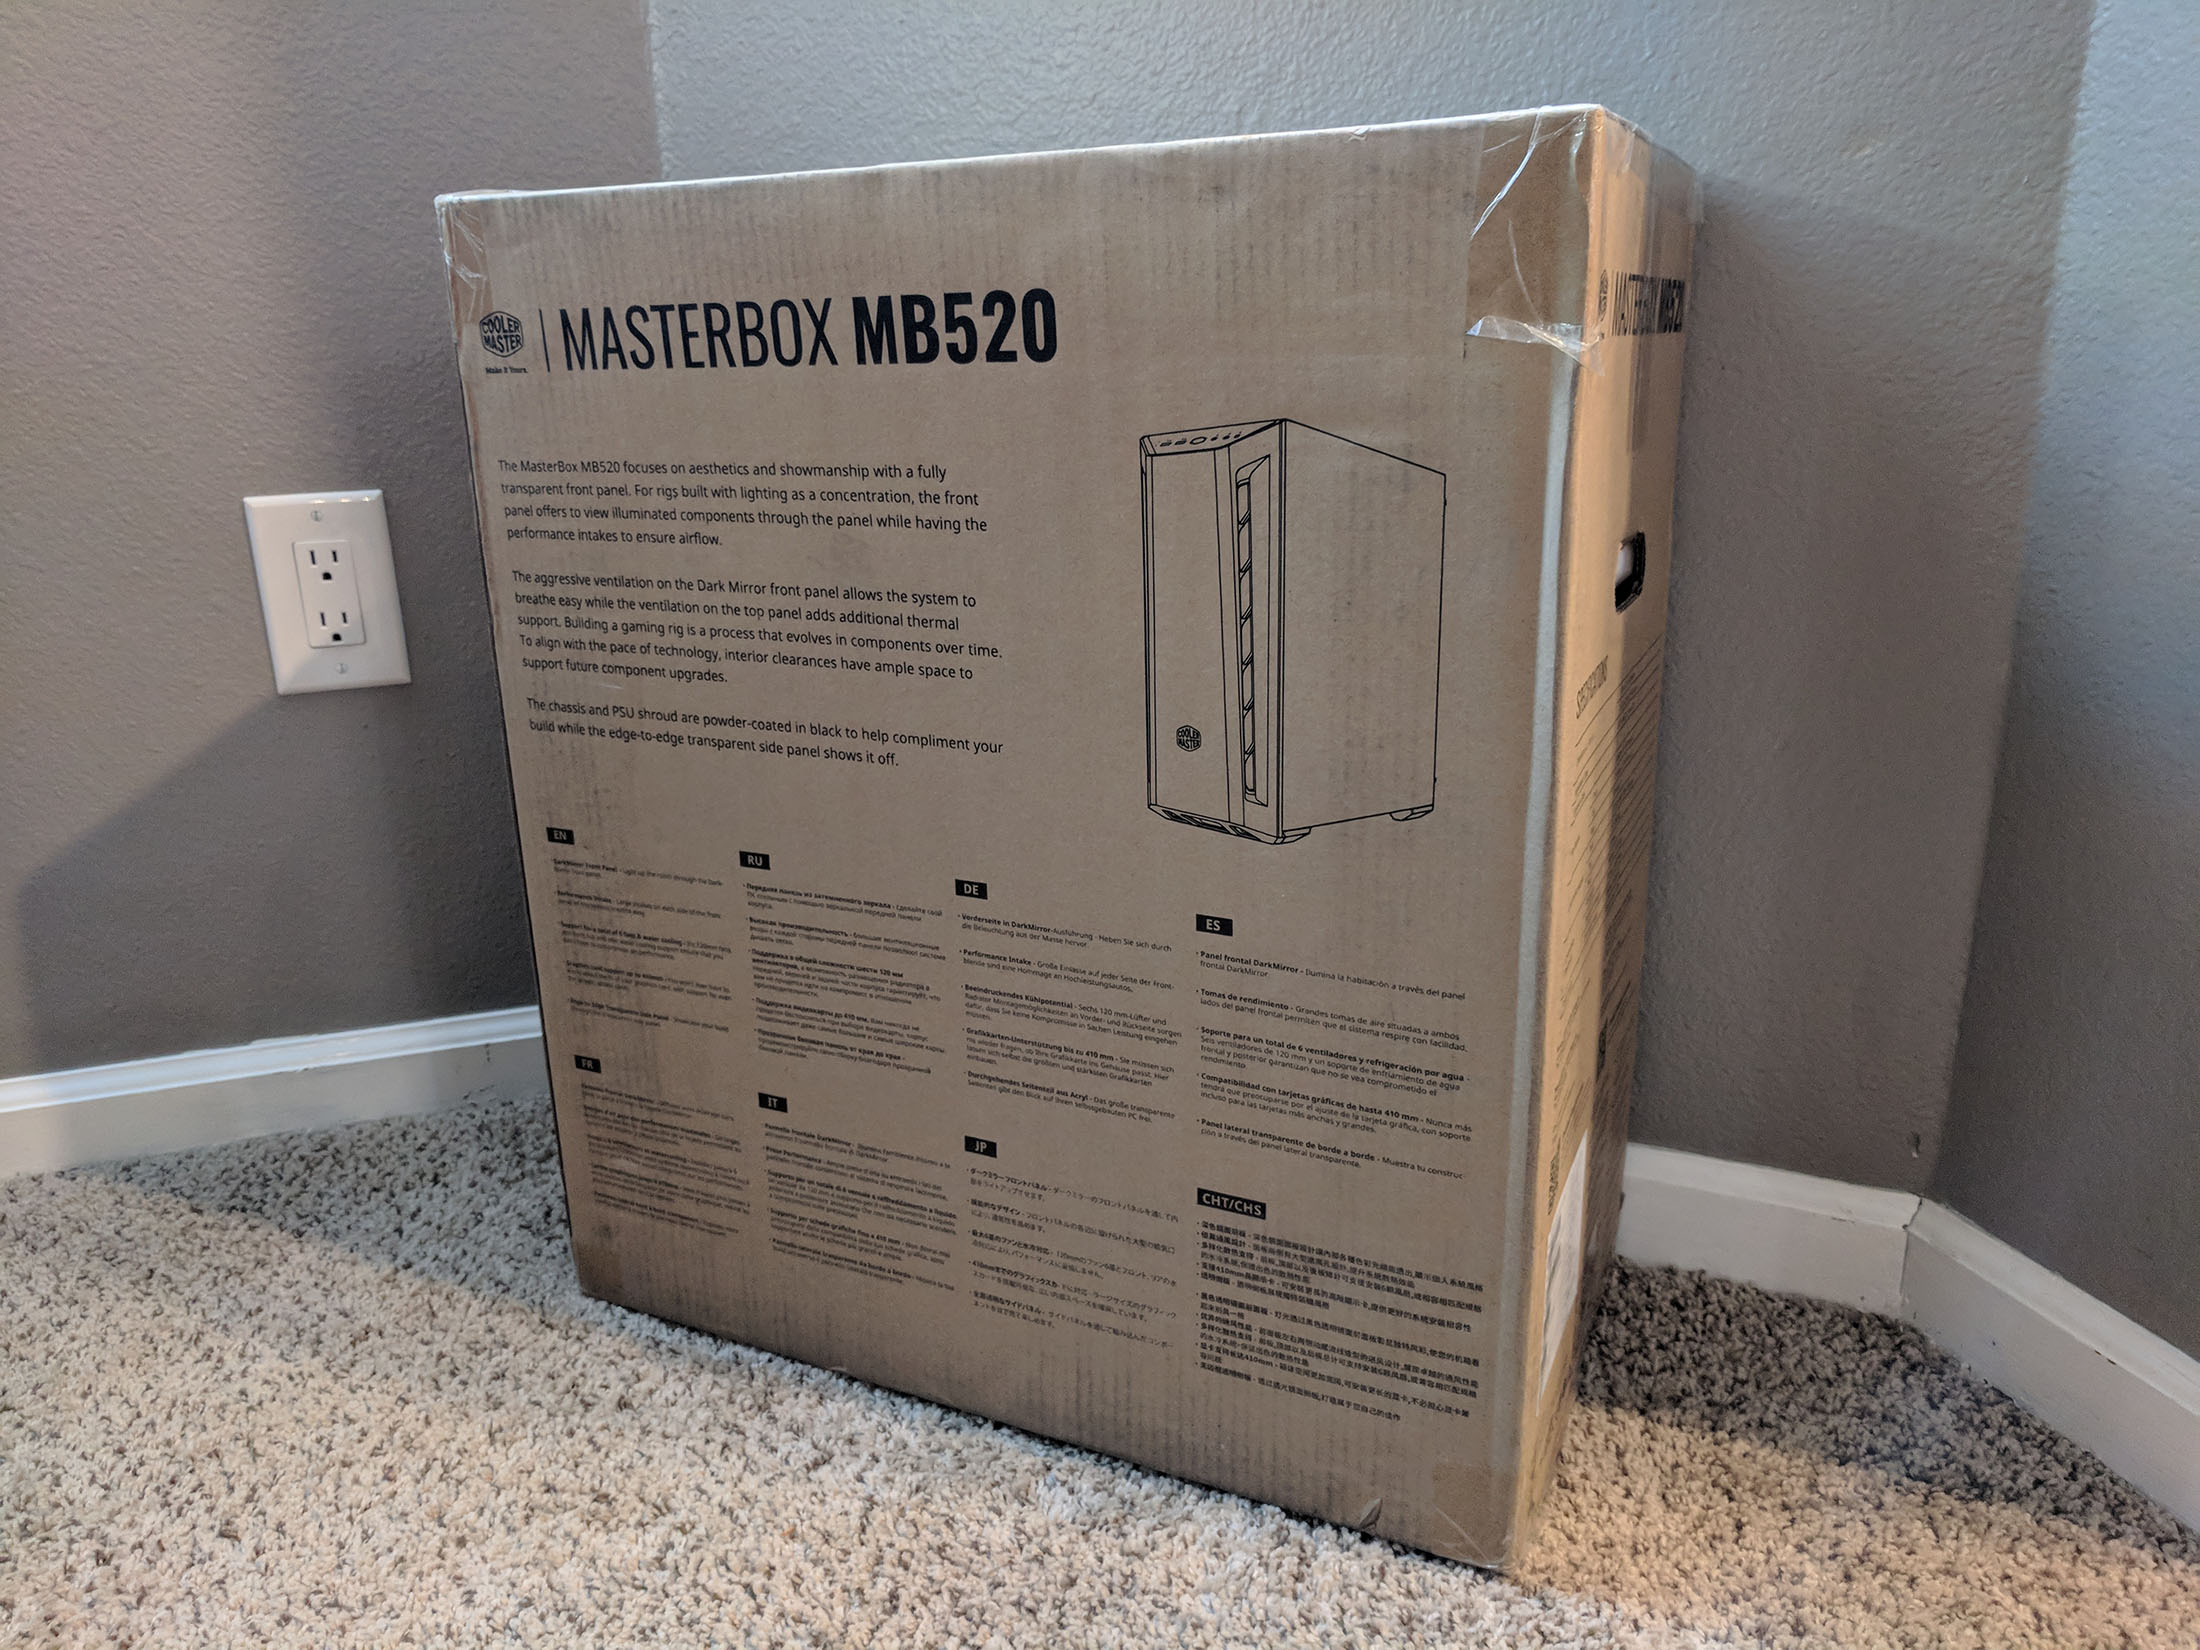
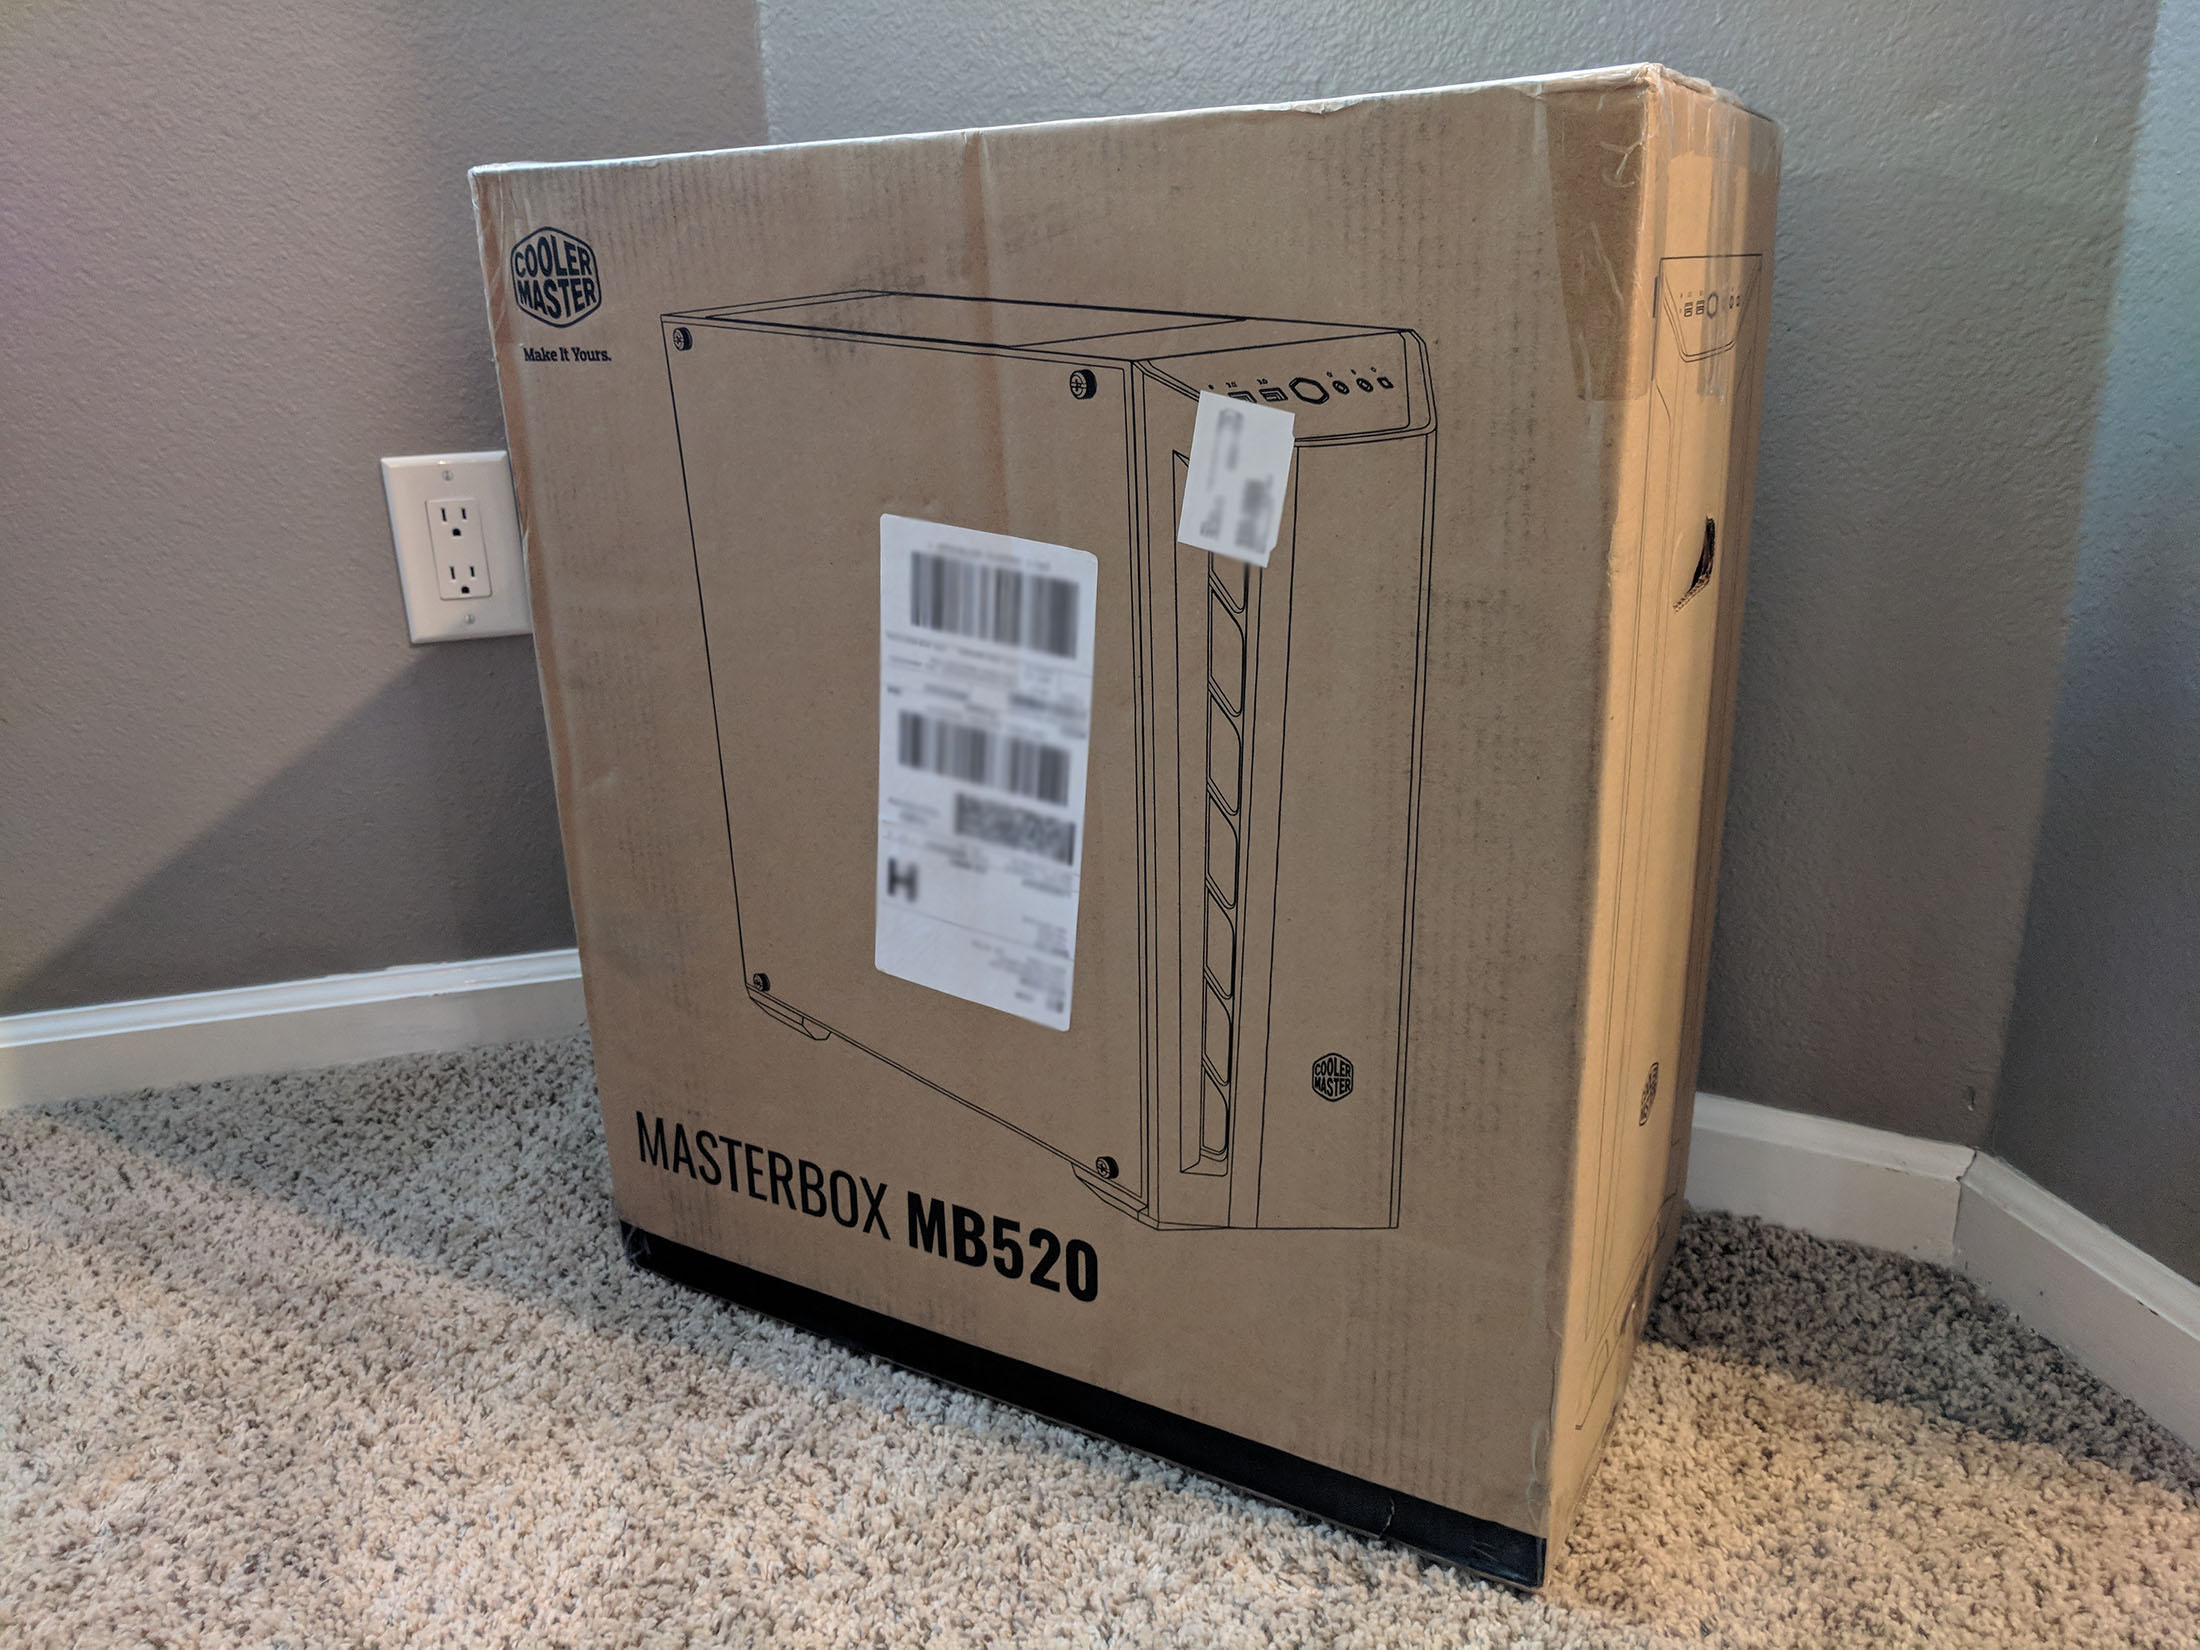
The MasterBox MB520 arrived undamaged in a a pretty standard dual-wall cardboard box featuring Cooler Master, MasterBox logos as well as an outline diagram of the case.
After cracking open the packaging tape and pulling the unit out, we get a better look at the packaging. No real surprises here. The case is placed inside a plastic bag and sandwiched in between two custom formed foam bricks. Overall, a pretty standard yet effective way to package and ship a PC case. To be honest, I’m not sure I haven’t seen a case packaged this way.
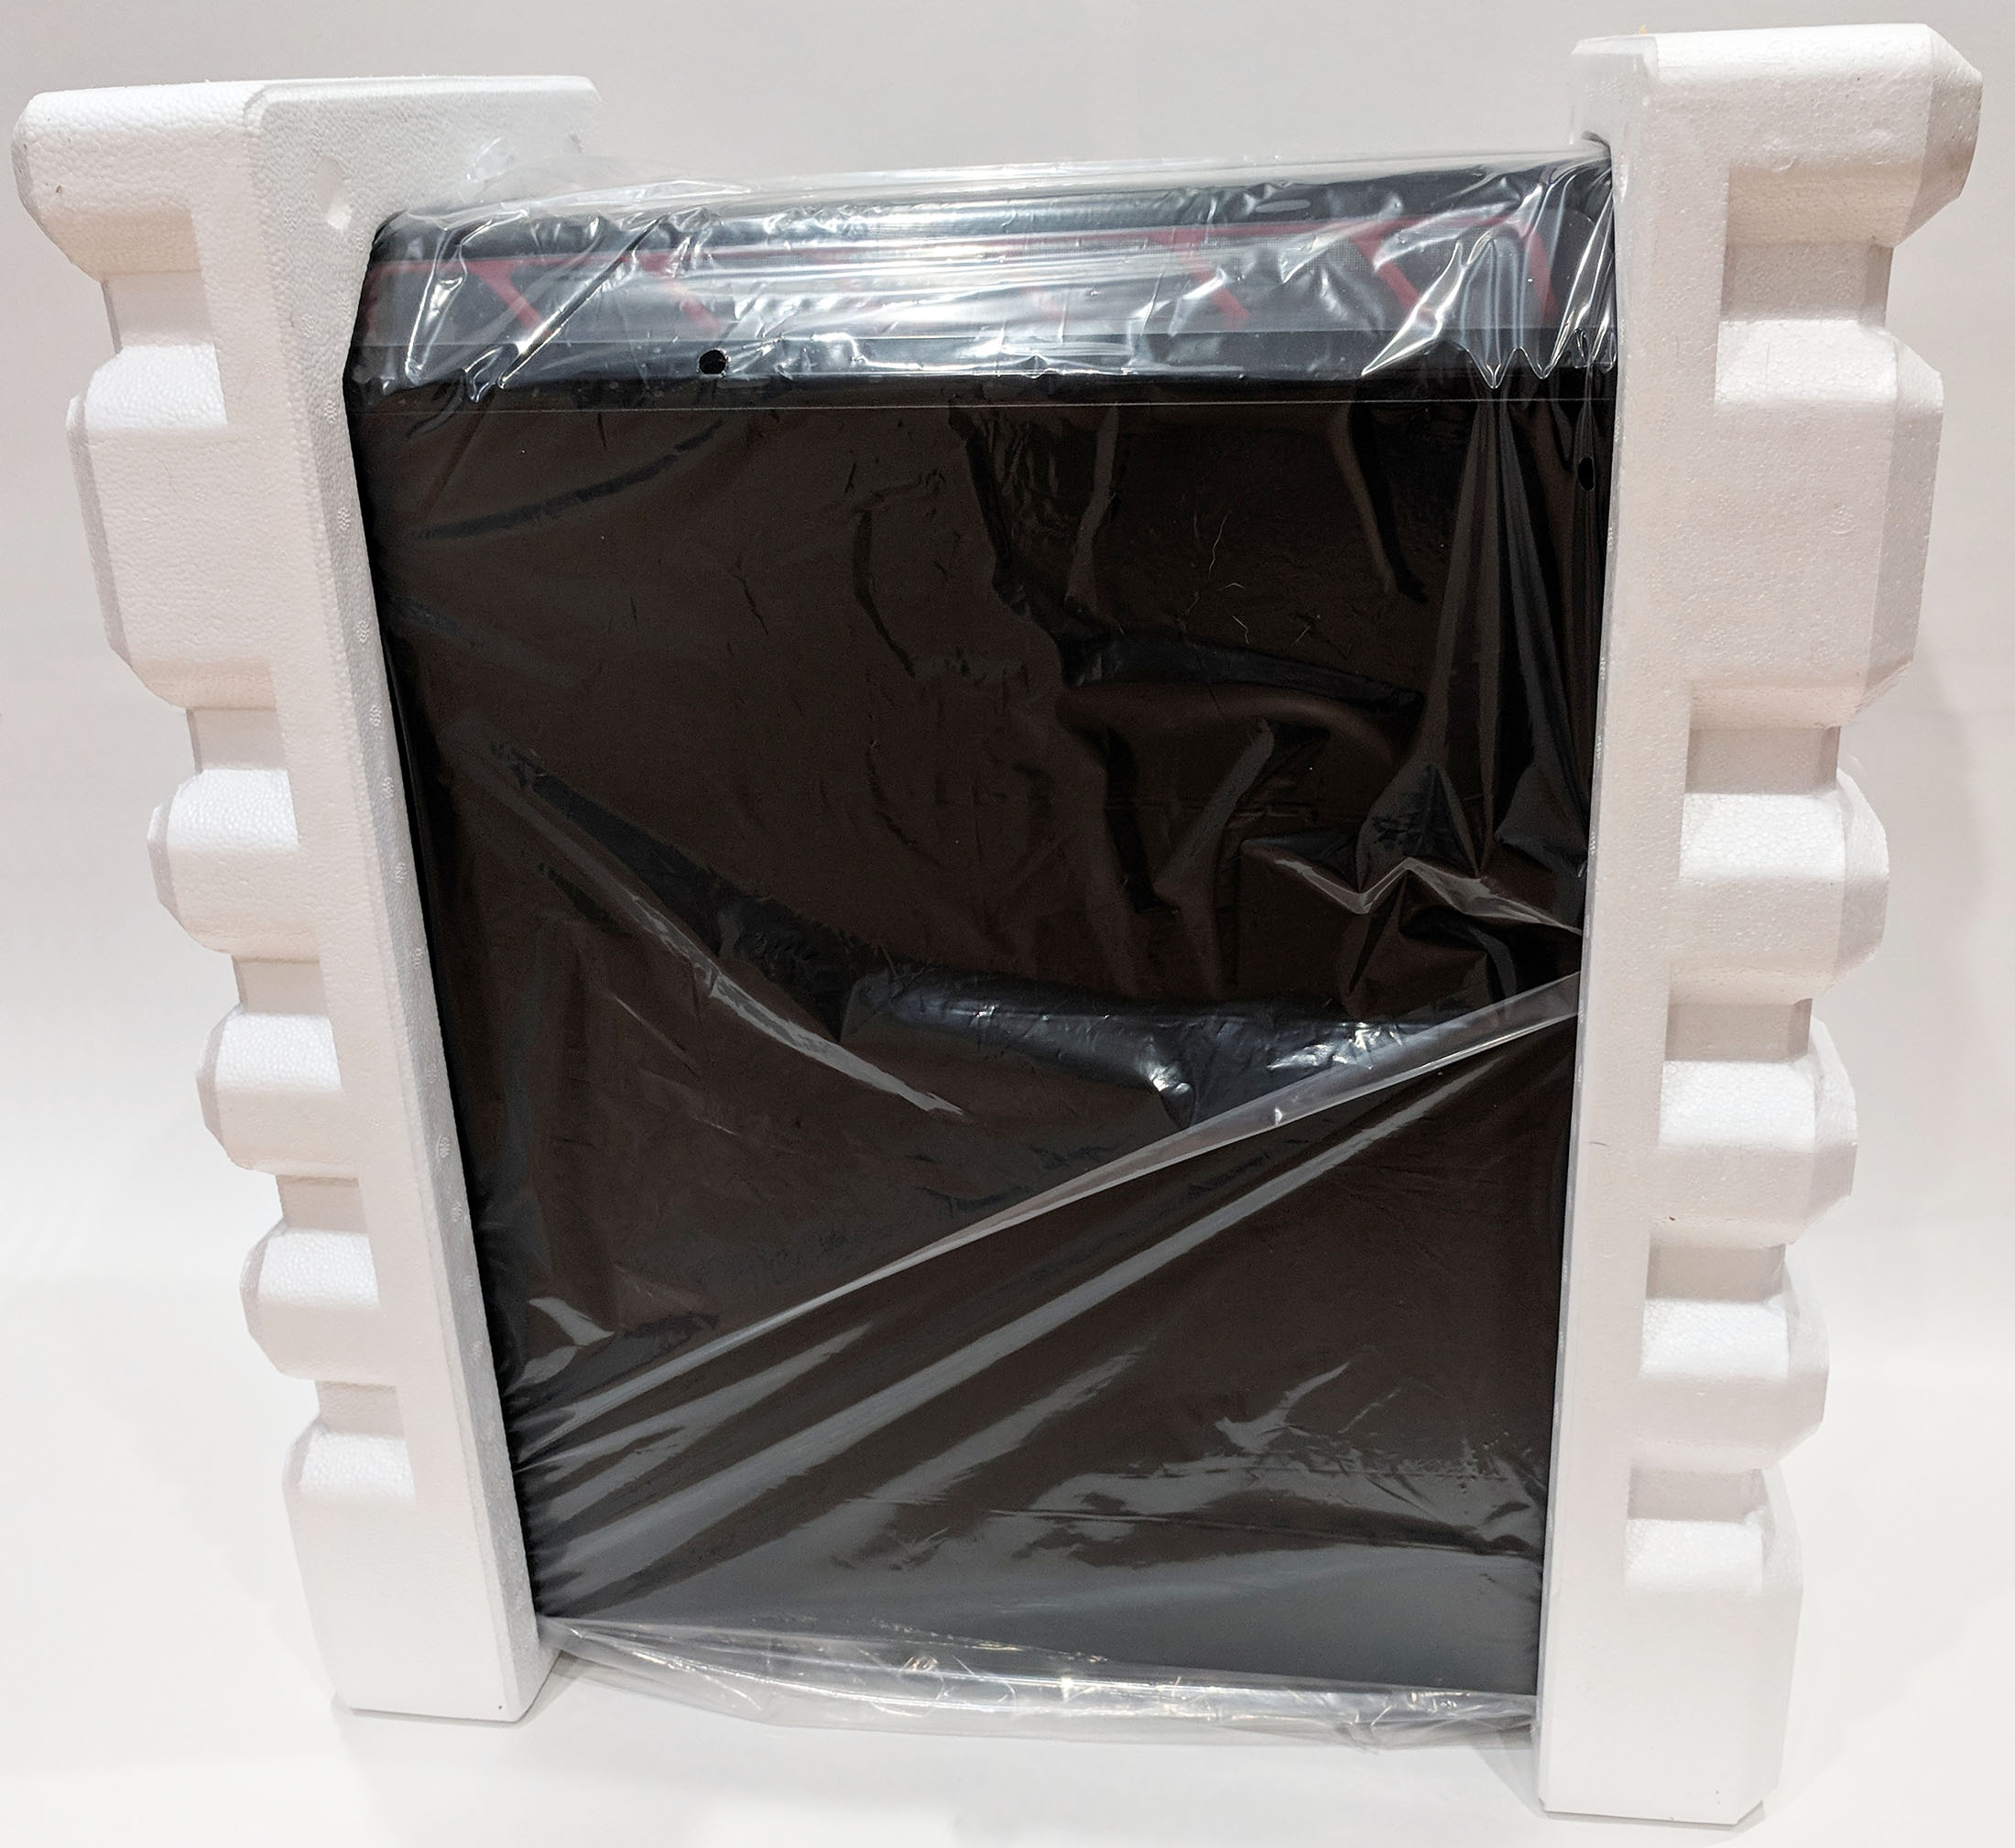
With the MB520 out of the bag, we get a better look as to what we’re working with. All the shiny surfaces are protected with plastic to prevent scratches and smudging as you can see in the next couple pictures. Removing this stuff is definitely the best part of any review….

Since the MasterBox MB520 arrived in perfect shape with no dents, dings, or scratches, I’d say that the packaging was overall effective.
A Closer Look…
With our undamaged case successfully removed from its packaging shell, let’s take a deep dive into the many features of Cooler Master’s new MB520!
The first thing you’ll notice is how amazingly shiny this thing is. Reflective surfaces everywhere. So many in fact, that I had to wear gloves while handling it or half my time would have been dedicated to wiping off smudges! All the exterior pictures I took had to be angle shots at the risk of showing off my ugly mug.
Take a look for yourself…
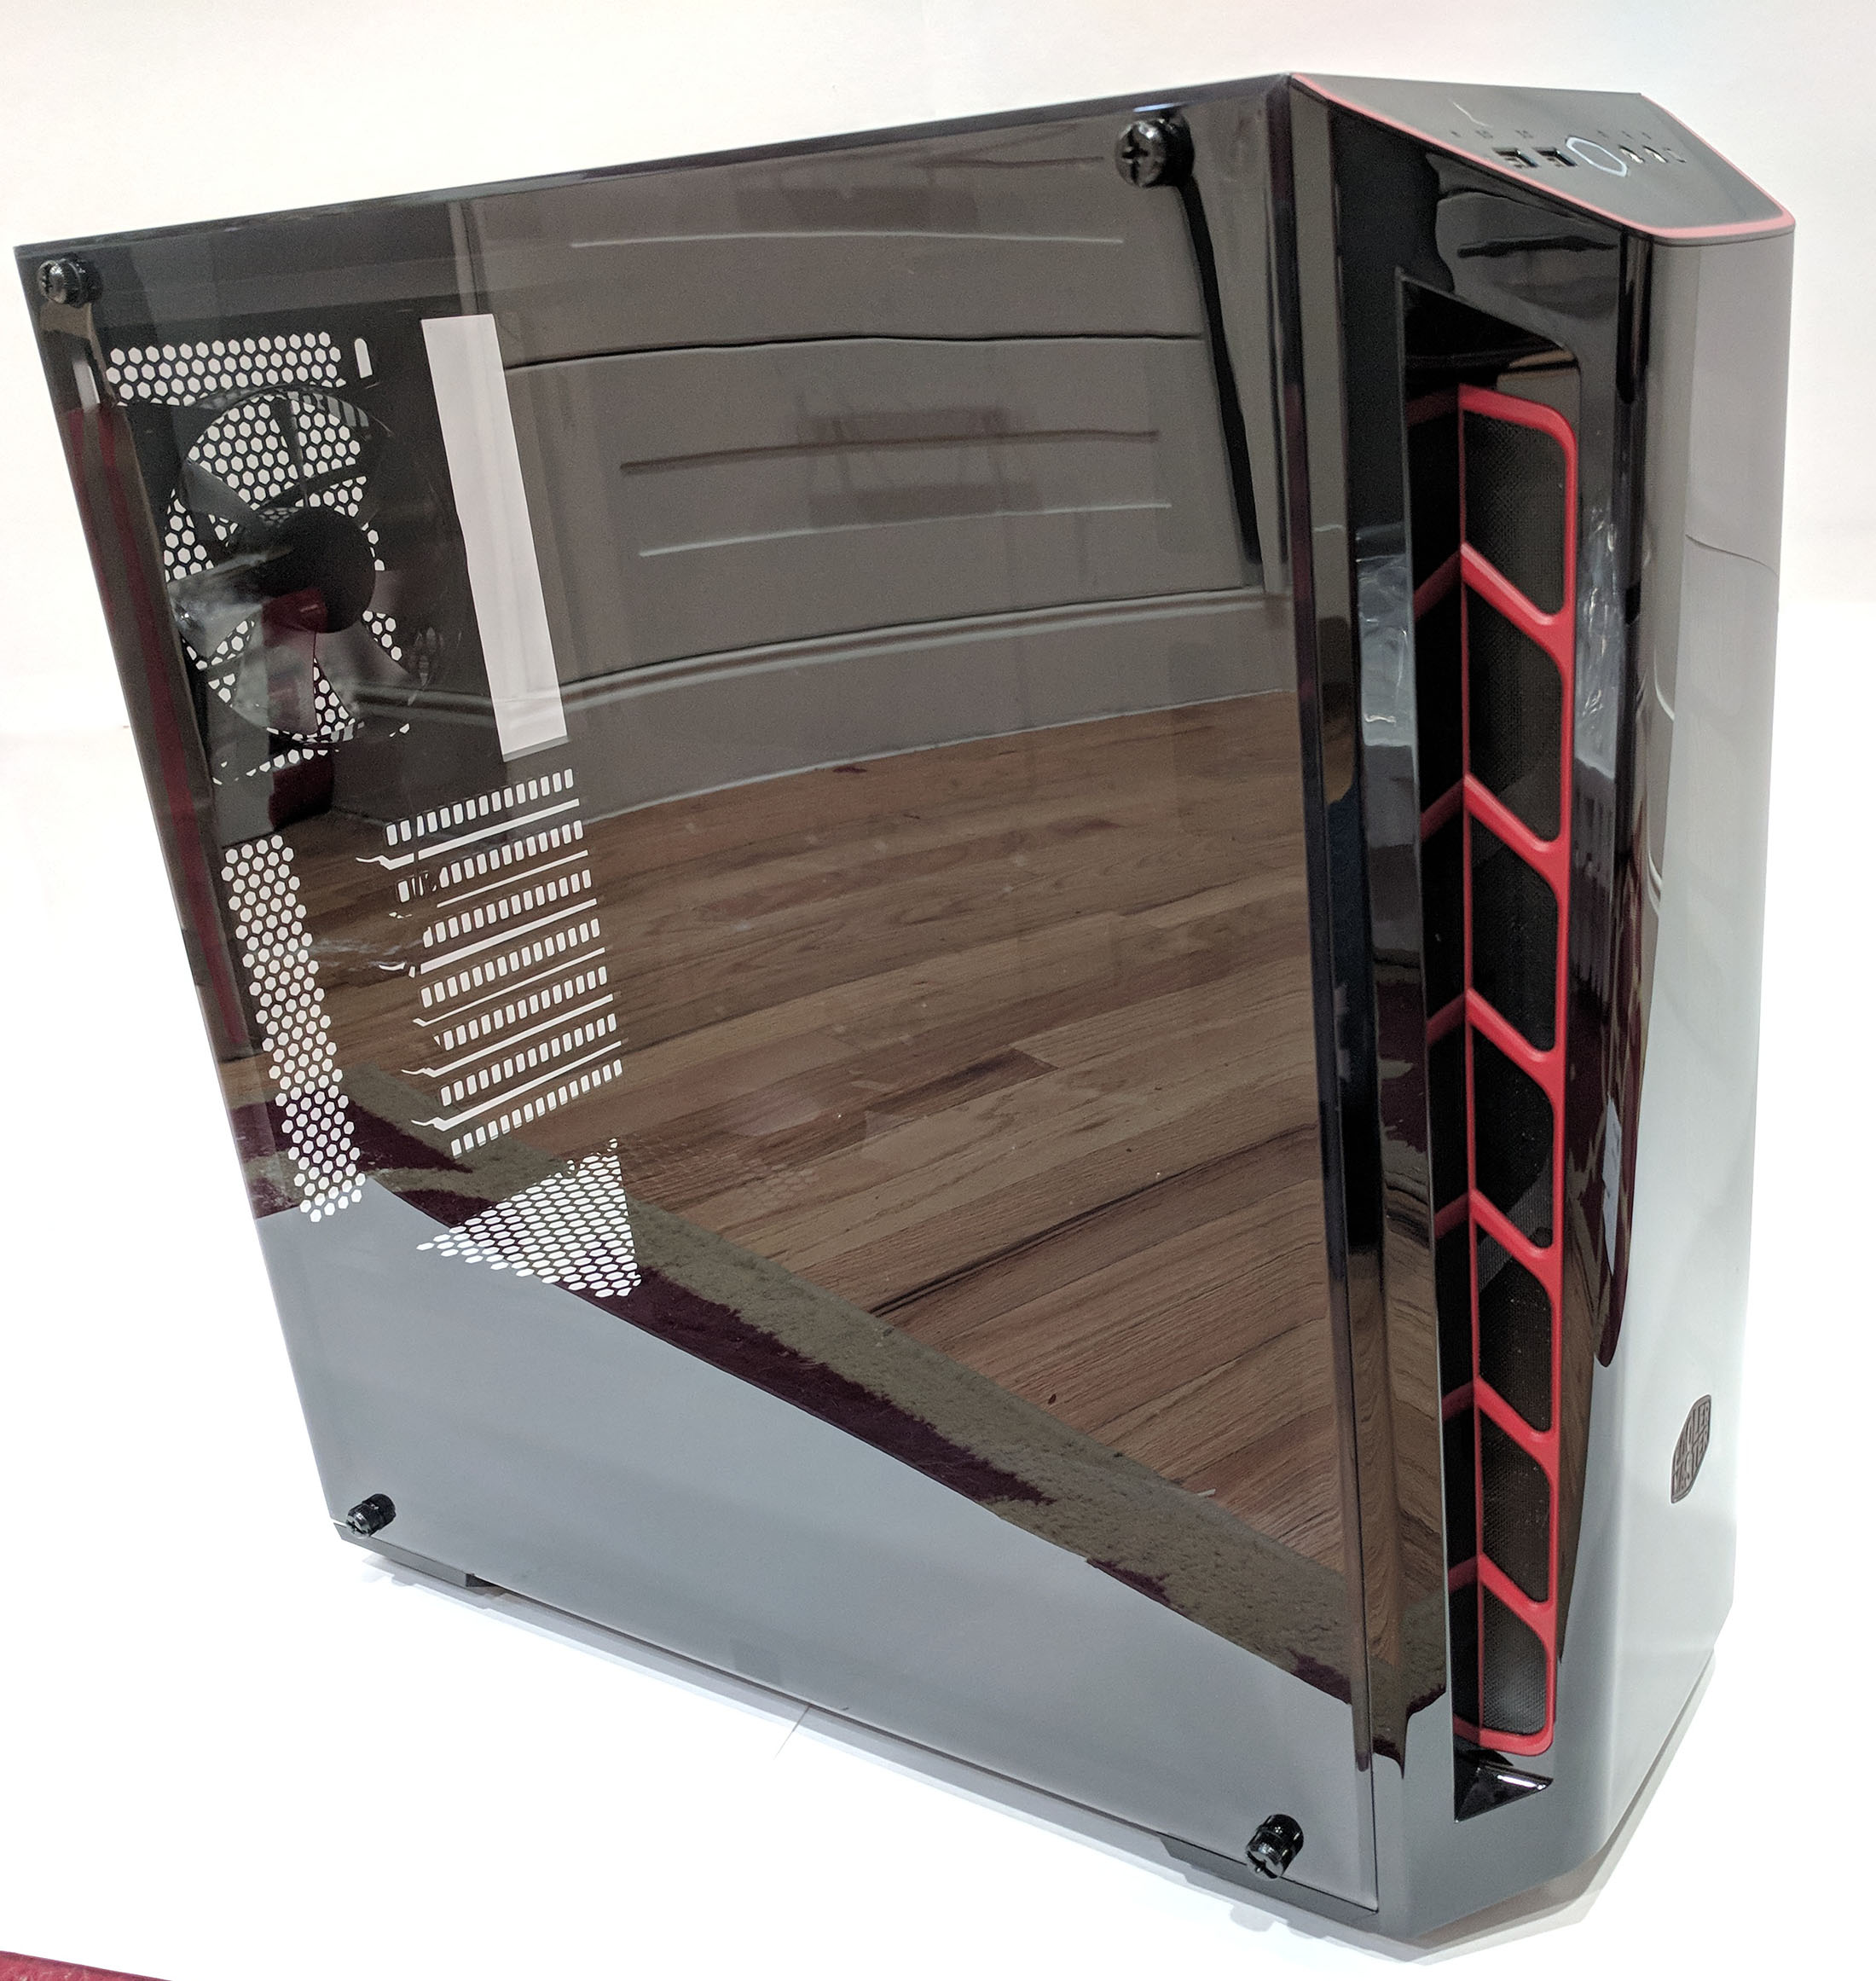
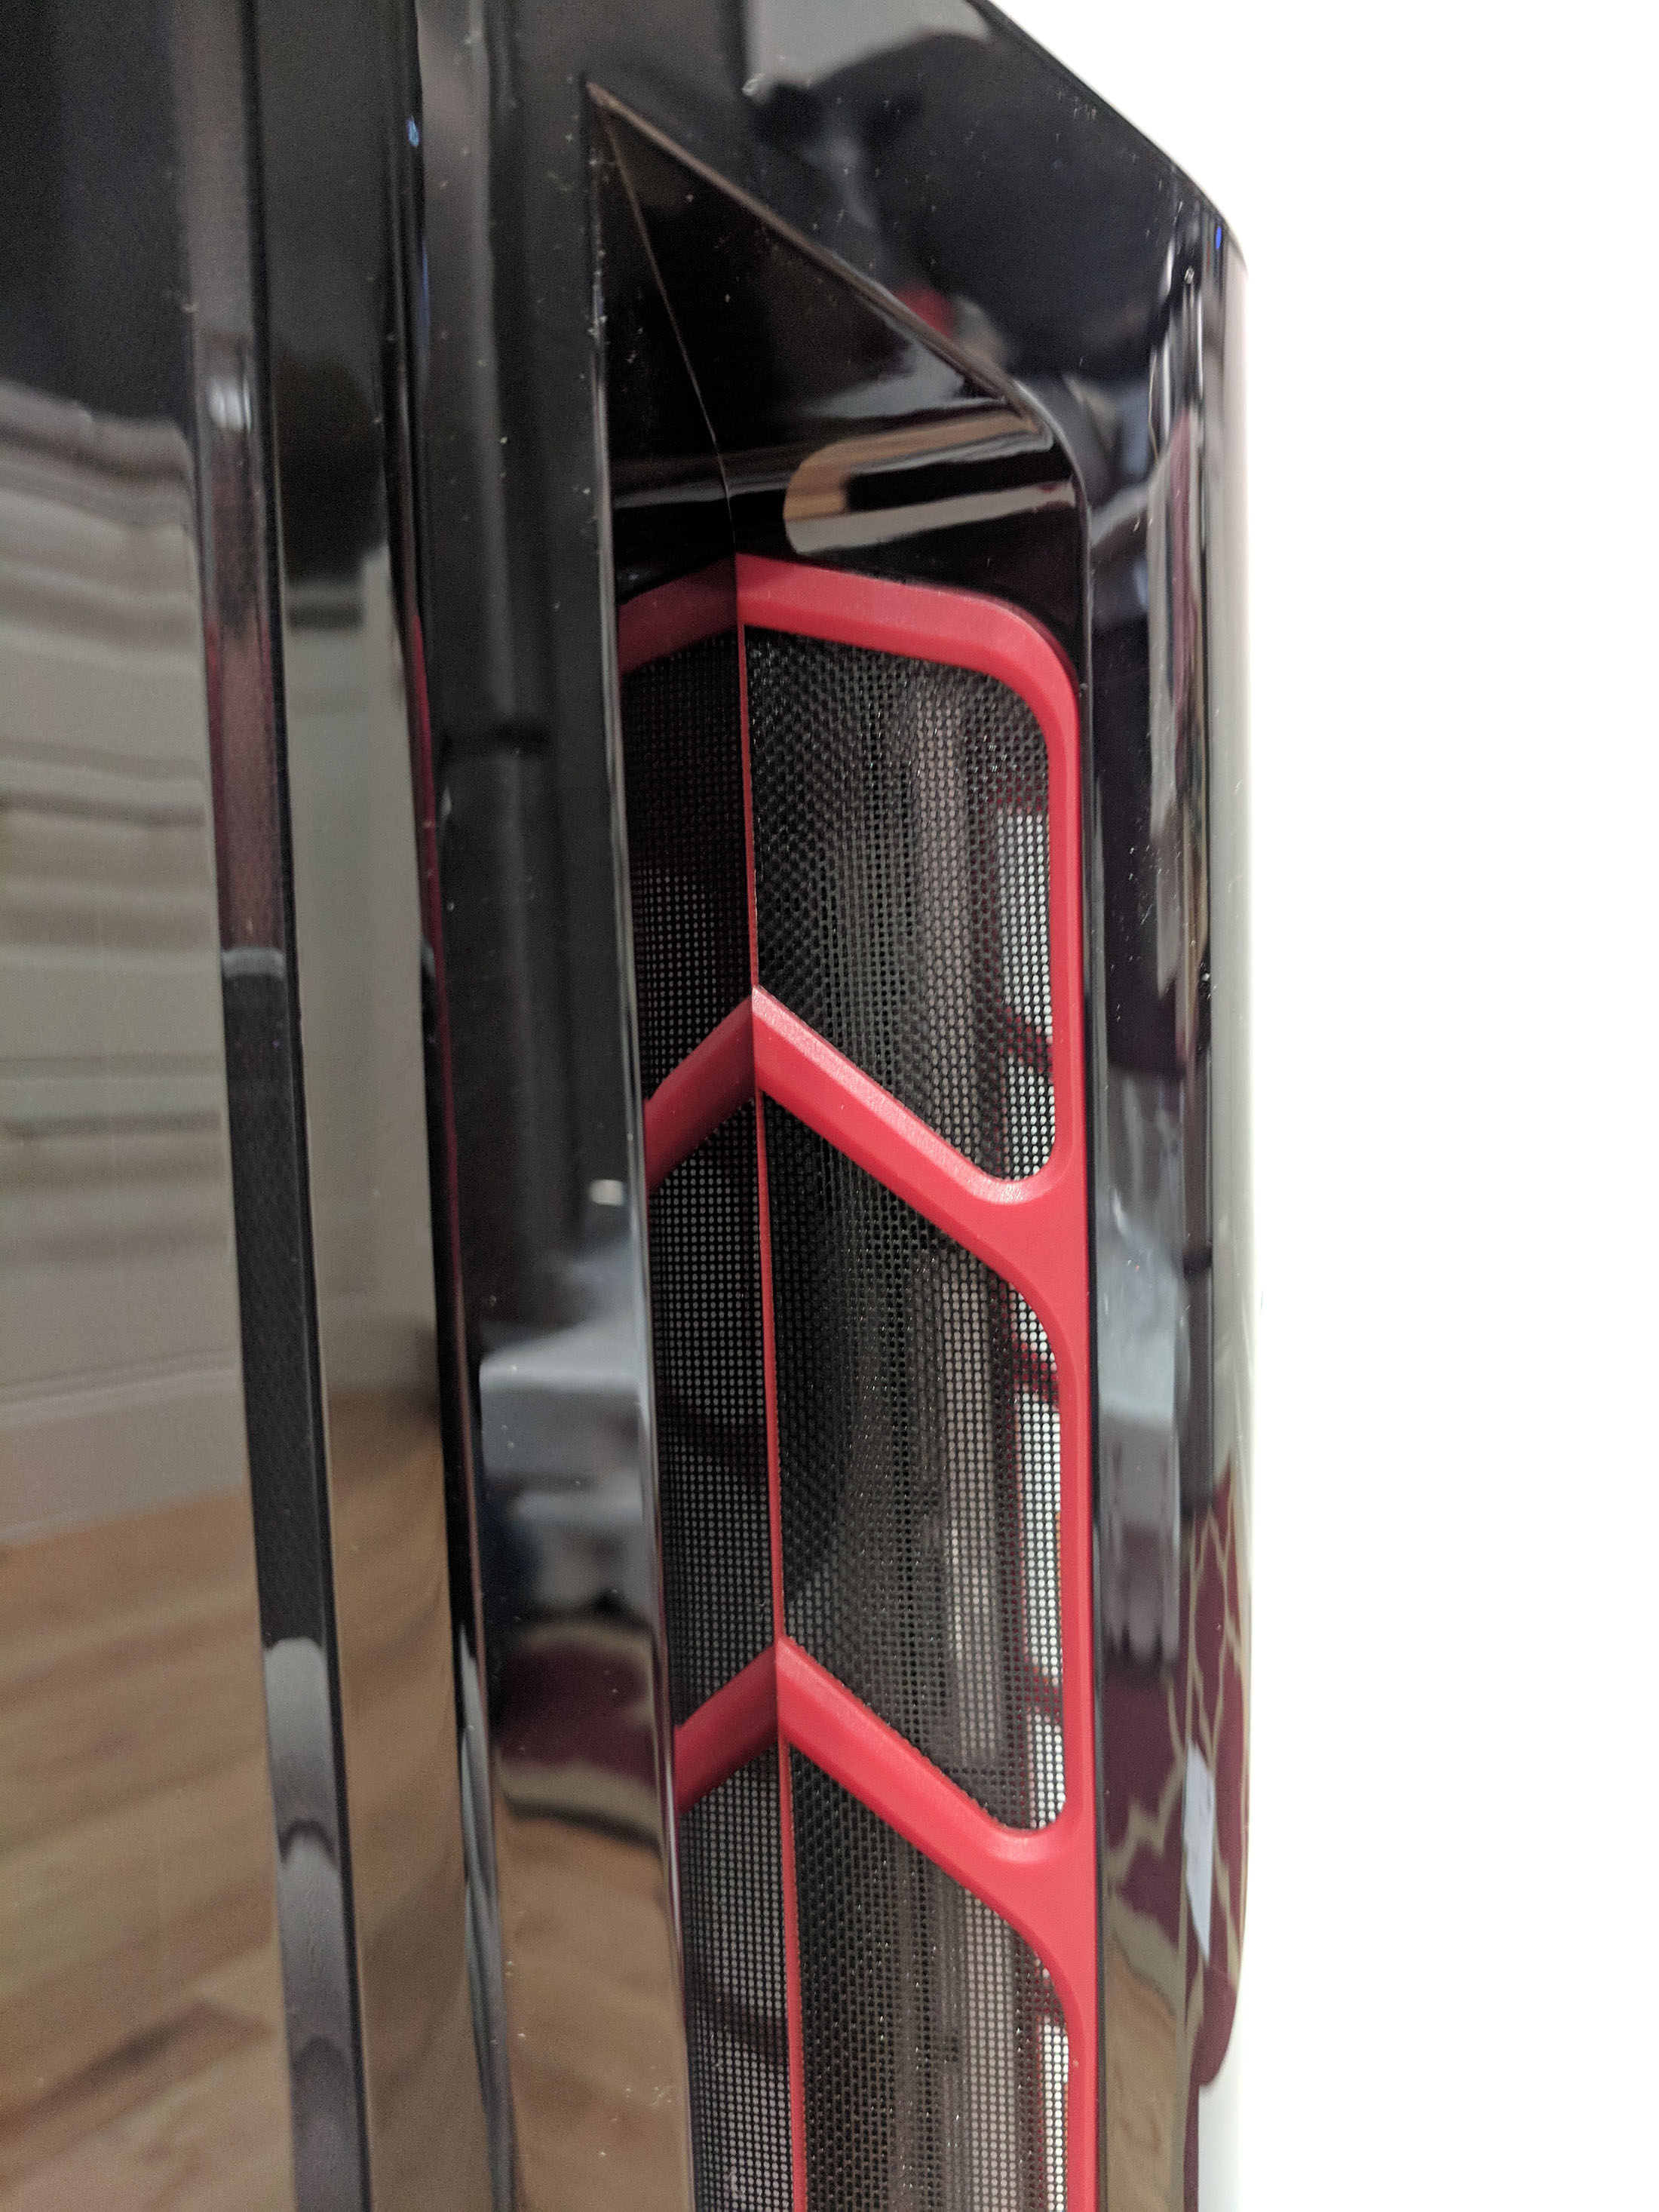
It really does look nice. The black-ness is very stealthy and it’s something you’ll have to see in person to get an accurate depiction. The red accents around the front of the case are subtle and give the MB520 a bit of a color splash but are not too over-done.
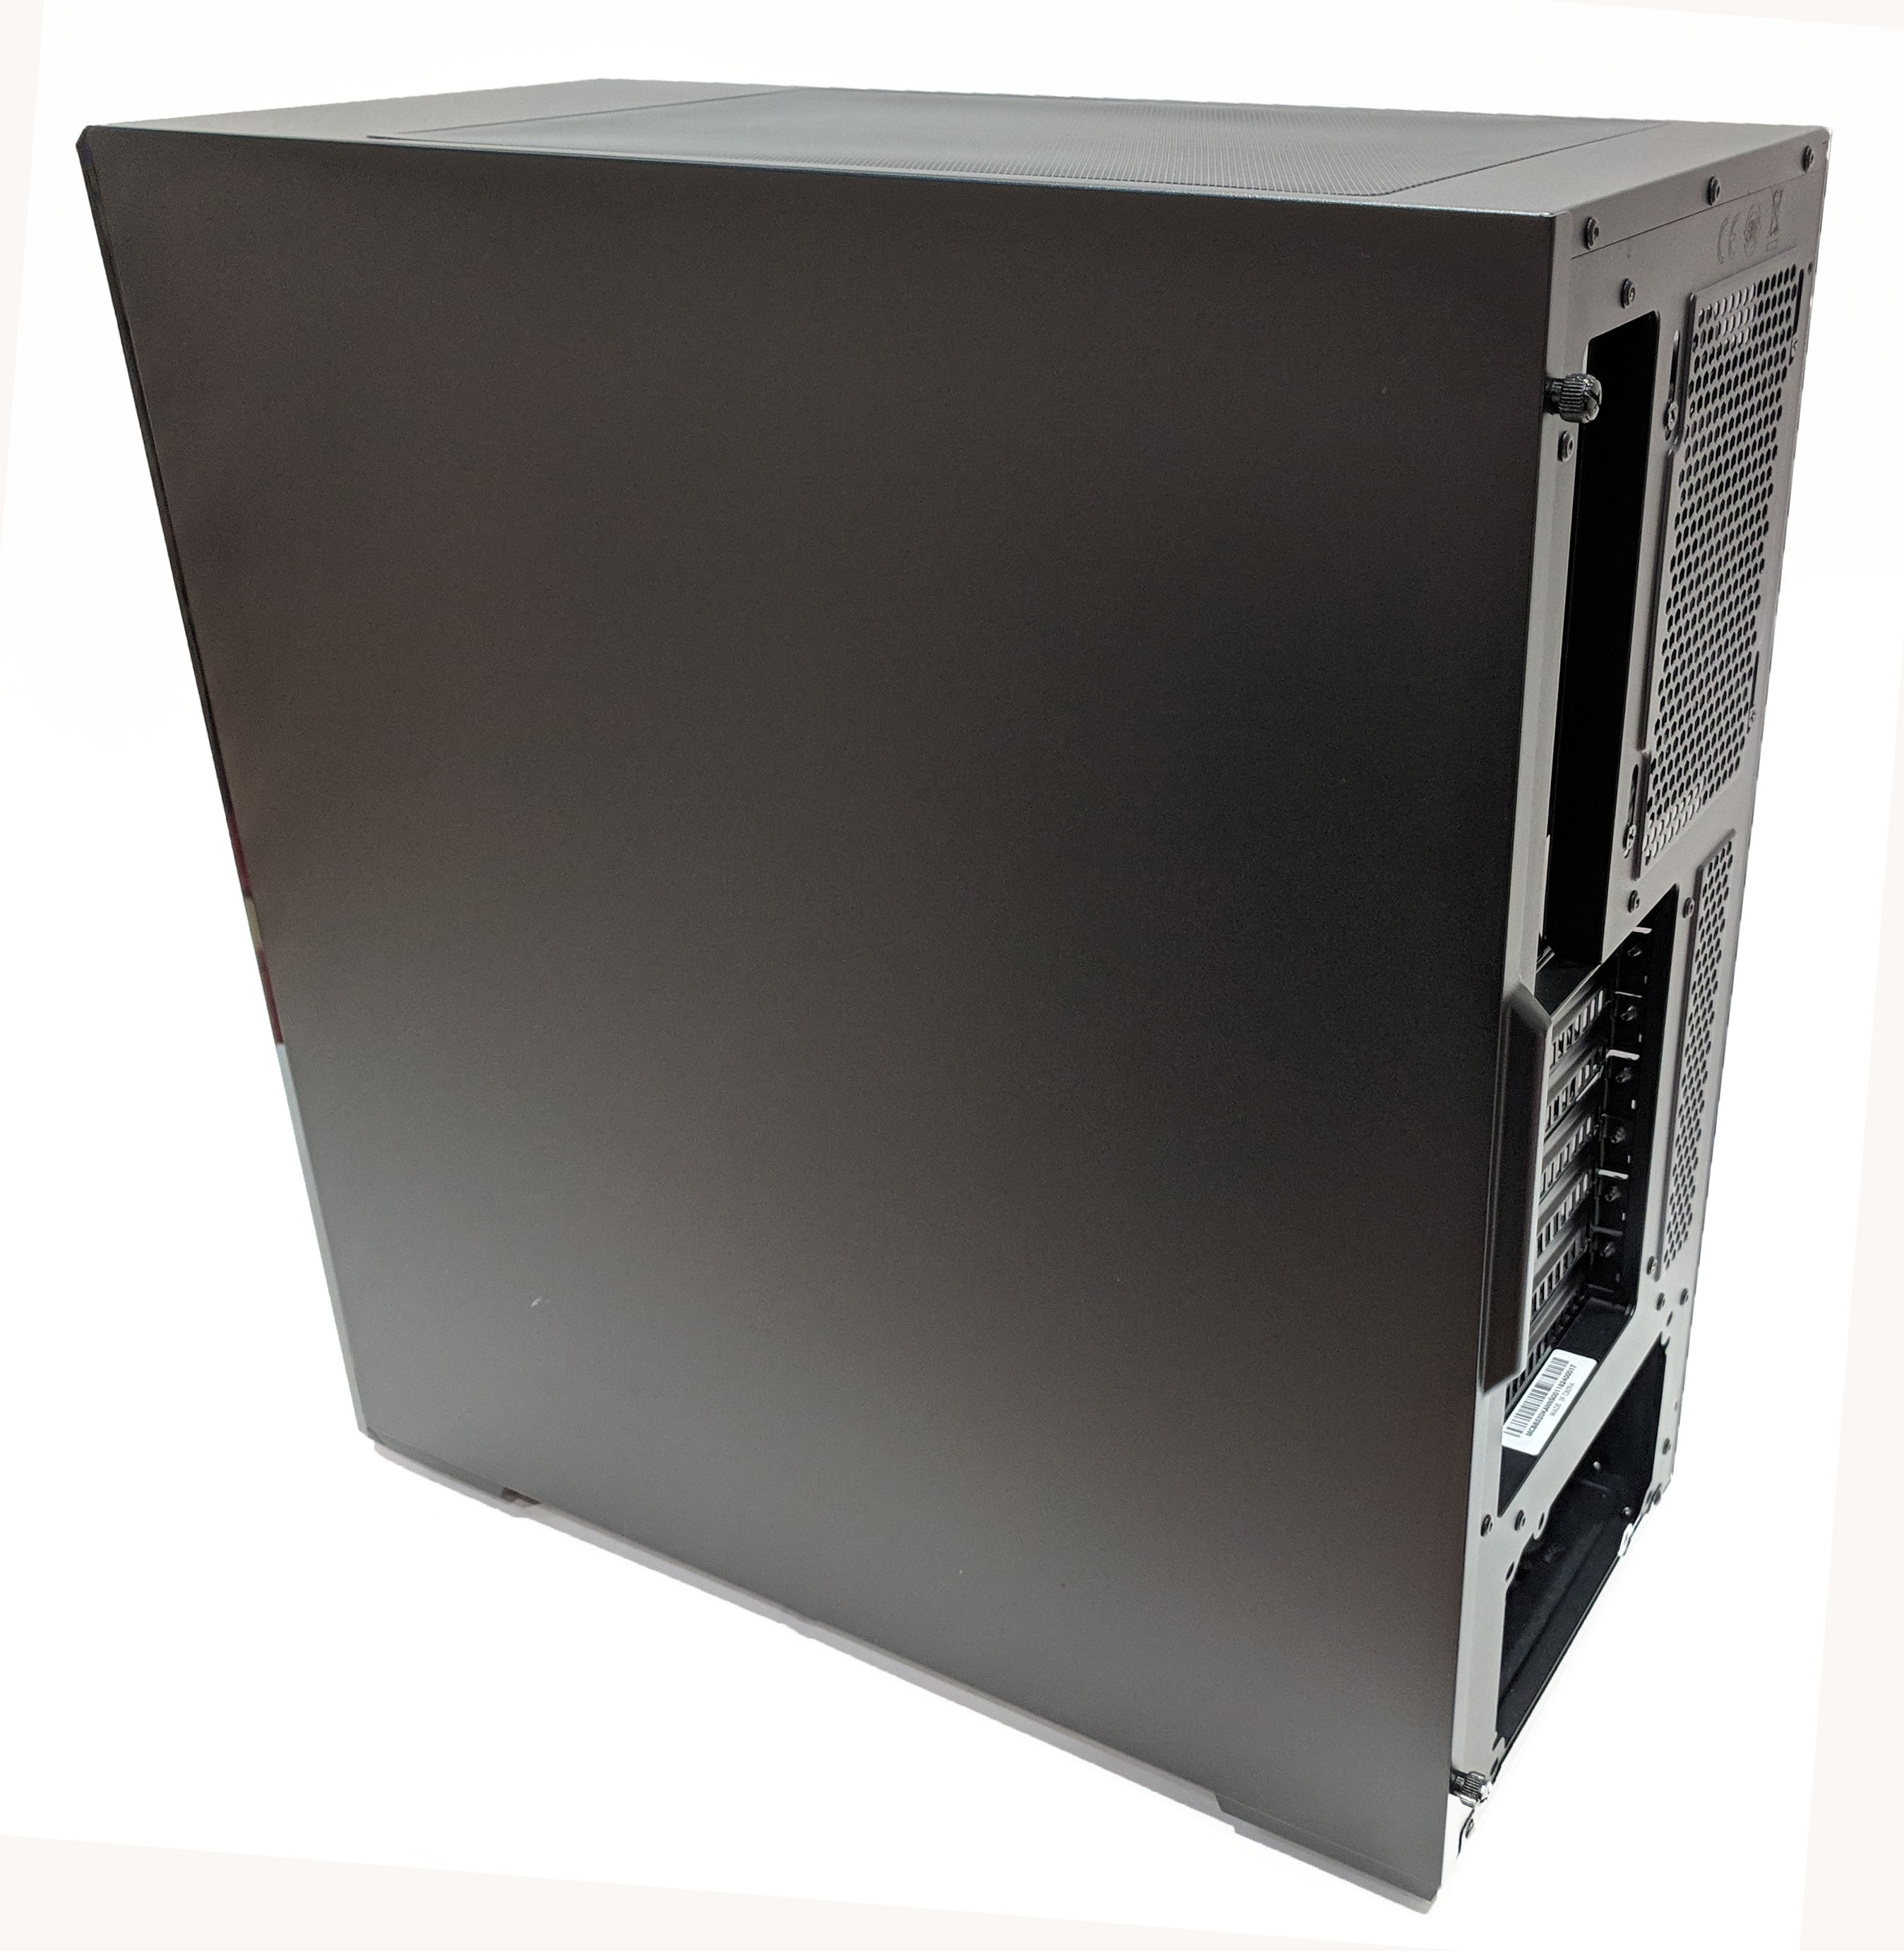
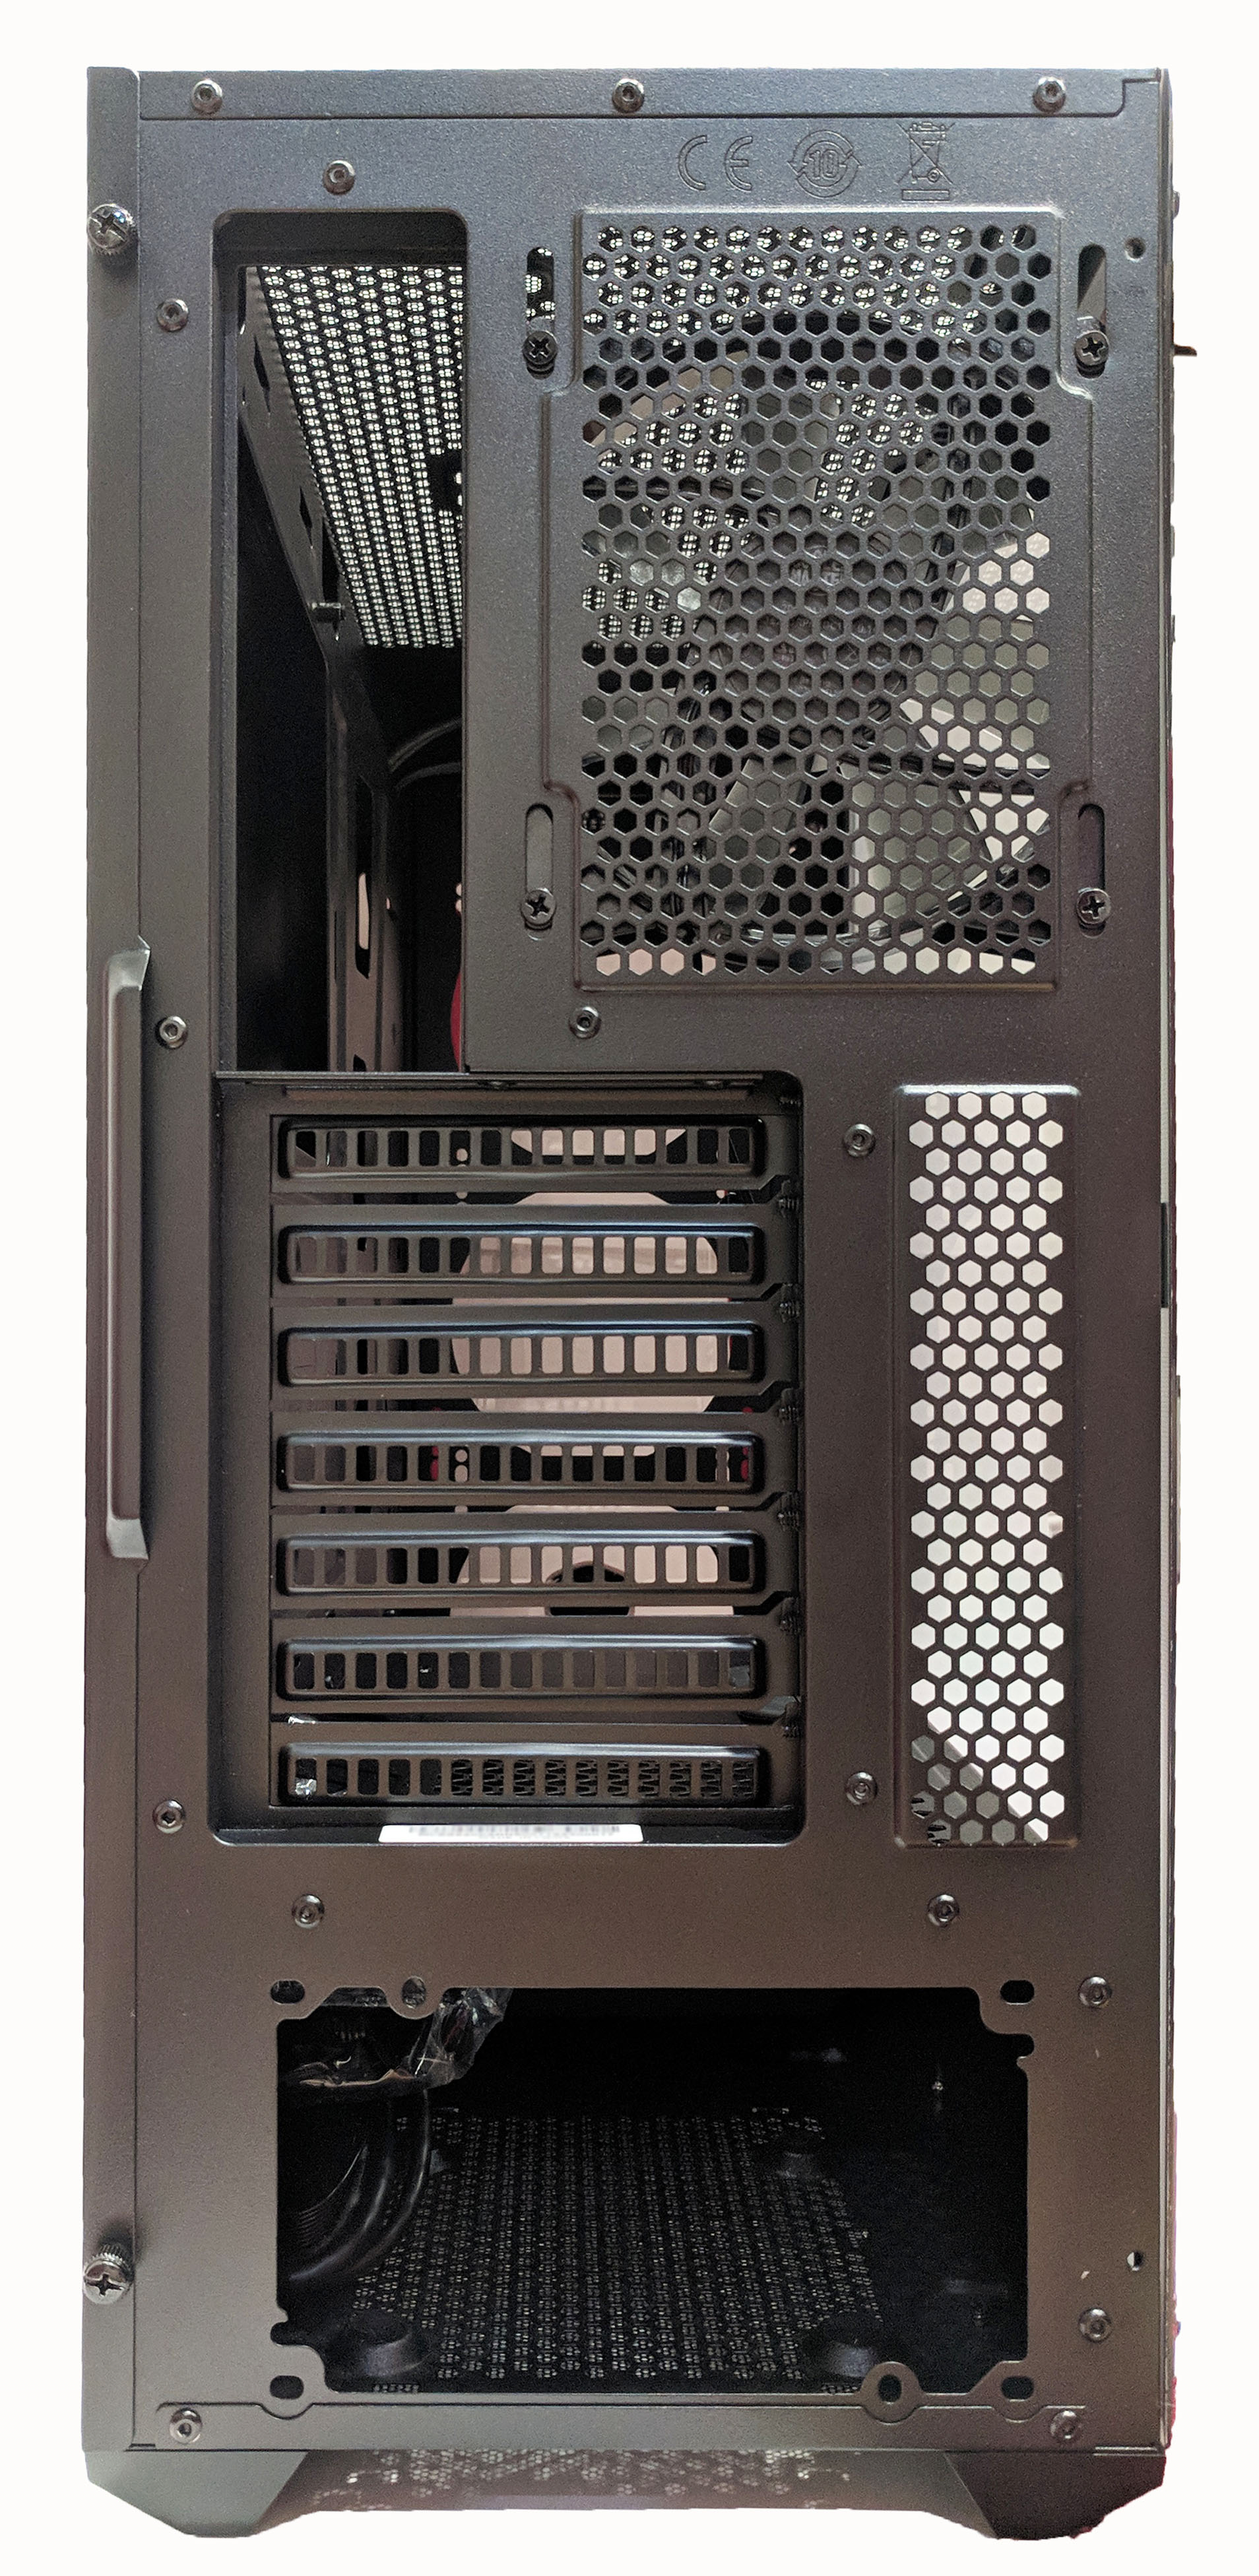
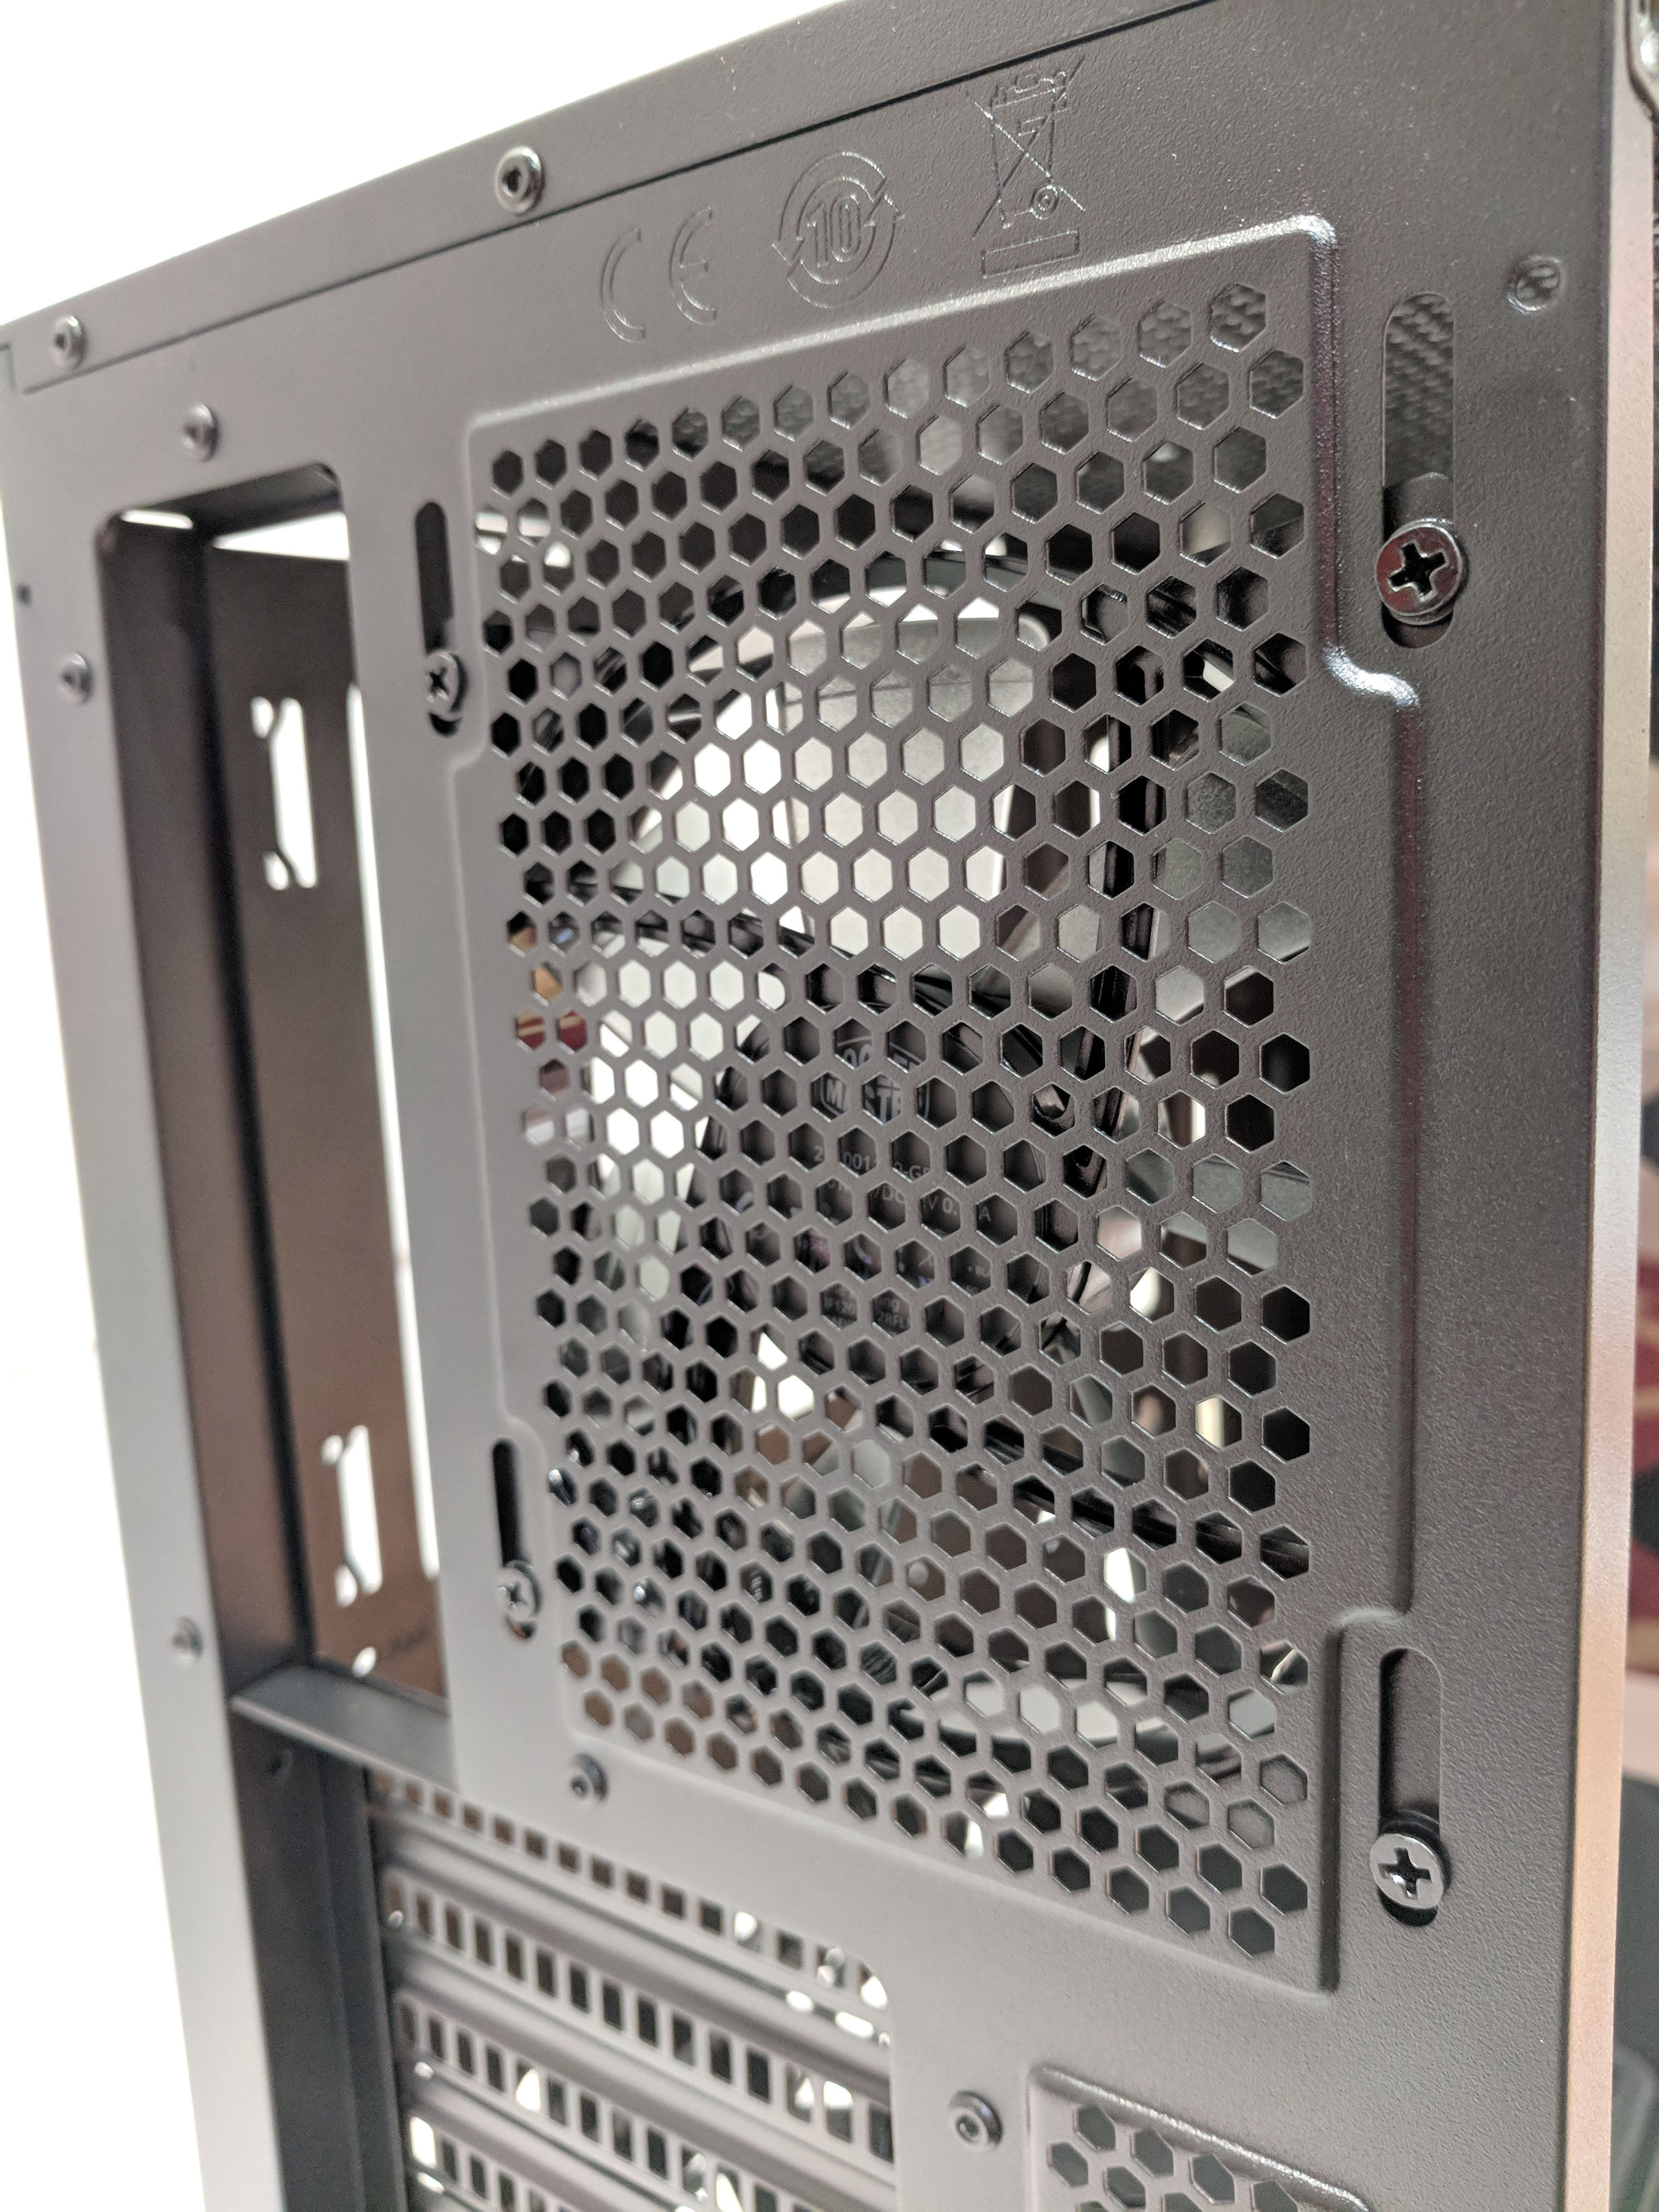
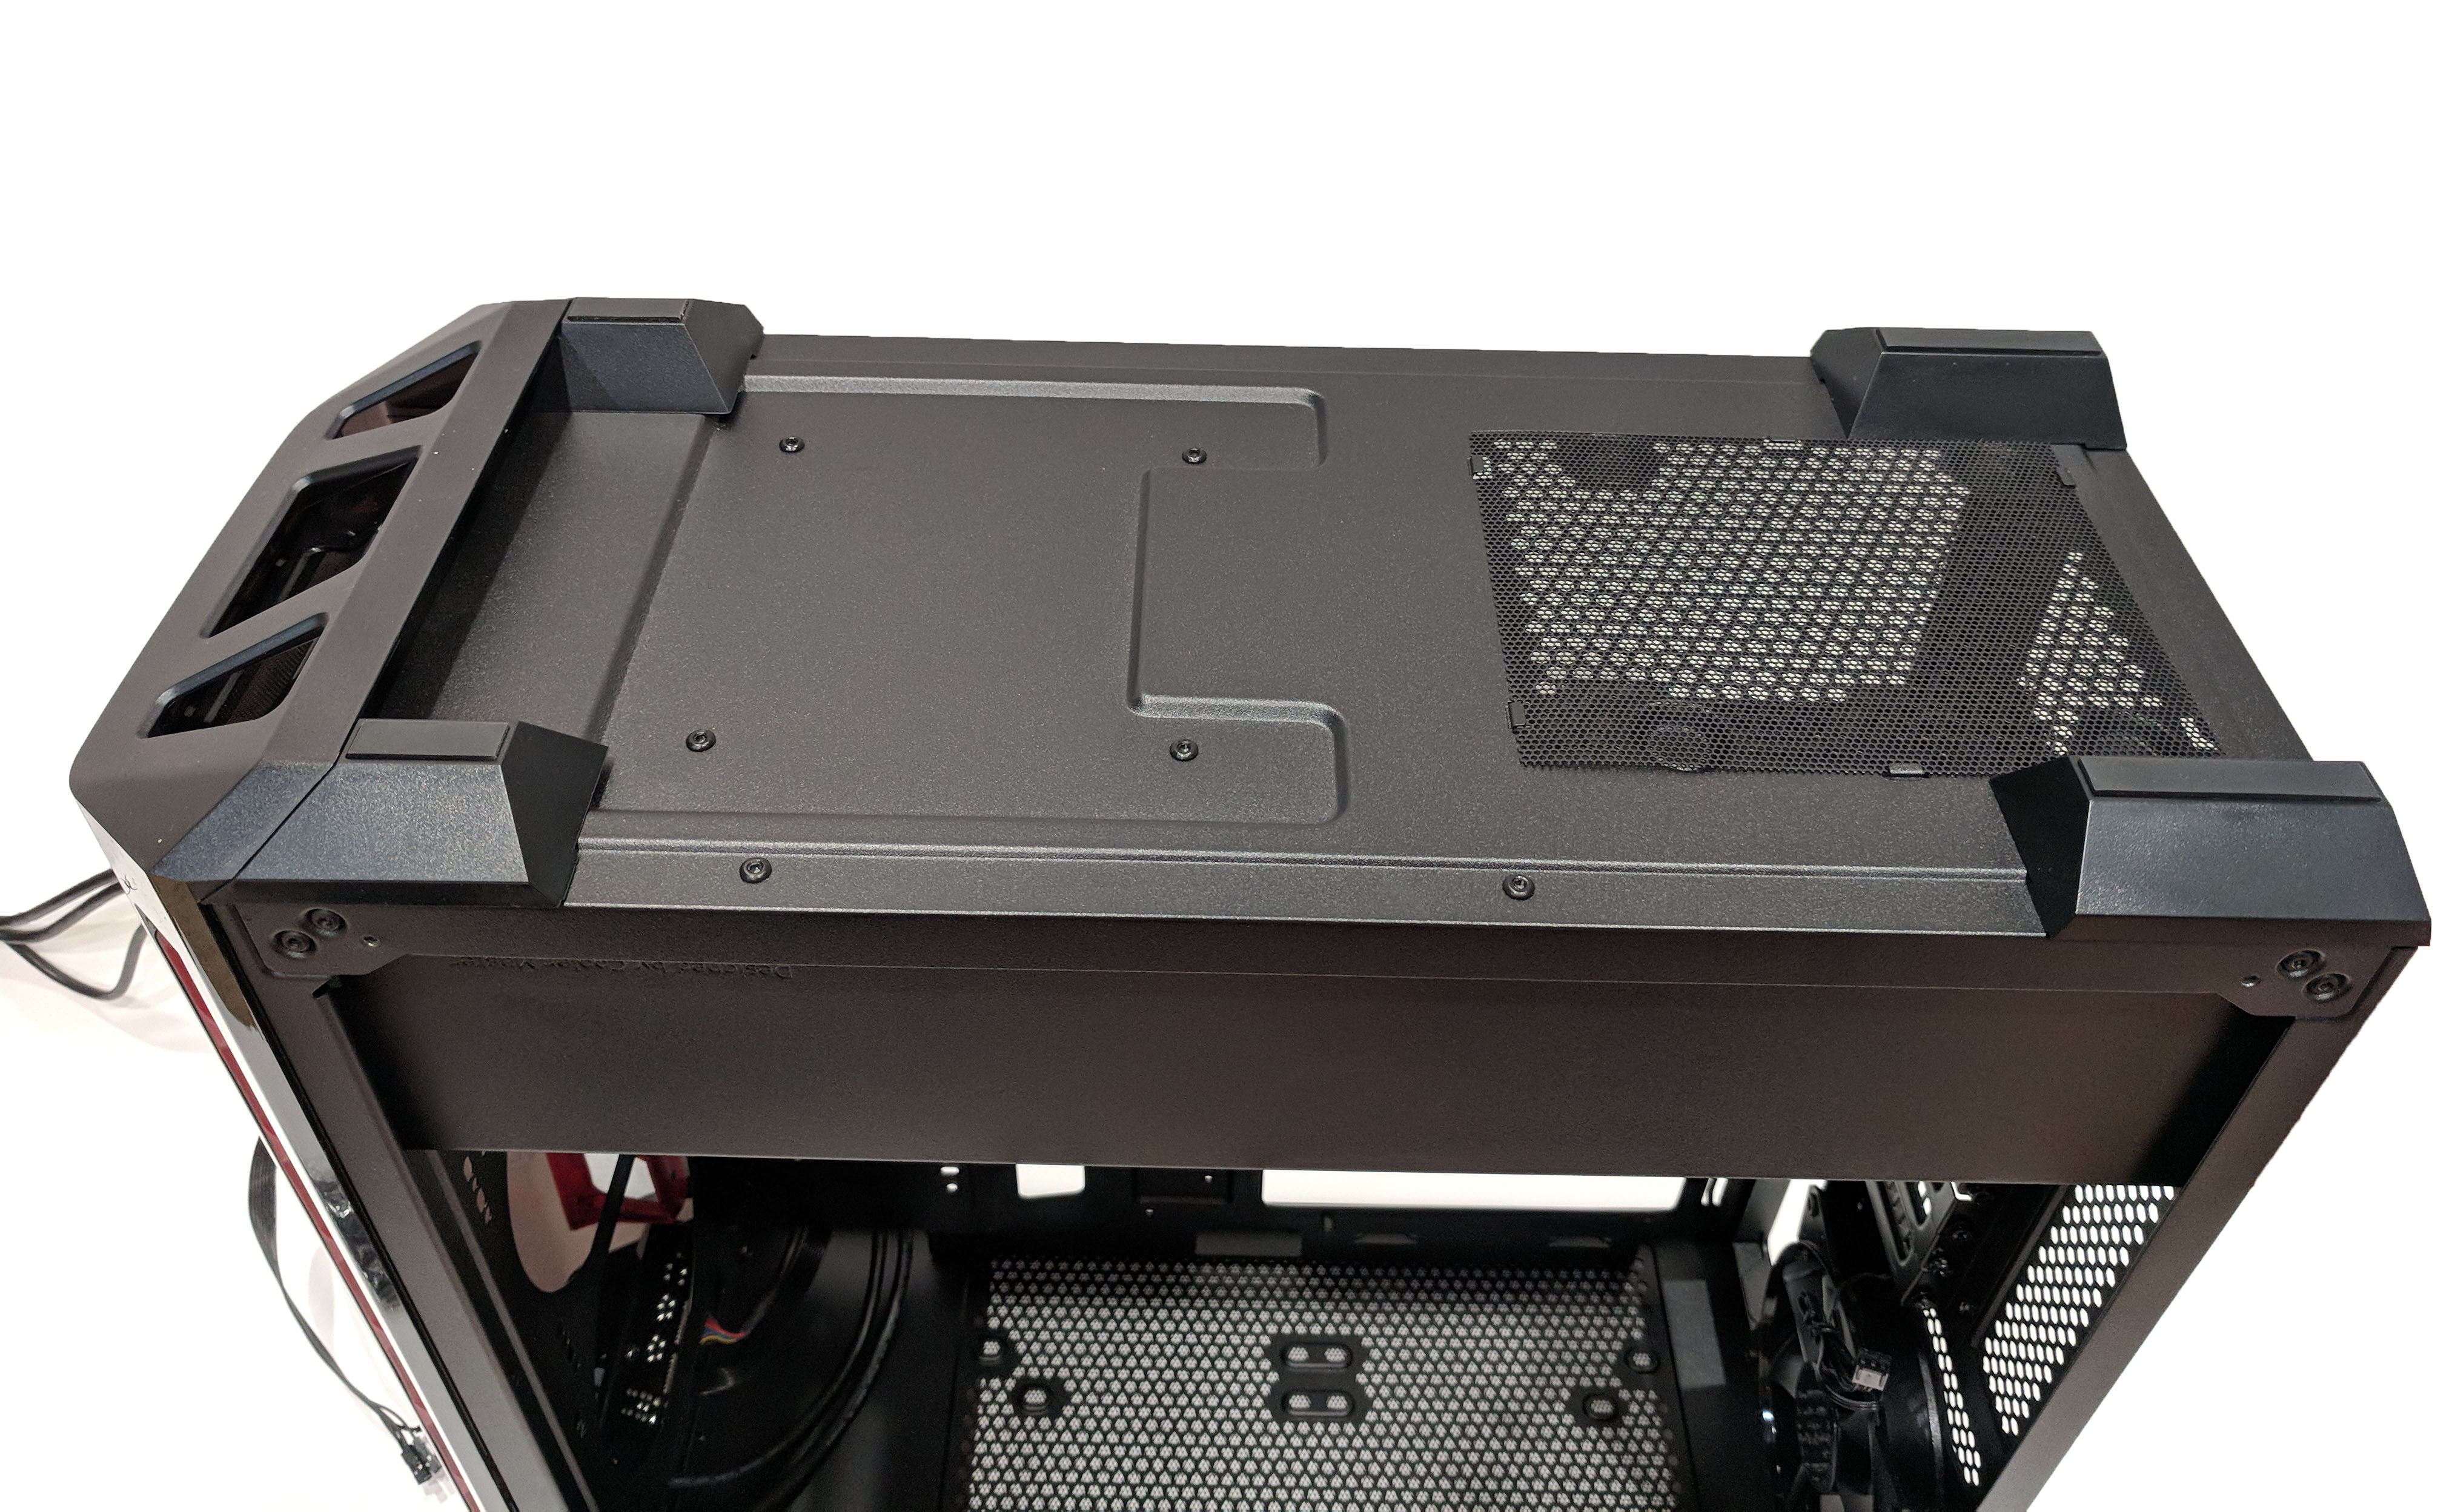
The back, top and right side of the case are a bit different. Unlike their glossy counterparts, these sides are more of what you might expect: matte black with a more rough surface. The metal surfaces are power coated black and should withstand years of abuse without scratching.

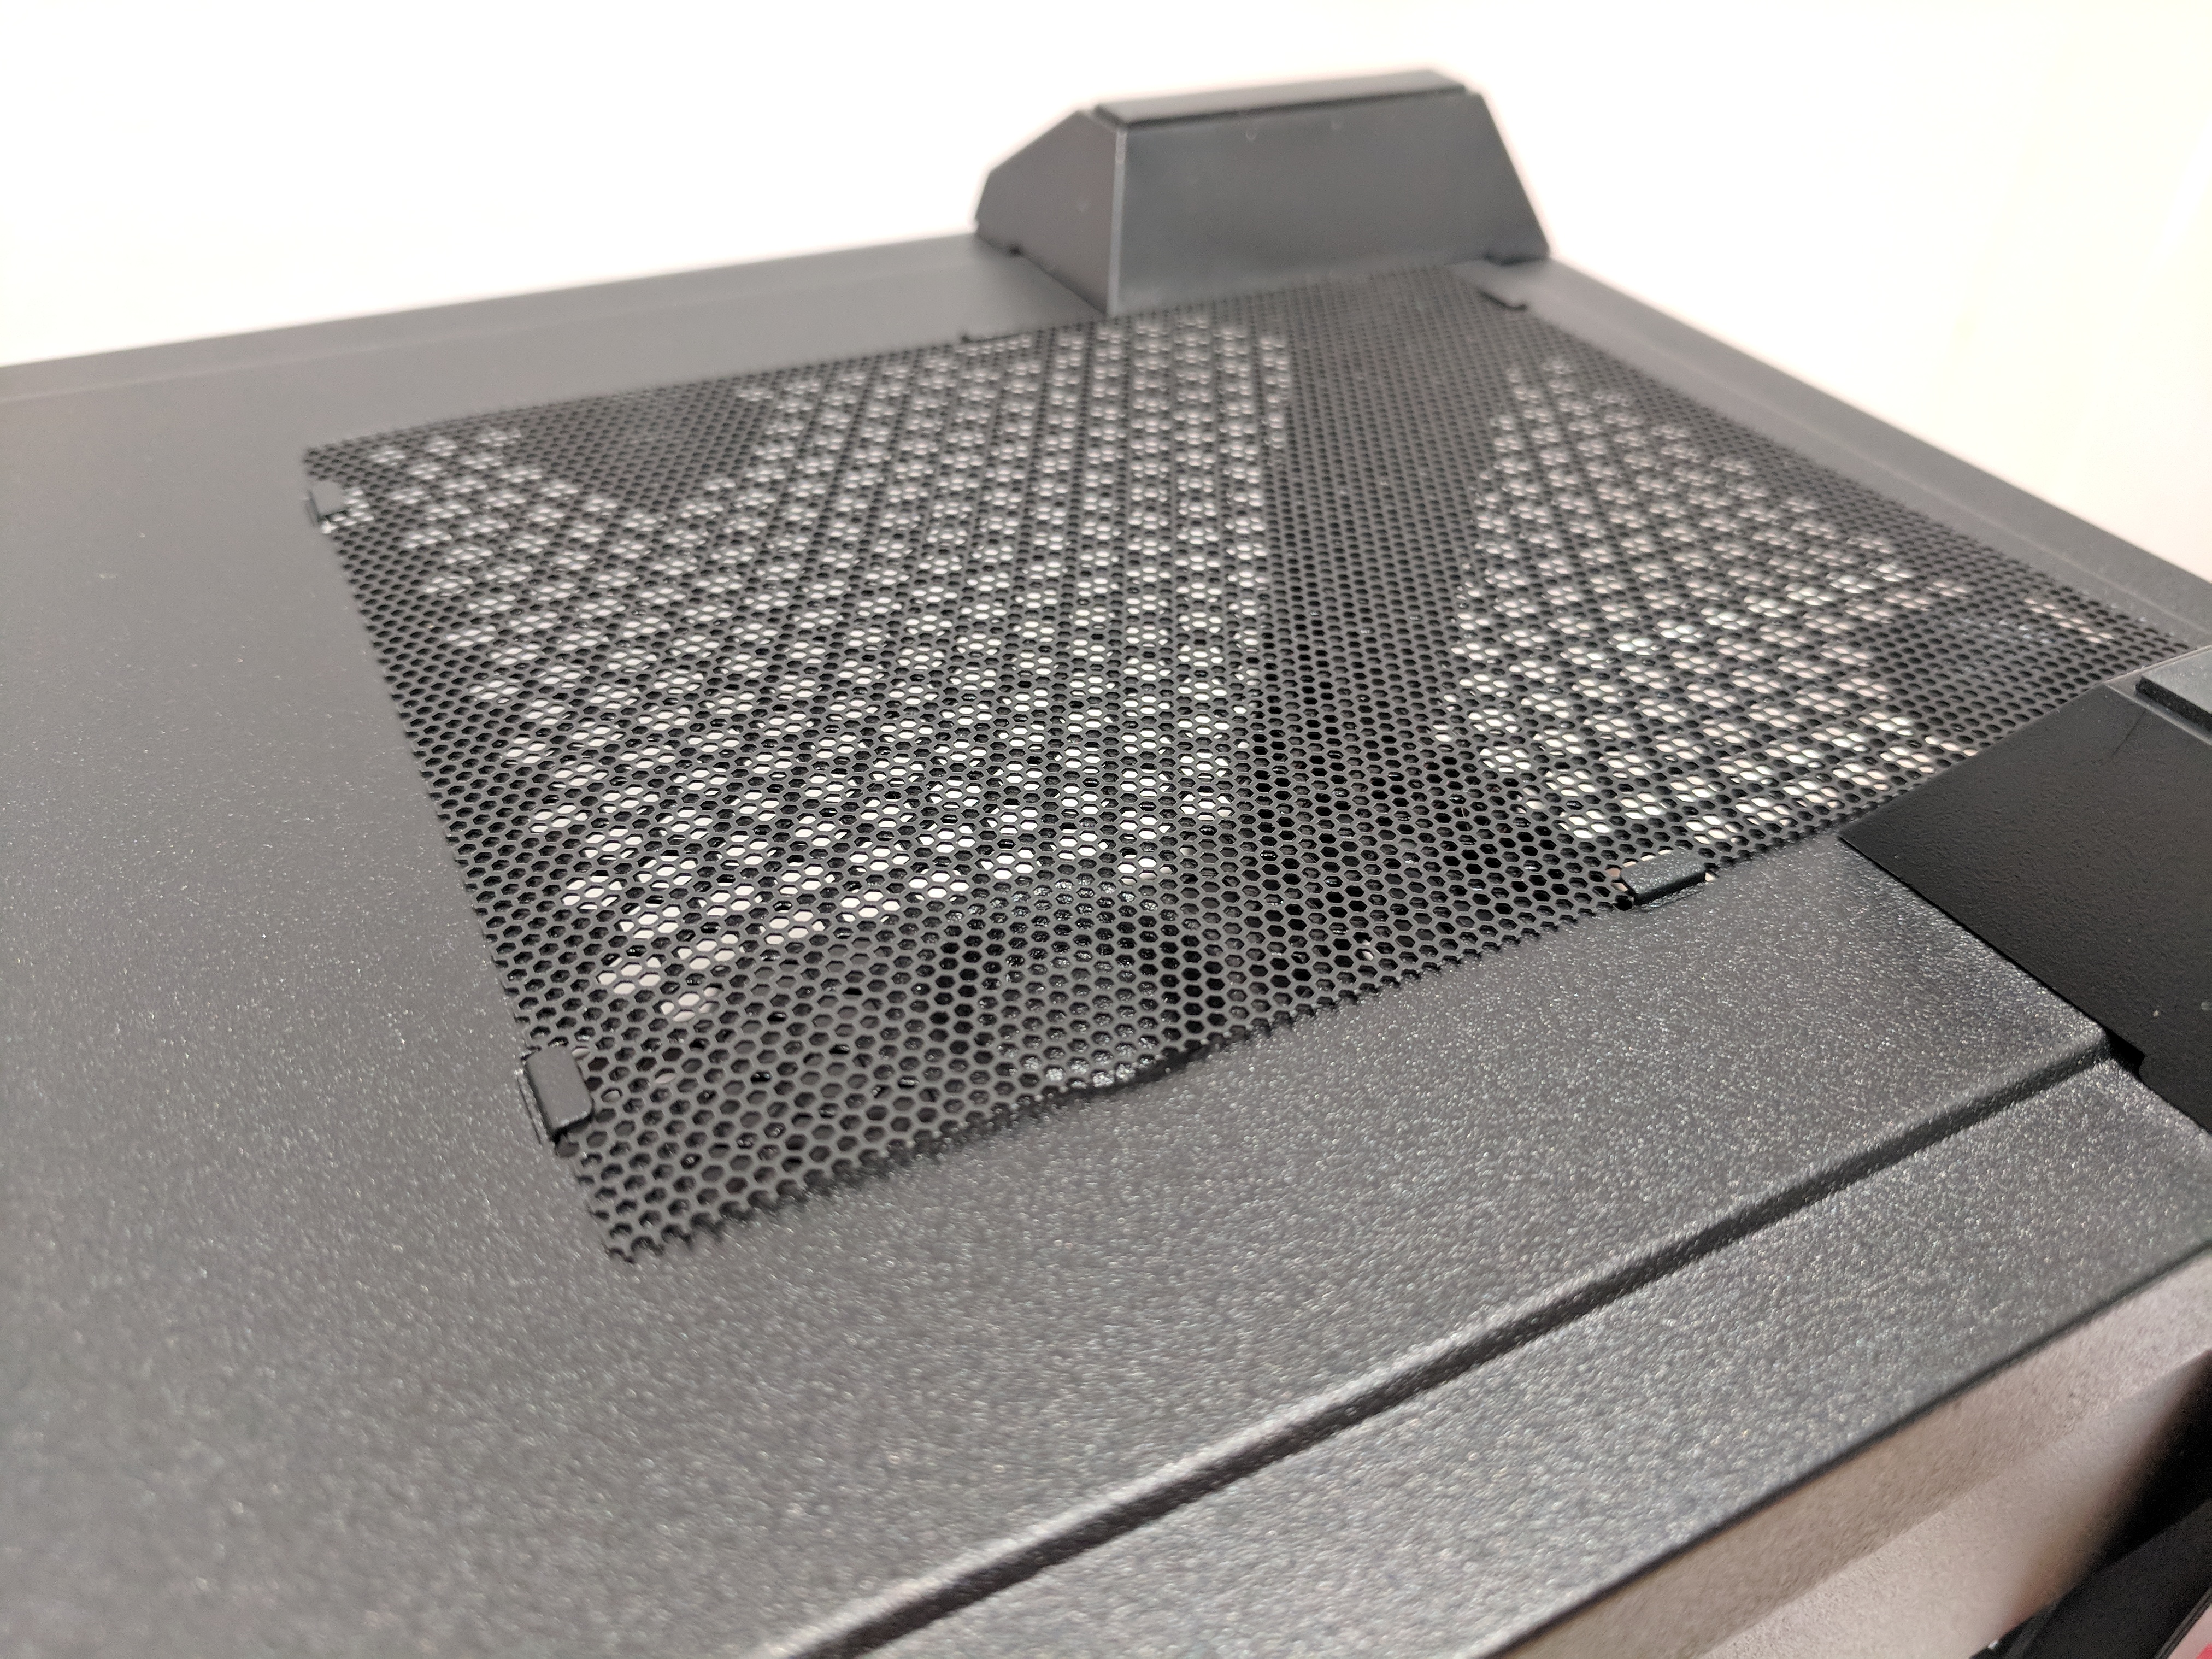
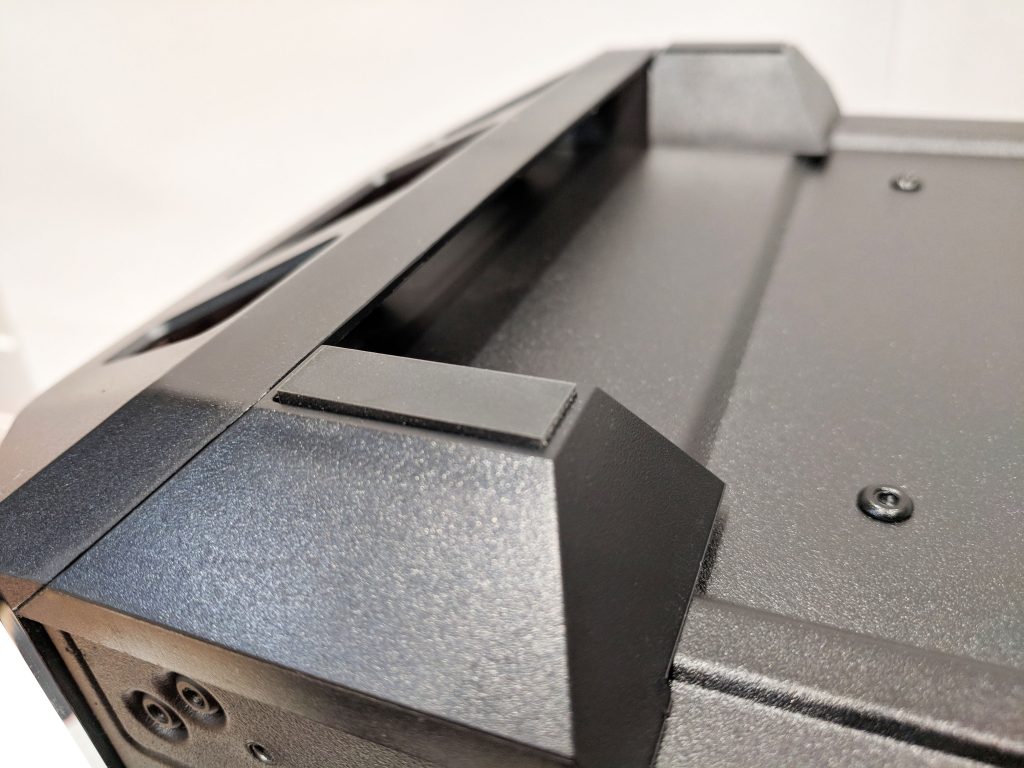
The top of the case is able to support two 120mm fans. If you opt to have them blow inward, Cooler Master included a magentic dust cover that sits nicely inside the grooves outlining the top fans. I’d recommend removing this dust cover if you choose to use the top fans as an exhaust as the filter will only obstruct airflow.

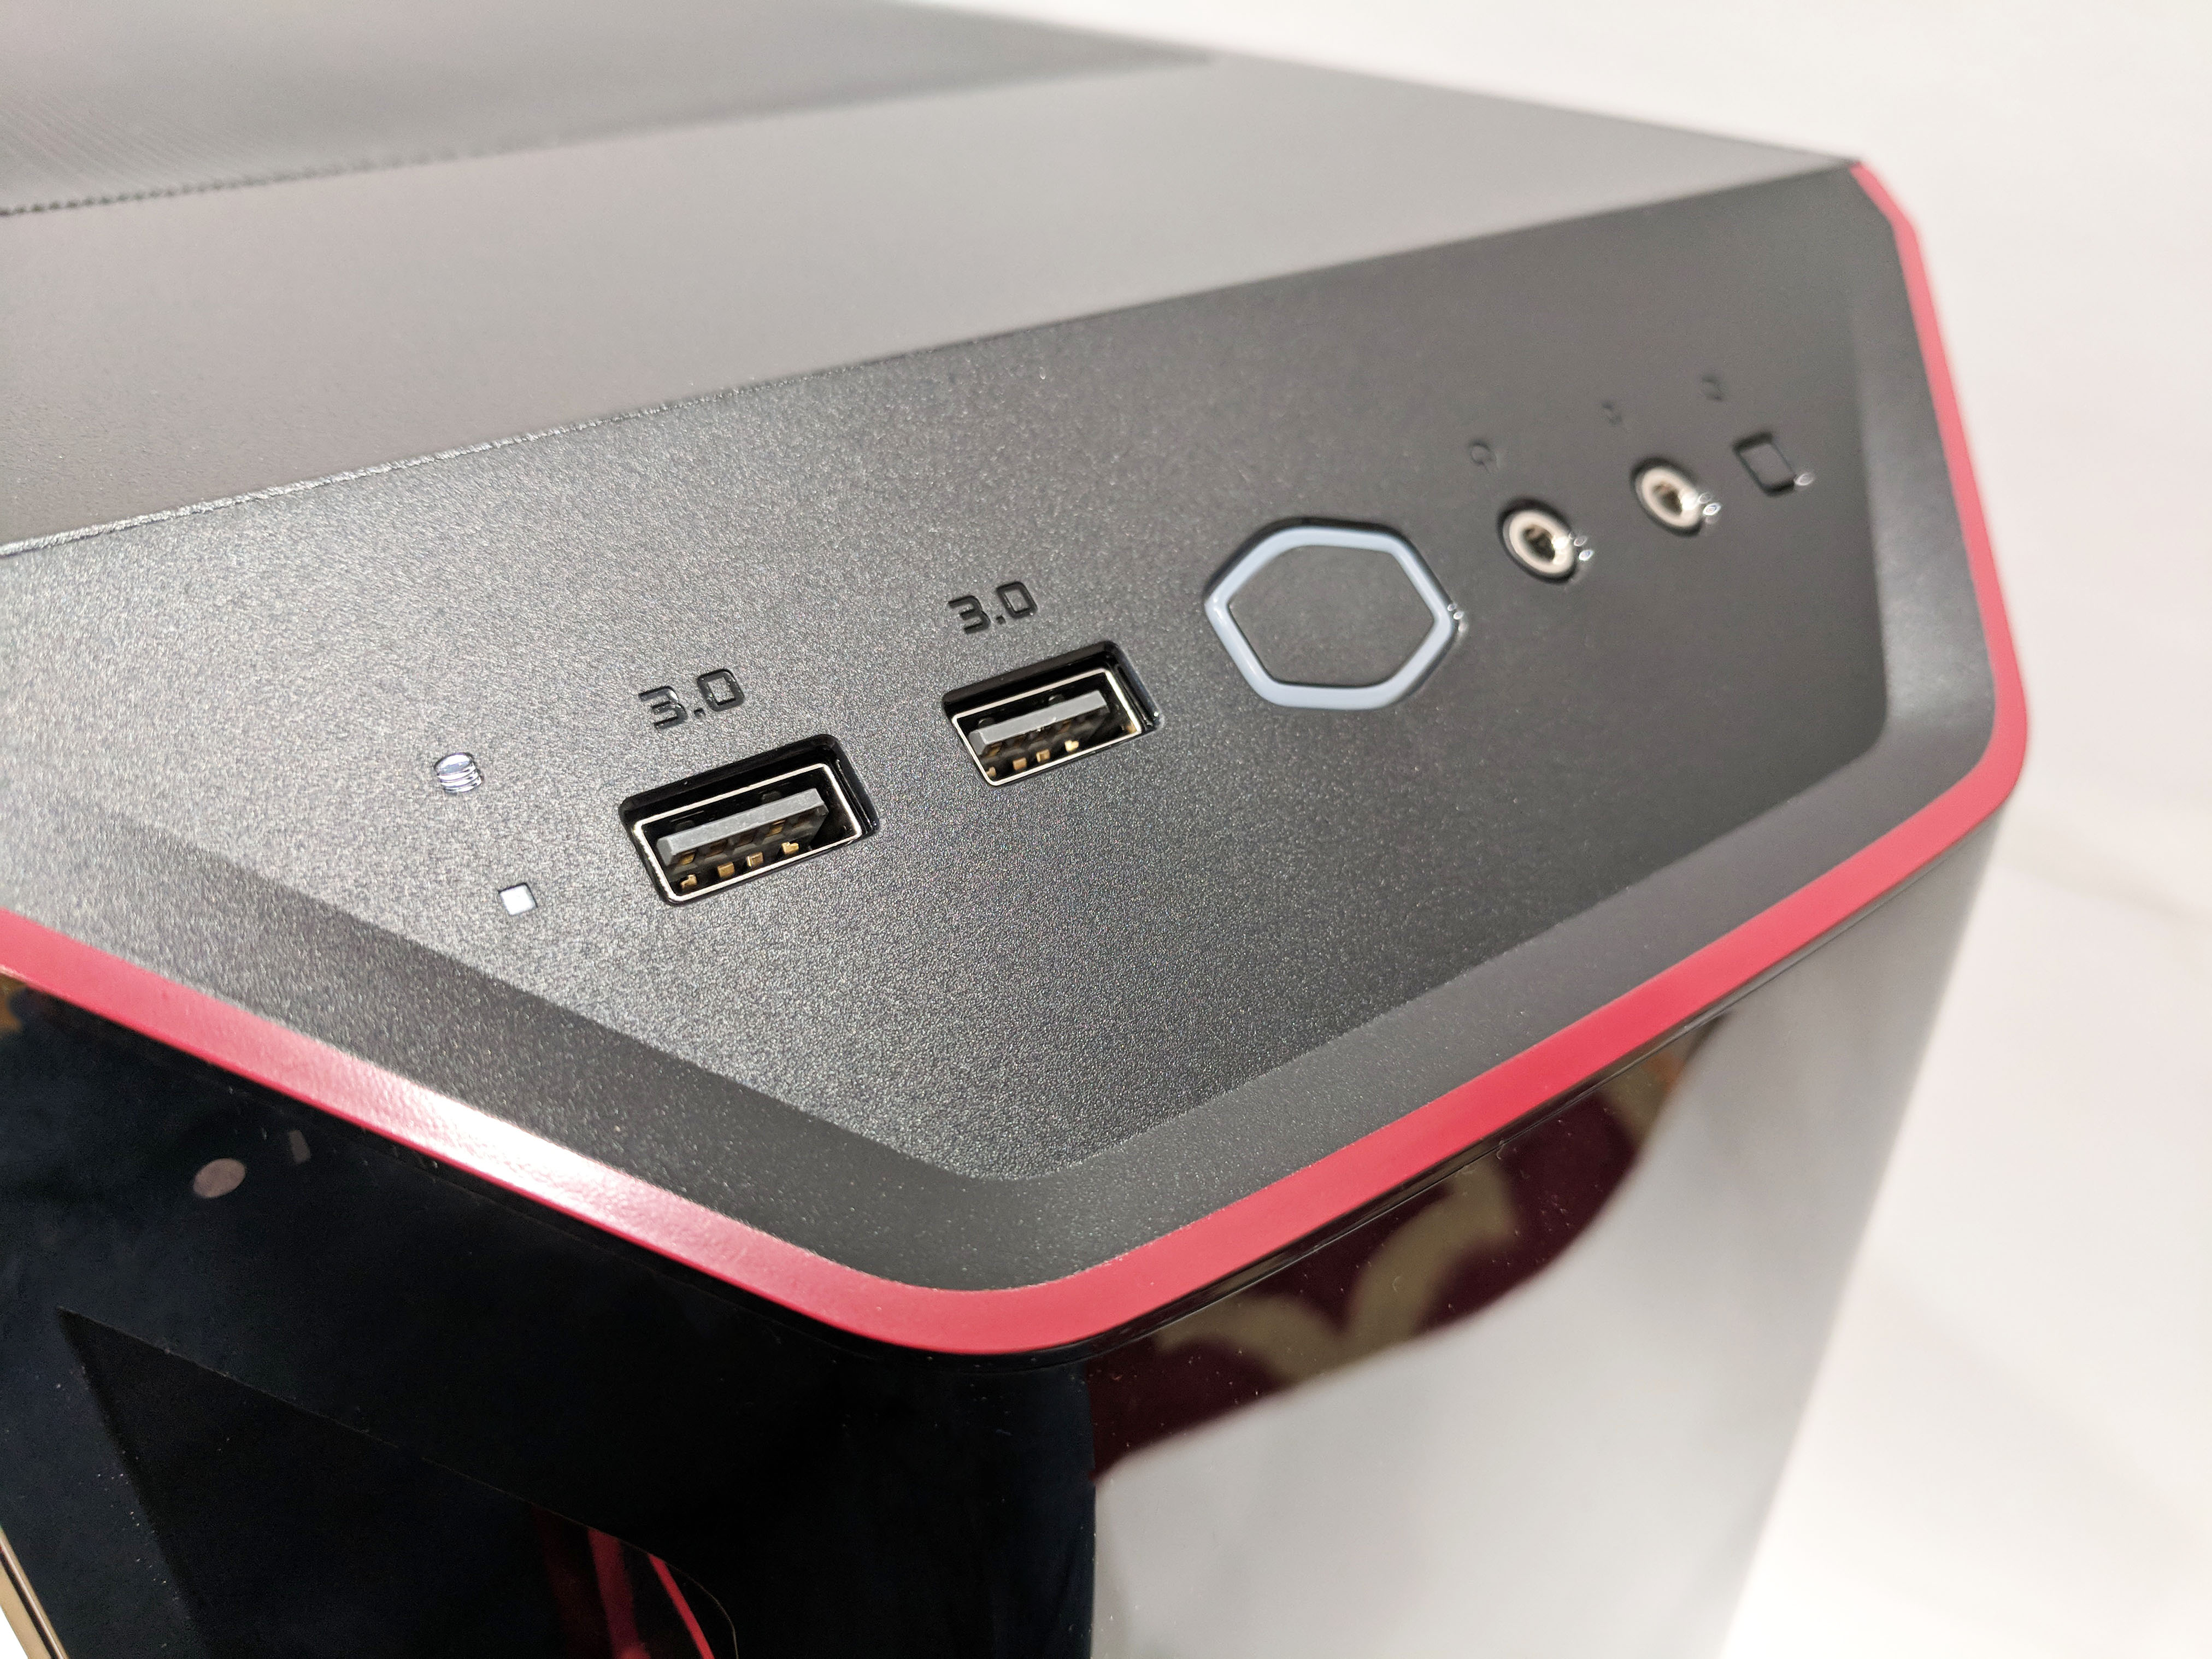
Also located on top is the front I/O panel. This consists of two USB 3.1 ports, an LED power button which doubles as a light-up Cooler Master Logo, 3.5mm audio input, output jacks and a small square reset button. Ensure that your motherboard has a USB 3.0 header before purchasing this case as there are no USB 2.0 options (though I believe adapters exist).
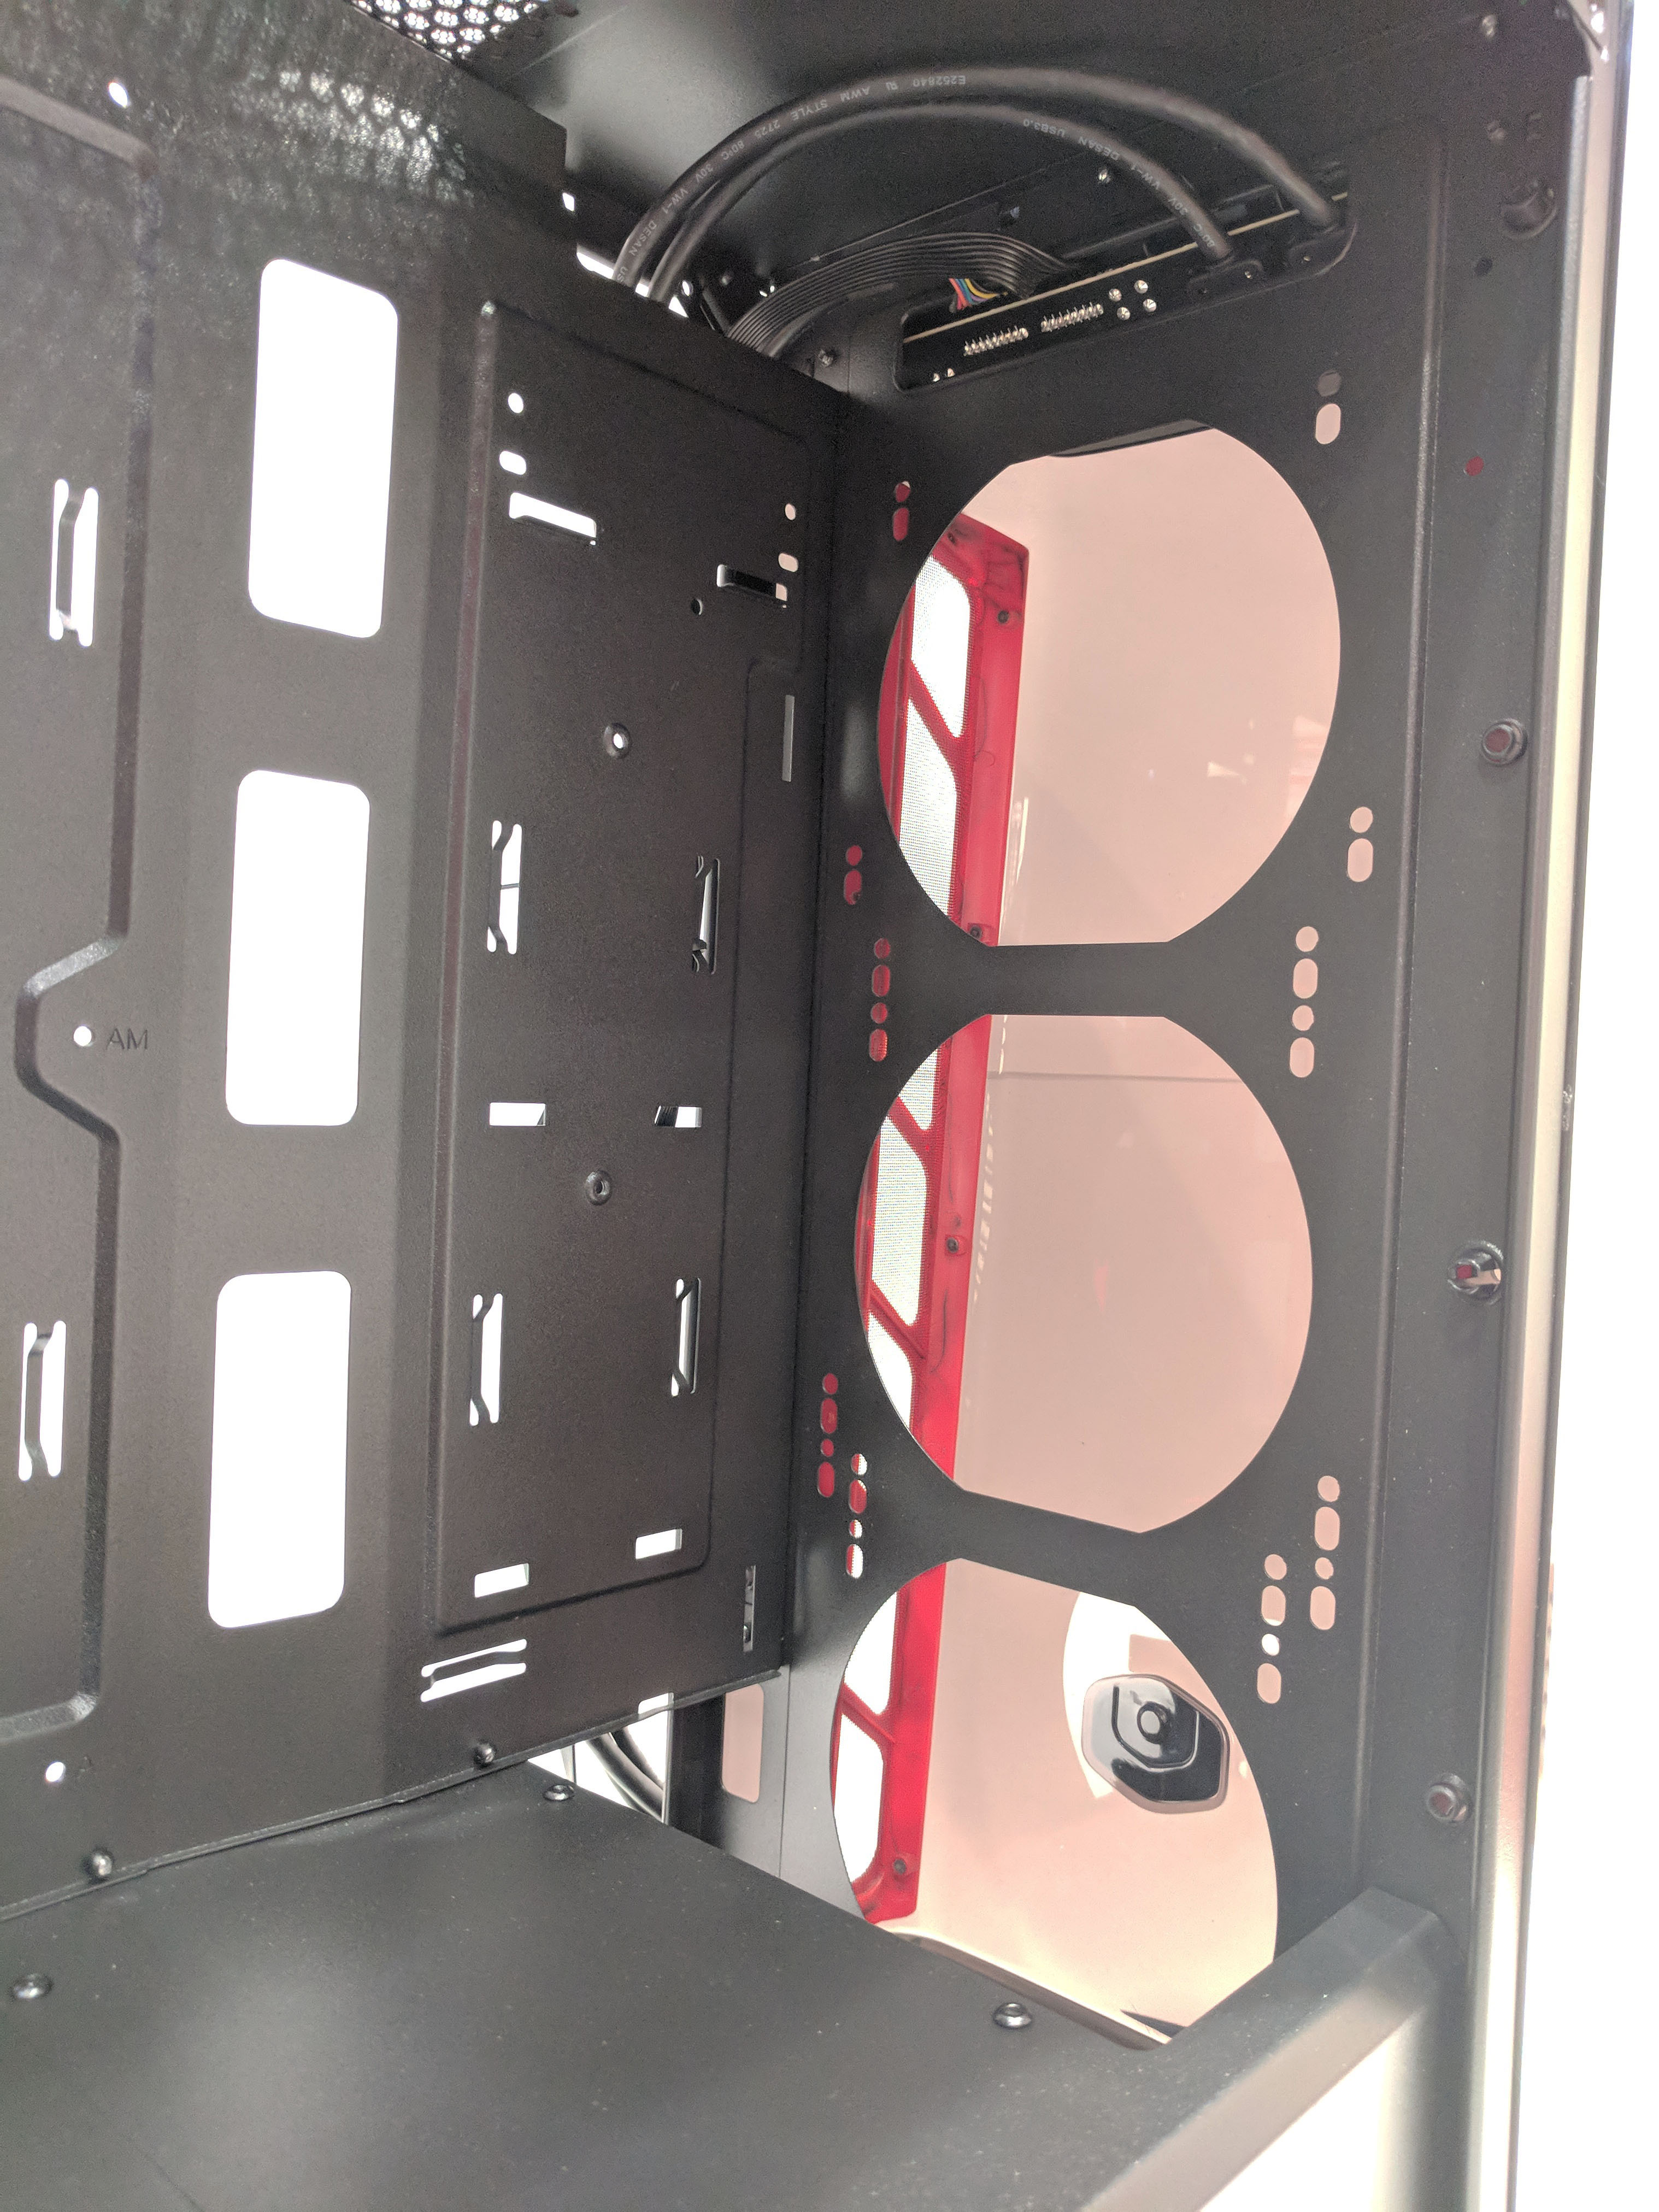
While we’re talking about the front of the case, let’s move on down to one of it’s main features, an air intake. Air is drawn in by the front mounted fans located inside the front of the case and filtered by two main intakes on either side. These filters span the entire height of the case and will definitely provide proper airflow to the fans.
To install the fans, the front cover can be easily removed by grasping the bottom of the shroud and giving it a firm tug. With the cover removed we get a better look at the the fan or radiator mounting options.
The back of the case is pretty standard. One interesting feature to note however, is the MB520’s ability to adjust the rear exhaust fan up or down to provide optimal positioning to remove the hot air from the CPU cooler.
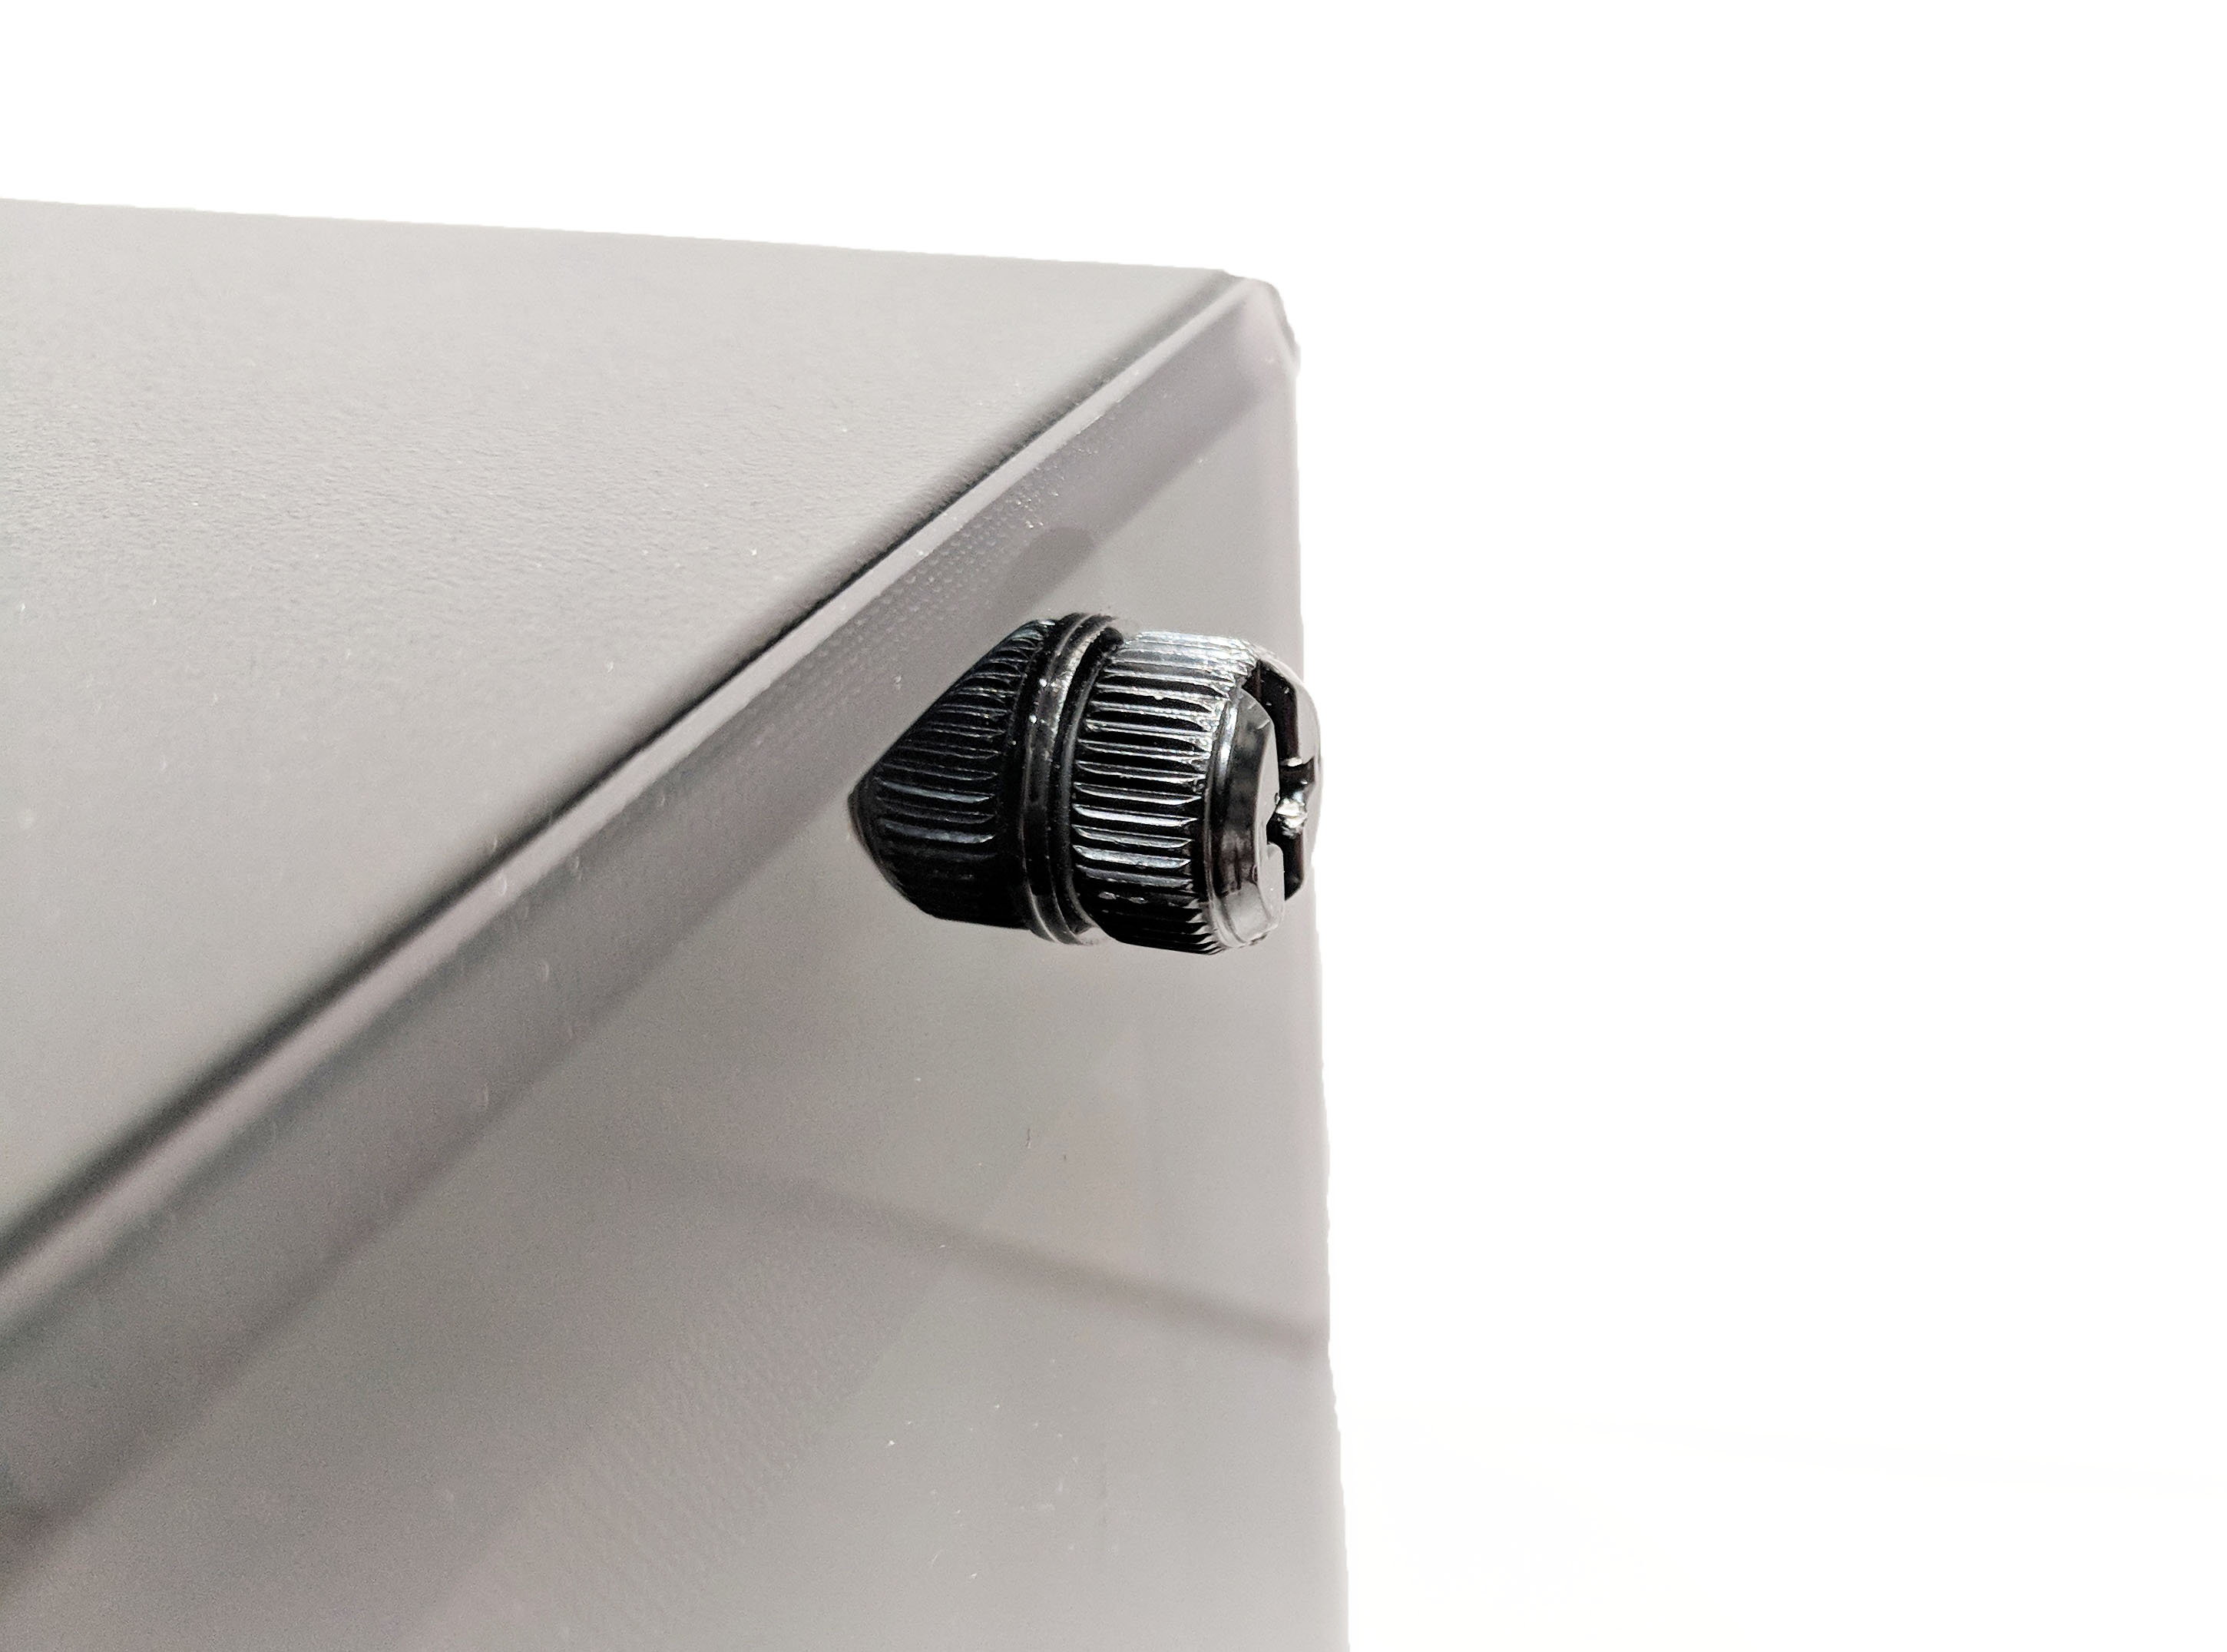
Next, let’s move on to the main left side panel. The panel itself is constructed from plastic. It is tinted which adds to the overall stealthy theme we’ve noticed so far with the MB520. Its size pretty much runs the full top to bottom and length to width of the case and is held in place by four rubber-padded thumb screws.
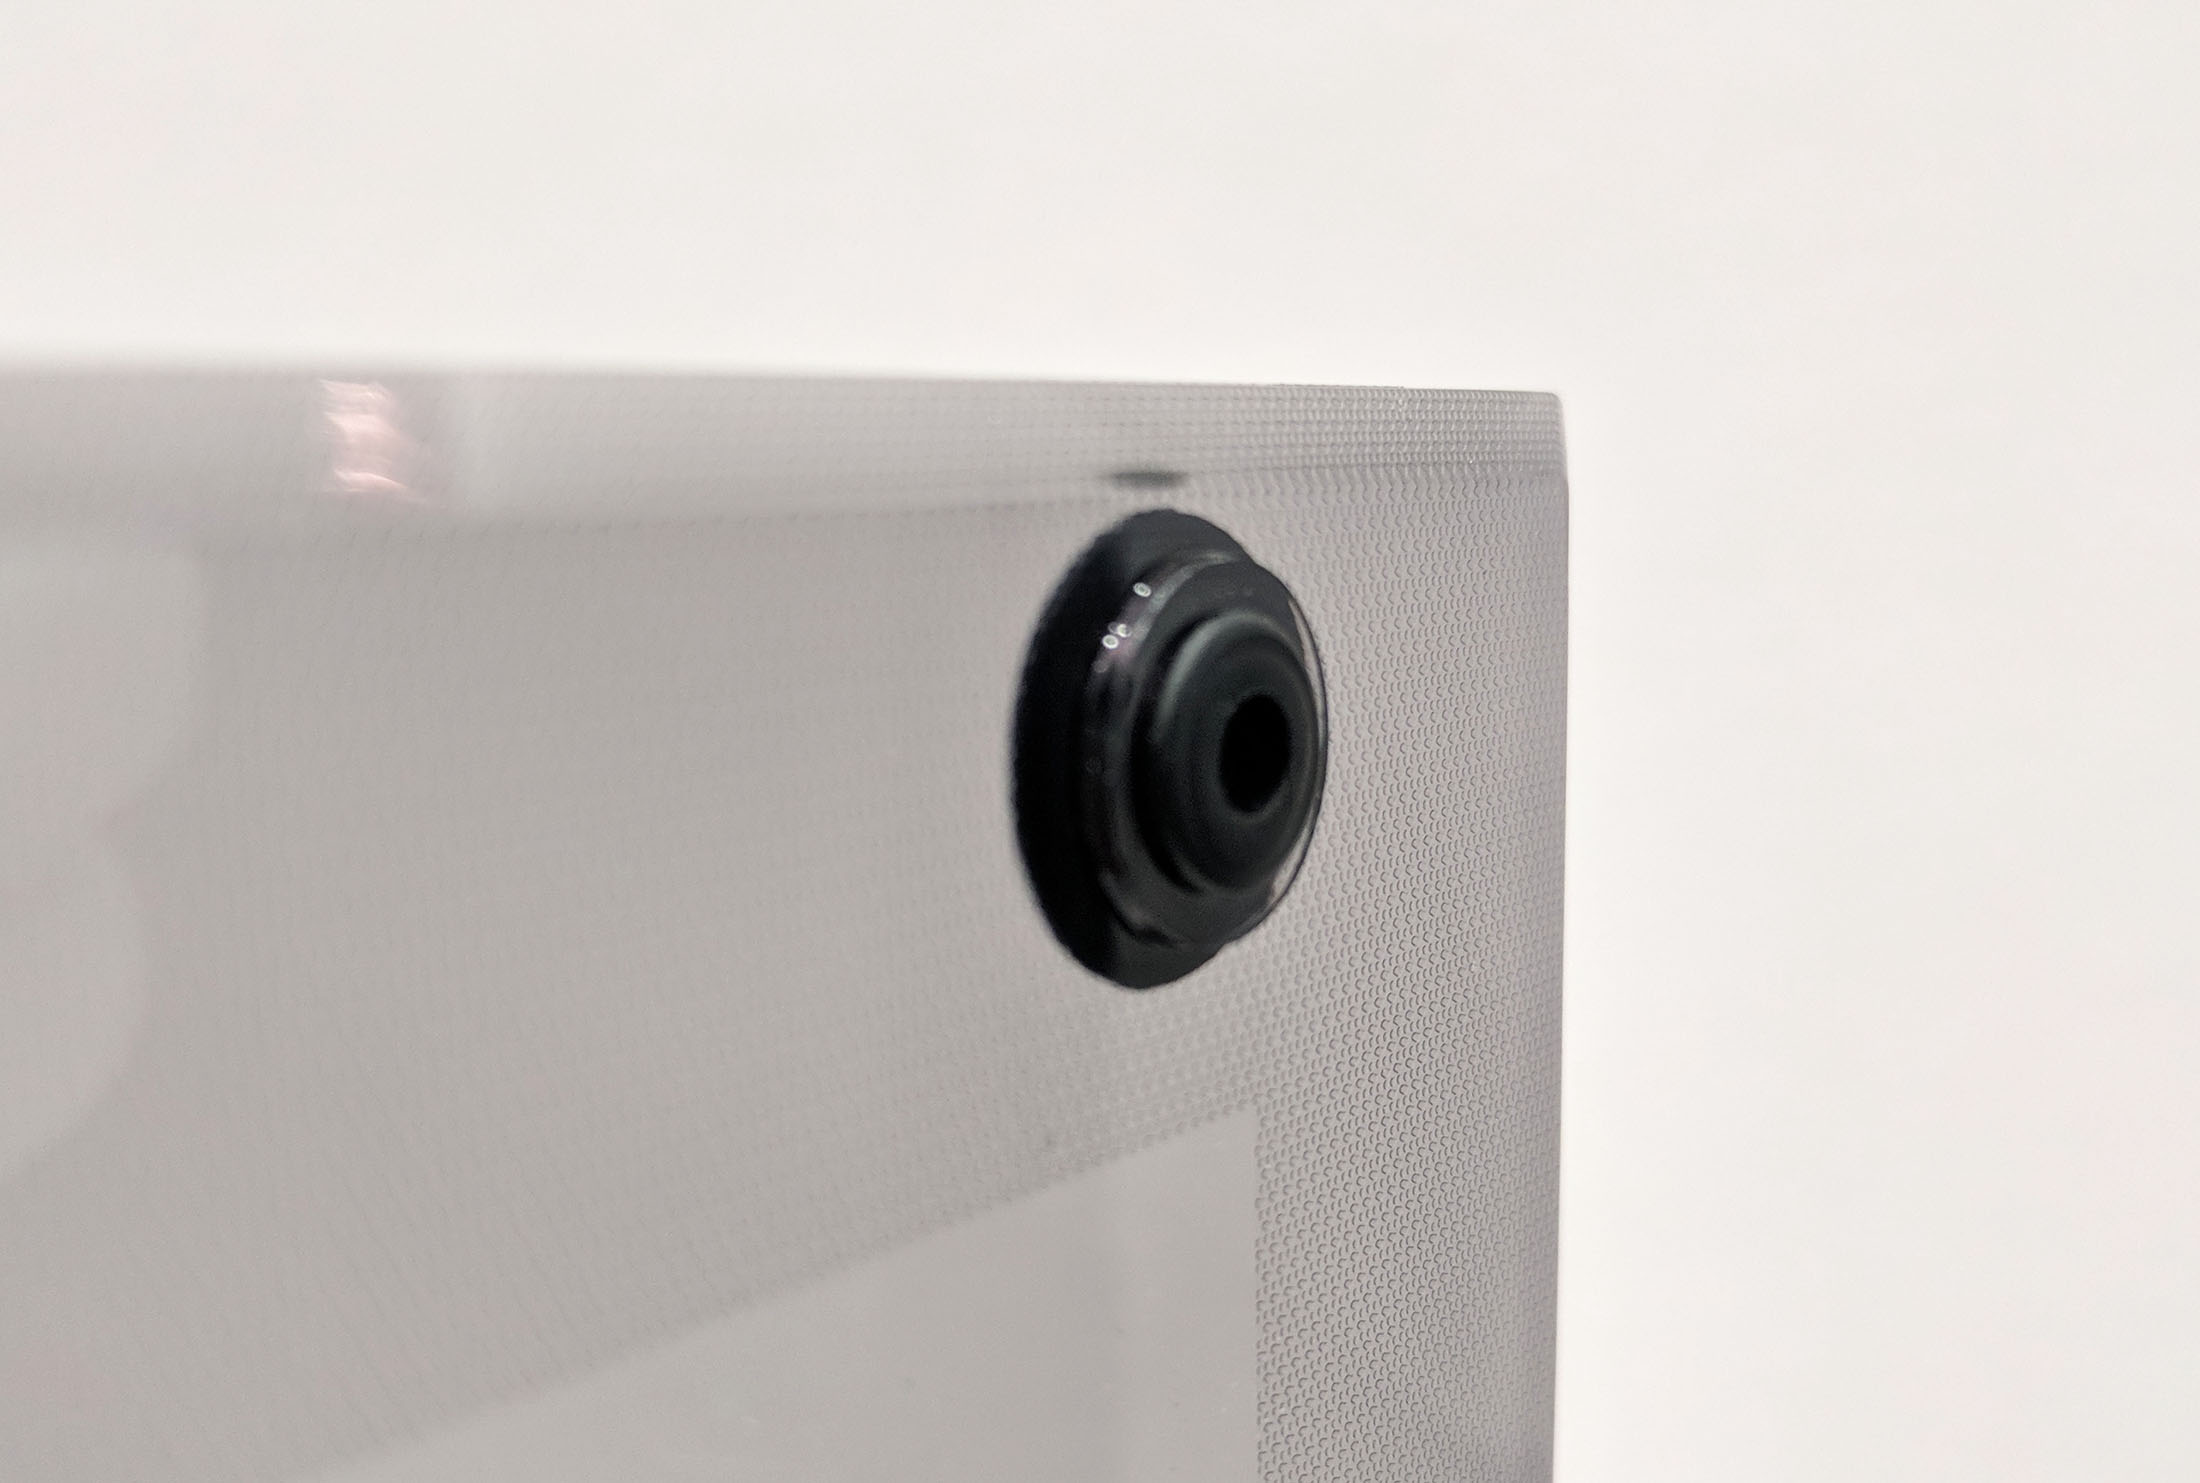
The bottom of the MasterBox MB520 is finished in the same power-coating we saw on the back and right side. The intake for the power supply has a dust cover, but it is not easily removed. Changing it regularly will be pretty awkward. The case is held up by four large plastic feet with rubberized grips.
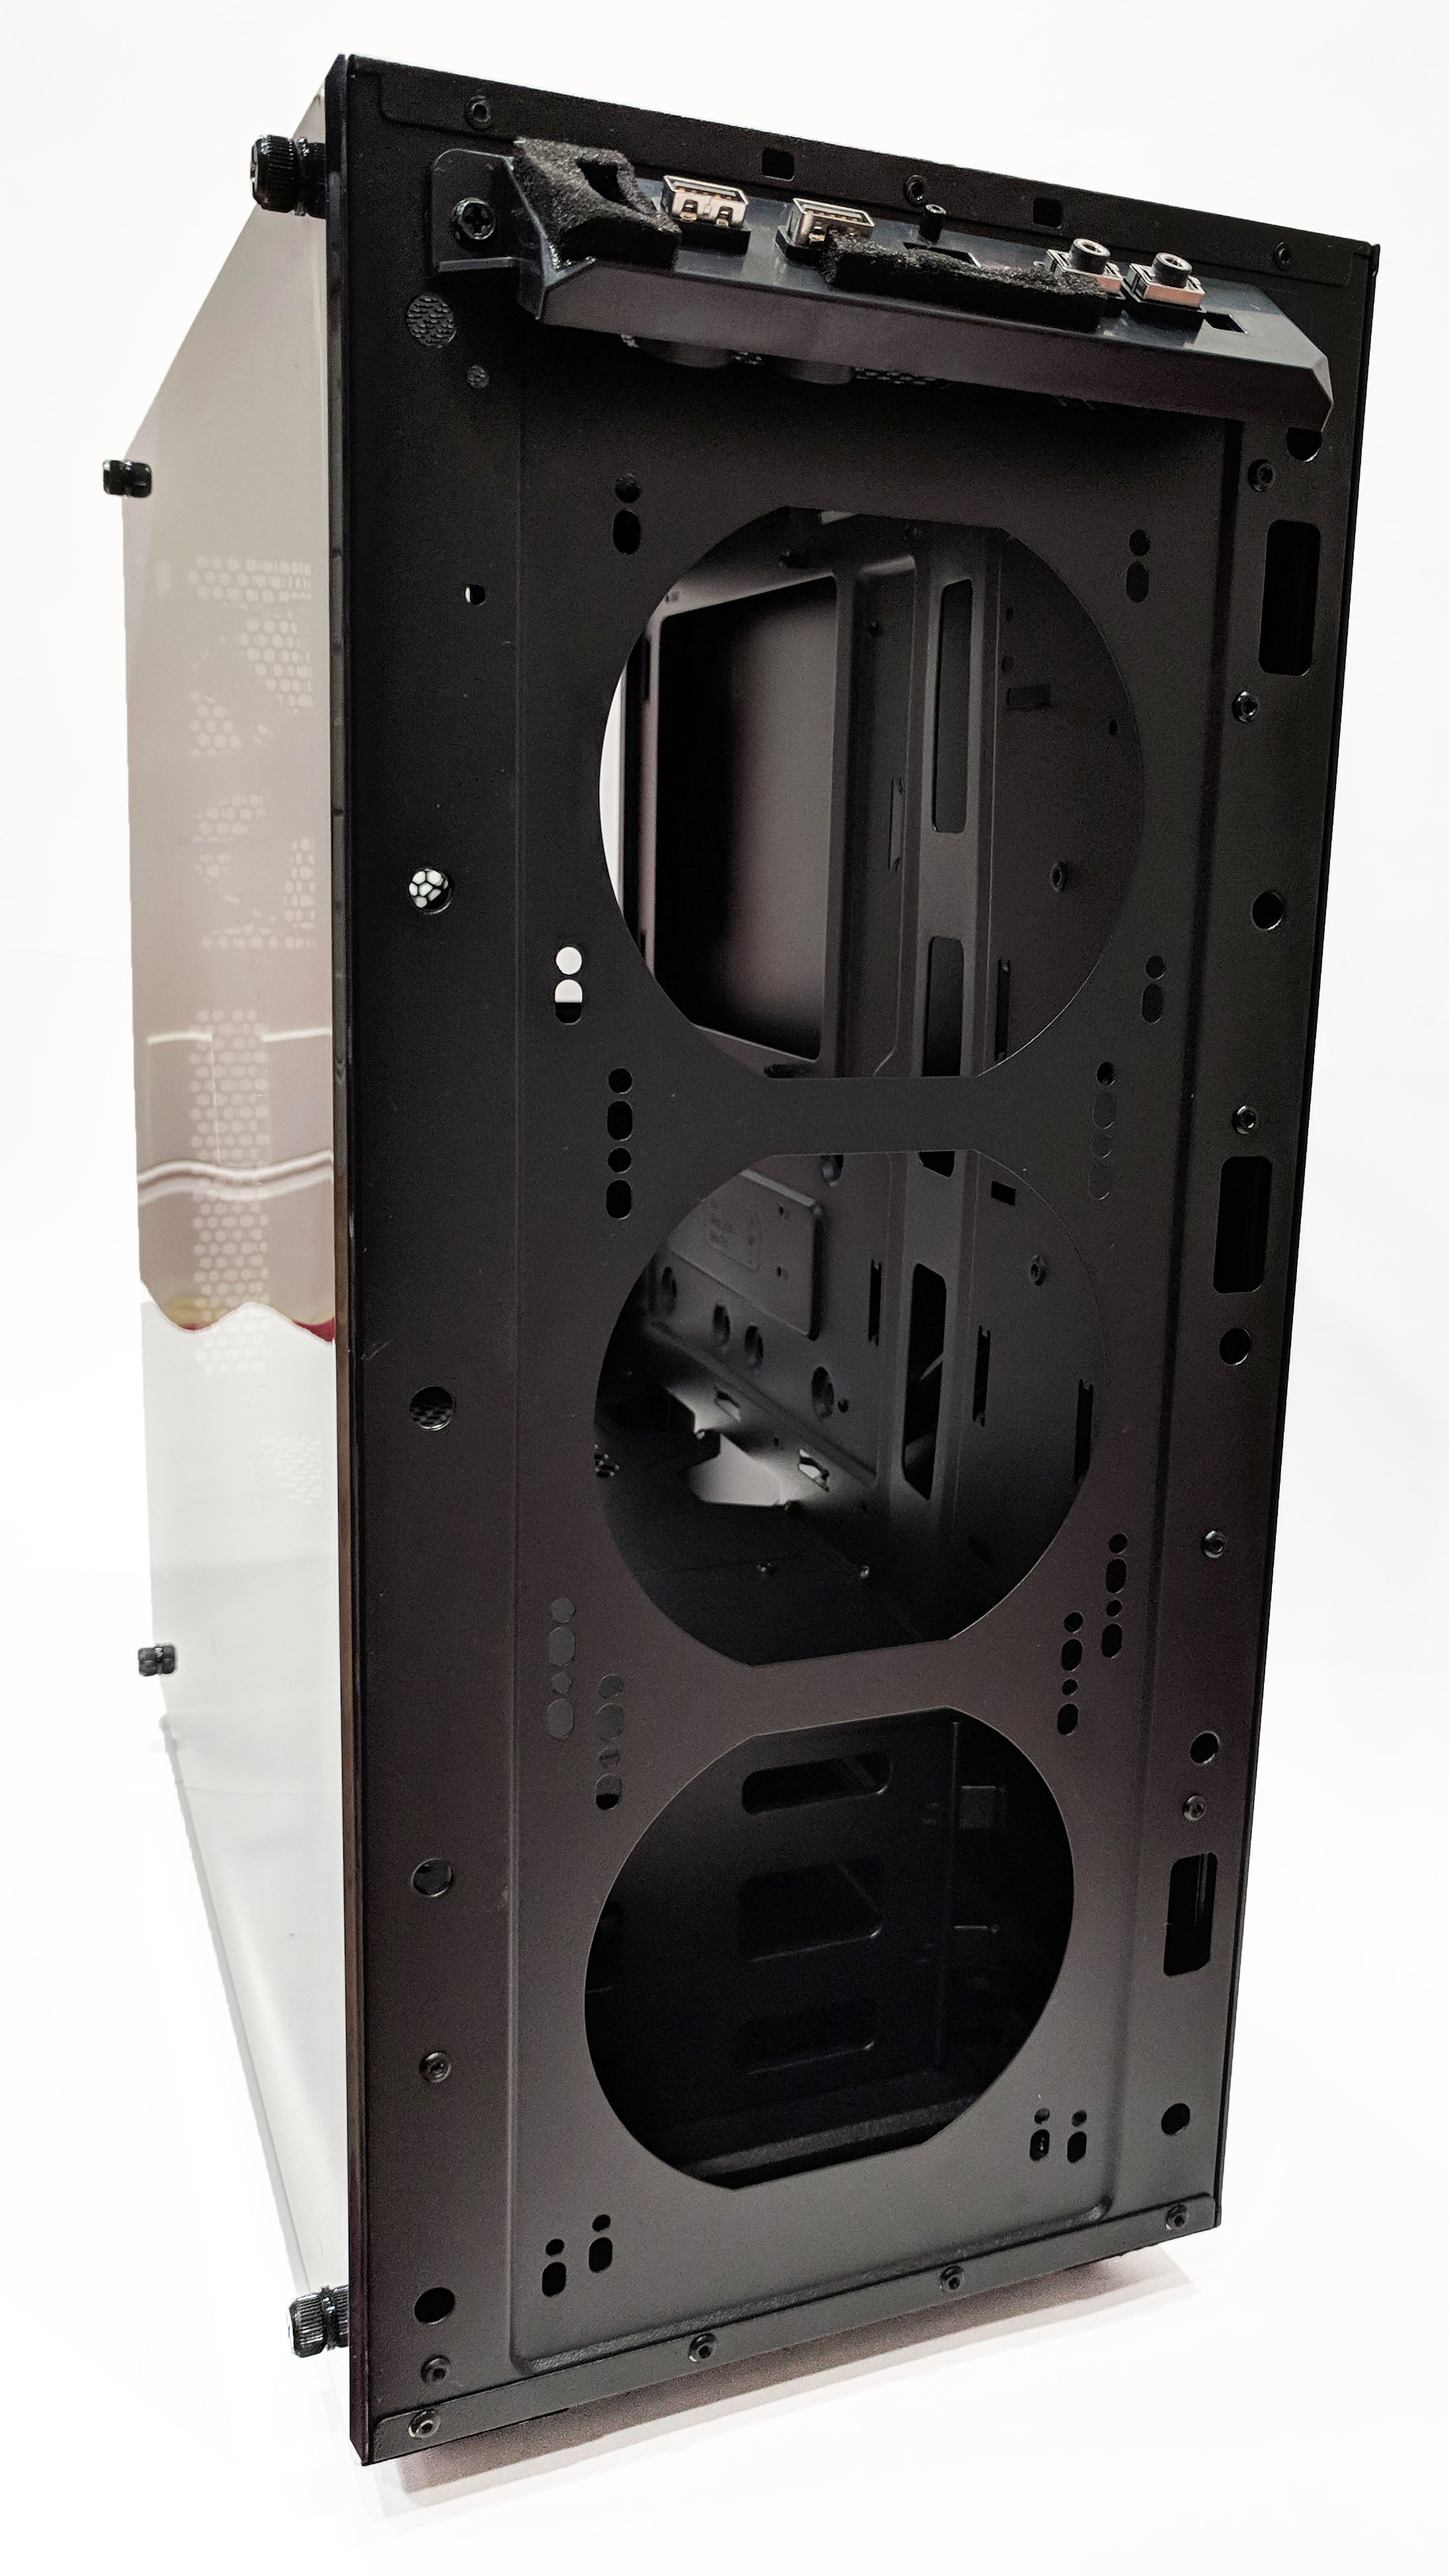
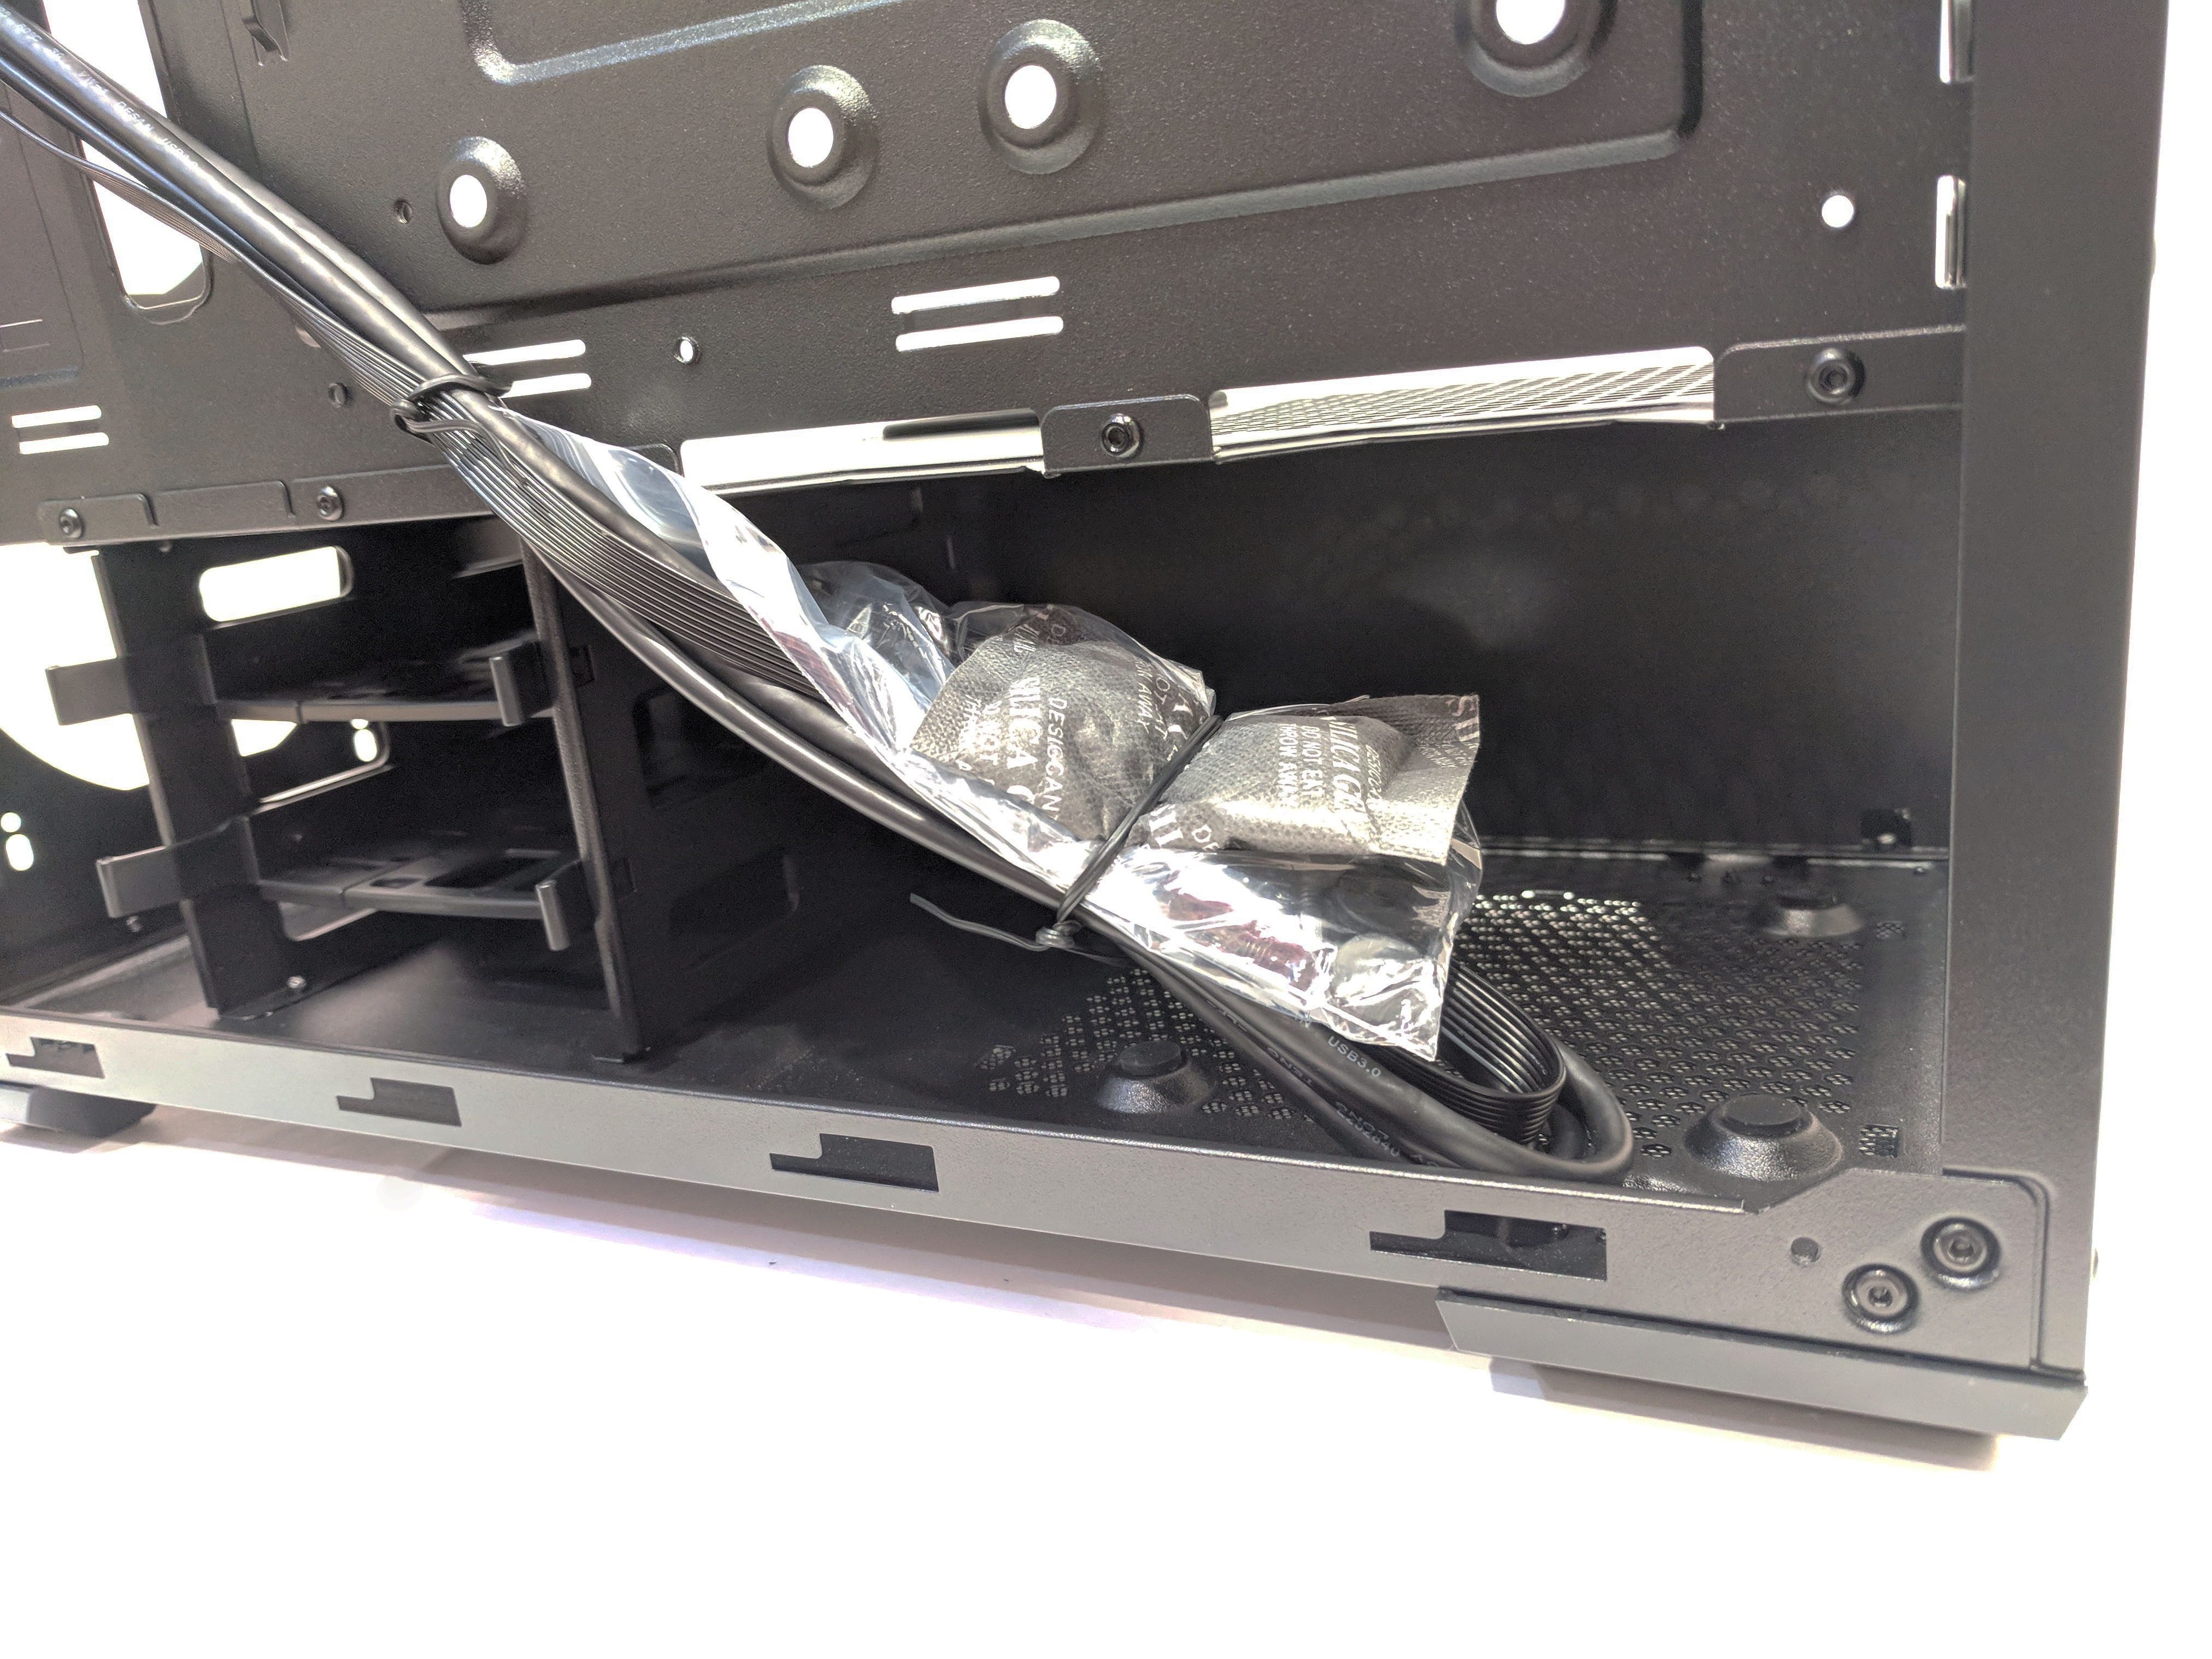
Next, let’s crack the case open and take a look inside! Behind the right panel is where you will install the hard drives or SSDs and the power supply. There are four available drive mounting options here. Two can be installed in the removable drive trays and there is a spot for two more 2.5″ drives just above the PSU mount we’ll get into later.
The included bag-O-goodies is twisty-tied onto the front IO panel connector cables; be sure to remove it.
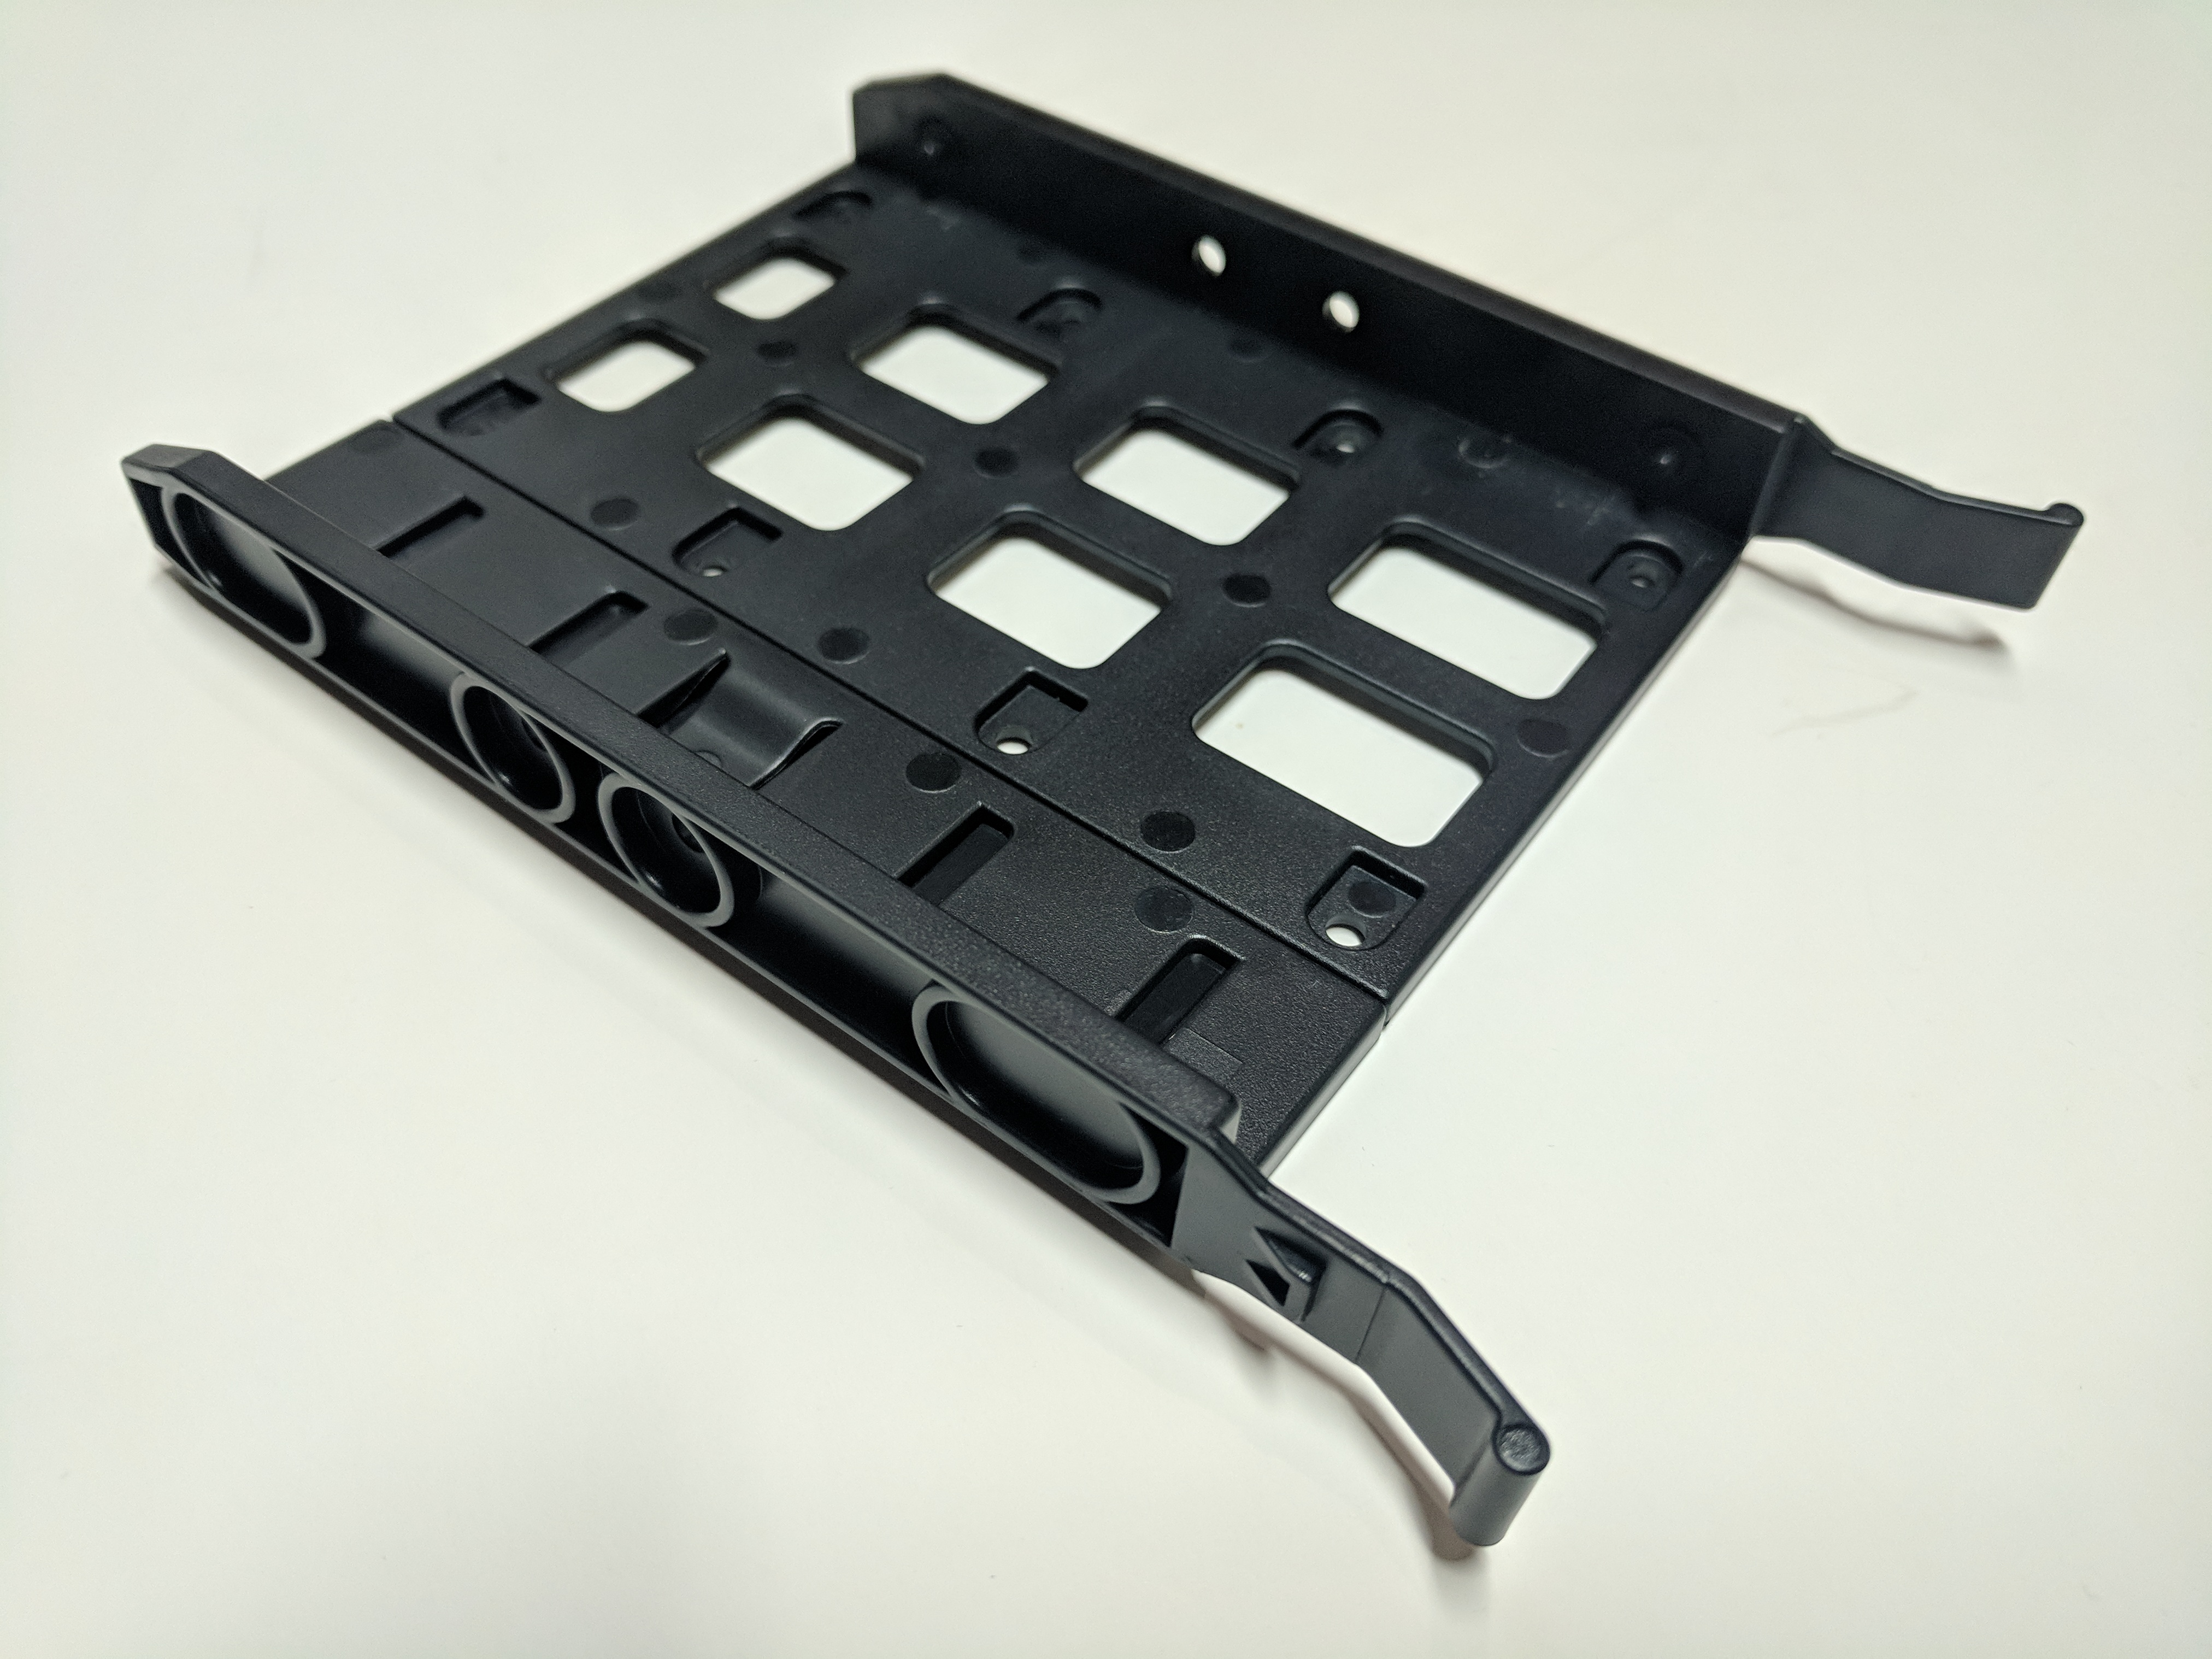
The two 3.5″ drive trays are located here and can be accessed by pinching the protruding tabs and sliding them out. Once removed, a hard drive can be snapped into place and slid back into the case.
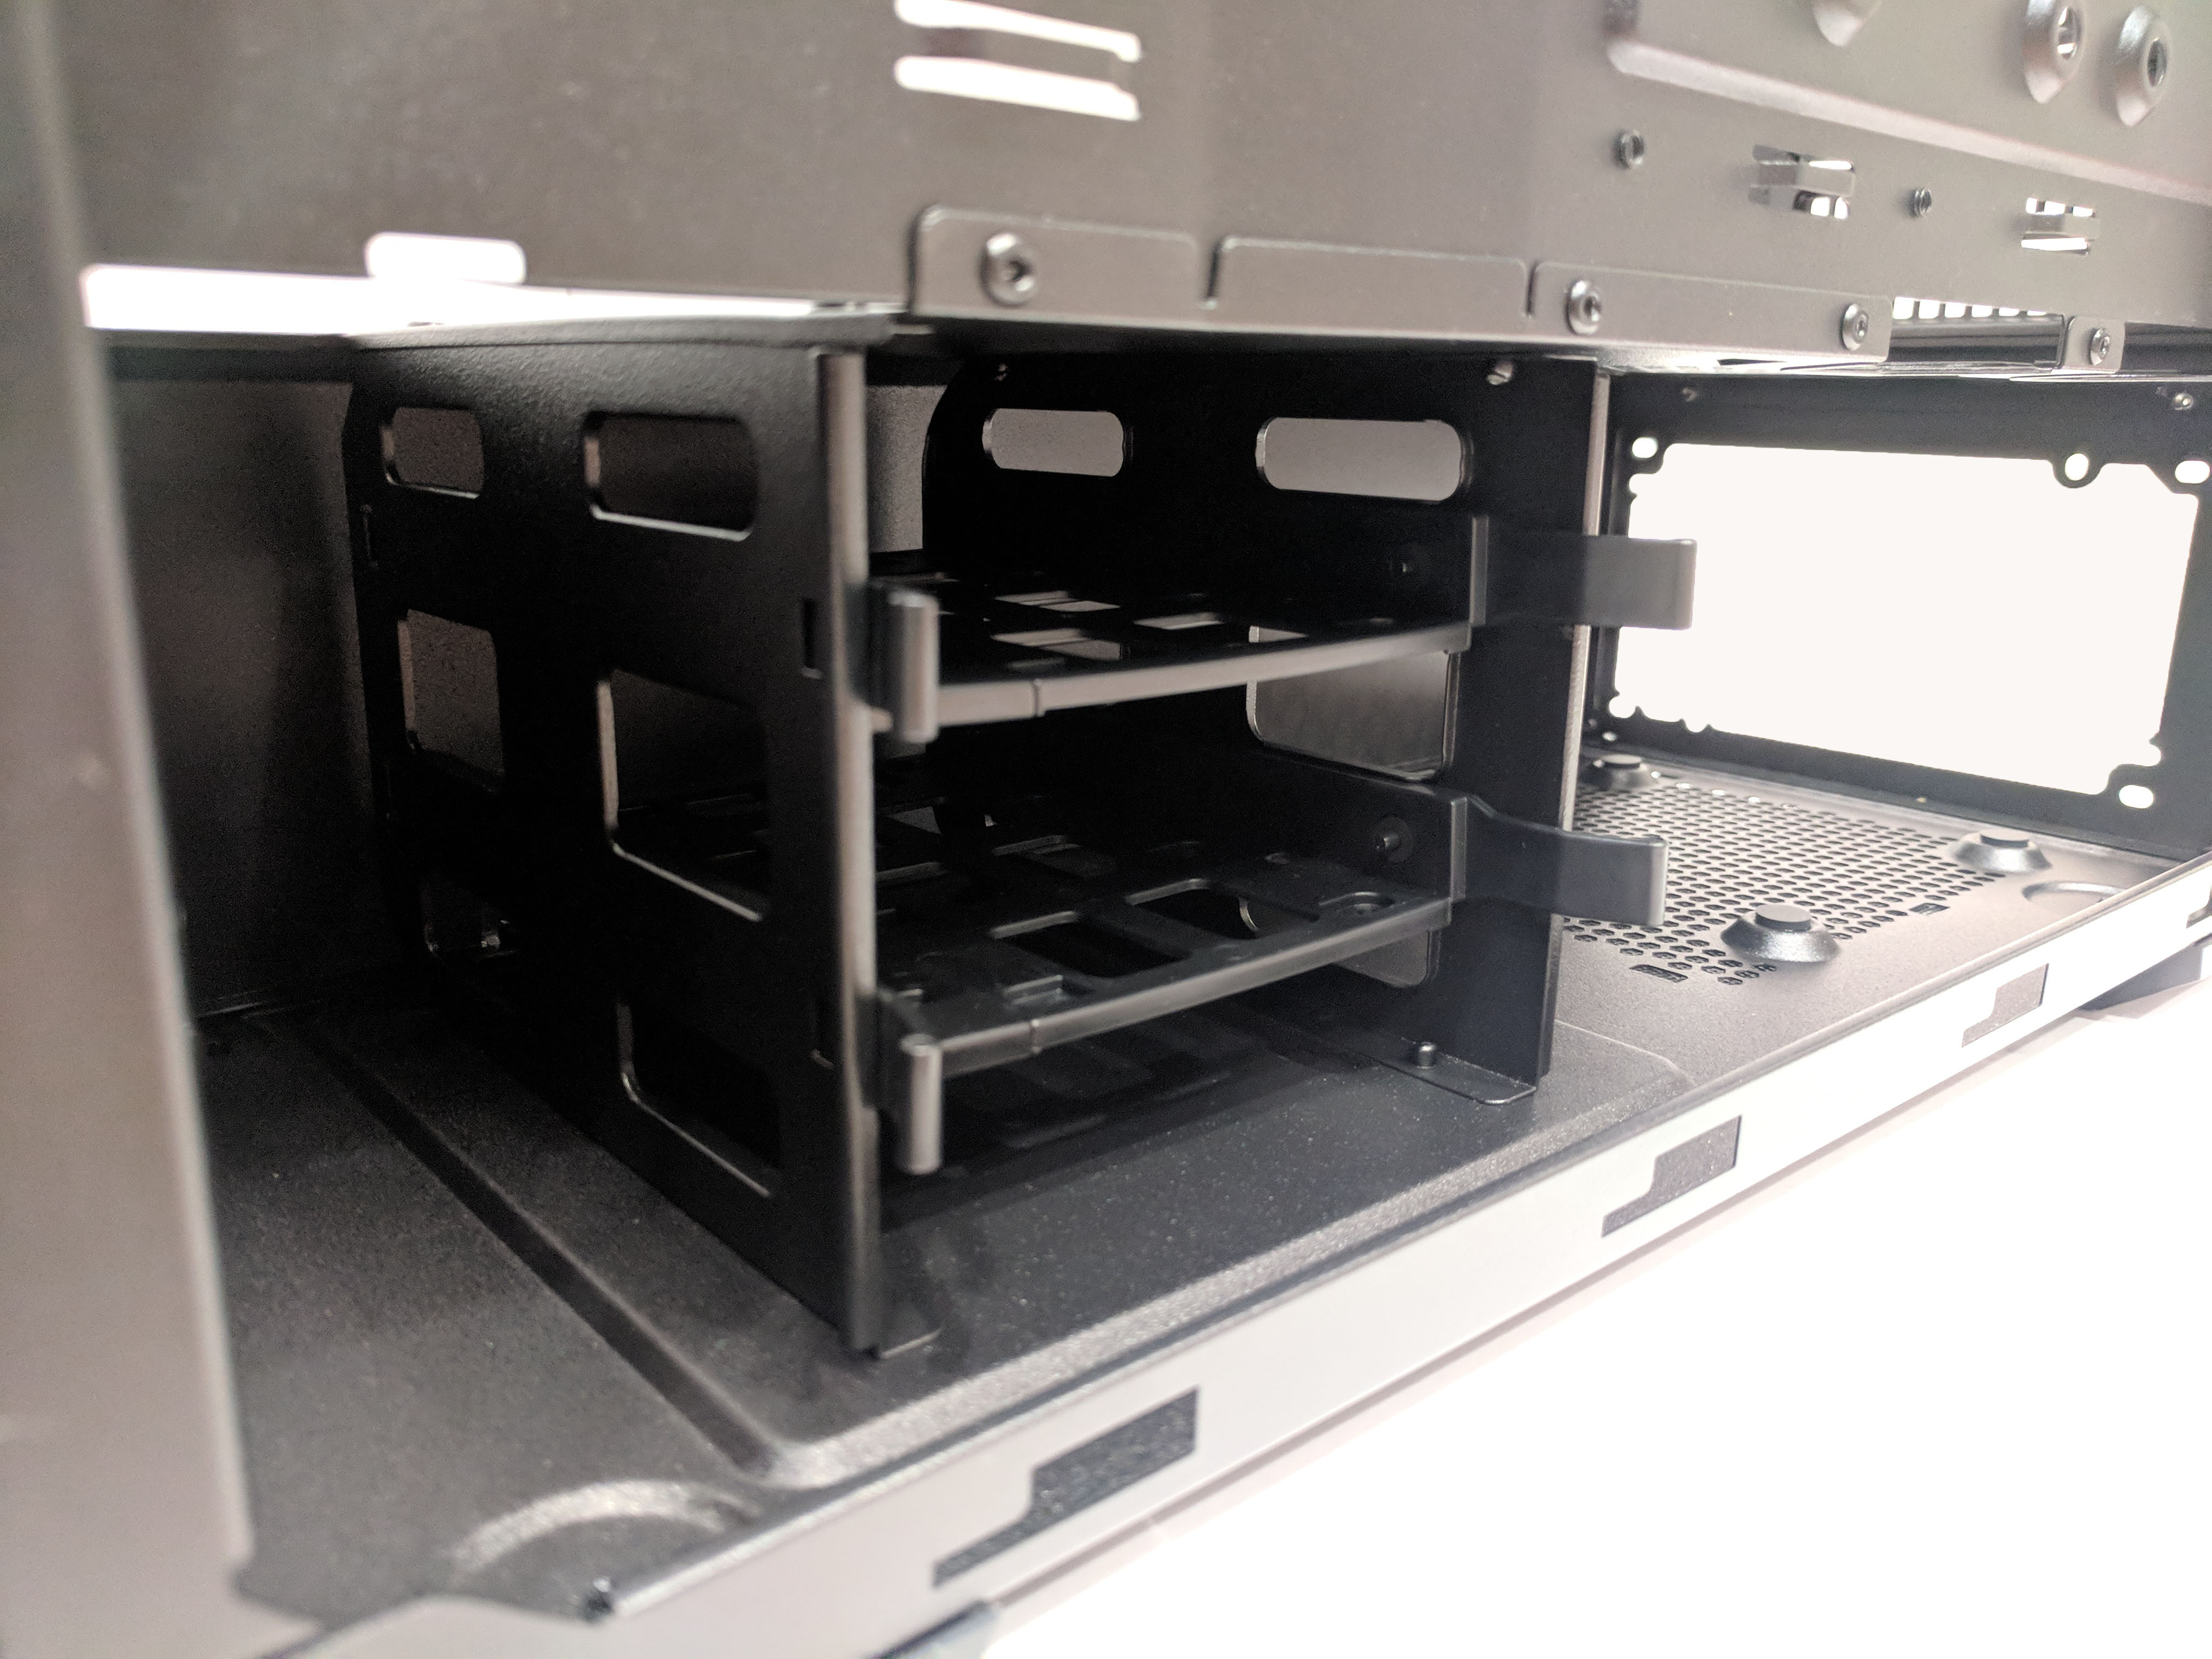
The drive trays themselves are constructed of plastic and feature a screw-less design for locking the HDD into place. Simply pinch the tab on the underside and pull the two sides apart. Then, simply install the hard drive by lining up the screw hole knobs and pressing the two halves together.

The power supply installation area is isolated from the rest of the case along with the two 3.5″ HDD mounts. The PSU rests on four rubberized mounts which should help in keeping vibrations low while protecting the PSU from scratching during installation. It should be noted however, that when installing a modular PSU to hook up any needed cables first, especially if you have an extended PSU. You don’t have a lot of room to insert cables once the PSU is screwed in place.

Going back to the “goodie bag” real quick, I believe it’s contents are important to note. Included are zip-ties for cable management purposes, eight rubber SSD mounting pads, and all the screws you’ll need for installing additional hardware such as motherboard stand-offs, and fans.
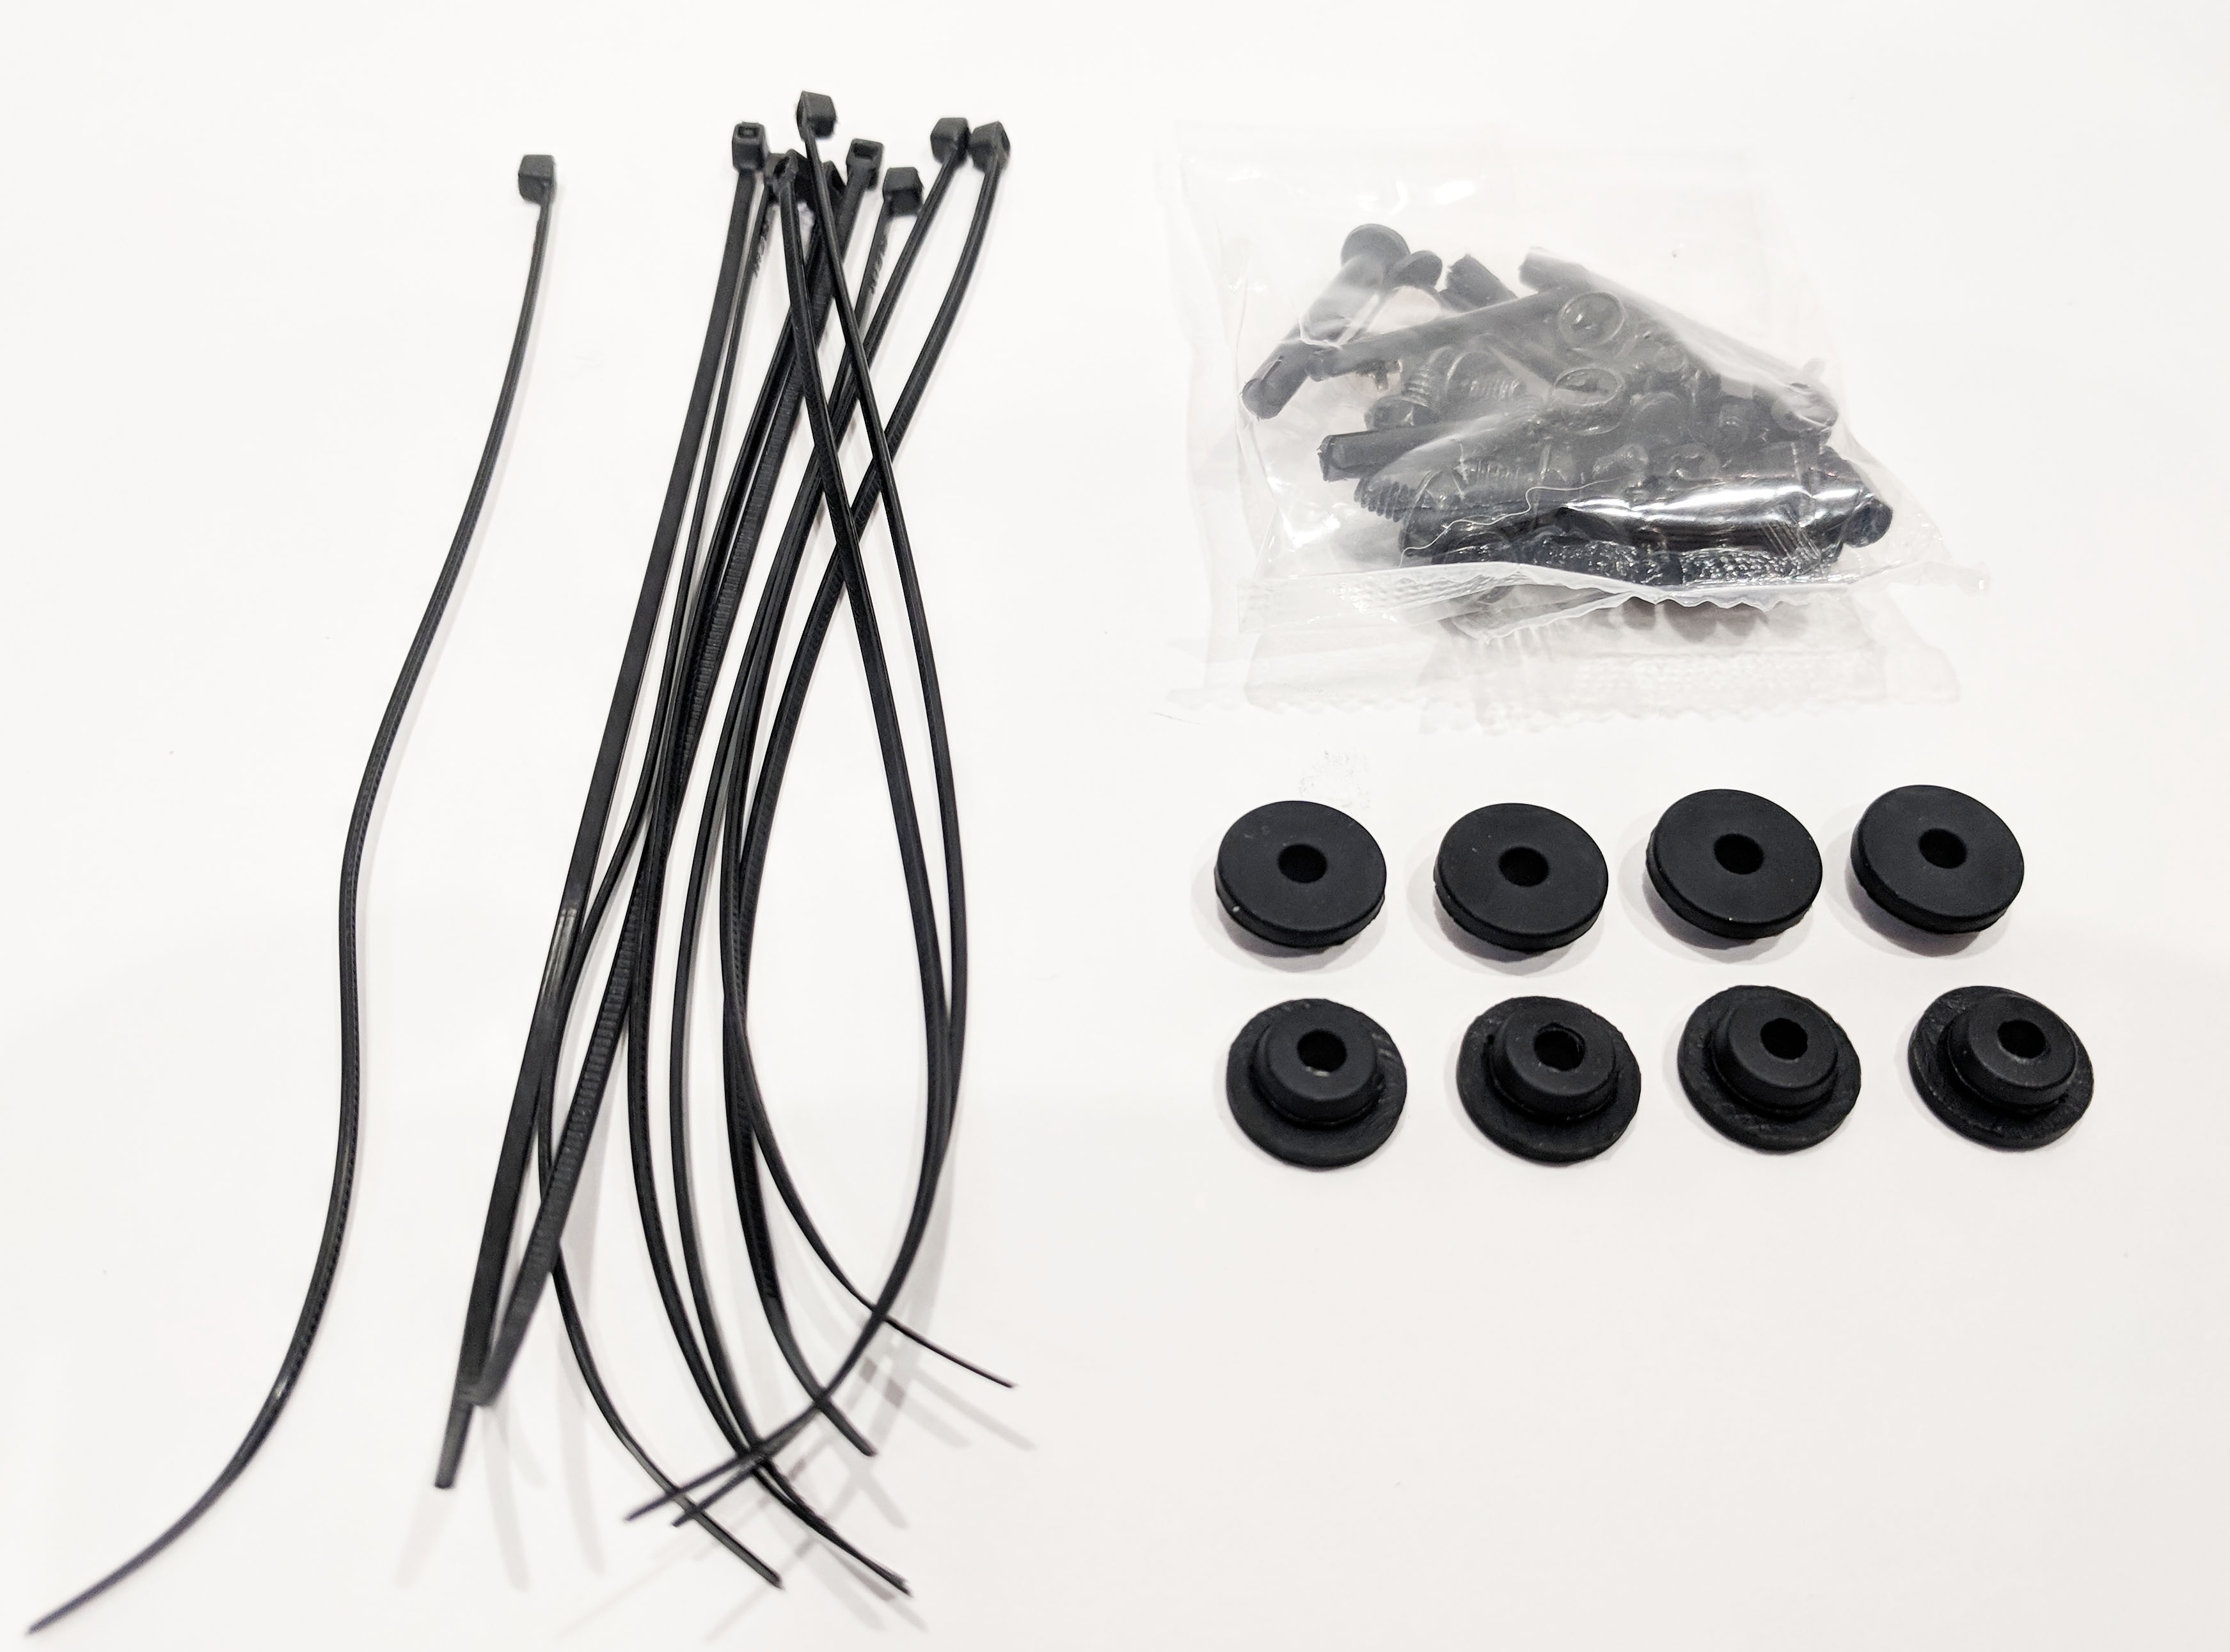
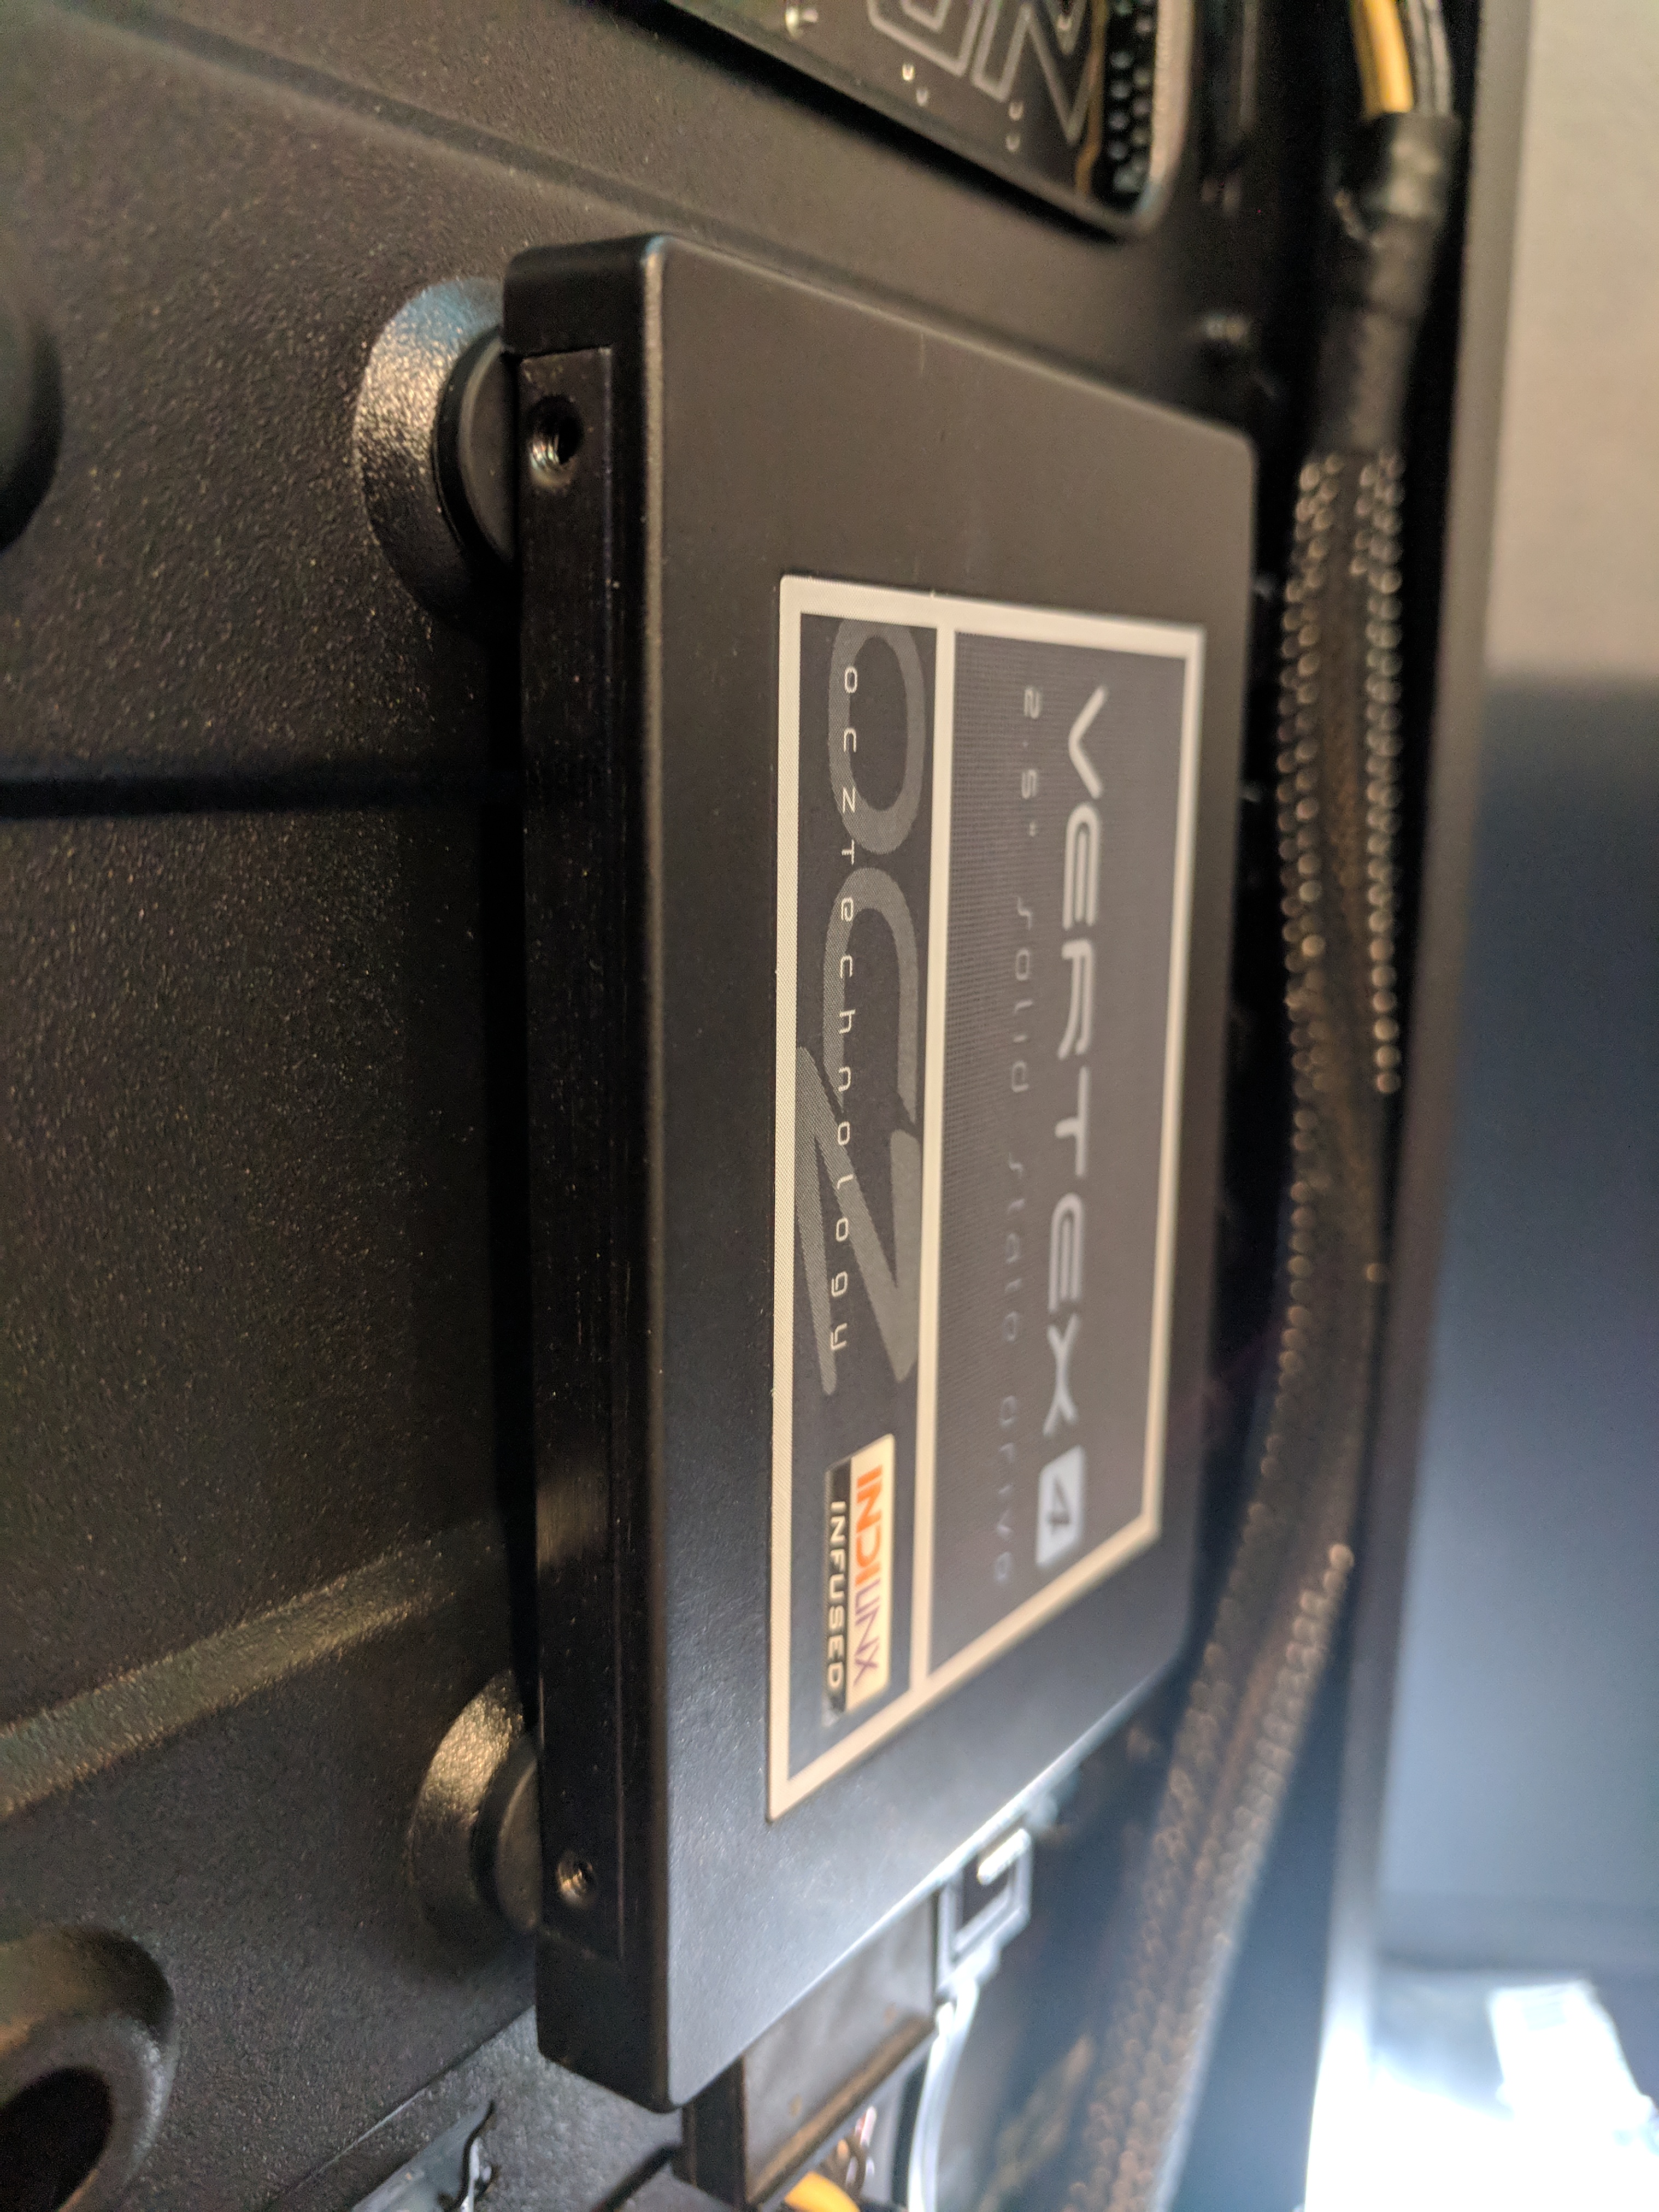
The eight rubber grommets are used to securely mount a 2.5″ drive to the back of the motherboard tray. Simply hand screw in eight black standoffs into the back of the SSD, pop the rubber grommets into the holes on the back of the motherboard tray and squeeze in the SSD.
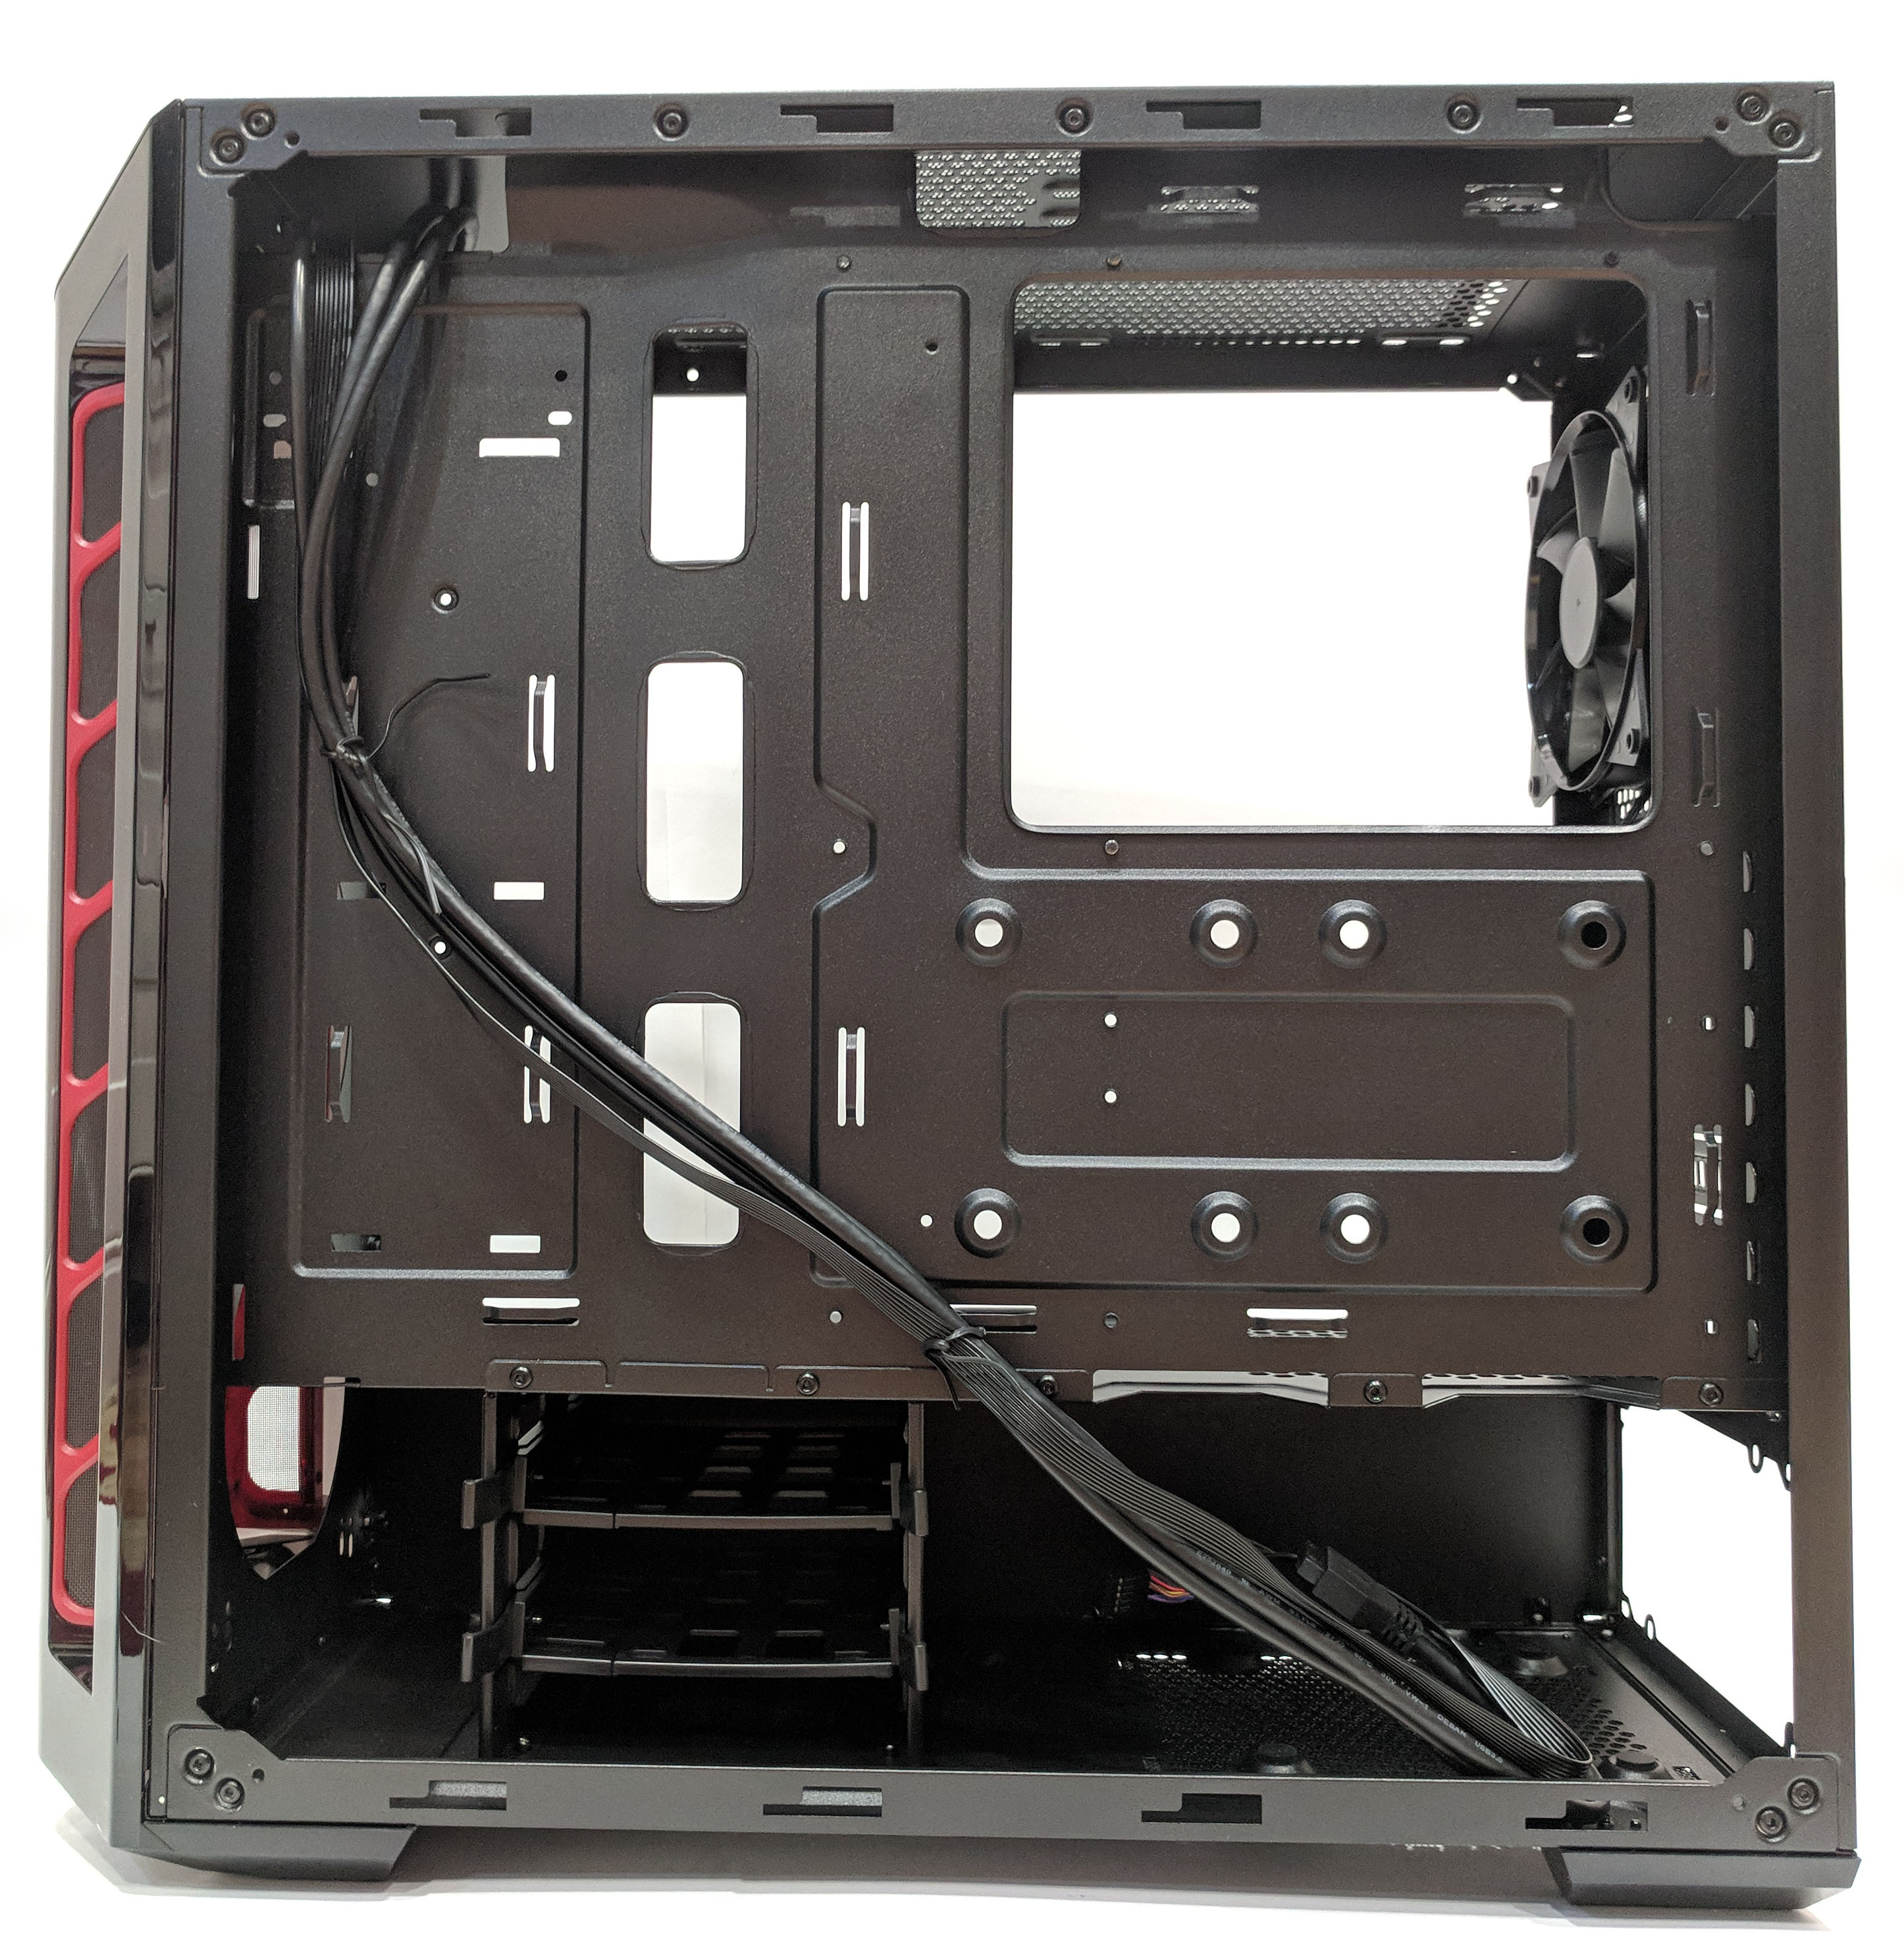
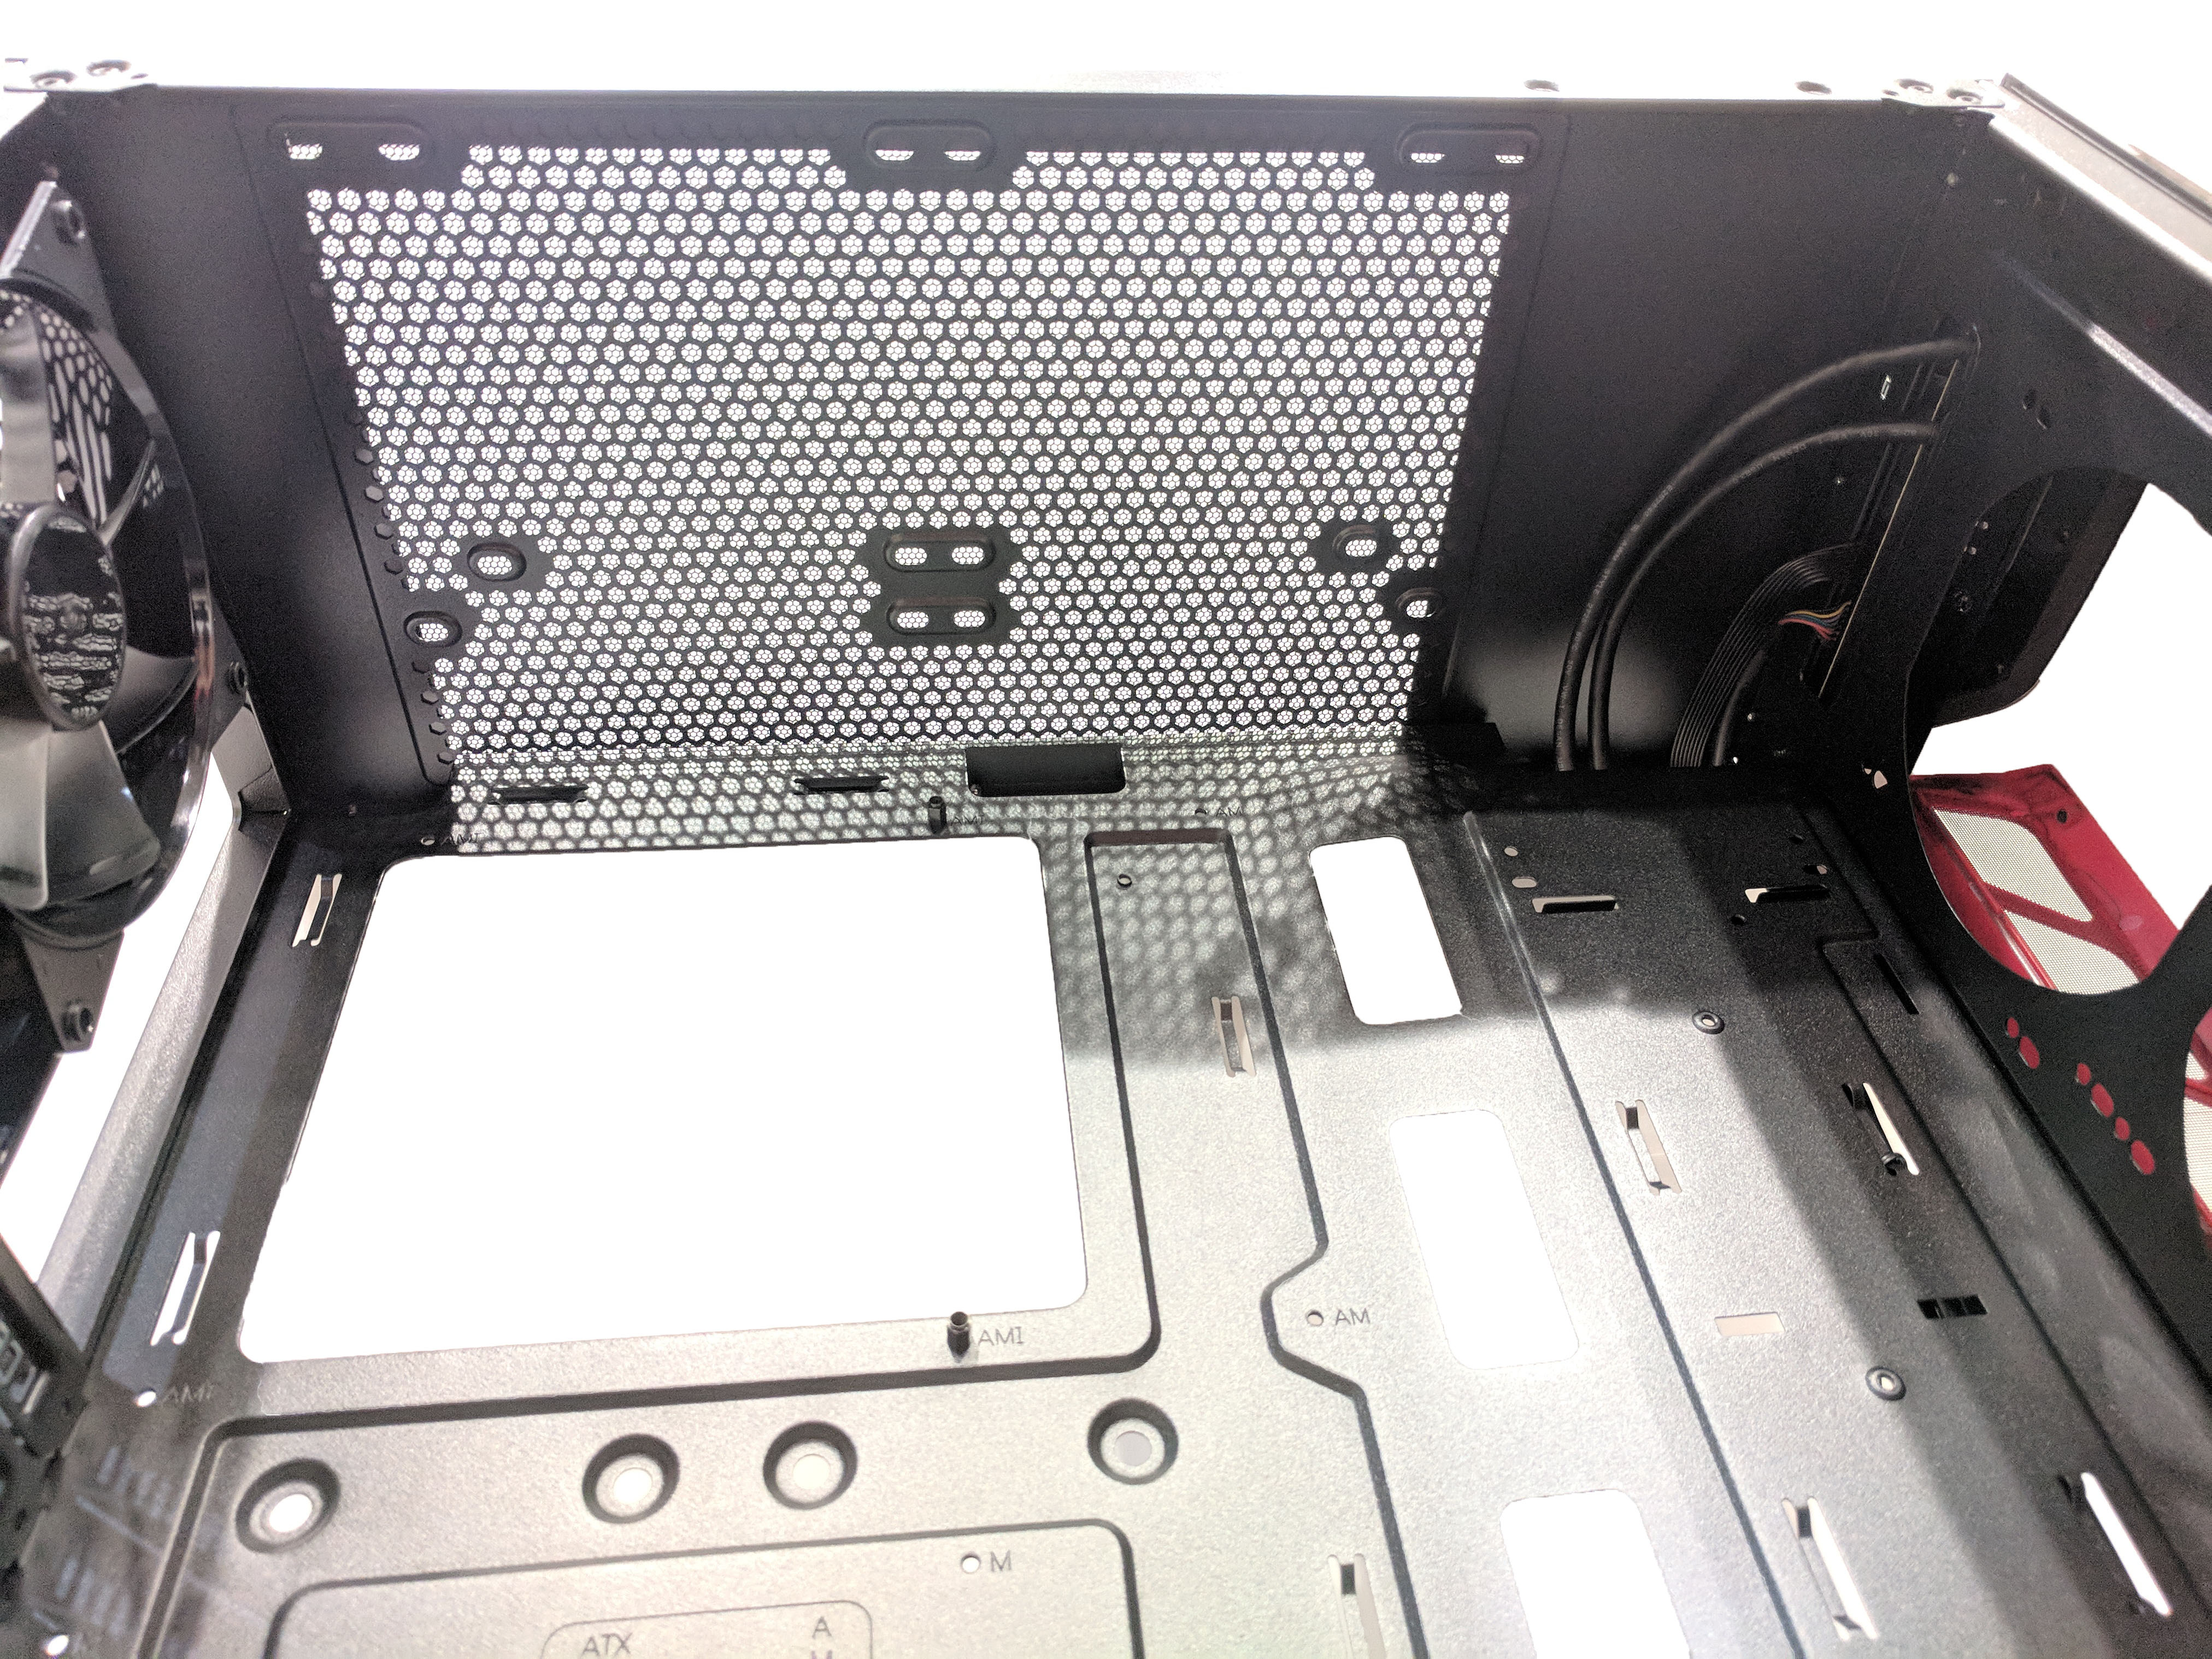
Next, let’s move onto the opposite side! The inside is power coated in thick, textured black paint that should stand up to some pretty serious abuse. Overall, it is very spacious due to the lack of 5.25″ and 3.5″ drive bays so fitting a large E-ATX or a bunch of full-sized GPUs won’t be an issue. The isolated power supply area also adds to the clean appearance. There are also ports for easy cable management along the top, bottom and right side of the motherboard. Other than that, it’s pretty standard!


Hardware Installation
In this section we’ll take a look at the ease of hardware installation and perhaps include a bit more features, and tips regarding the MasterBox 520. Overall, hardware install is pretty straight forward. The power supply was probably the most difficult bit as in our case, we installed a larger fully modular unit. Access to the modular ports on the PSU after the unit has been screwed into the case is very limited and awkward to get to. We recommend installing modular cables first before attempting to screw it into the case.
Cable management is a breeze. There are plenty of places to hide and tie down wires. With all the storage located on either the back or behind the PSU isolation shroud, there is really no reason for messy cables to be seen from the motherboard-side.
The hardware we chose was an older Z77 motherboard mostly due to convienience and because of it’s larger size. The MasterBox MB520 had no issues handling this motherboard. The AIO cooler with a 240mm radiator fit perfectly in the case and mounted to the front of the case without issue.

Final Thoughts and Awards
The Cooler Master MasterBox MB520 packed a lot of hidden features we weren’t expecting which made working with the case fun and exciting. While this case is geared more towards gamers on a budget, I was impressed with some of the subtle features that added to its overall value. Some of these features included adjustable fan mounts and vertical SSD mounting behind the motherboard tray. Often times, these small features are overlooked and not highlighted by the manufacturer due to their simplicity. To me, discovering features such as these that you might not be expecting is what really adds value to your purchase.
This case will be targeted towards gamers and high end system builders who like a clean system that’s easy to manage and has all the essential features, but fits a specific budget.
As we mentioned early on in the review, MSRP for the MB520 is $59.99. The price of the case will have a large impact as to the overall score. The score will be calculated based on build quality, functionality, performance and value.
- Quality: 8.5/10 – The overall quality of the MasterBox MB520 is quite good! When handling the case and attempting to bend it awkwardly, there is no flex or give that would indicate that there are any quality issues. The front fan shroud have a kind of overly plastic feel to it, but this is based on feel. No issues from a “looks” perspective
- Functionality: 9.6/10 – This category was one of the units strong points. It is really hard to imagine being limited by the MB520. For any typical gaming build, you’ll definitely be set here. There are plenty of storage options, it’s size makes it easy to install extended motherboard, and large graphics cards. Even then, there is still a lot of room for a custom liquid cooling system if you so chose. The only draw back that will affect a small number of users is the lack of 5.25″ drive bays.
- Performance: 8.1/10 – Overall, the case has a lot of potential to provide adequate cooling. There are large vents along the front, side and back of the case for adequate ventilation. Dust covers were on most of these surface which I was happy to see. The dust cover on the bottom of the case which served as an intake for the PSU was very hard to get to so cleaning it will be a challenge for a lot of users. Another ding to this score was the including of one single fan at the exhaust. Most users will need to purchase additional fans to provide adequate cooling.
- Value: 9.8/10 – Considering the mountain of features included in the MB520, I’d say that the unit is definitely worth the price.
Buy on Amazon: Cooler Master MB520
The Cooler Master MasterBox MB520 packed a lot of hidden features we weren't expecting that made working with the case fun and exciting. Fun to work with!

Product Page: http://www.coolermaster.com/case/mid-tower/masterbox-mb520/


Impressive what $60 can get you these days. It can get you a case that can do it all in terms of functionality, a case that destroys $300 cases from yesterday.
[…] enabled gaming PC cases, the MasterBox MB530P. The MB530P is very similar visually to that of the MasterBox MB520 we recently reviewed except for a few premium upgrades. Three front RGB fans are one of the more visually obvious […]
Nice reviews of both the 520 and 530P, many thanks. Just a note for others considering these cases that there’s also RGB and ARGB versions of the MB520 and MB511 as a half-way house price wise if you want a case with a full set of (RGB/ARGB) fans and tempered glass front side panel but don’t mind losing the second tempered glass back side and font panel. The 511 also has a full mesh front rather than acrylic on the 520 so probably better for airflow if that’s a prime concern.
Runs too hot. The entire front being tempered glass was a terrible design flaw. Cooler Master support have been useless