In a joint collaboration with AMD, Cooler Master has released probably the most robust air cooler to date. The Cooler Master Wraith Ripper features seven heat pipes which extend through a massive tower-style array of cooling fins. The cooler will be released along with AMD’s flagship Threadripper 2990WX processor and will also be available for purchase in the next few weeks as a standalone unit.
The fan is cooled by a single internal fan located in between the two massive towers of cooling fins similar to that of the Cooler Master V8 CPU cooler back in the day. RGB LED lighting is integrated throughout the cooler which is controlled by an optional internal USB motherboard connector.
In this review we’ll be taking an in-depth look at this beast of a CPU cooler as a stand-alone unit. We’ll take a close look as to it’s construction and it’s inner workings to see what exactly makes this thing tick. At this point we will NOT be testing this cooler’s performance. We will update this article in the next month or so.
More information can be found on Cooler Master’s official product page.
Features and Specifications of the Cooler Master Wraith Ripper CPU Cooler
The Cooler Master Wraith Ripper is specifically designed for AMD Ryzen Threadripper processors. These HEDT processors can get very hot especially considering how many cores come packed in AMD’s 2nd-gen Threadrippers so keeping them cool under high loads might be a challenge for some coolers. This particular cooler comes equipped with a large, full coverage CPU contact area for maximum heat dispersion through its seven heat pipes.
The heat pipes extend through a massive array of cooling fins stacked in a dual-tower configuration. Cooling is provided by a single fan in between the two fin towers.
Detailed Specifications
| Product Name | Wraith Ripper |
|---|---|
| Product Number | MAM-D7PN-DWRPS-T1 |
| CPU Socket | AMD TR4 |
| Dimensions | 150(L) x 132.3(W) x 160.5(H) mm 5.9(L) x 5.2(W) x 6.3(H) inch |
| Heatsink Material | 7 Heat Pipes / Aluminum Fins |
| Lighting LED Type | Addressable RGB |
| Lighting Control Method | Wraith Ripper RGB Software |
| Lighting Power Connector | SATA Power |
| Lighting Interface | USB connector (9-Pin) |
| Fan Dimensions | 120 x 120 x 25 mm / (4.7 x 4.7 x 1 inch) |
| Fan Quantity | 1 PCS |
| Fan Speed | 0 ~ 2750 (PWM) ± 10% |
| Fan Air Flow | 76.4 CFM (Max) |
| Fan MTTF | 490,000 Hours |
| Fan Noise Level | 0 ~ 38 dBA |
| Fan Power Connector | 4-Pin (PWM) |
| Fan Rated Voltage | 12 VDC |
Another thing to note is that since the Wraith Ripper is designed for ONLY the AMD TR4 socket, installation is amazingly simple. Simply place the cooler on the CPU and screw it down. Now that we’re all experts, let’s pull this beast out of the box and take a closer look!
A Closer Look
Unboxing the Wraith Ripper
The cooler arrived to GND-Tech headquarters undamaged and in perfect shape. The box itself is shrink wrapped in plastic to protect the box from scratches and scuffs. My first thought when receiving the box was just how big and heavy it was. Definitely not typical for your standard CPU cooler.
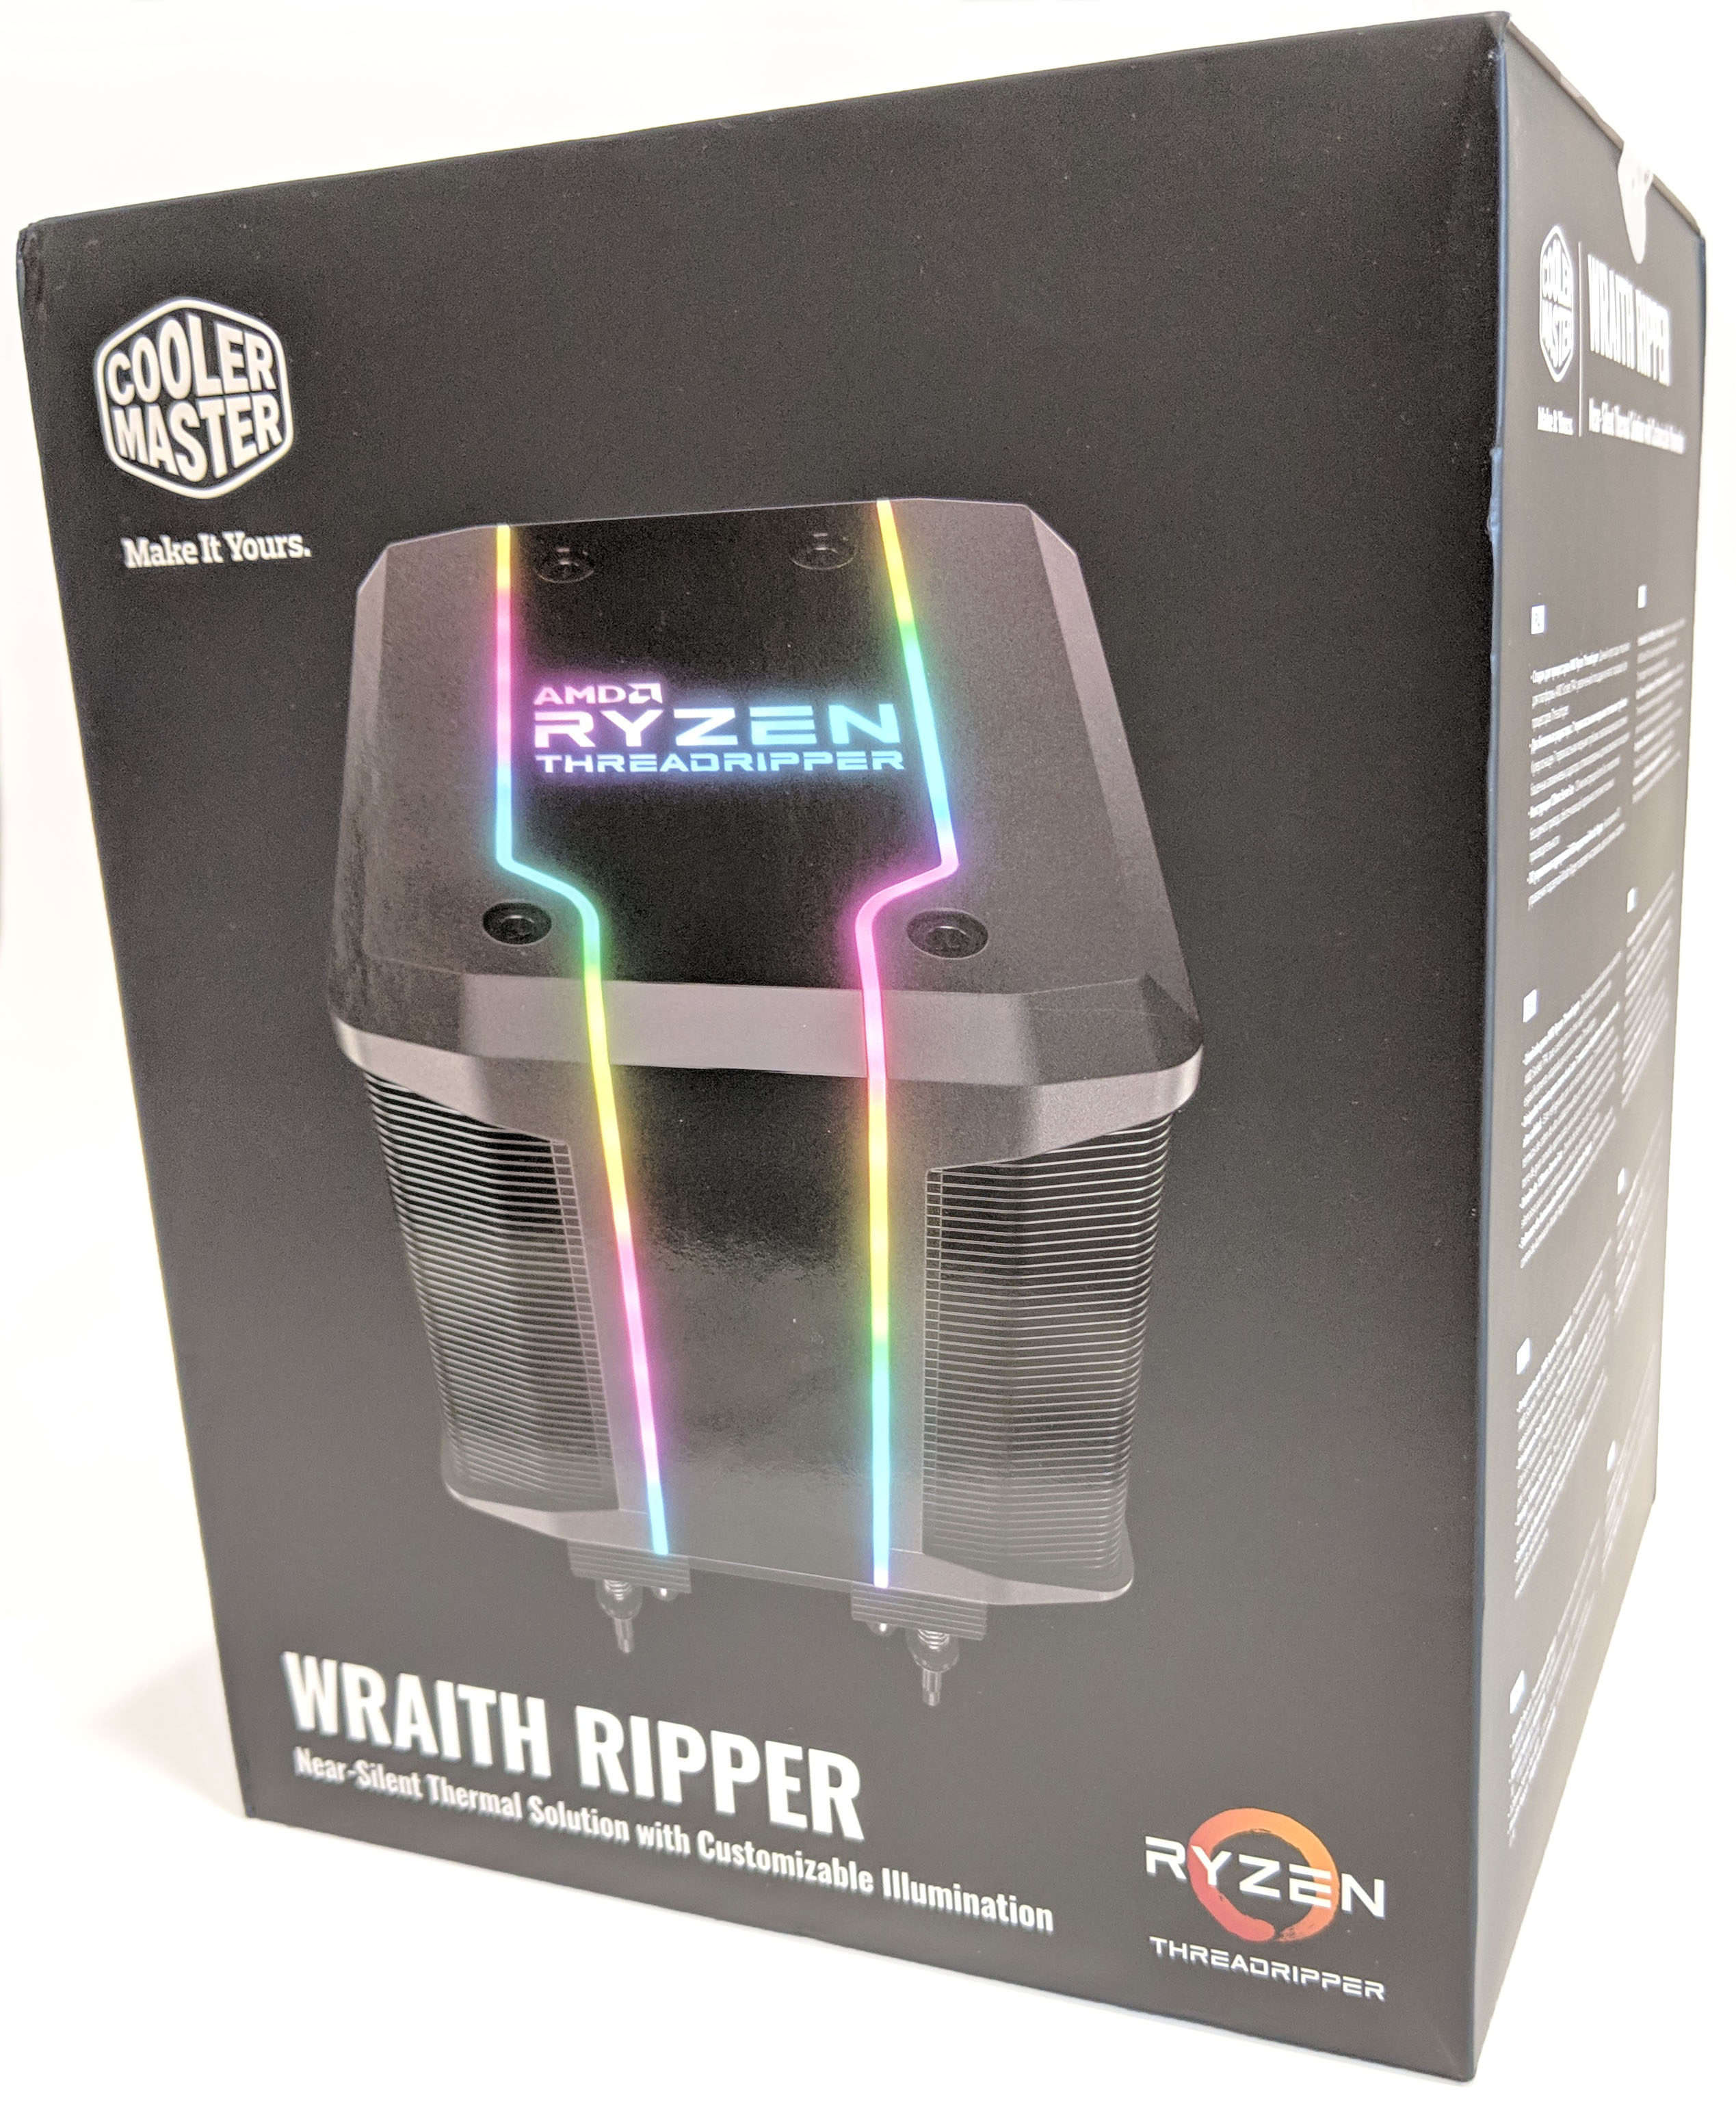
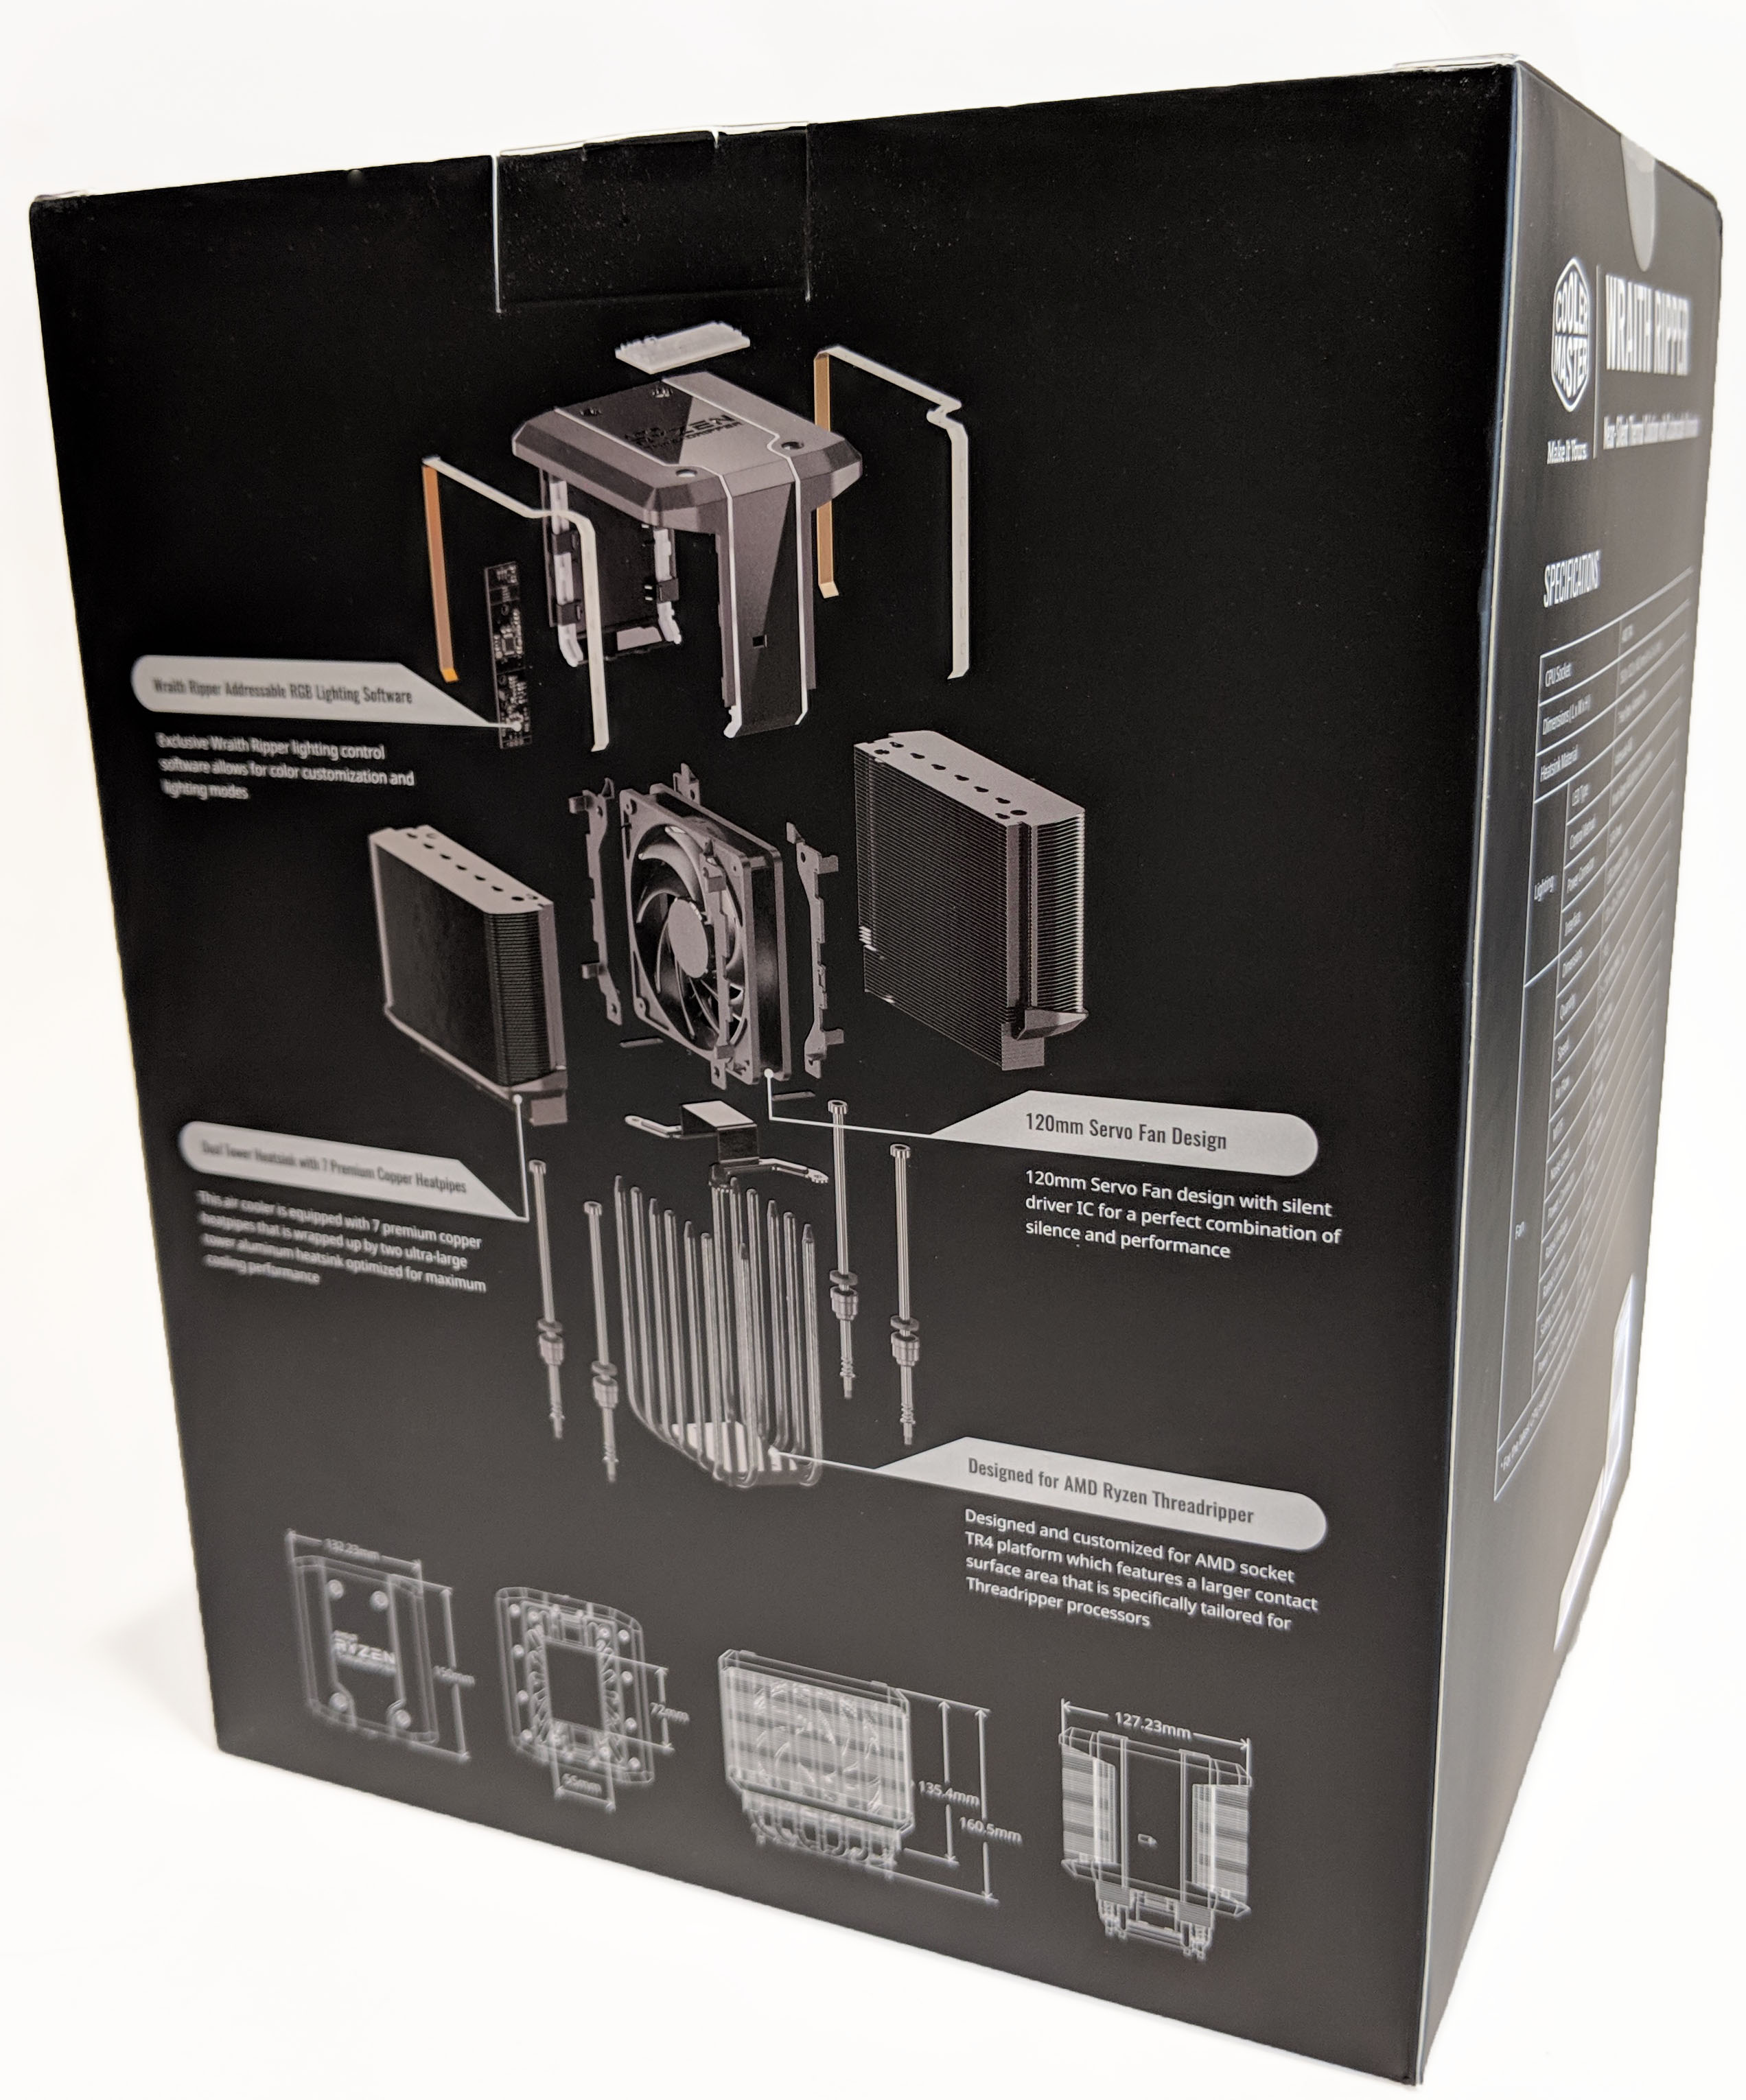
The outside of the package features images of the cooler in all its RGB glory. The back side of the box has an interesting disassembled view of the cooler which does a pretty good job explaining visually how the cooler functions while highlighting some of its features. Dimensions are also provided. Very important to double check these if you’re worried about clearance.

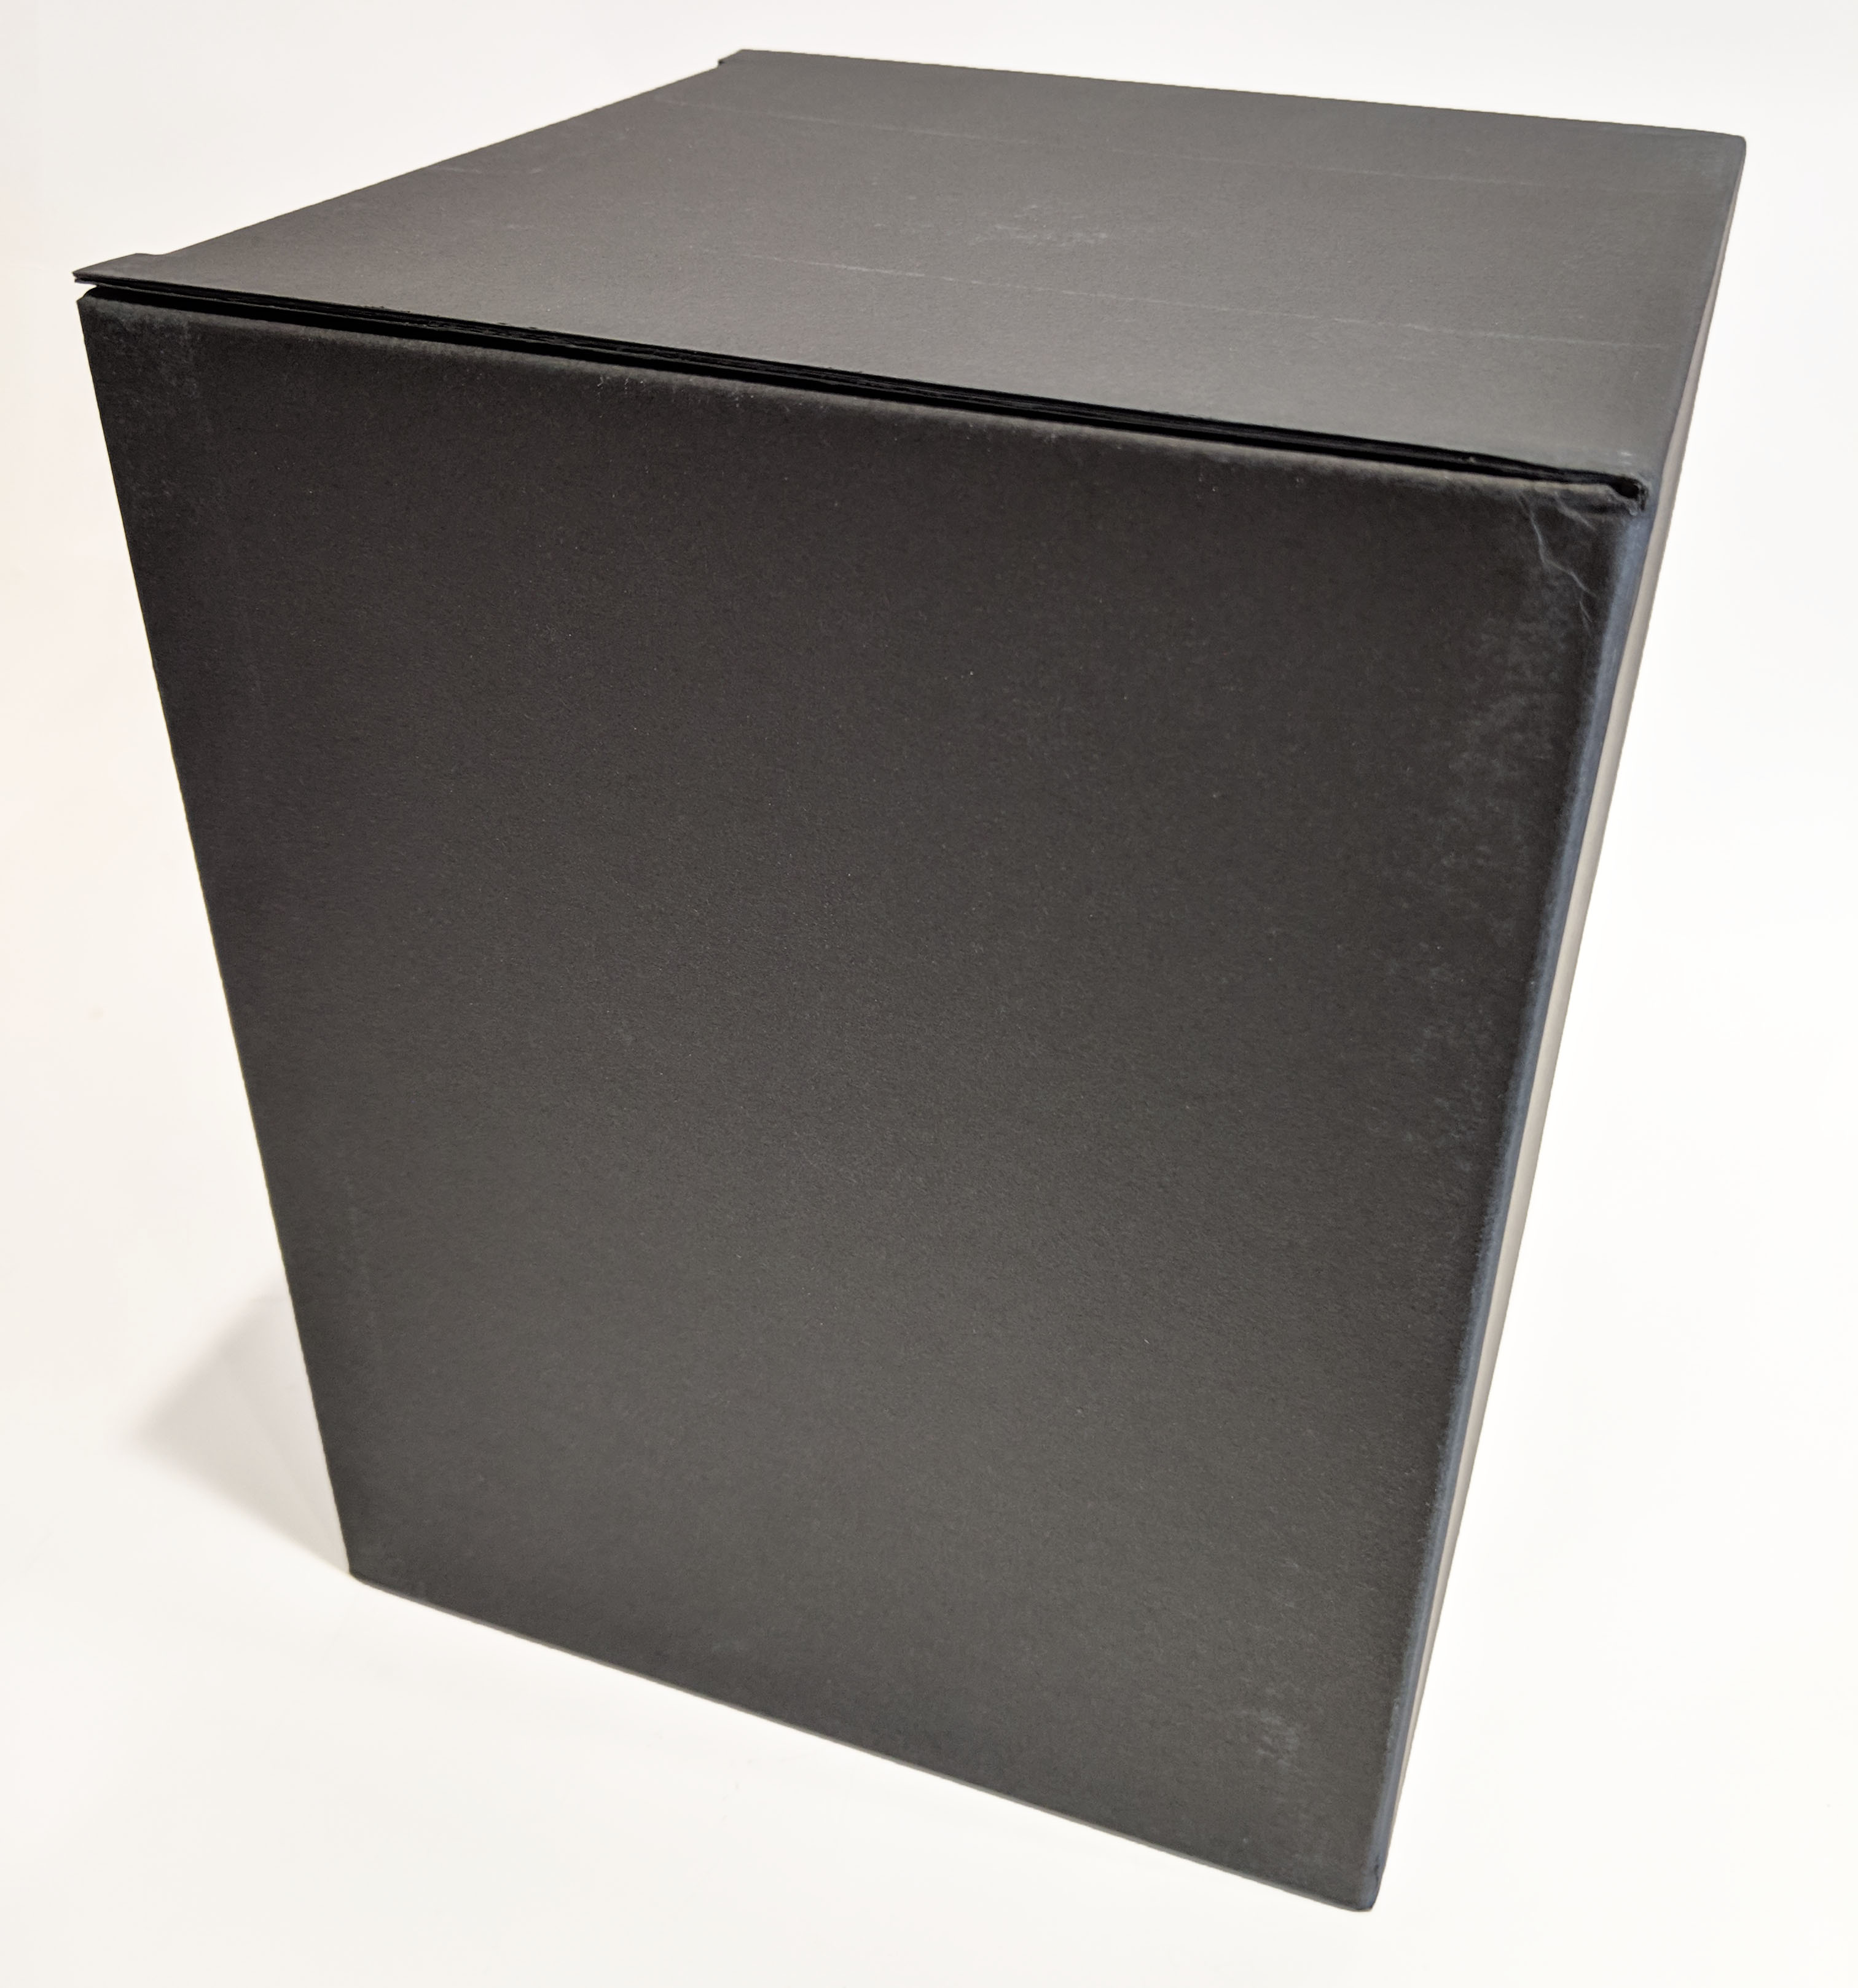
Upon opening the box, you’ll find yet another box, this one a bit more stealthy. Box number two is constructed black, much more rigid card board which opens from the top.
With the black inner box opened, you’re greeted with the Cooler Master logo and the slogan “Make It Yours” printed on the instruction and warranty info pouch.
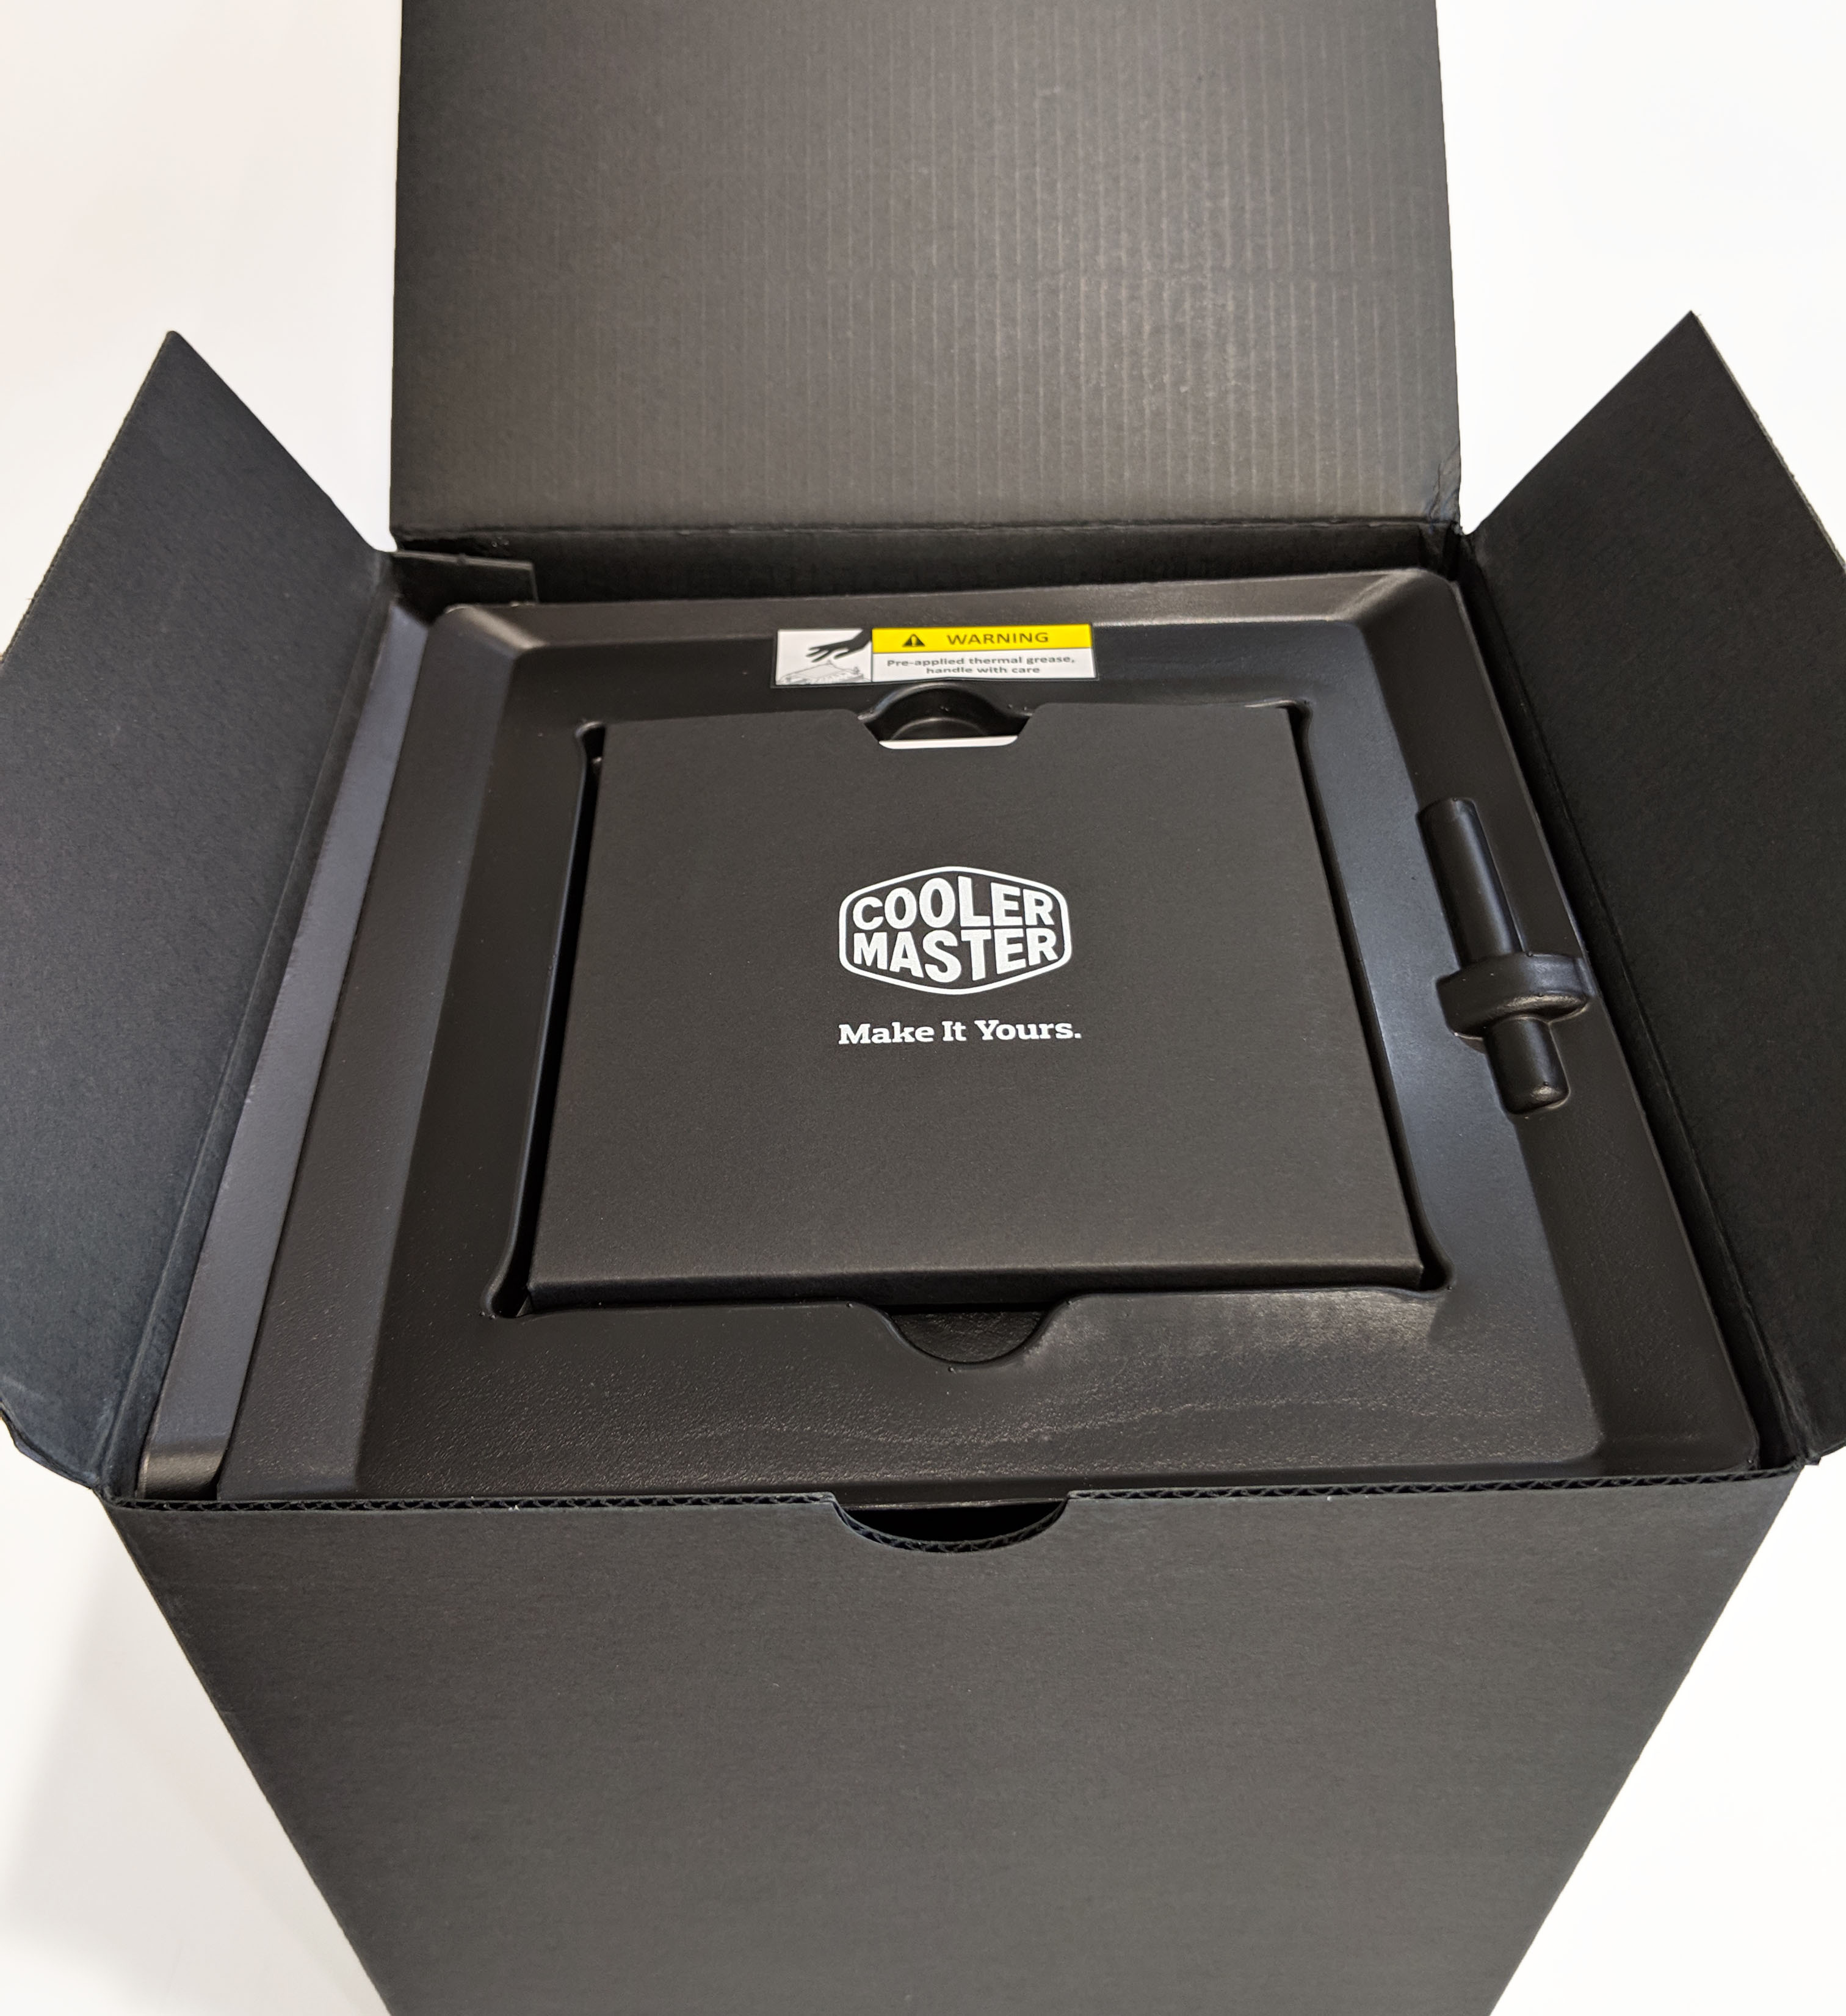
The top plastic piece that holds the paperwork packet is easily lifted out to reveal the Wraith Ripper in all its majesty.

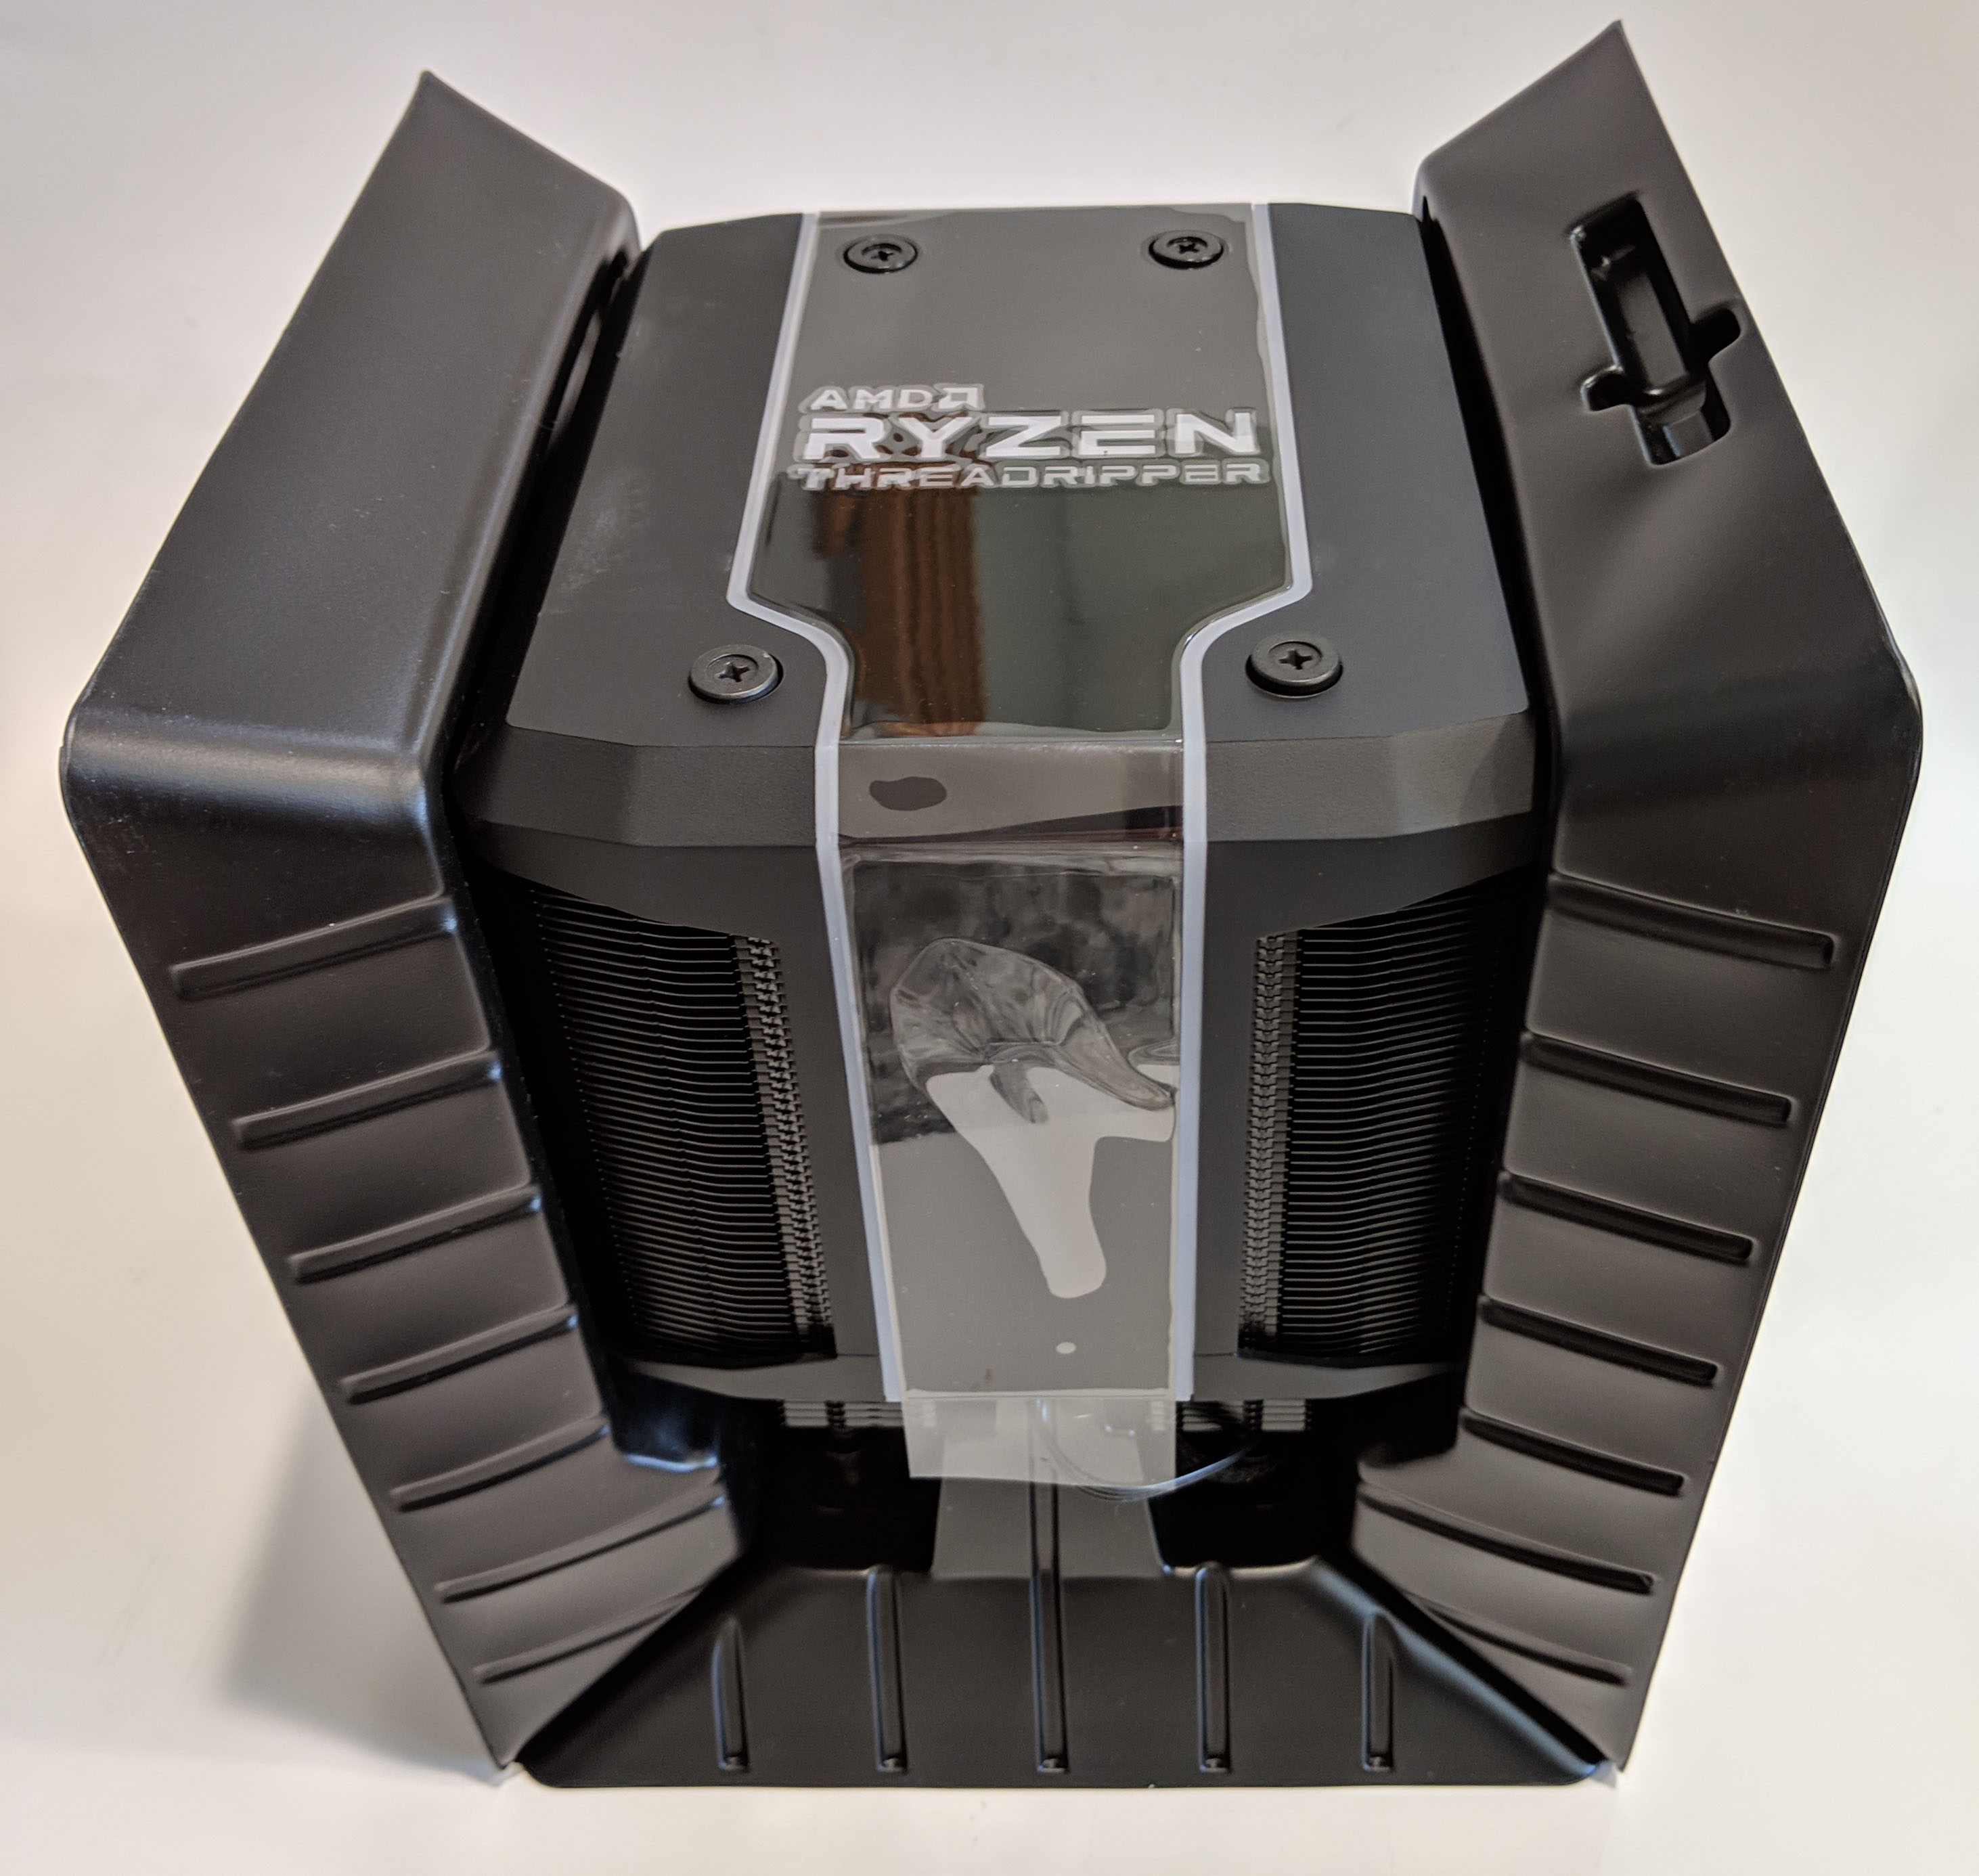
At this point the entire assembly can be lifted out of the black box. The plastic pieces on either side are snapped into the side of the cooler and can be disconnected by giving them a slight tug. This method of packaging appears extremely effective. It would take a an extreme amount of effort on your carrier’s part to damage this cooler during shipping.
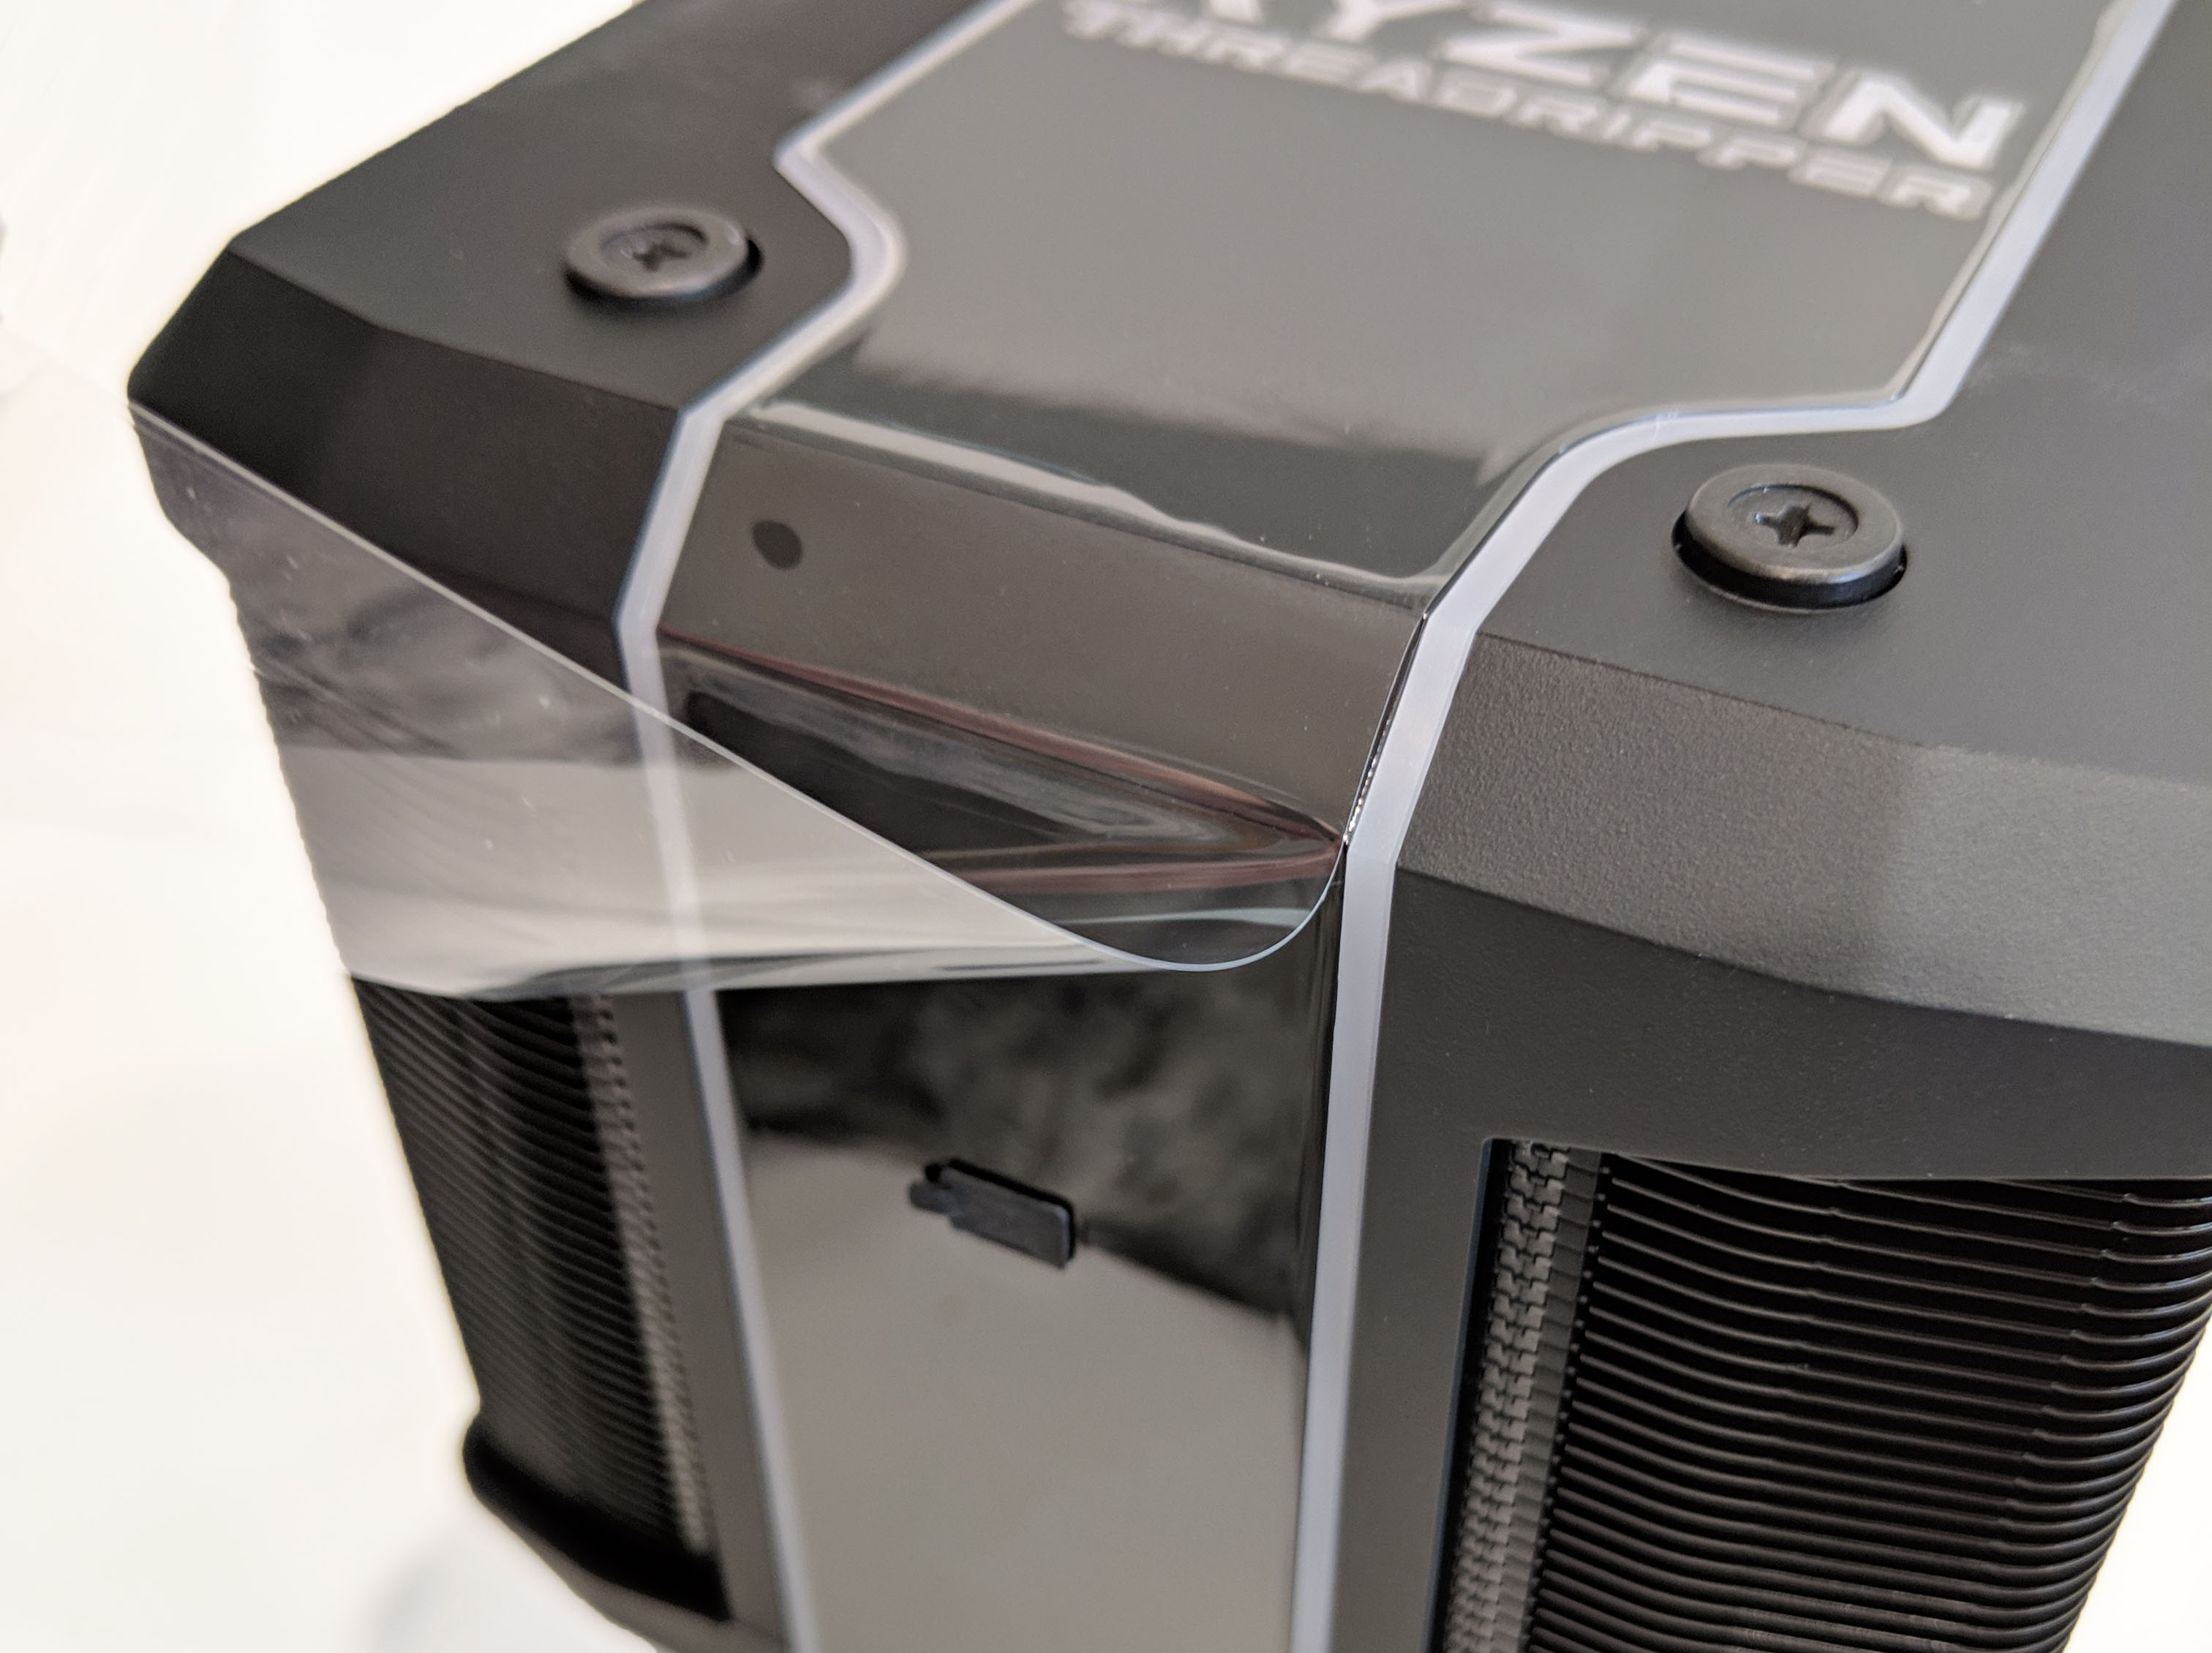
The shiny parts are protected by clear film which should be removed prior to installation. Definitely my favorite part of reviewing shiny things. 🙂
An Even Closer Look….
Now that we’ve got the Cooler Master Wraith Ripper out of its packaging, let’s take a deep dive into the cooler and see what we can learn!
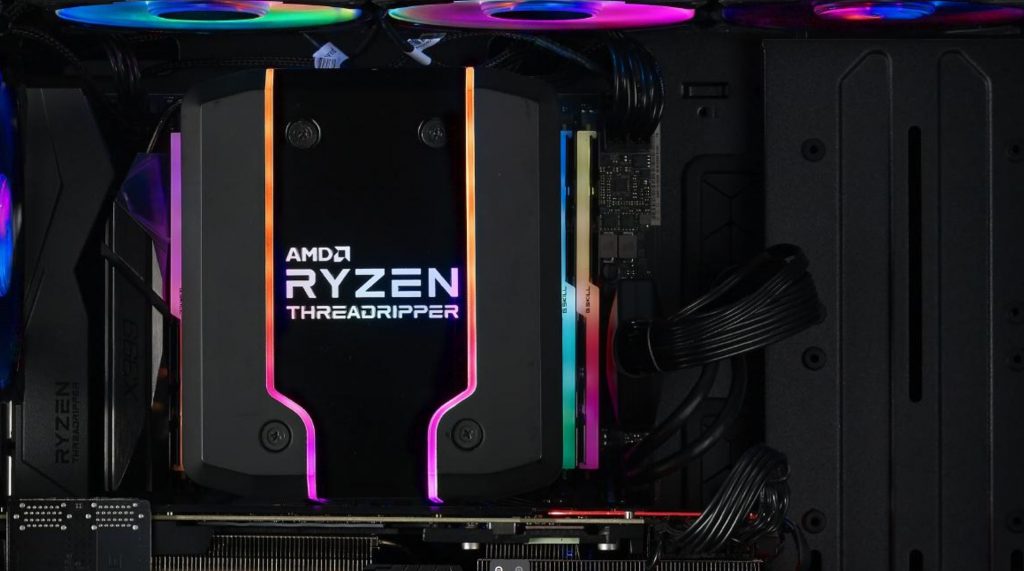
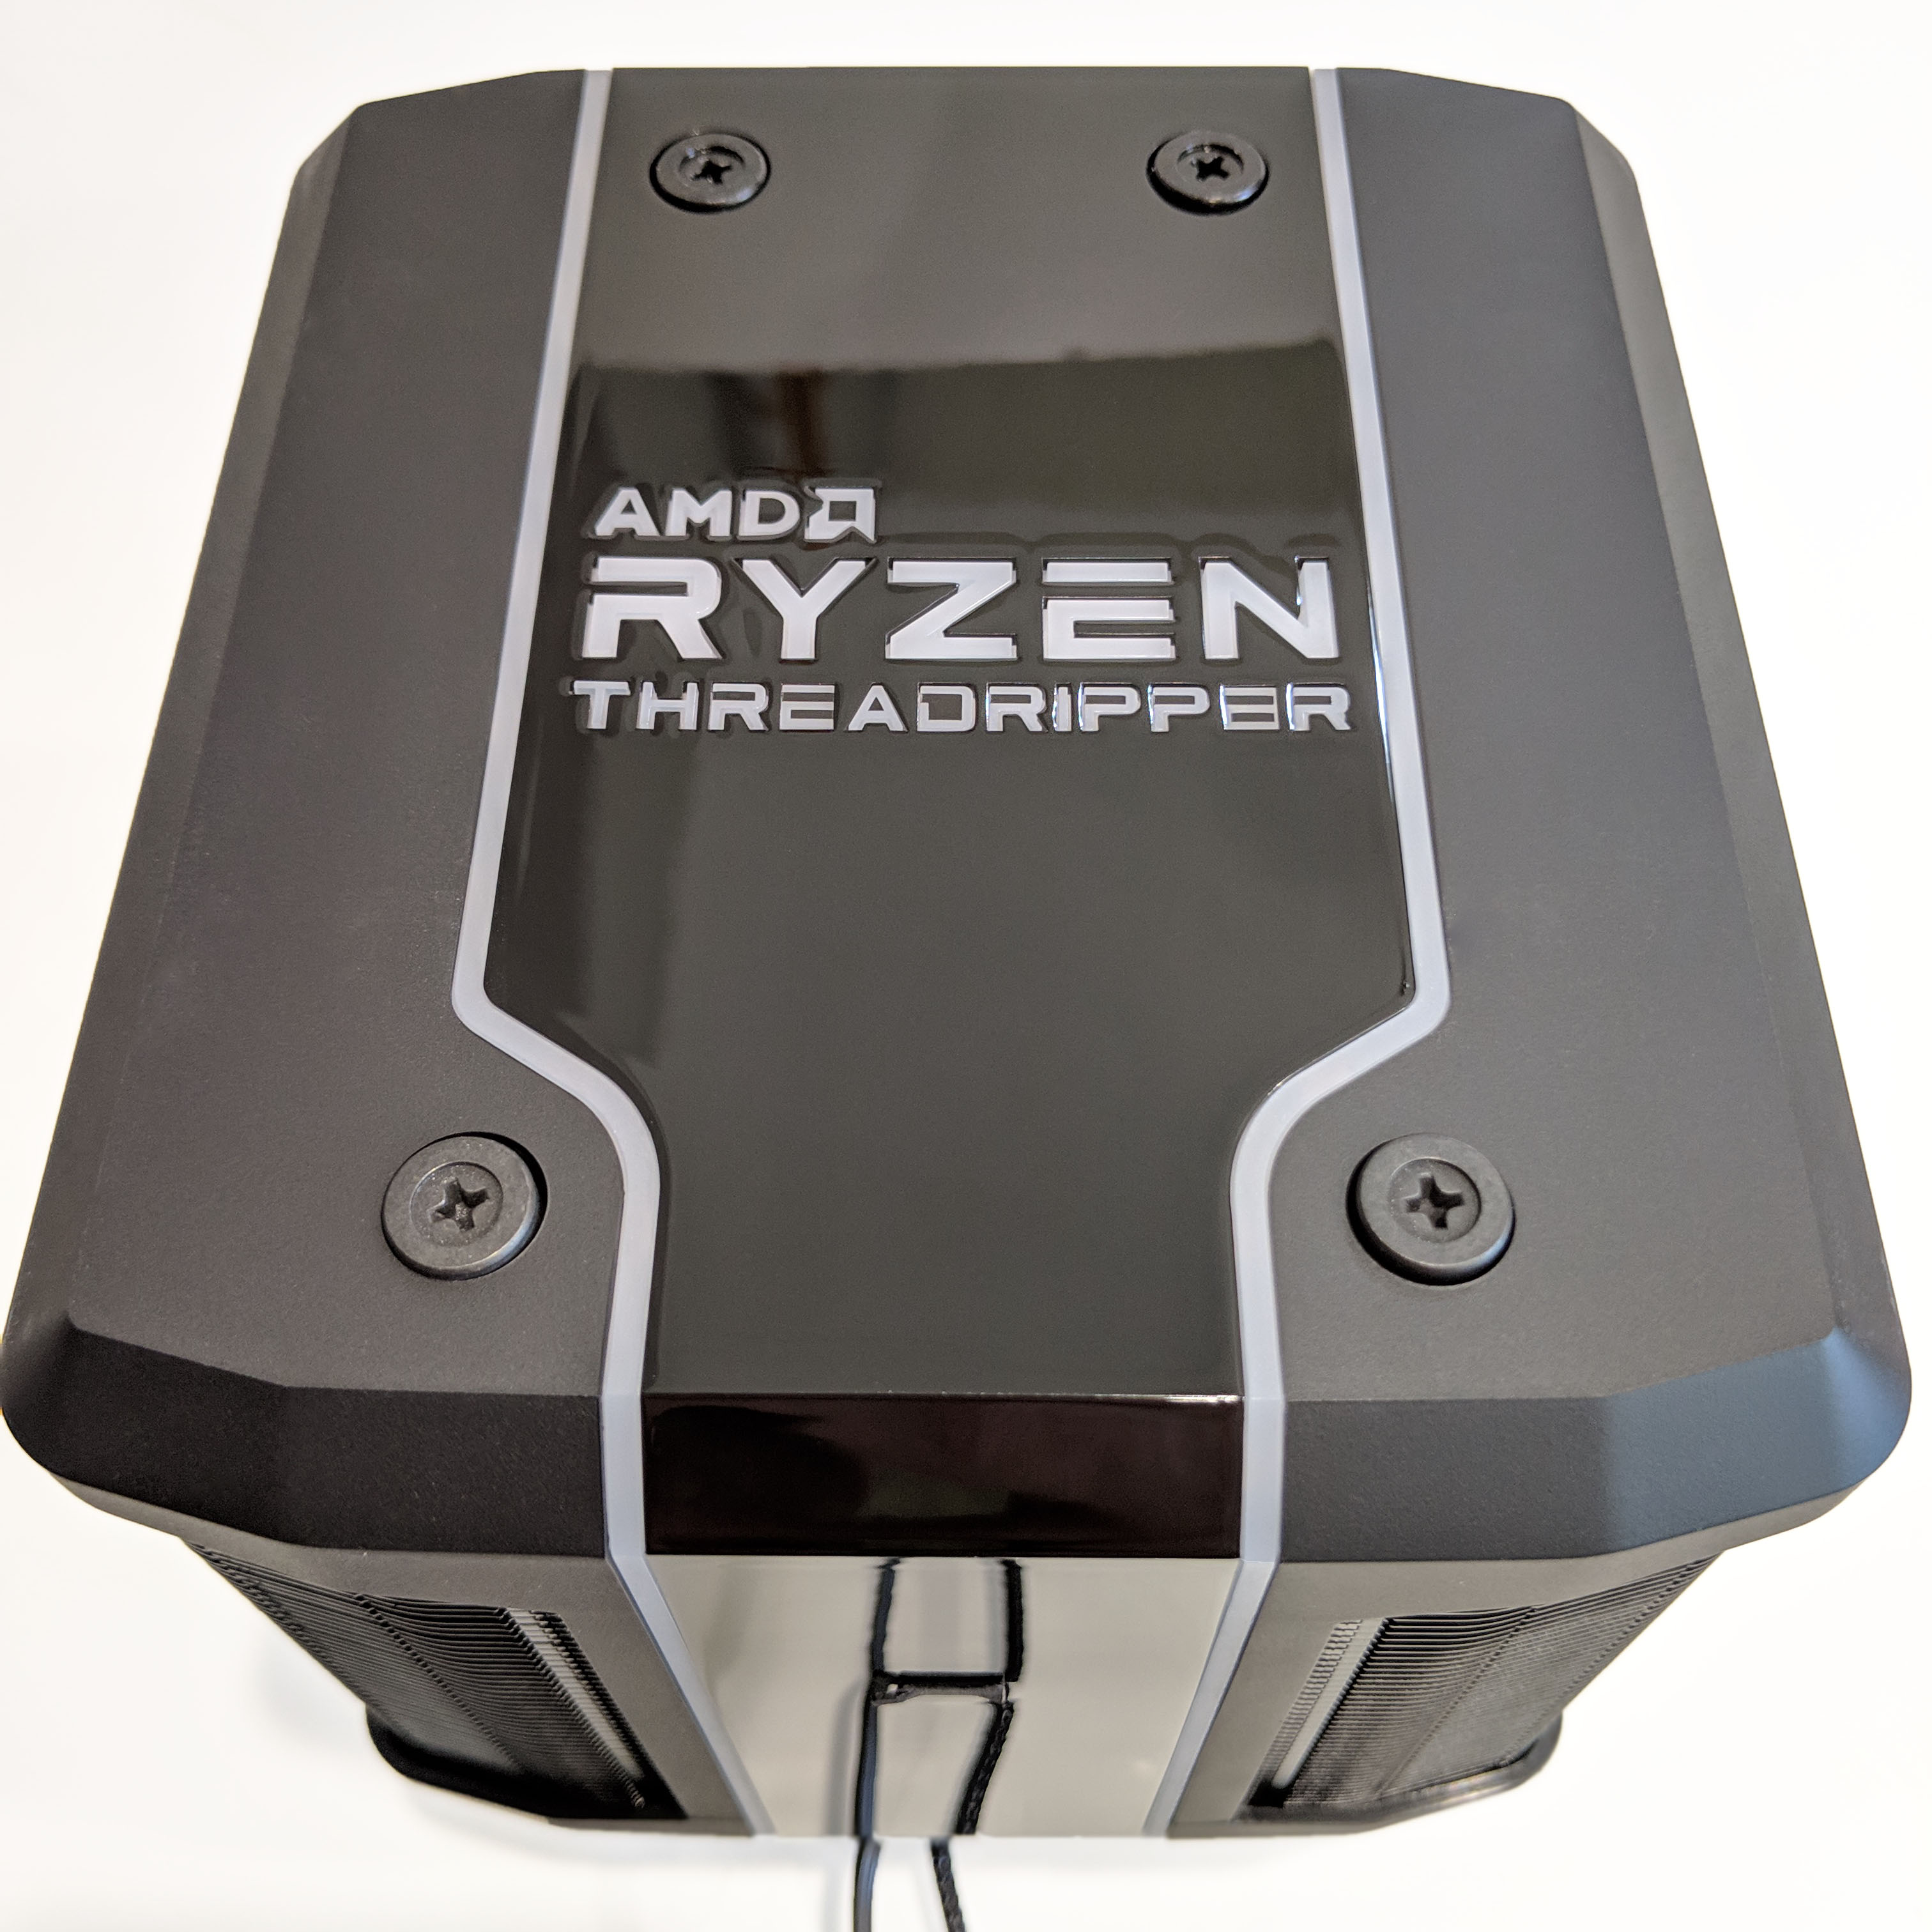
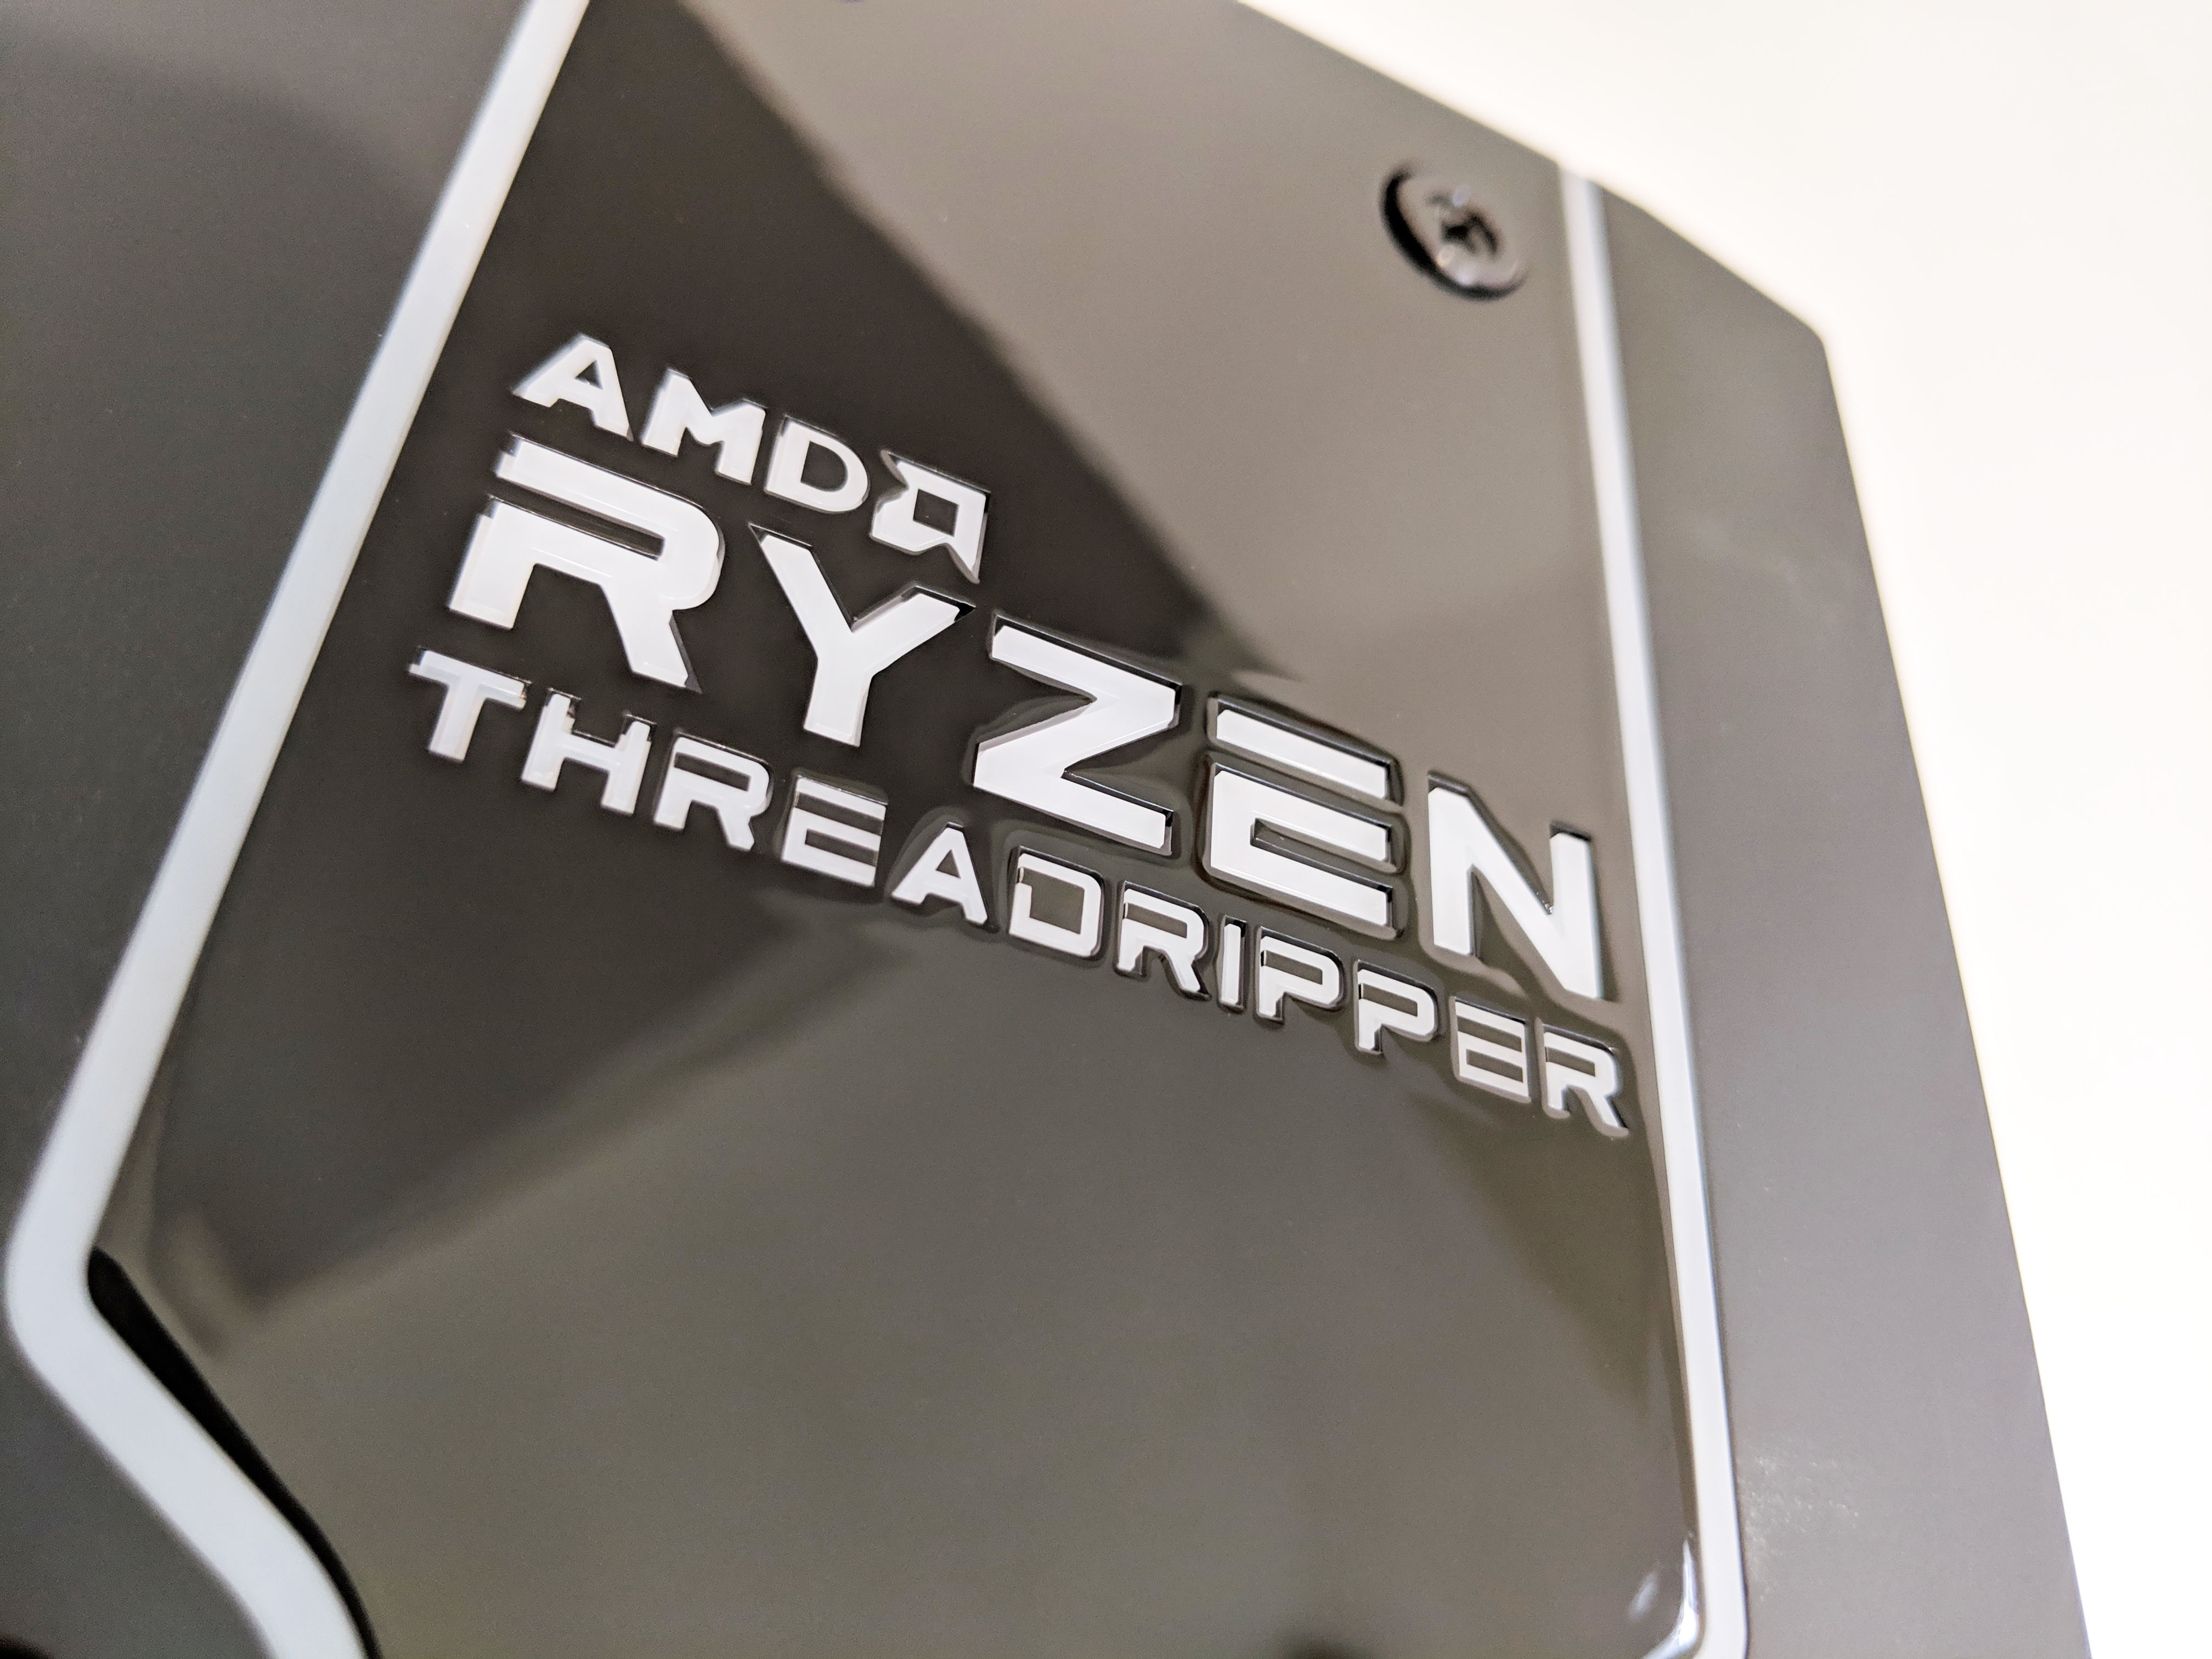
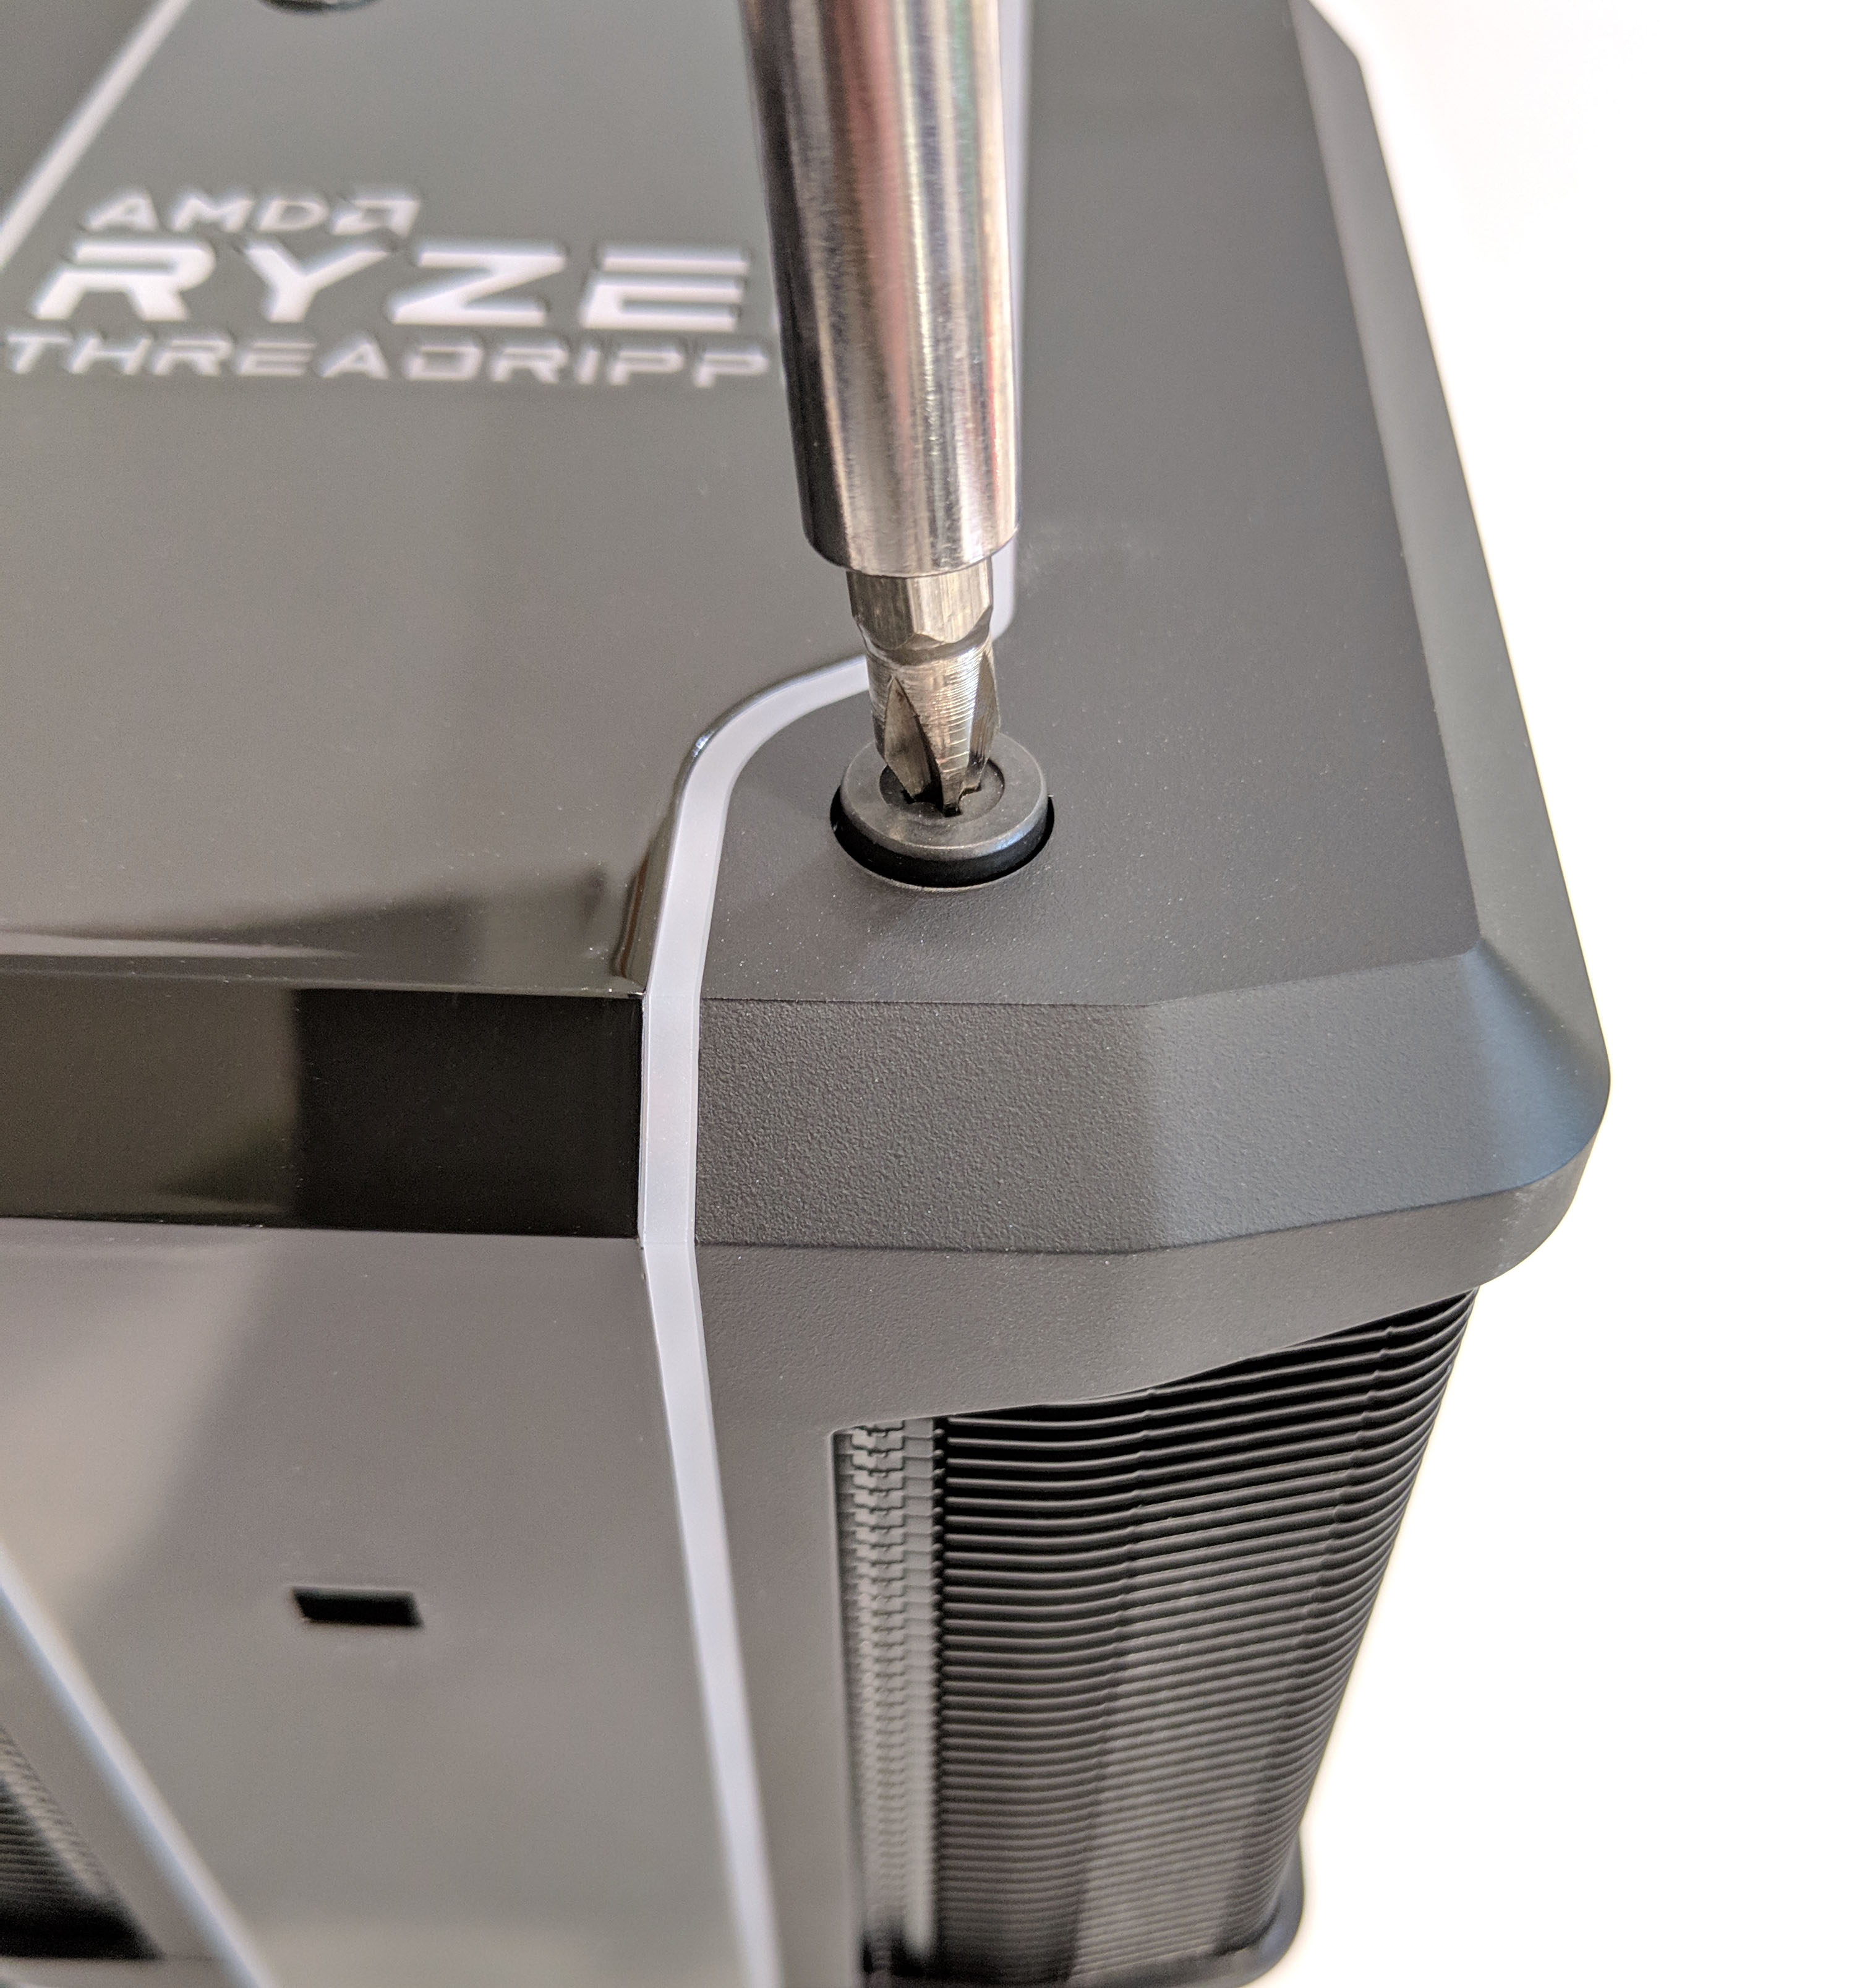
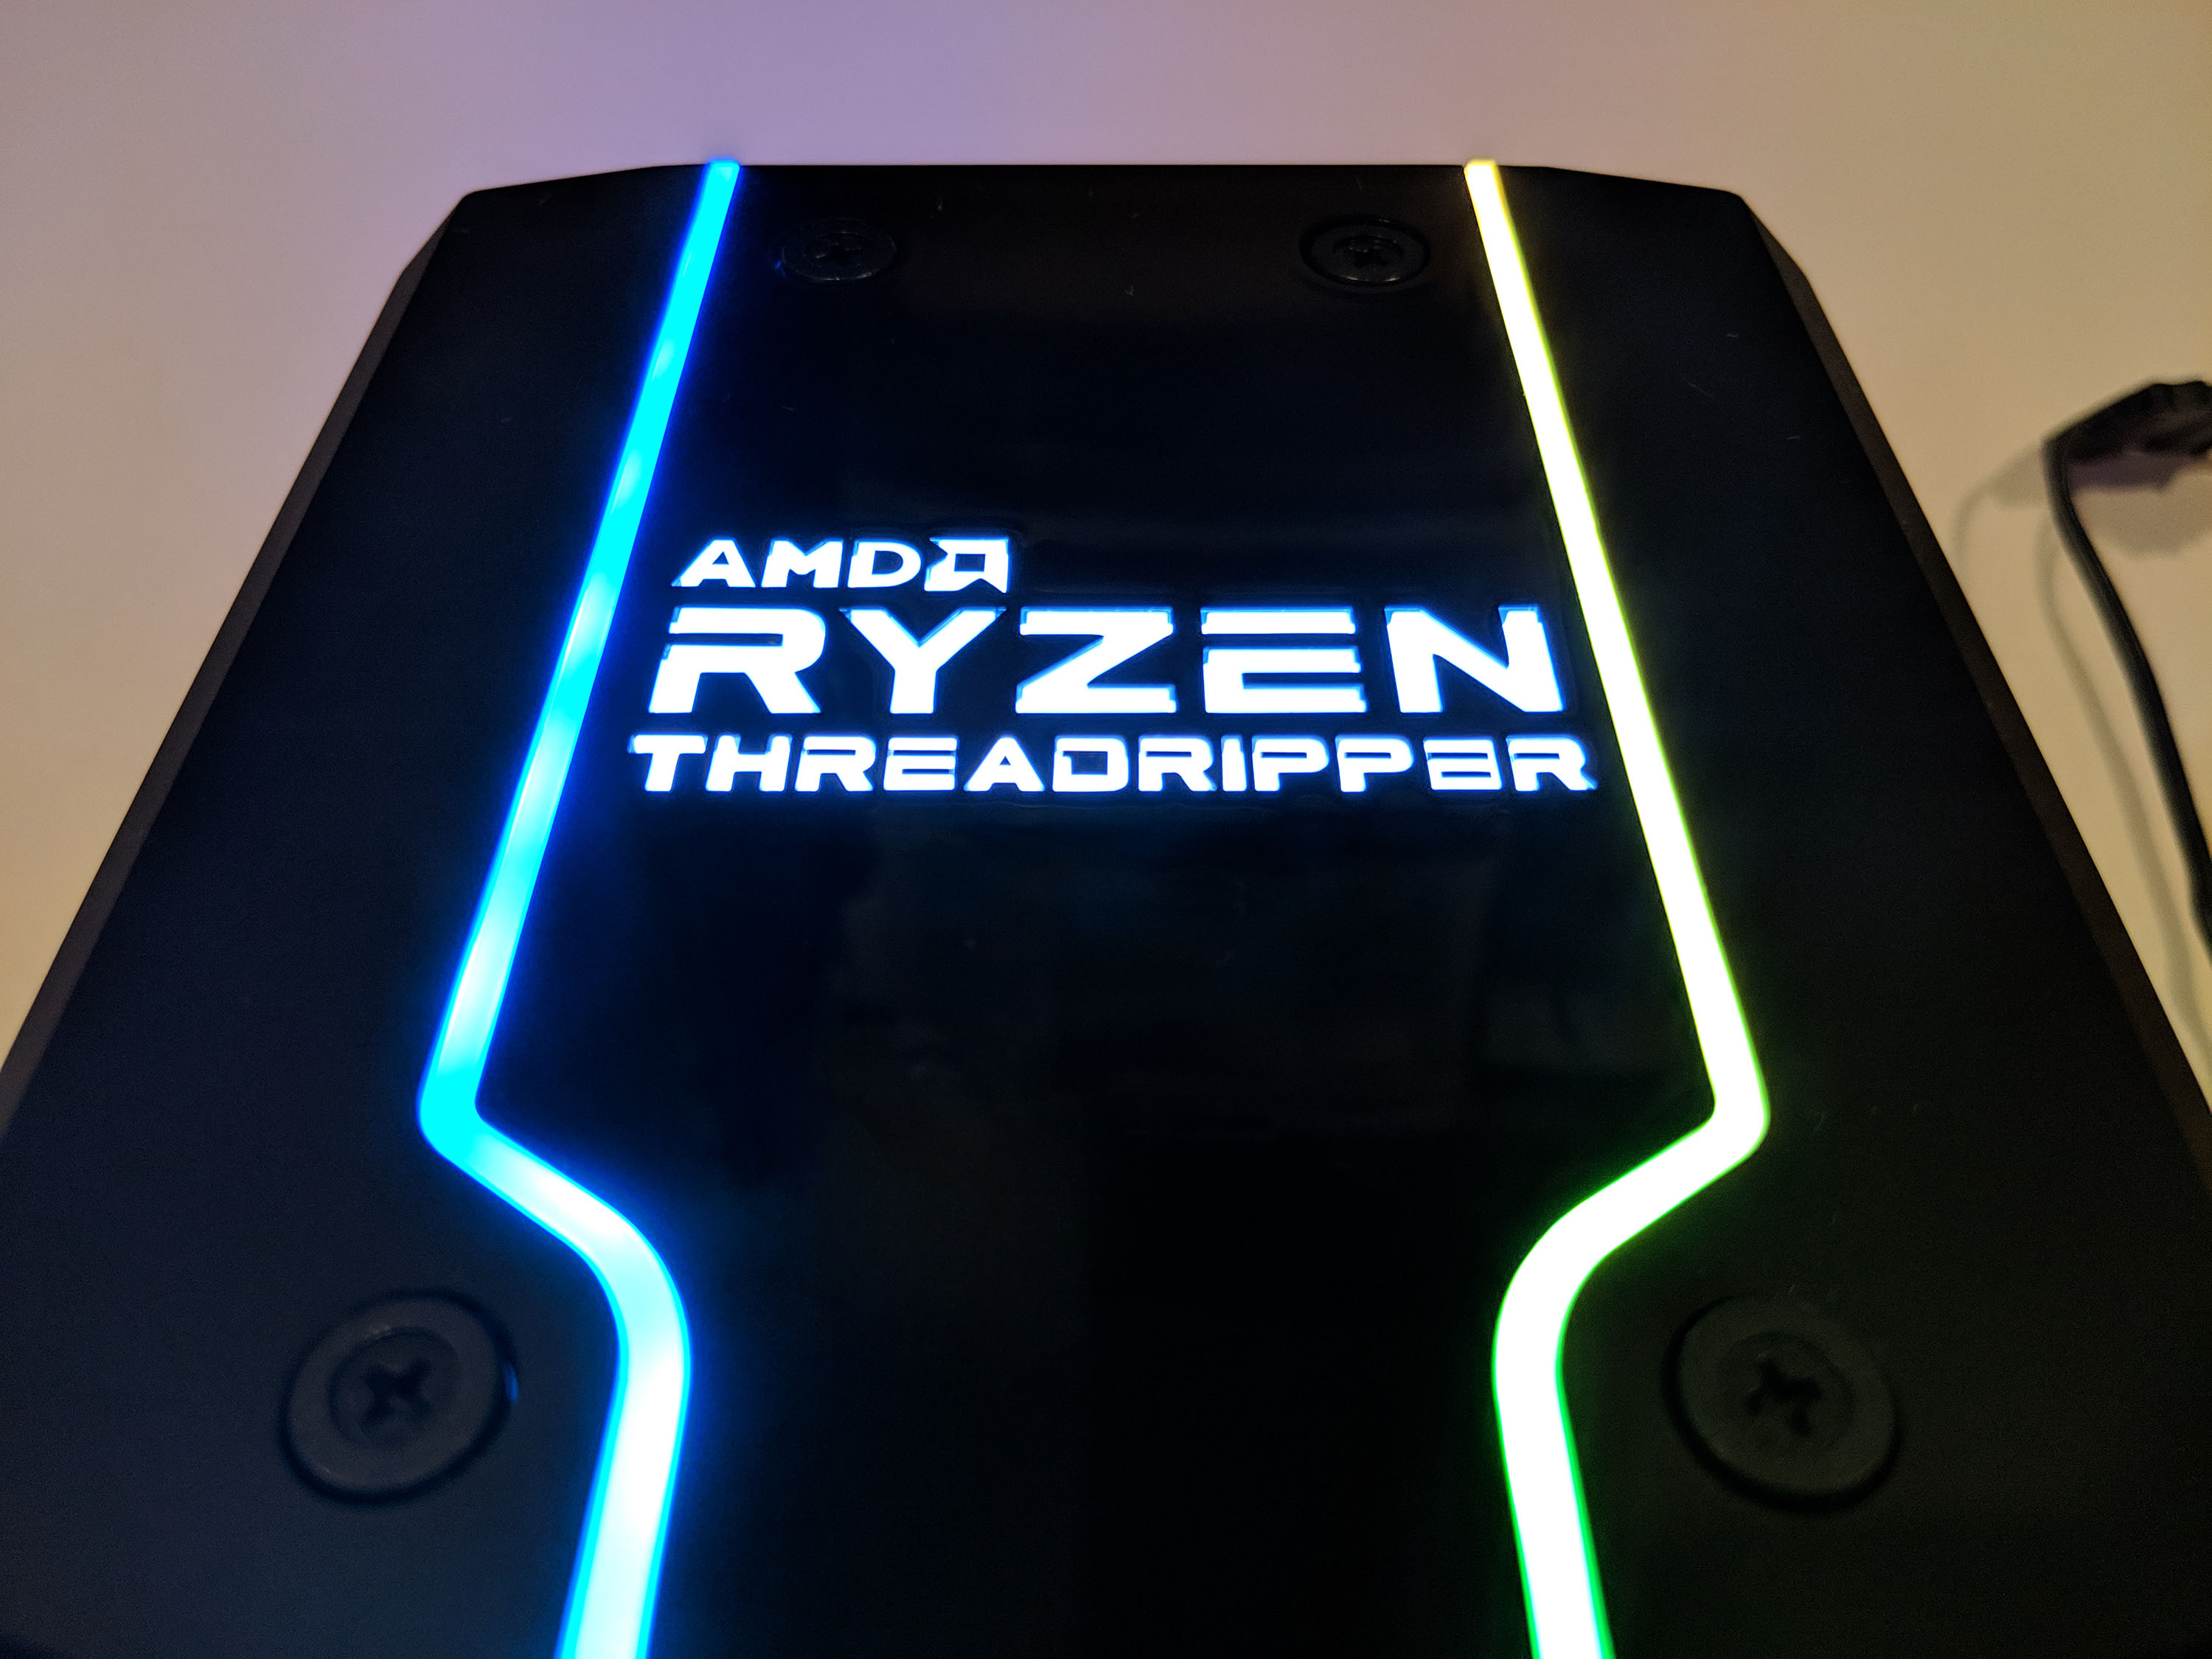
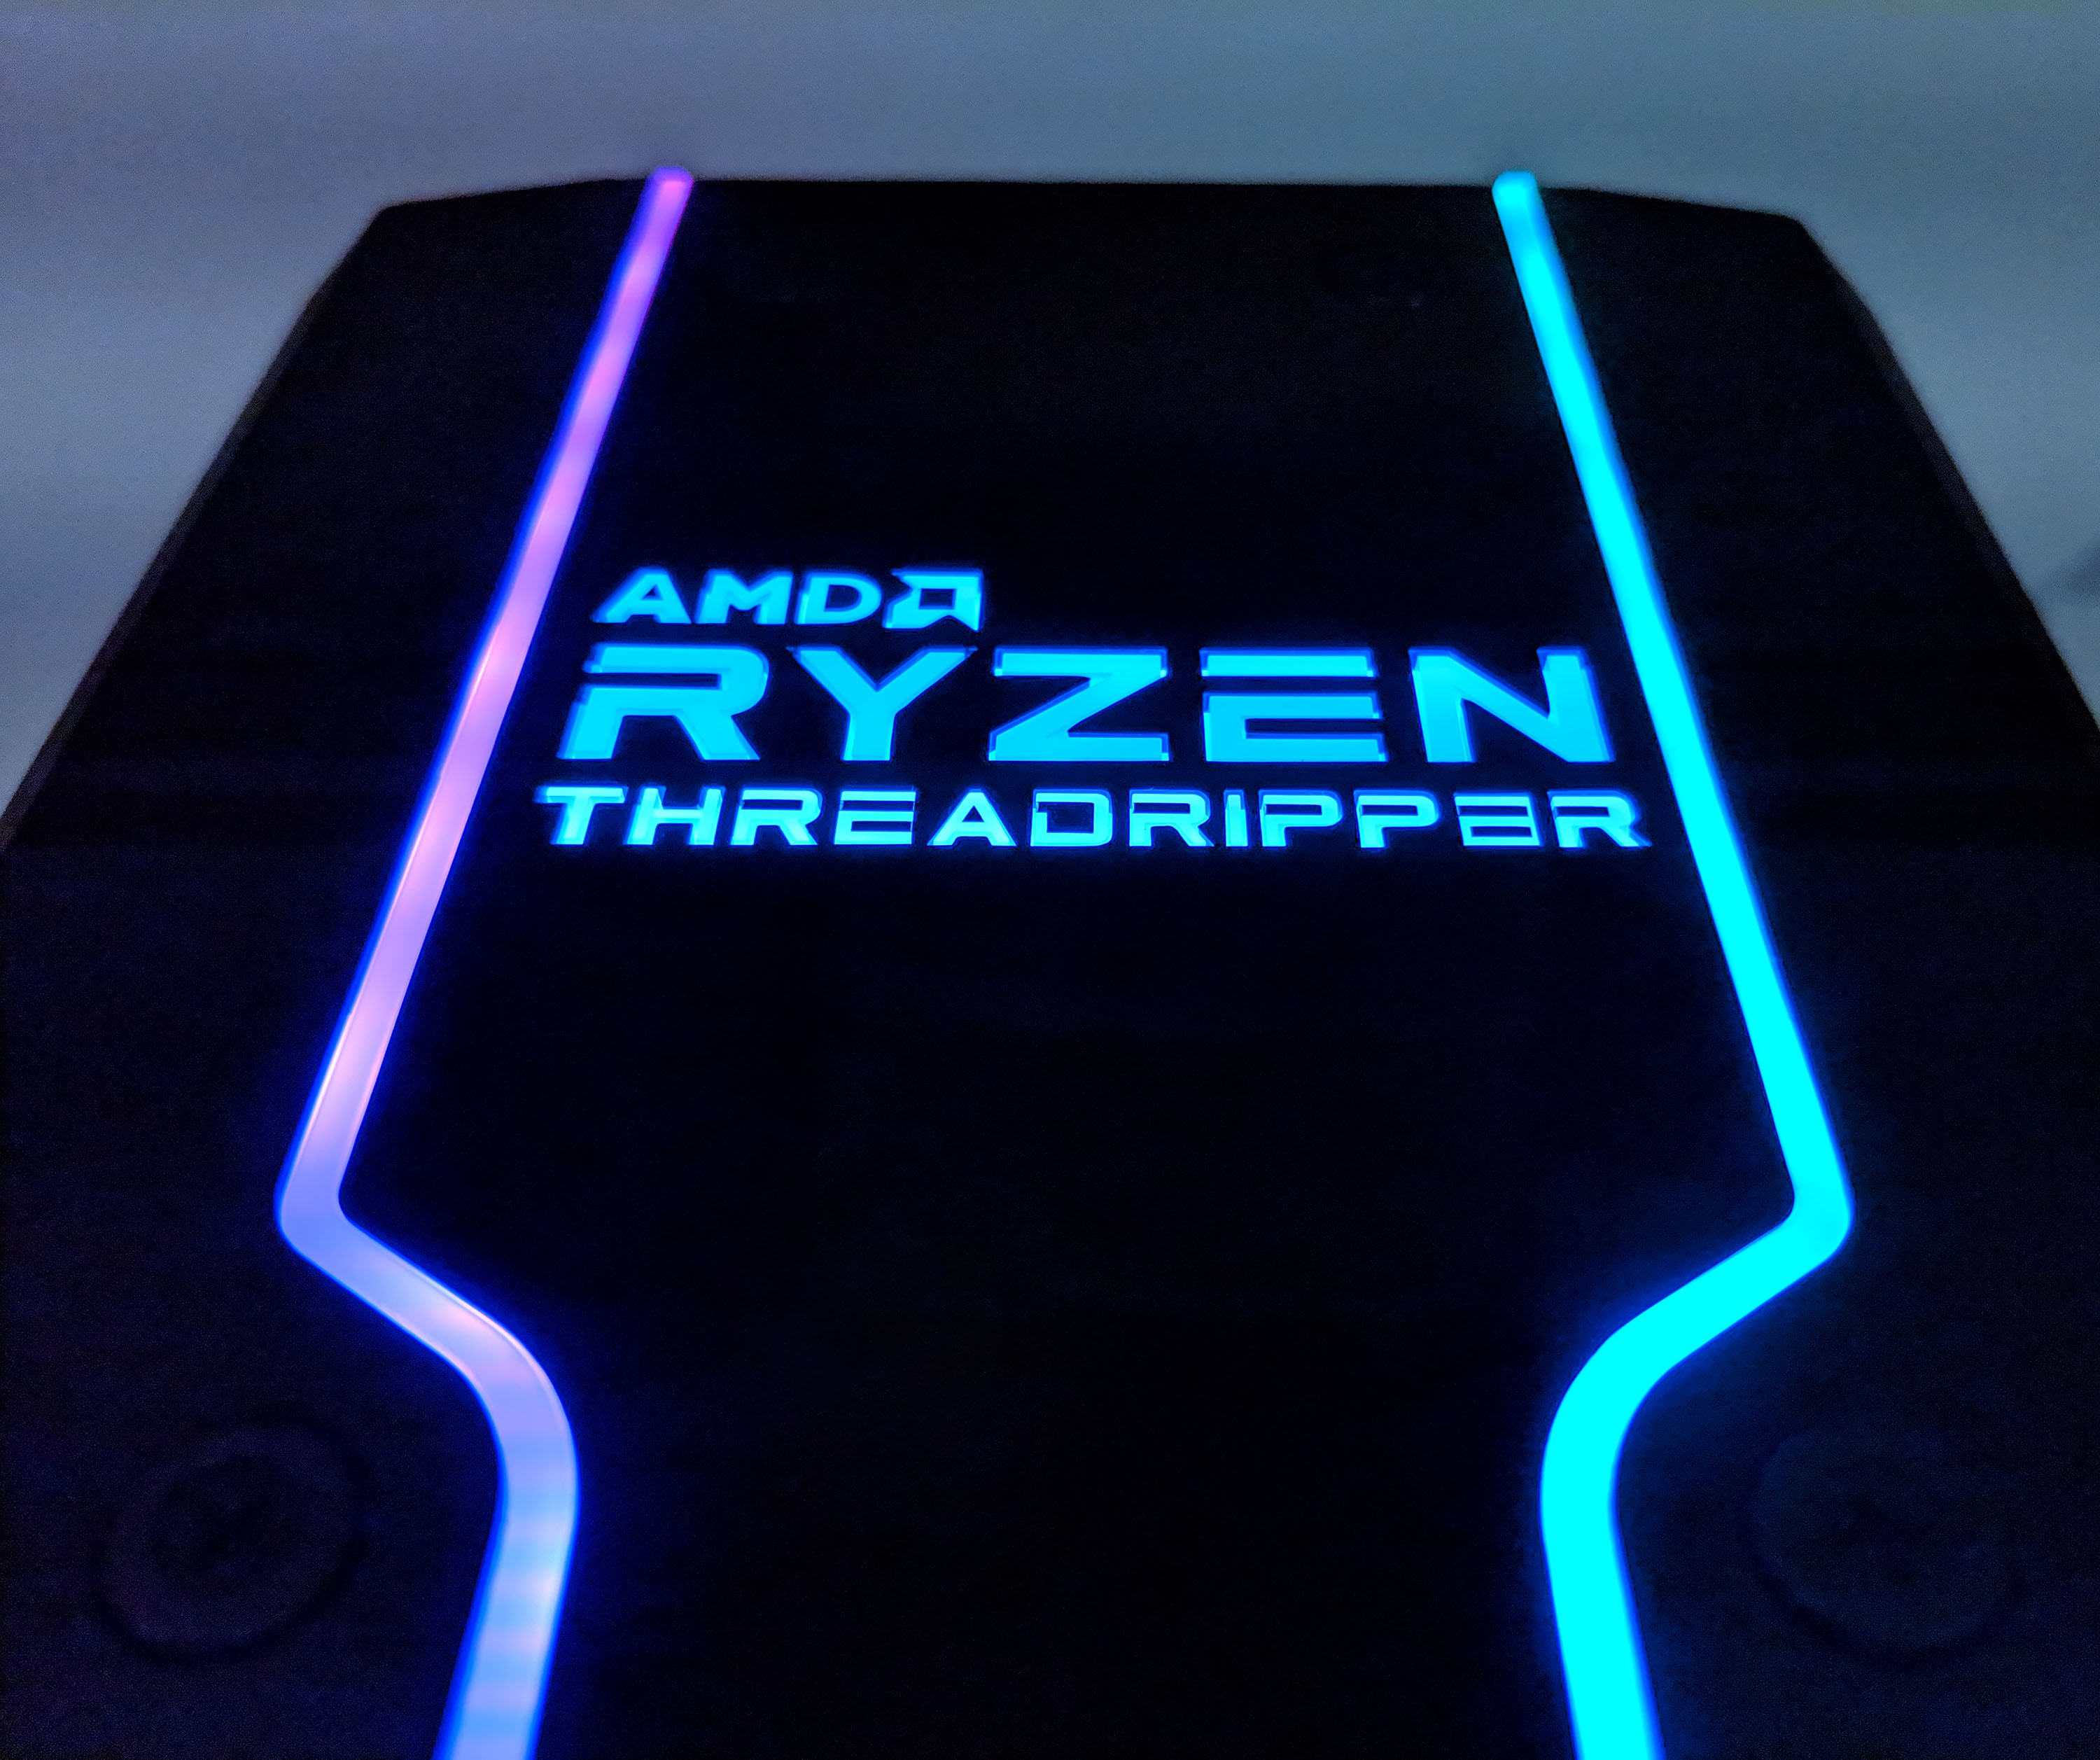
The cooler’s overall color scheme is dark an stealthy which will look great against the LED lighting once we hook up the power. The top of the cooler features the AMD logo as well as RYZEN THREADRIPPER text which is back lit by several RGB LEDs. RGB LEDs also span the entire plastic shroud separating the shiny portion from the matte black. Both logo LEDs and LED strips can be controlled by Cooler Master’s custom software which is available from its website.
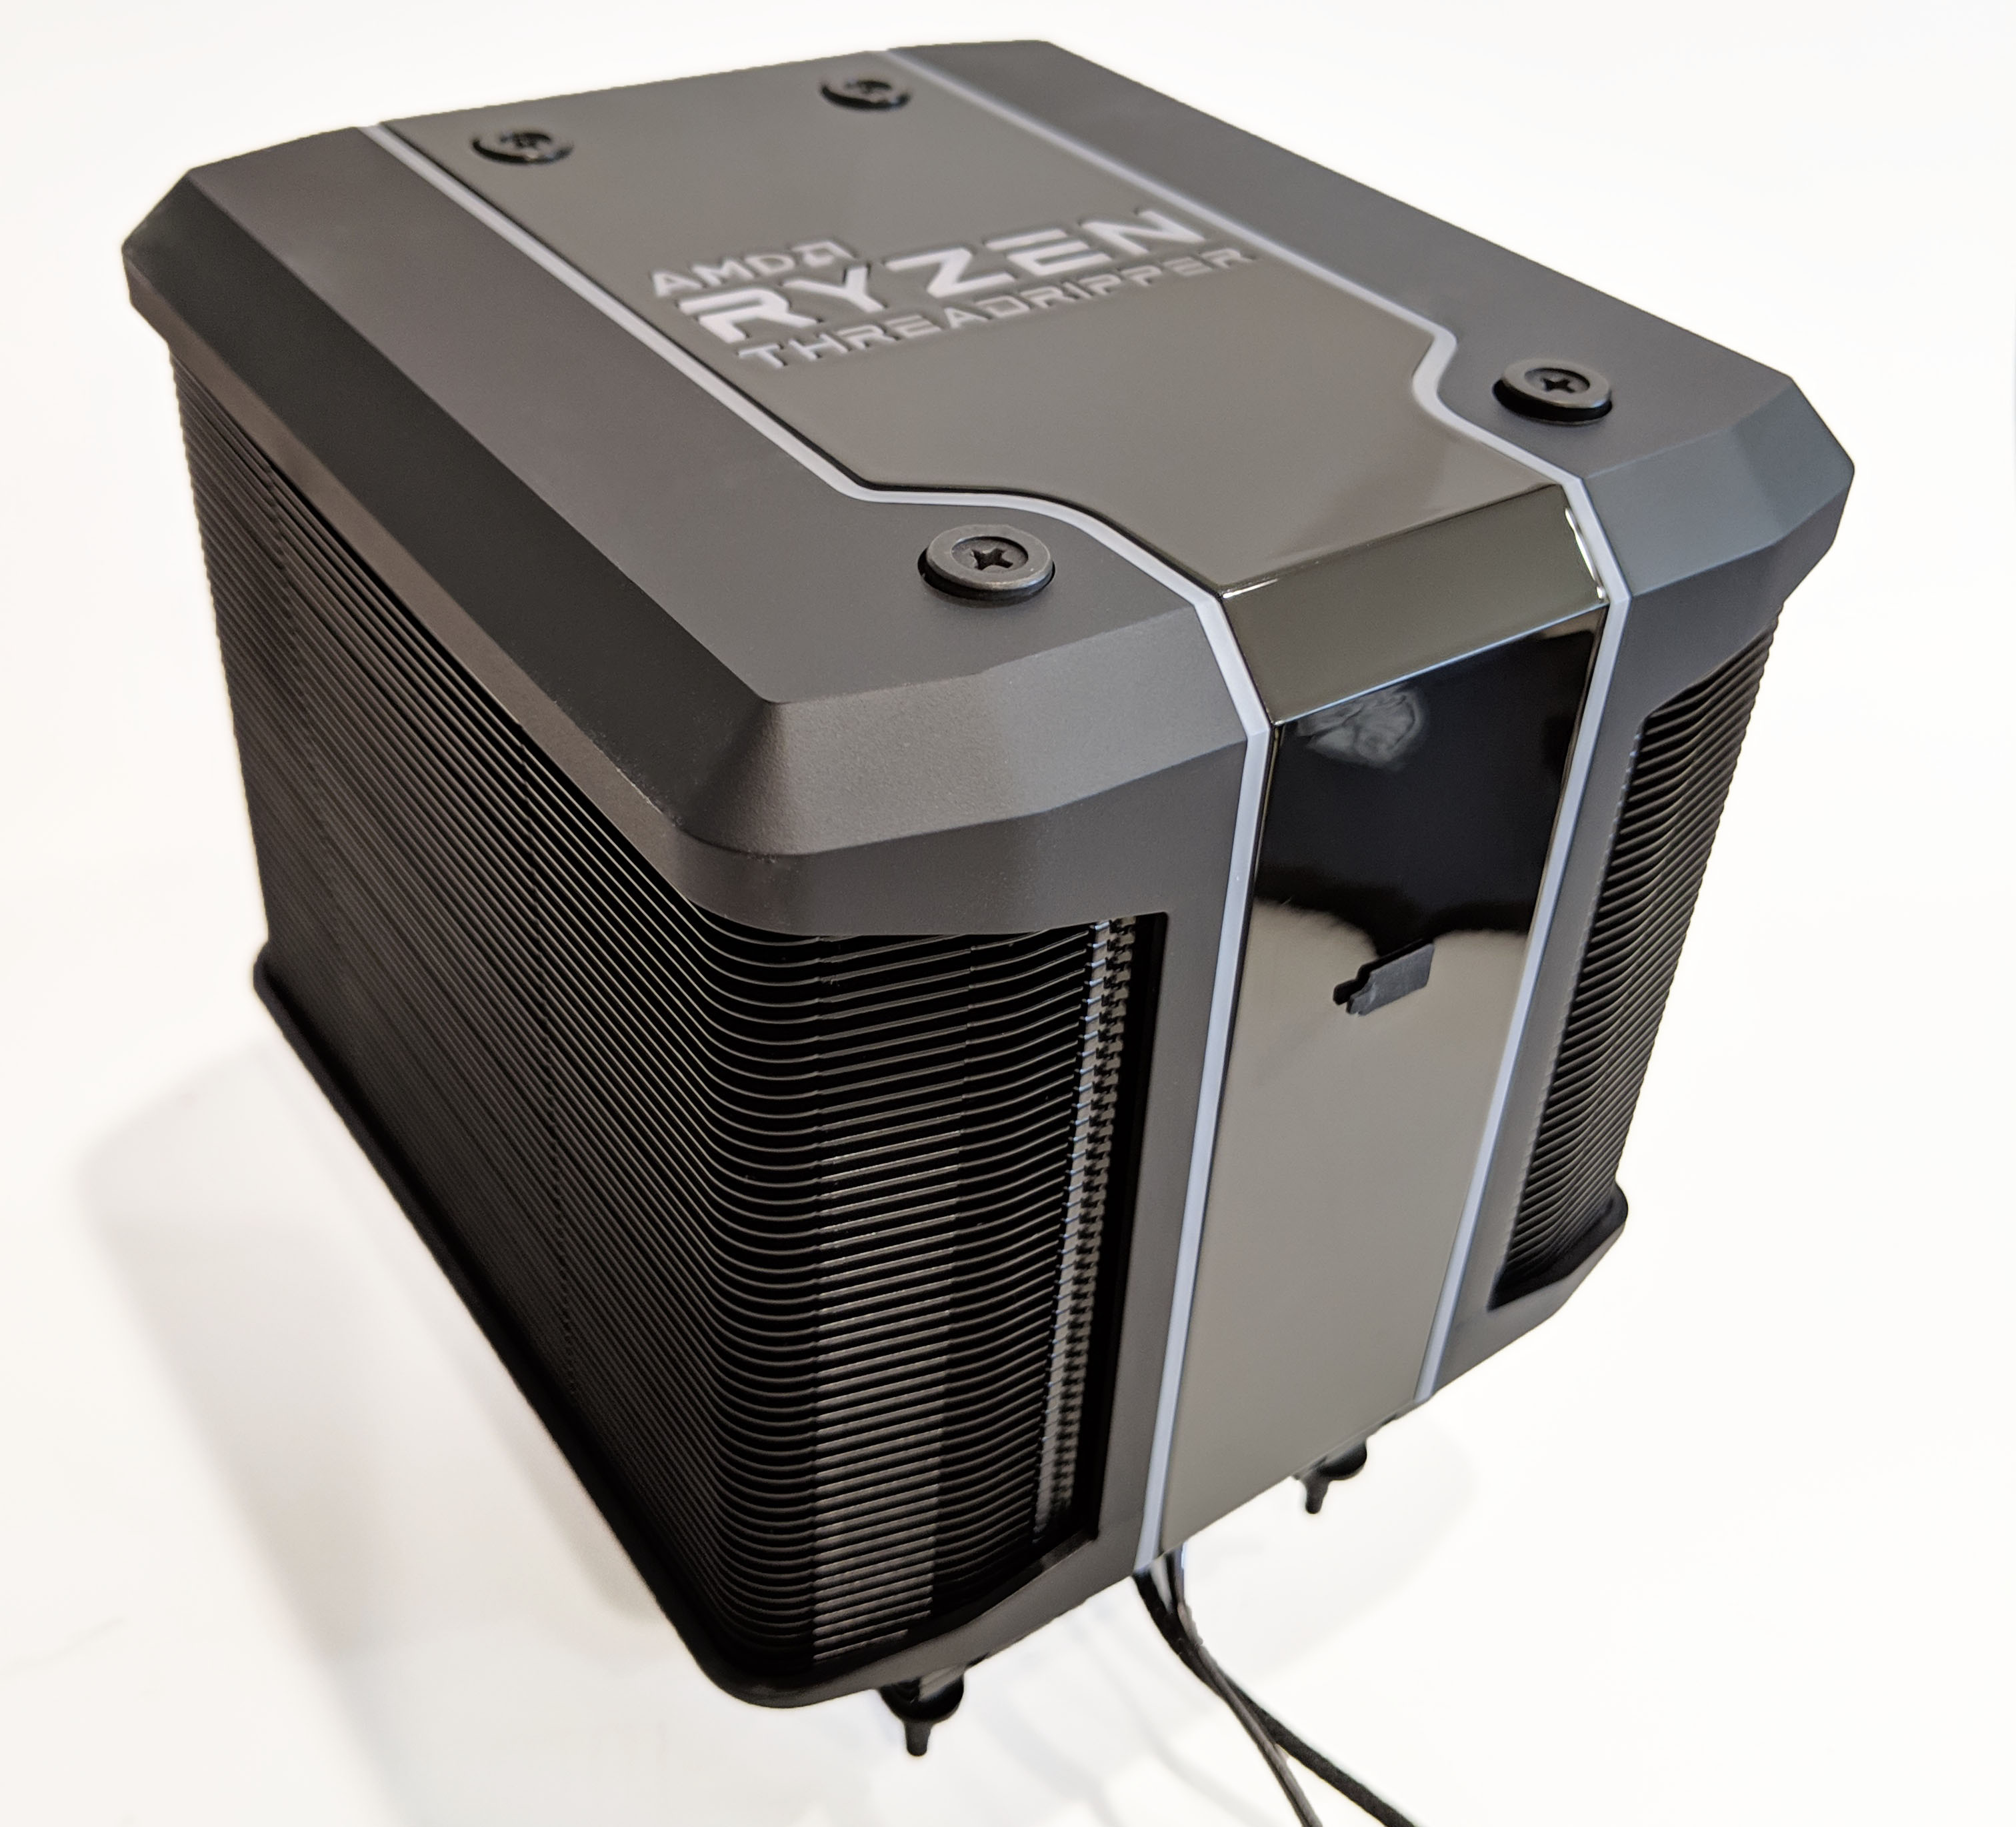
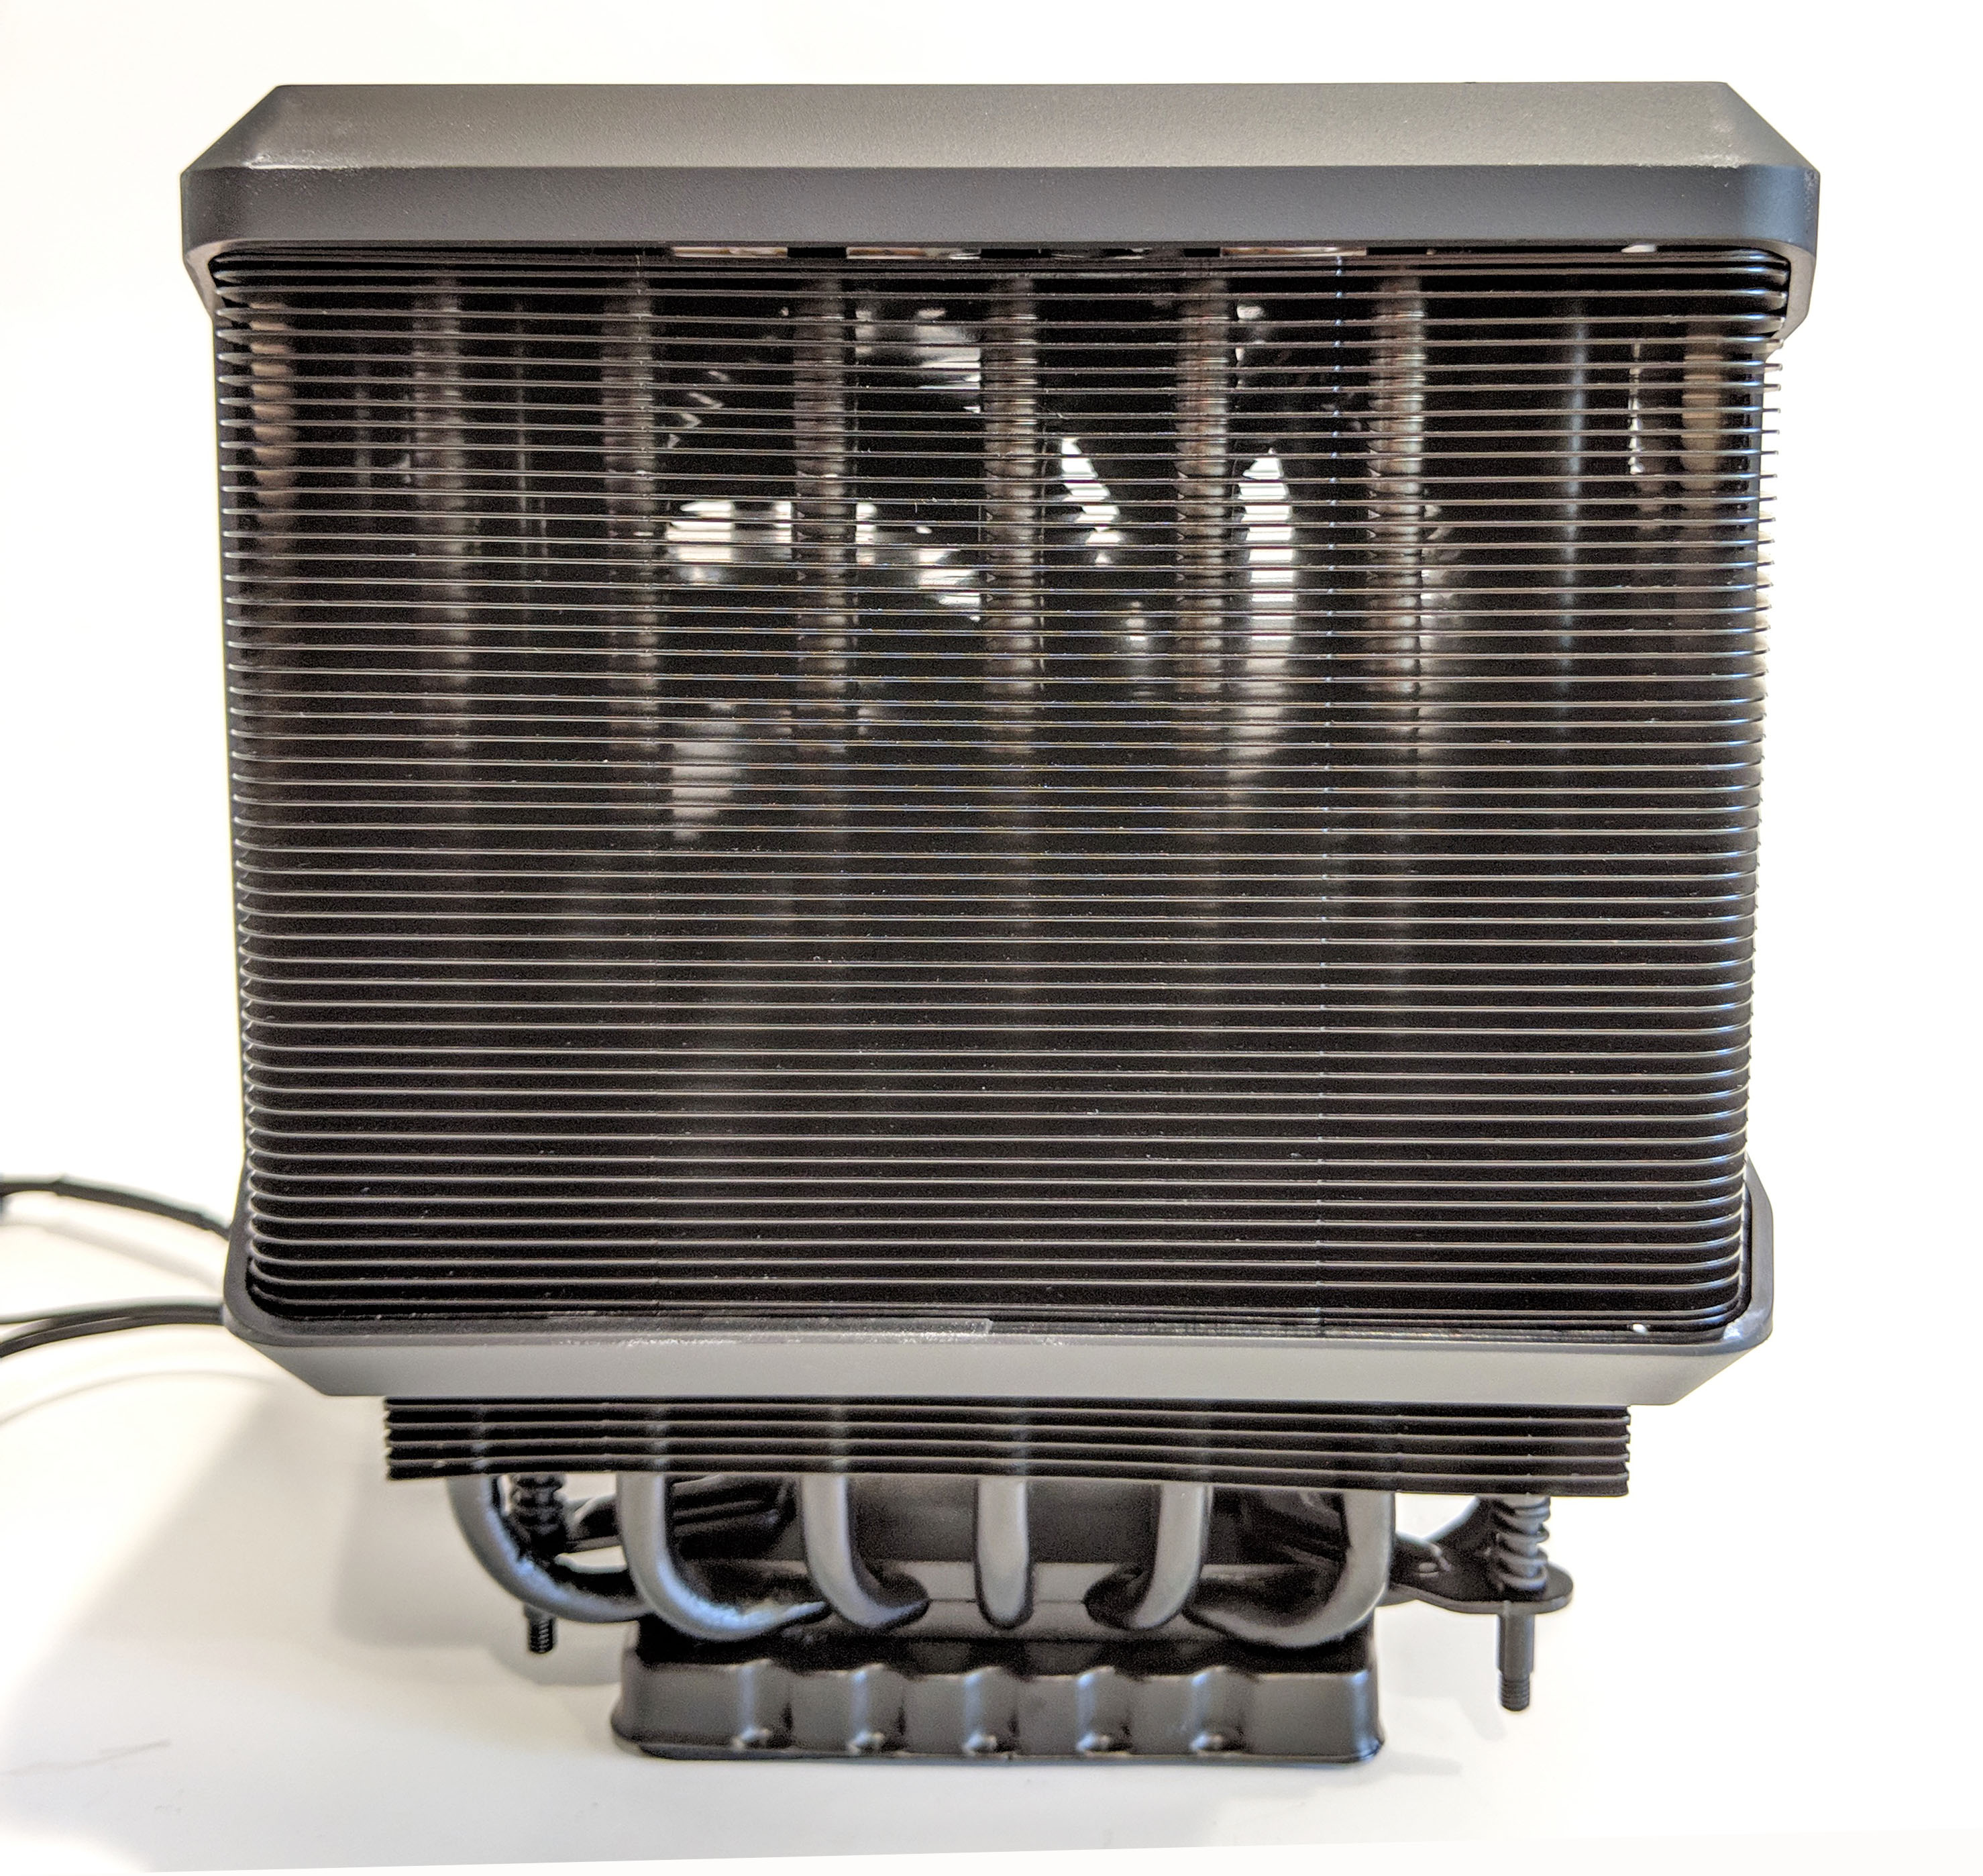
Cooling fins make up much of the Wraith Ripper’s surface covering both the left and right sides completely. The right side of the cooler acts as the intake while the left acts as a hot air exhaust. I definitely recommend a case exhaust fan to expel hot air from the cooler out the back of the case.
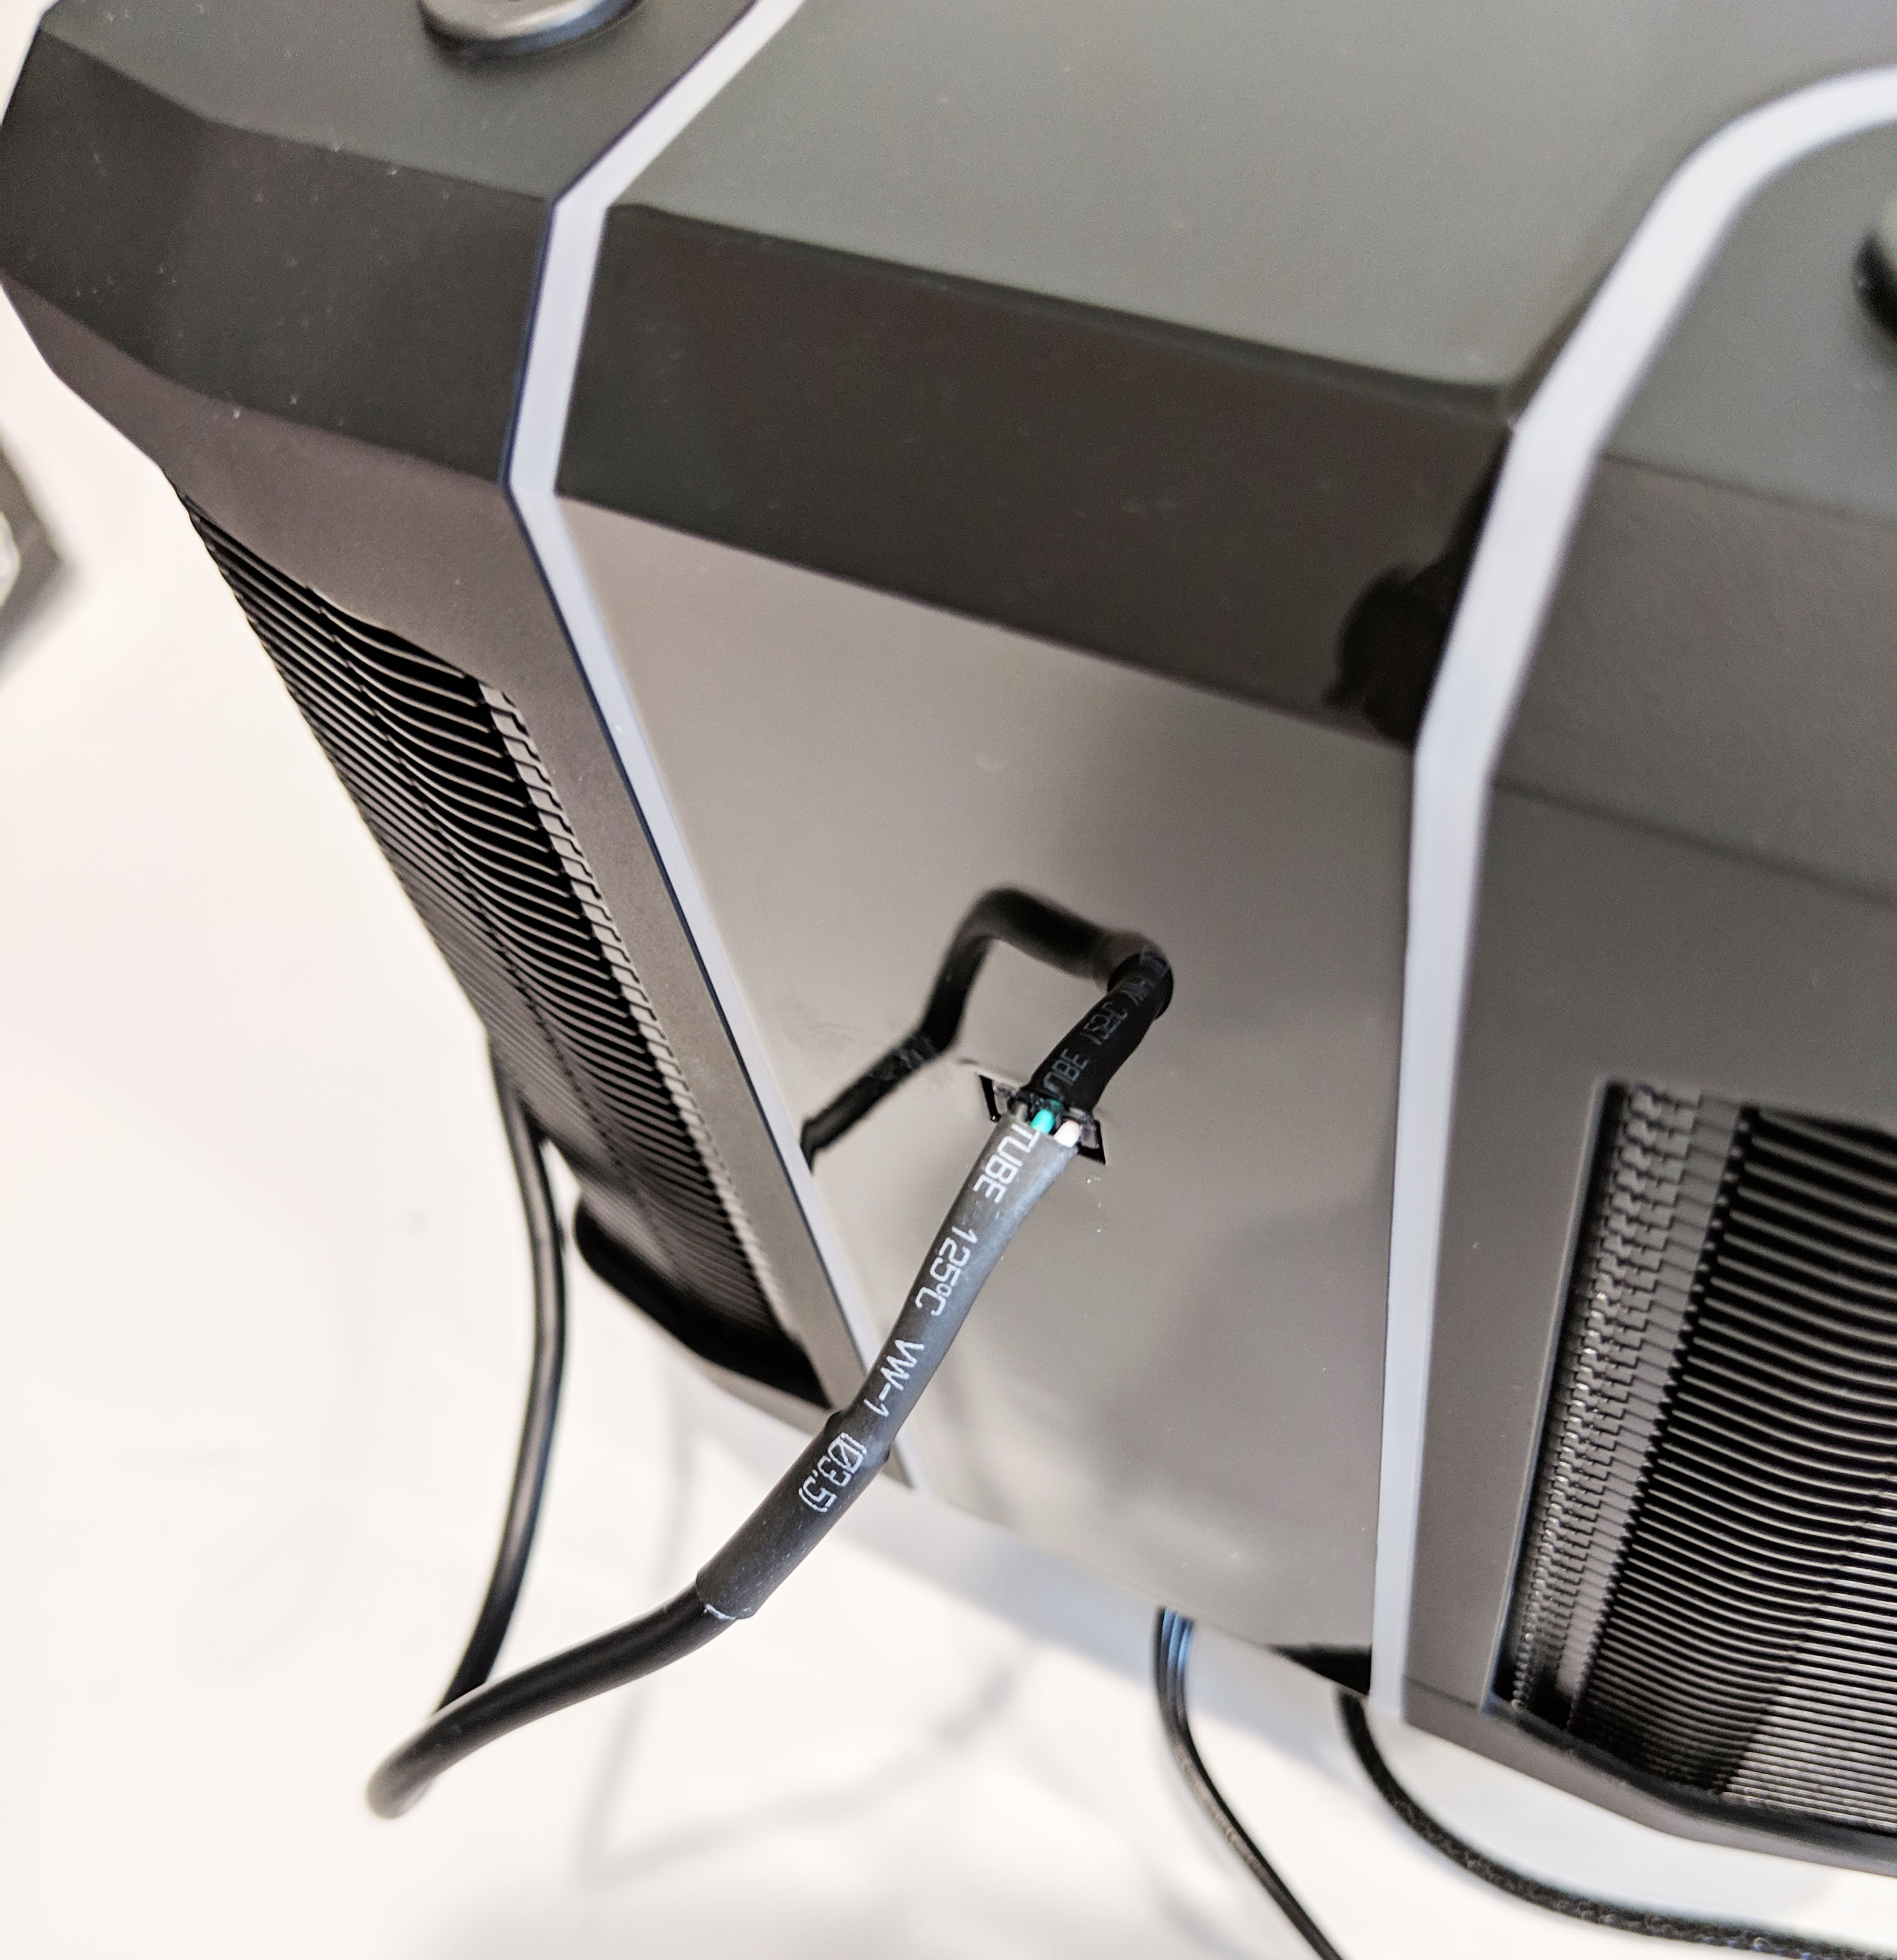
The seven heat pipes as well as the fan can bee seen by looking through the cooler.
The bottom of the cooler has a protective plastic piece which can be seen in the image above. This needs to be removed prior to installation. It’s main purpose is to protect the pre-applied thermal paste from being smudged.
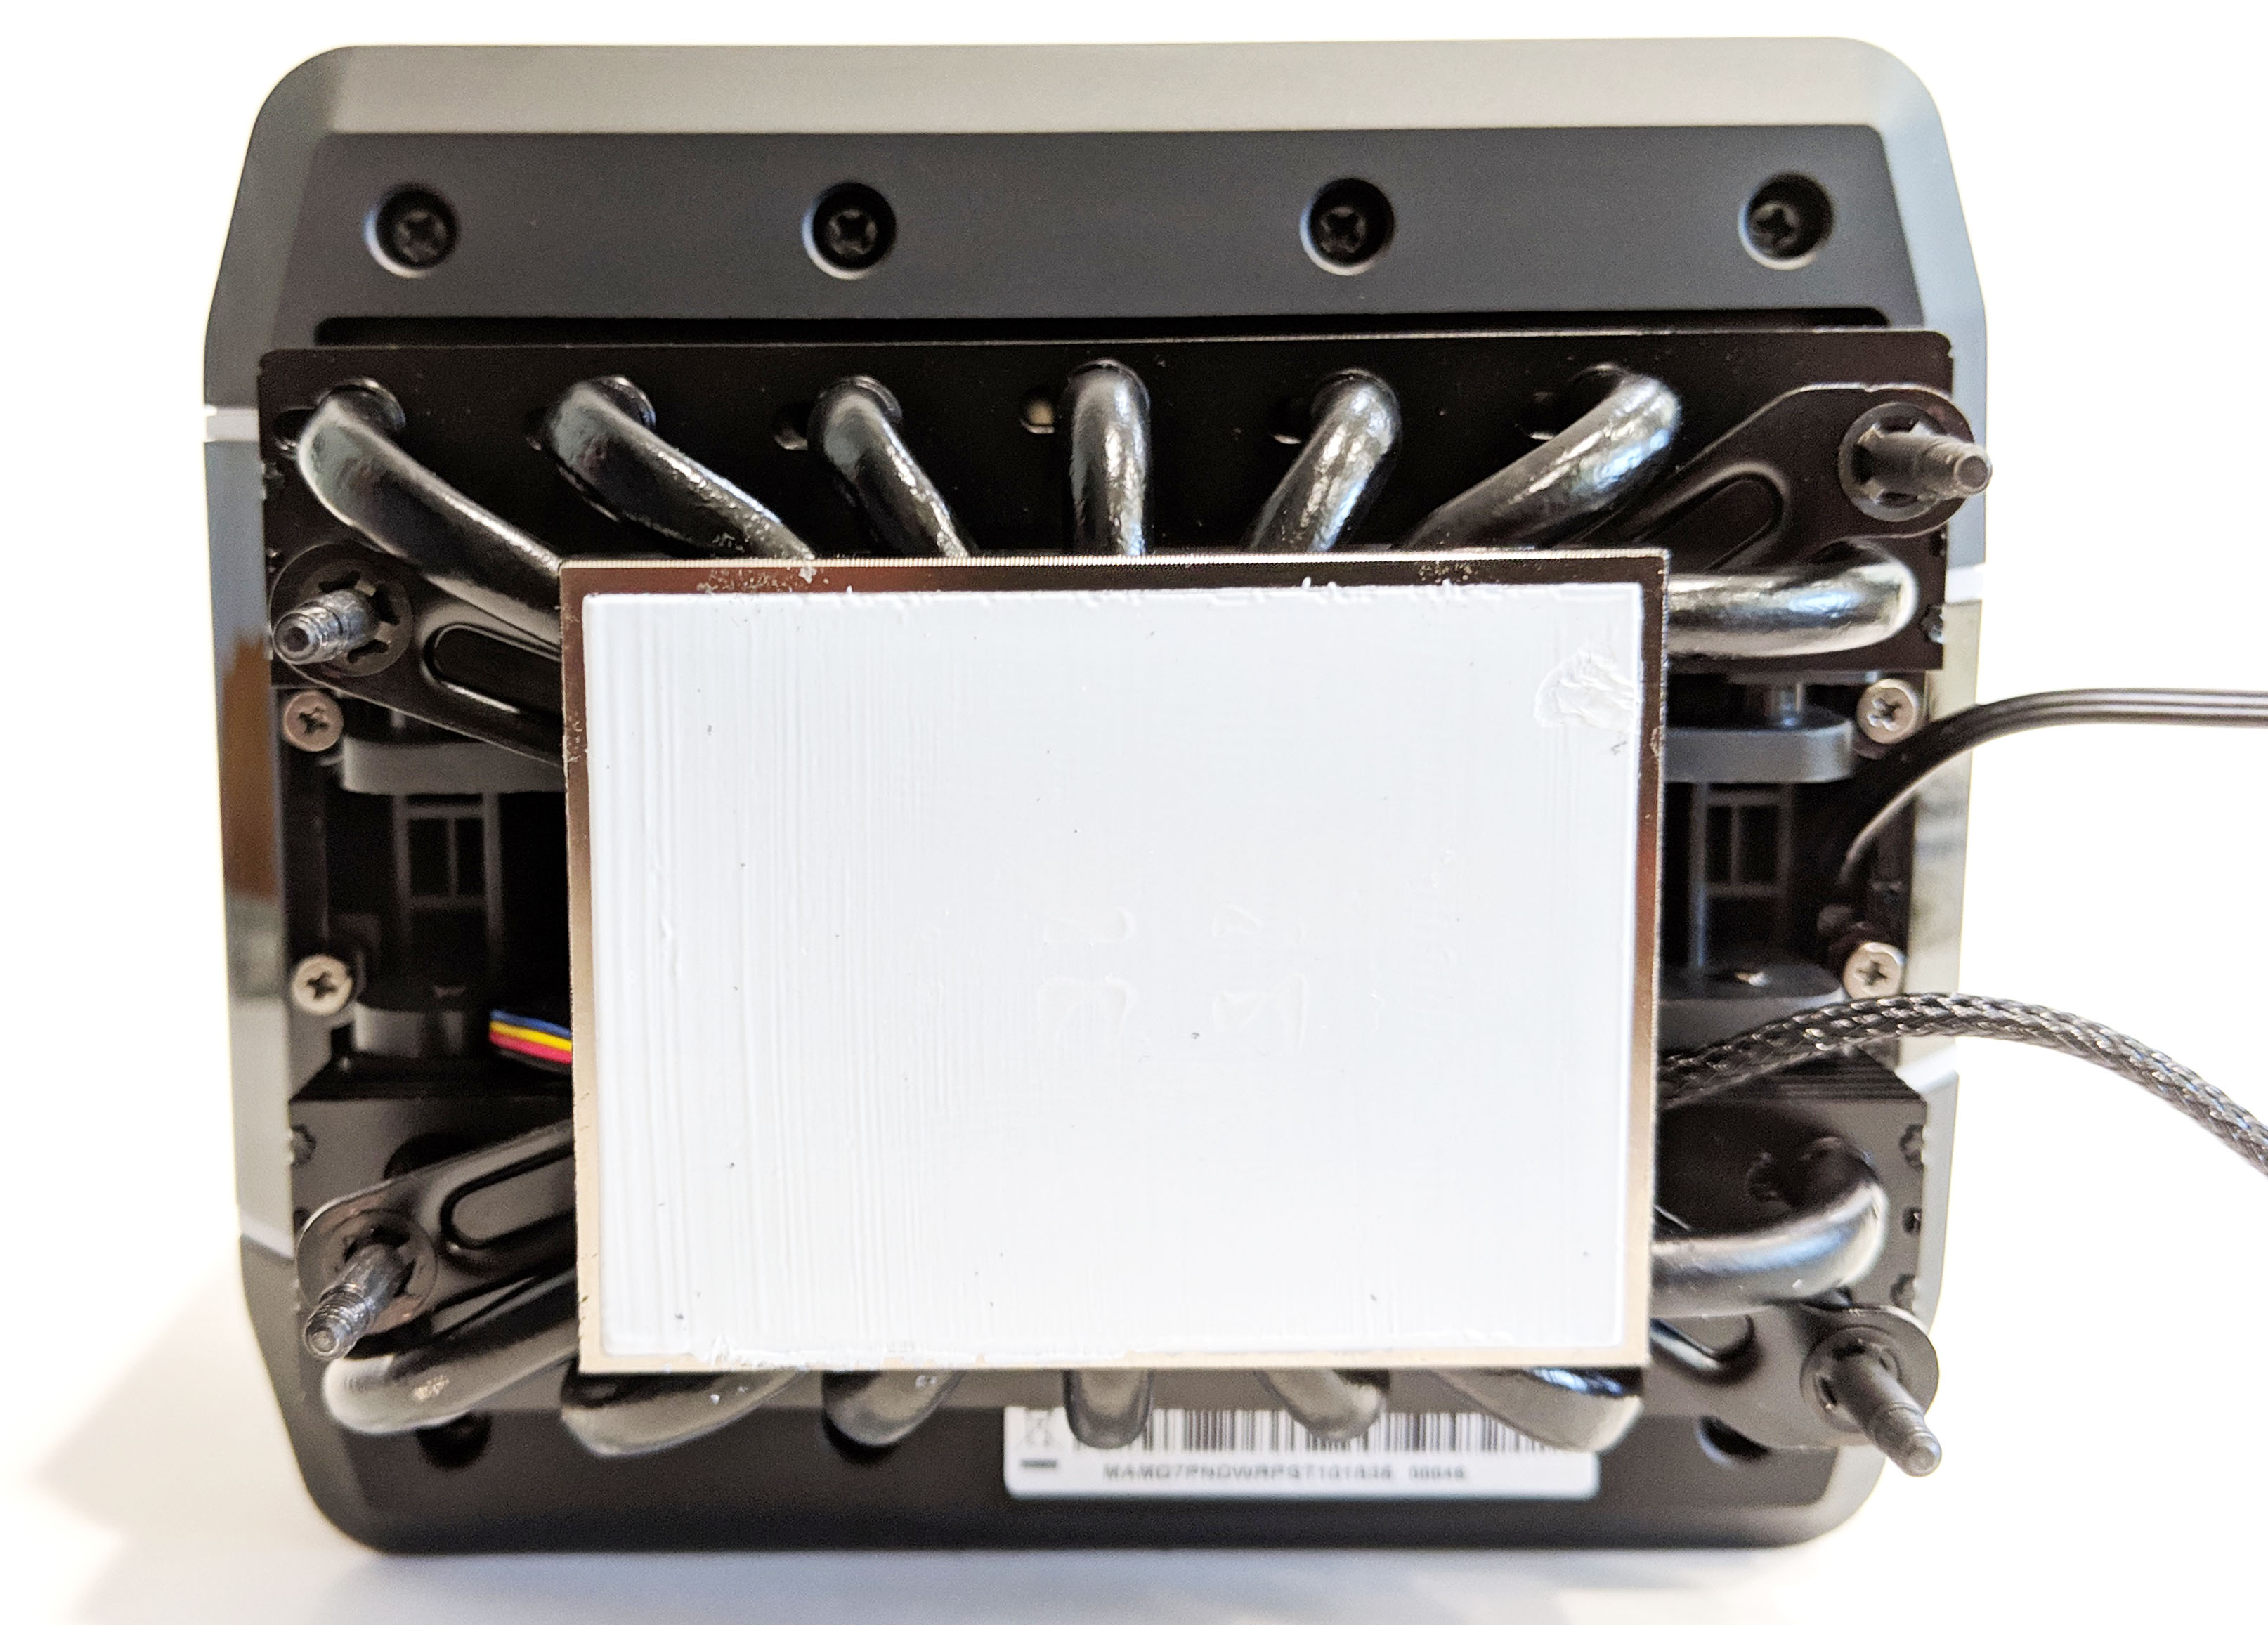
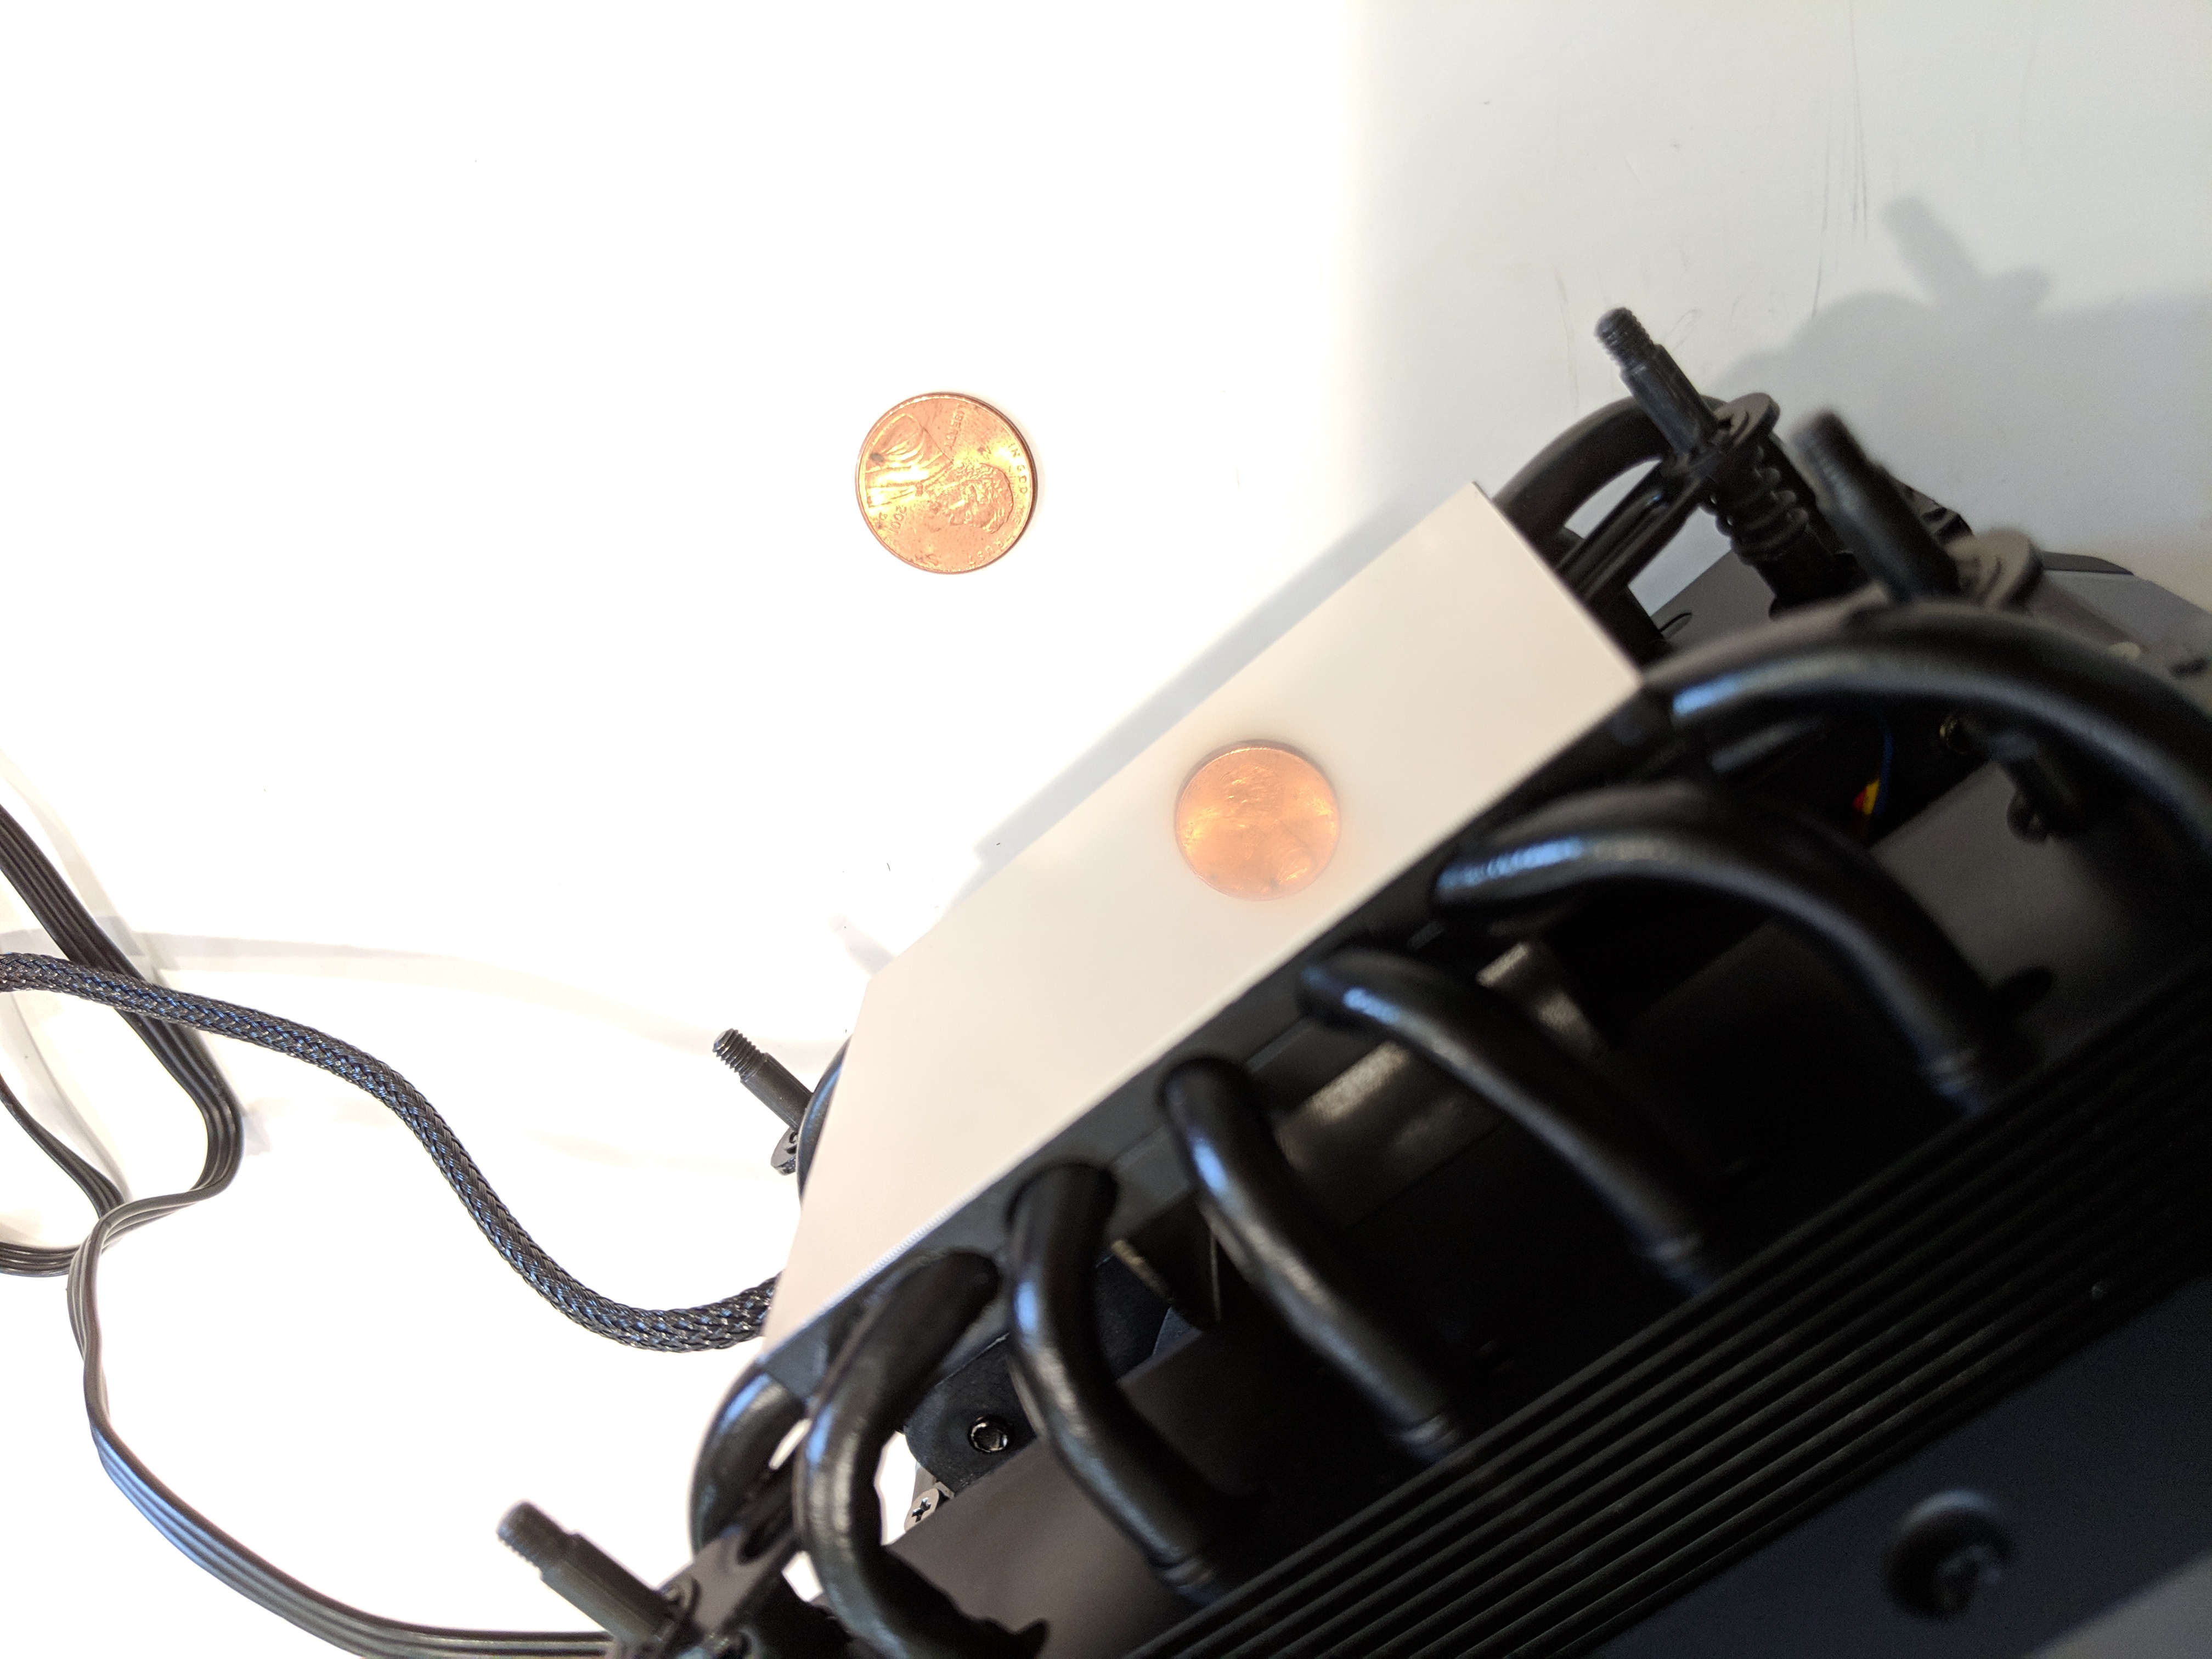
For the sake of the review we removed the thermal paste so we can get a better look at the contact surface. My first impression was how large the contact surface actually was. Threadripper processors are quite large physically, so you definitely won’t have any coverage issues with this particular cooler. The surface is very smooth with a slight blur or fogginess which is apparent in reflected objects.
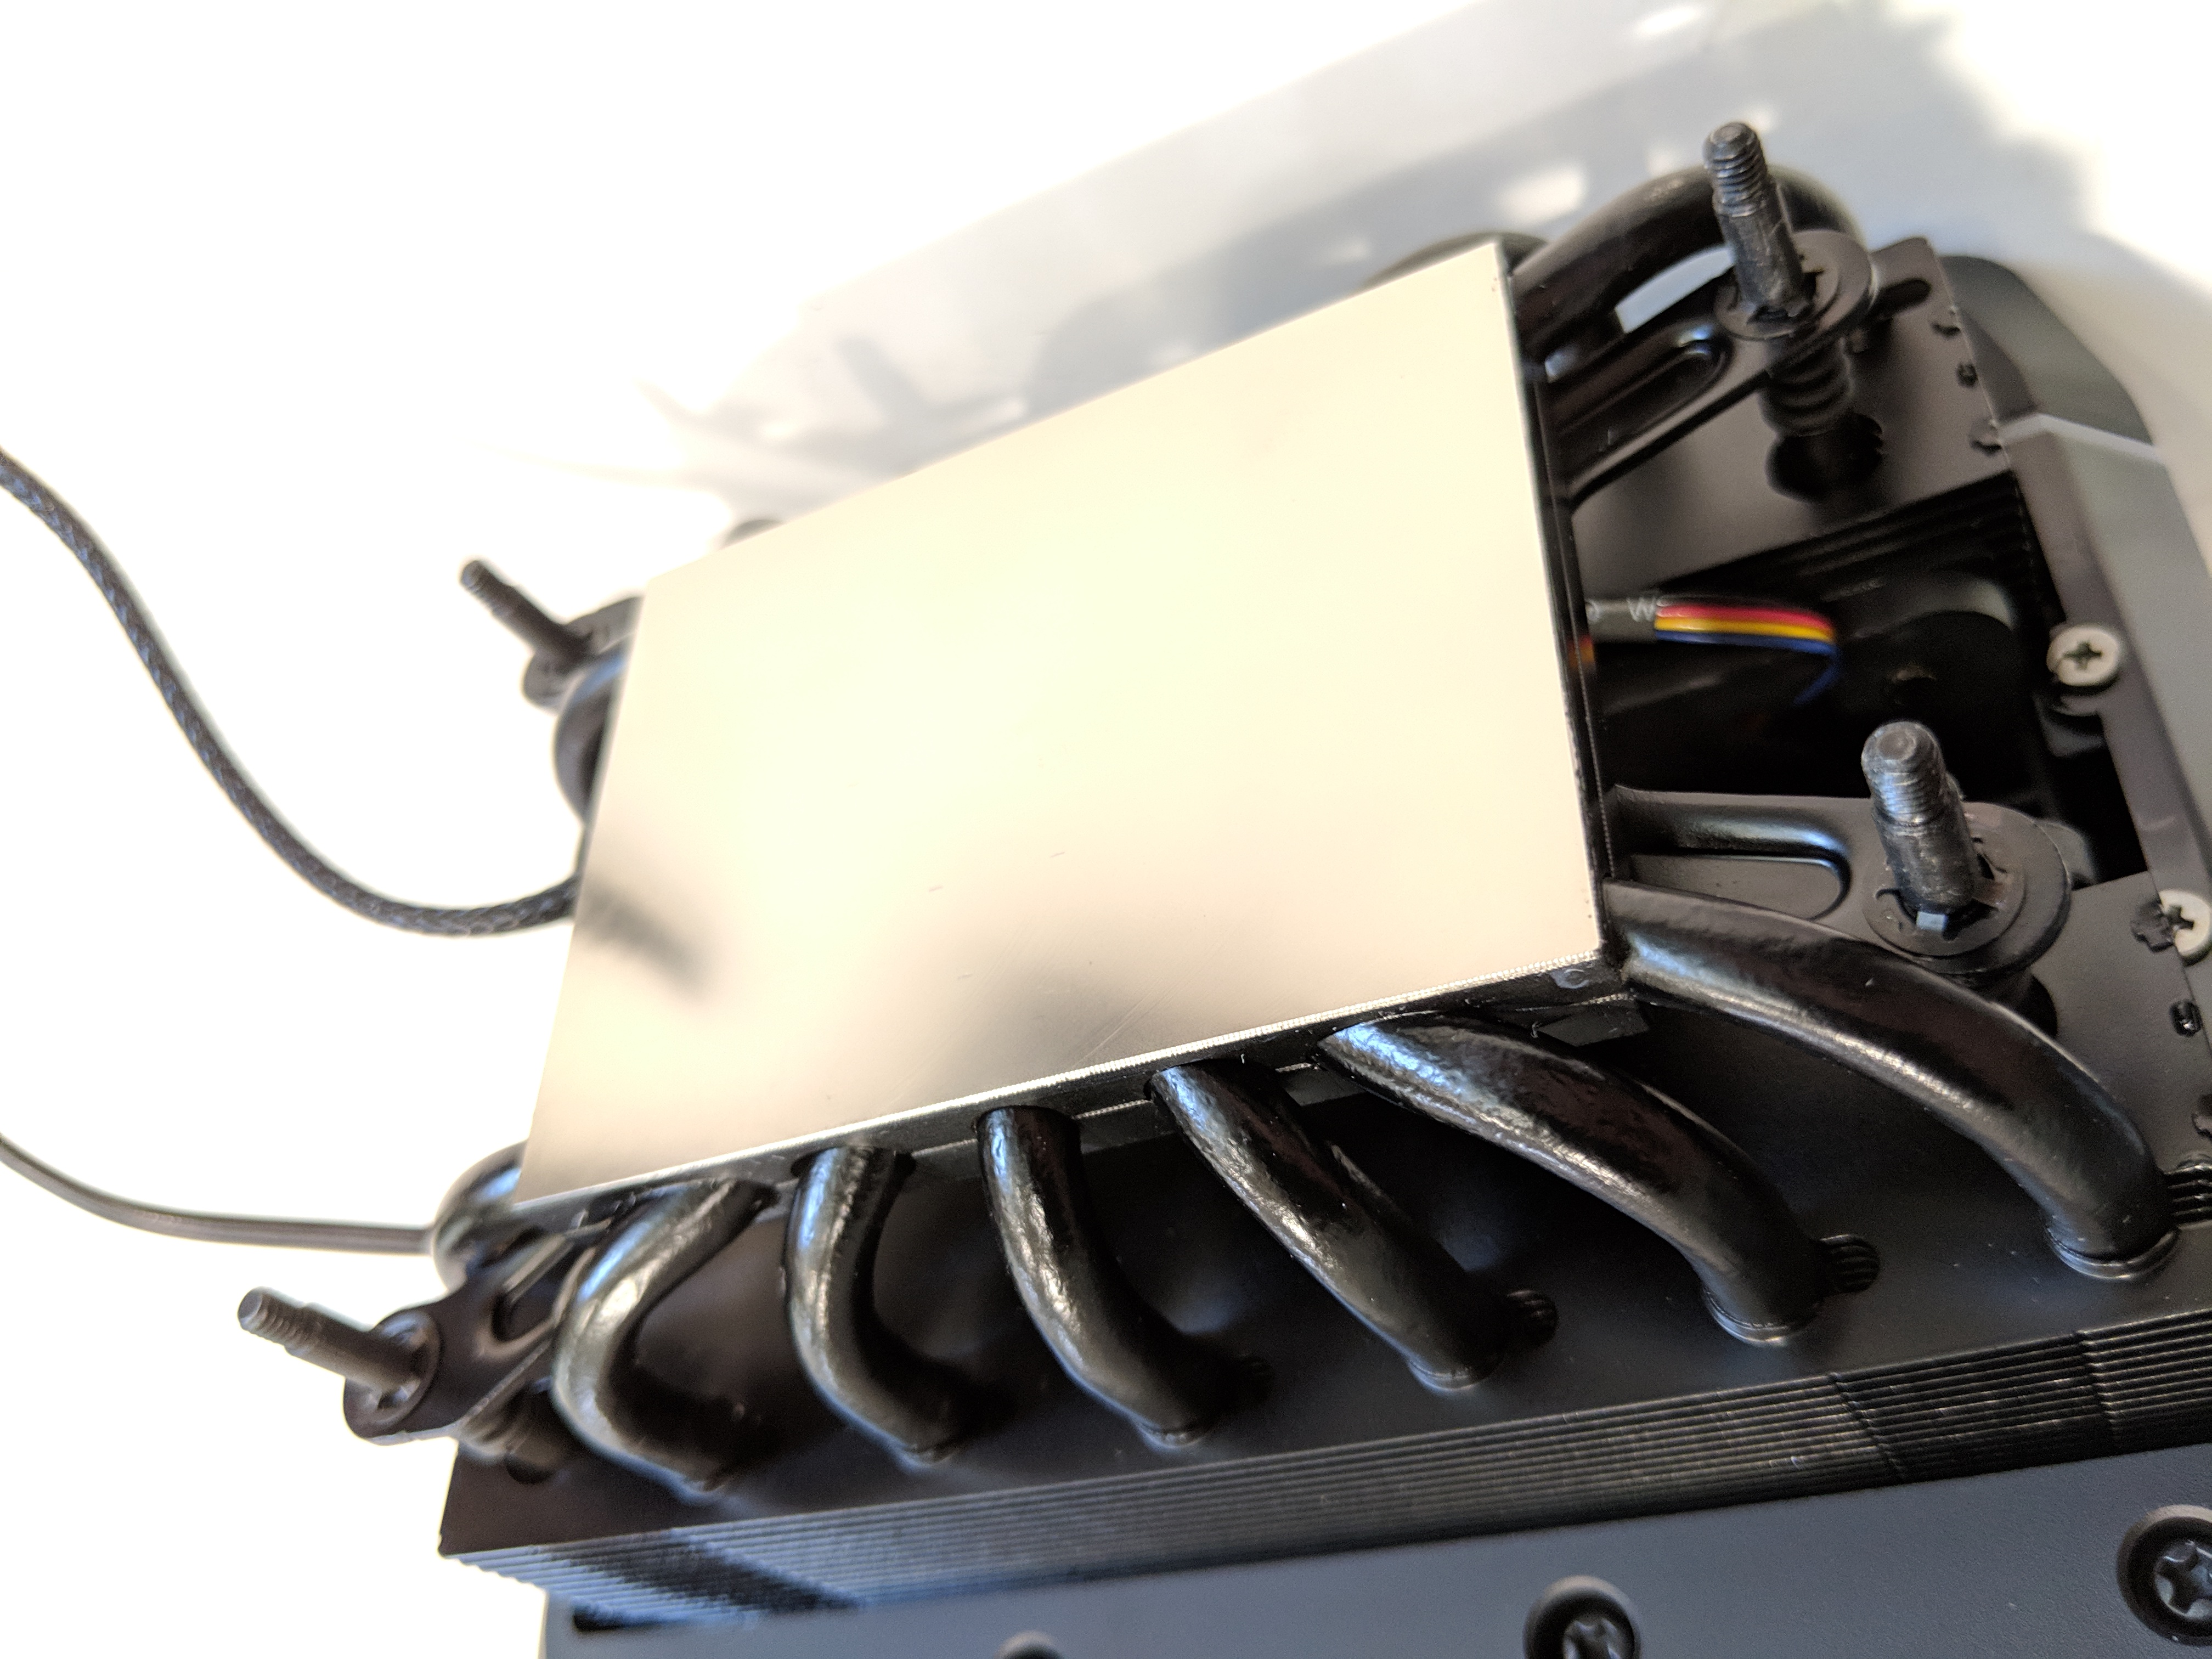
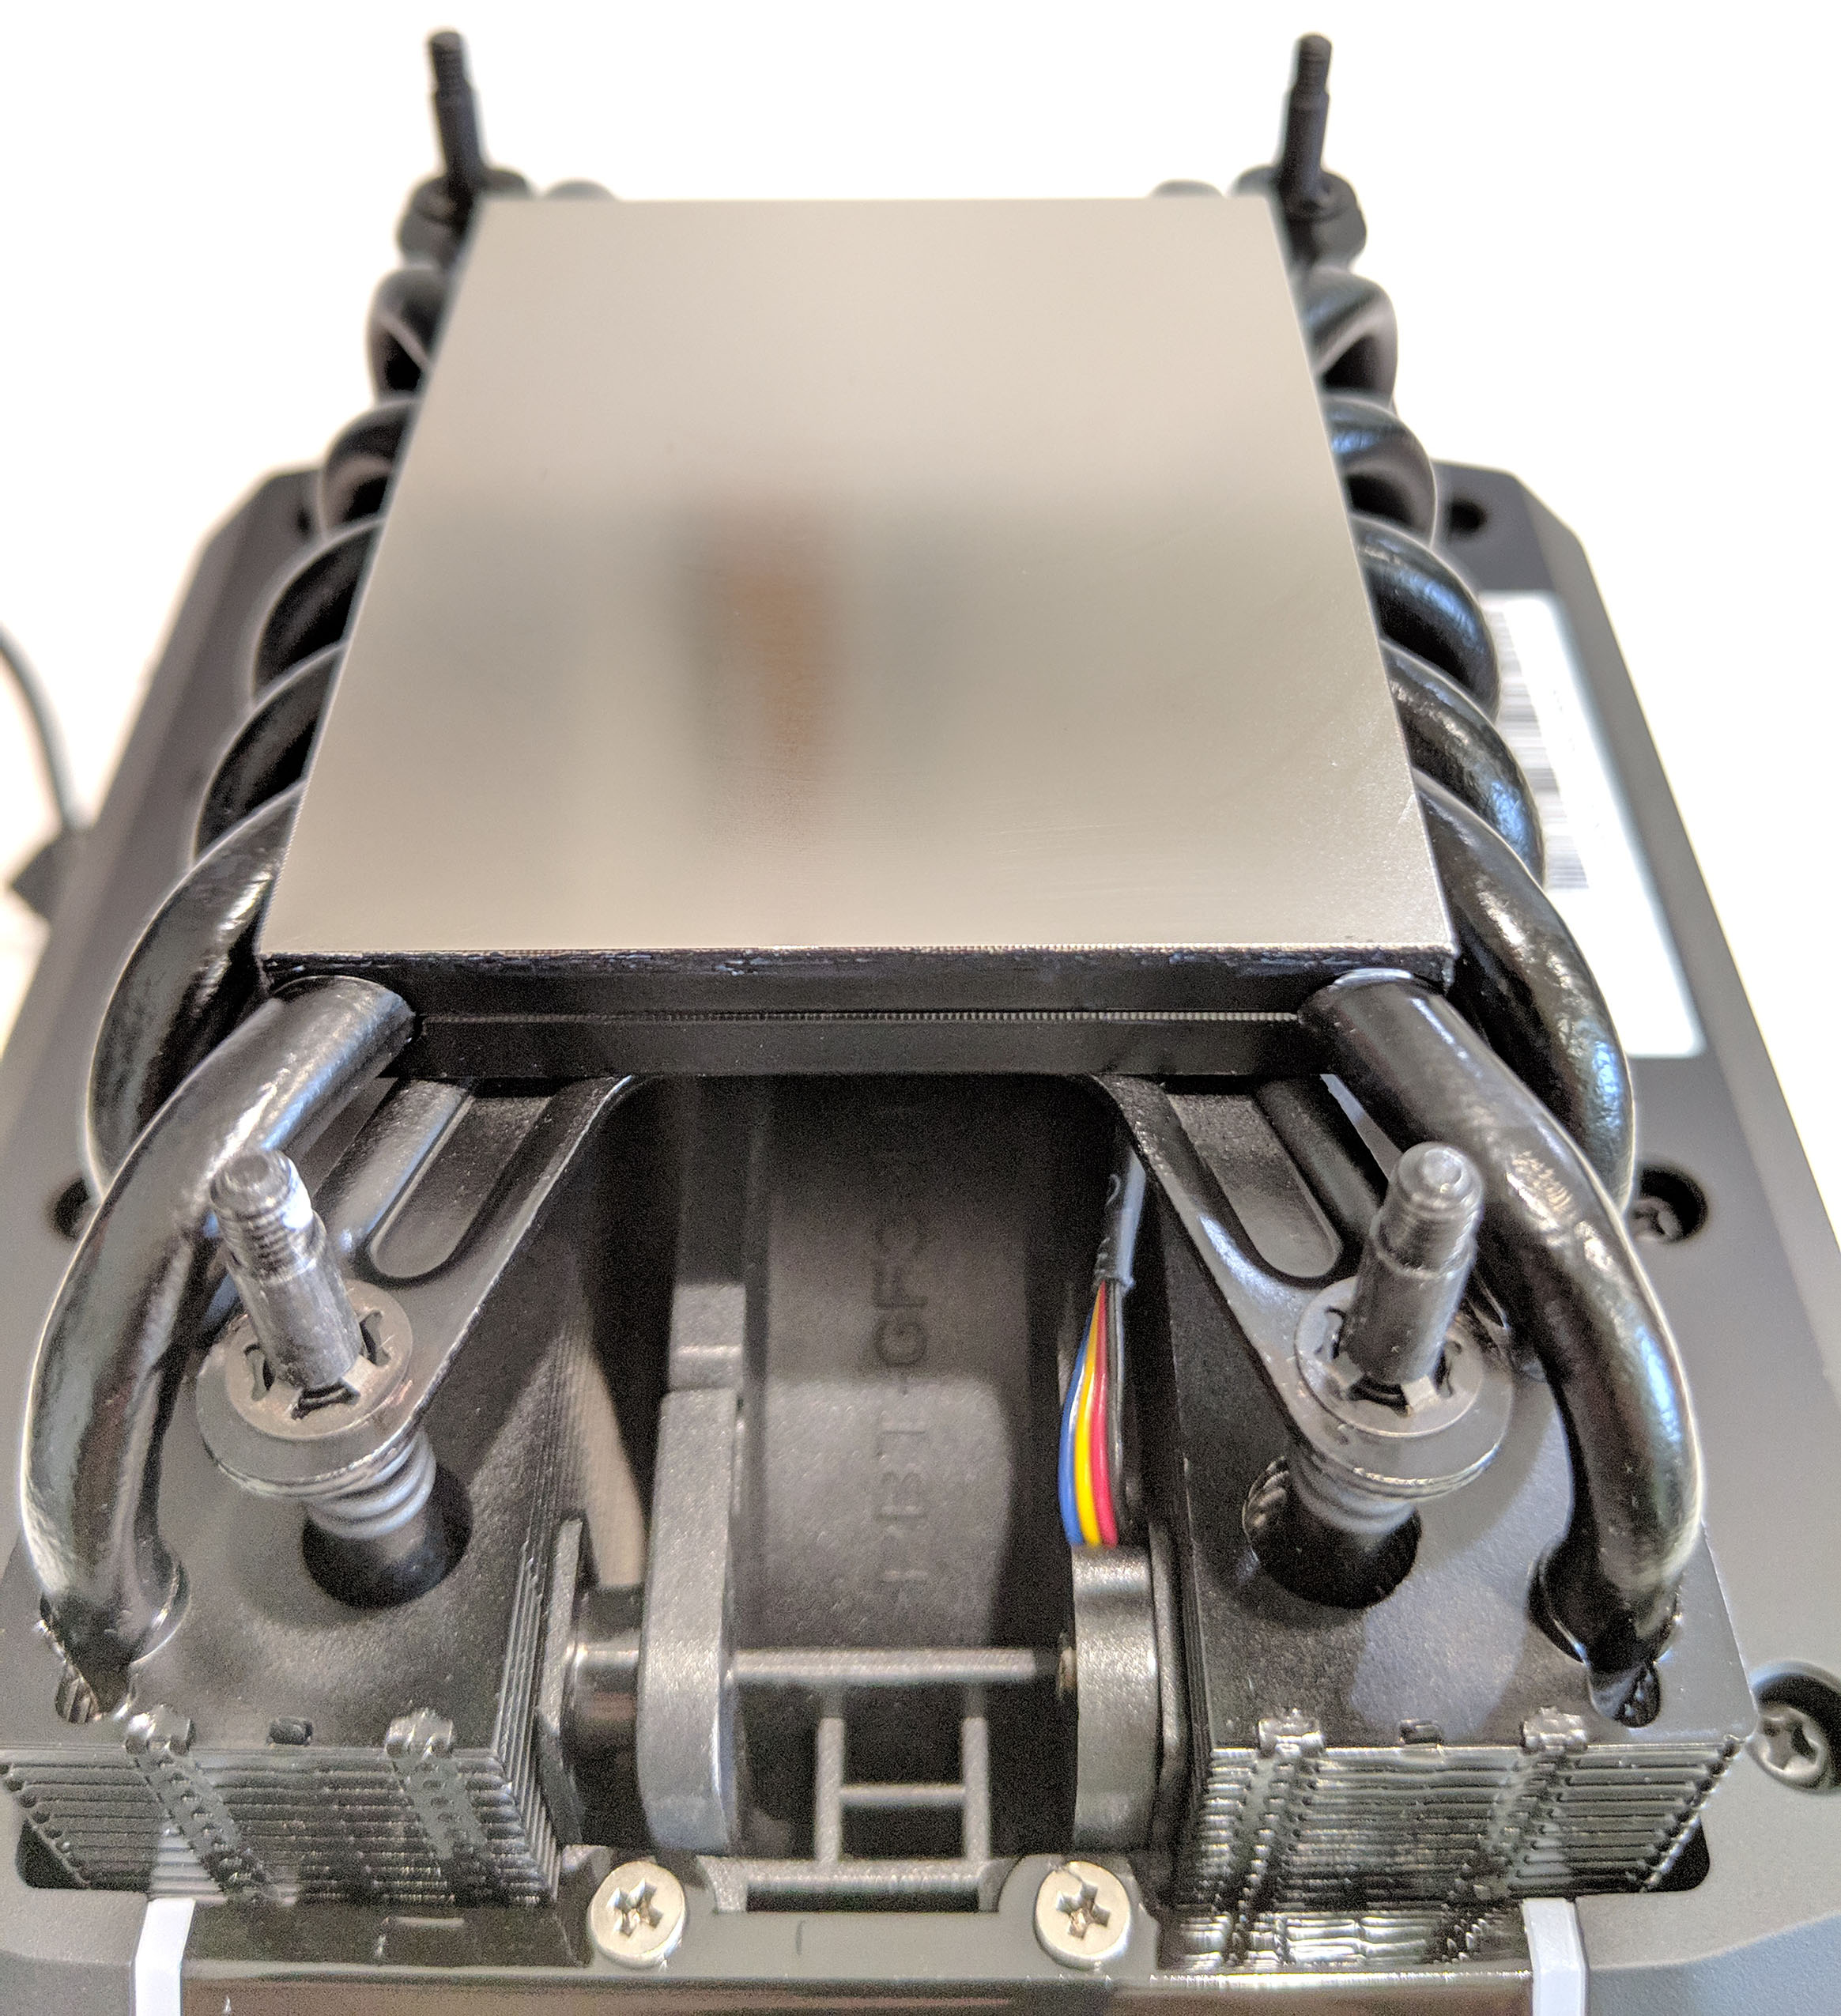
While we’re underneath, we get a clear view of the massive array of heat pipes protruding out of the base plate. Installation hardware mounts can also be seen.
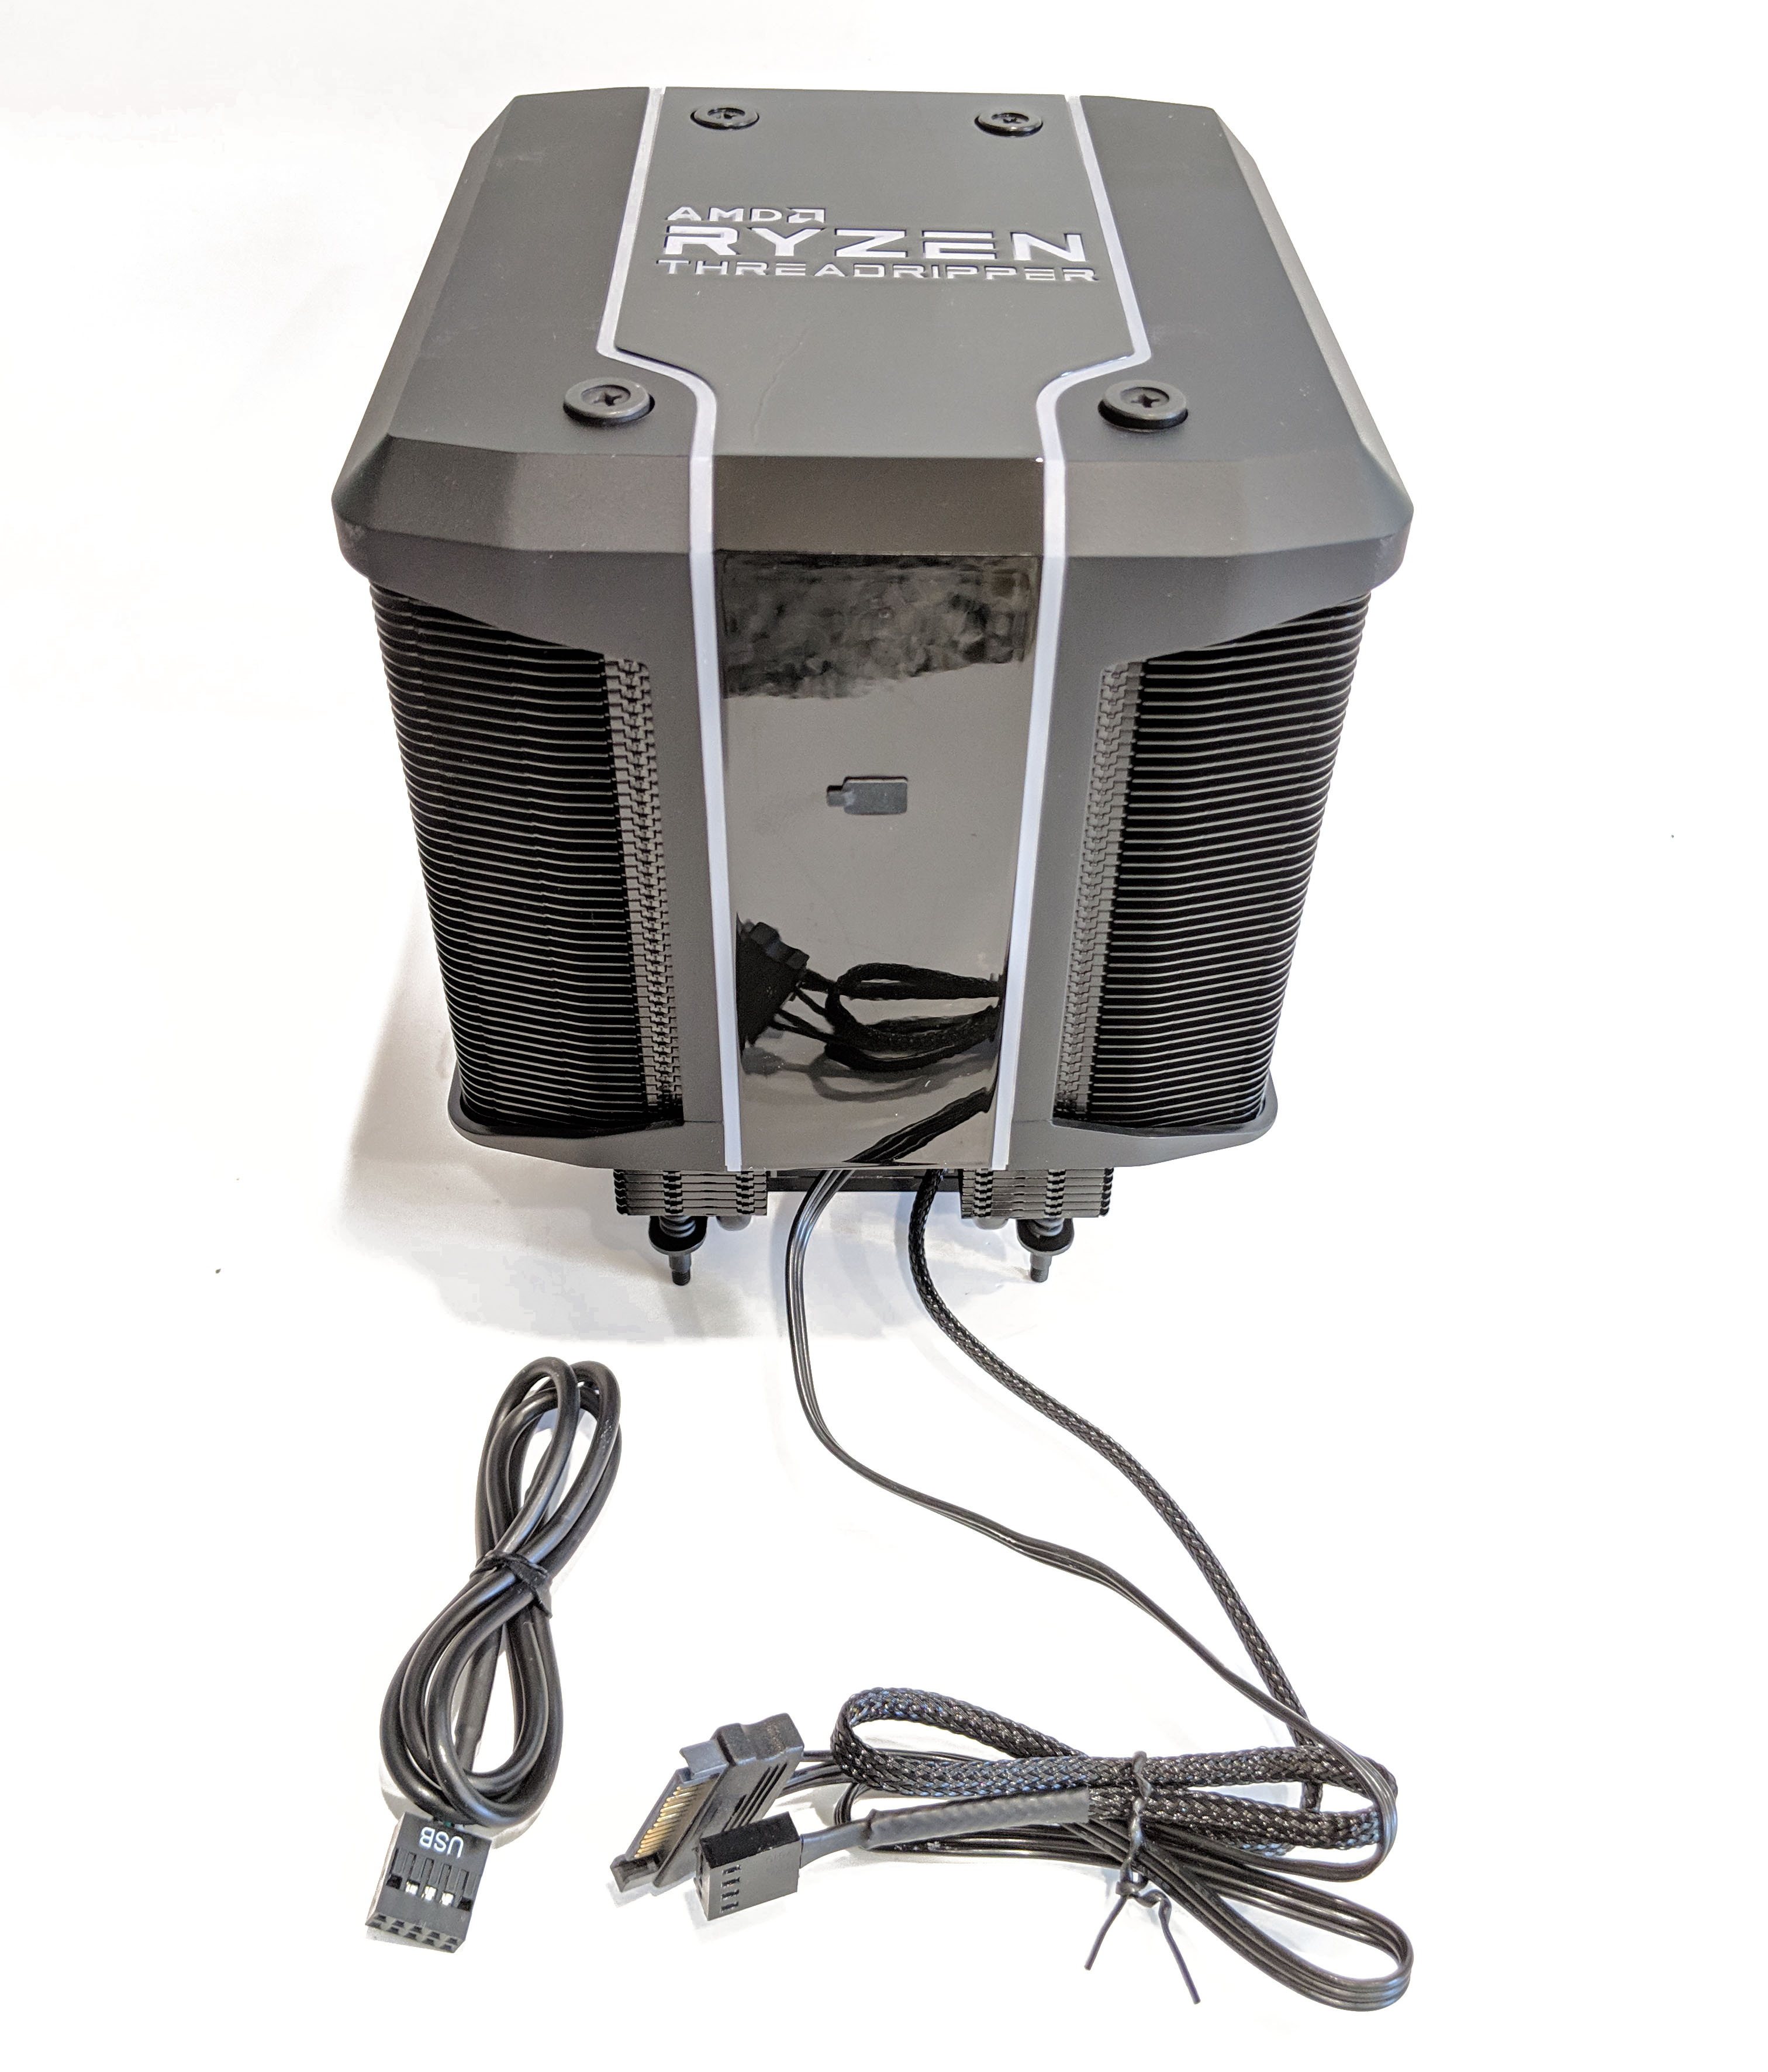
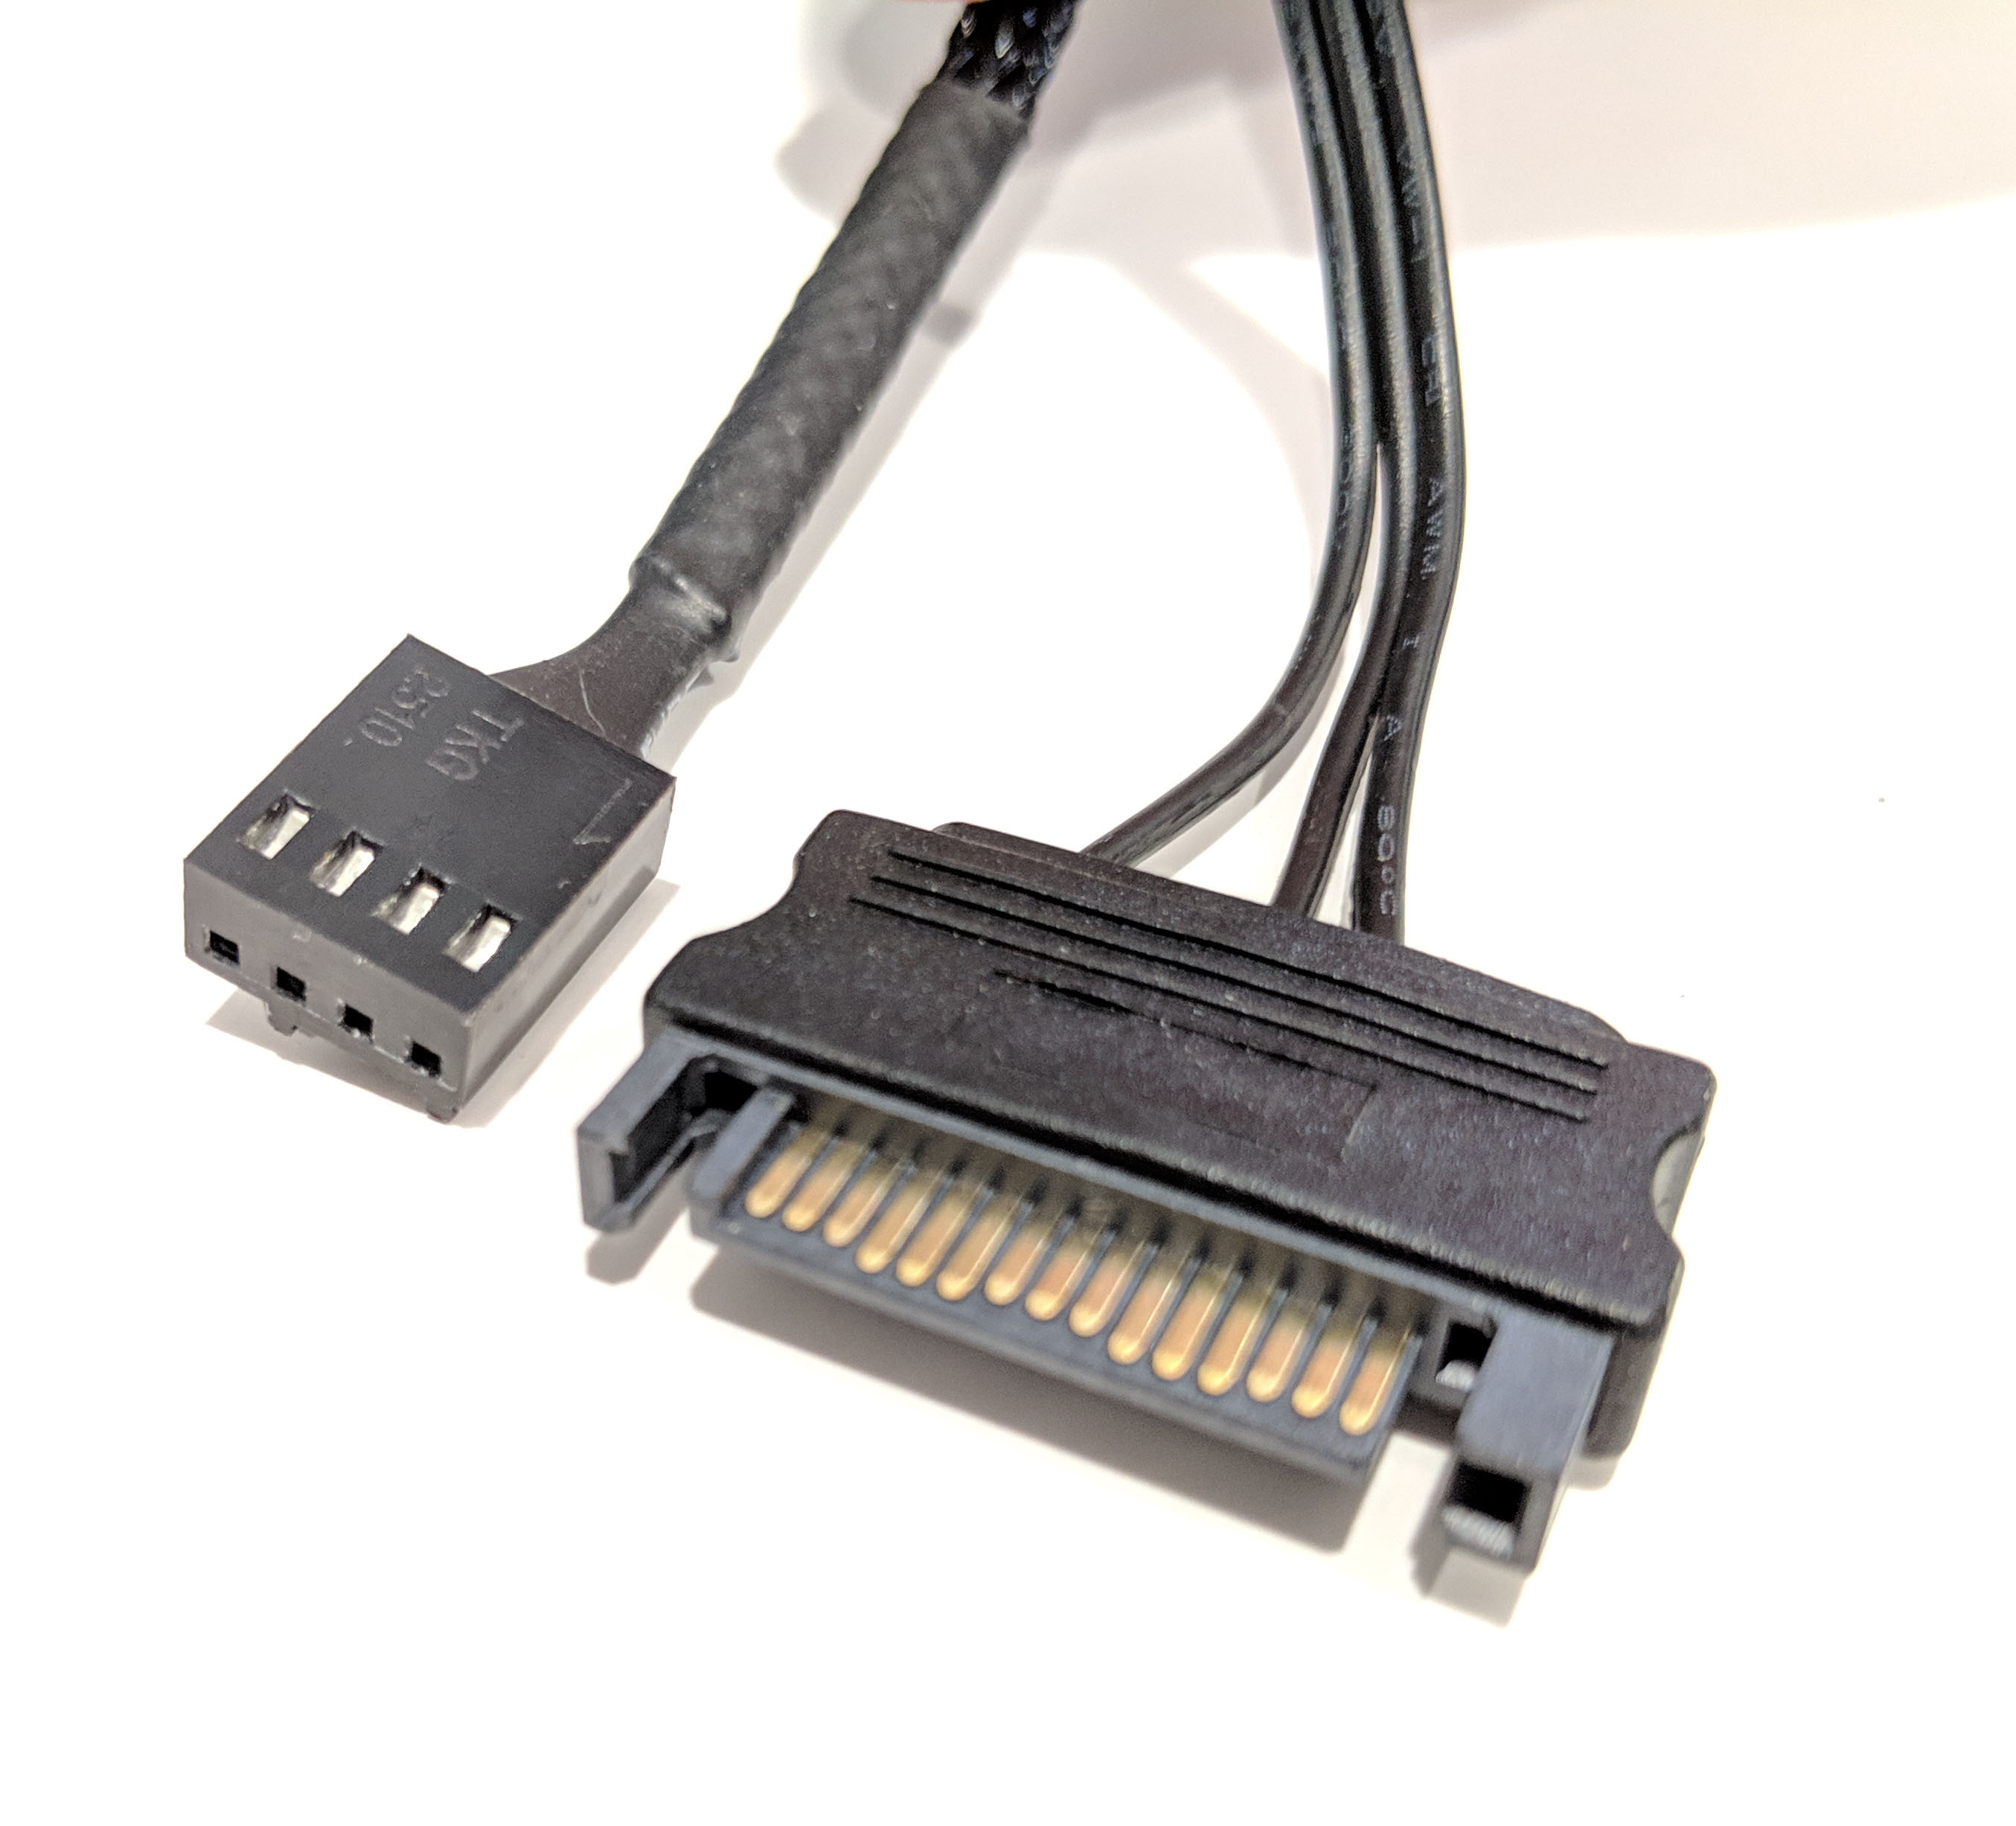
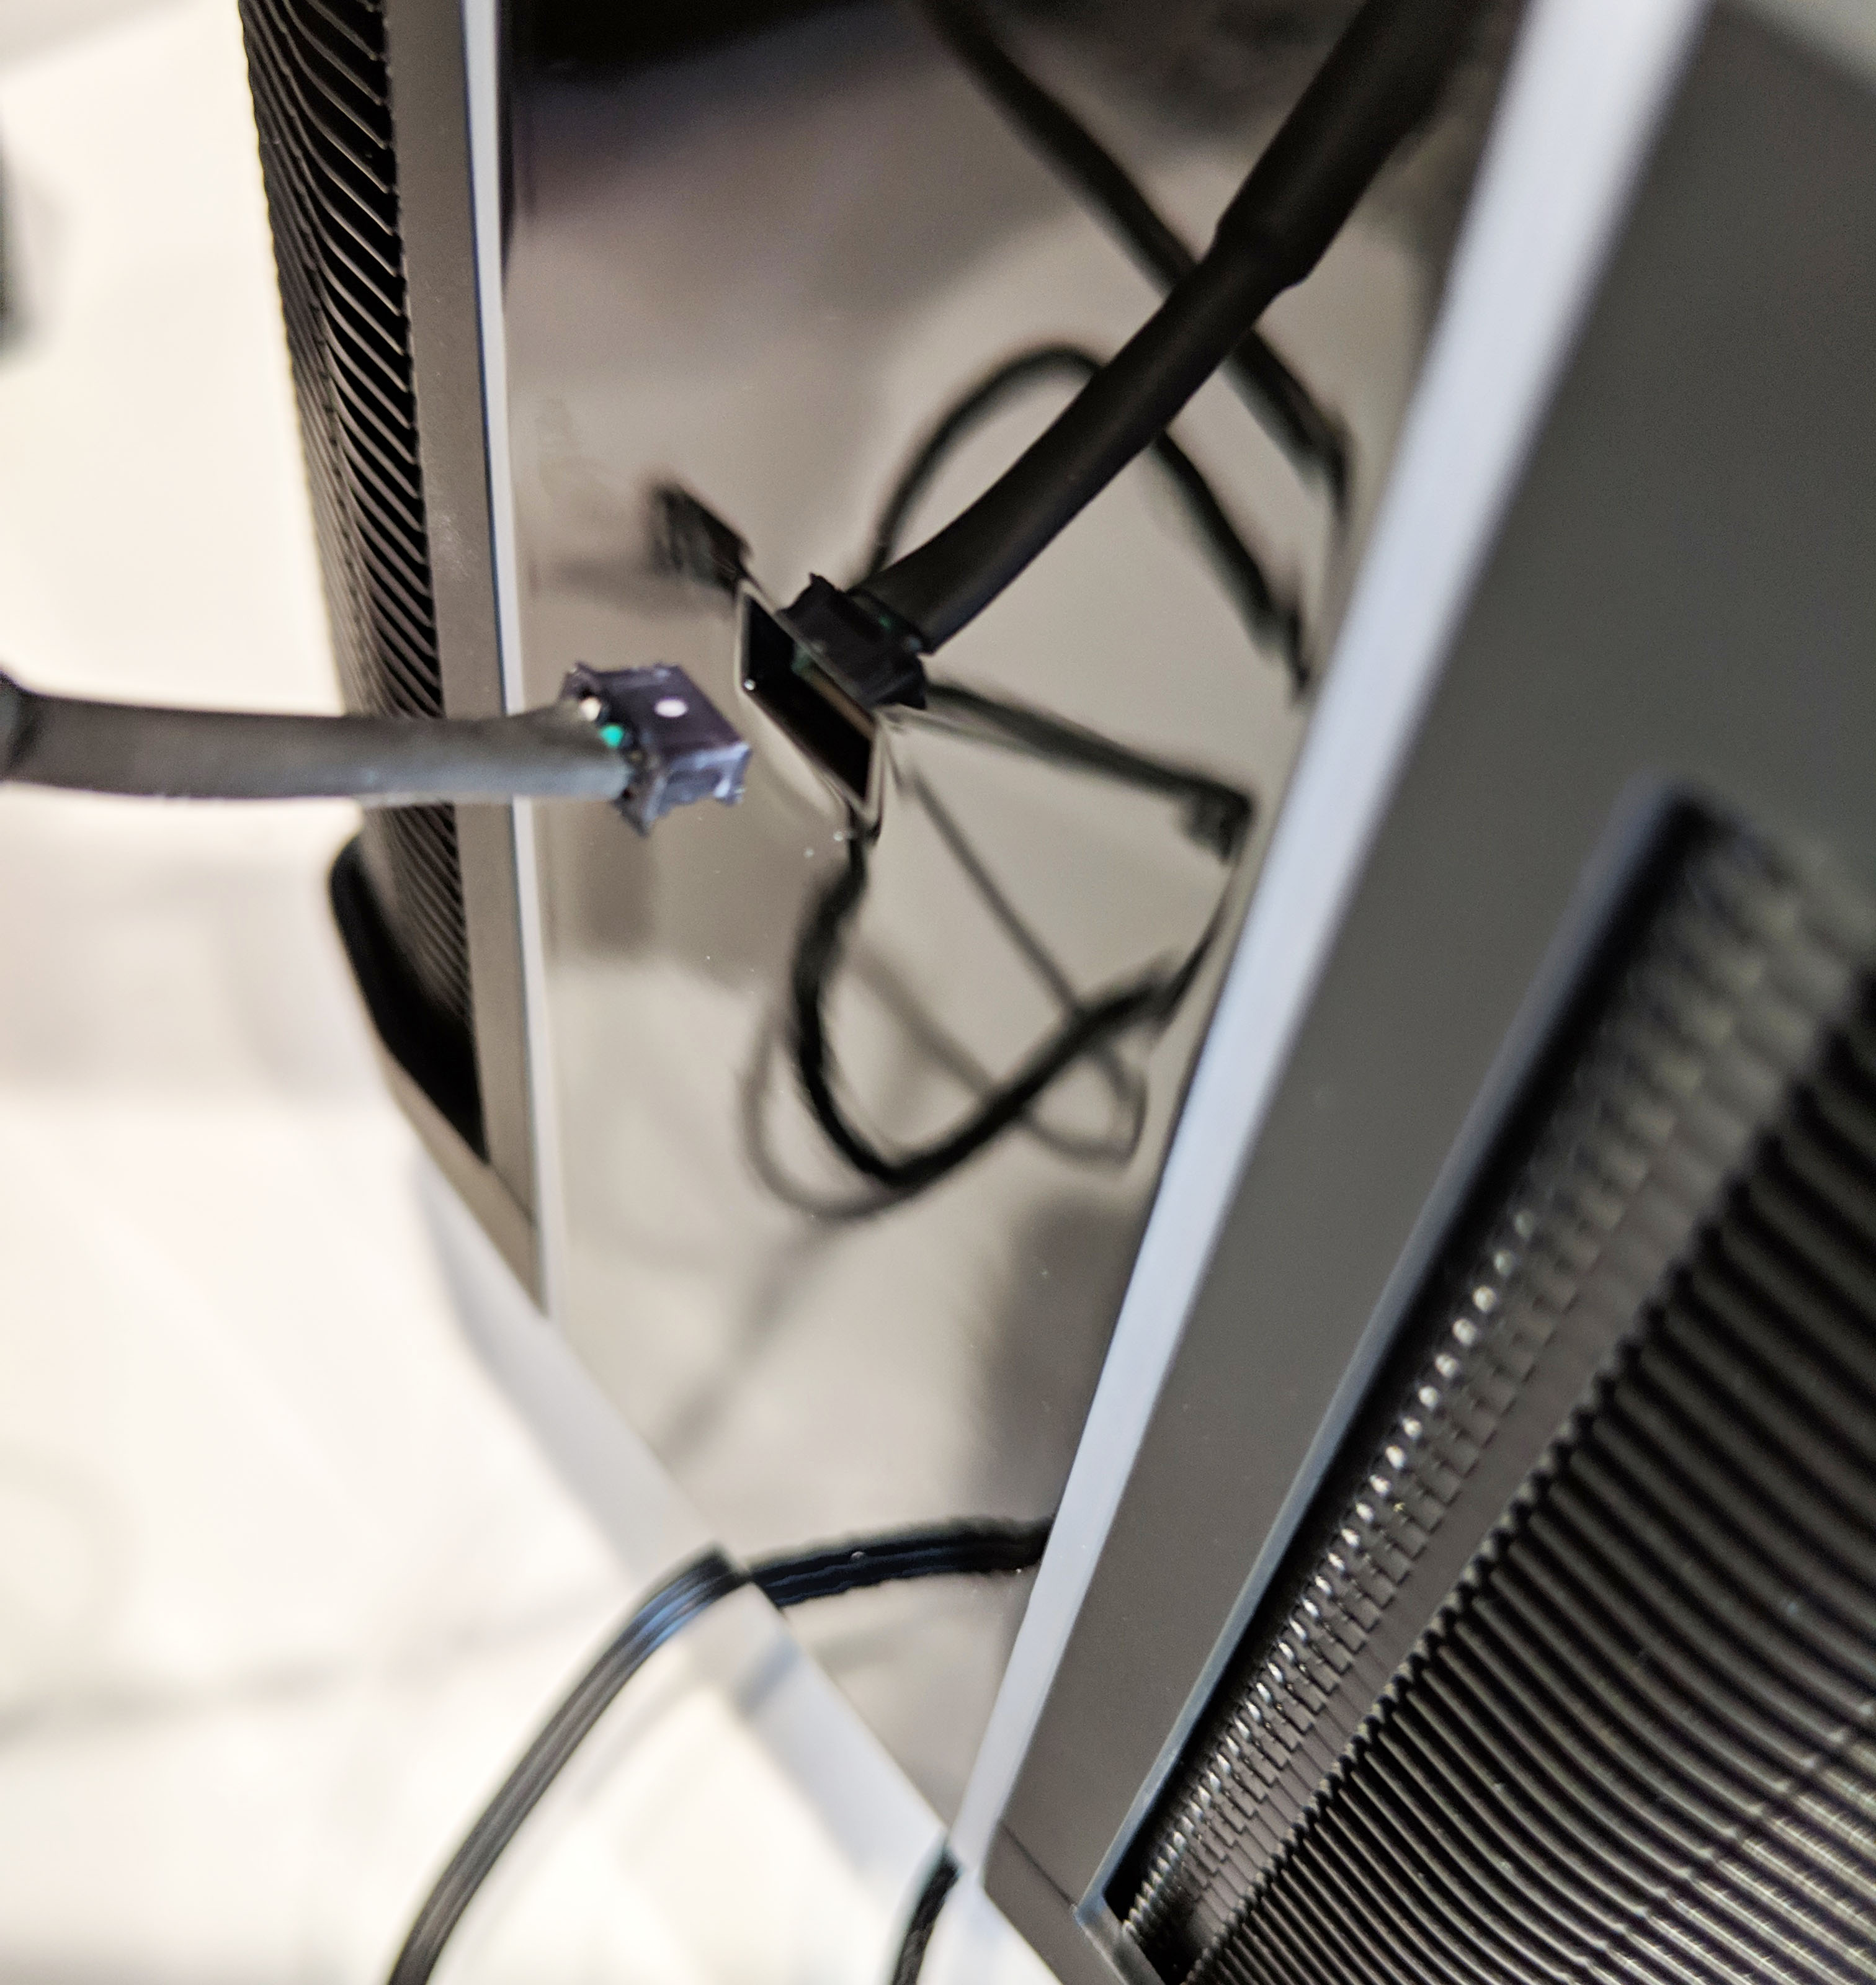
In order to utilize this cooler to it’s fullest, three connectors are required. The fan connects to the motherboard via a standard 4-pin PWM connector. RGB lighting is powered by a SATA HDD power connector and in order to control its effects, an optional USB connector is also provided. This connects directly into the front-bottom of the cooler and attaches to an internal USB 2.0 header on the motherboard.
Cooler Master stated that install is very simple for the Wraith Ripper and this is most definitely true. Simply place the CPU cooler directly on top of the CPU, line up the screw hole mounts on the motherboard CPU socket assembly with the affixed screws on the Wraith Ripper. Then simply tighten the screws from the very top of the cooler a little at a time until snug.
Wraith Ripper CPU Cooler Disassembly
Next up, let’s pull this thing apart and see what we’ve got going on under that shroud. It should be said, dismantling your wraith ripper will void its warranty. As far as CPU coolers go, disassembly is not simple and the likelihood for breaking a plastic mount, or the shroud itself is quite high.
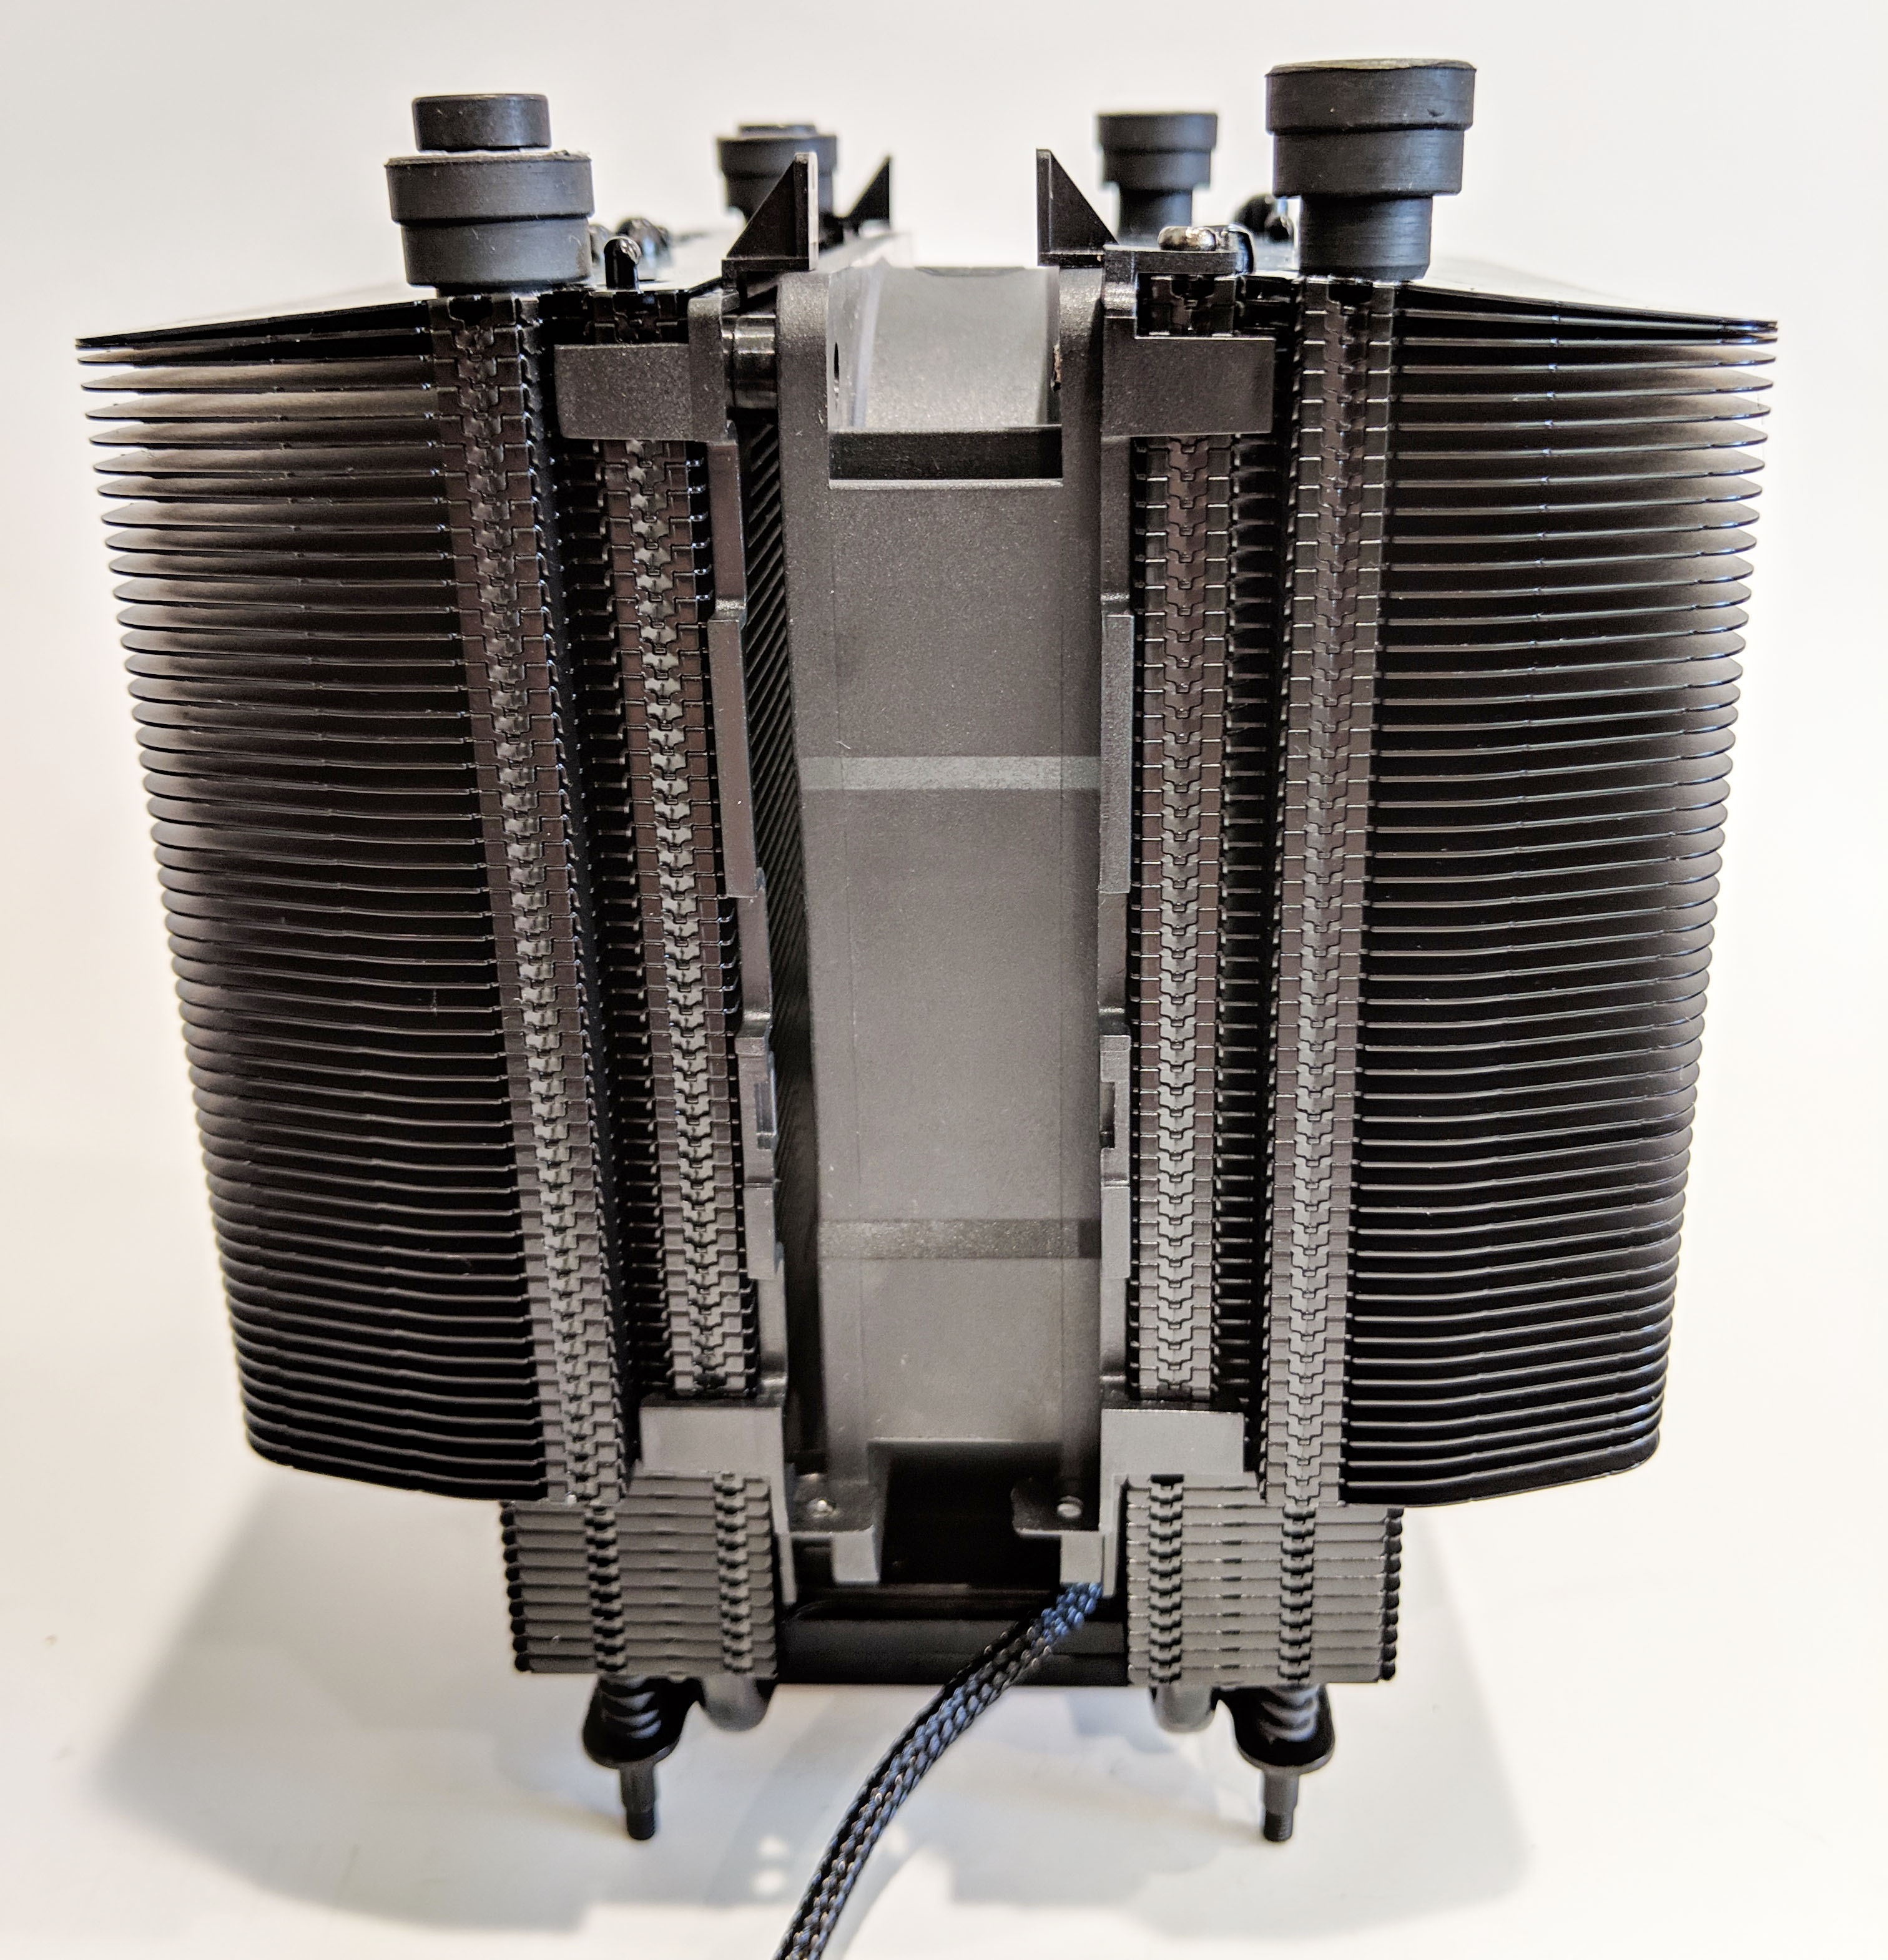
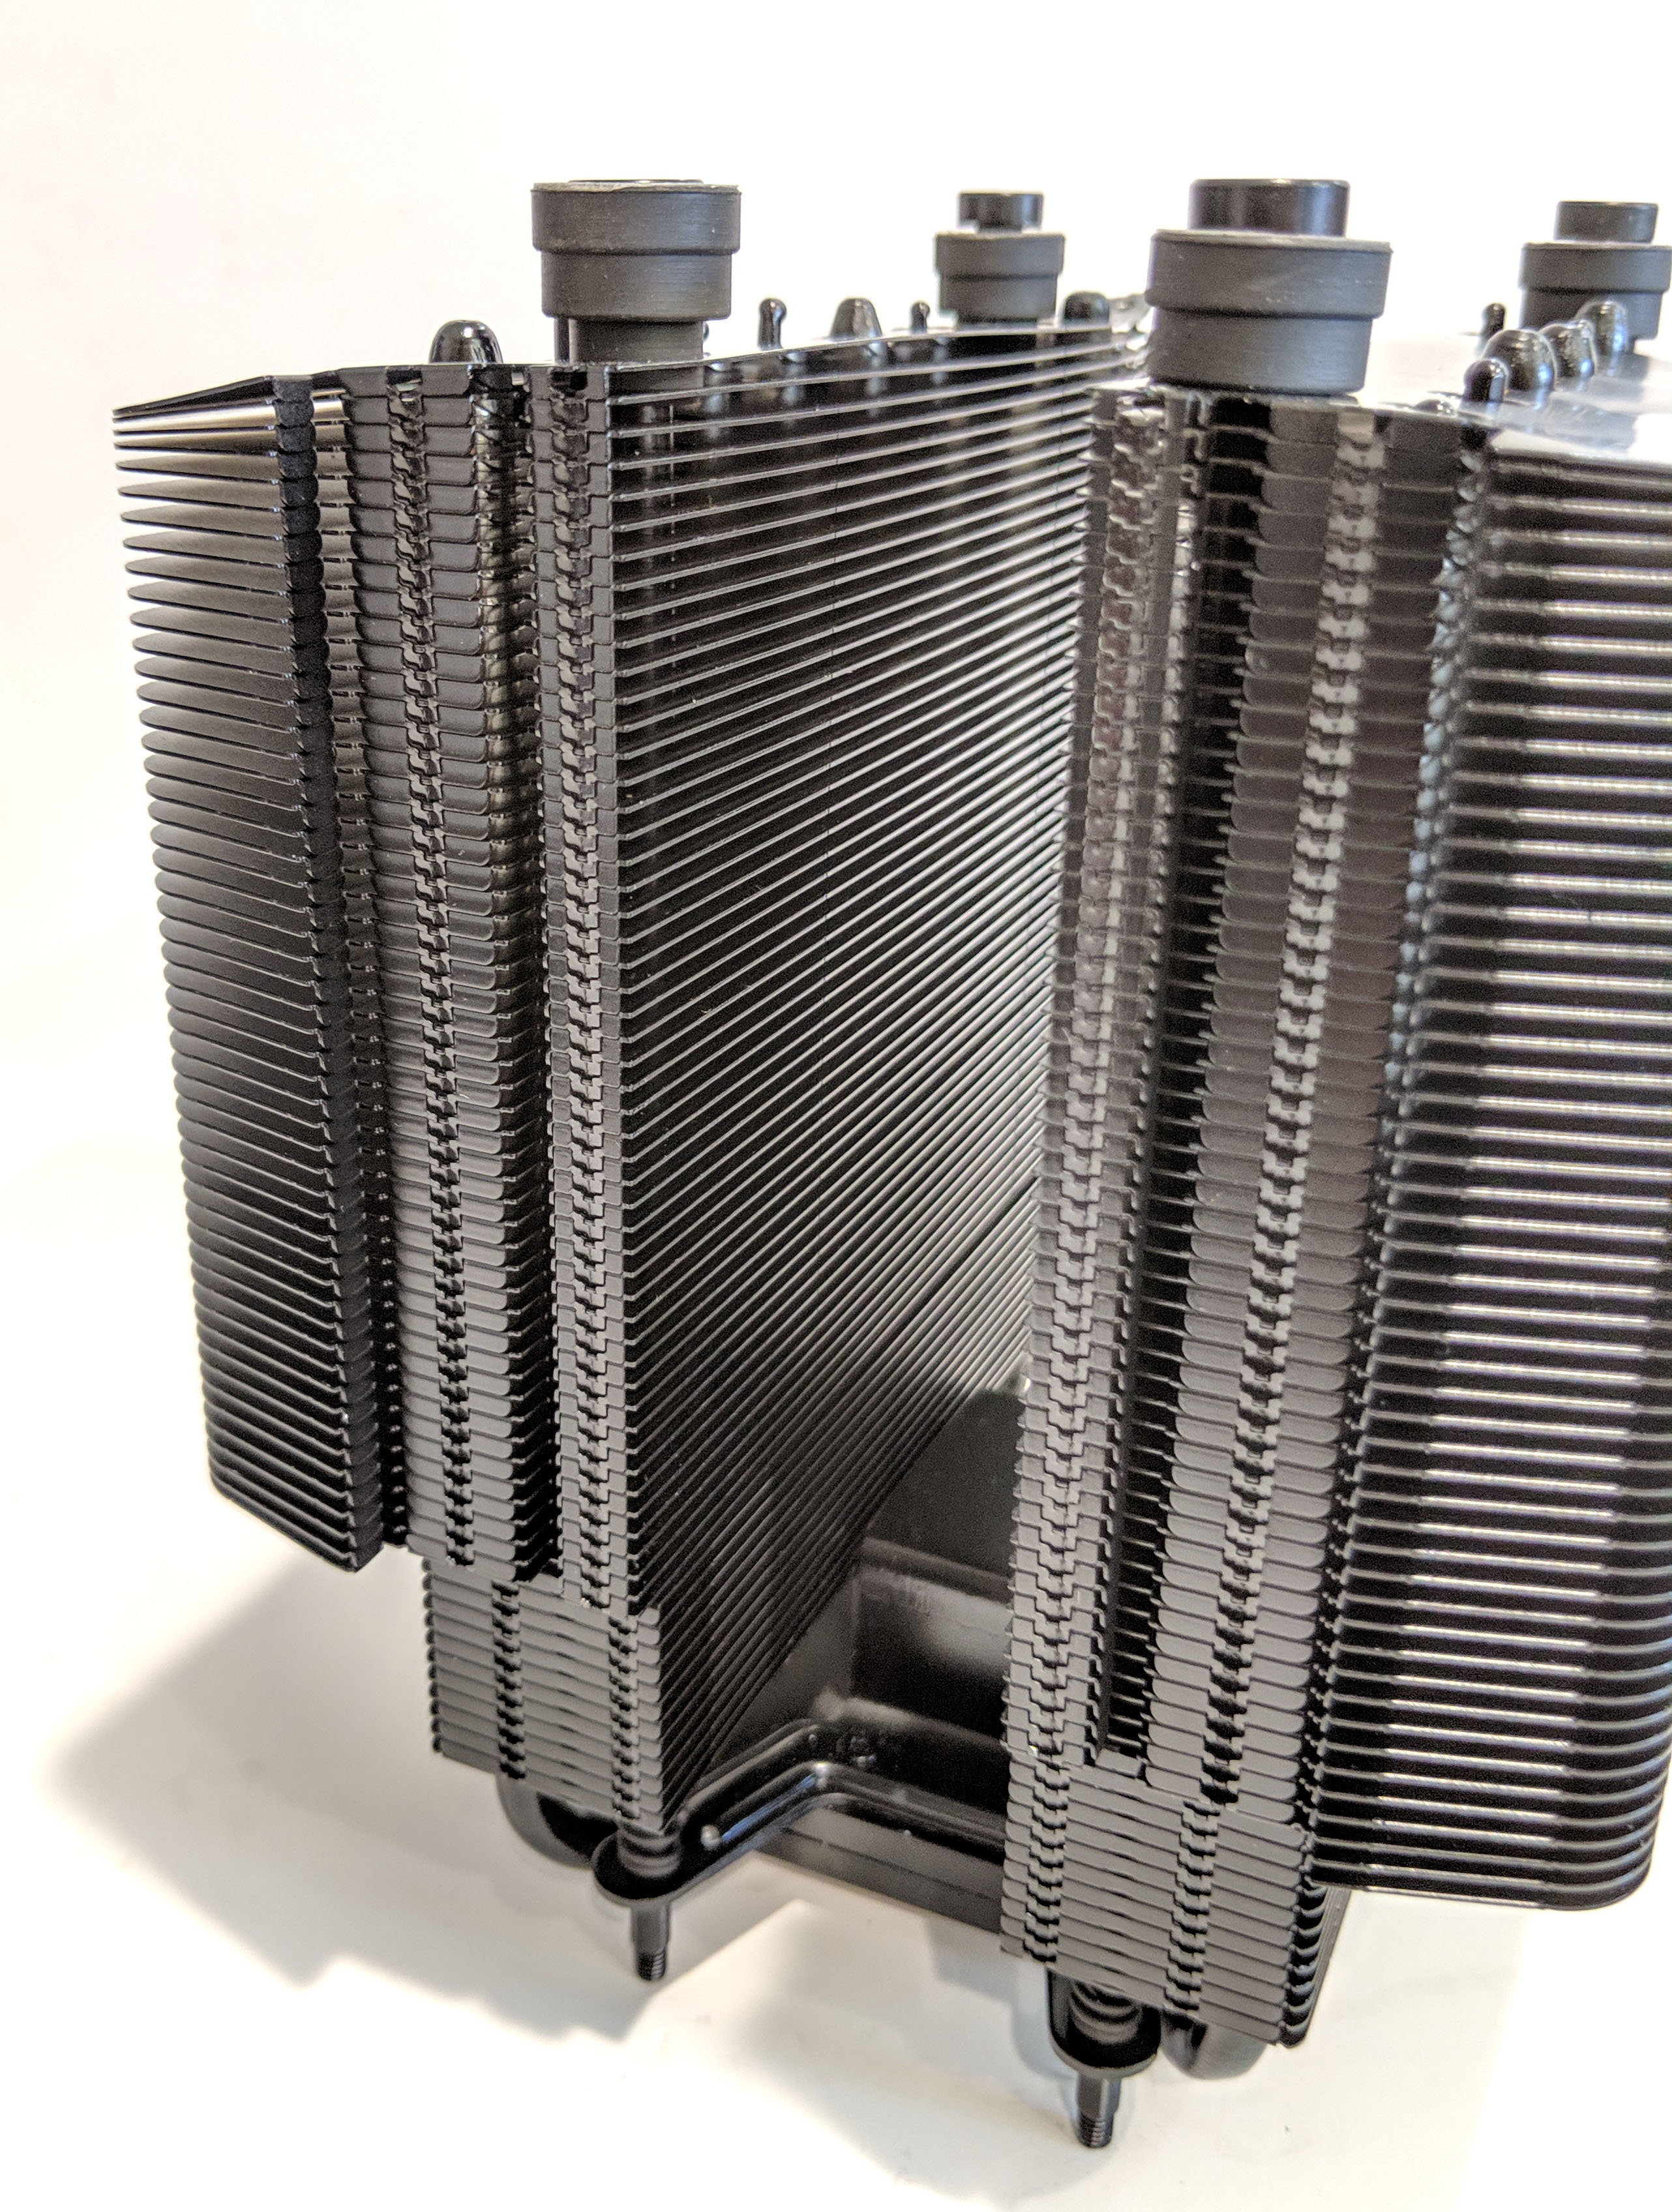
With the shroud off we get a better look at the Wraith Ripper’s inner workings such as the large fins, heat pipes and the Cooler Master branded fan sandwiched in between.
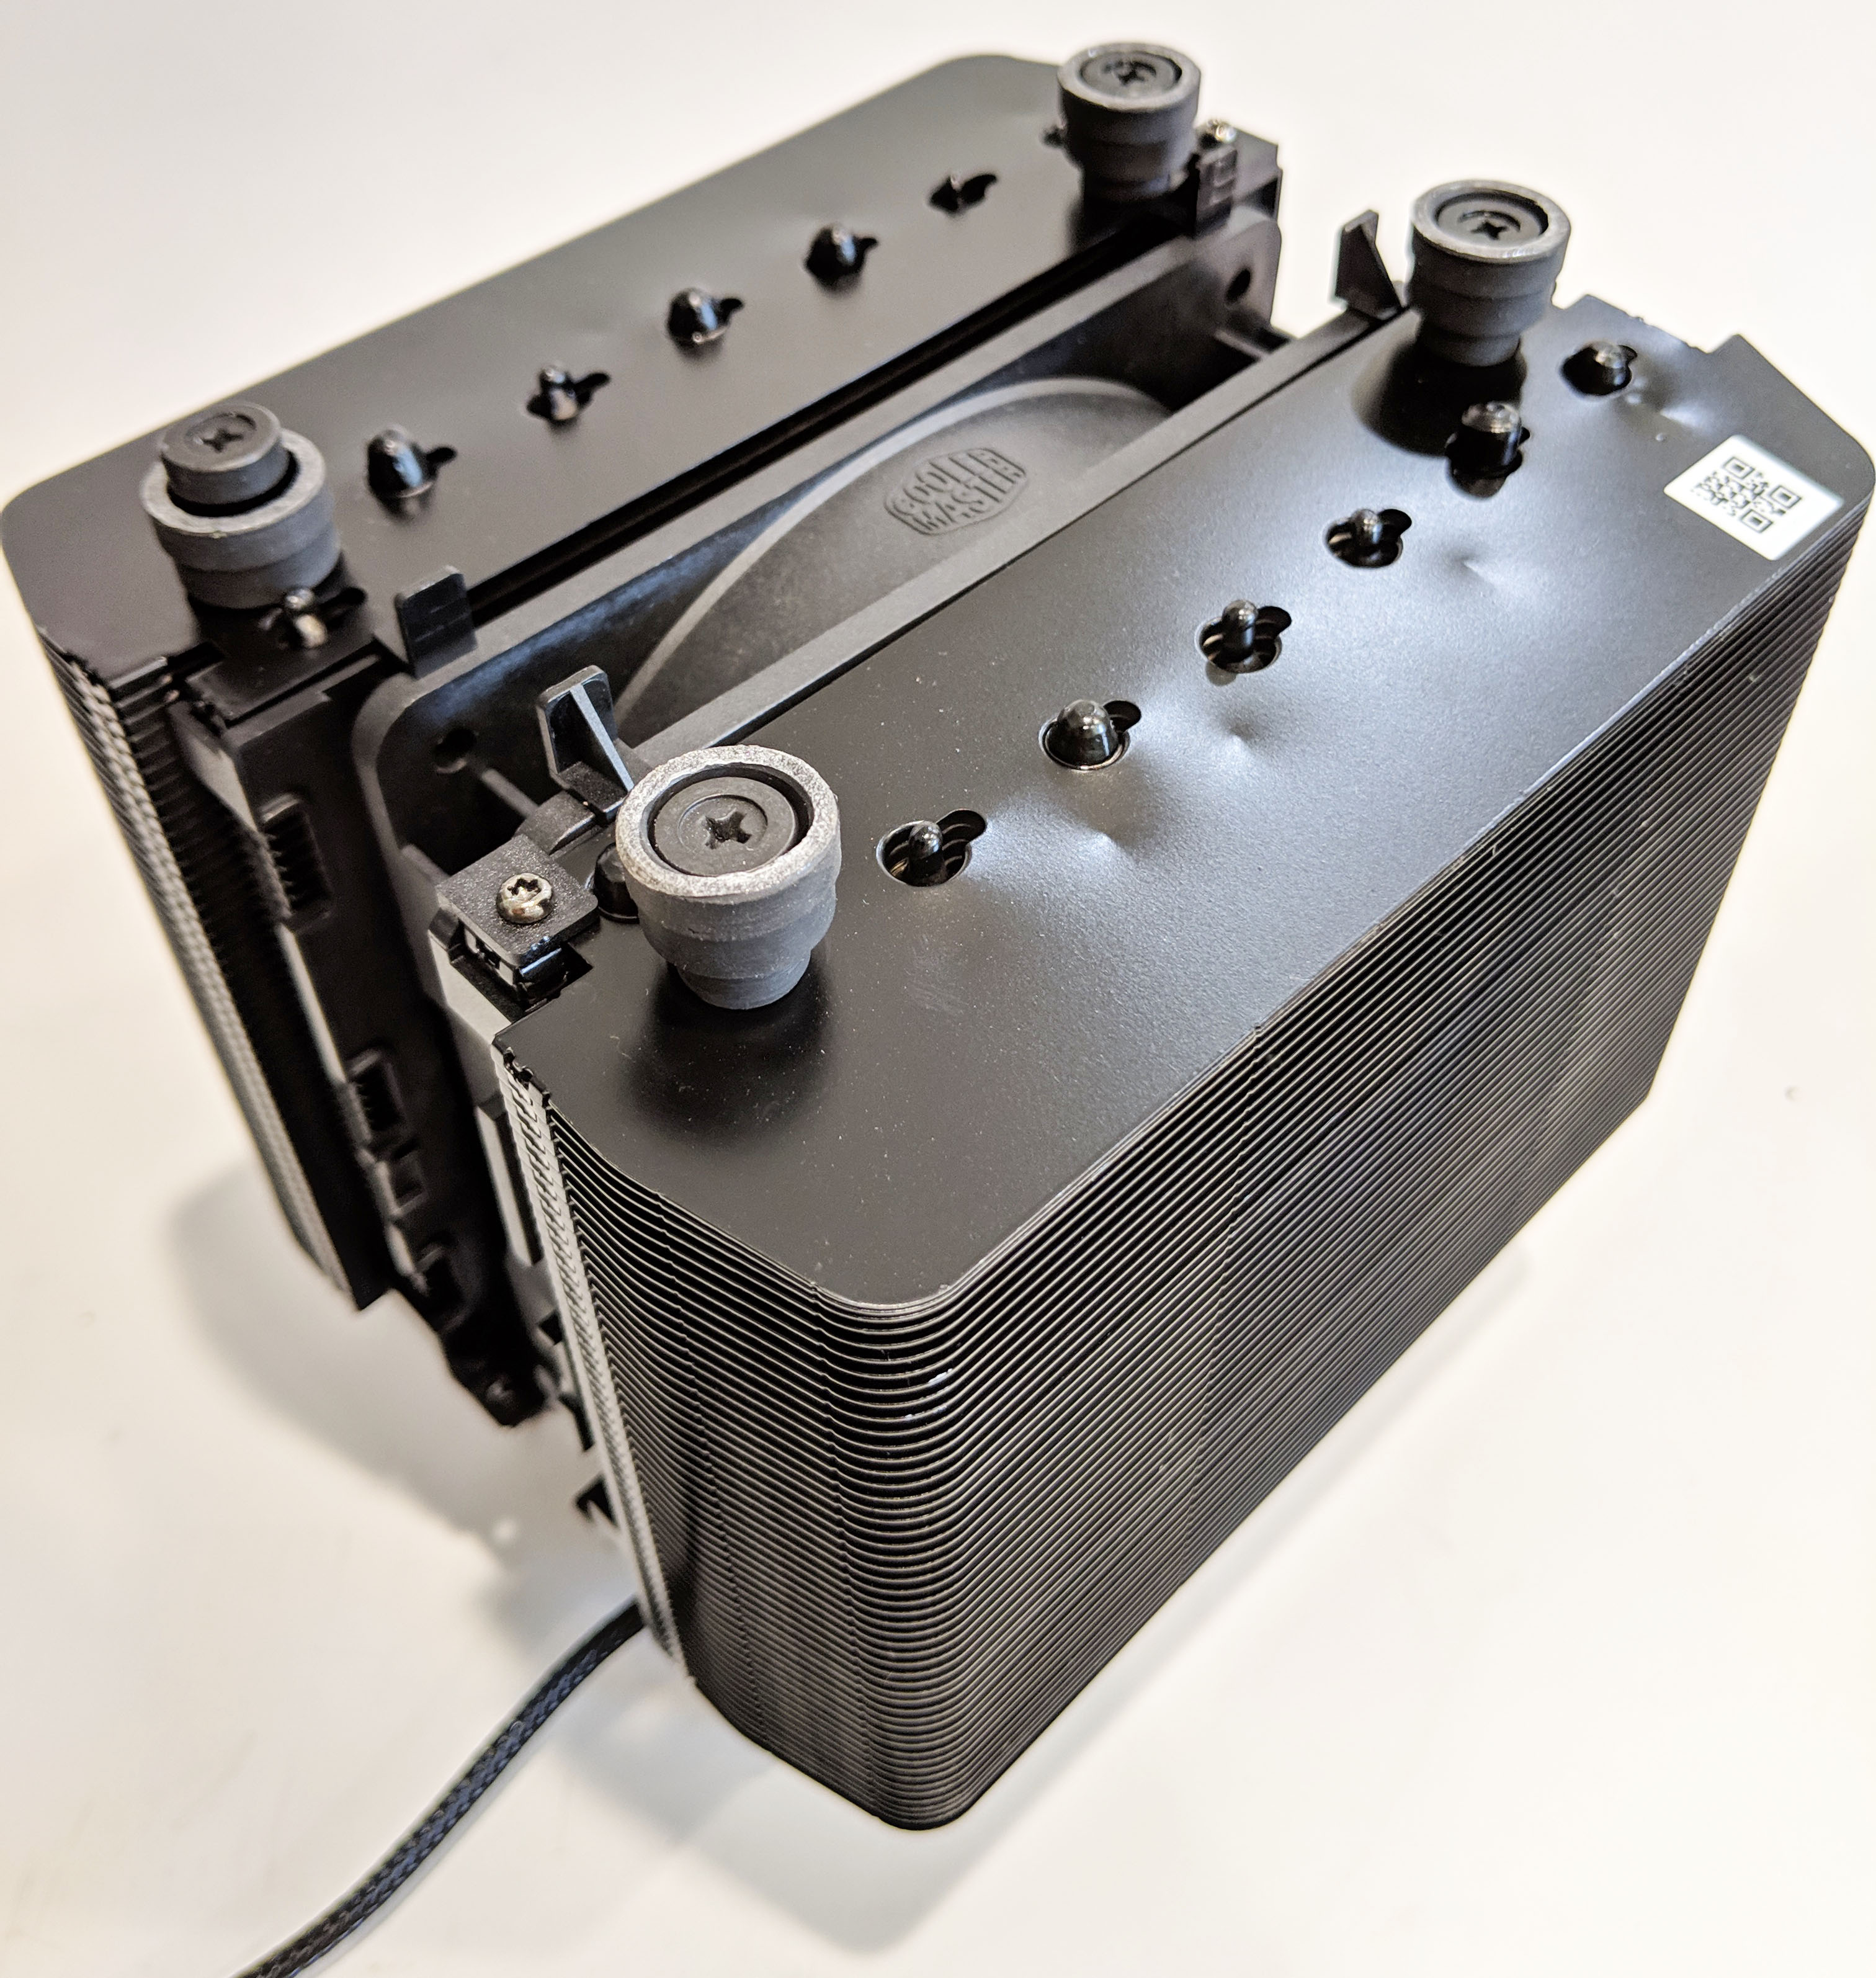
The fan is held in place by a custom bracket which is secured on each corner by clips attaching to the fins. Two screws on the top secure it in place to keep it from sliding up and down.
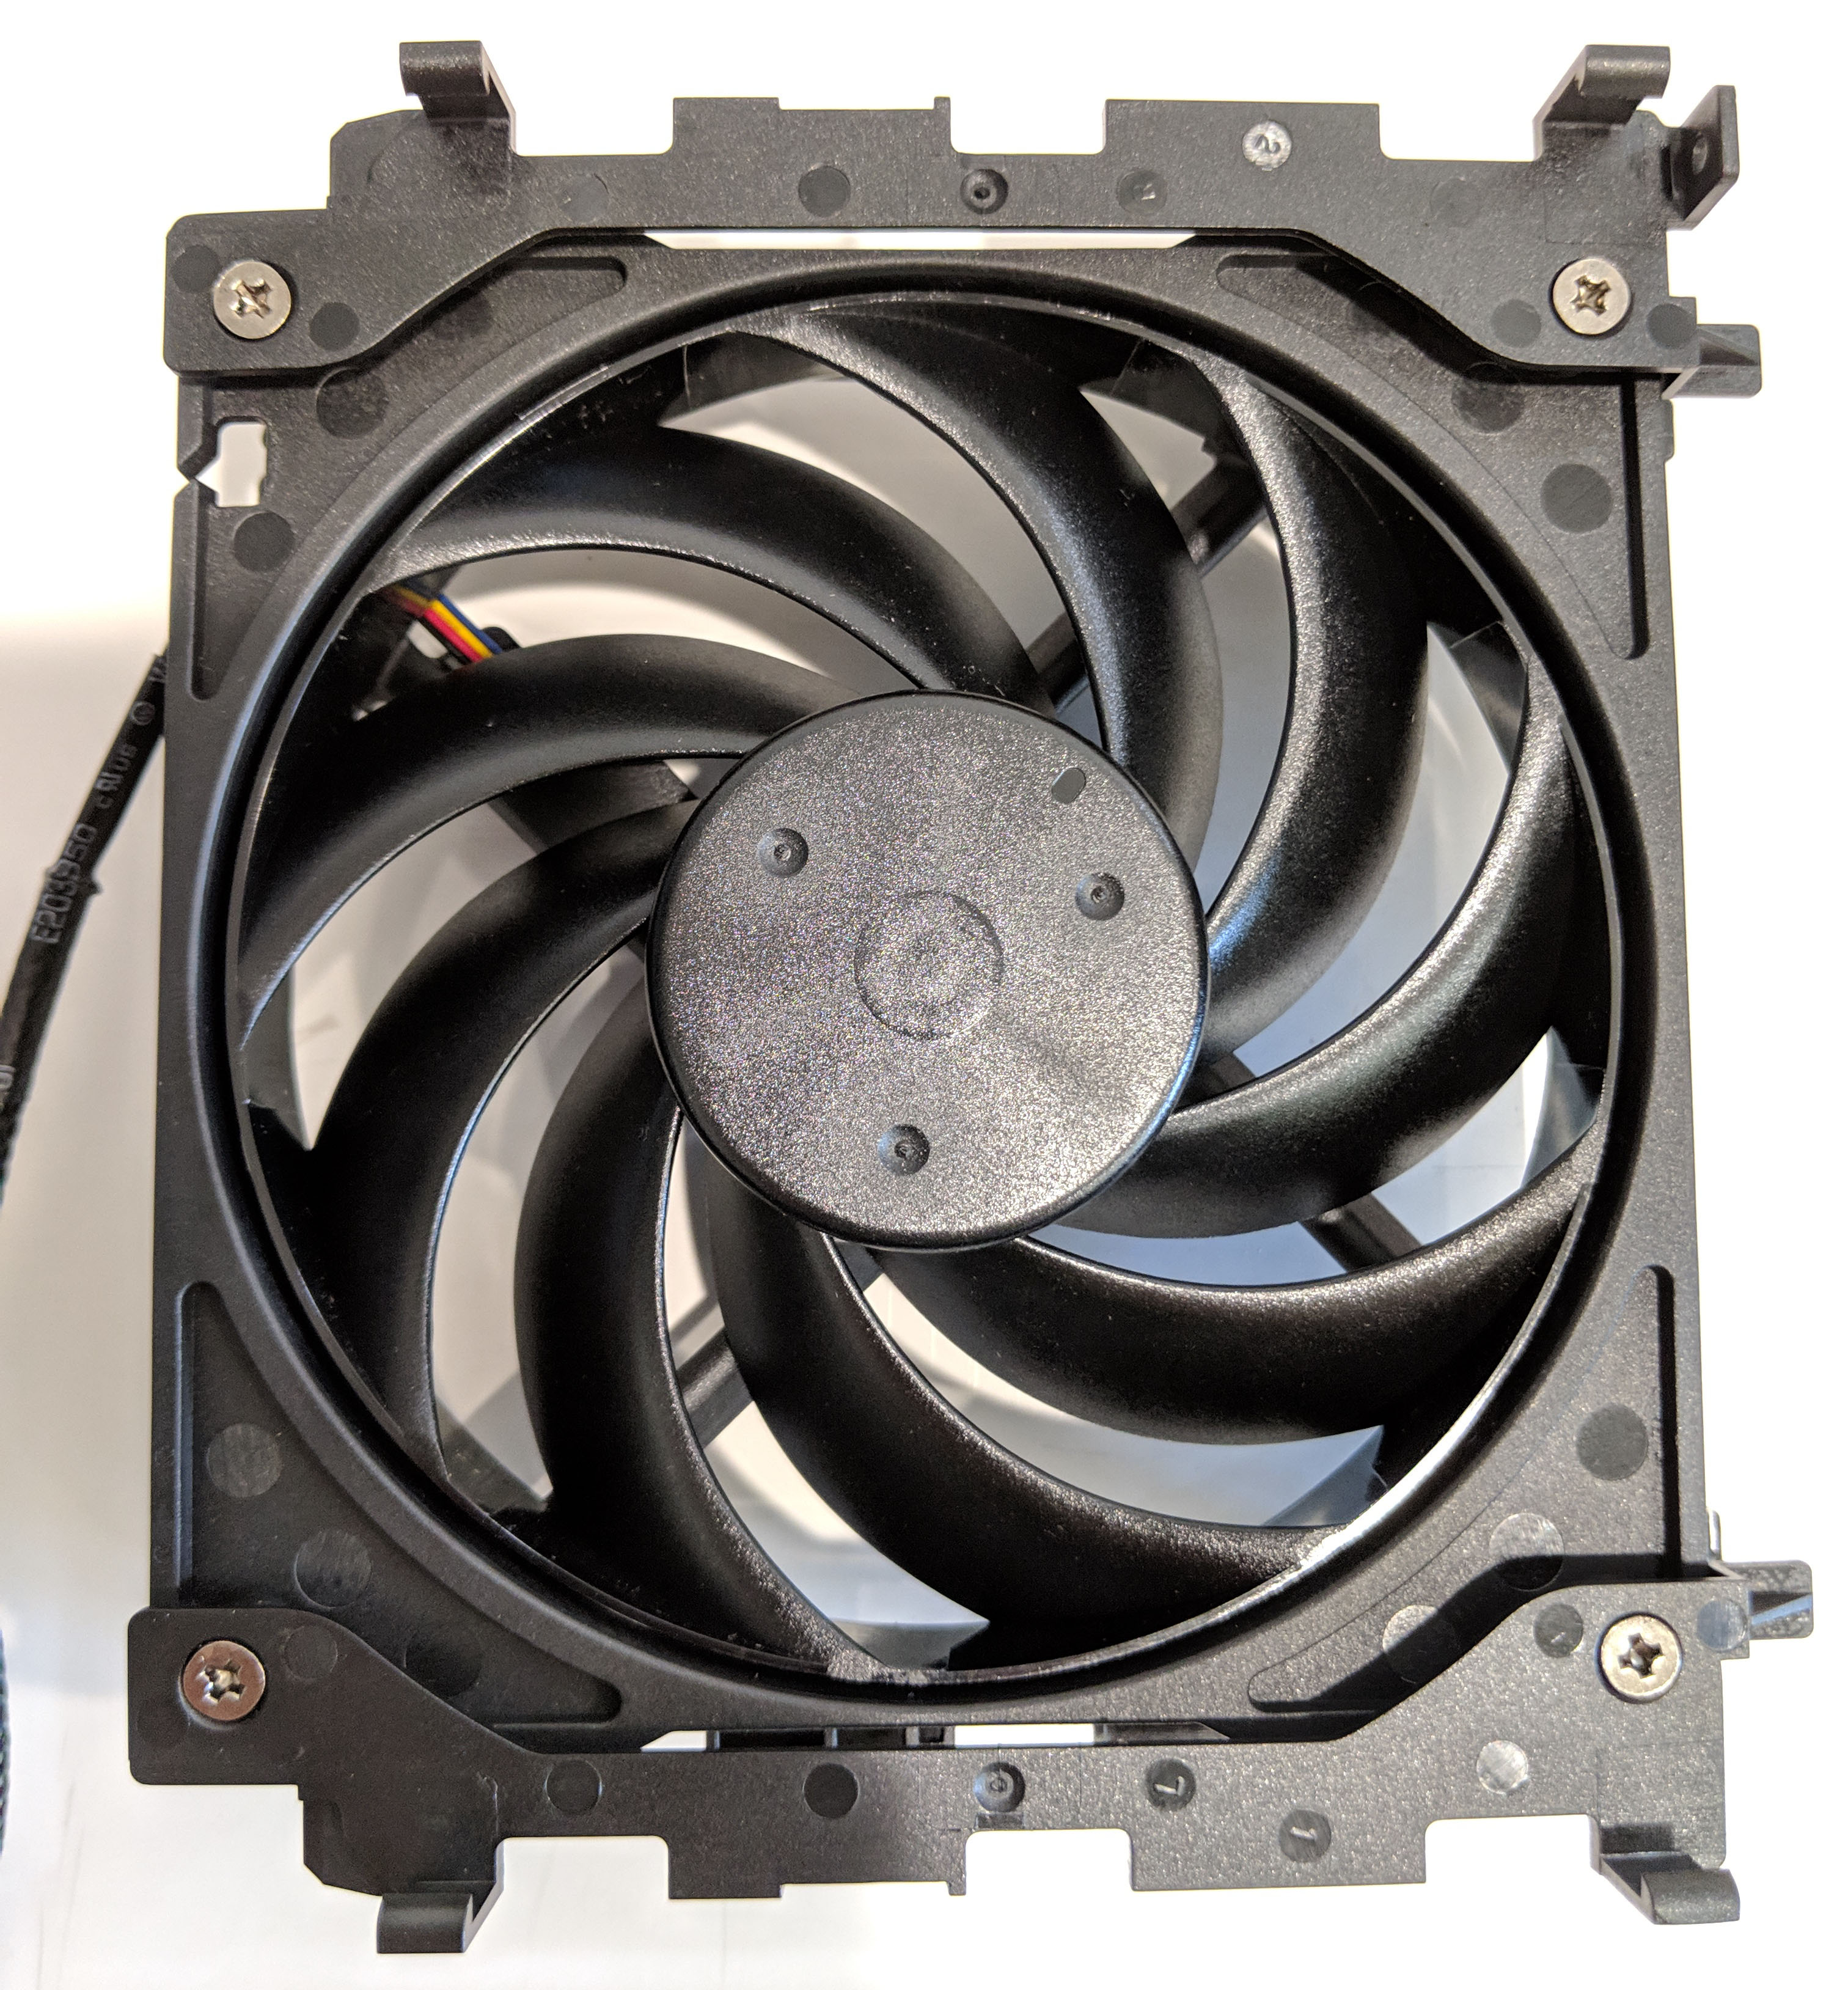
With the fan removed from its nest, we can see that it is (no surprise) a Cooler Master fan with a part number FA12025L12LPP. From this we can cleverly deduct that it is a 120 x 25mm 12V fan. The fan’s draws 0.3A maximum current which is about average as far as PC fans go. At maximum speed, you probably won’t get a whole lot of noise especially considering how much “stuff” surrounds the fan. Further research indicates that the fan is a Cooler Master Masterfan PRO 120 Servo.

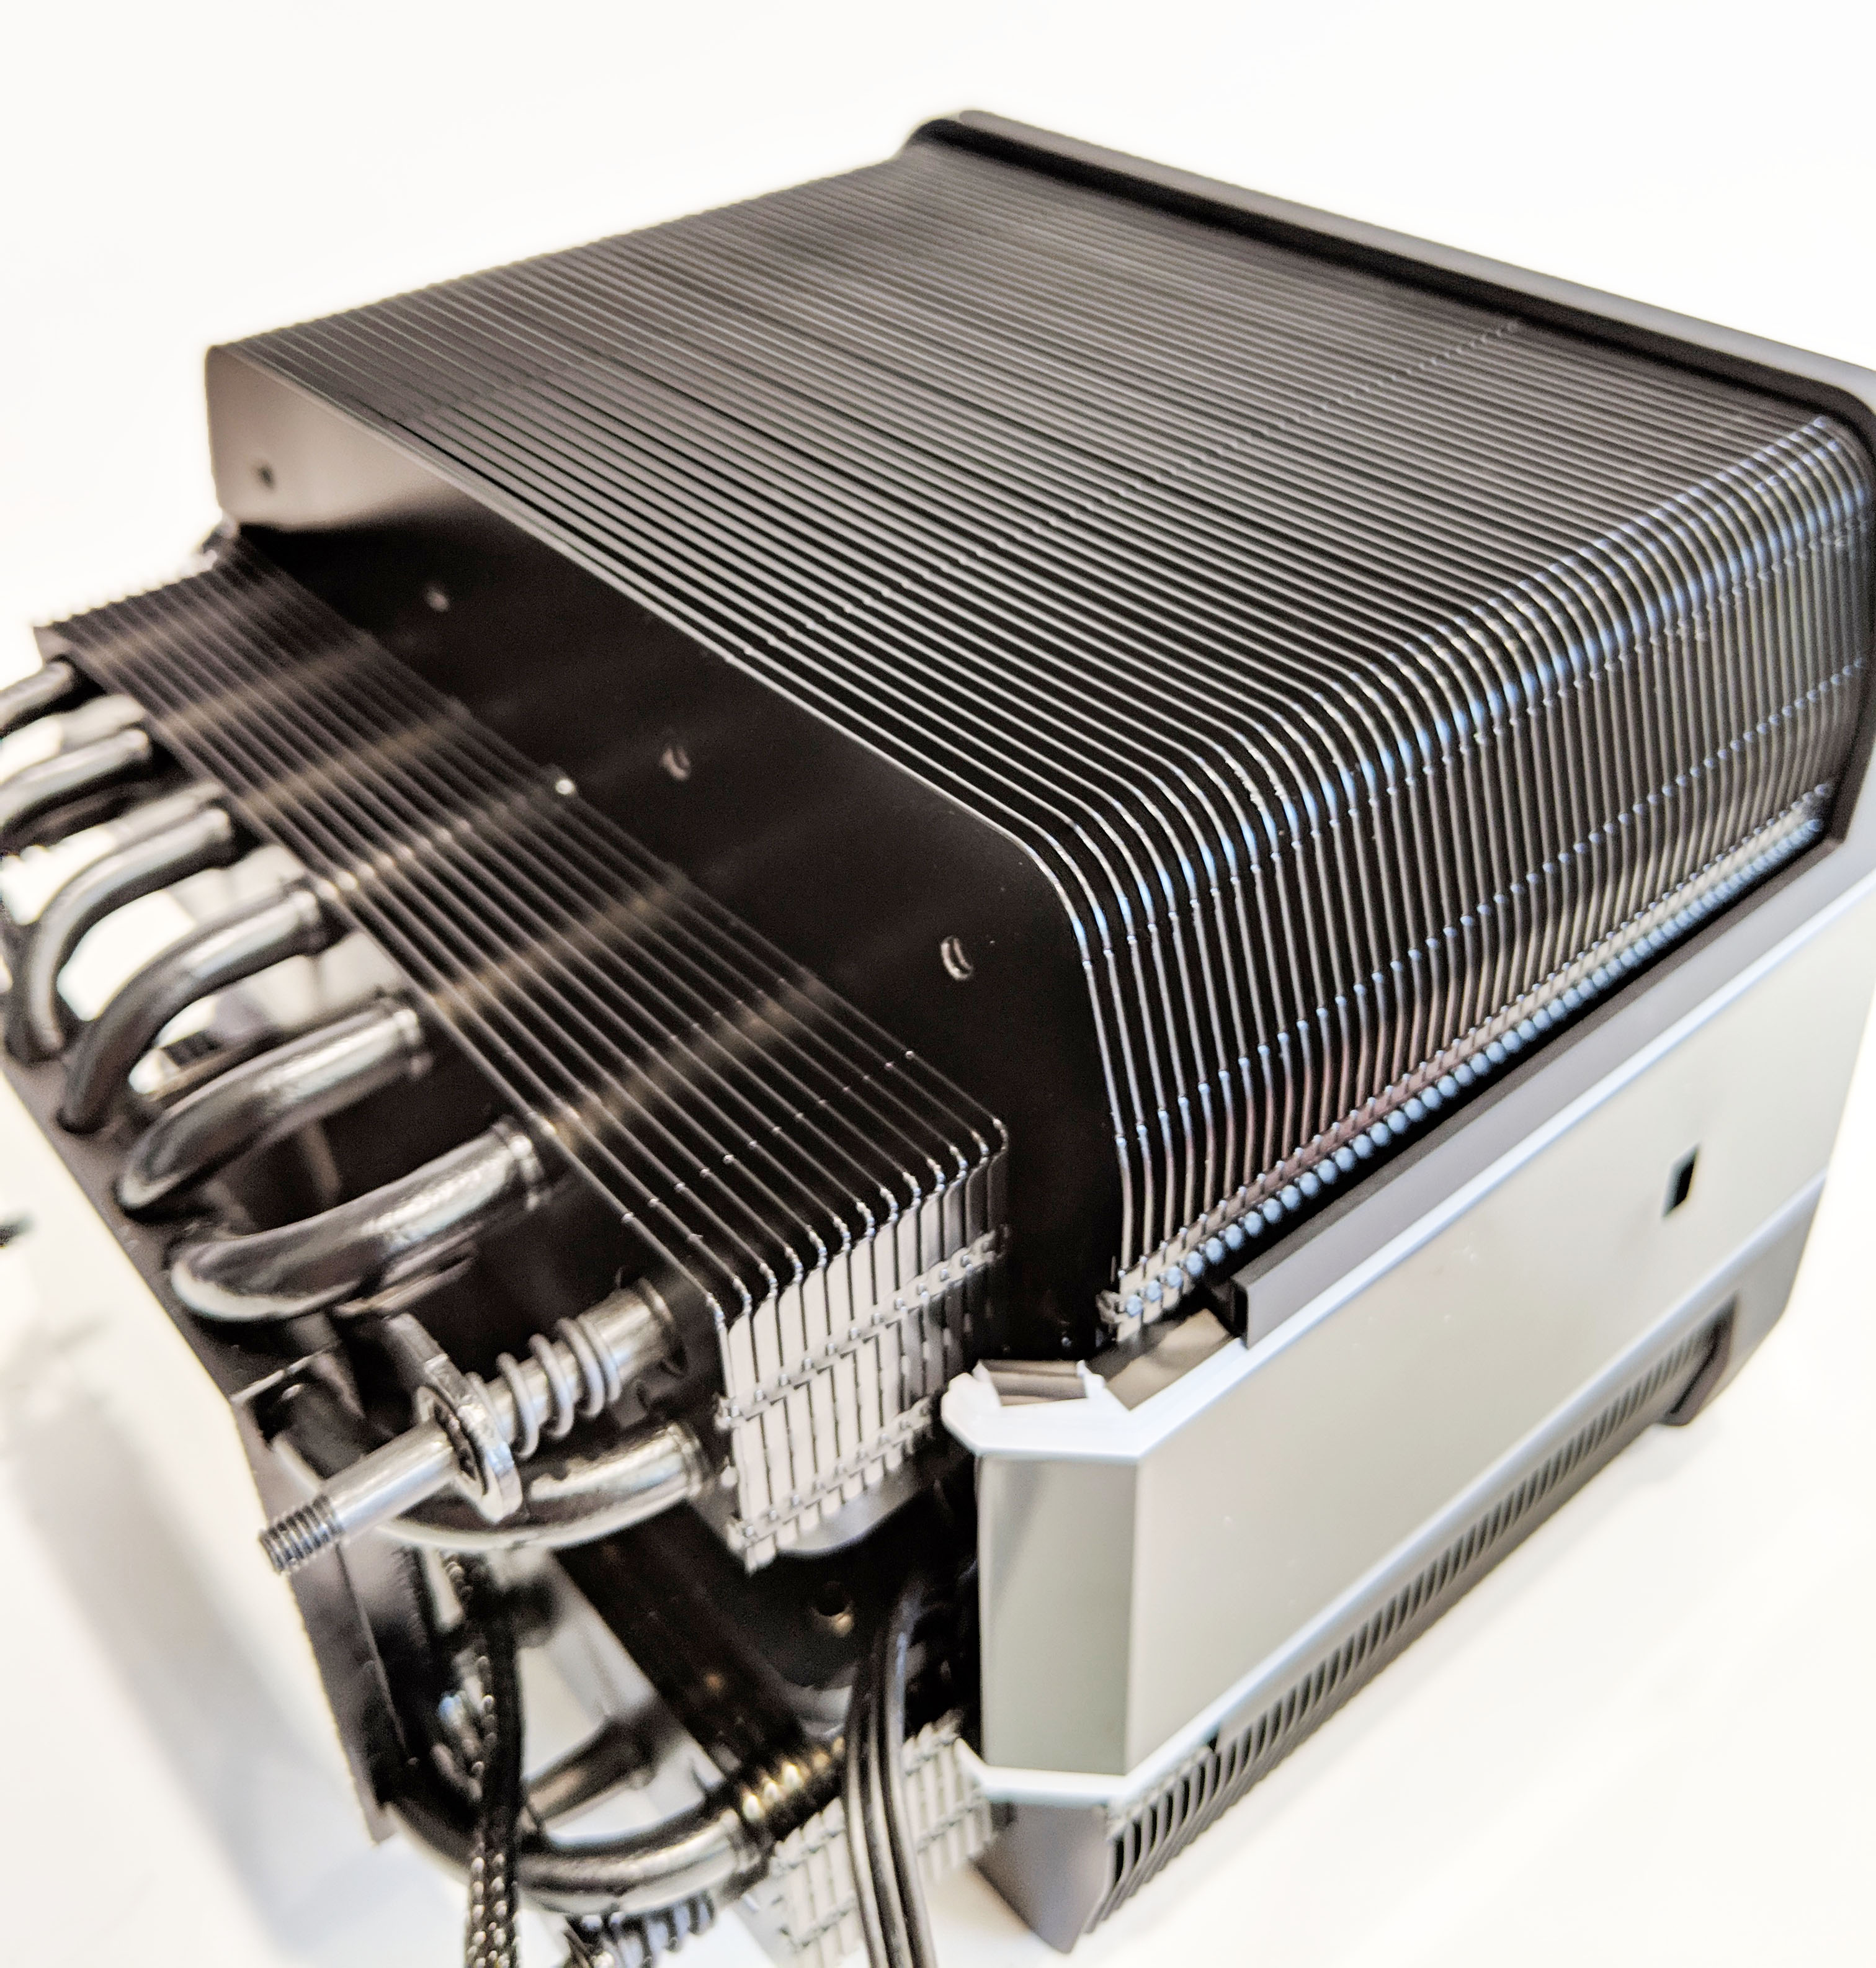
At this point the cooler is pretty much as disassembled as its going to get. With everything removed we get a better look at the towering heatsink which is absolutely massive.

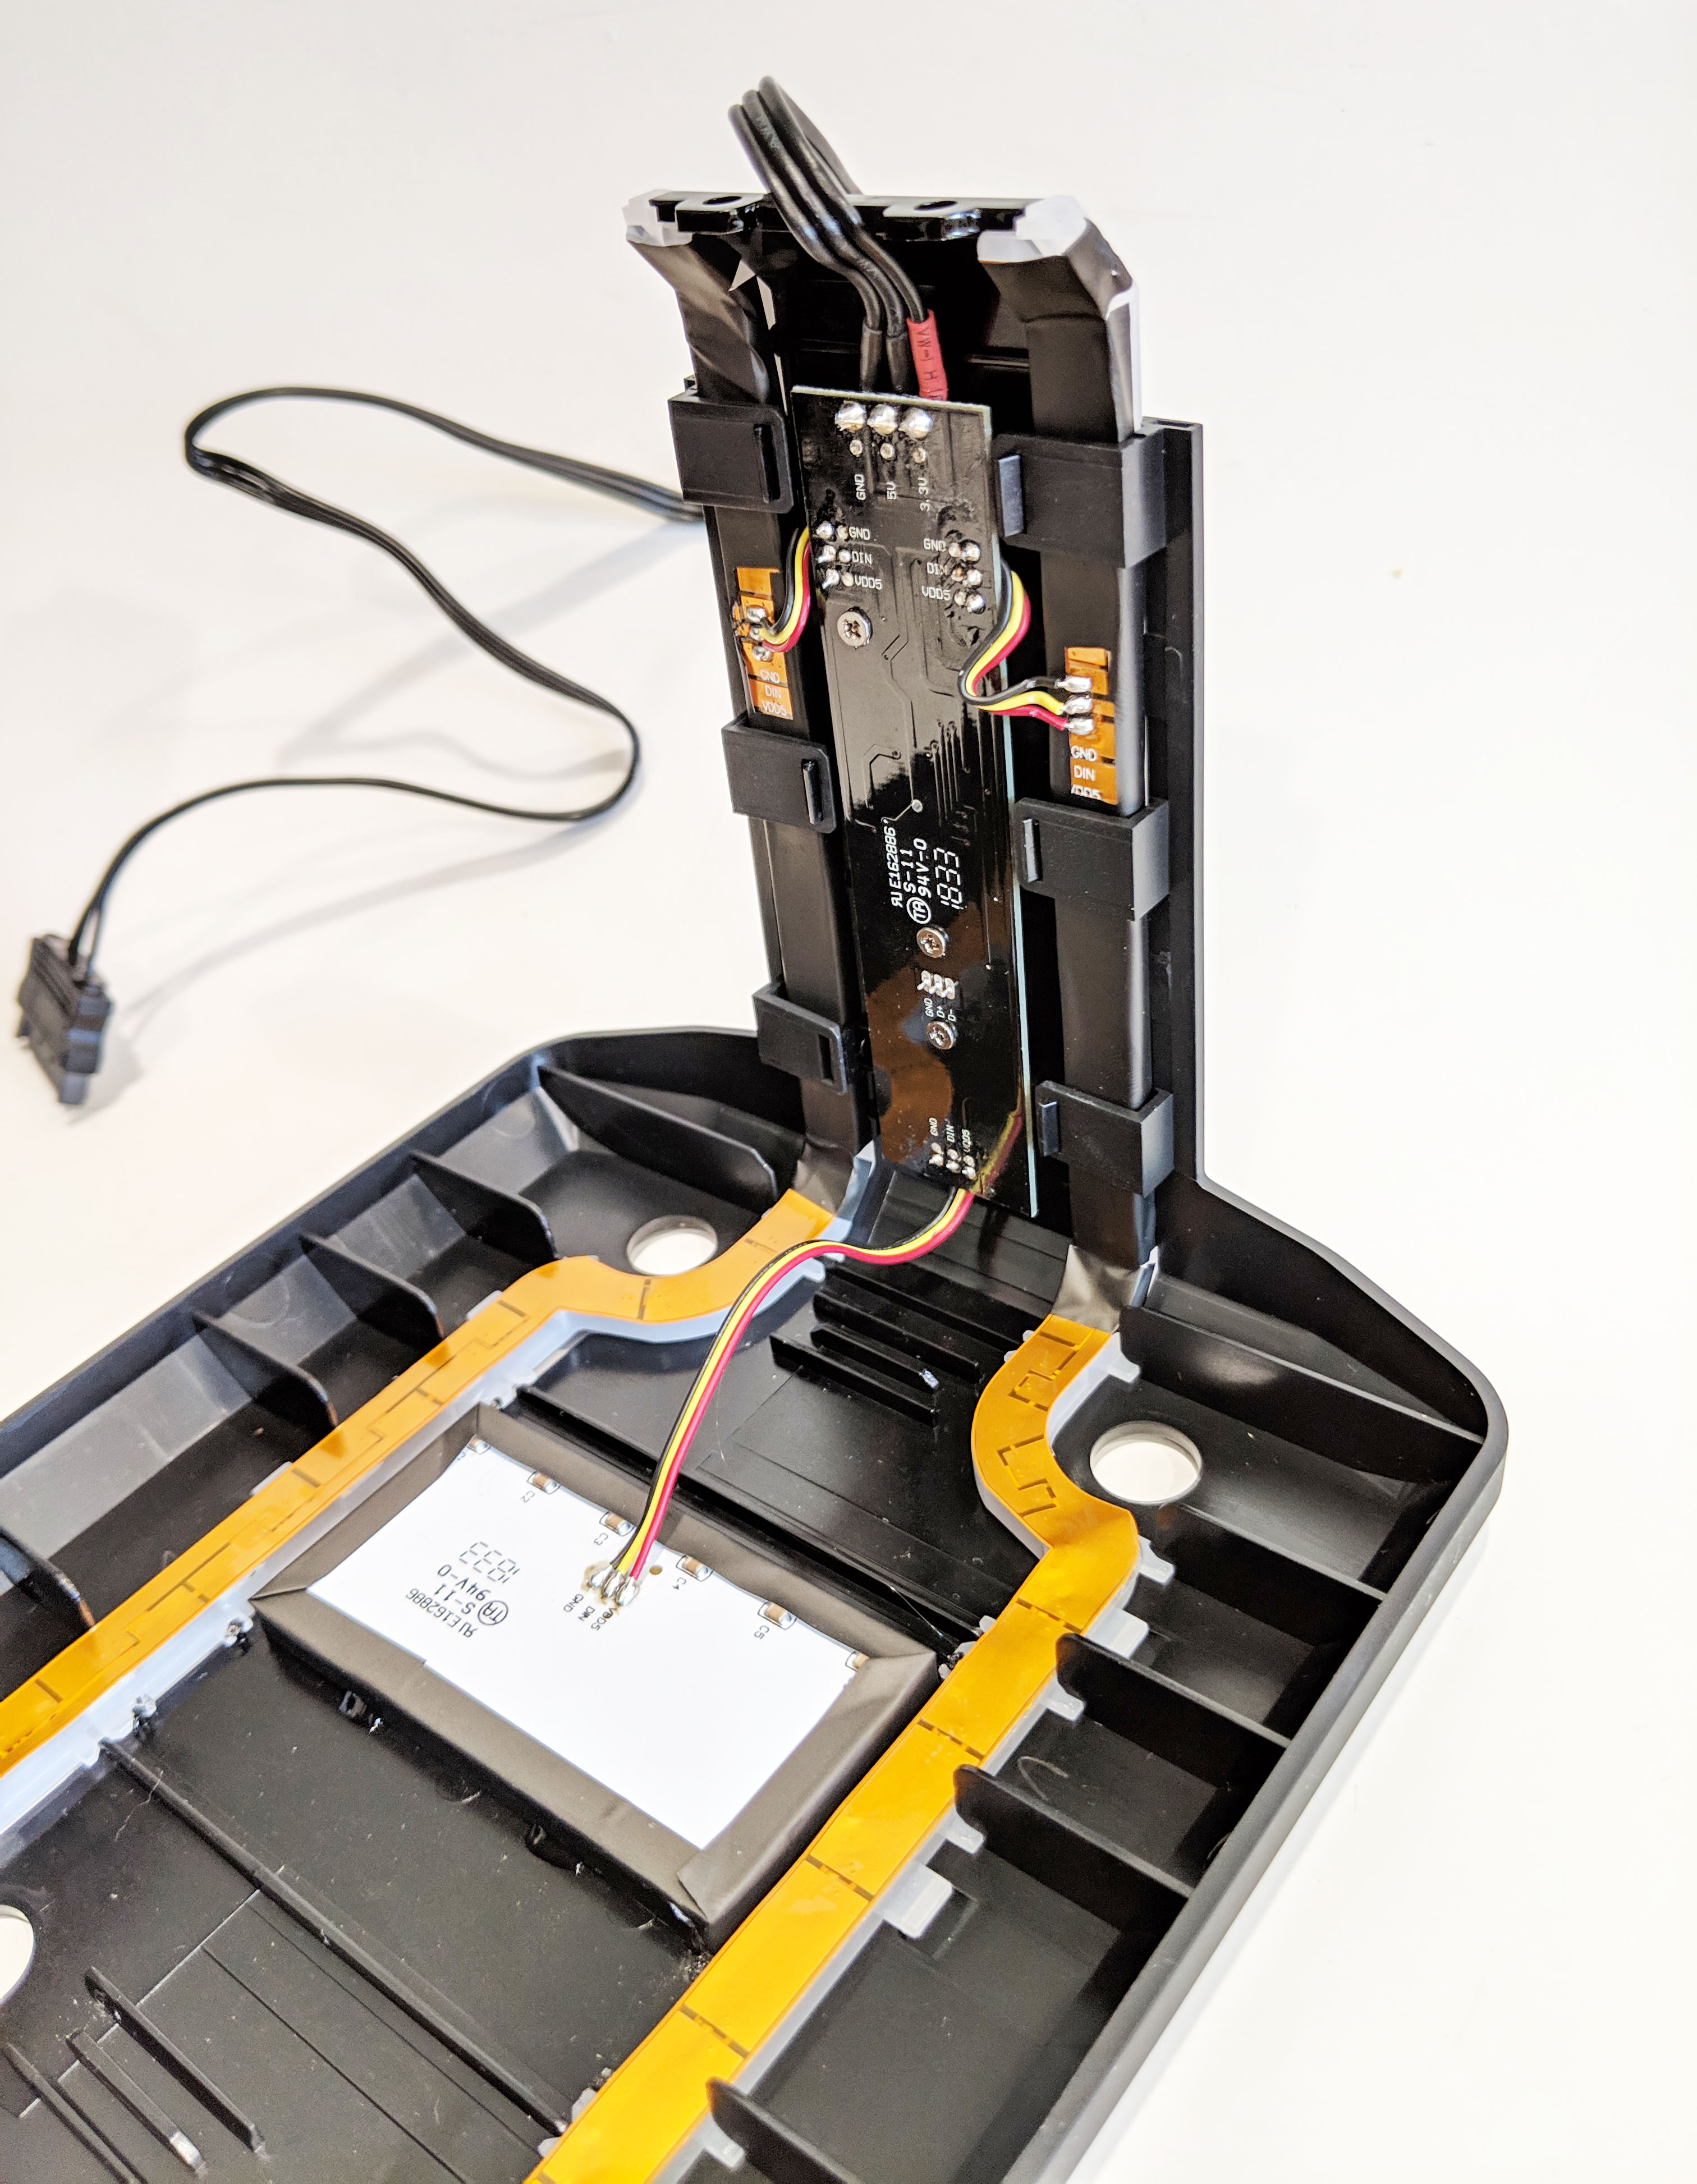
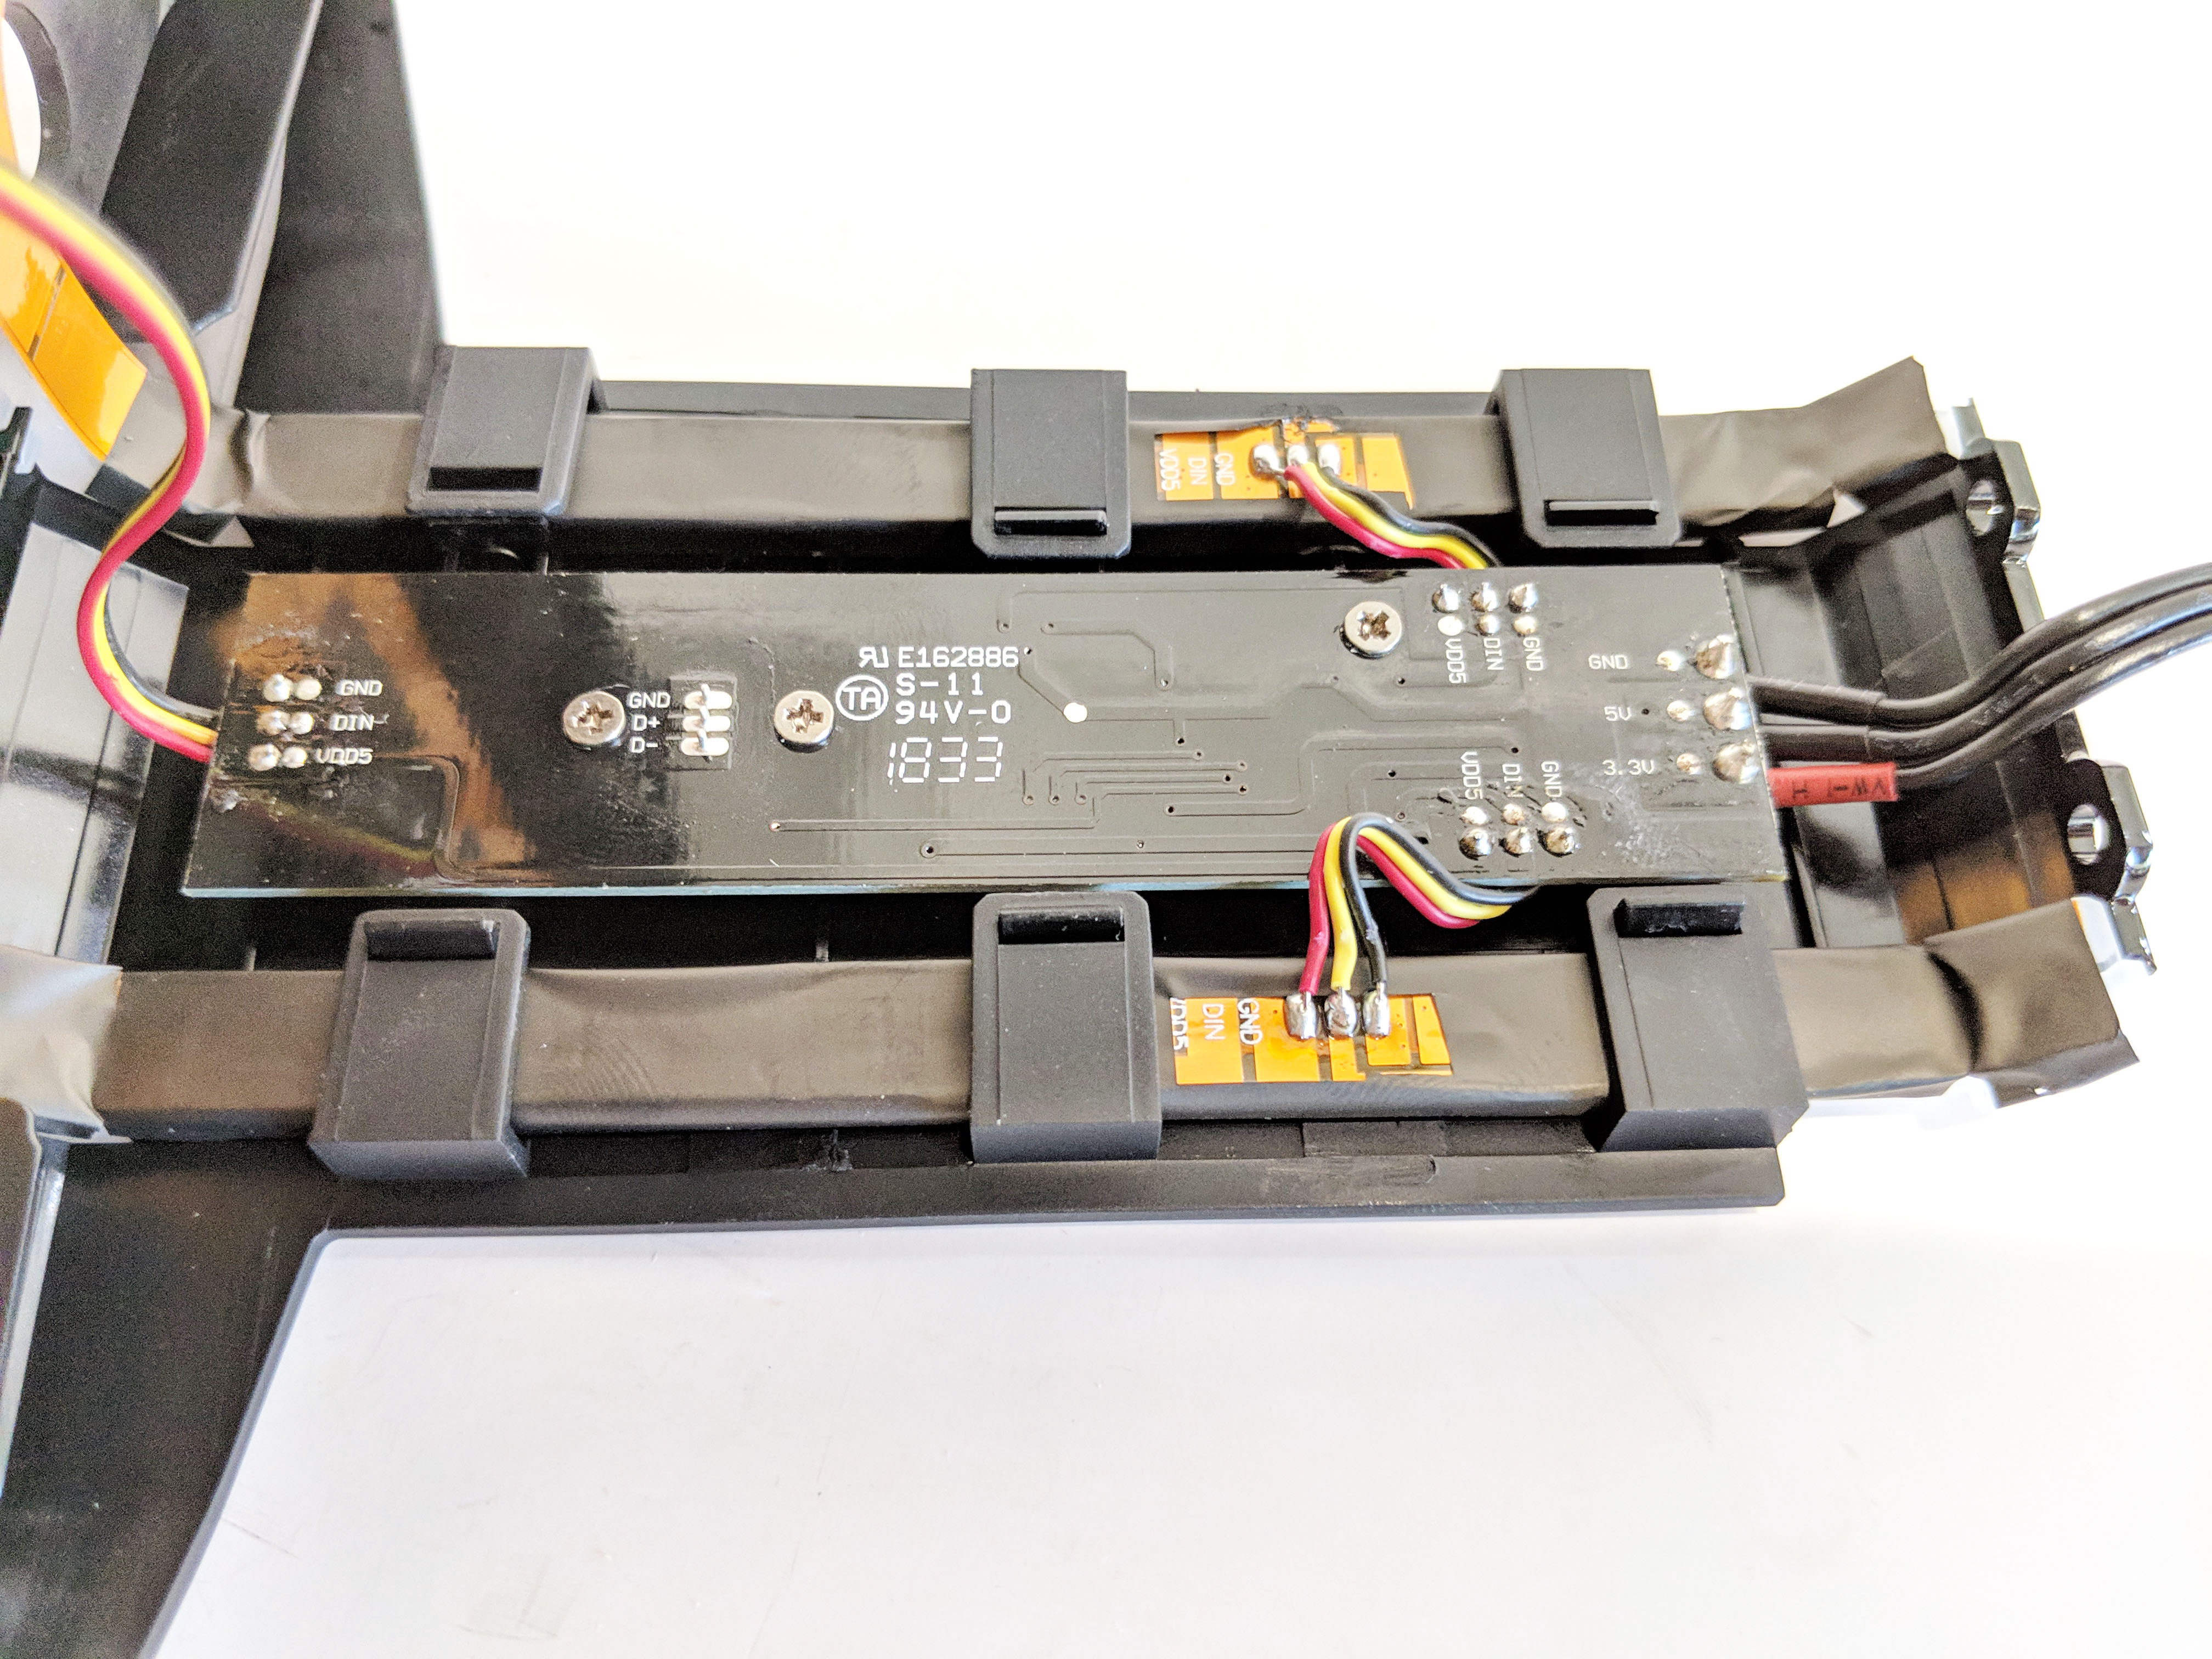
Let’s go back to the shroud since it’s responsible for the RGB LED lighting. On the reverse side we can see the RGB led strips as well as the controller PCB which both the USB control header and SATA power connector plug into.
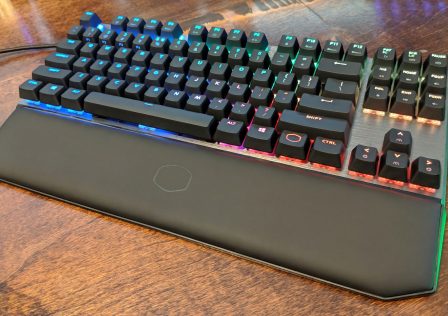
RGB Lighting Effects
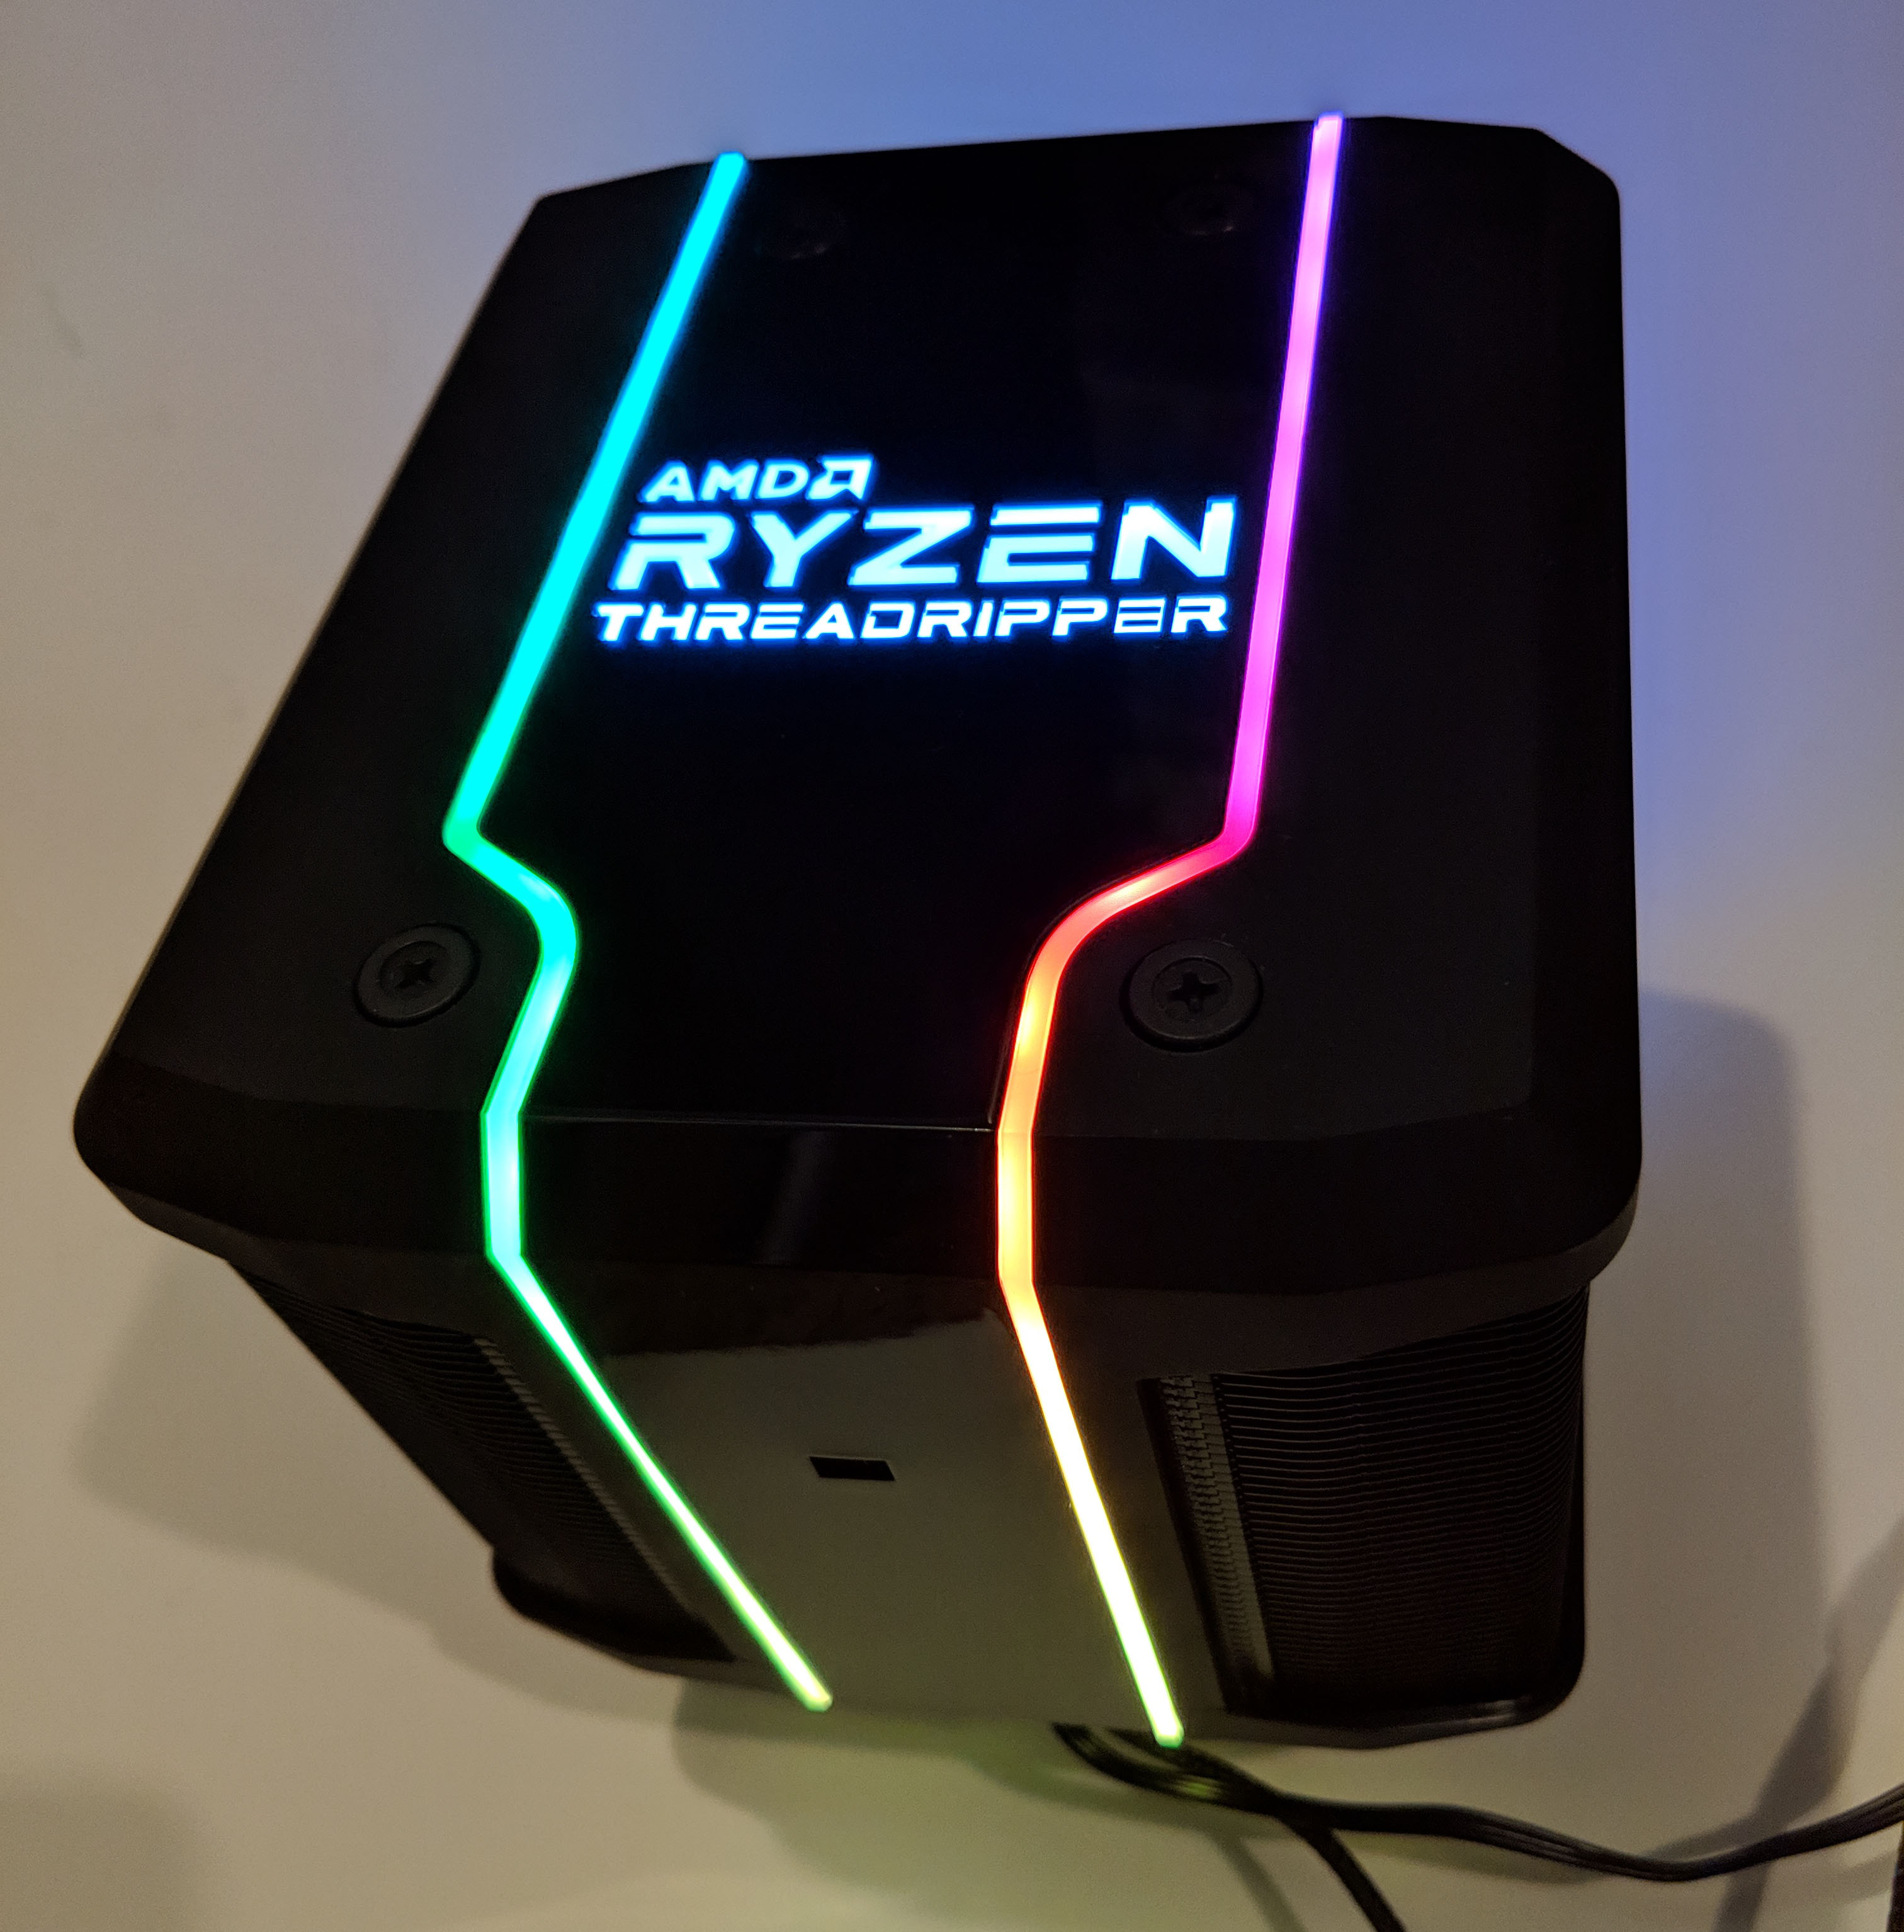
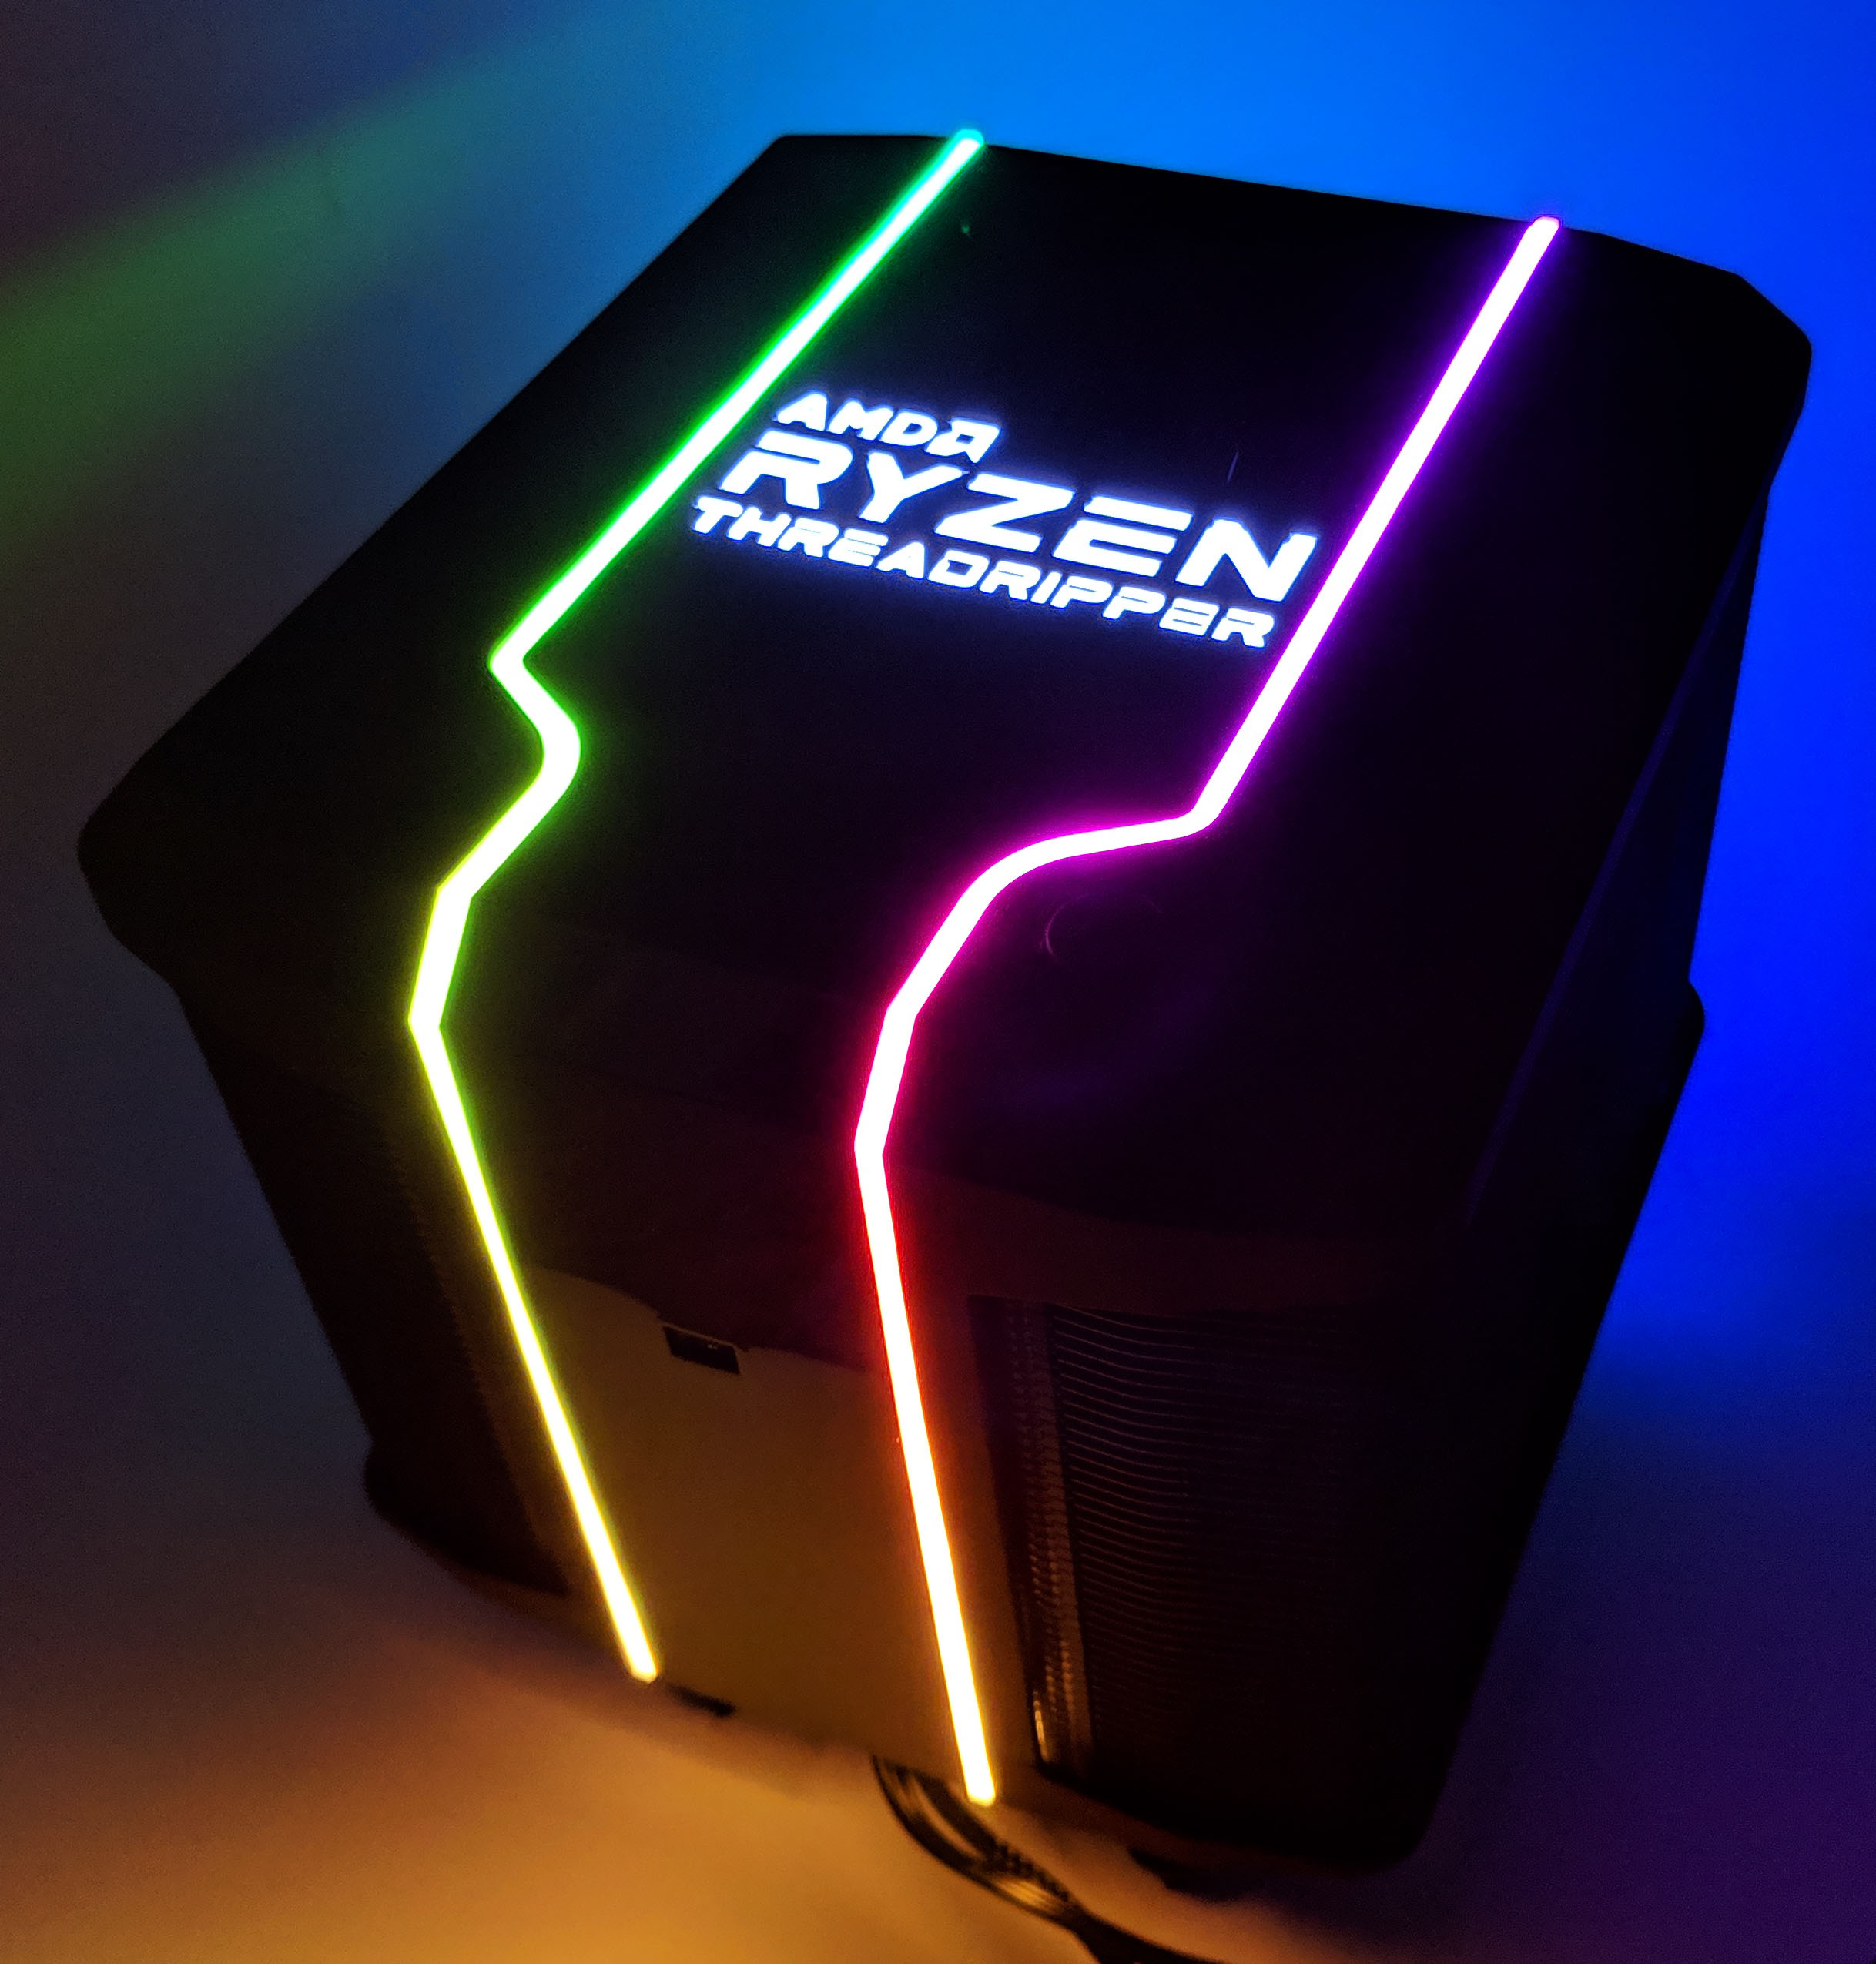
The Wraith Ripper’s lighting can be engaged by simply connecting the PCIe power connector to a powered on PSU. Immediately you’re greeted with a brilliant display of alternating patterns and colors from the LED strips and a bright white AMD RYZEN THREADRIPPER logo.
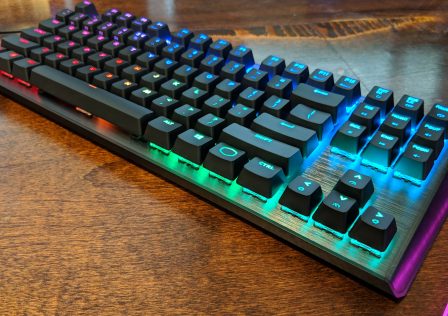
Pictures really have a hard time capturing the brilliance of the LEDs, but here’s a few so you get a better idea of how it looks out of the box:
RGB LED Software Control
The Wraith Ripper features a host of RGB effects so users can customize the lighting or effects to their particular system. The effects are controlled by Cooler Master’s customized software which can be downloaded for free from its website. After downloading and installing the software, it detects the presence of the Wraith Ripper cooler. In my particular case, running Windows 10 Enterprise, drivers were not needed. After attaching the Wraith Ripper’s USB port to the internal motherboard USB 2.0 header, Windows recognized the device as an “AMD RGB Lighting Device”.
Cooler Master’s software is incredibly easy to use. I recommend playing around with the settings and lighting effects to get a feel for it.
![]()


Here’s a few of the effects in action:
Sound Check
As with any CPU cooler that we review here on GND-Tech, a proper sound check is in order. For this we powered up the Wraith Ripper’s fan to maximum speed and took a decibel reading using our official sound app. Ambient noise according to the app reading was 38dB which we’ll use as a comparison. With the phone right next to the cooler’s intake, we recorded a decibel reading of 48dB. Still fairly quiet, however audible.

Conclusion and Final Thoughts
The Cooler Master Wraith Ripper is one of the most robust and over-built CPU coolers that we’ve seen for a while. If you are planning on air cooling your Ryzen Threadripper, this will most likely be your best bet. It will be interesting to see how well the CPU cooler hold up when compared with AIO liquid coolers as they are now available on the market.
Not only will this cooler keep all 32 threads of that Threadripper cool, it will also do it in style. The lighting options and effects were the best I’ve personally ever seen. The software is a blast to play around with and is easy to use. There’s no doubt that this cooler will turn some heads at any LAN party or event.
More to come at a later date! Check back again to see how this cooler did cooling a stock speed and overclocked Threadripper CPU.


[…] how fun that would have been to install those cables (or remove) those power connectors with the Cooler Master Wraith ripper hogging the […]
[…] with a maximum height of 160mm. This means that you won’t have any issue (barely) fitting the Cooler Master Wraith Ripper, the largest heatsink we know of into the InWin […]