
This week we’re pleased to take a look at one of FSP’s most successful offerings, a mid-tower ATX case that packs all the RGBs and tempered glass you can handle! The FSP CMT510 Plus case features three full tempered glass panels for a completely clean and glossy look which will surely grab the attention to any build. Behind the glass are four fully addressable RGB fans, three in front and one at the rear.
The “Plus” in the CMT510 Plus model name means that this model uses addressable RGB fans and controller. Other than that, all other features and specs between the Plus and non-Plus model are the same. The RGB functions can be controlled via either from a single 3-pin RGB header on the motherboard, or by using the RGB controller itself.
At the time of writing this review you can pick this case up from Newegg/Amazon for $124.99 USD. Current sale price will play a big role into the final score at the end of the review. Before we dig into that, let’s take a look at this things specifications!
(header image credit: FSP Group USA)
FSP CMT510 Plus Specifications
On paper, this case appears to have it all. Tons of cooling options, 4x RGB fans, and enough tempered glass to keep any high end system builder satisfied. For a triple-tempered glass paneled case, I’m quite surprised at the price. Typically we’ll see cases with that much glass above the $140 range.
If the four included cooling fans aren’t enough for you, the case has the ability to sport two more 120mm fans, one at the top and another at the bottom.
Below are the official specifications of the CMT510 Plus provided by FSP:
| Product Name | CMT510 PLUS |
|---|---|
| Type | ATX Mid Tower |
| Color | Black |
| Materials | SECC, Tempered glass |
| Weight | 10.89 kg/ 24 lbs |
| Dimension LxDxH(mm) | 491 x 208 x 448mm / 19.15″ x 8.11″ x 17.47″ |
| Warranty | 2 Years |
| Maximum CPU Cooler Height | 165mm |
| VGA Card Length | 400mm / 15.75″ |
| Expansion Slots | 7 |
| M/B Type | ATX, Micro ATX, Mini-ITX |
| I/O Panel | USB3.0 x 2, Audio, Microphone |
| Power Supply Type | ATX |
| 3.5′ Drive Bays | 2 |
| 2.5′ Drive Bays | 2 |
| Cooling System | Front: 120mm x 3 ARGB Led Fan Rear: 120mm ARGB Led Fan |
| Fan&Water Cooler Supply | Front: 120mm x 3 or 140mm x 2, or 360mm x1 Radiator Top: 120/140mm x 1 Rear: 120mm x1 |
| Radiator Supply | 360mmx1 |
Pretty good specs overall, let’s dig into this review by first getting the case unboxed!
A Closer Look: Unboxing
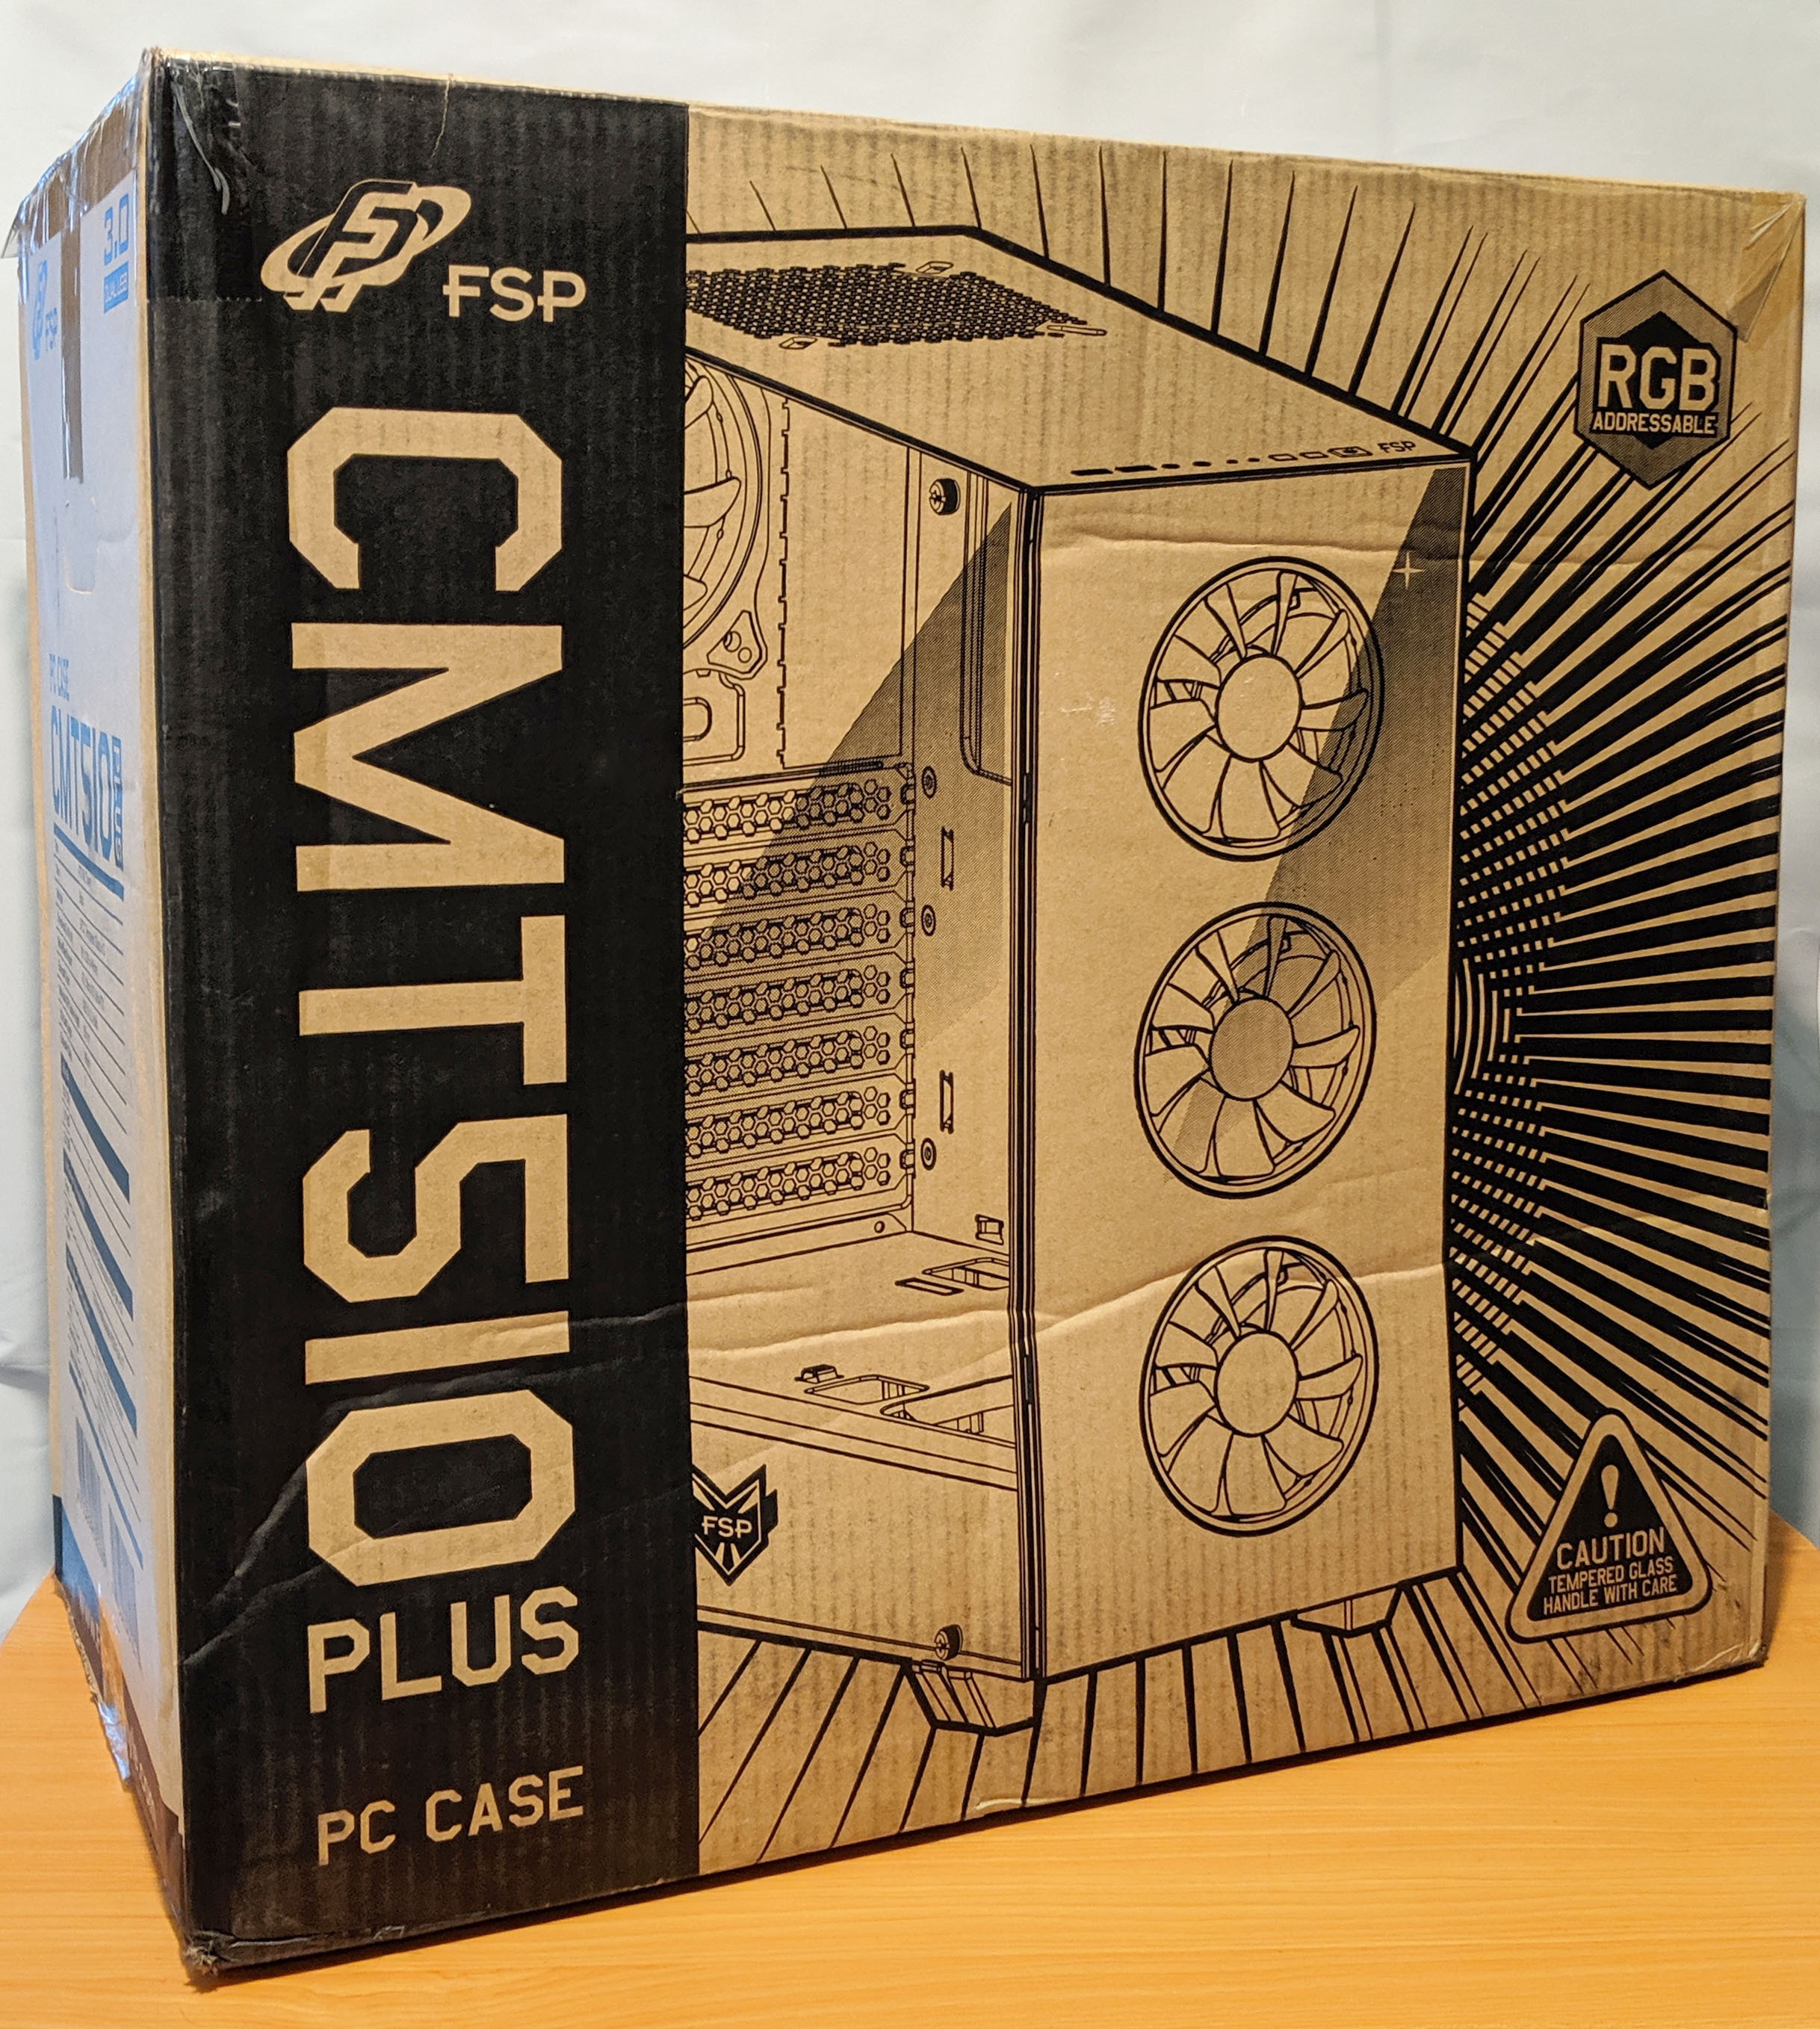
Like many other of the FSP cases we’ve reviewed in the past, the CMT510 arrived in good condition minus a few bumps and dings here and there. The front of the box features the model name of the case nice and large, making it easy to identify, along with a depiction of the case.
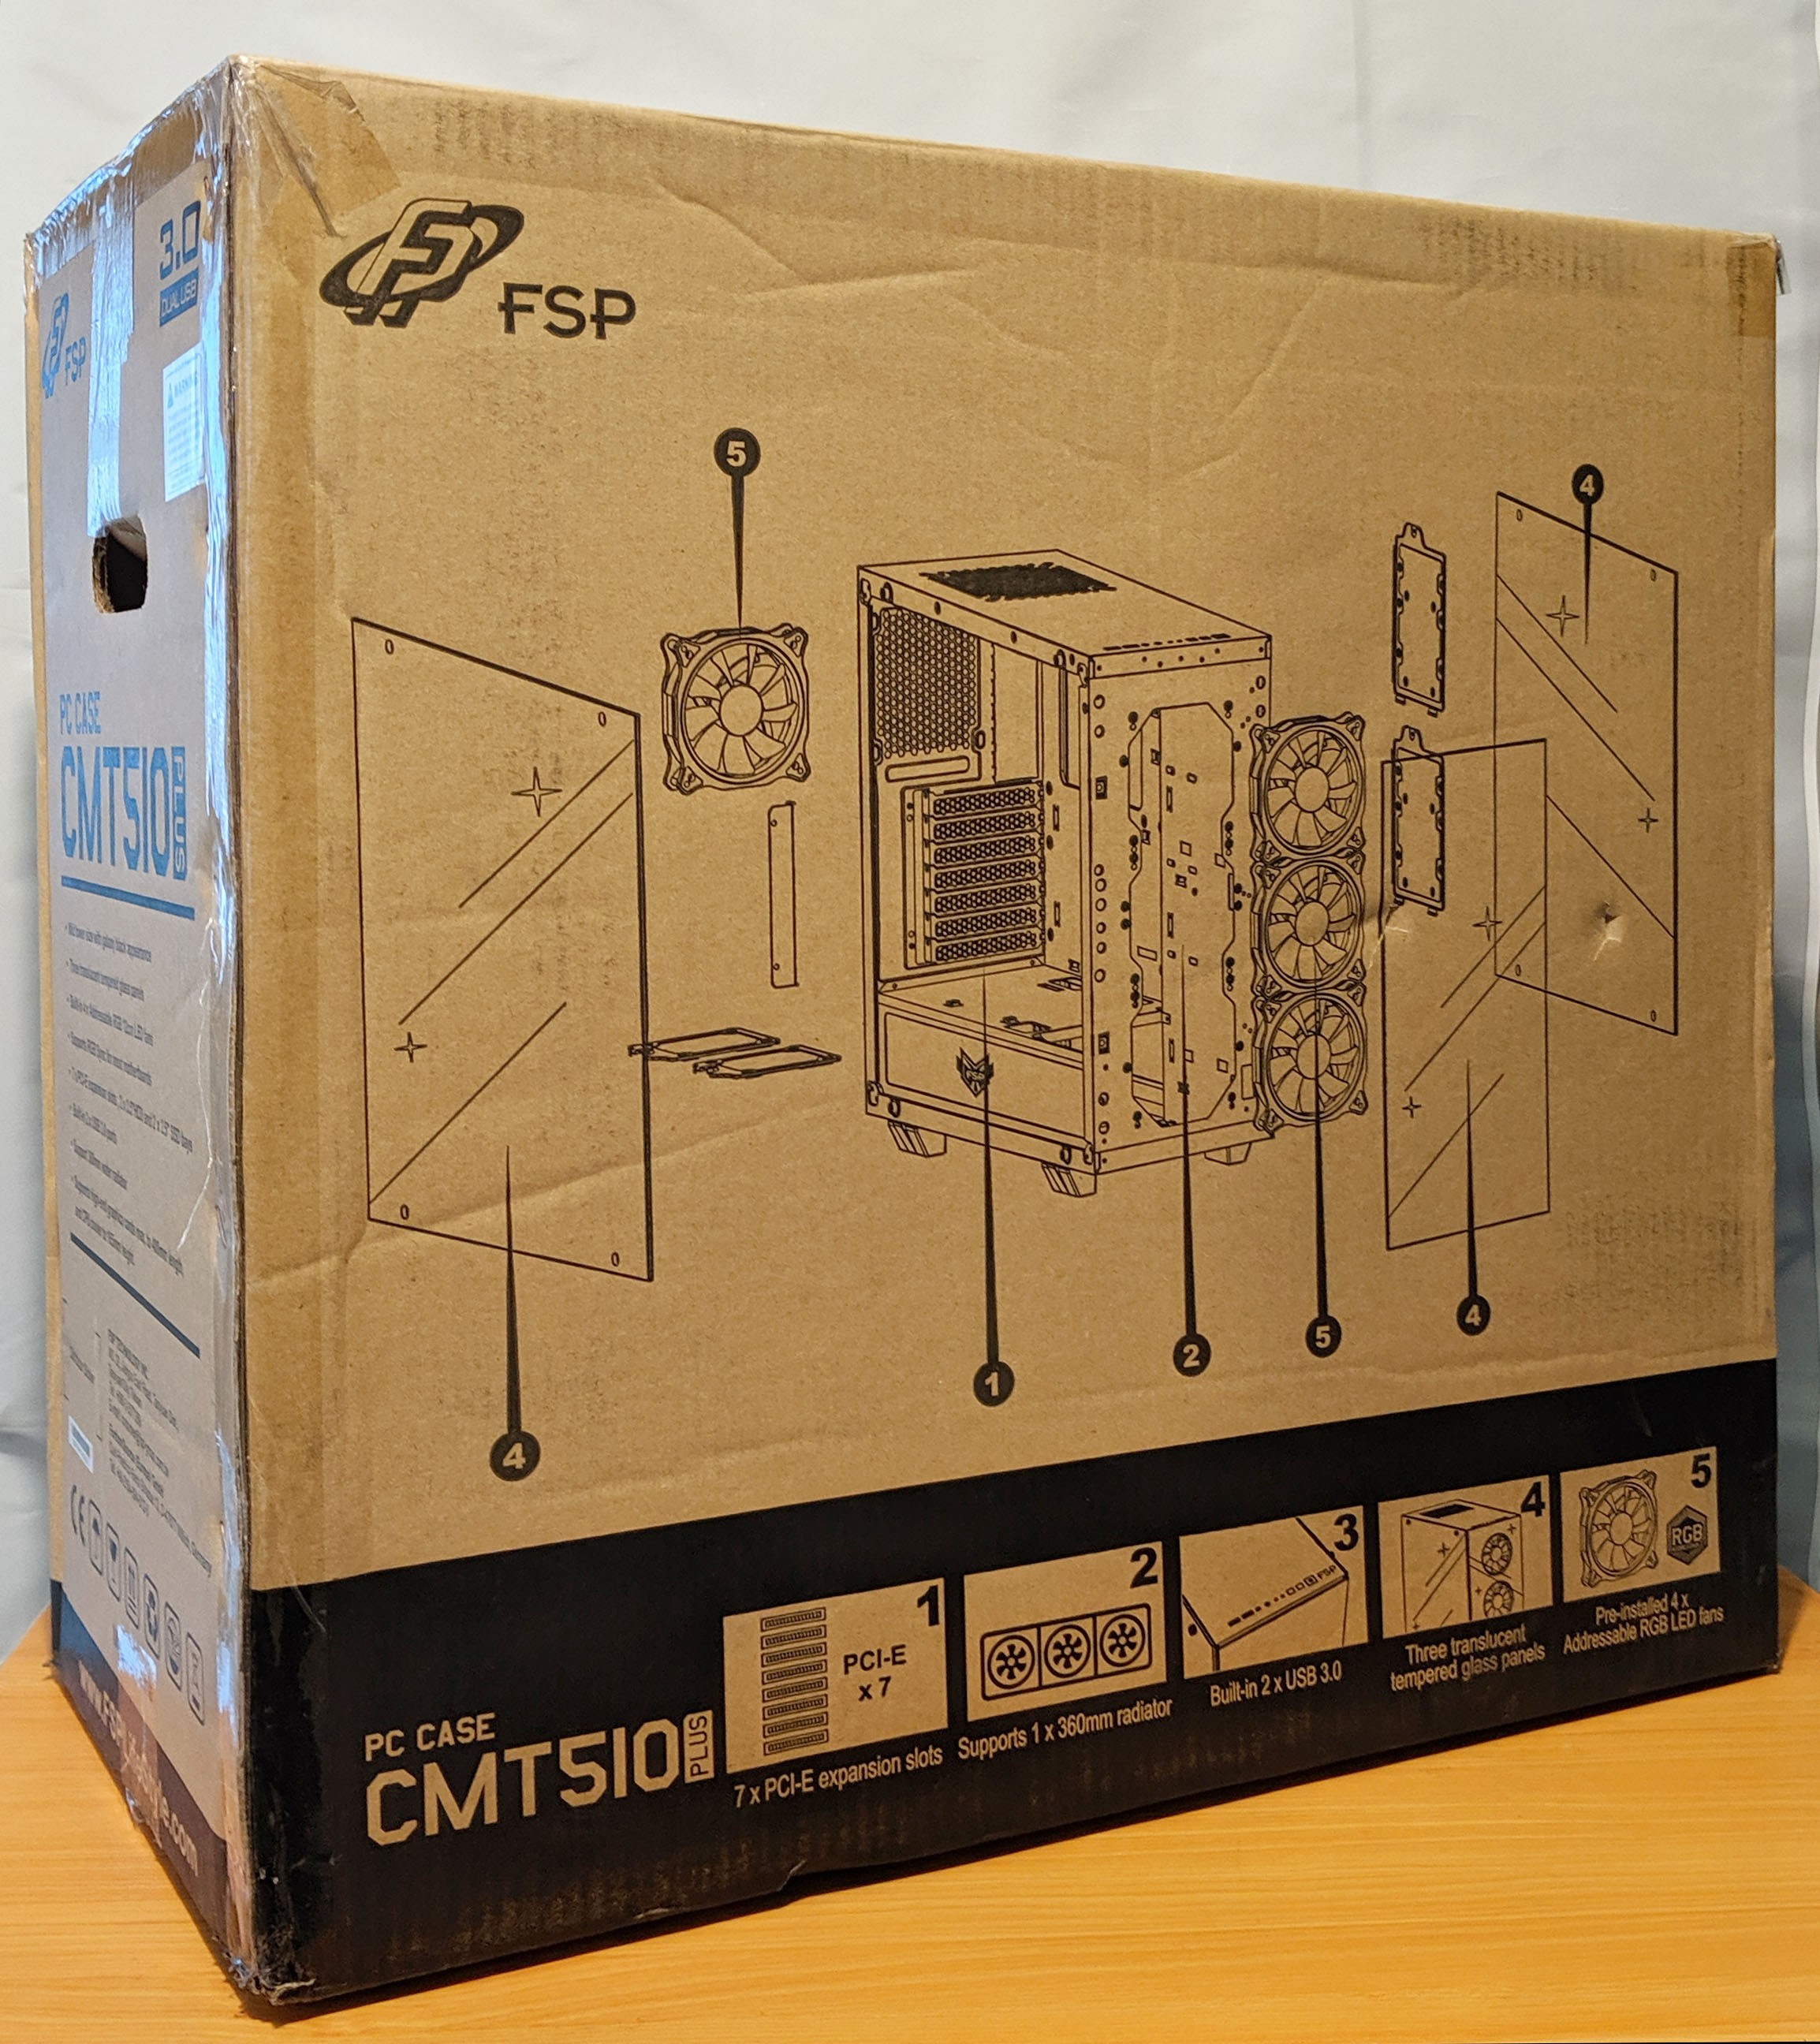
The back of the box features a nice breakaway diagram of the case and its various components. Some of the case’s more prominent features are also highlighted as well along the bottom.
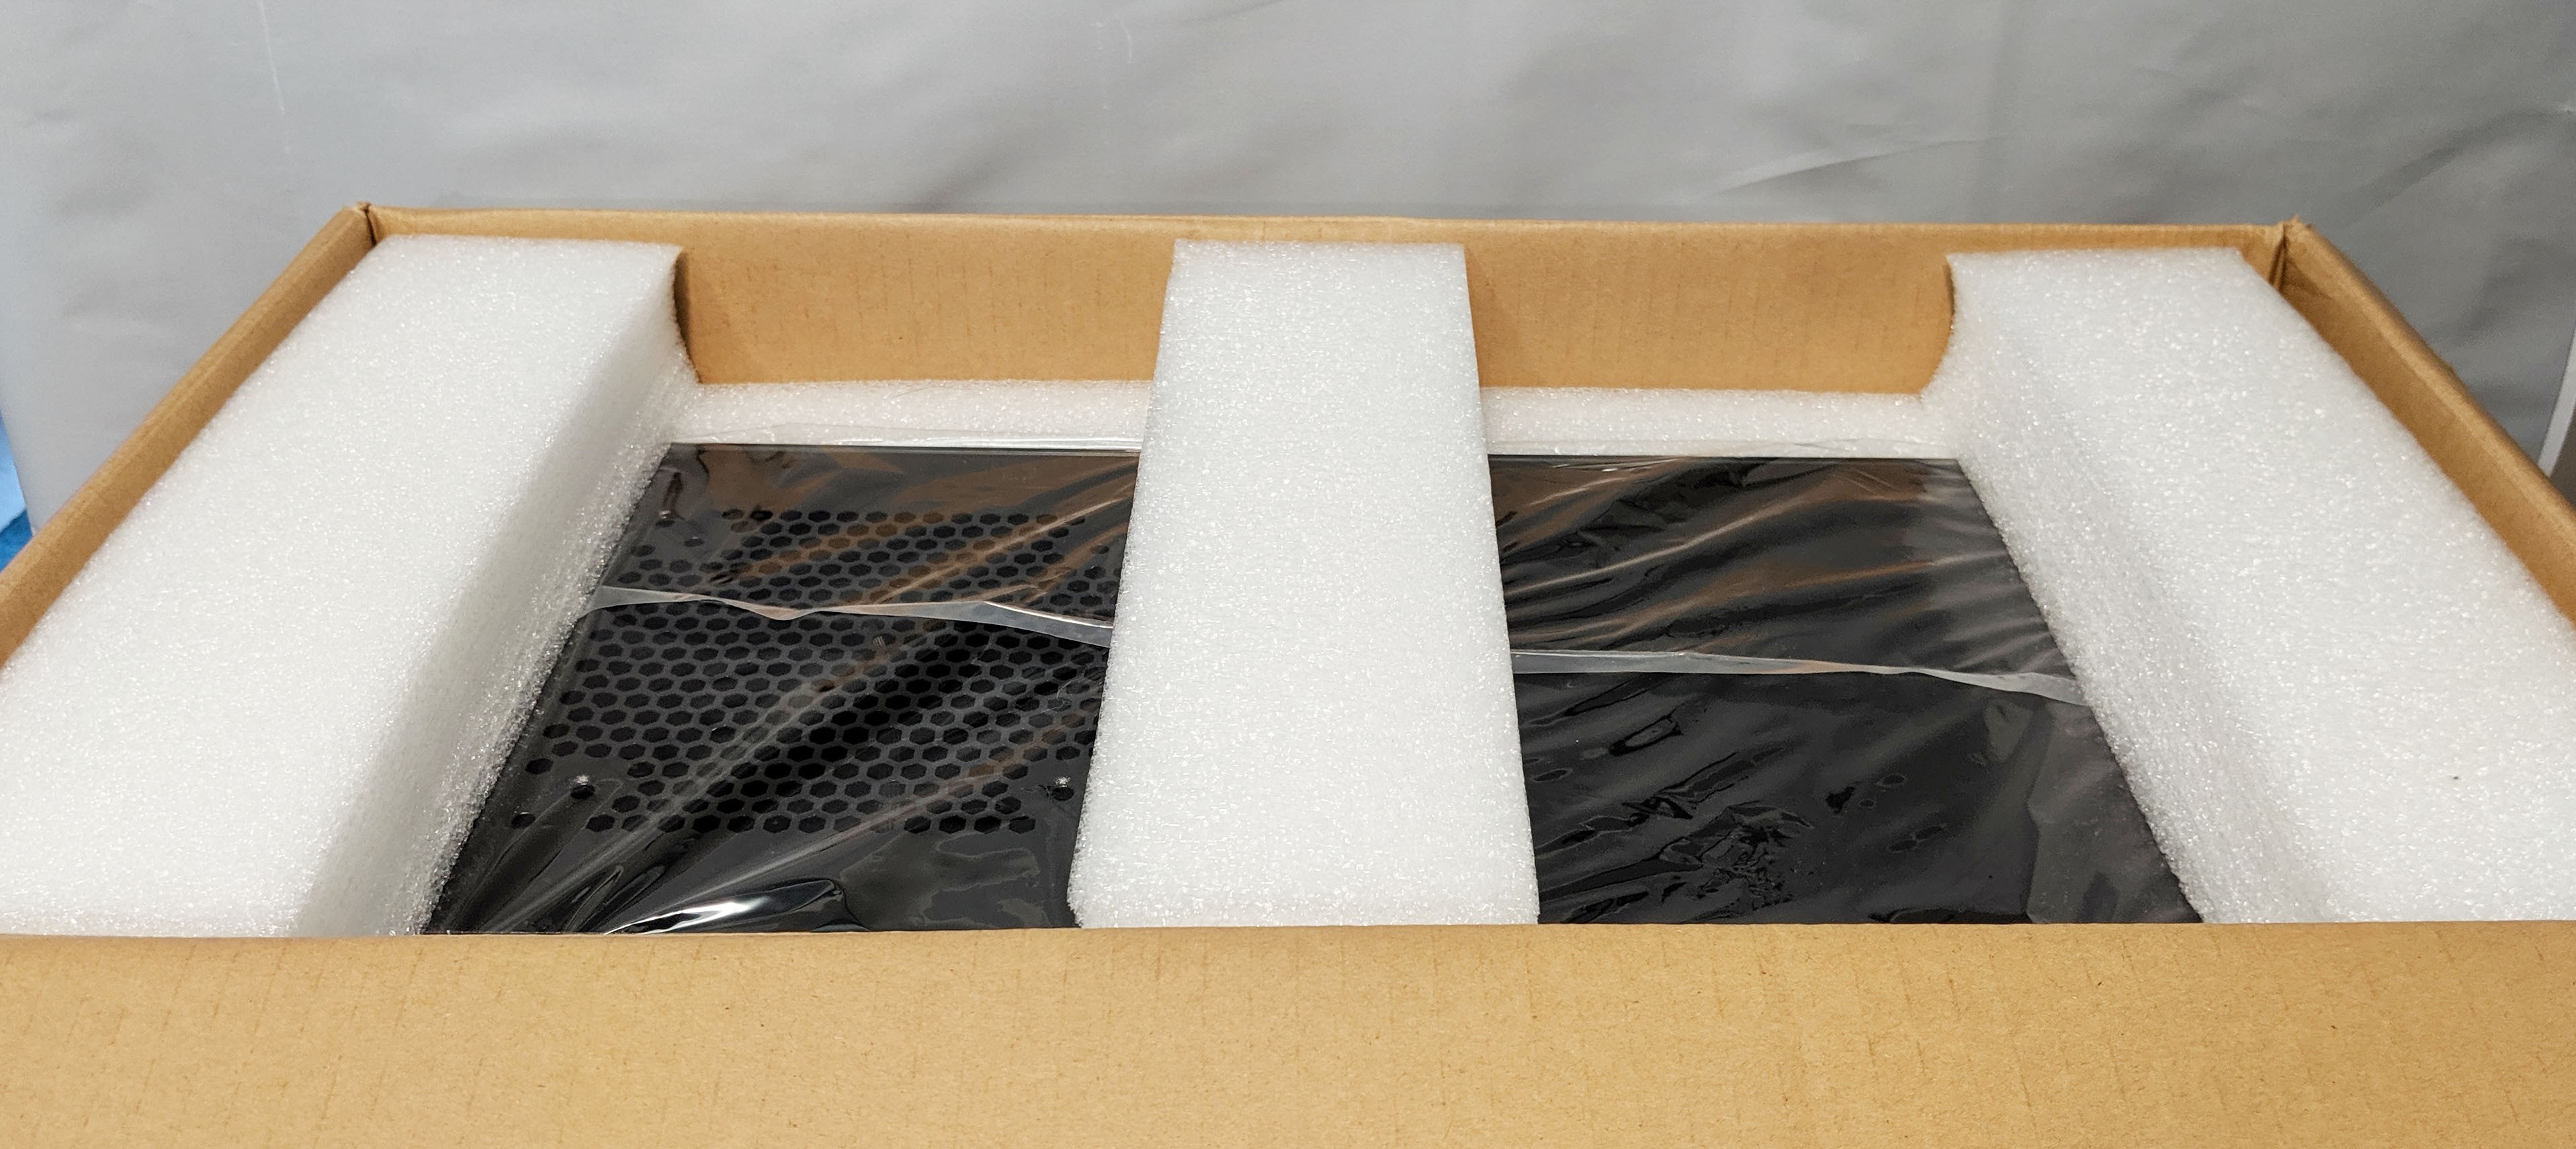
Dispite the minor damage to the box, thanks to our local mail courier, the case arrived with a perfect bill of health! This is likely due to the very thick and padded foam FSP decided to use rather than the traditional Styrofoam we typically see. When dealing with three tempered glass panels, proper packaging is a must and it looks like FSP nailed this one!
The case is placed inside a plastic bag and surrounded by the foam on both the top and bottom, keeping it in place.
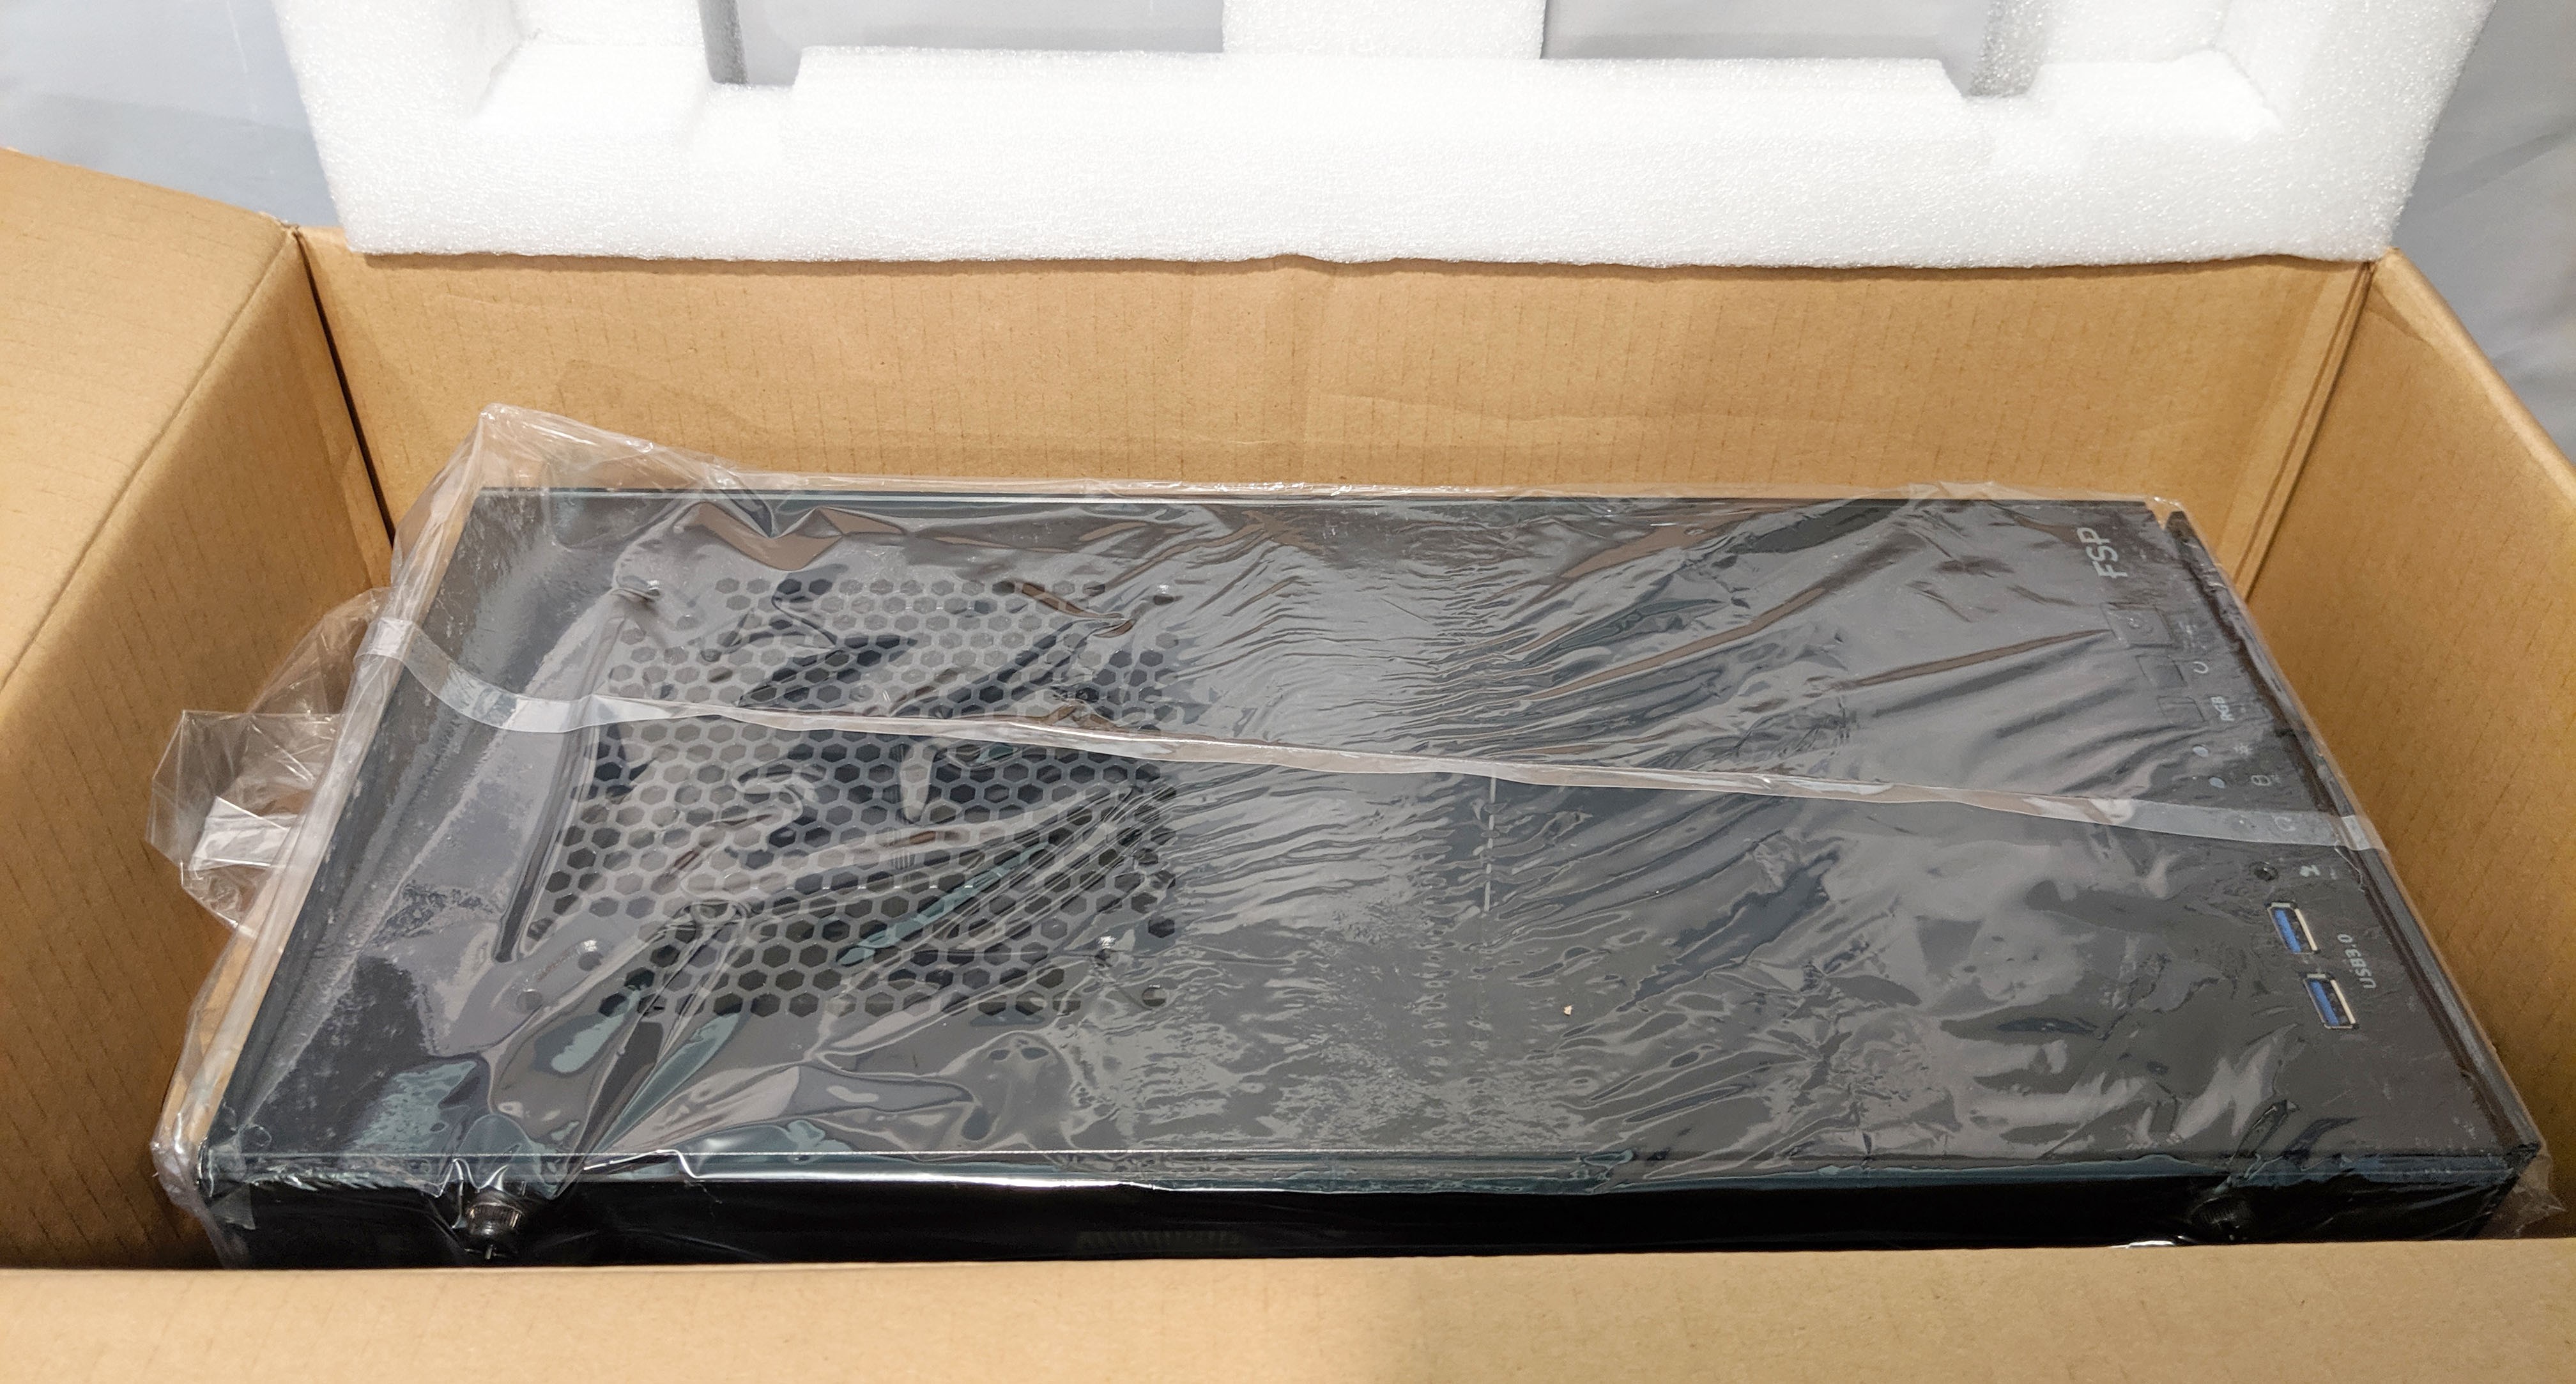
With the case out of the box, we get a better look at what we’re working with. Each tempered glass panel has protective film on both the front and back sides which will need to be removed. Removing this stuff is definitely my favorite part of any review….


An Even Closer Look…
Holy mother of shine! Photographing this case proved quite difficult thanks to all the reflective surfaces, however we made due. 🙂
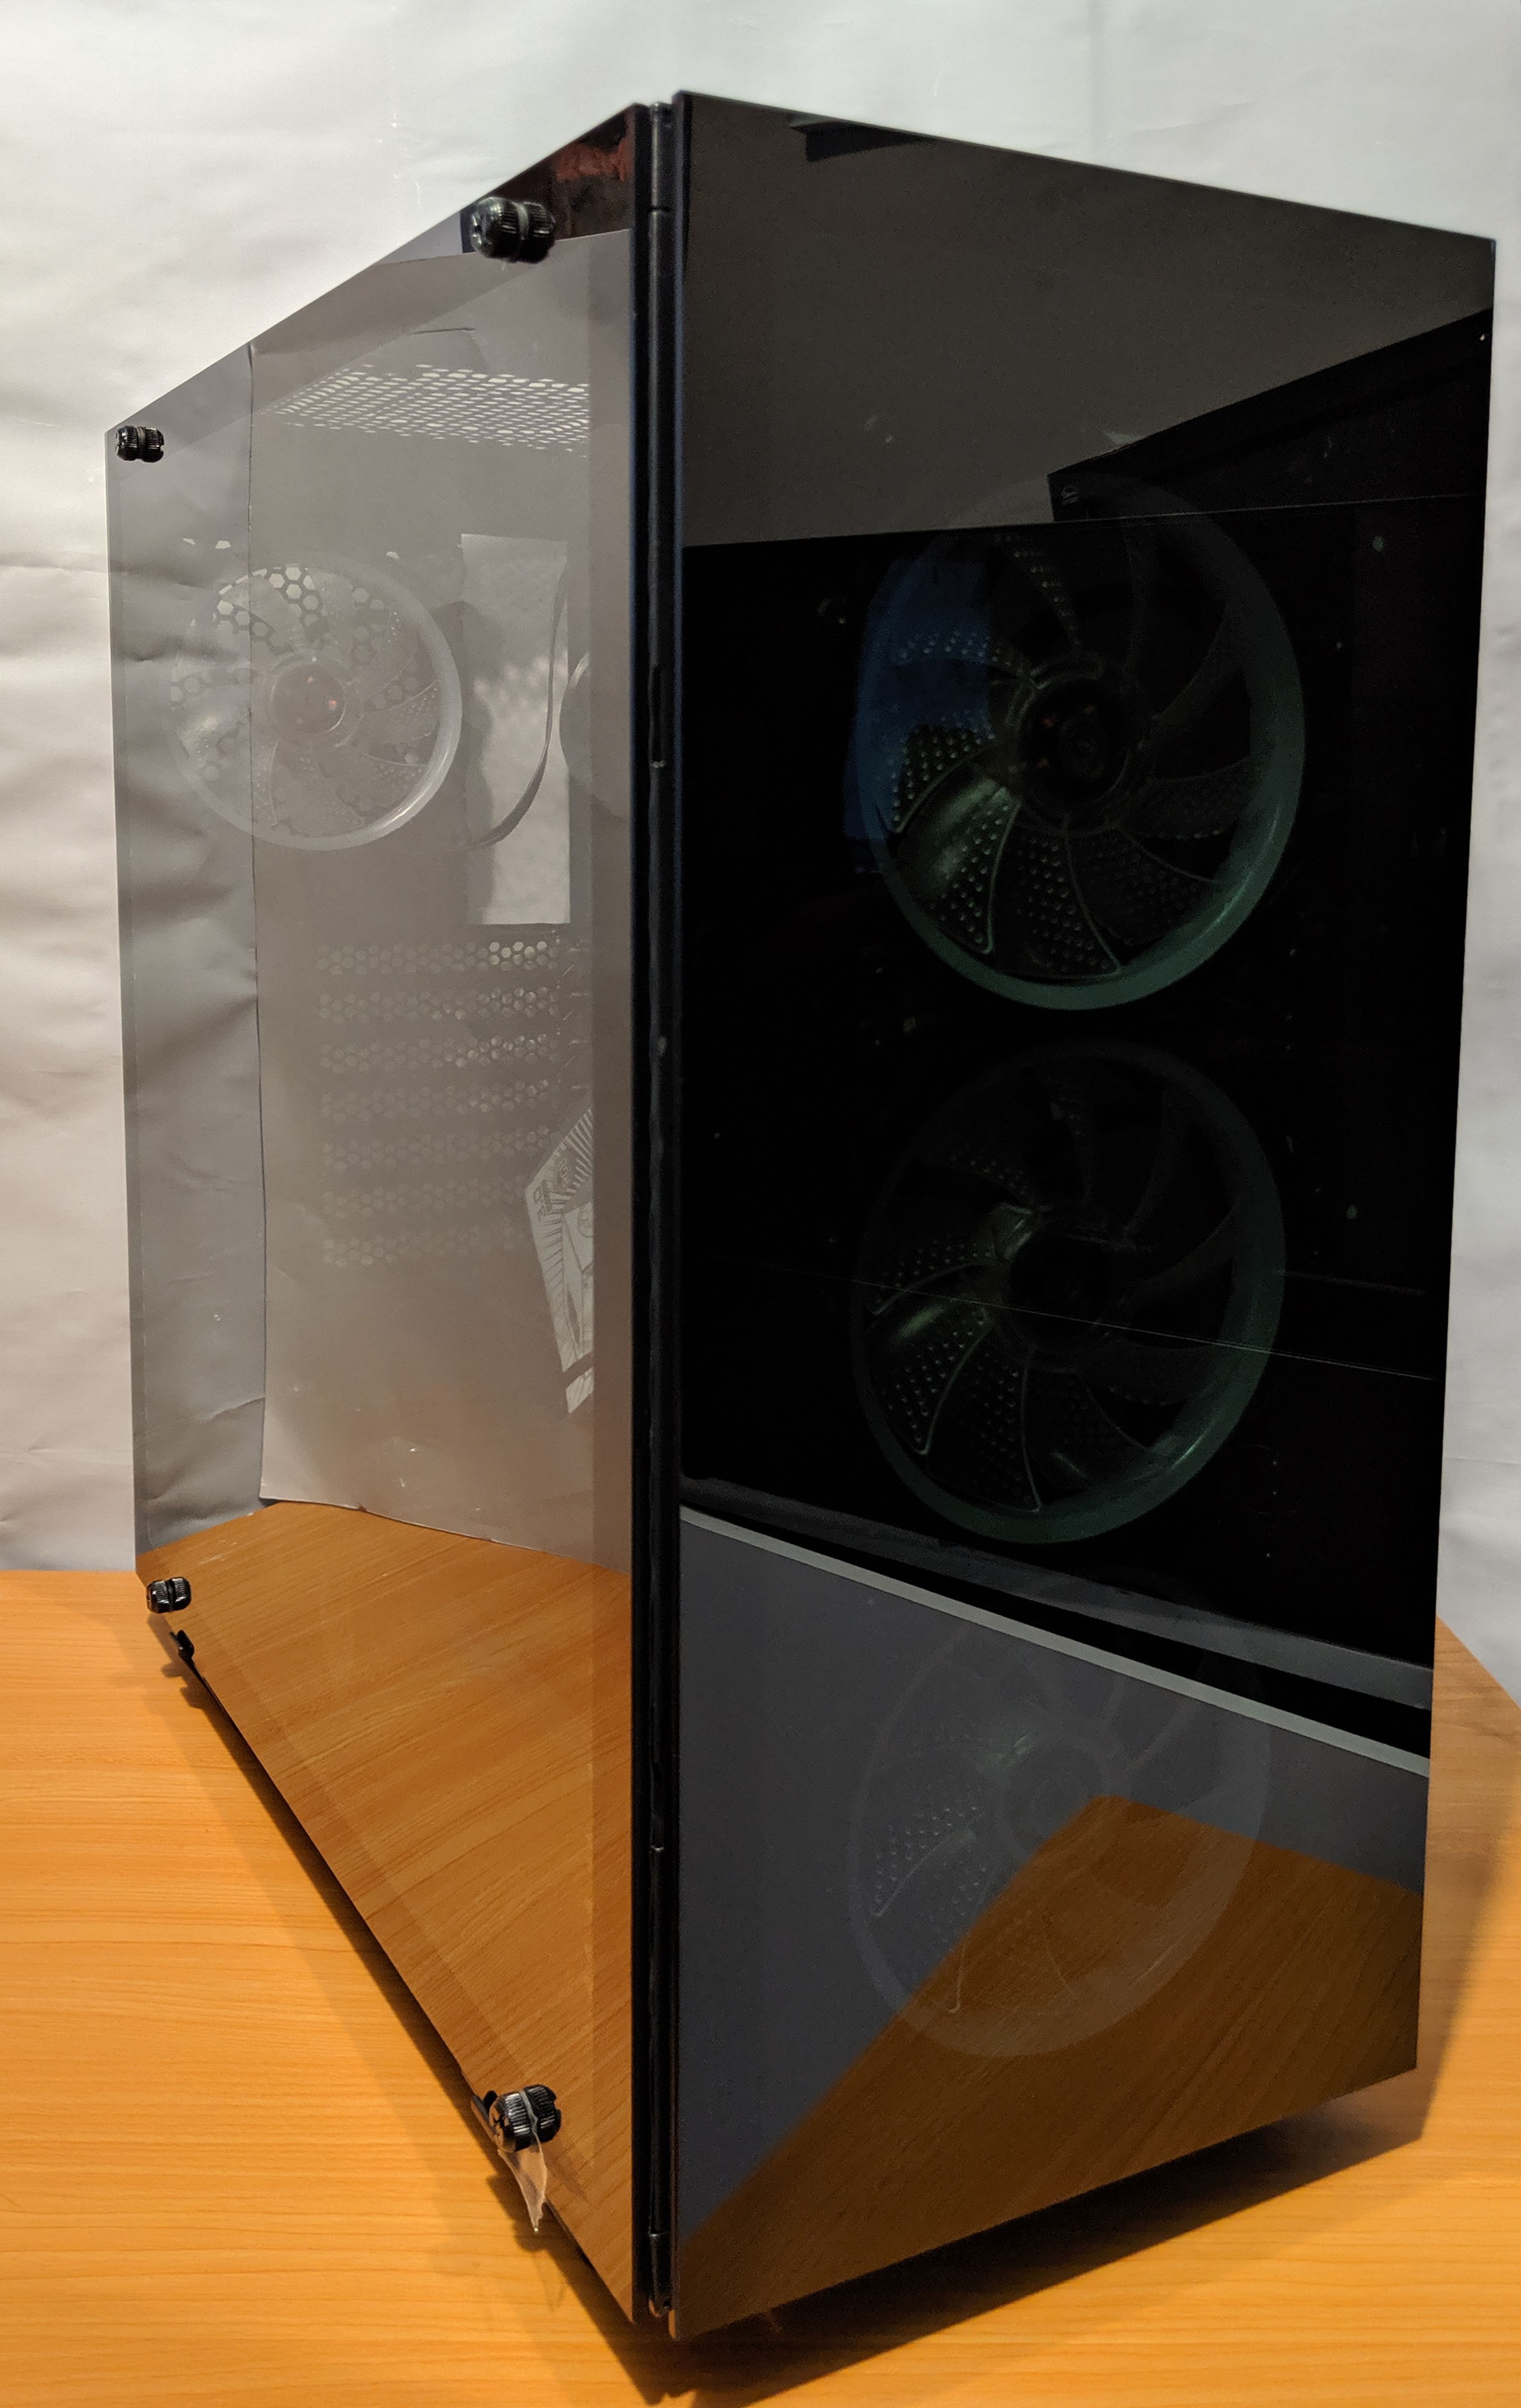
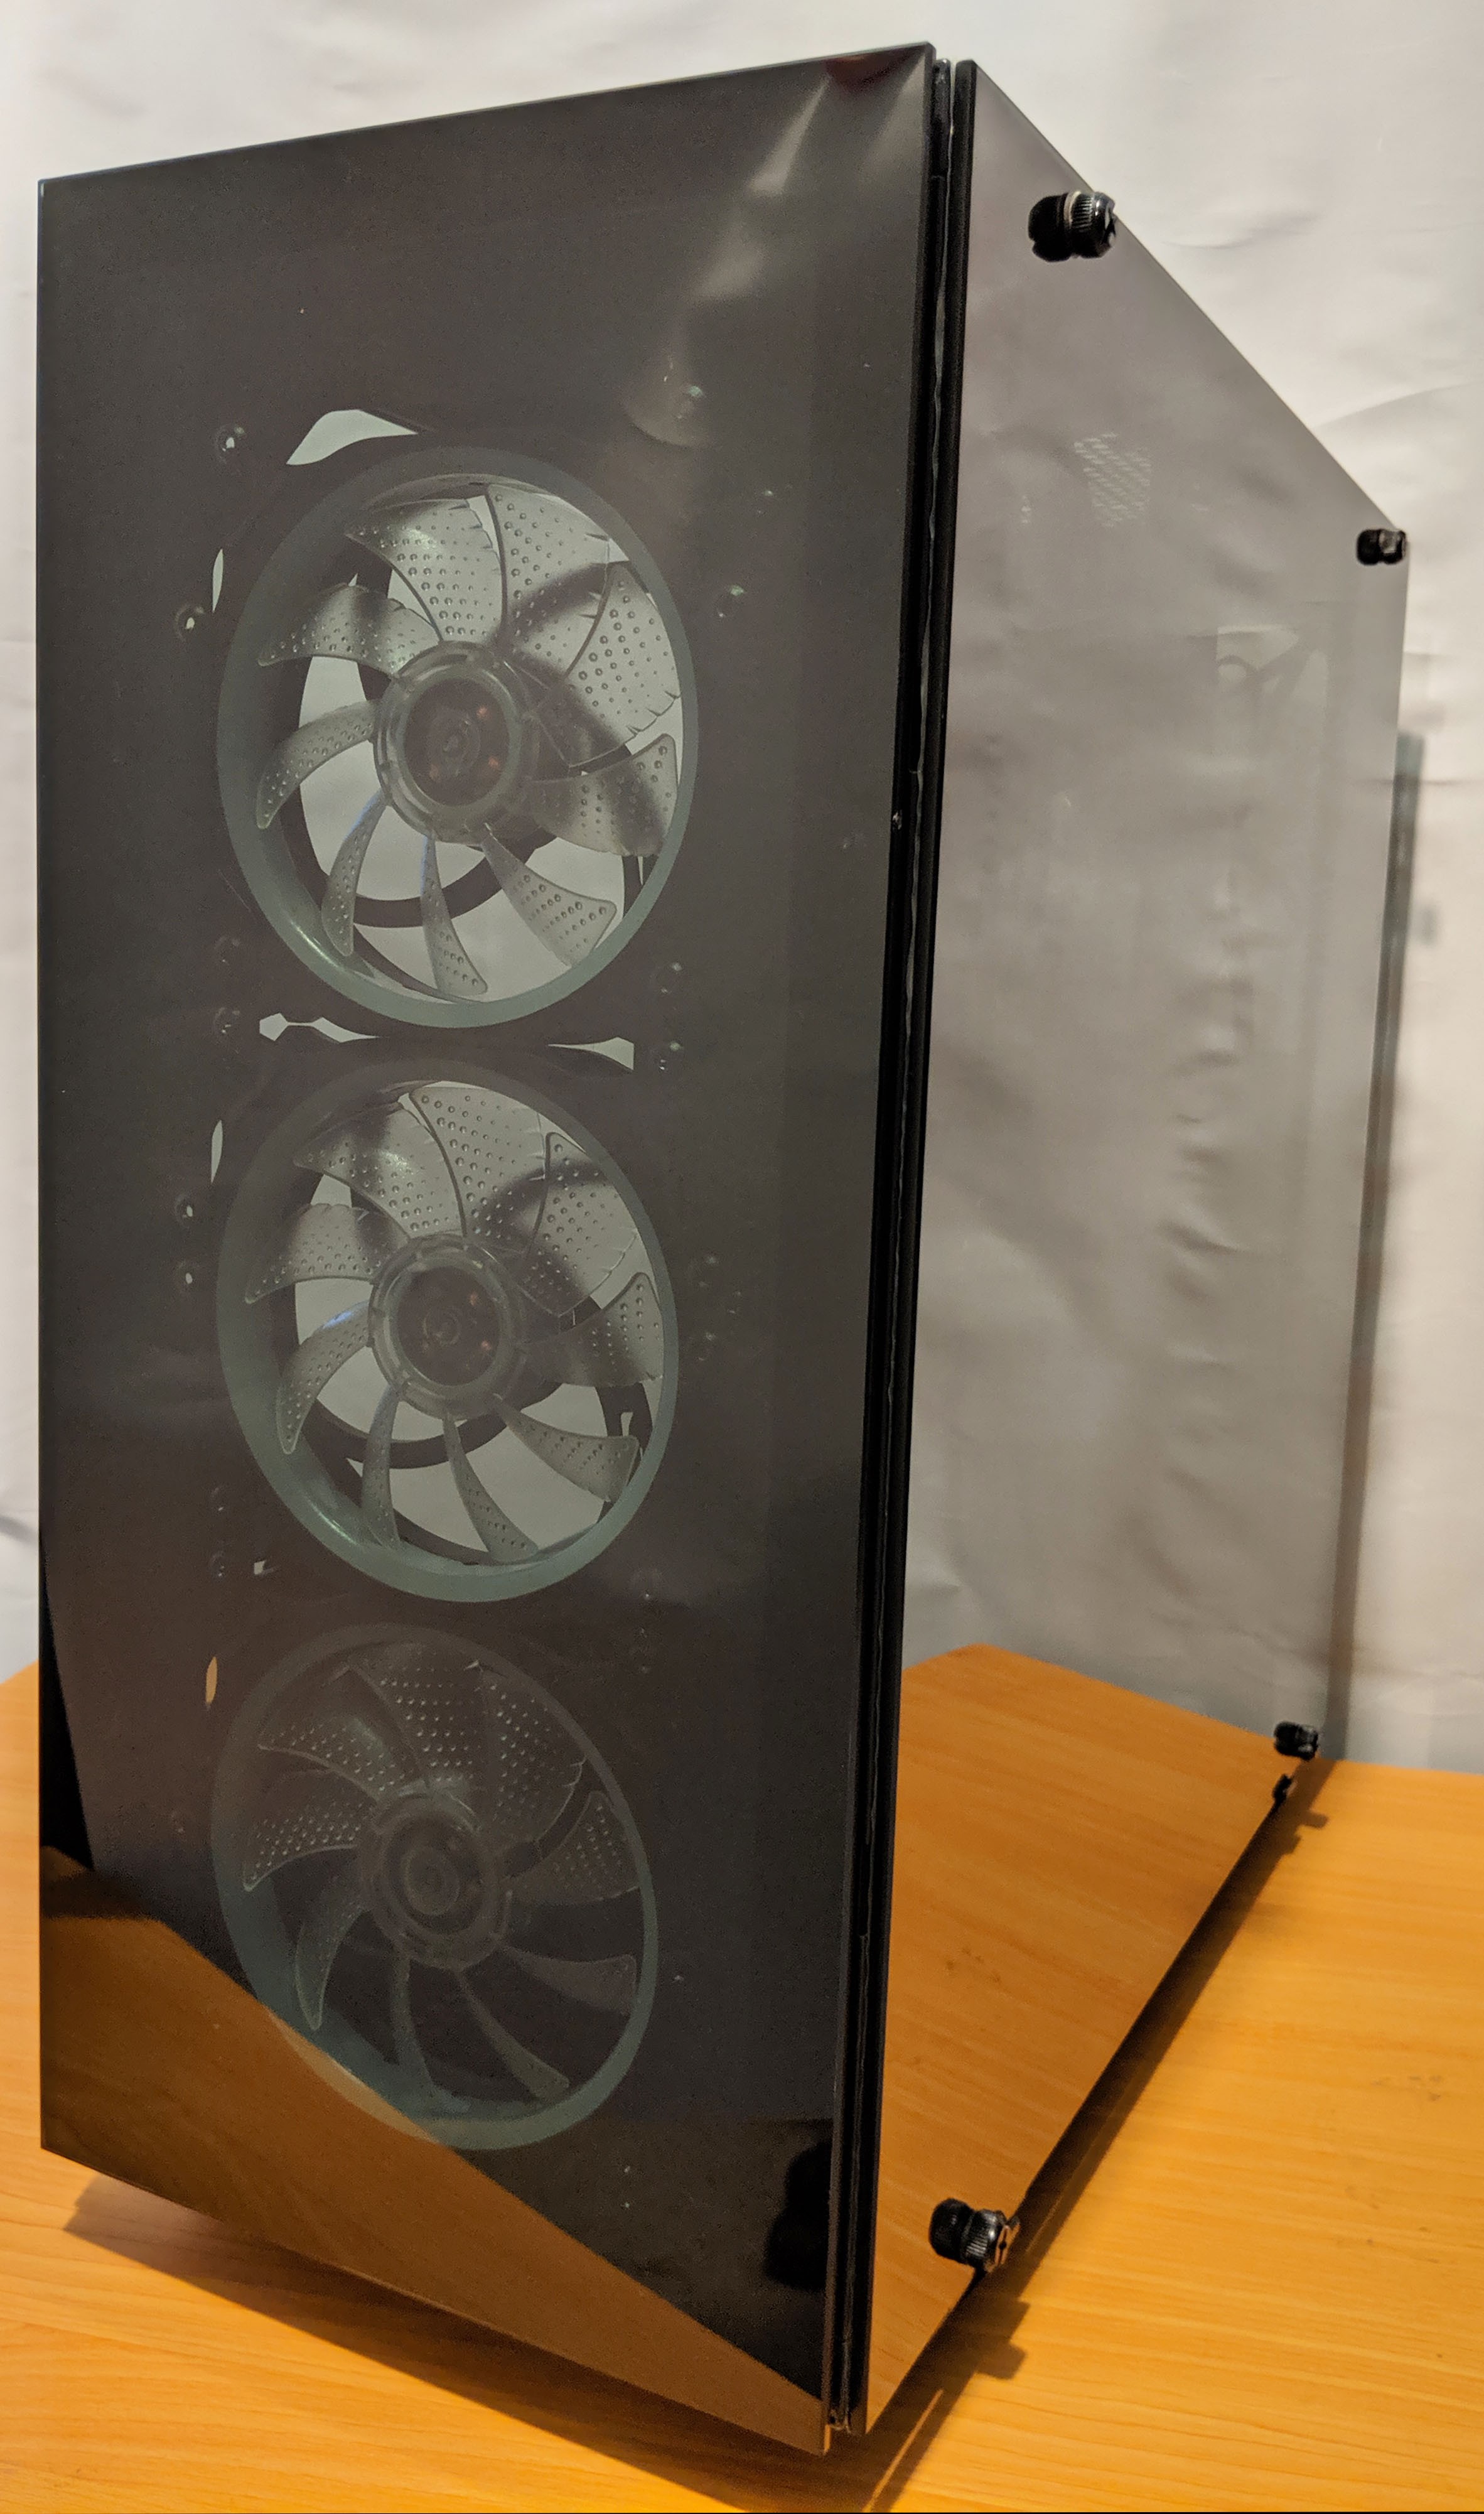
The three tempered glass panels on the front and each side end up providing a unique glossy cube look which I’m really liking. If you’ve never owned a tempered glass case before, the first thing you’ll notice over traditional clear plastic is how much more reflective and smooth it looks.
The tempered glass panels on the CMT510 Plus are smoked or tinted to reduce visibility inside the case by a fraction. The right-side panel is a bit darker than the rest as usually there’s not a whole lot going on over on that side anyways. Tinting the glass also makes the RGB lights stand out a bit more, so I’m definitely excited to see what this looks like powered on!
Here’s a better view of the tempered glass edges. As you can see, it’s quite thick overall which really adds some heft to the case.
Note: When dealing with tempered glass, be sure to handle the panels (and the case as a whole) with extreme care. While tempered glass (also known as safety glass) is incredibly strong, especially when it comes to withstanding surface impacts, the corners and edges are very weak. Knocking the corner into something could cause the entire panel to instantly shatter!
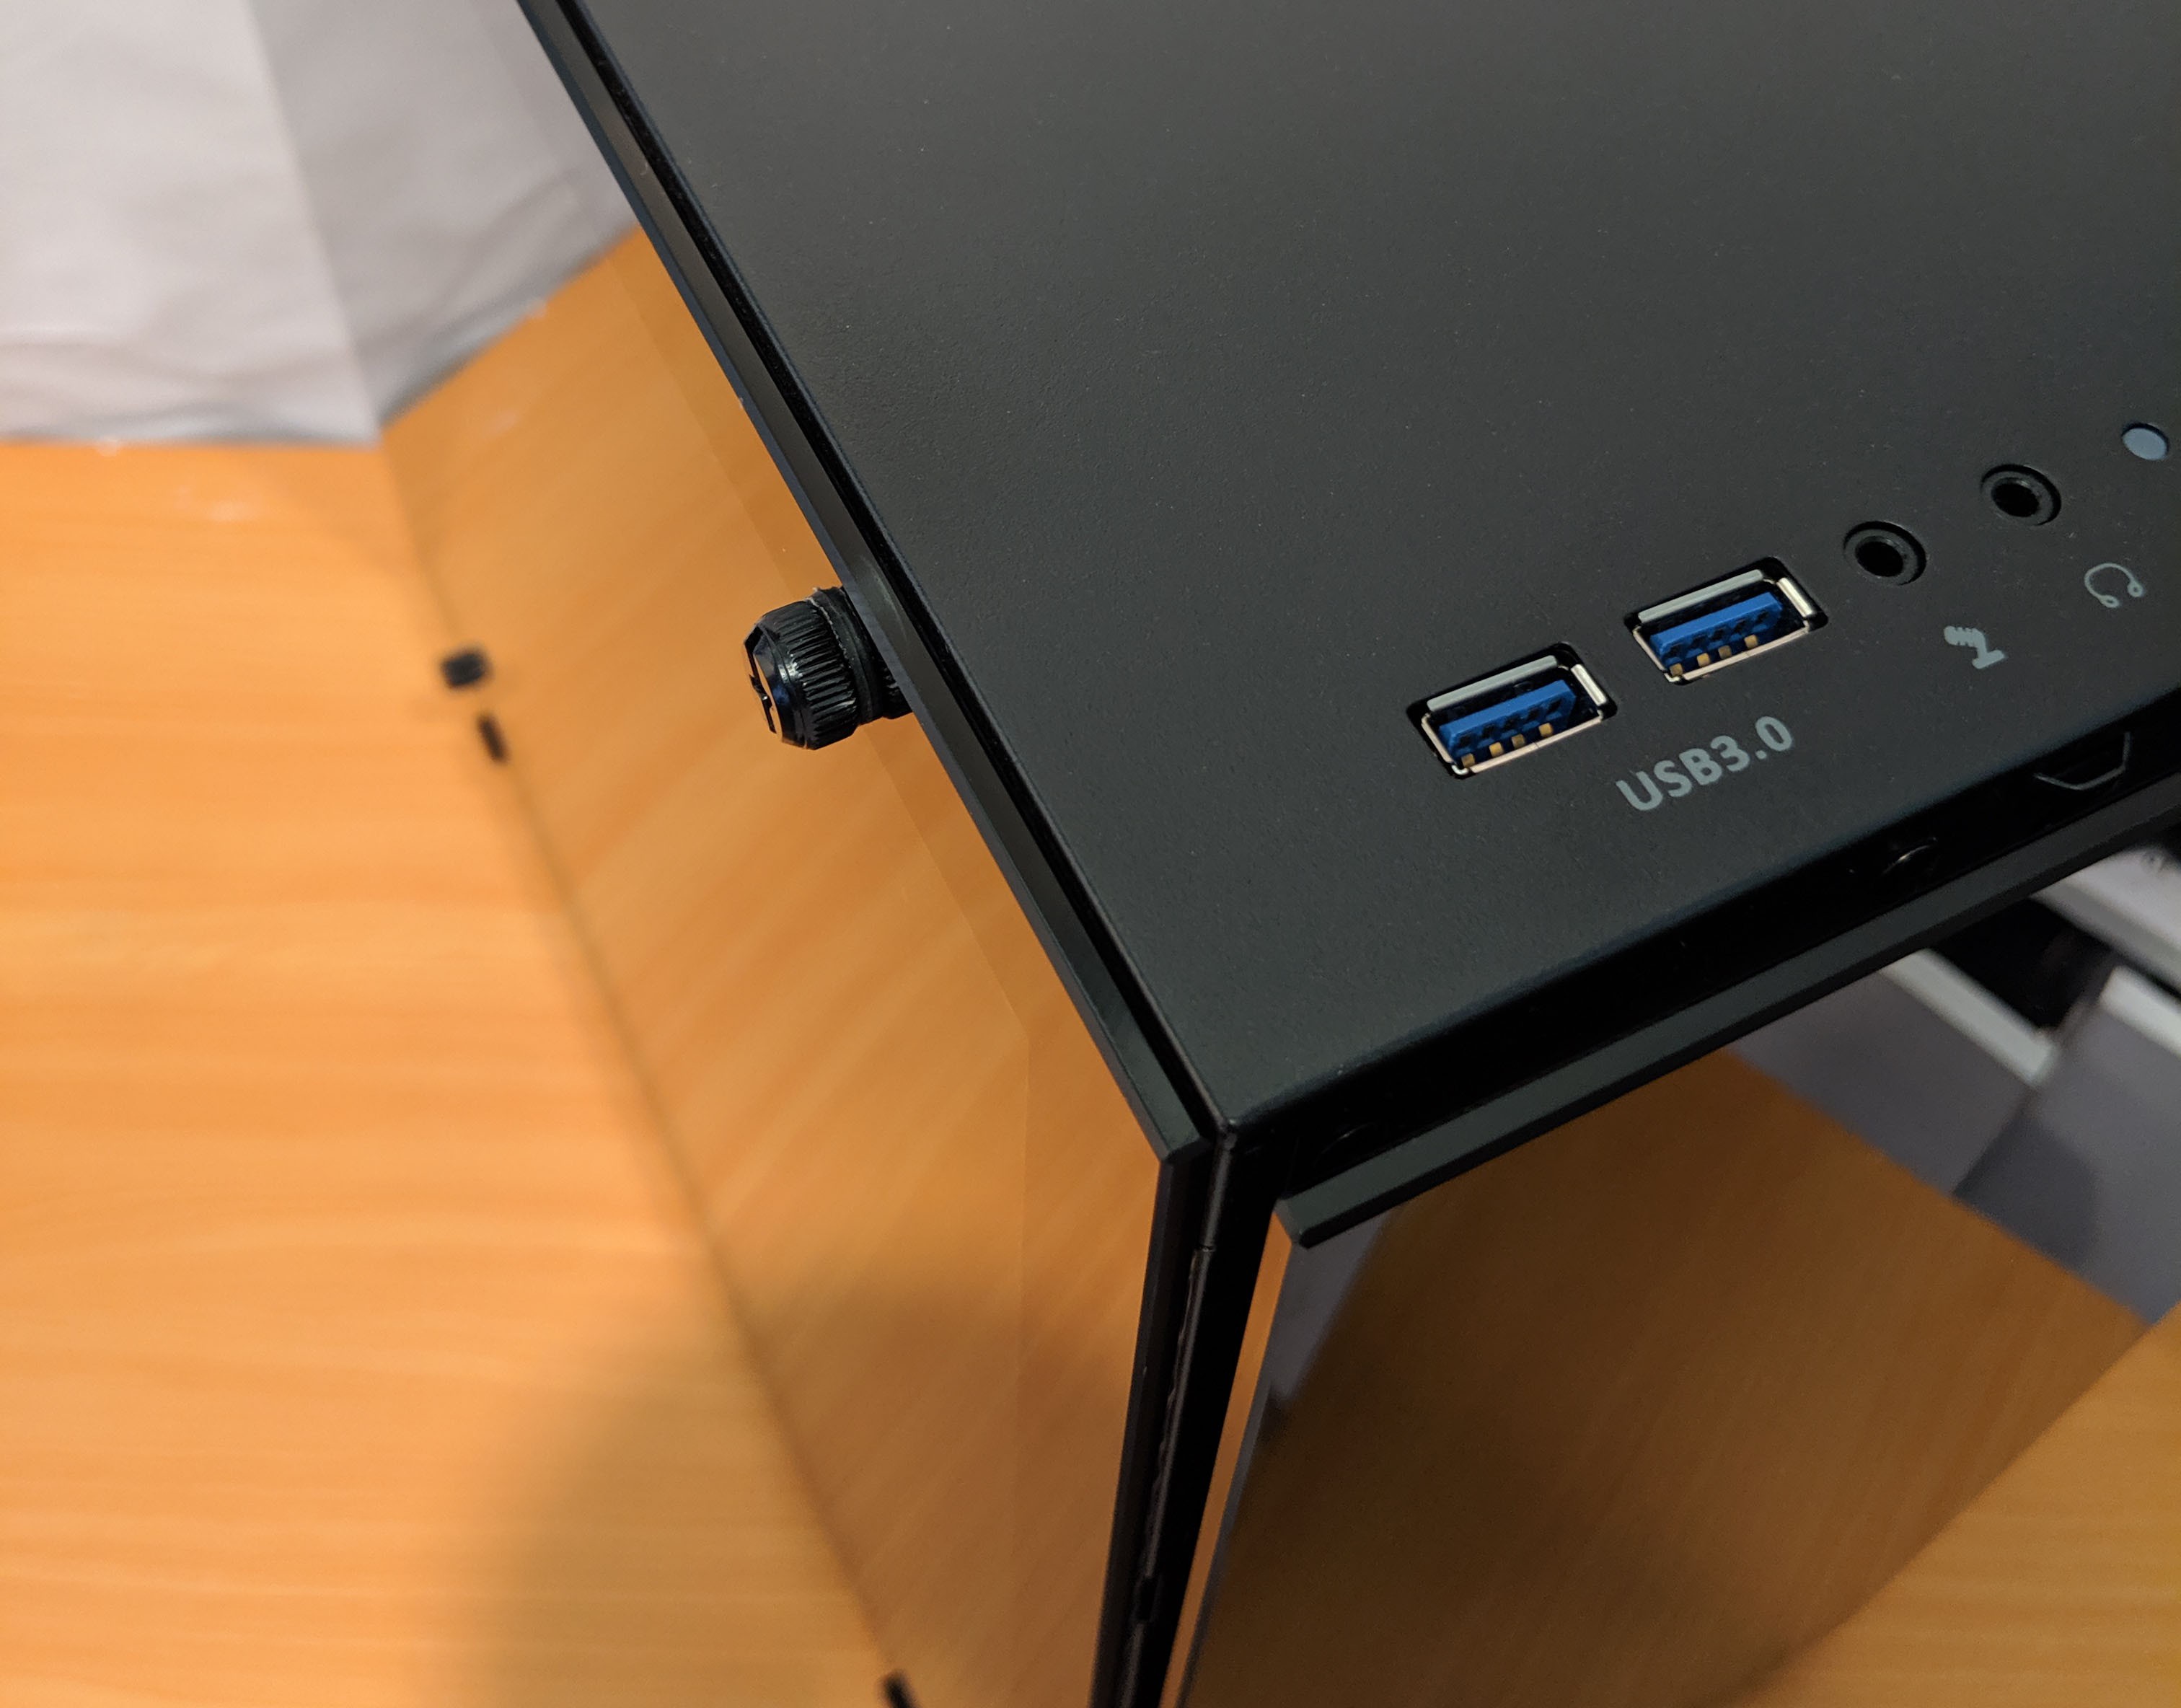
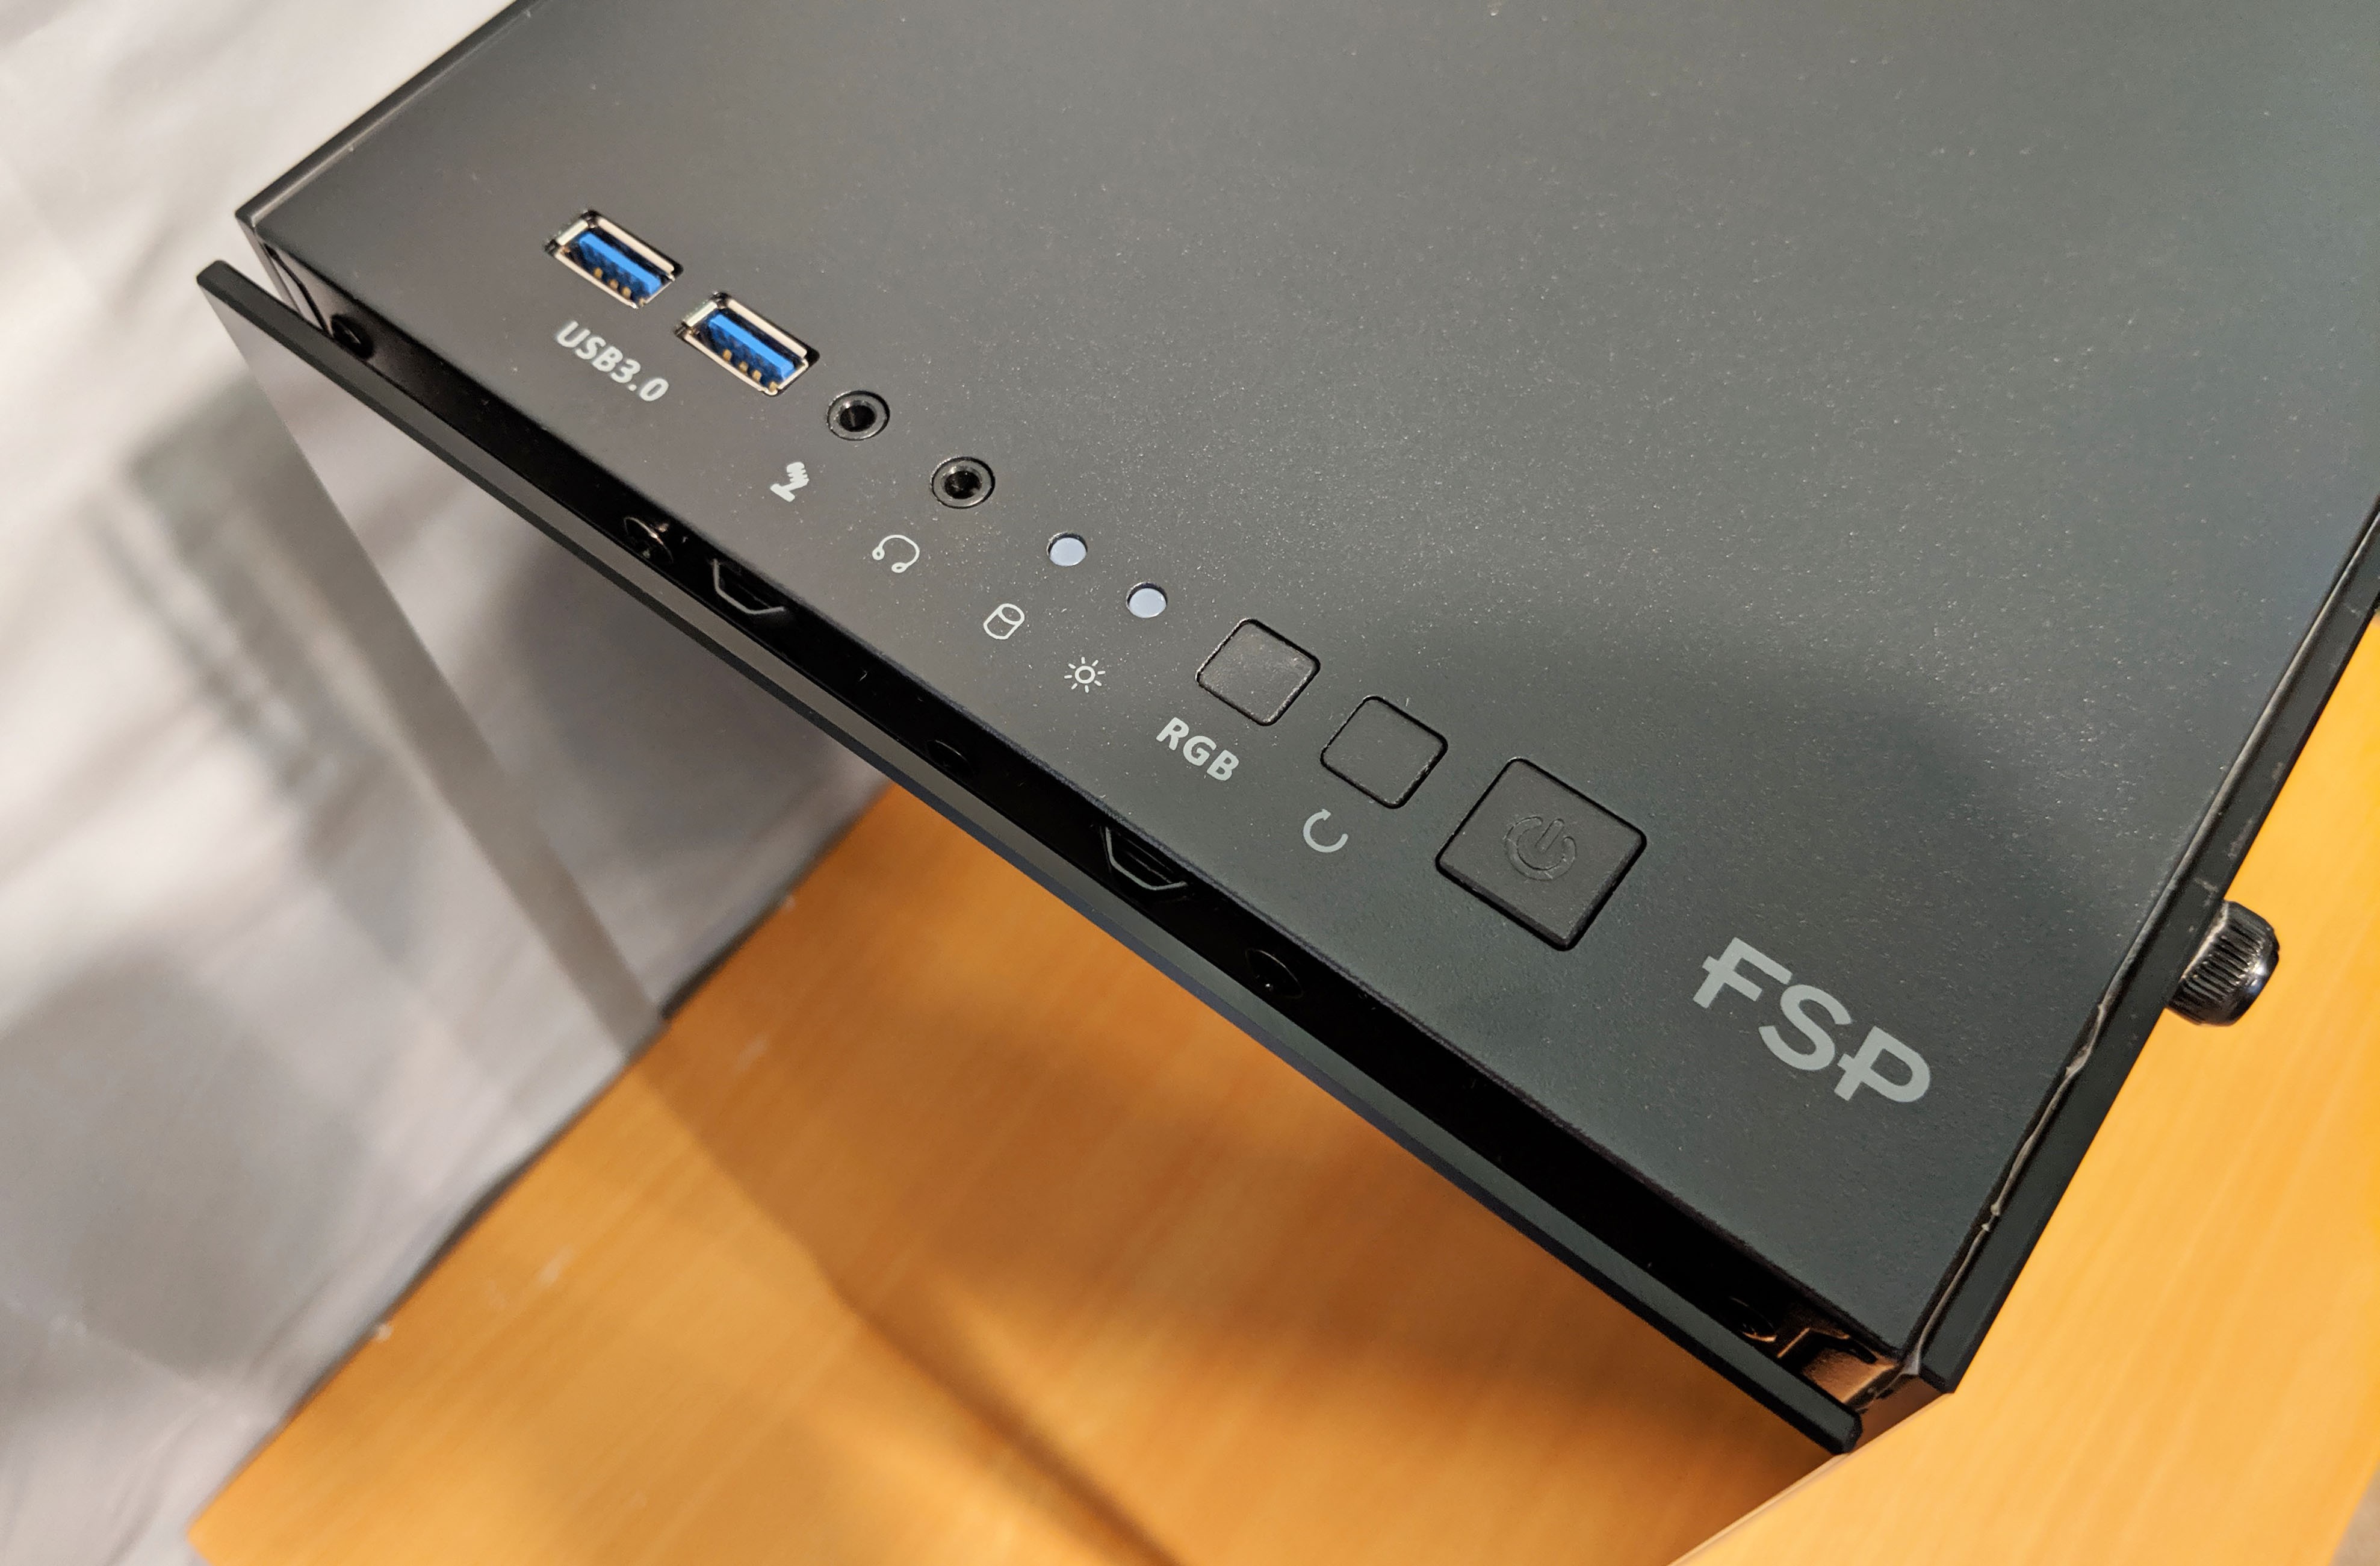
It’s good to see FSP providing its users with proper front I/O panels, which seems to be a pattern we’ve seen with cases in the past. Many-a manufacturer these days take the minimalistic approach and neglect items such as 3.5mm jacks, and/or a reset button. The front I/O panel on this case pretty much has it all! The extra RGB button is used for toggling the RGB effects if you opt to use the built in RGB LED controller to manage these effects instead of the motherboard.
Moving over to the right side… as you can see the panel is tinted a bit darker than the other two. This is good as this area is typically pretty messy cable-wise.
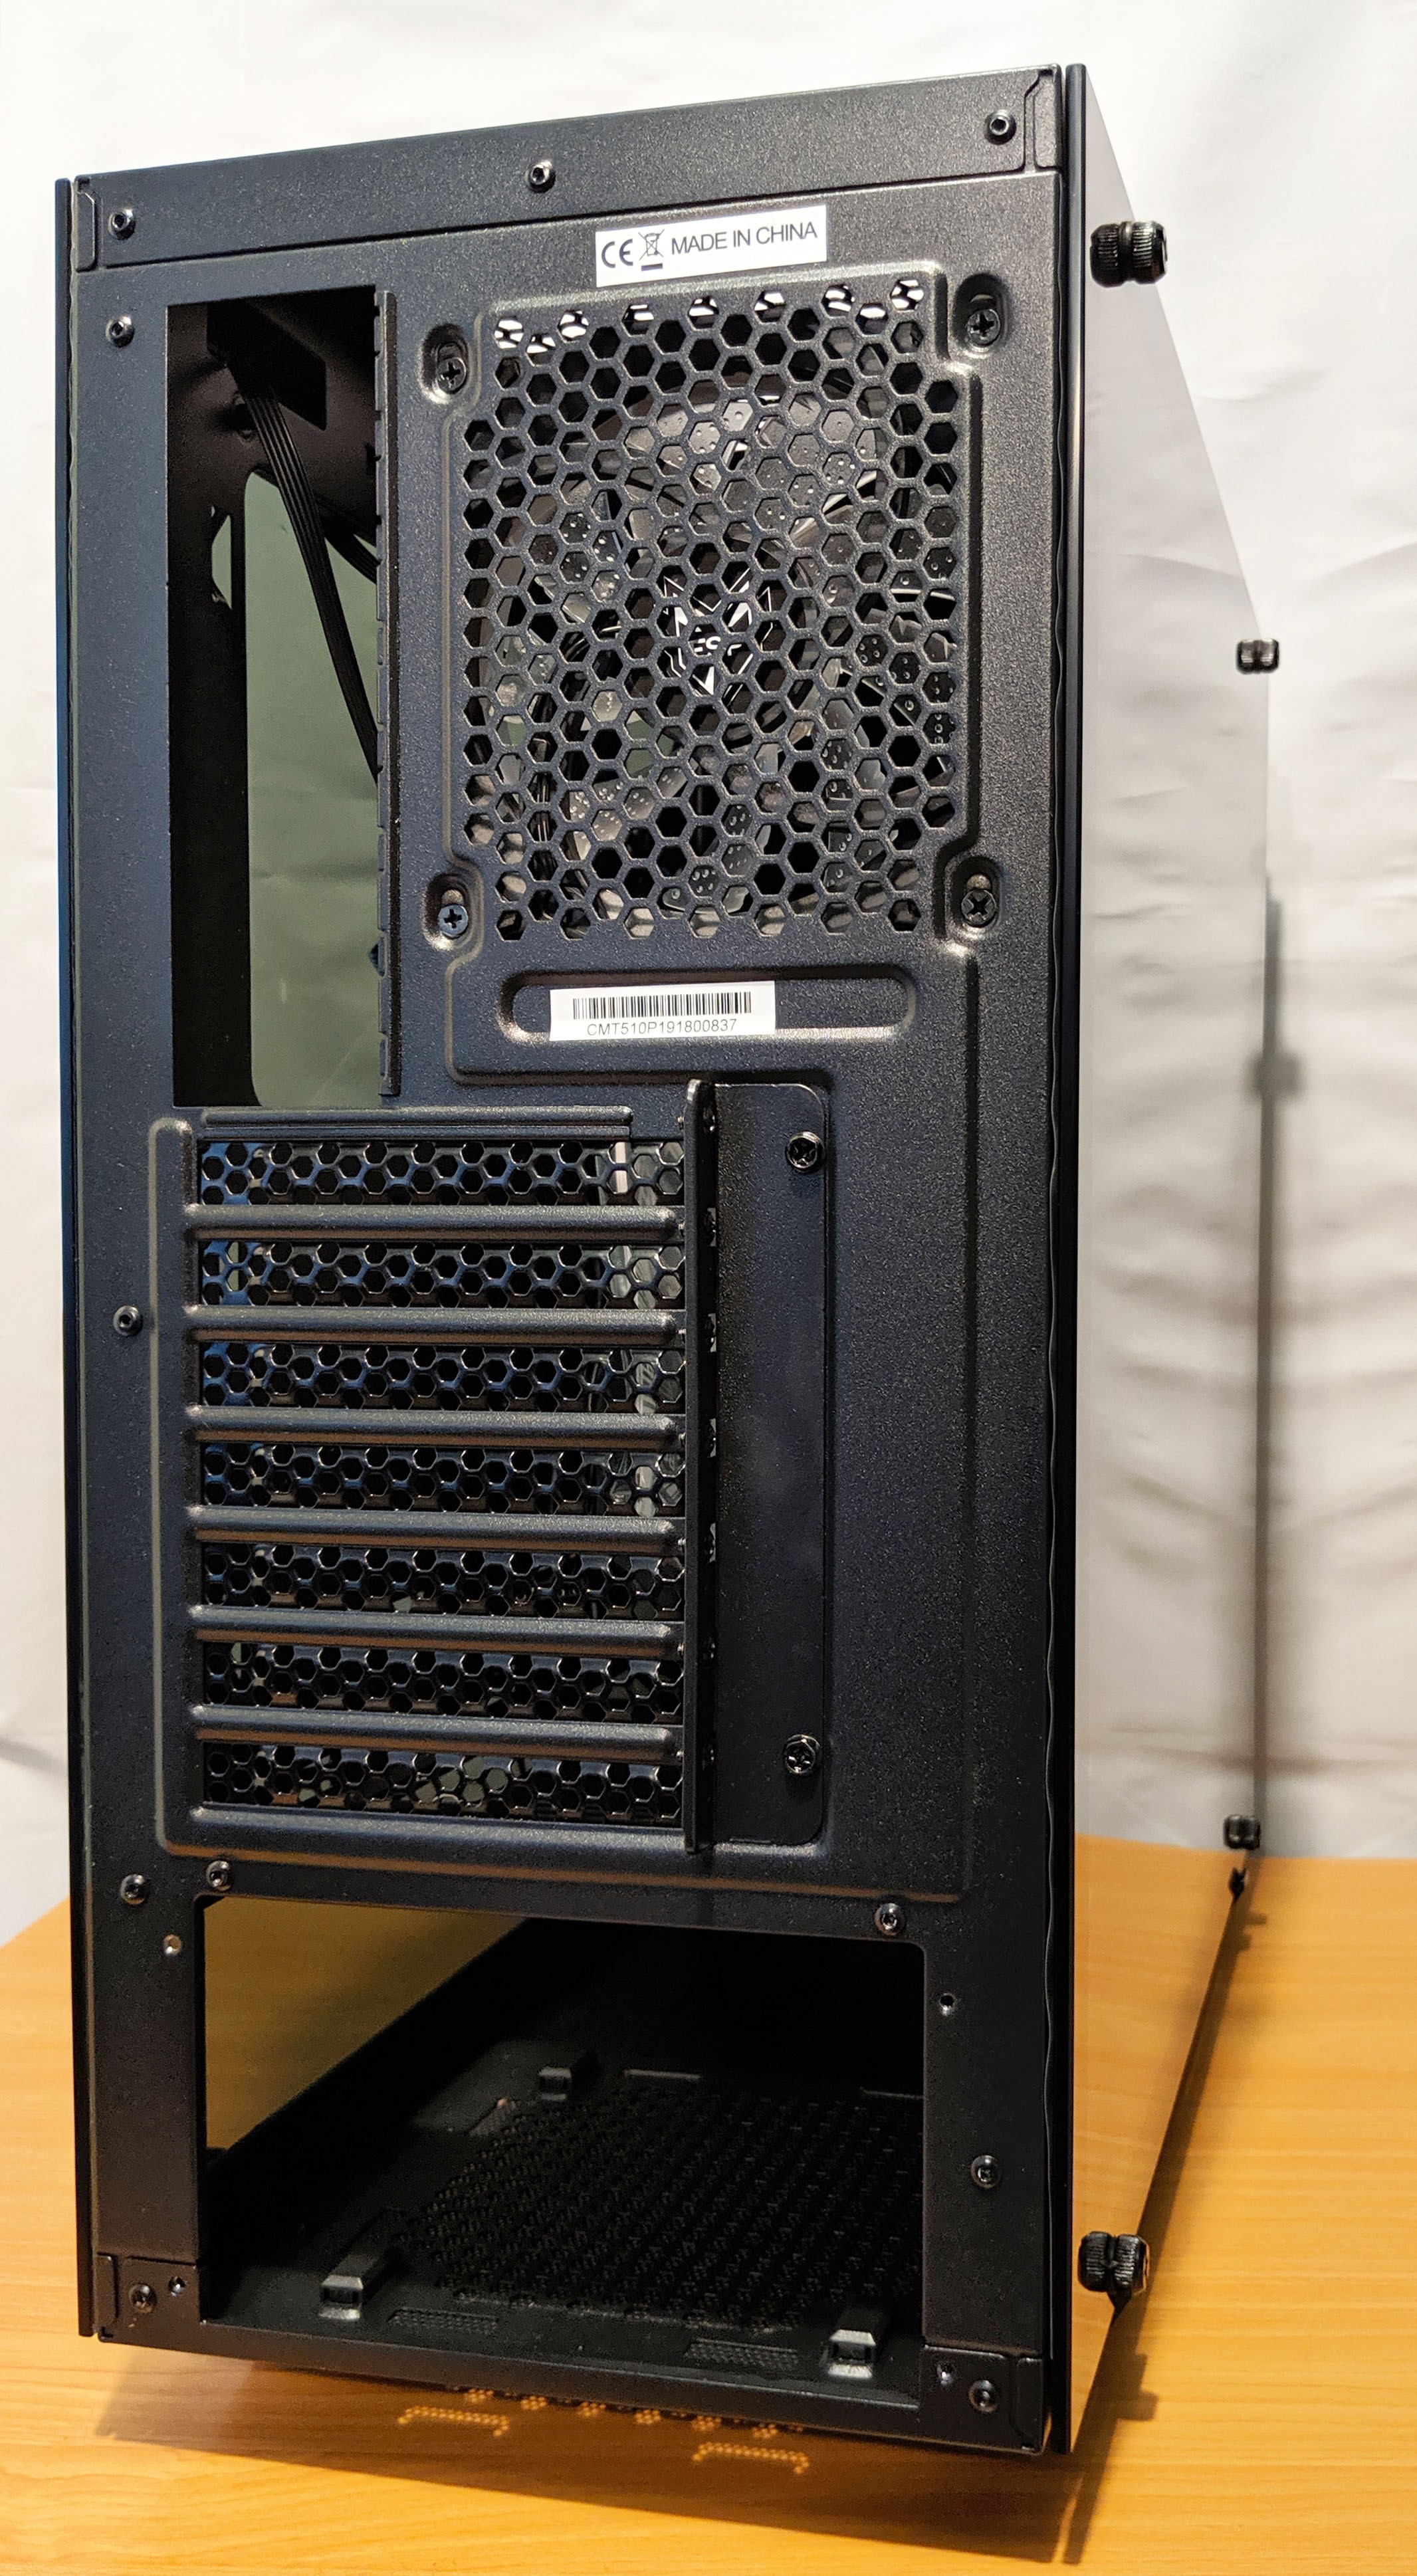
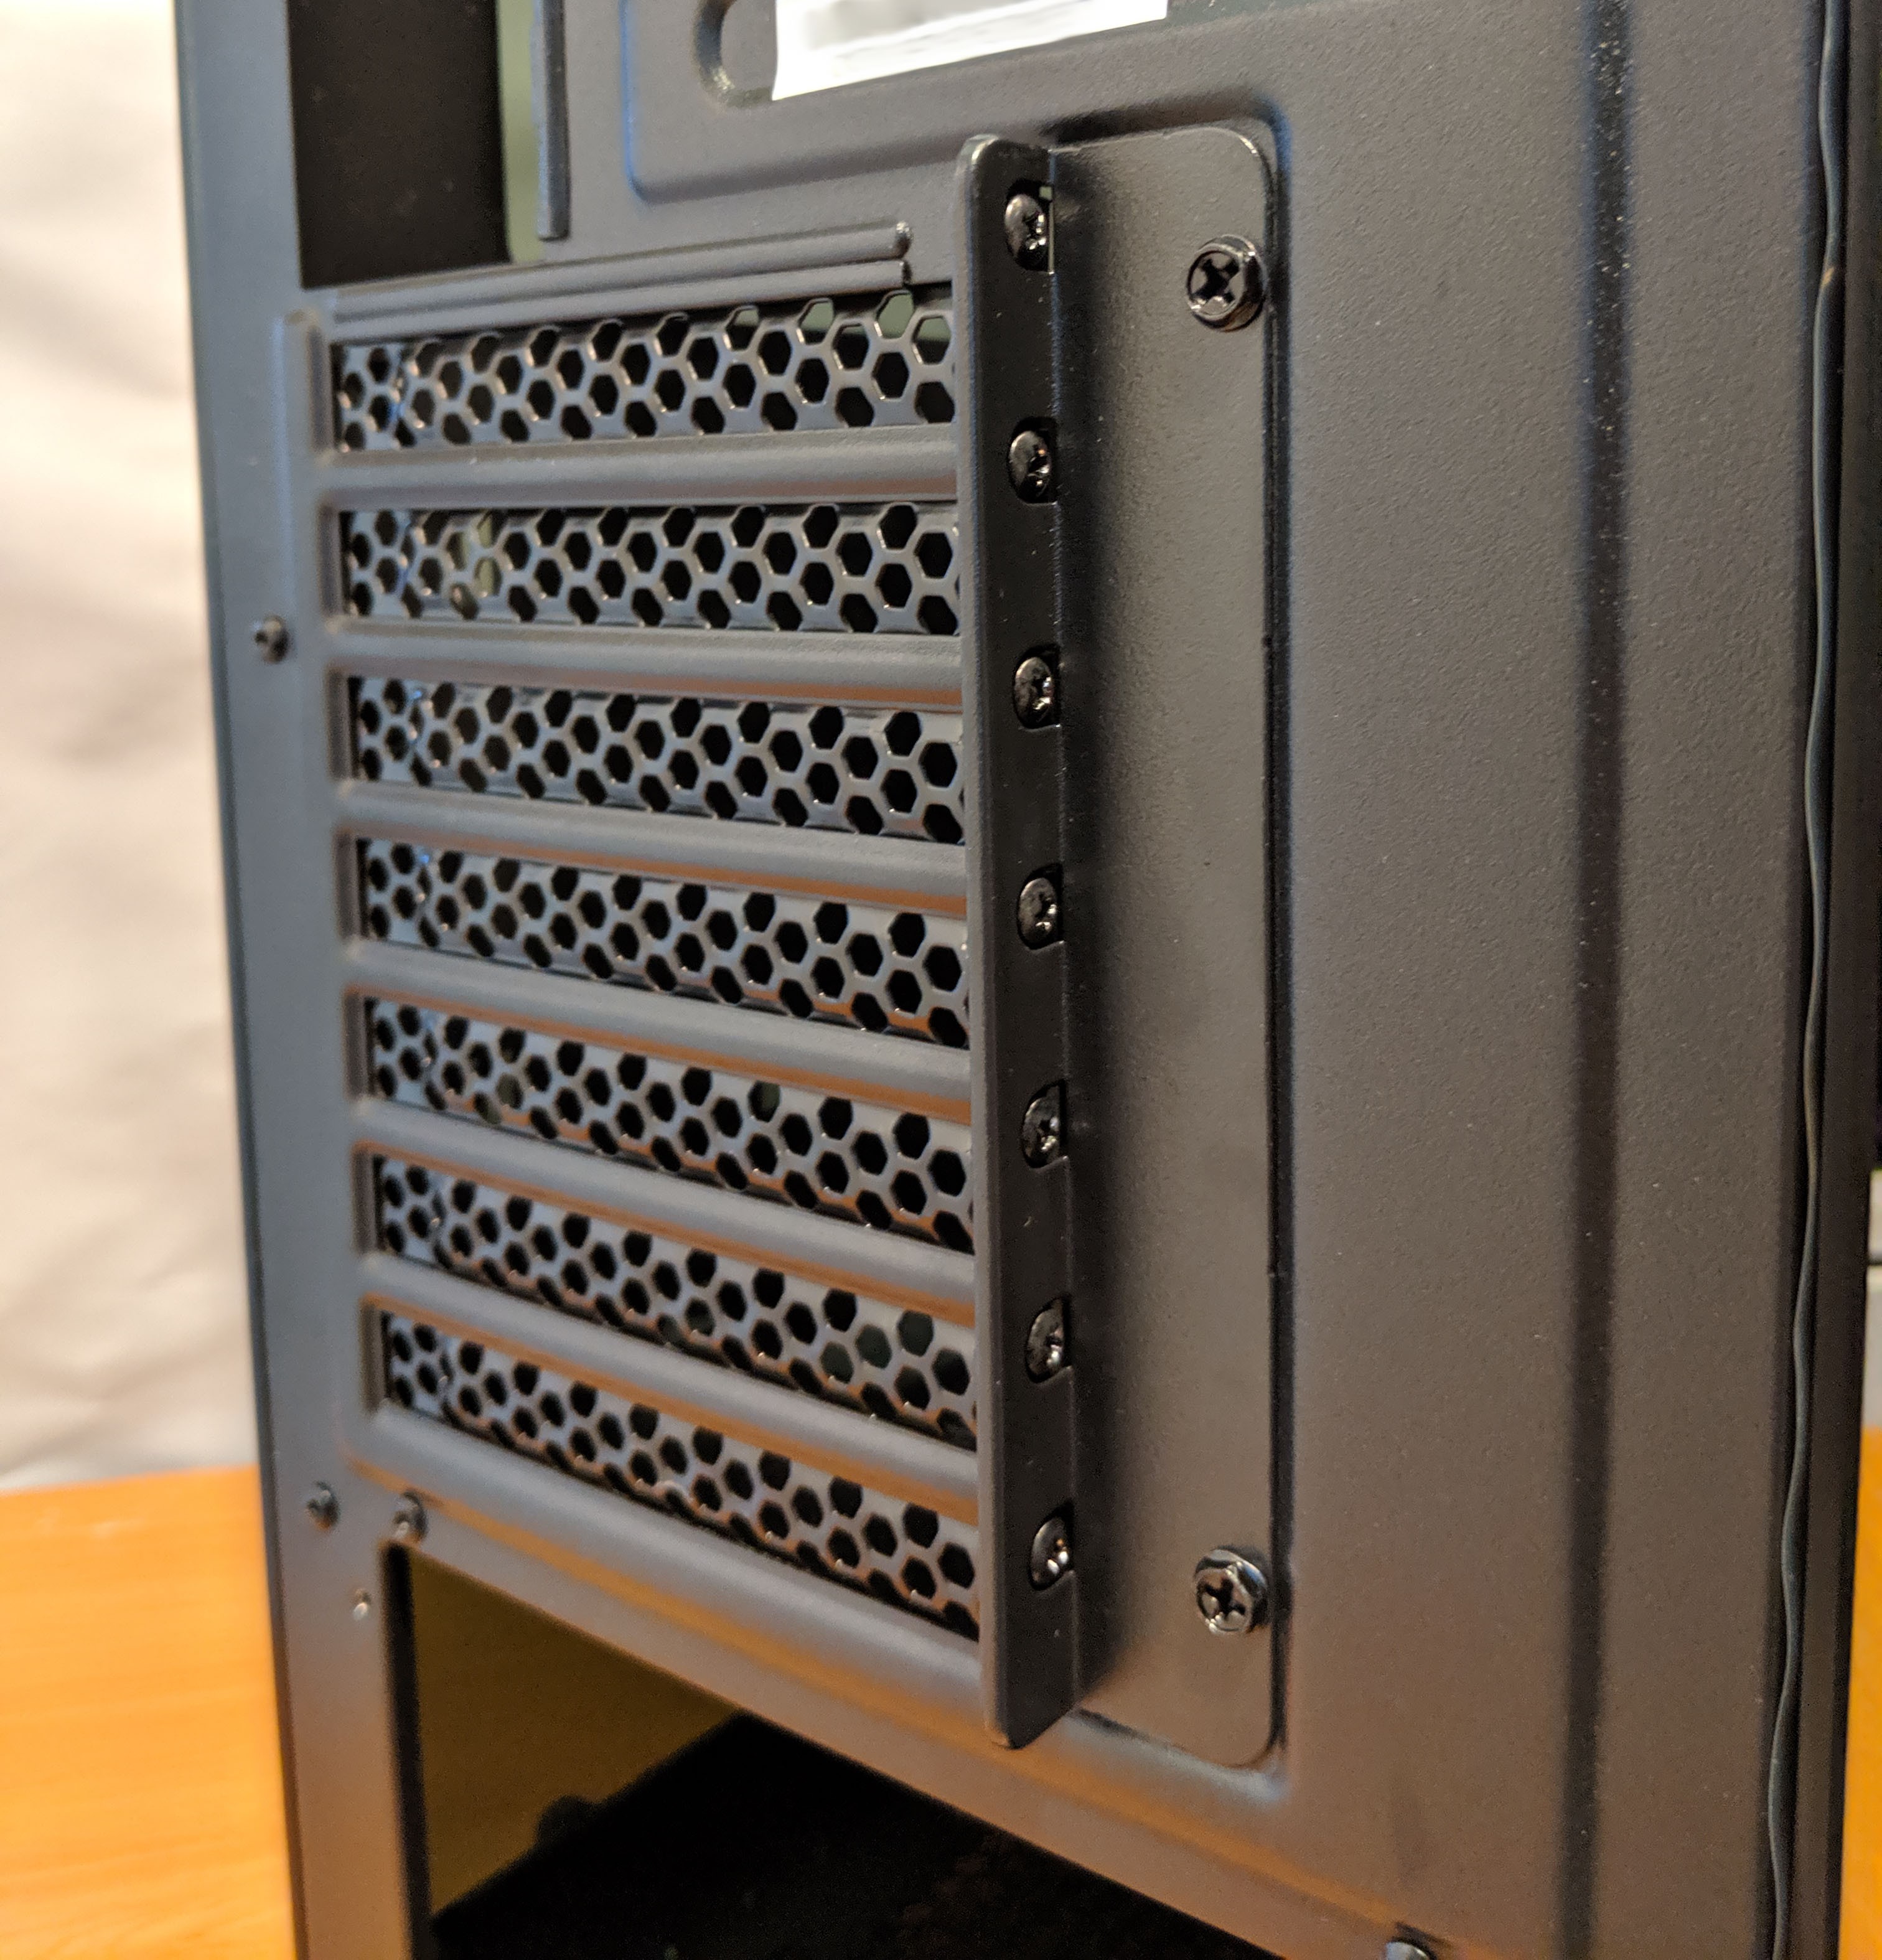
The back of the case is pretty typical as to what you might find on most cases. Probably the only noteworthy mention is the expansion slot cover. In order to gain access to the expansion slots, a pre-cover needs to be removed which is held on by two screws. This can be seen in the image below (right).
Located at the bottom is the power supply mounting area. The PSU is installed by installing a bracket onto the PSU first, and then sliding it in through the rear.
The top of the case features a single 120/140mm fan mount which can either house a single radiator. As someone who traditionally runs a 240mm radiator on the CPU I was a little disapointed that option isn’t available as it seems like it would have been a simple modification. The option to mount a larger radiator is still available at the front of the case, however it will cover up those RGB fans from the inside.

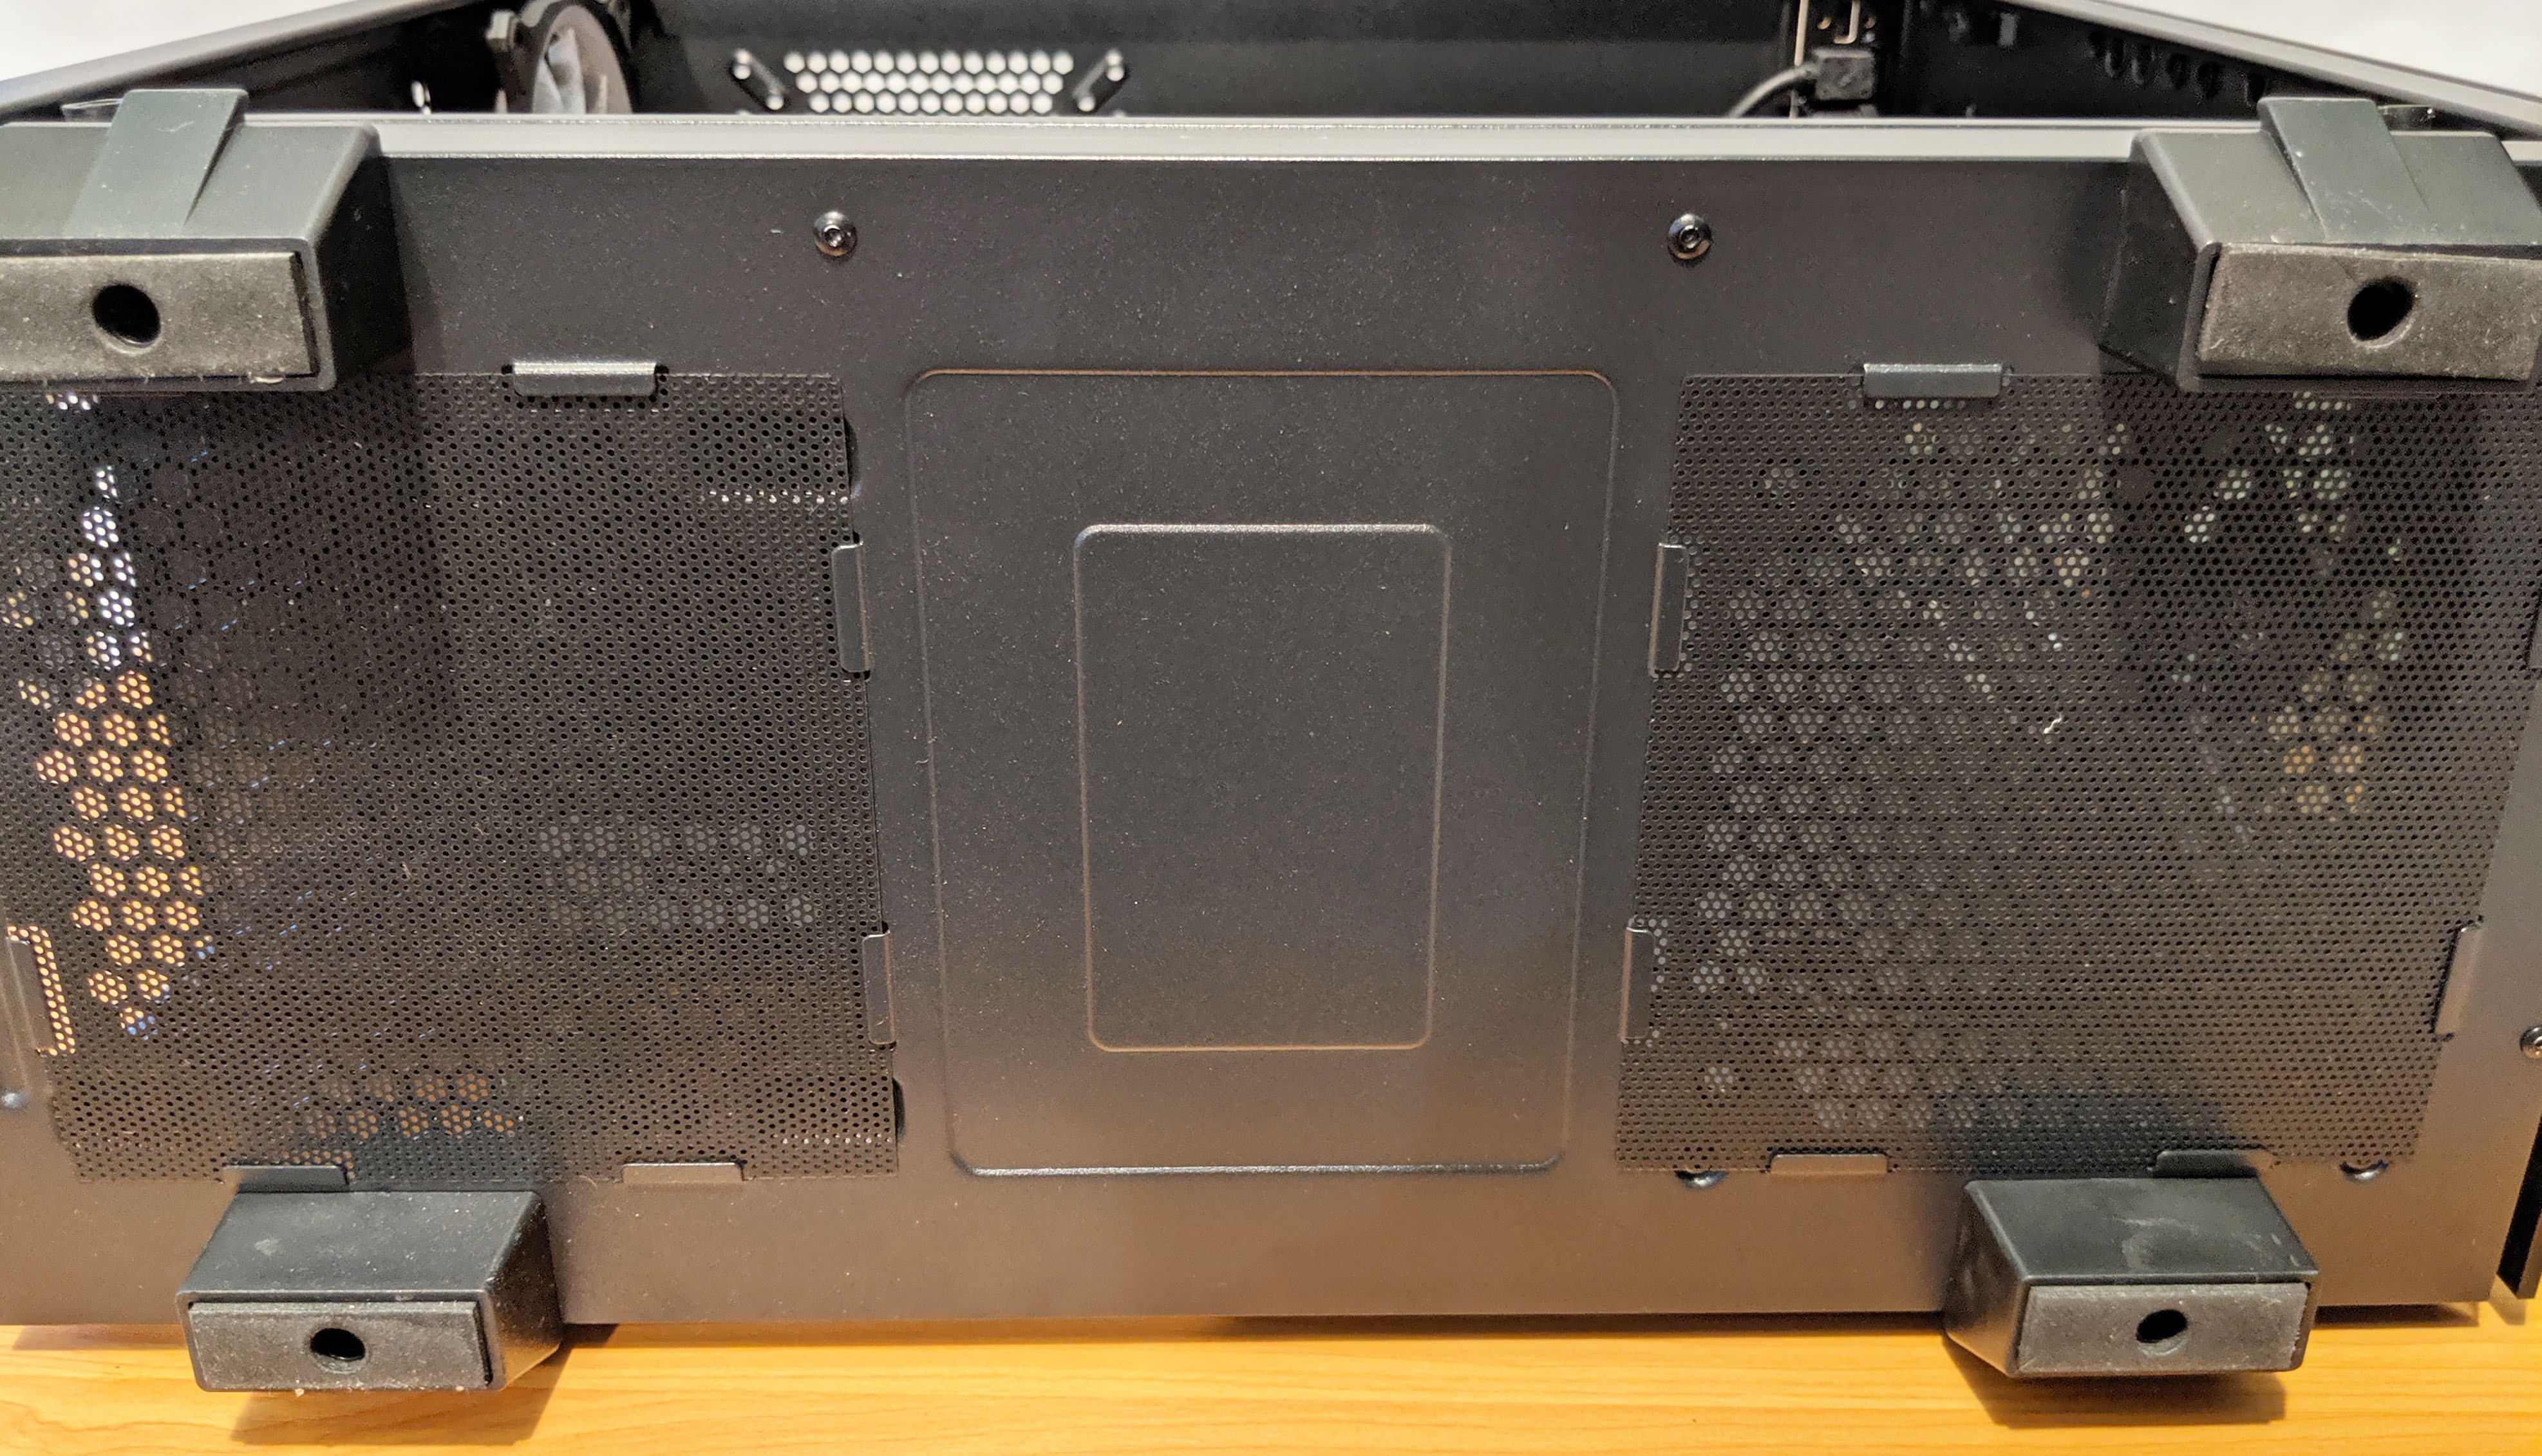
As you can see, located at the bottom of the case is an option for another 120mm fan (right) in addition to the PSU intake (left).
A Closer Look: Inside
Next, let’s crack open the left tempered glass panel and get a feel for what’s going on inside the case. As you can see, you’ll have some more shipping material to remove once its open.
Side Panel Removal process: The panels are removed by unscrewing the four thumb screws and tilting the panel from the top, down and then lifting it out. I recommend removing the bottom screws first, followed by the top screws. This way, as you remove the top screws you can prevent the panel from sliding down. You’ll notice that the panel will need to be tilted down far enough to clear the rubber grommets that isolate the screws. Once its clear, carefully lift it out and store it safely. Simply reverse the process to reinstall the side panel and be sure not to over tighten the thumb screws!

Like most modern ATX cases, the FSP CMT510 Plus features a split cooling design which means the PSU is hidden behind a shroud at the bottom of the case and is isolated from the rest of the internal components.
Airflow is intended to move from front to back/top with cool air coming in from the front three fans, and exhausted out the back and top.

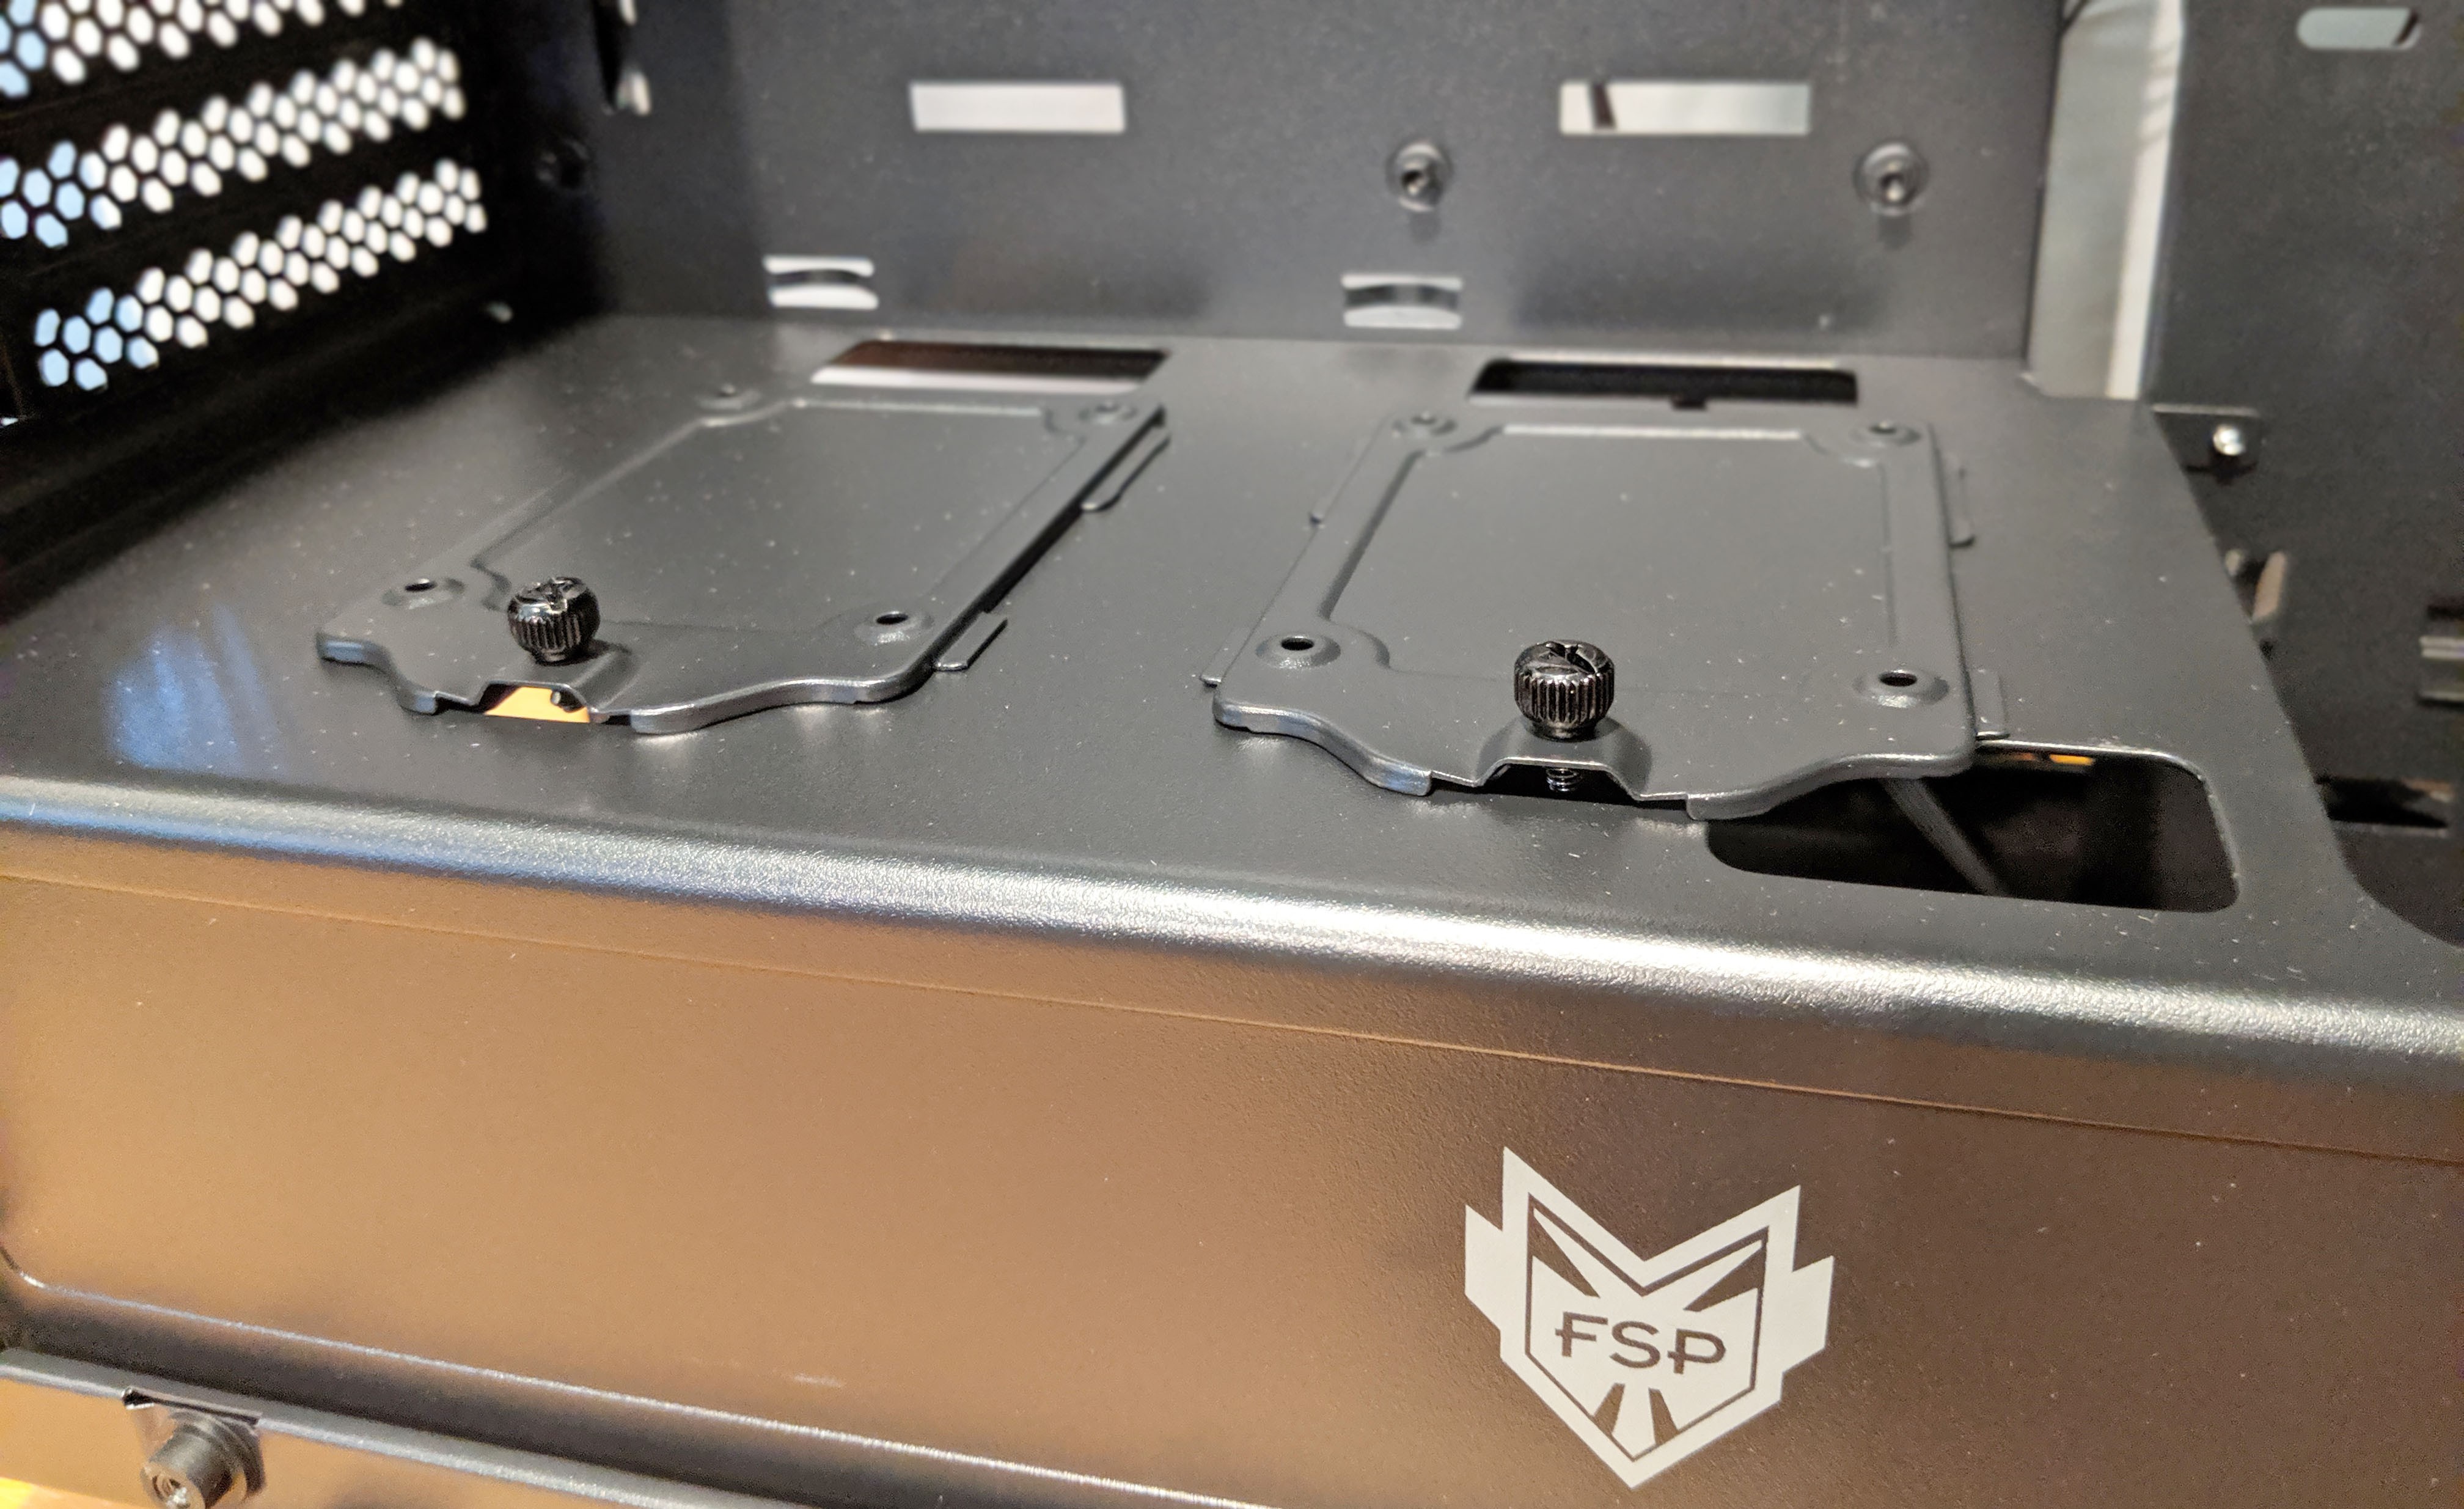
Located on top of the PSU shroud are two removable 2.5″ SSD brackets. Simply unscrew the thumb screw, attach your SSD, and reinsert! FSP also included two ports leading into the shroud at the end of each SSD mount to easily route cables out of sight.
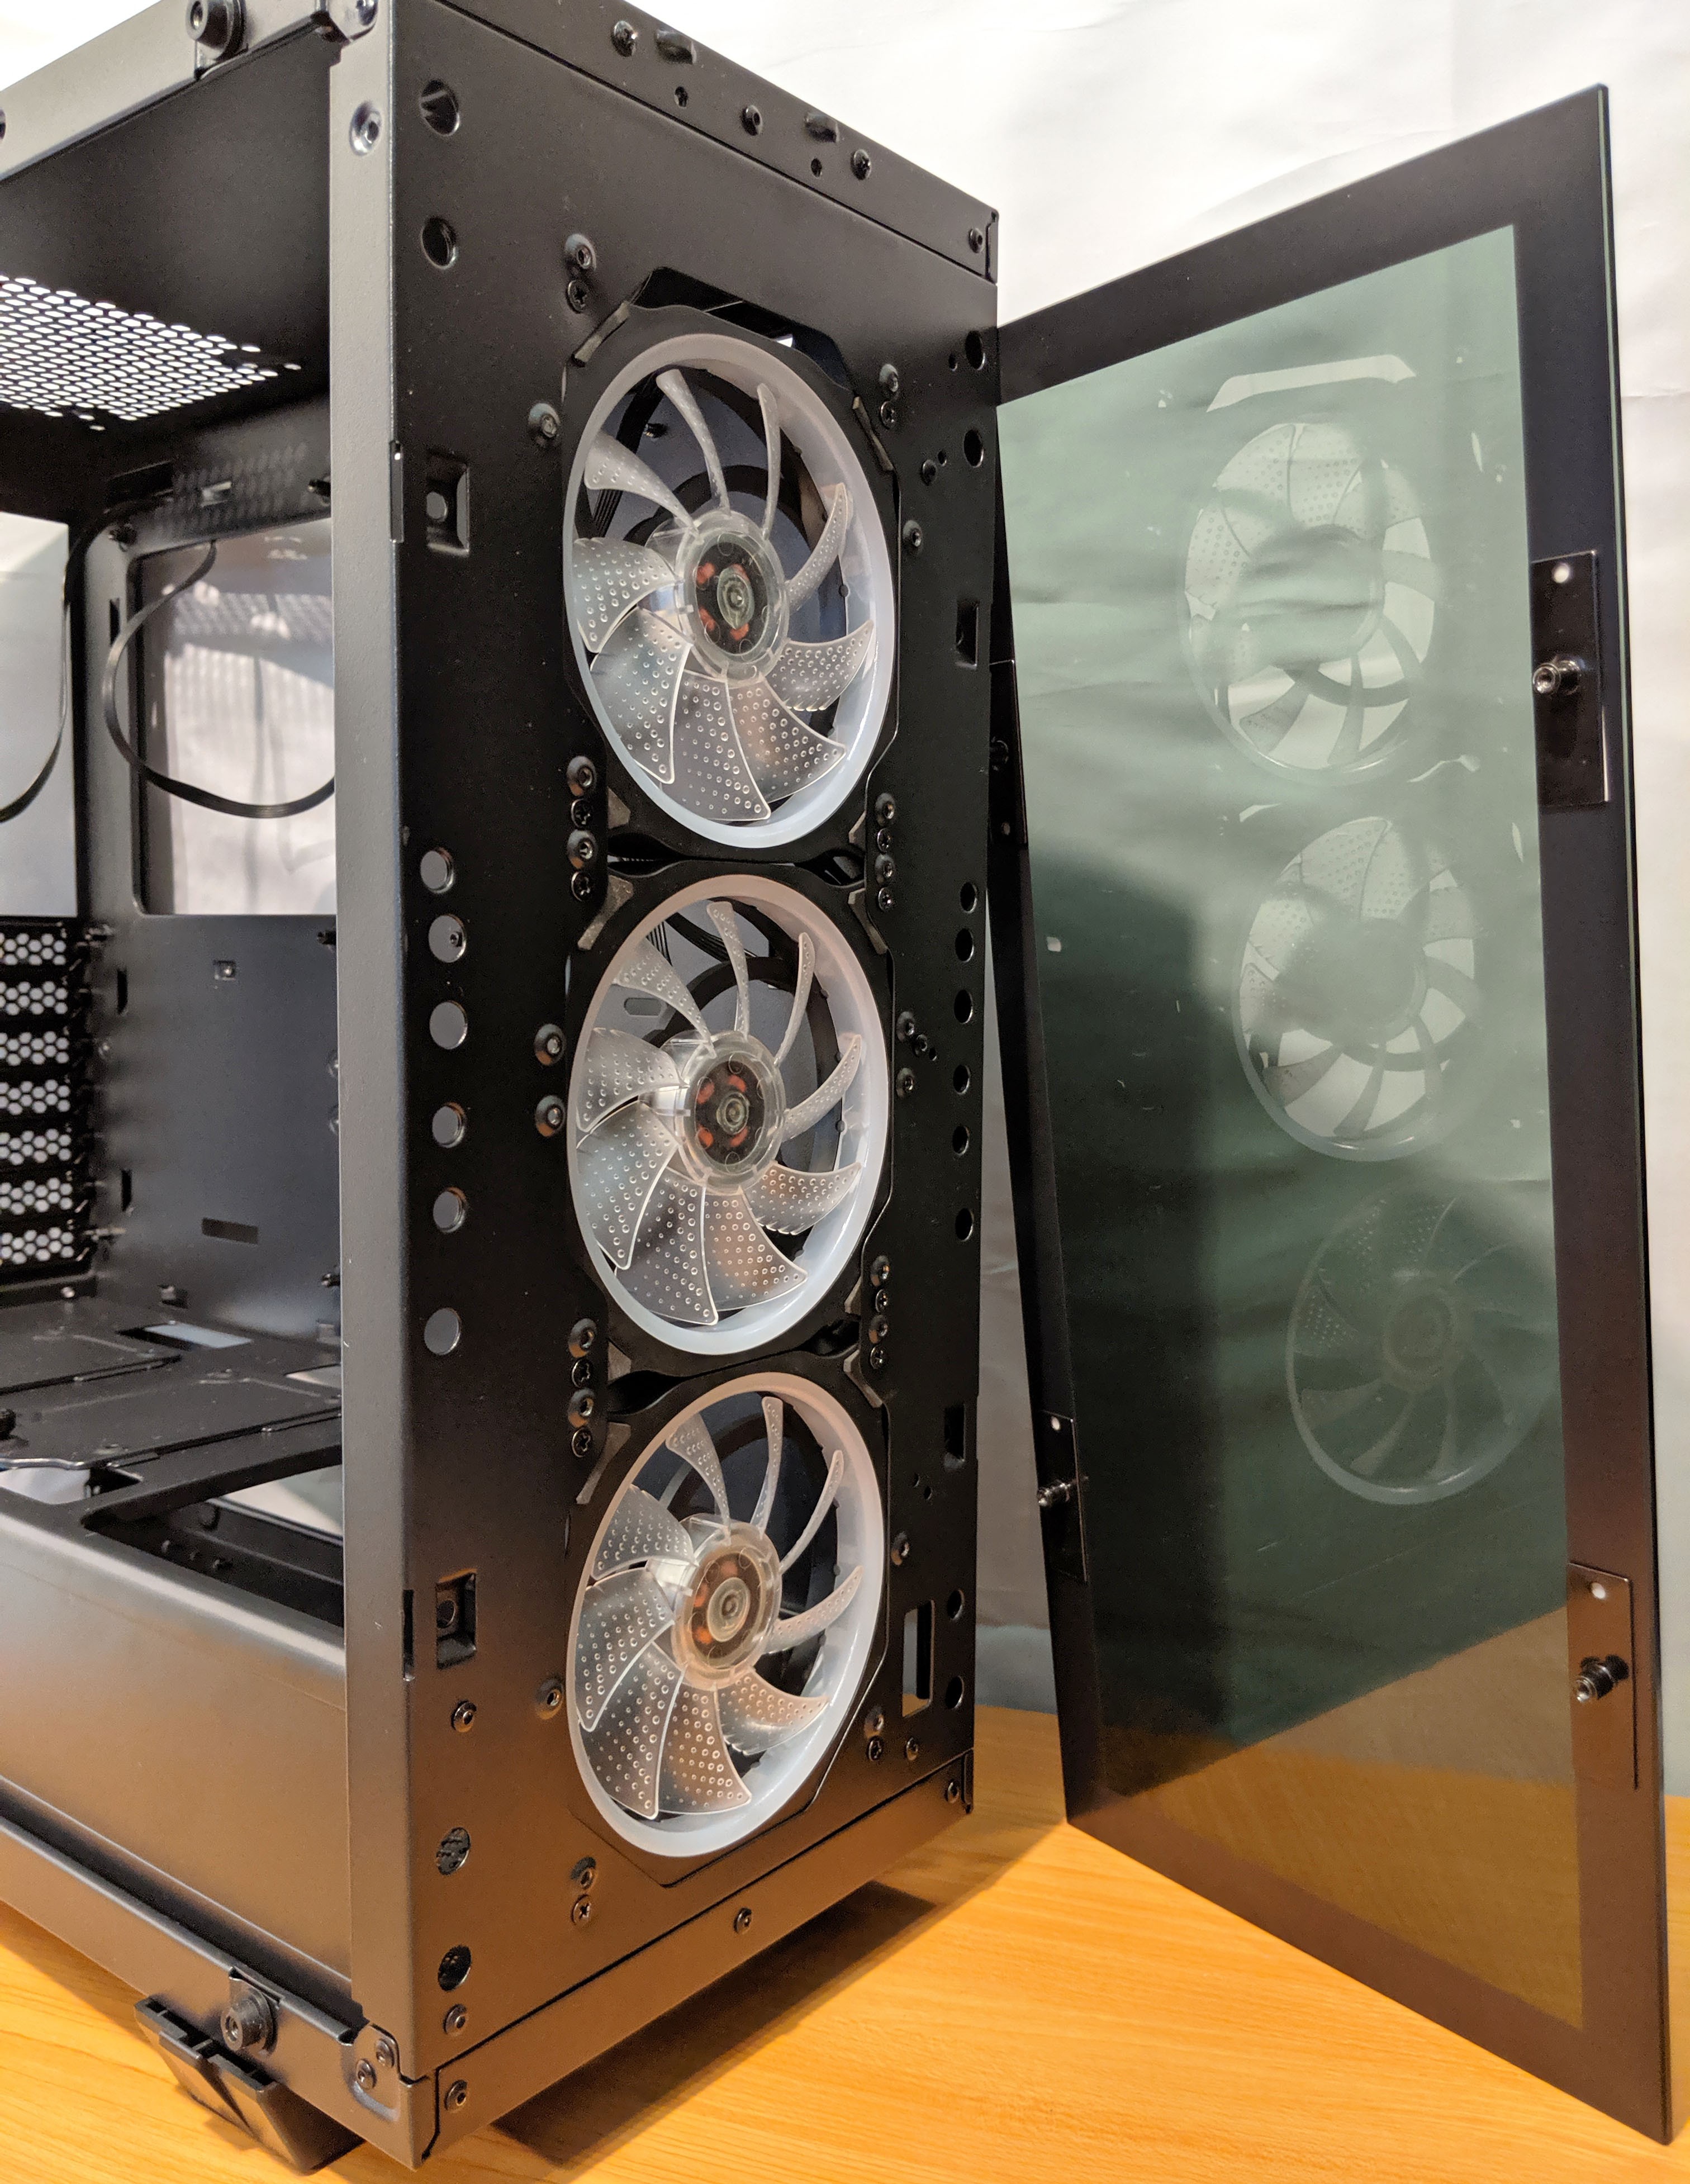
The back/inside of the case is where you’ll find the rear exhaust fan. Unlike most case fans, this and the other three fans do not connect directly to the motherboard, rather they connect to the RGB controller which we’ll get into later. The connection is made via a single cable which handles fan power as well as RGB.
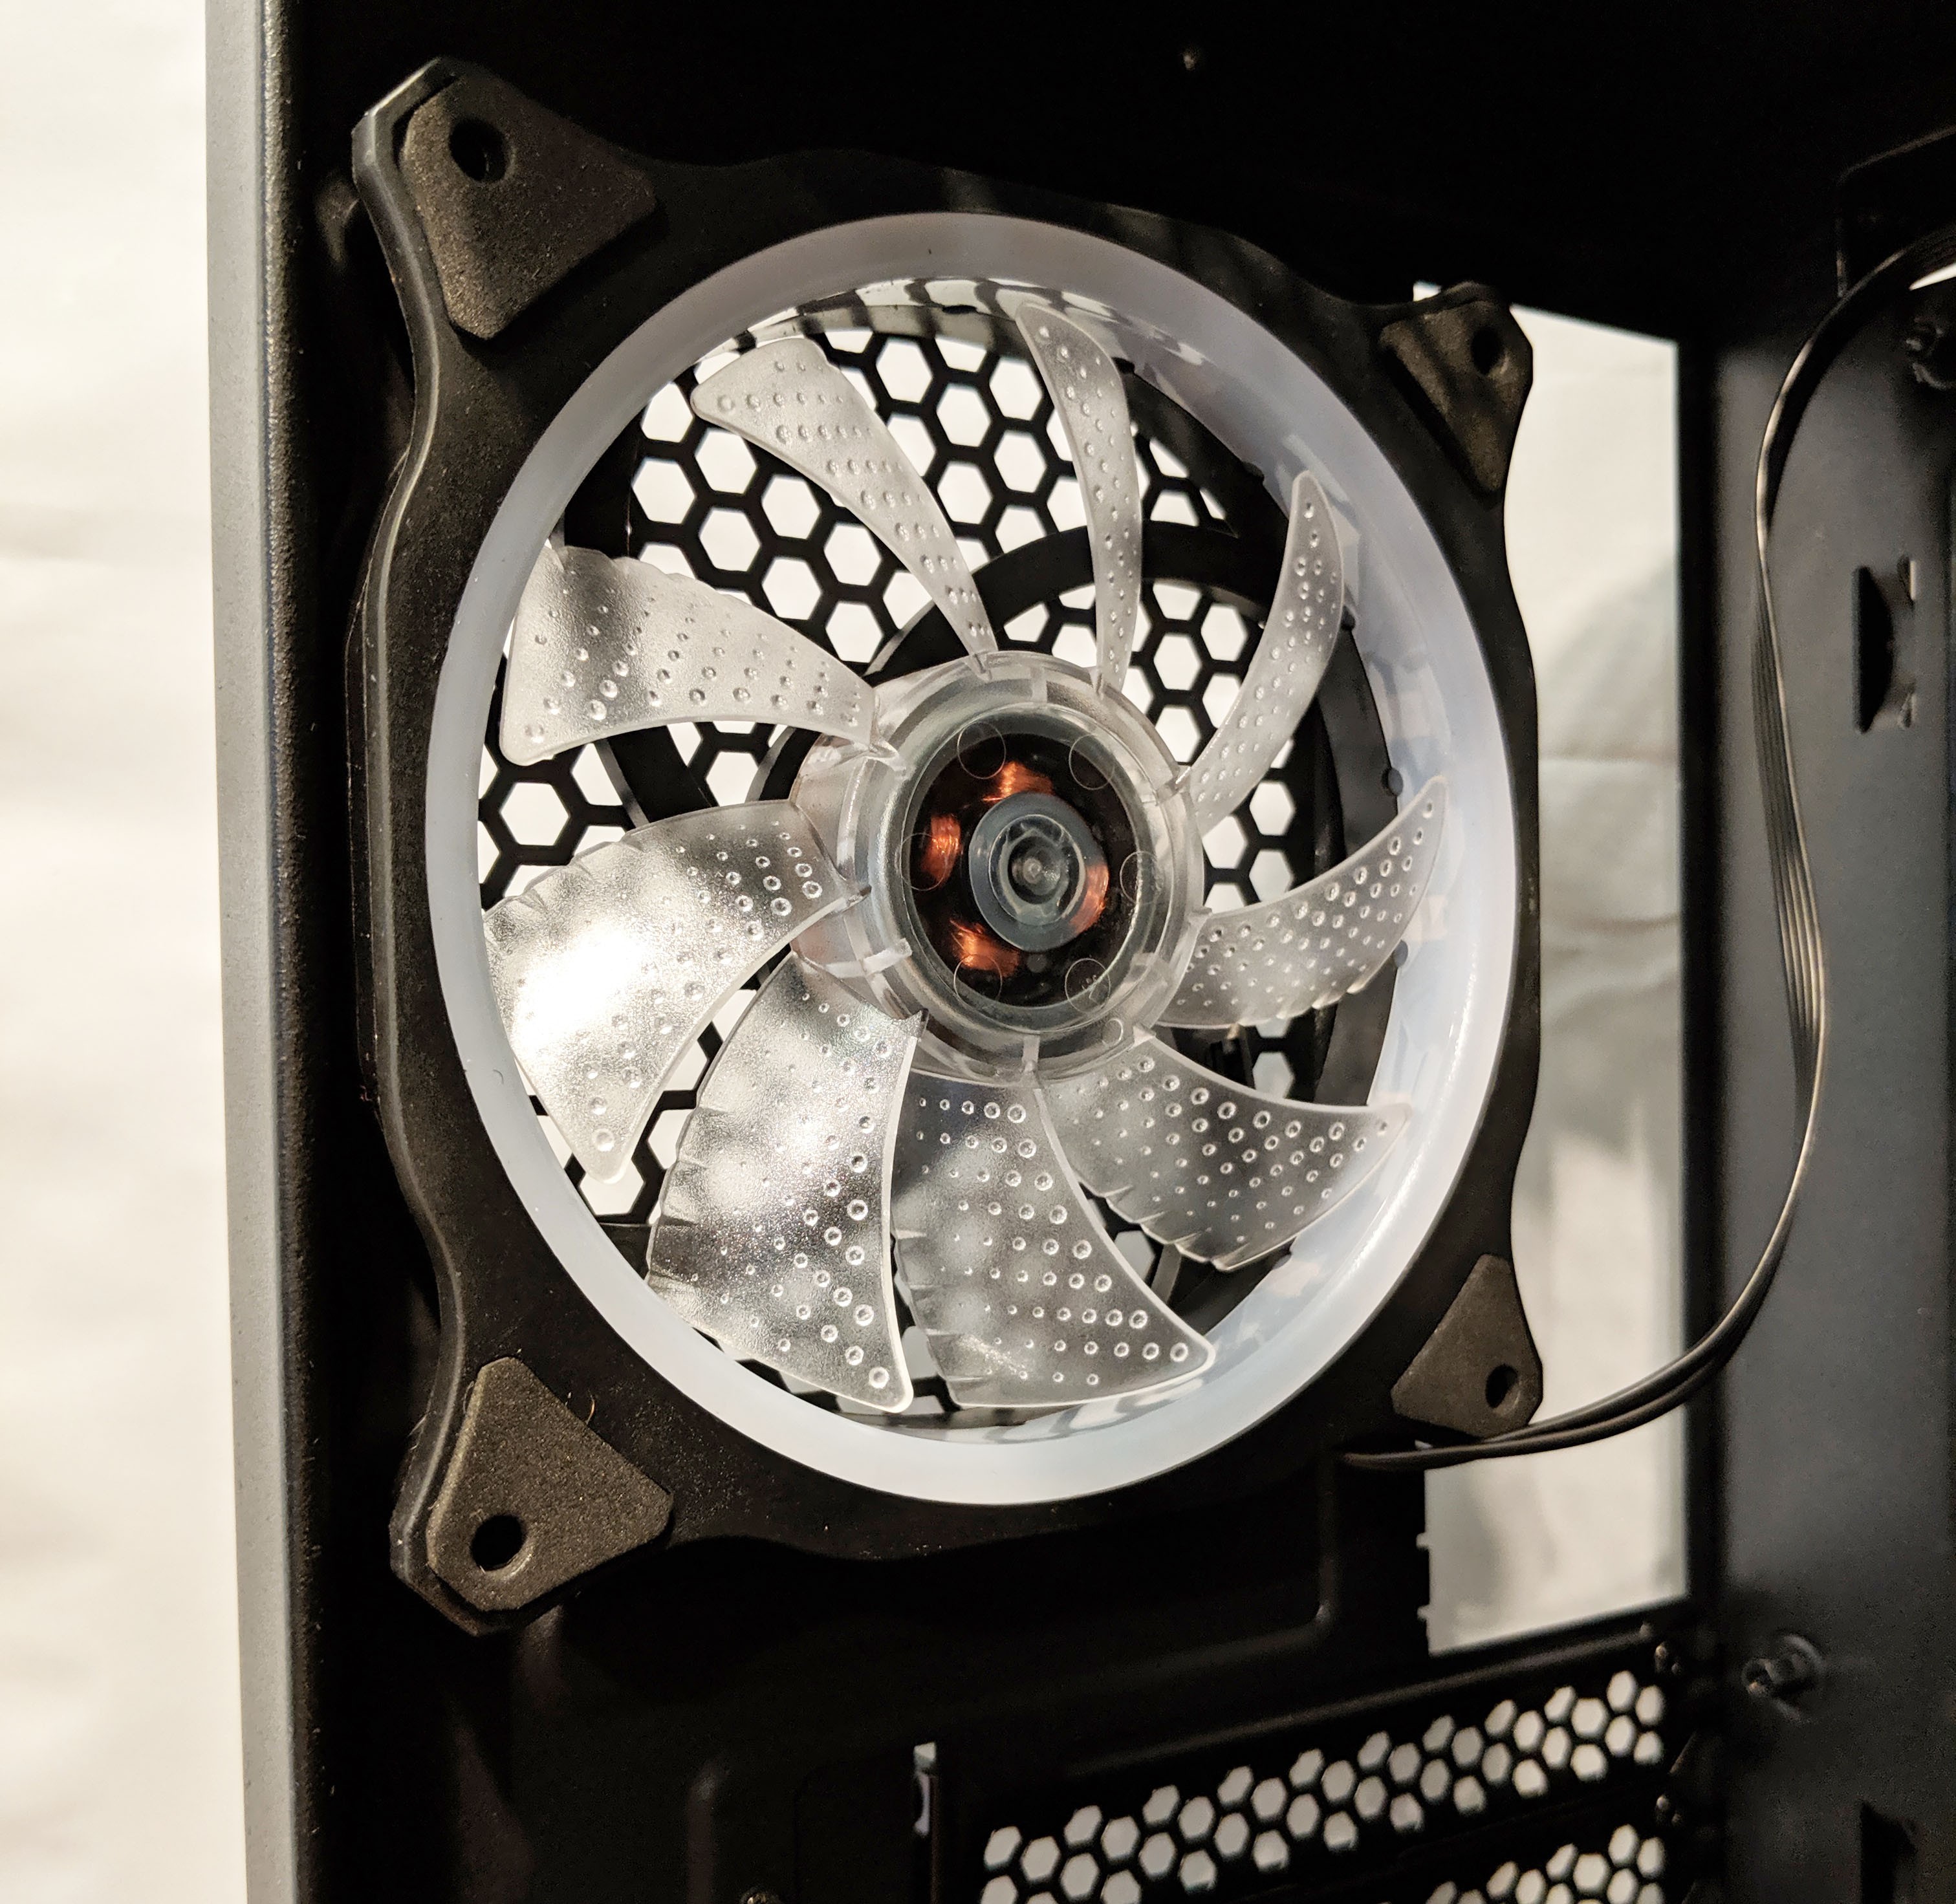
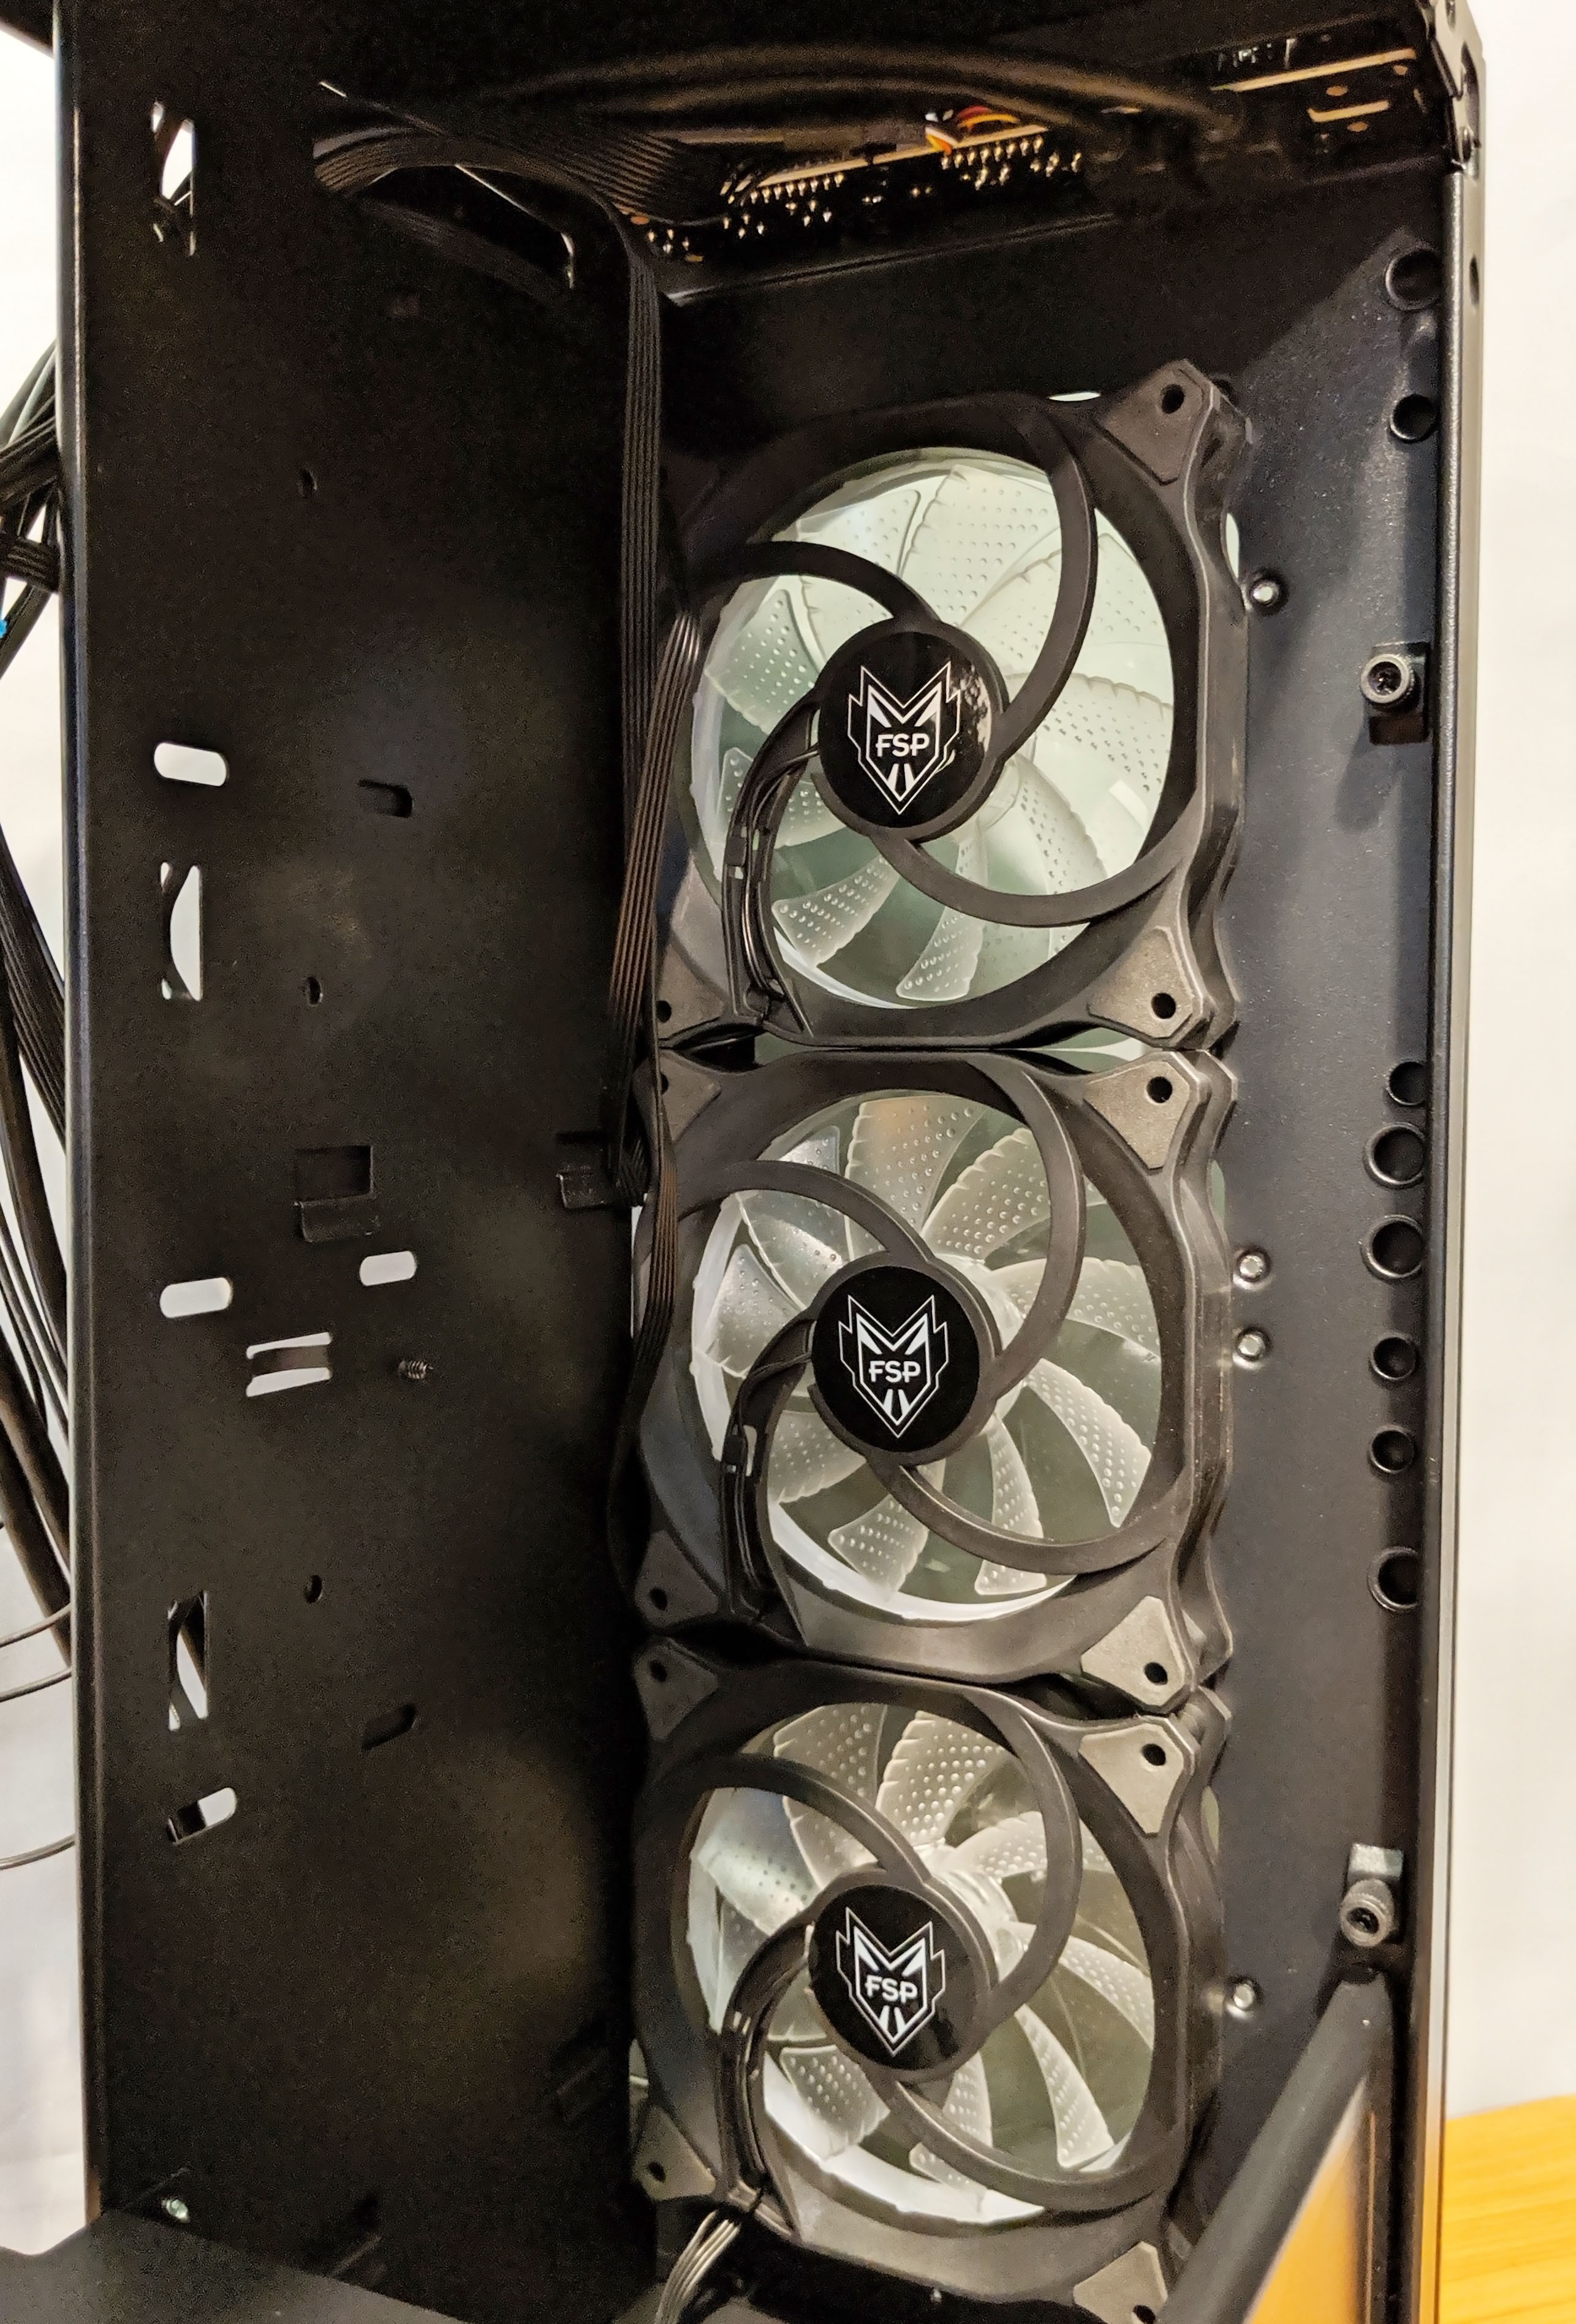
The three front fans configured to blow air into the case.
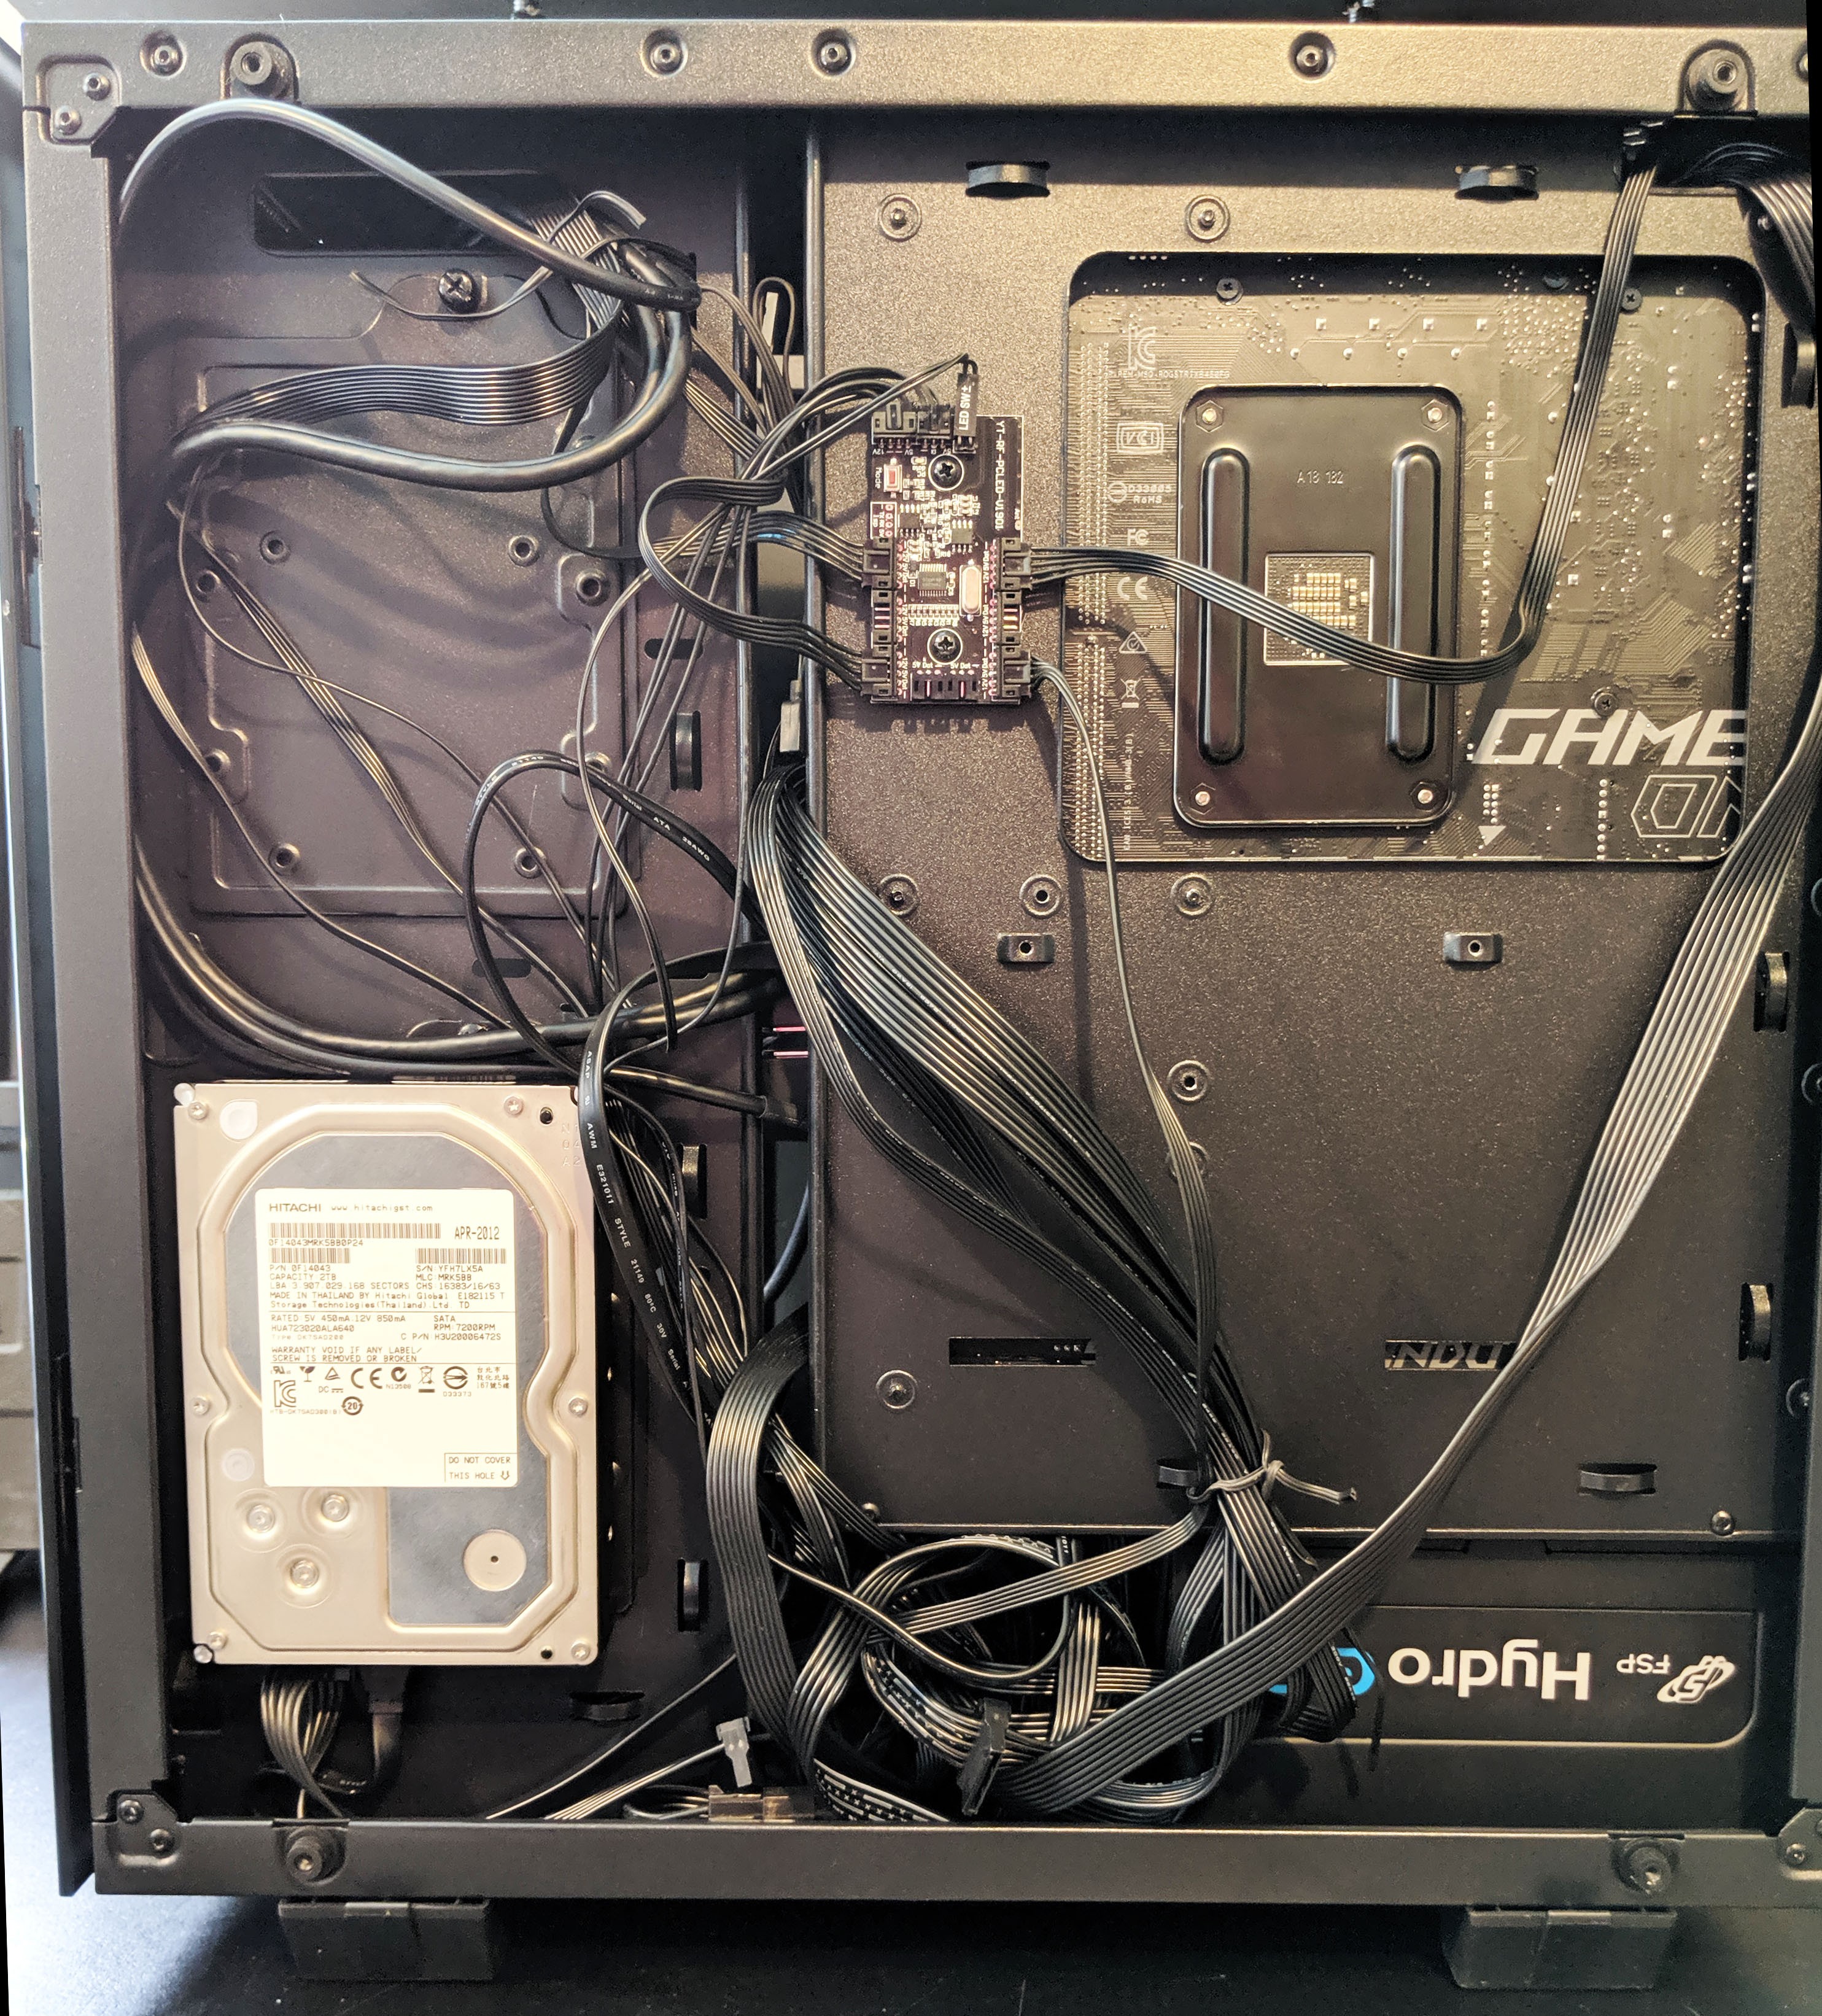
The back side is where you’ll be routing most your cables. FSP added quite a few cable management features. I actually really like the split level interior. It allows you to easily route cables from the back side to front in between the slot located to the right of the motherboard tray (if you’re staring at the motherboard).
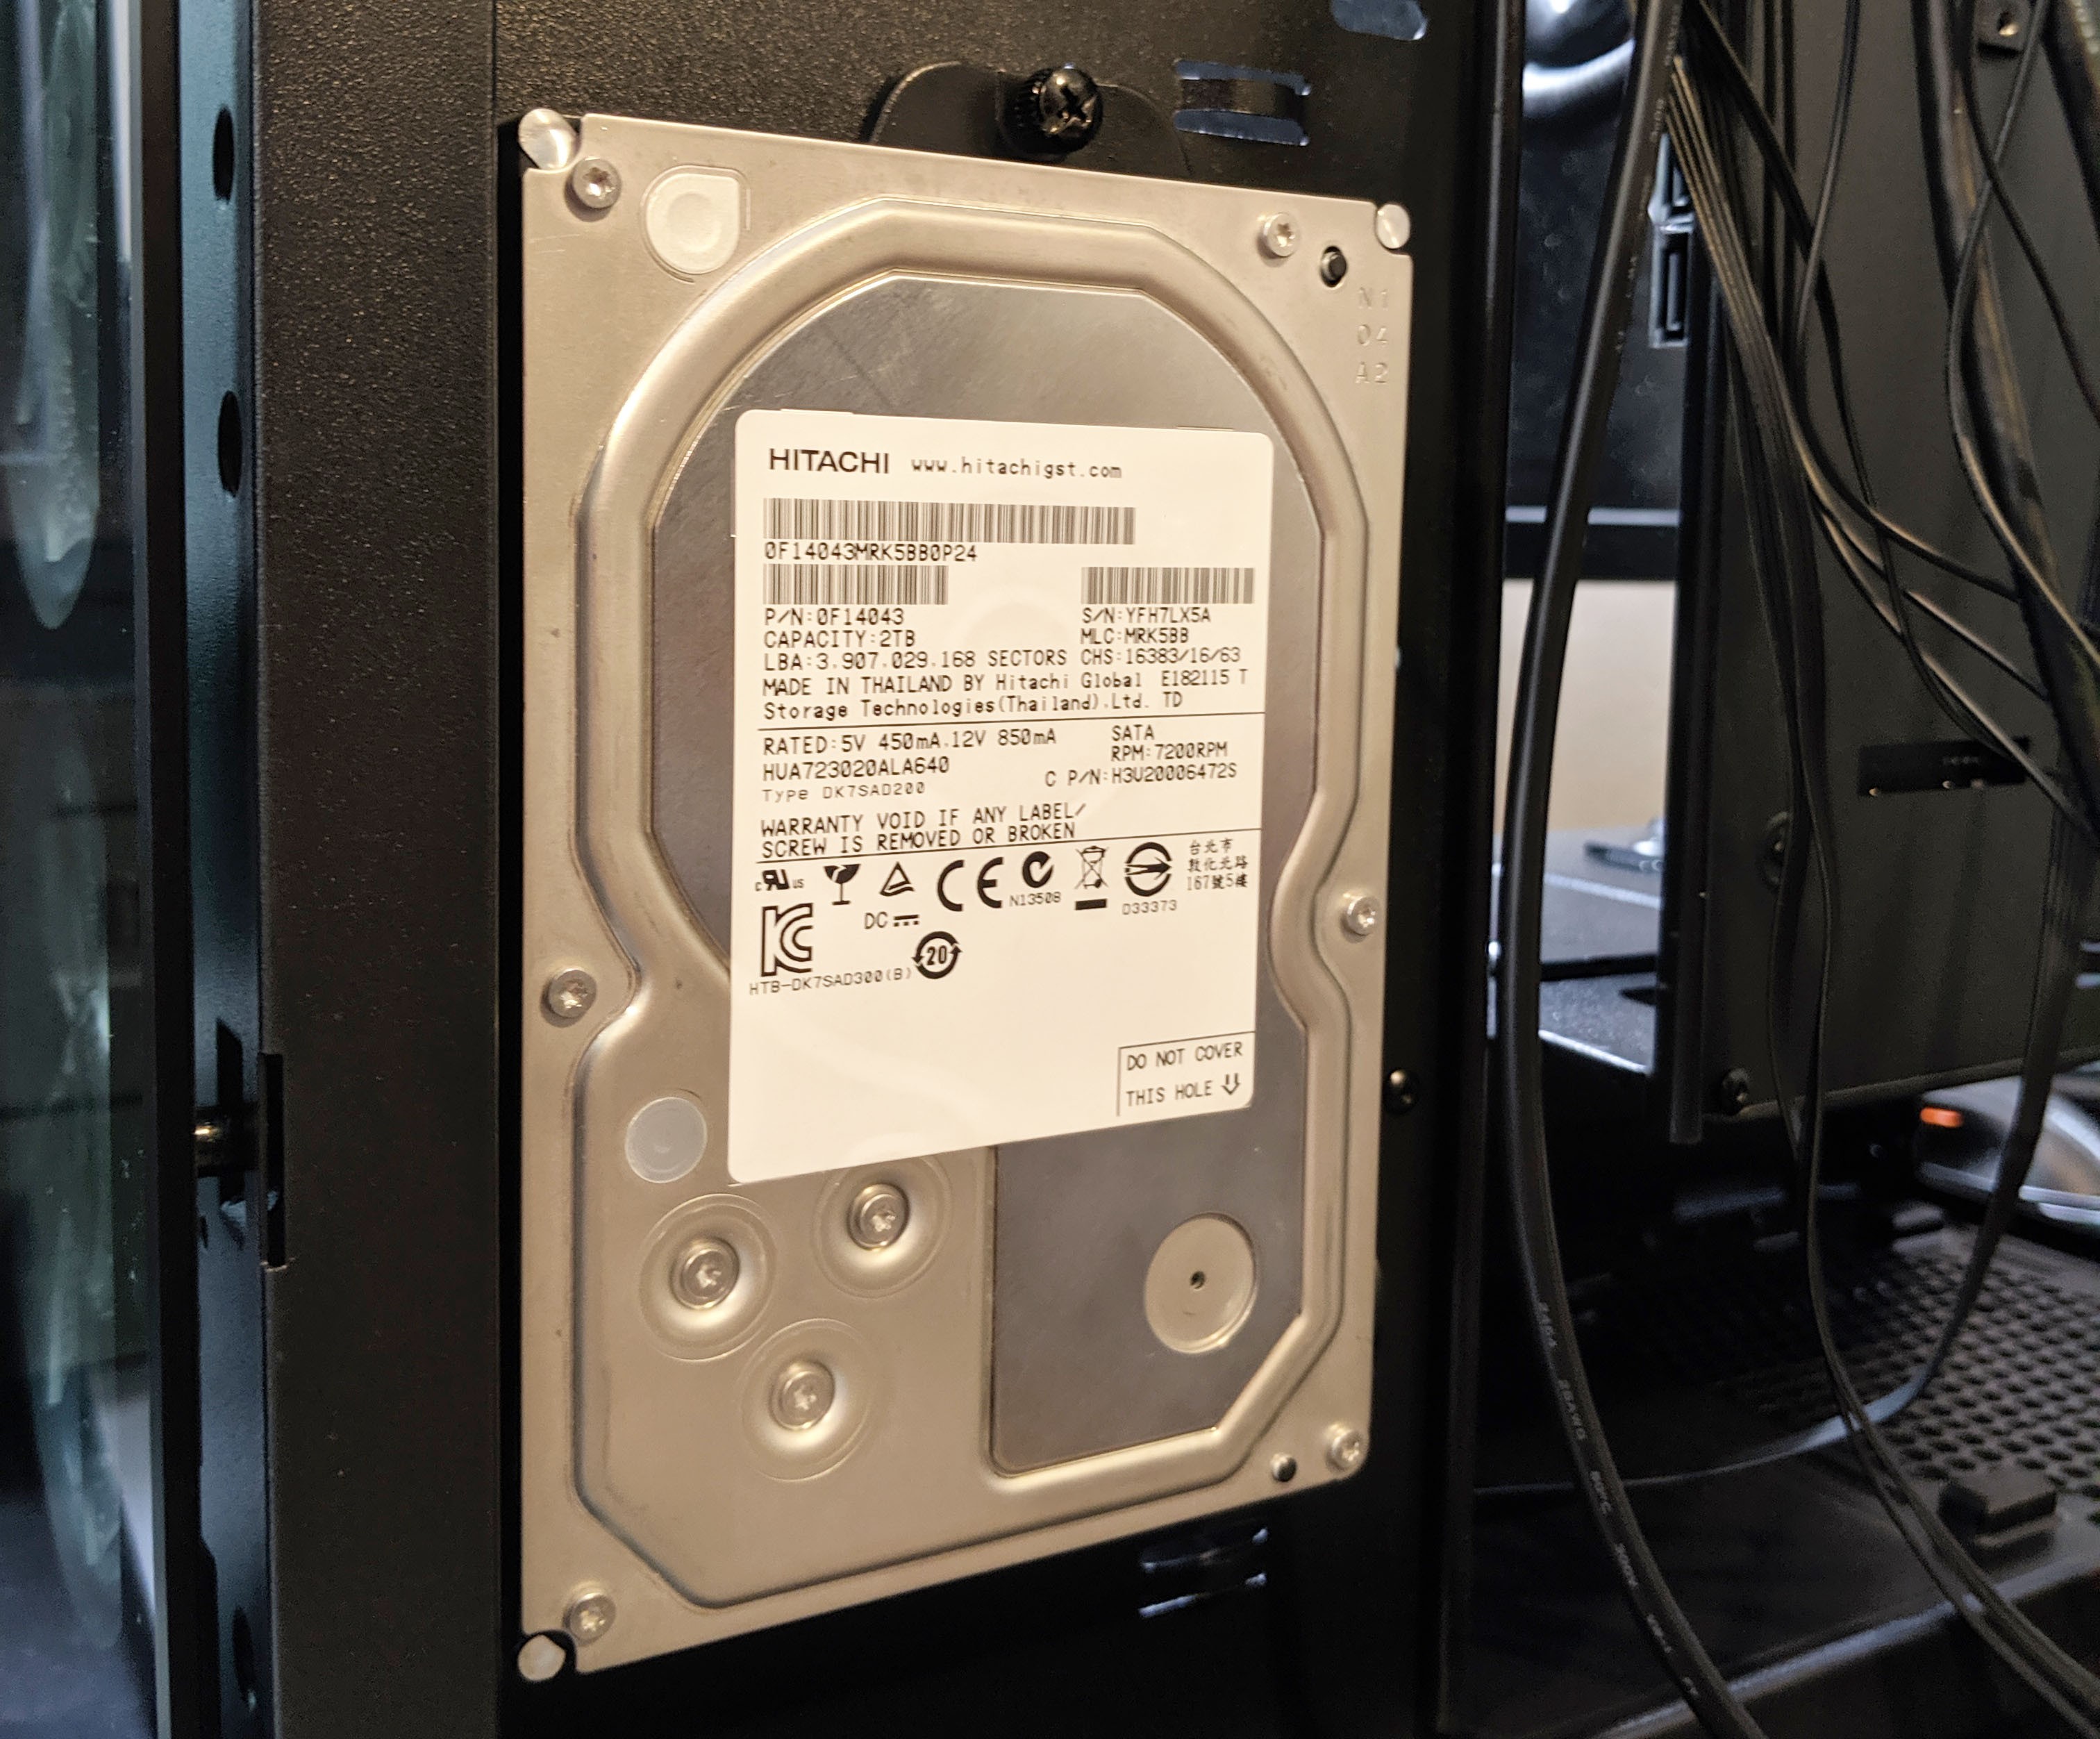
On the left side, there are two 3.5″ HDD mount brackets similar to that of the 2.5″ drives located on the reverse side and install/uninstall in a similar fashion.
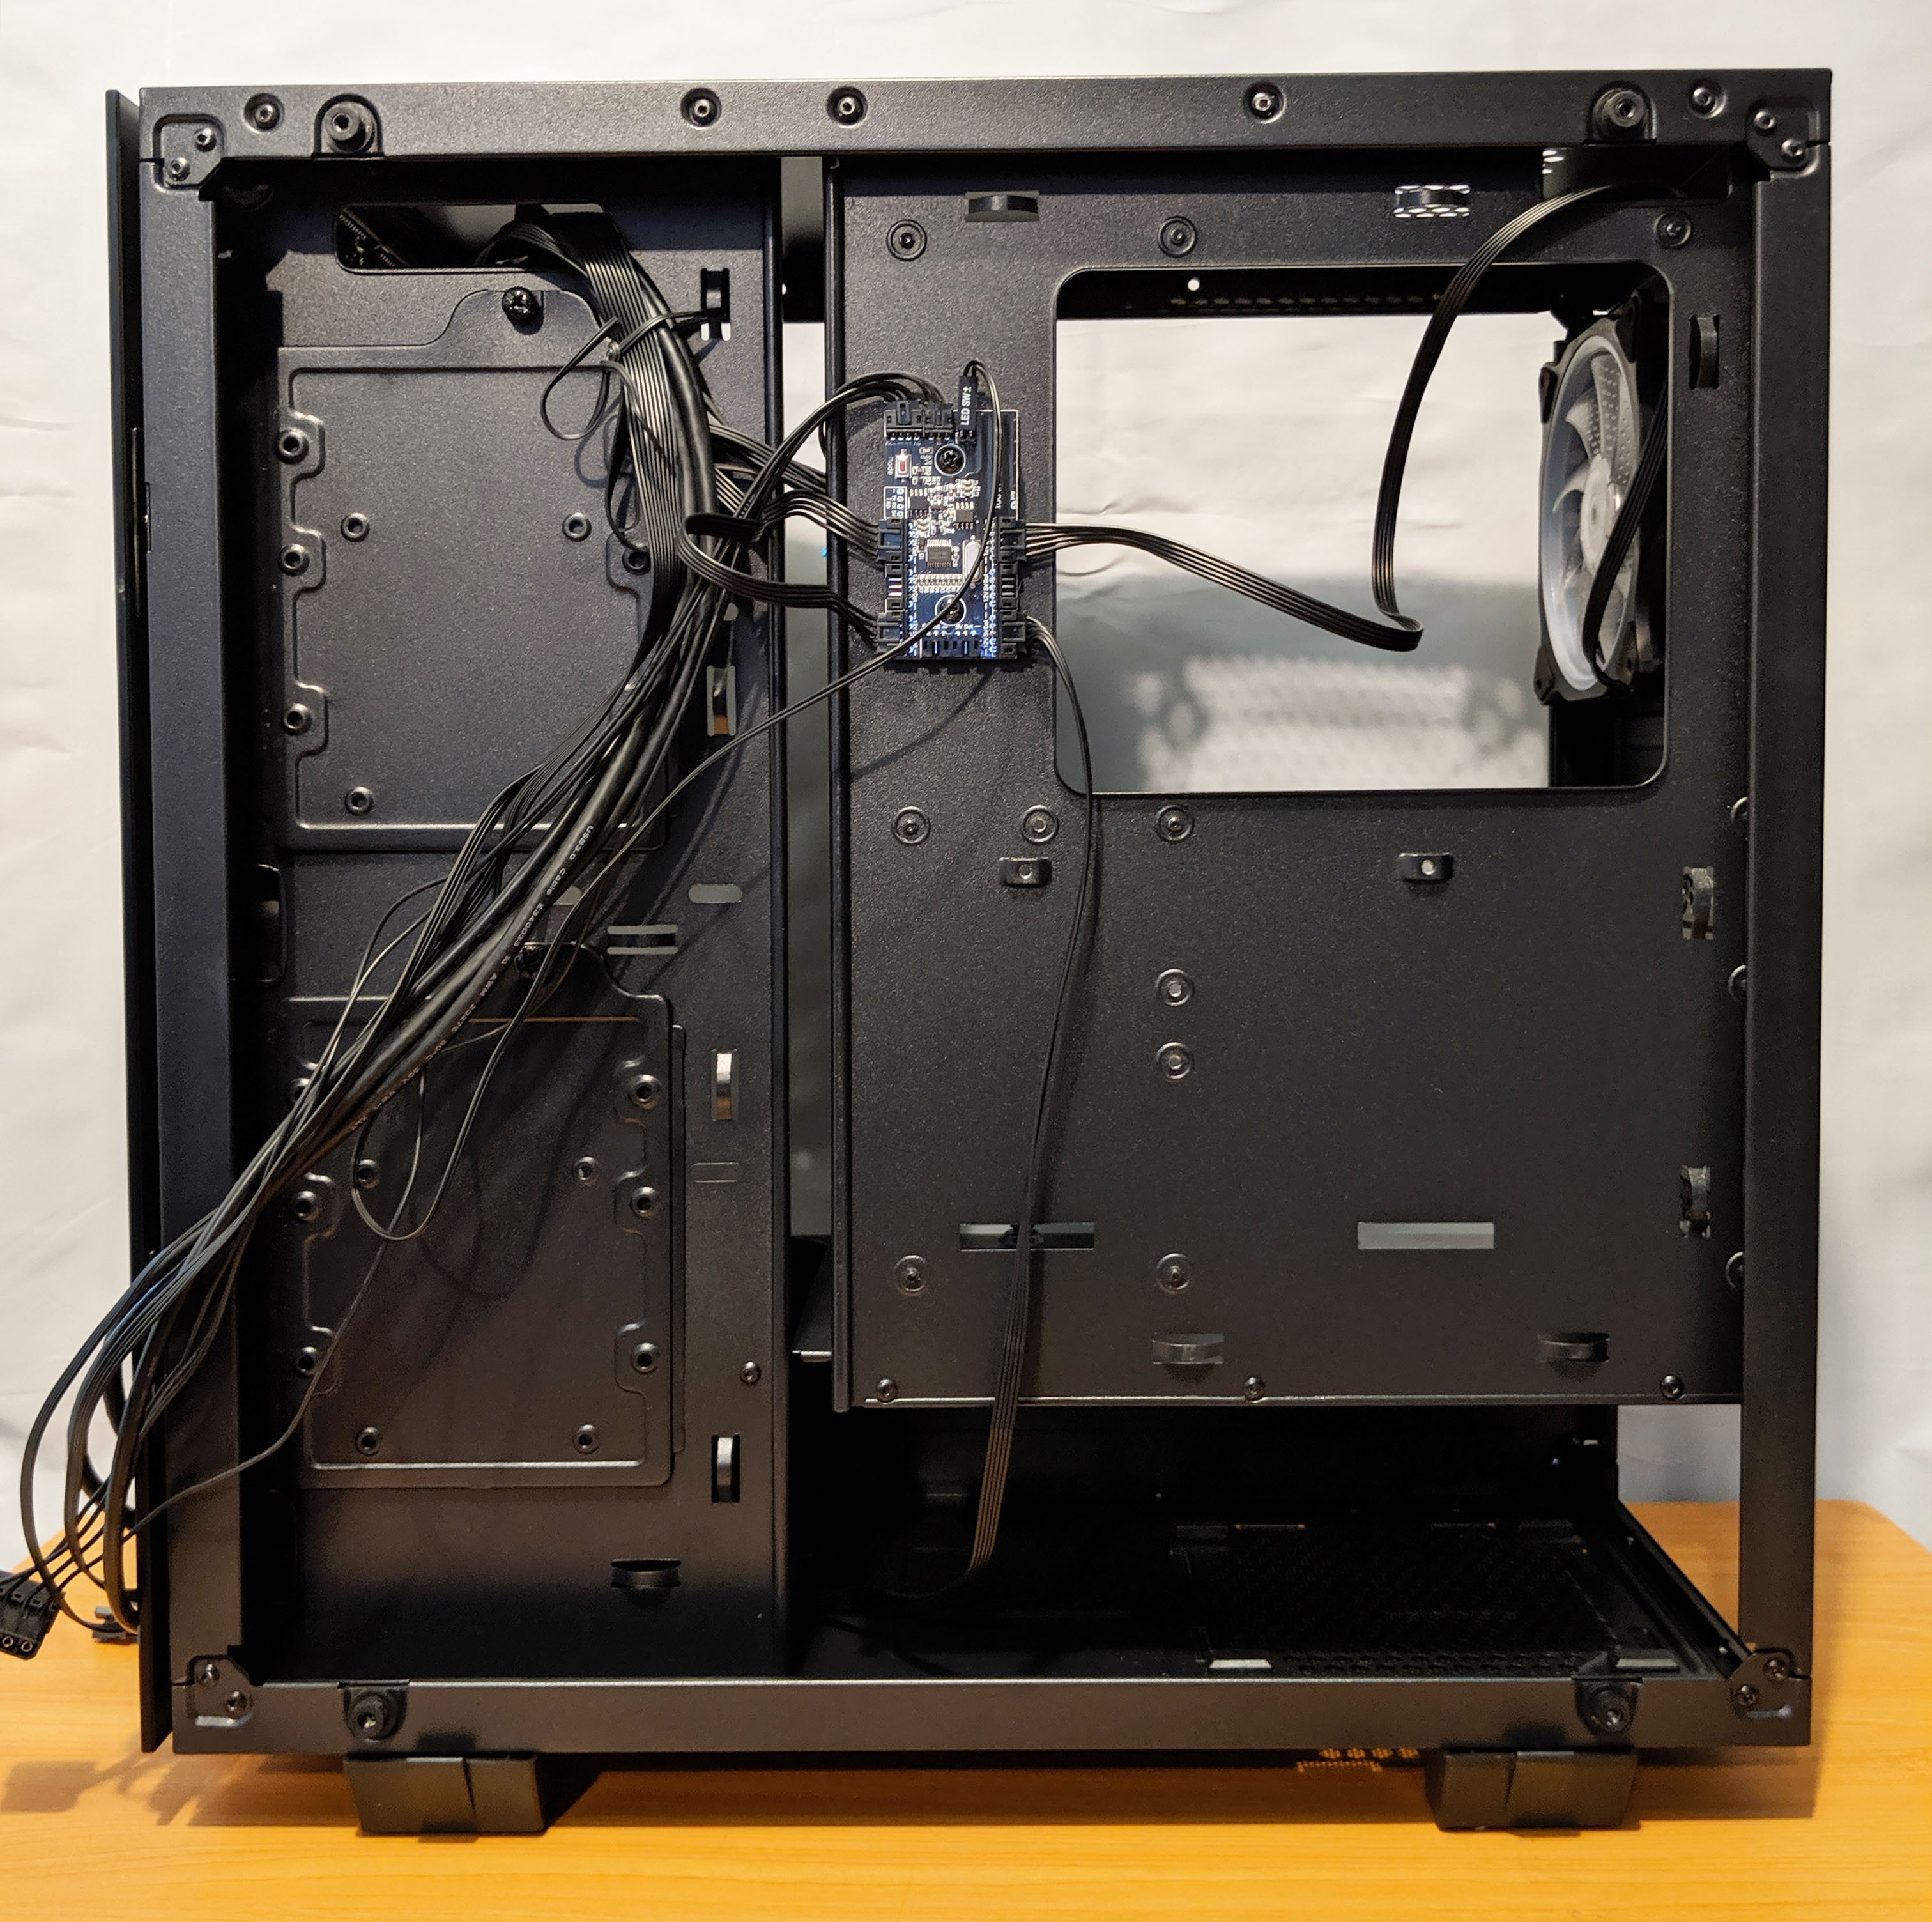
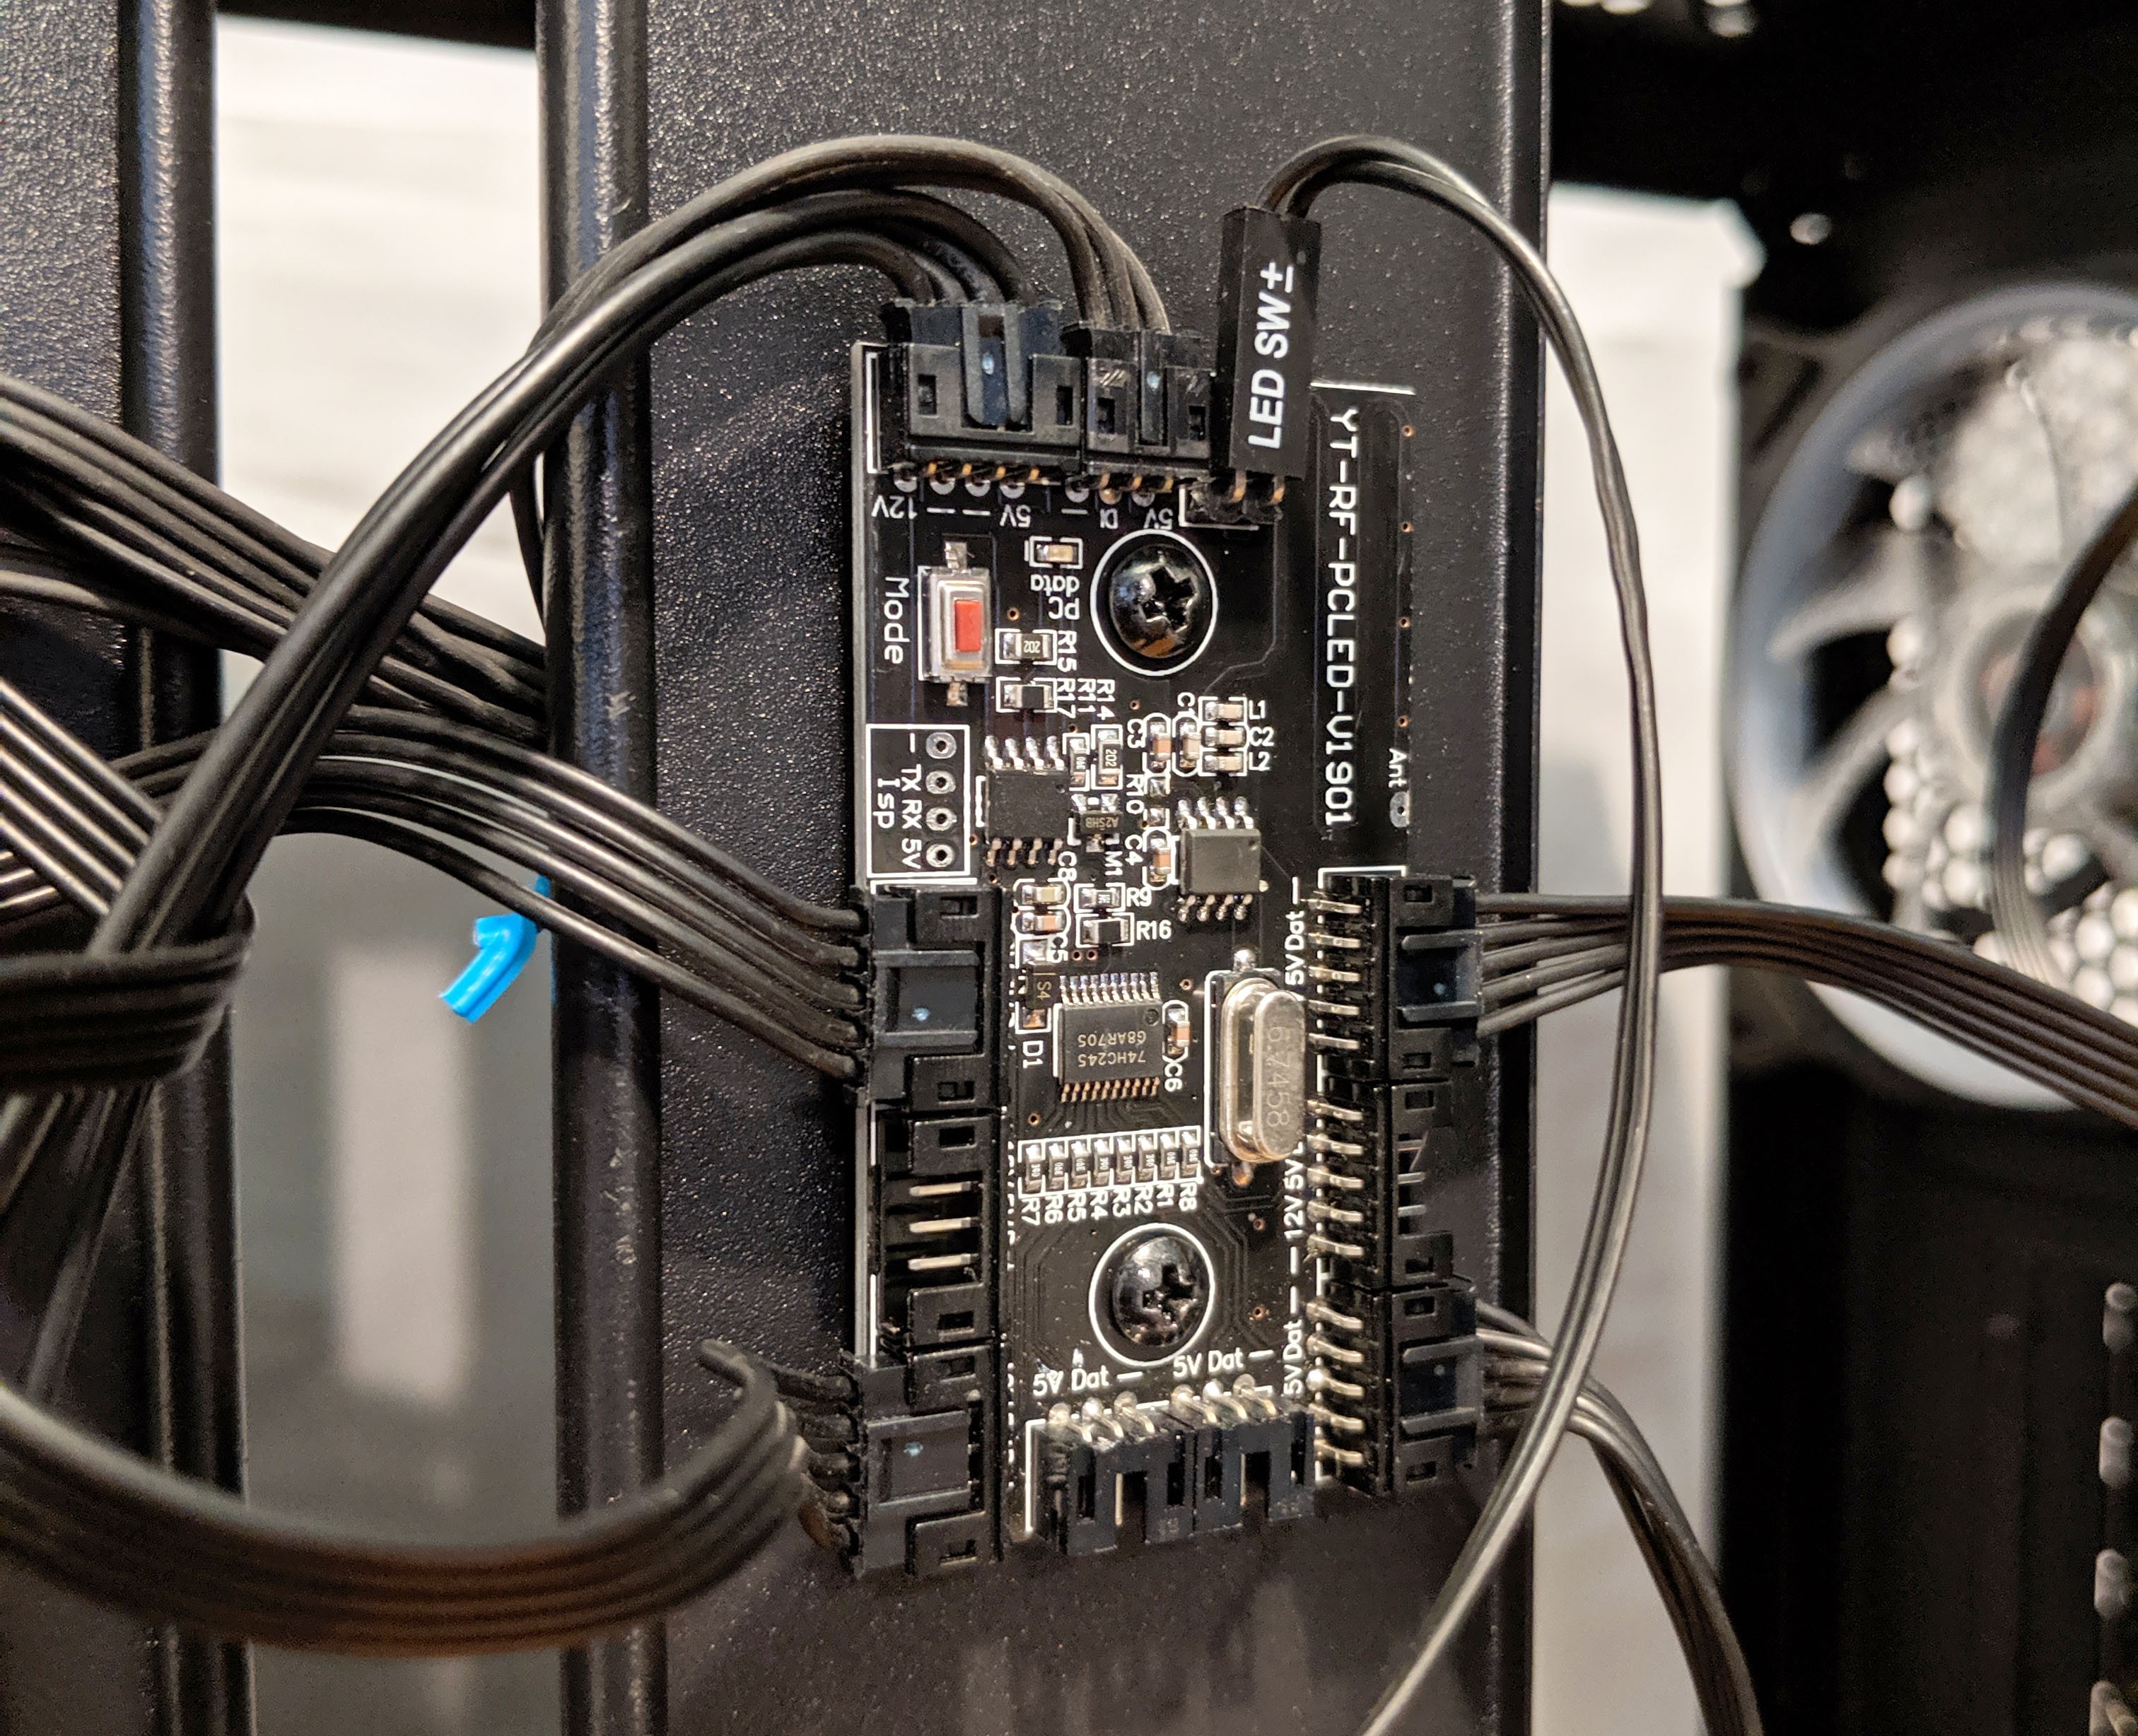
The RGB controller which is mounted to the reverse side of the motherboard tray provides power to the fans as well as RGB functionality to the four fans. It looks like there’s hookups for an additional two fans if you require more RGB enabled cooling.
The controller connects directly to the motherboard via a 3-pin 5V connector found on most modern motherboards. If you don’t have such a port, all is not lost. You can leave it disconnected and toggle the RGB effects using the button found on the case’s main I/O panel. When connected to the motherboard, RGB effects can be synced to the rest of the system and can be managed using popular motherboard RGB control software such as ASUS Aura Sync, MSI Mystic Lighting, Gigabyte RGB Fusion, or ASRock Polychrome.
As this is a proper case review, let’s not leave any stone, (or tempered glass panel in this case) unturned. The front panel can be removed if needed simply by removing four thumb screws located at the front of the inside of the case. Here’s a shot of the panel detached:
And that about covers it! Before digging into the install, let’s take a look at the included items that come packaged with the case. The PSU bracket is crucial when mounting the PSU so don’t toss it! Also included is an install booklet, some screws you’ll probably end up needing, and some cable ties to help achieve that clean cable look.

Hardware Installation
Now let’s throw some hardware at this case! The hardware I used for this mid-range build is as follows:
- Processor: AMD Ryzen 2600X
- CPU Cooler: Corsair Hydro Series H60
- Memory: 8GB Corsair Dominator Pro
- Motherboard: ASUS ROG Strix B450-F Gaming (Review Here)
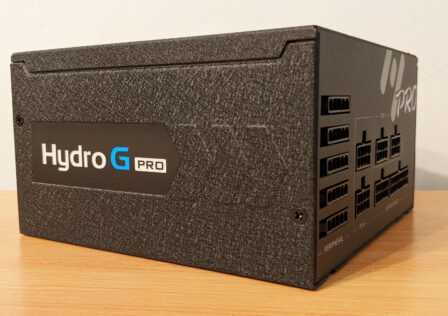
- Power Supply: FSP Hydro GE Series 650W (Review Here)
Installing hardware into the FSP CMT510 Plus is a breeze with a few noteworthy mentions. First, installing the PSU is a bit different than most other cases. The power supply requires an included bracket to be installed onto the PSU first and THEN installing the whole thing into the case.
This was my first case installing 3.5″ HDD’s in such a fashion so I figured I’d give it a go by throwing a spare HDD I had laying around into the build. I actually really like this method compared to the traditional slide lock method we typically see. It clears up a ton of space next to the power supply for routing cables or attaching or detaching PSU modular cables.
The reverse side of the build (don’t judge me too harshly):
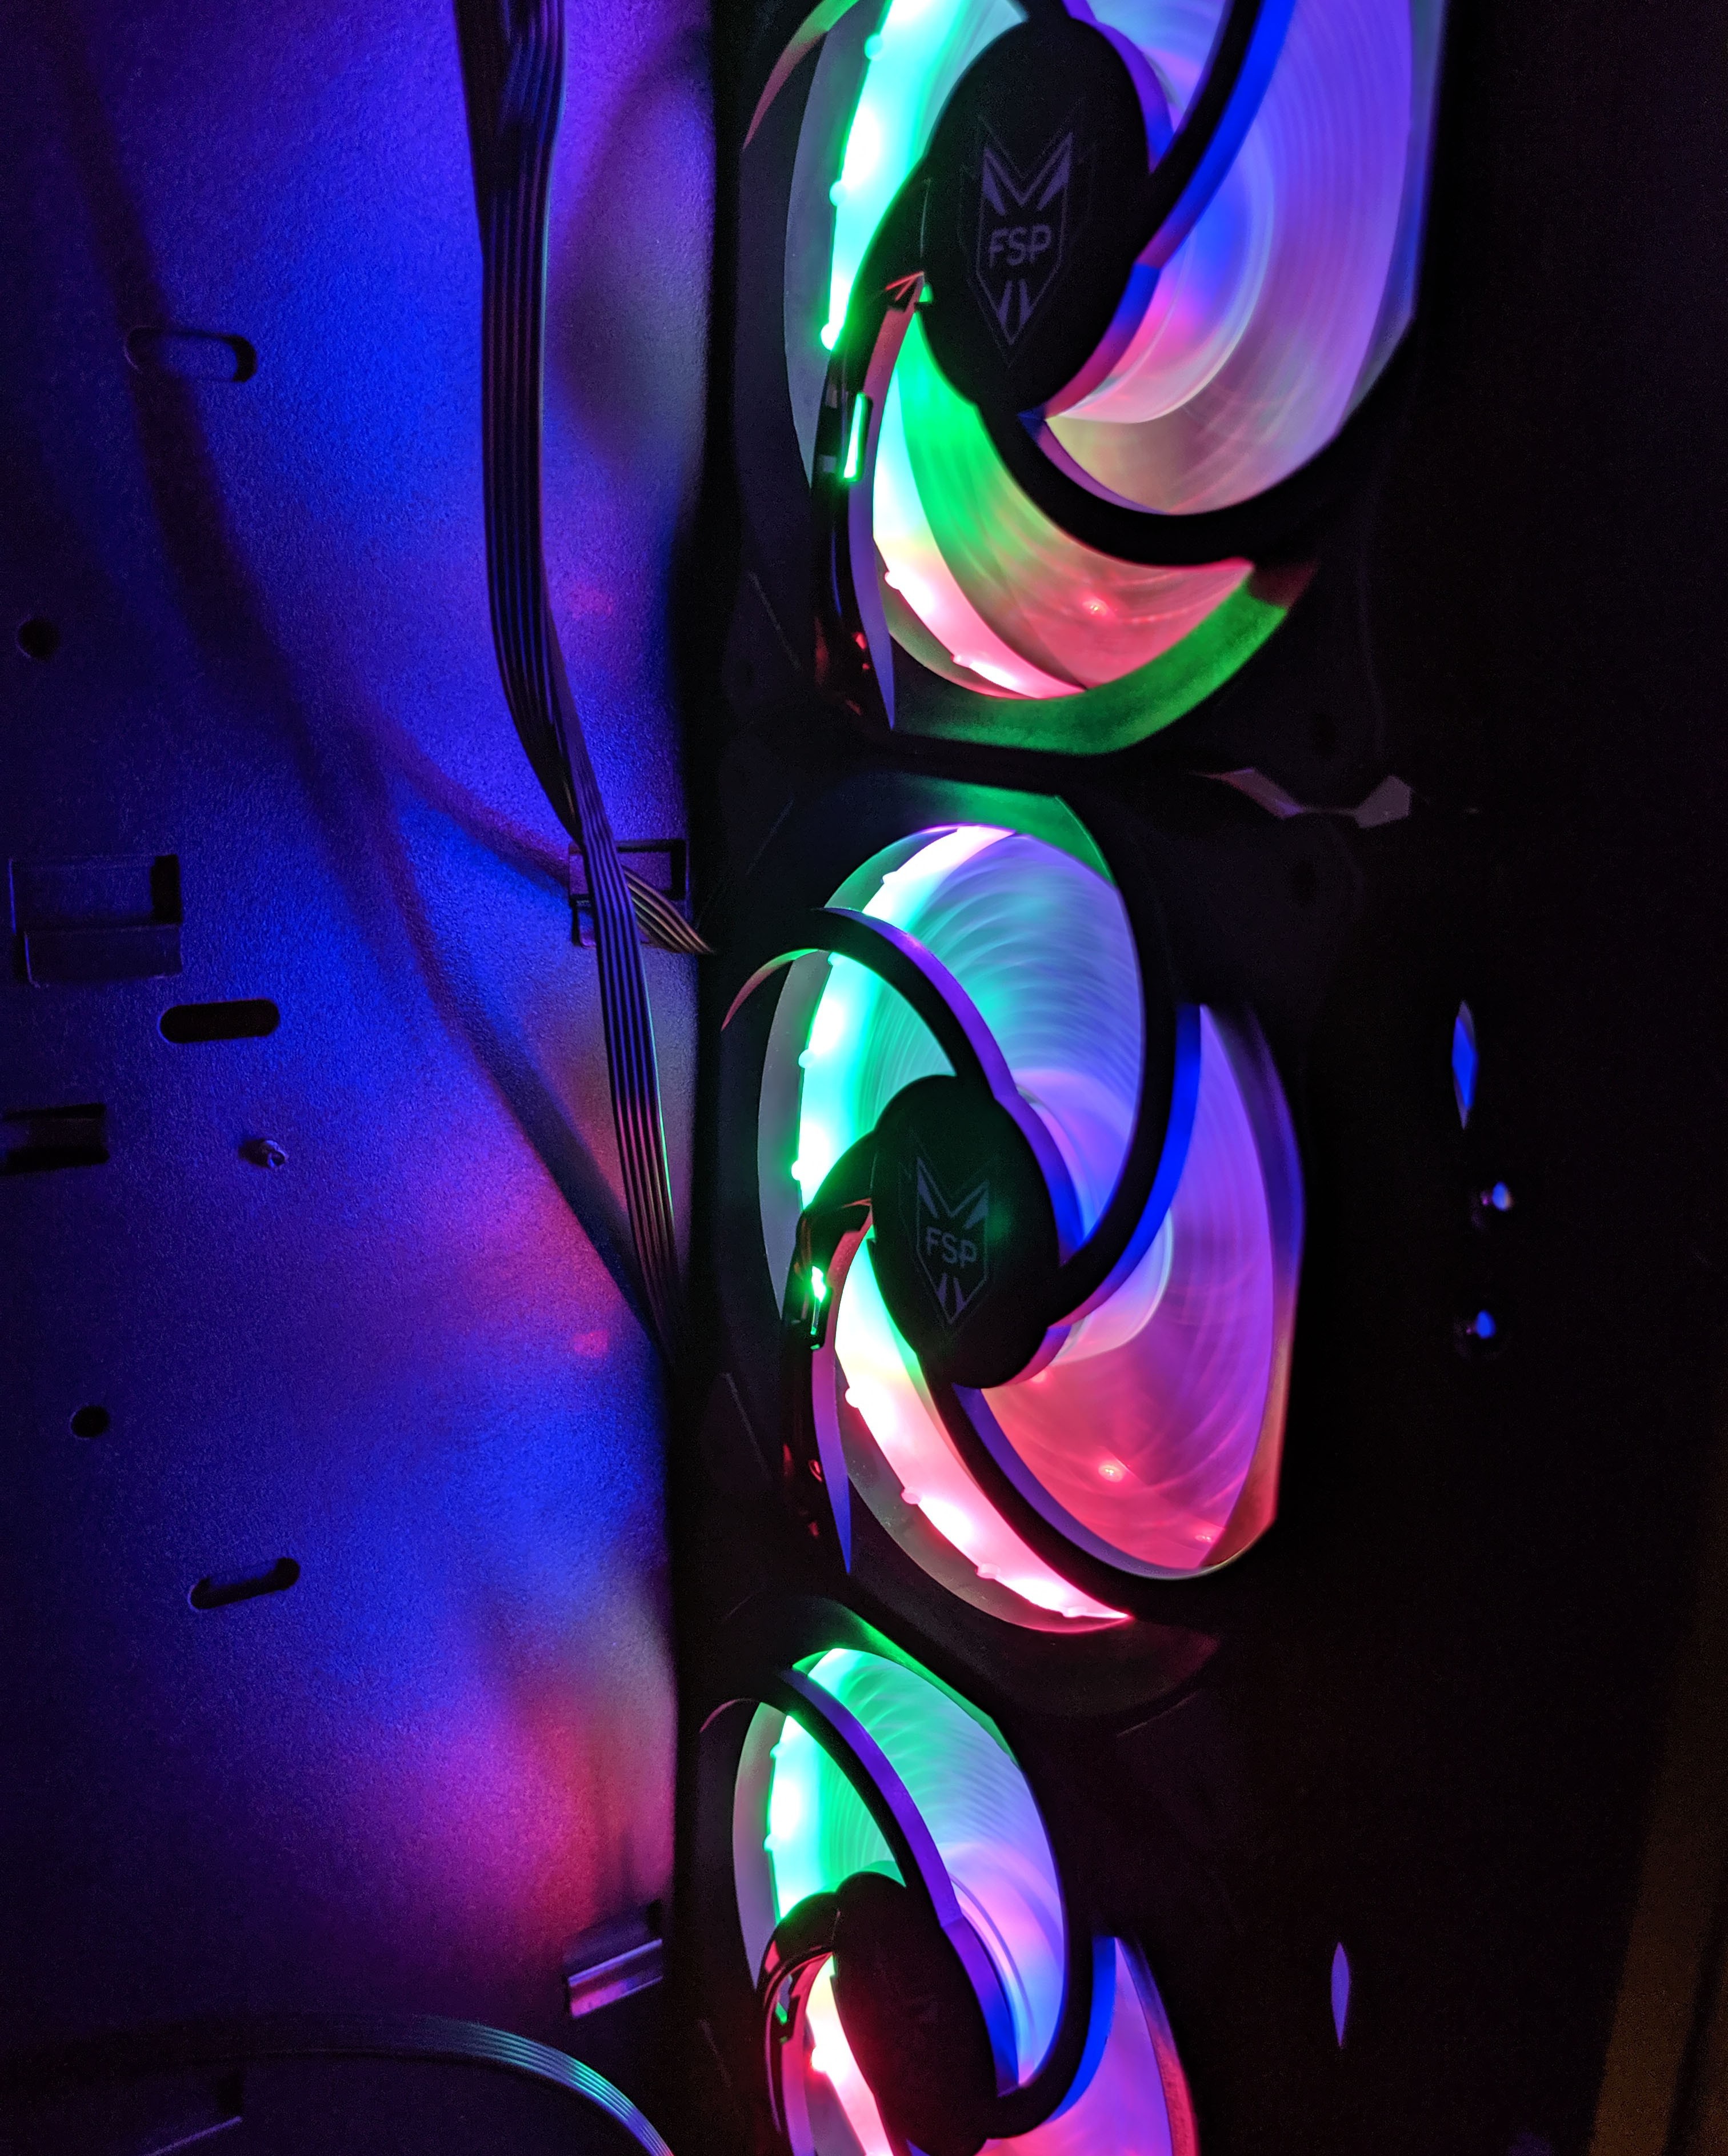
And behold the front with the RGB’s on! Man those fans look good. Sorry about the random USB 3.0 connector flopping in the wind. =/

With the tempered glass panels reinstalled, the build got even better. I love the glossy, sleek look the case projects. The only down side are the fingerprints… I feel like you’ve got to keep a microfiber cloth on standby all the time to keep it looking pristine!
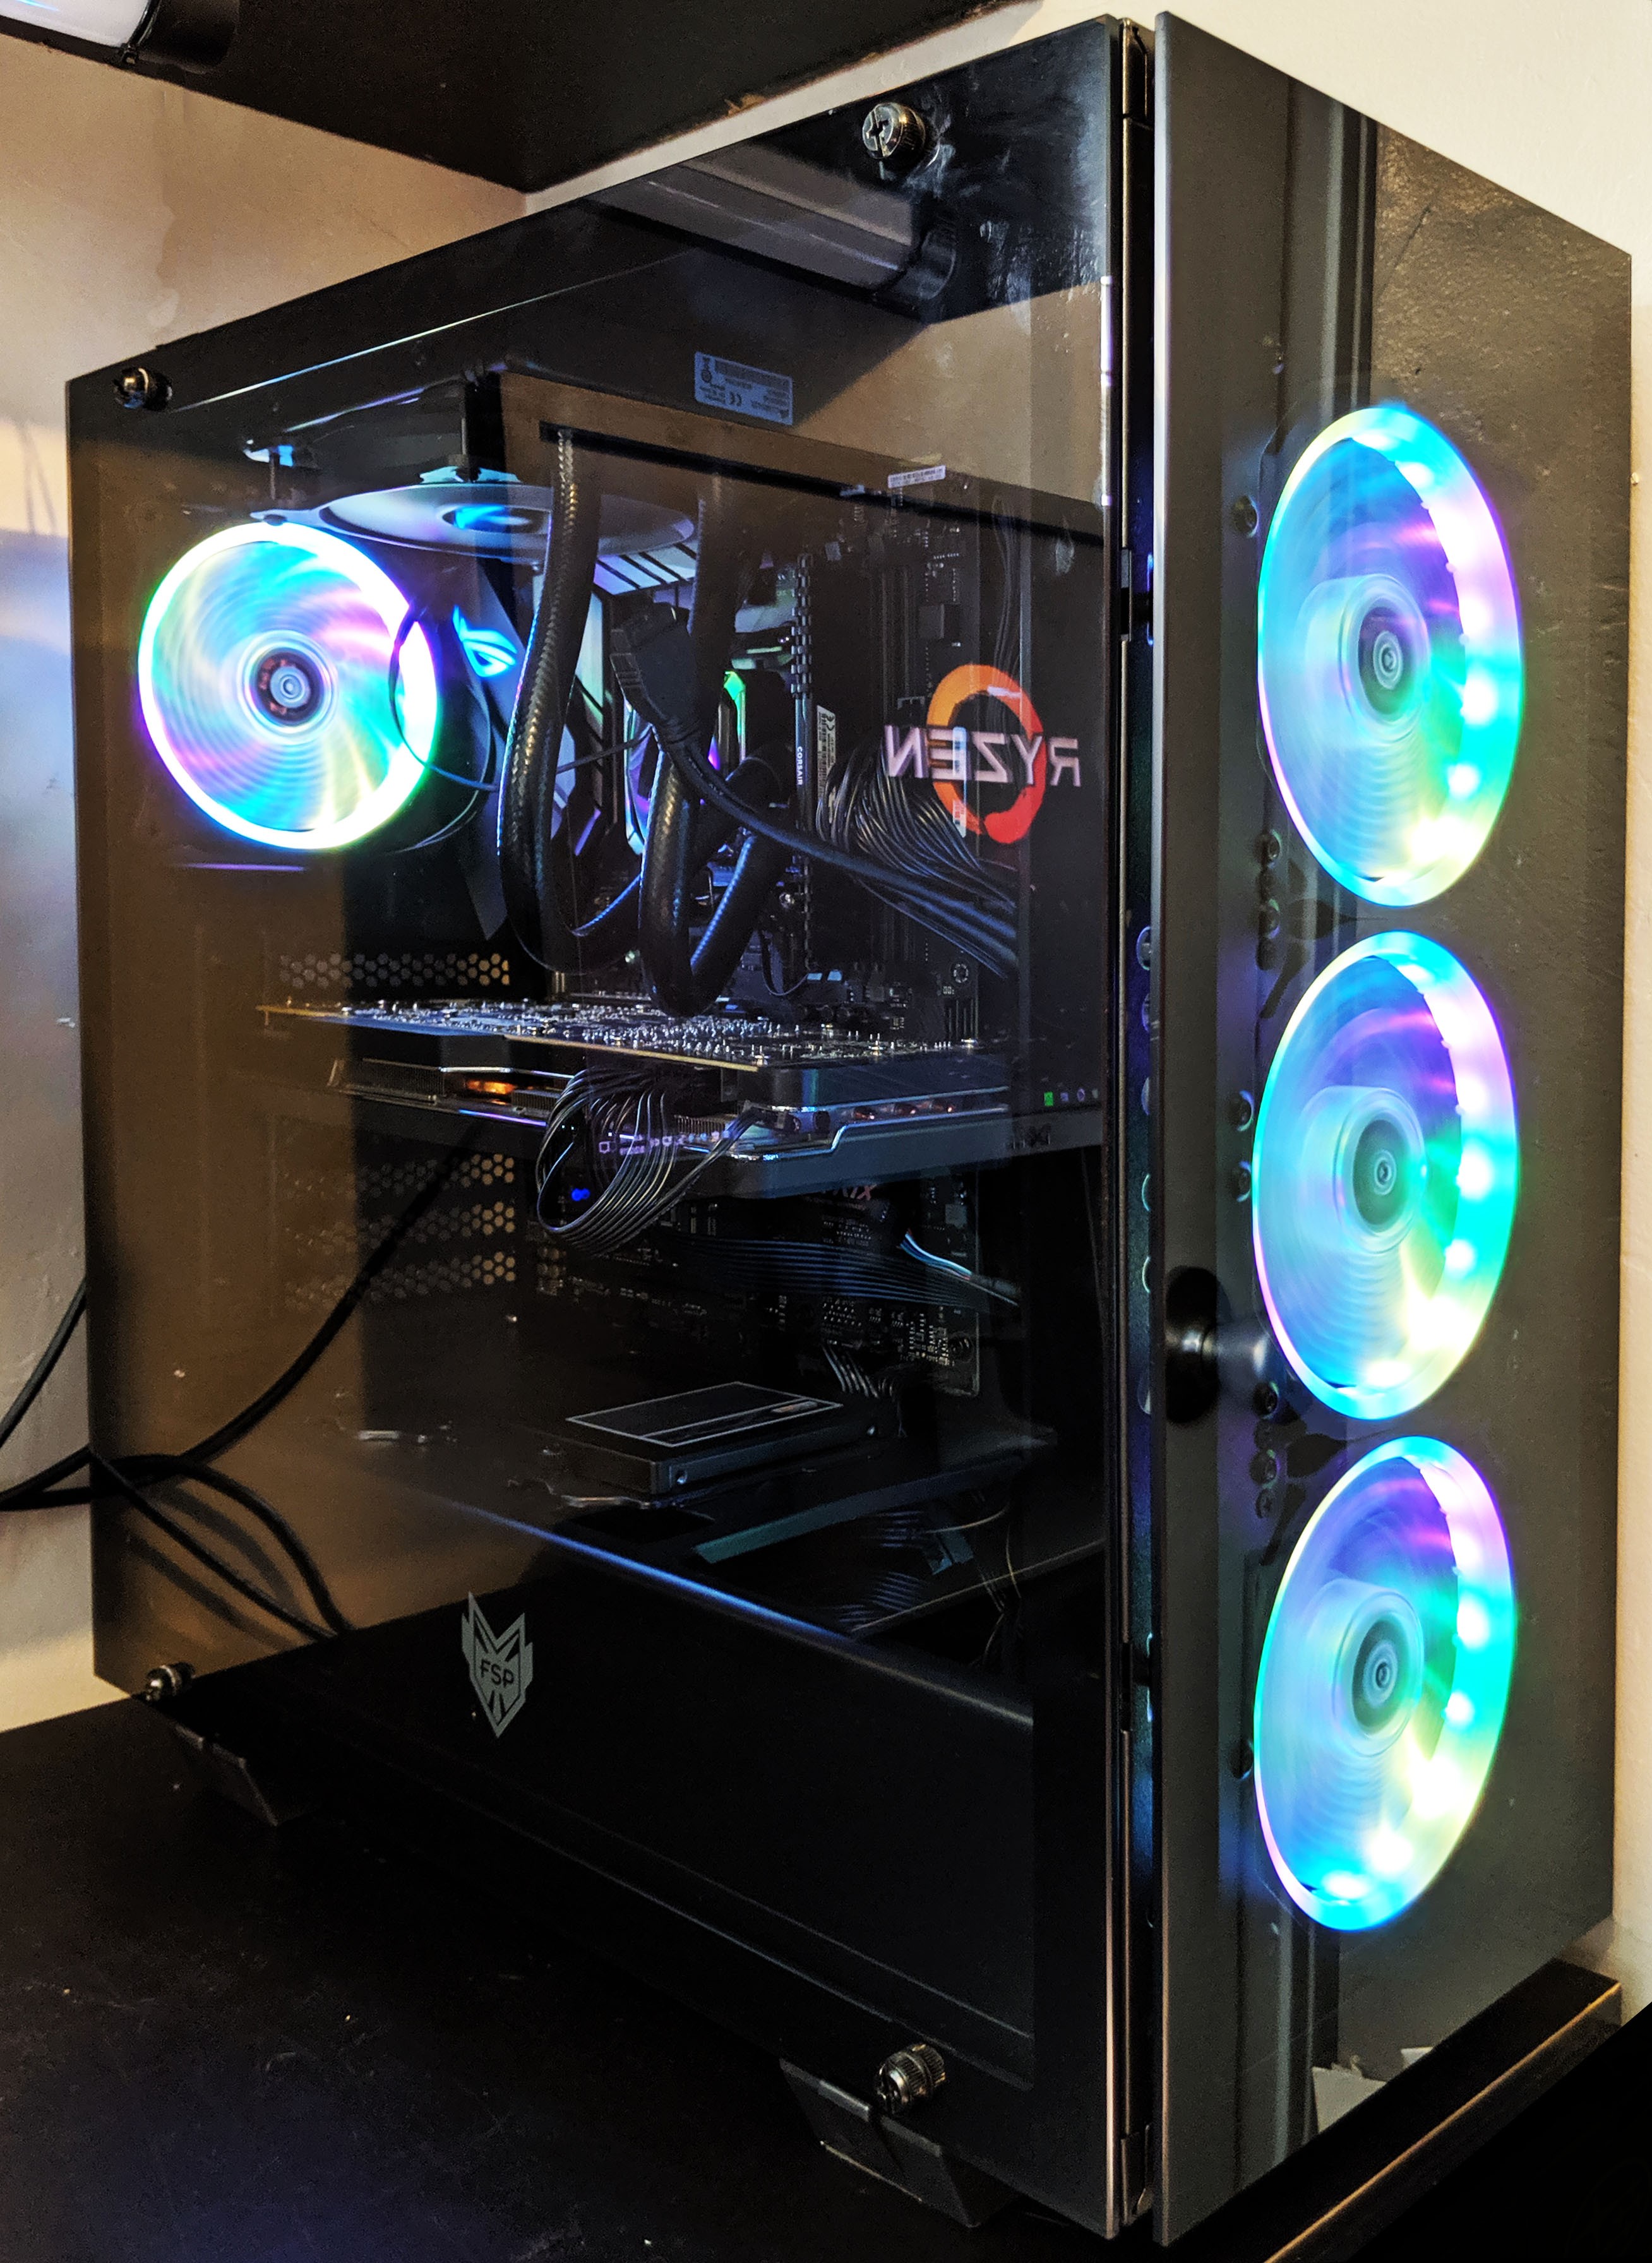
Here’s a close up with the fans. At this point, feel free to play around with the case’s built in RGB lighting effects! There were at least 30 of them from what I could tell, so have fun!
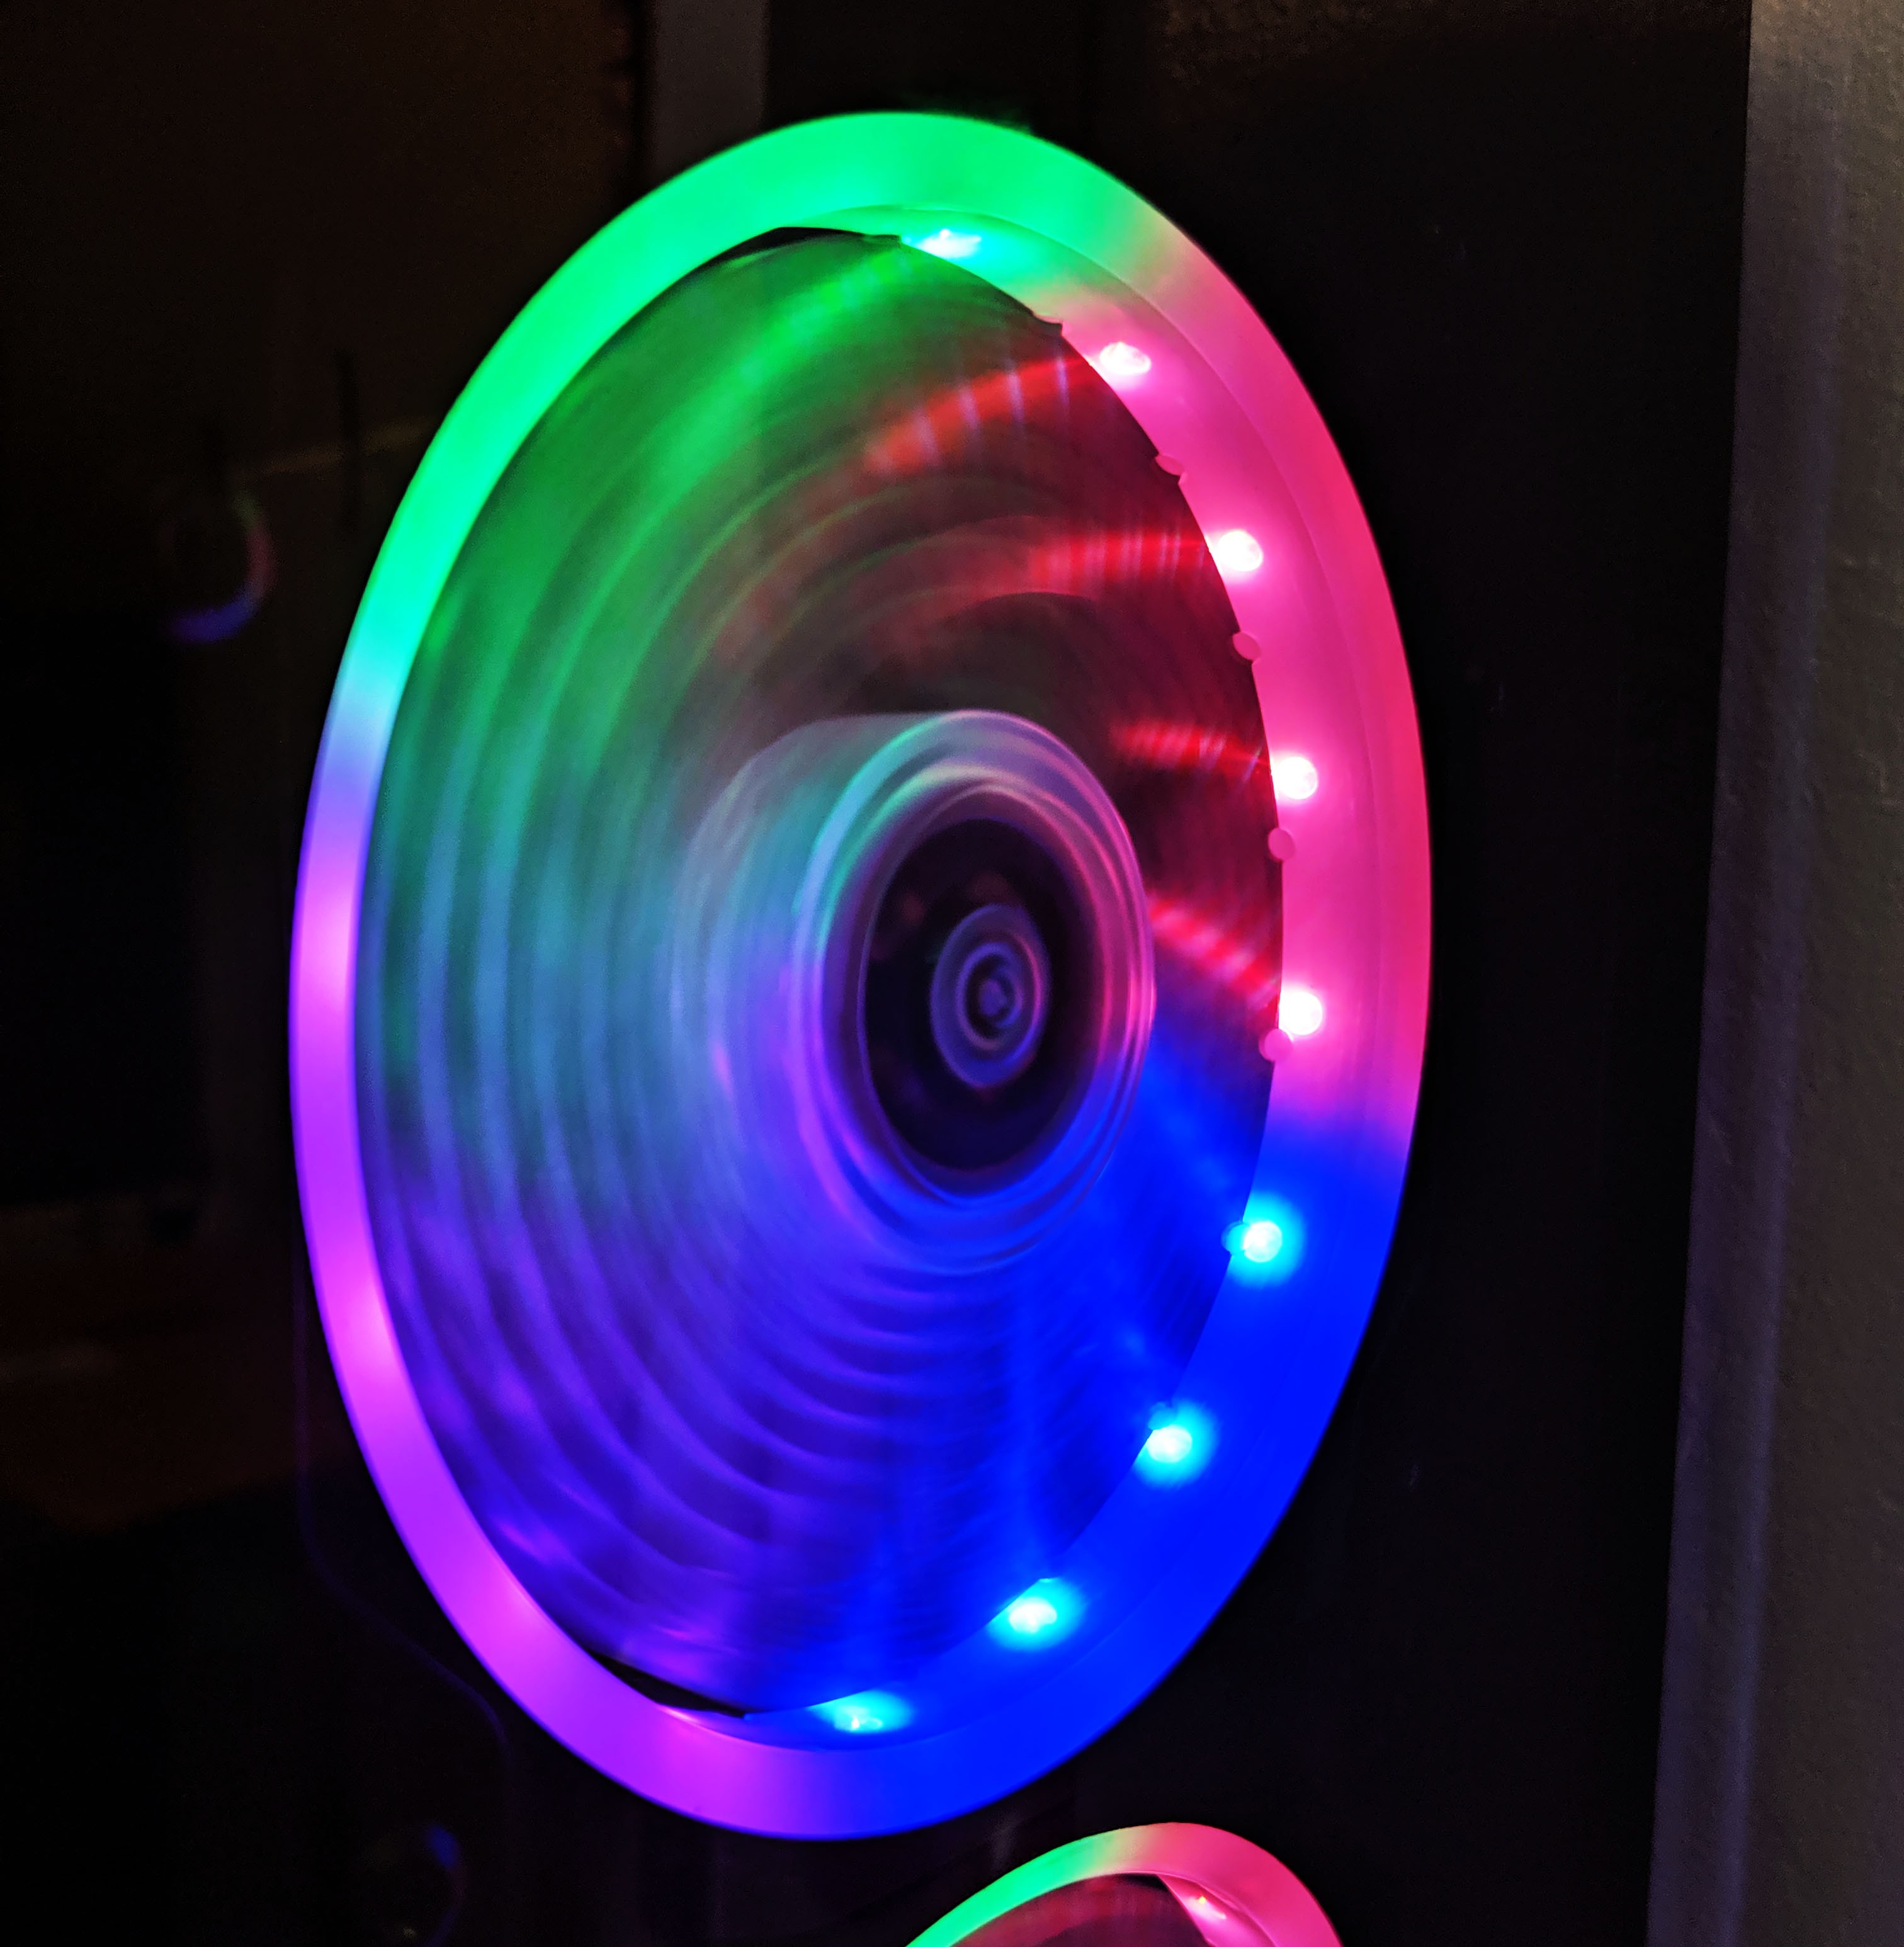
With the system powered on, the fans were barely audible, however I couldn’t find a way to manage the speed. I’m not sure if this happens automatically or if the fans run at a single static speed. They moved a decent amount of air all together, so at their current speed the fans should move enough air for most builds while remaining silent.
Final thoughts and Scoring
Alright, this brings us to the final category of the review! At this point we break down how this case did based on several categories. Overall, the FSP CMT510 Plus was probably one of the best looking cases I’ve had the pleasure of reviewing.
My only wish was that there was some way to control the fan speeds. A knob or something on the RGB controller would have been a fantastic addition.
Next, let’s break down how this case did based on several categories:
- Build Quality: 9.6/10 – There is absolutely no plastic whatsoever on this case. What you get is a steel and tempered glass case that is probably mostly tempered glass by volume. The thing is solid and at no point in the review did I notice any quality related issues.
- Appearance: 10/10 – An absolute win. Given the fact that this case is mostly shiny tempered glass panels, the look is fantastic.
- Functionality/Performance: 8.4/10 – A fan speed controller would have been a welcomed addition. I also wish the case had an option for a 240/280mm radiator for the top of the case like we’ve seen on most other FSP cases in the past.
- Value: 9.2/10 – At the time of writing this review, the case can be had for $124.99 which is a fantastic deal.
Product Page: https://www.fsplifestyle.com/us/product/CMT510plus.html
Purchase: FSP CMT510 Plus
"...probably one of the best looking cases I've had the pleasure of reviewing."FSP CMT510 Plus Review


Not a bad little case for someone not known for cases. I do wish mid tower manufacturers would make their cases just a bit taller so that one could properly route the CPU cable. It could use some more airflow for the front fans plus dust filters.