Motherboards come in all different shapes and sizes. While ATX boards rain supreme in most builds these days, Mini-ITX motherboards are growing in popularity due to their small, compact size. The result is a tiny PC build you can stuff pretty much anywhere. This this review, we’ll be taking a look into one of Biostar’s recent offerings, a mini-ITX motherboard which is based on the AMD Carrizo platform and features quite a lot of high end options for not a lot of money. The Biostar A10N-8800E is a SoC (System on a Chip) solution meaning that the CPU is hard soldered directly to the motherboard. The benefit of this is an overall reduced cost when pricing out a CPU/Motherboard with the trade-off of not being able to upgrade later.
At a glance the A10N-8800E boasts quite a lot of high end features. The AMD FX-8800P CPU is a low power quad core processor most commonly found in laptop systems. The motherboard also features memory support for up to 32GB of DDR4 RAM (2x16GB), a single M.2 PCIe connector for fast SSD storage, and a single PCIe x16 slot. This motherboard seems like it would be the ultimate Swiss Army knife when it comes to versatility.
Next, let’s dive into the review first by taking a further look into the motherboard’s specifications.
Biostar A10N-8800E Motherboard Specifications
The integrated AMD FX-8800P processor offers some pretty good performance with a focus of power savings. The processor boasts a 3.4GHz boost clock and features a TDP of only 15W making this CPU very idea for light to medium loads such as a server HTPC or desktop build. We’ll dive into the processor’s actual performance later on into the review
Below are a list of the detailed specifications of the motherboard:
| Biostar A10N-8800E Motherboard | |
|---|---|
| Chipset | AMD Carrizo |
| Integrated CPU | AMD FX-8800P Processor (Quad core 2.1GHz up to 3.4GHz, 25W TDP) |
| Memory Support | Support Dual Channel DDR4 2133(OC) MHz 2 x DDR4 DIMM Memory Slot Each DIMM supports non-ECC 512MB/ 1/ 2/ 4/ 8/ 16 GB DDR4 modules |
| Integrated Video | AMD Radeon™ R7 Graphics Supports HDCP |
| Storage |
|
| Networking | Realtek RTL8111H – 10/100/1000Mb/s Controller Support Super LAN Surge Protection |
| Audio Codec | Realtek ALC887 8-Channel HD Audio Support HD Audio |
| USB |
|
| Expansion Slot |
|
| Rear I/O |
|
| Internal I/O |
|
| H/W Sensors |
|
| Dimensions | Mini ITX Form Factor Dimension: 17 cm x 17 cm ( W x L ) |
| OS Support | Support Windows 7 x86/x64, Windows 8.1 x64, Windows 10 x64 |
| Accessories |
|
Overall, tons of options for such a tiny board. I’m really liking the built in PCIe M.2 SSD support as well as the USB 3.1 support. Now that we’re all experts, let’s dive into the review by first taking a look at its packaging!
A Closer Look: Packaging
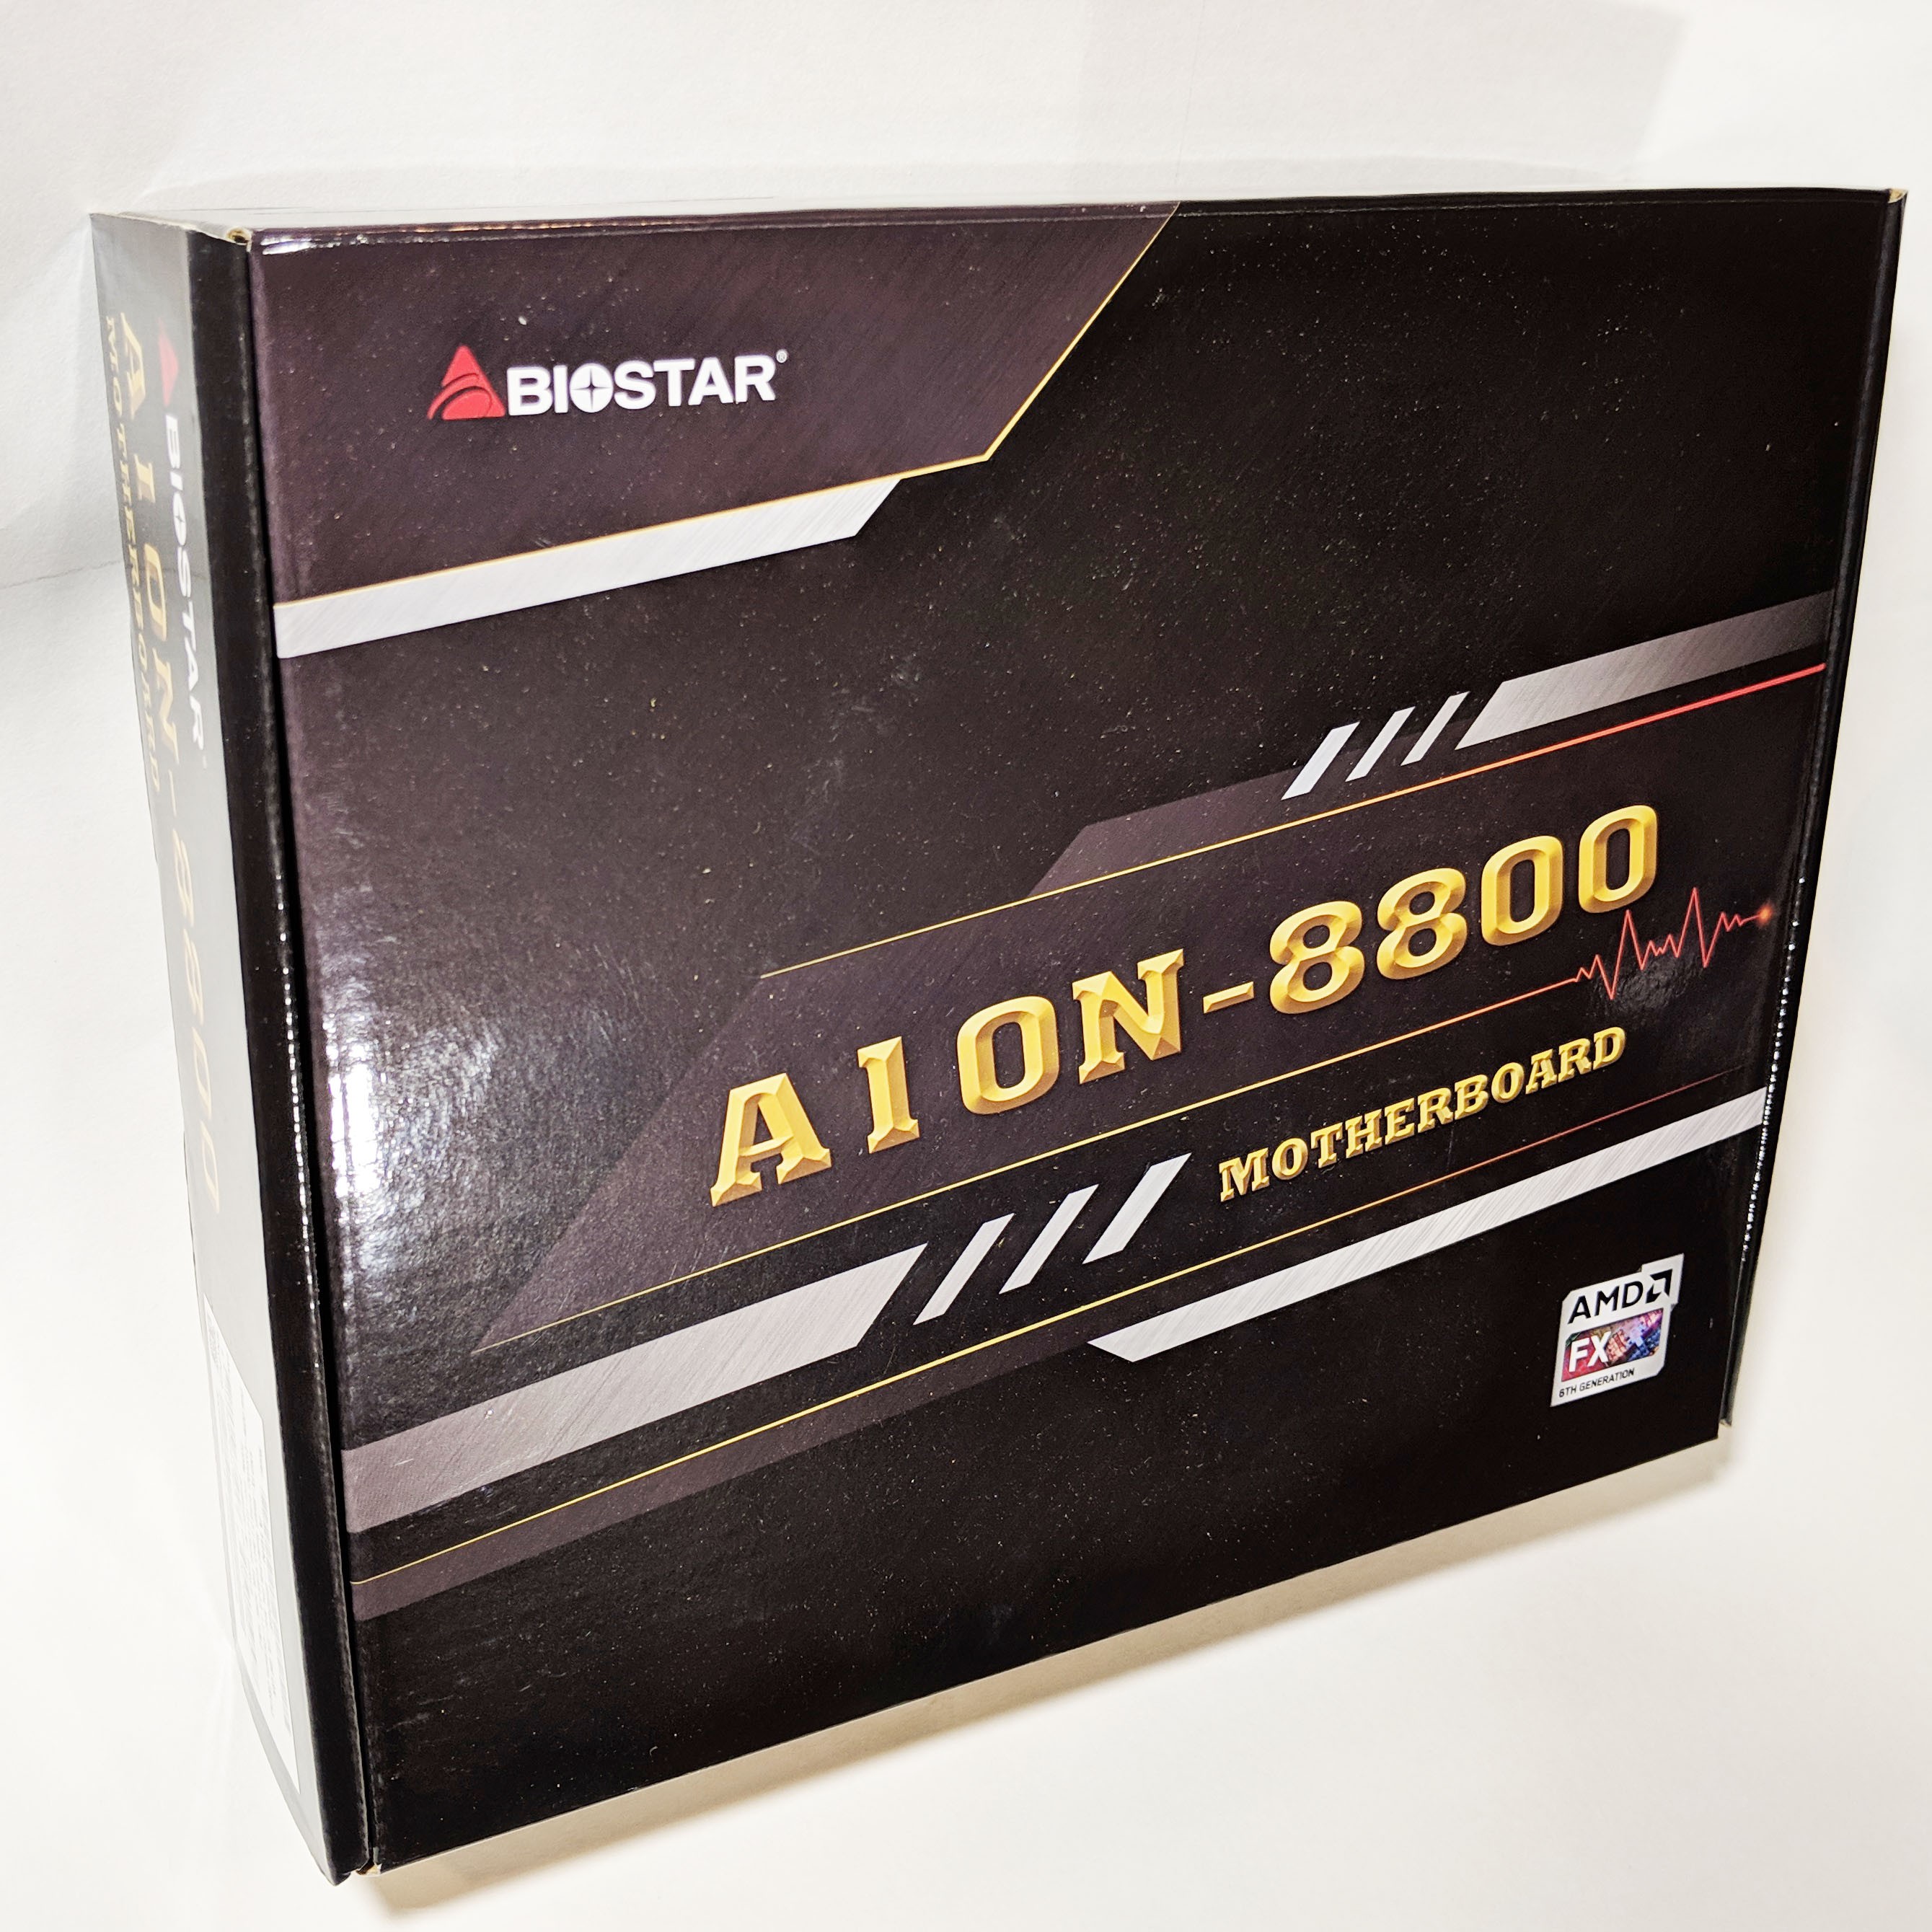
The Biostar A10N-8800E Motherboard arrived at the GND-Tech testing facility unscathed and in perfect condition. The box features a dark black design with the motherboard’s model number clearly visible on the front. The back of the box provides us with a few more features such as M.2 SSD Support, USB 3.1 Gen1, Super Lan, as well as SATA6 support.
Overall, the packaging does a good job letting you know what you’re getting into. One crucial feature I personally would have mentioned is highlighting the processor and/or SoC system. There are AMD FX logos on both the front and back but it doesn’t make it clear that you’re buying an integrated solution and that the AMD doesn’t simply mean “supported”.

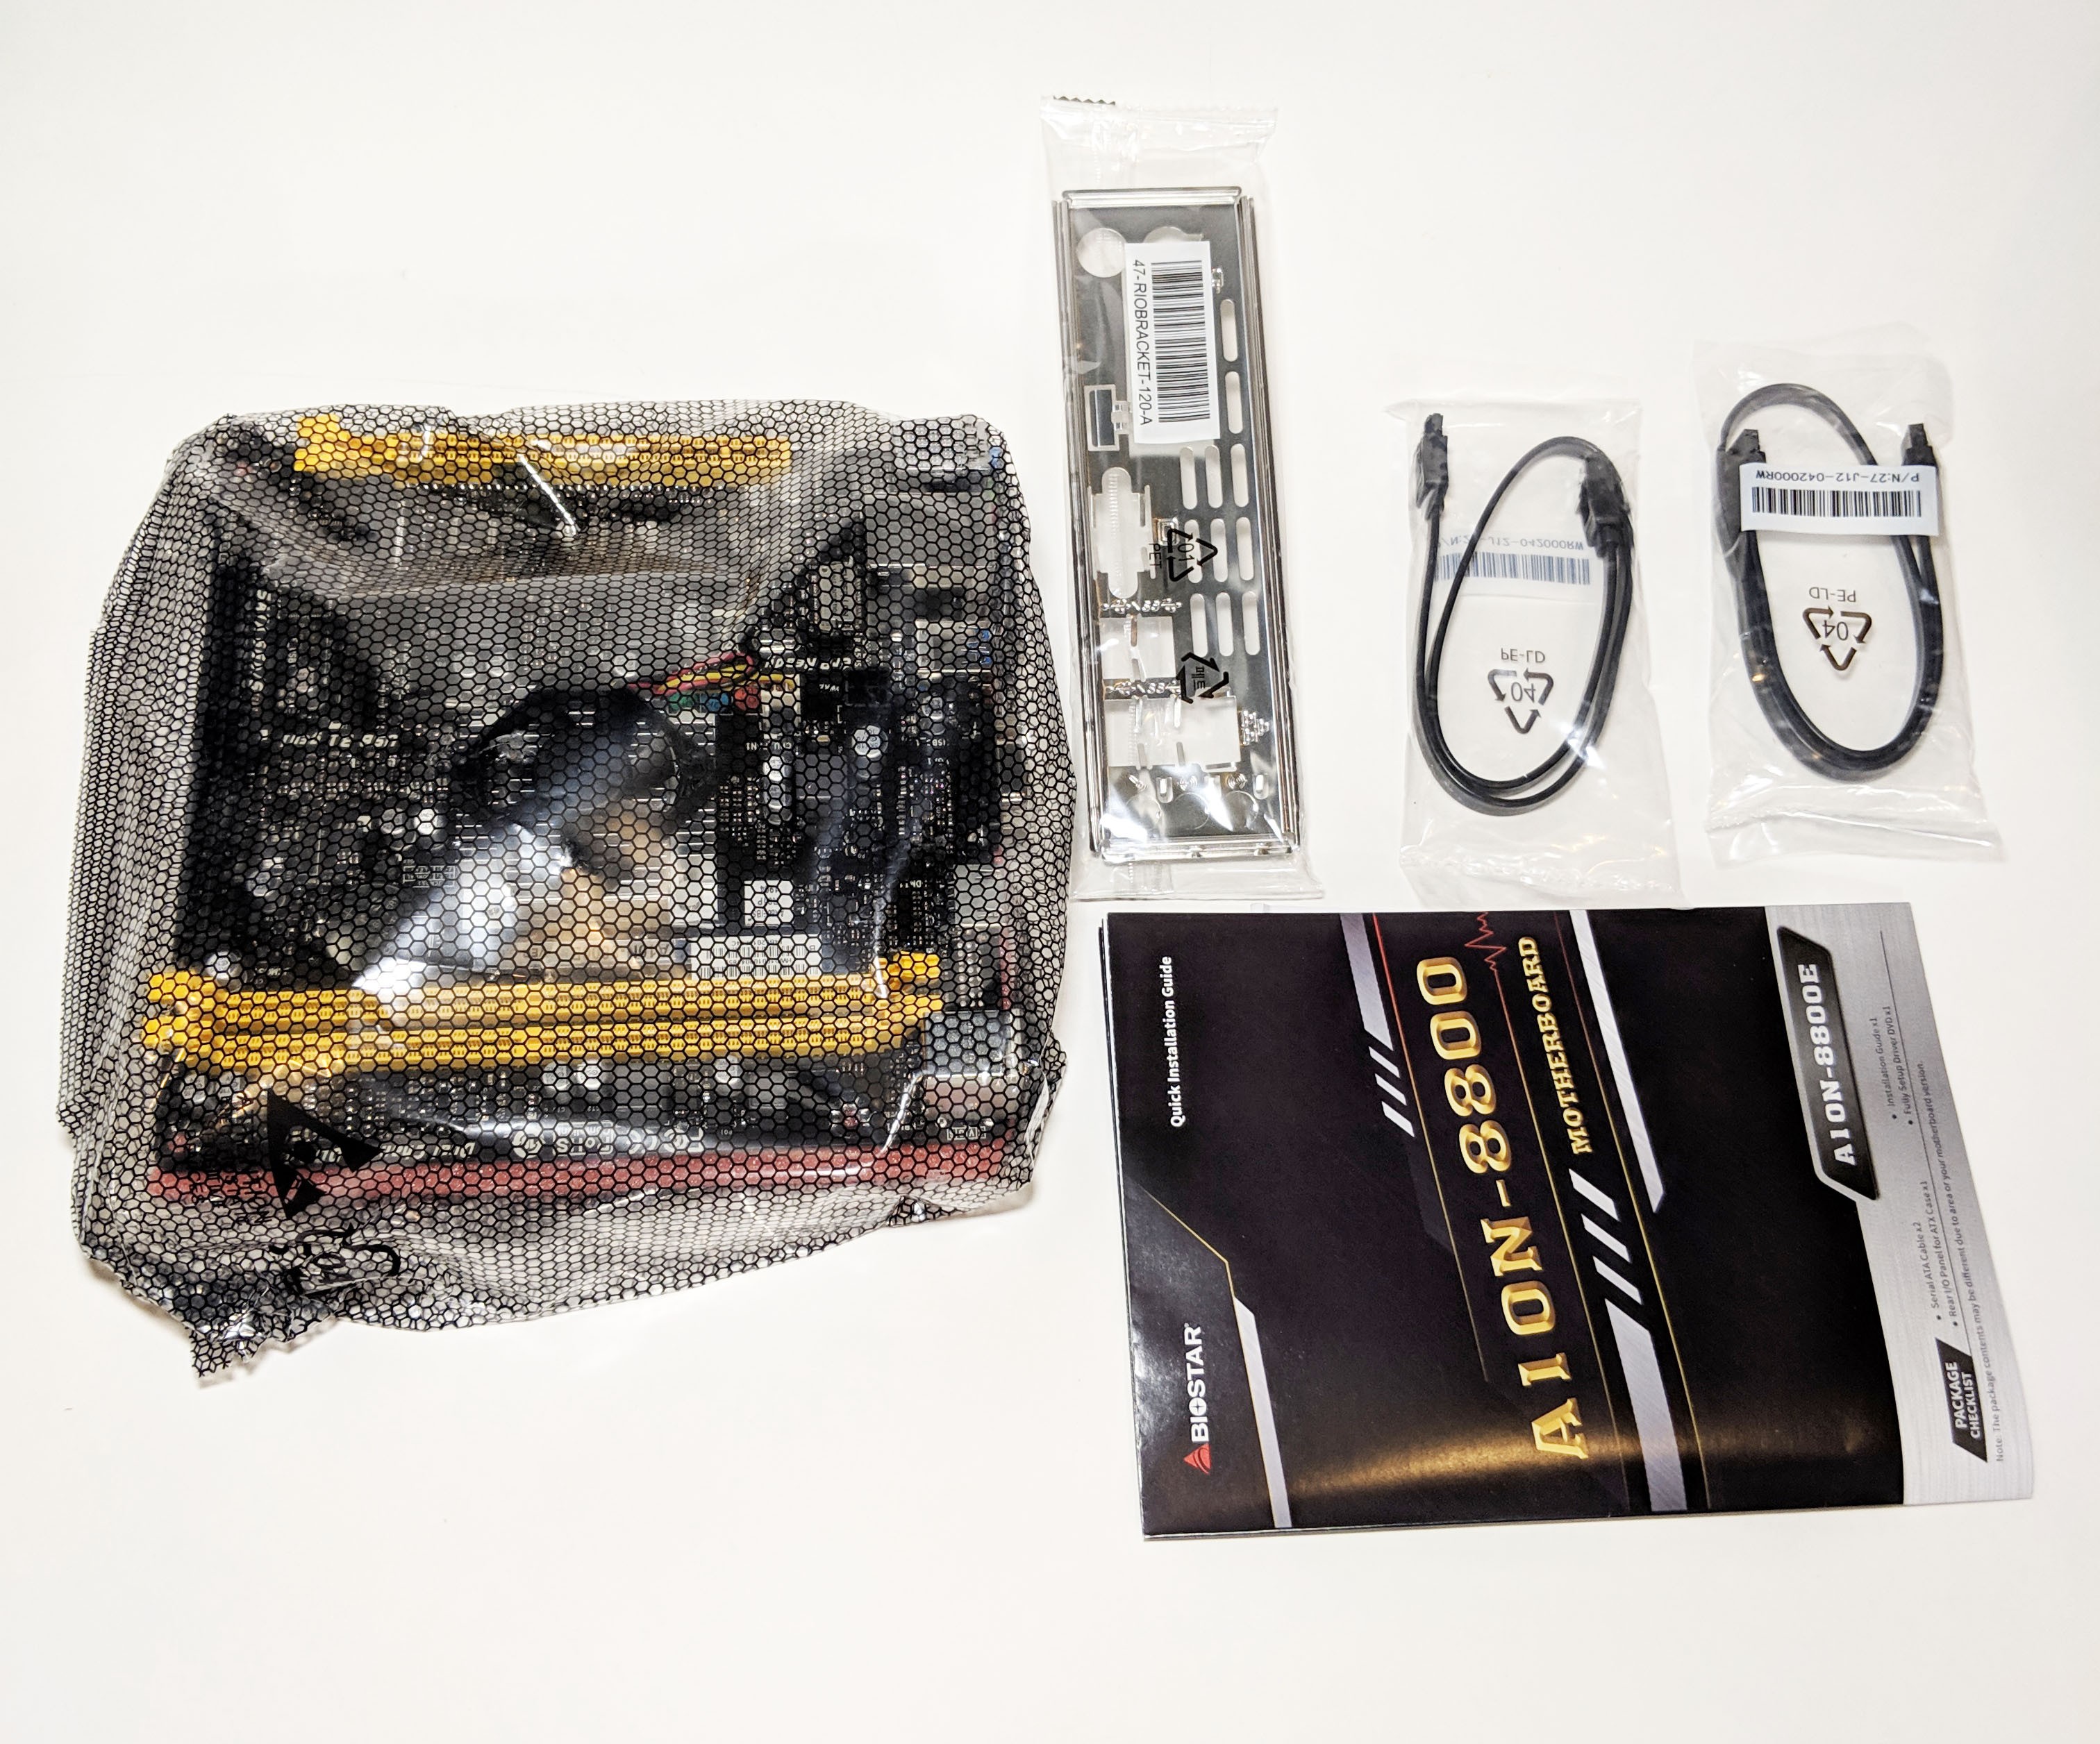
With the outer seal cracked open, we get a better feel as to how the motherboard is packaged. A majority of the protection on the inside is provided by a removable cardboard insert that isolates all of the accessories from the motherboard. The motherboard sits in its own compartment at the bottom inside an anti-static bag.
Inside the bag the board sits on top of a bed of foam which will add a bit more overall protection. Overall, decent packaging, however I would have liked to have seen a bit more soft materials used to keep items from shifting around.
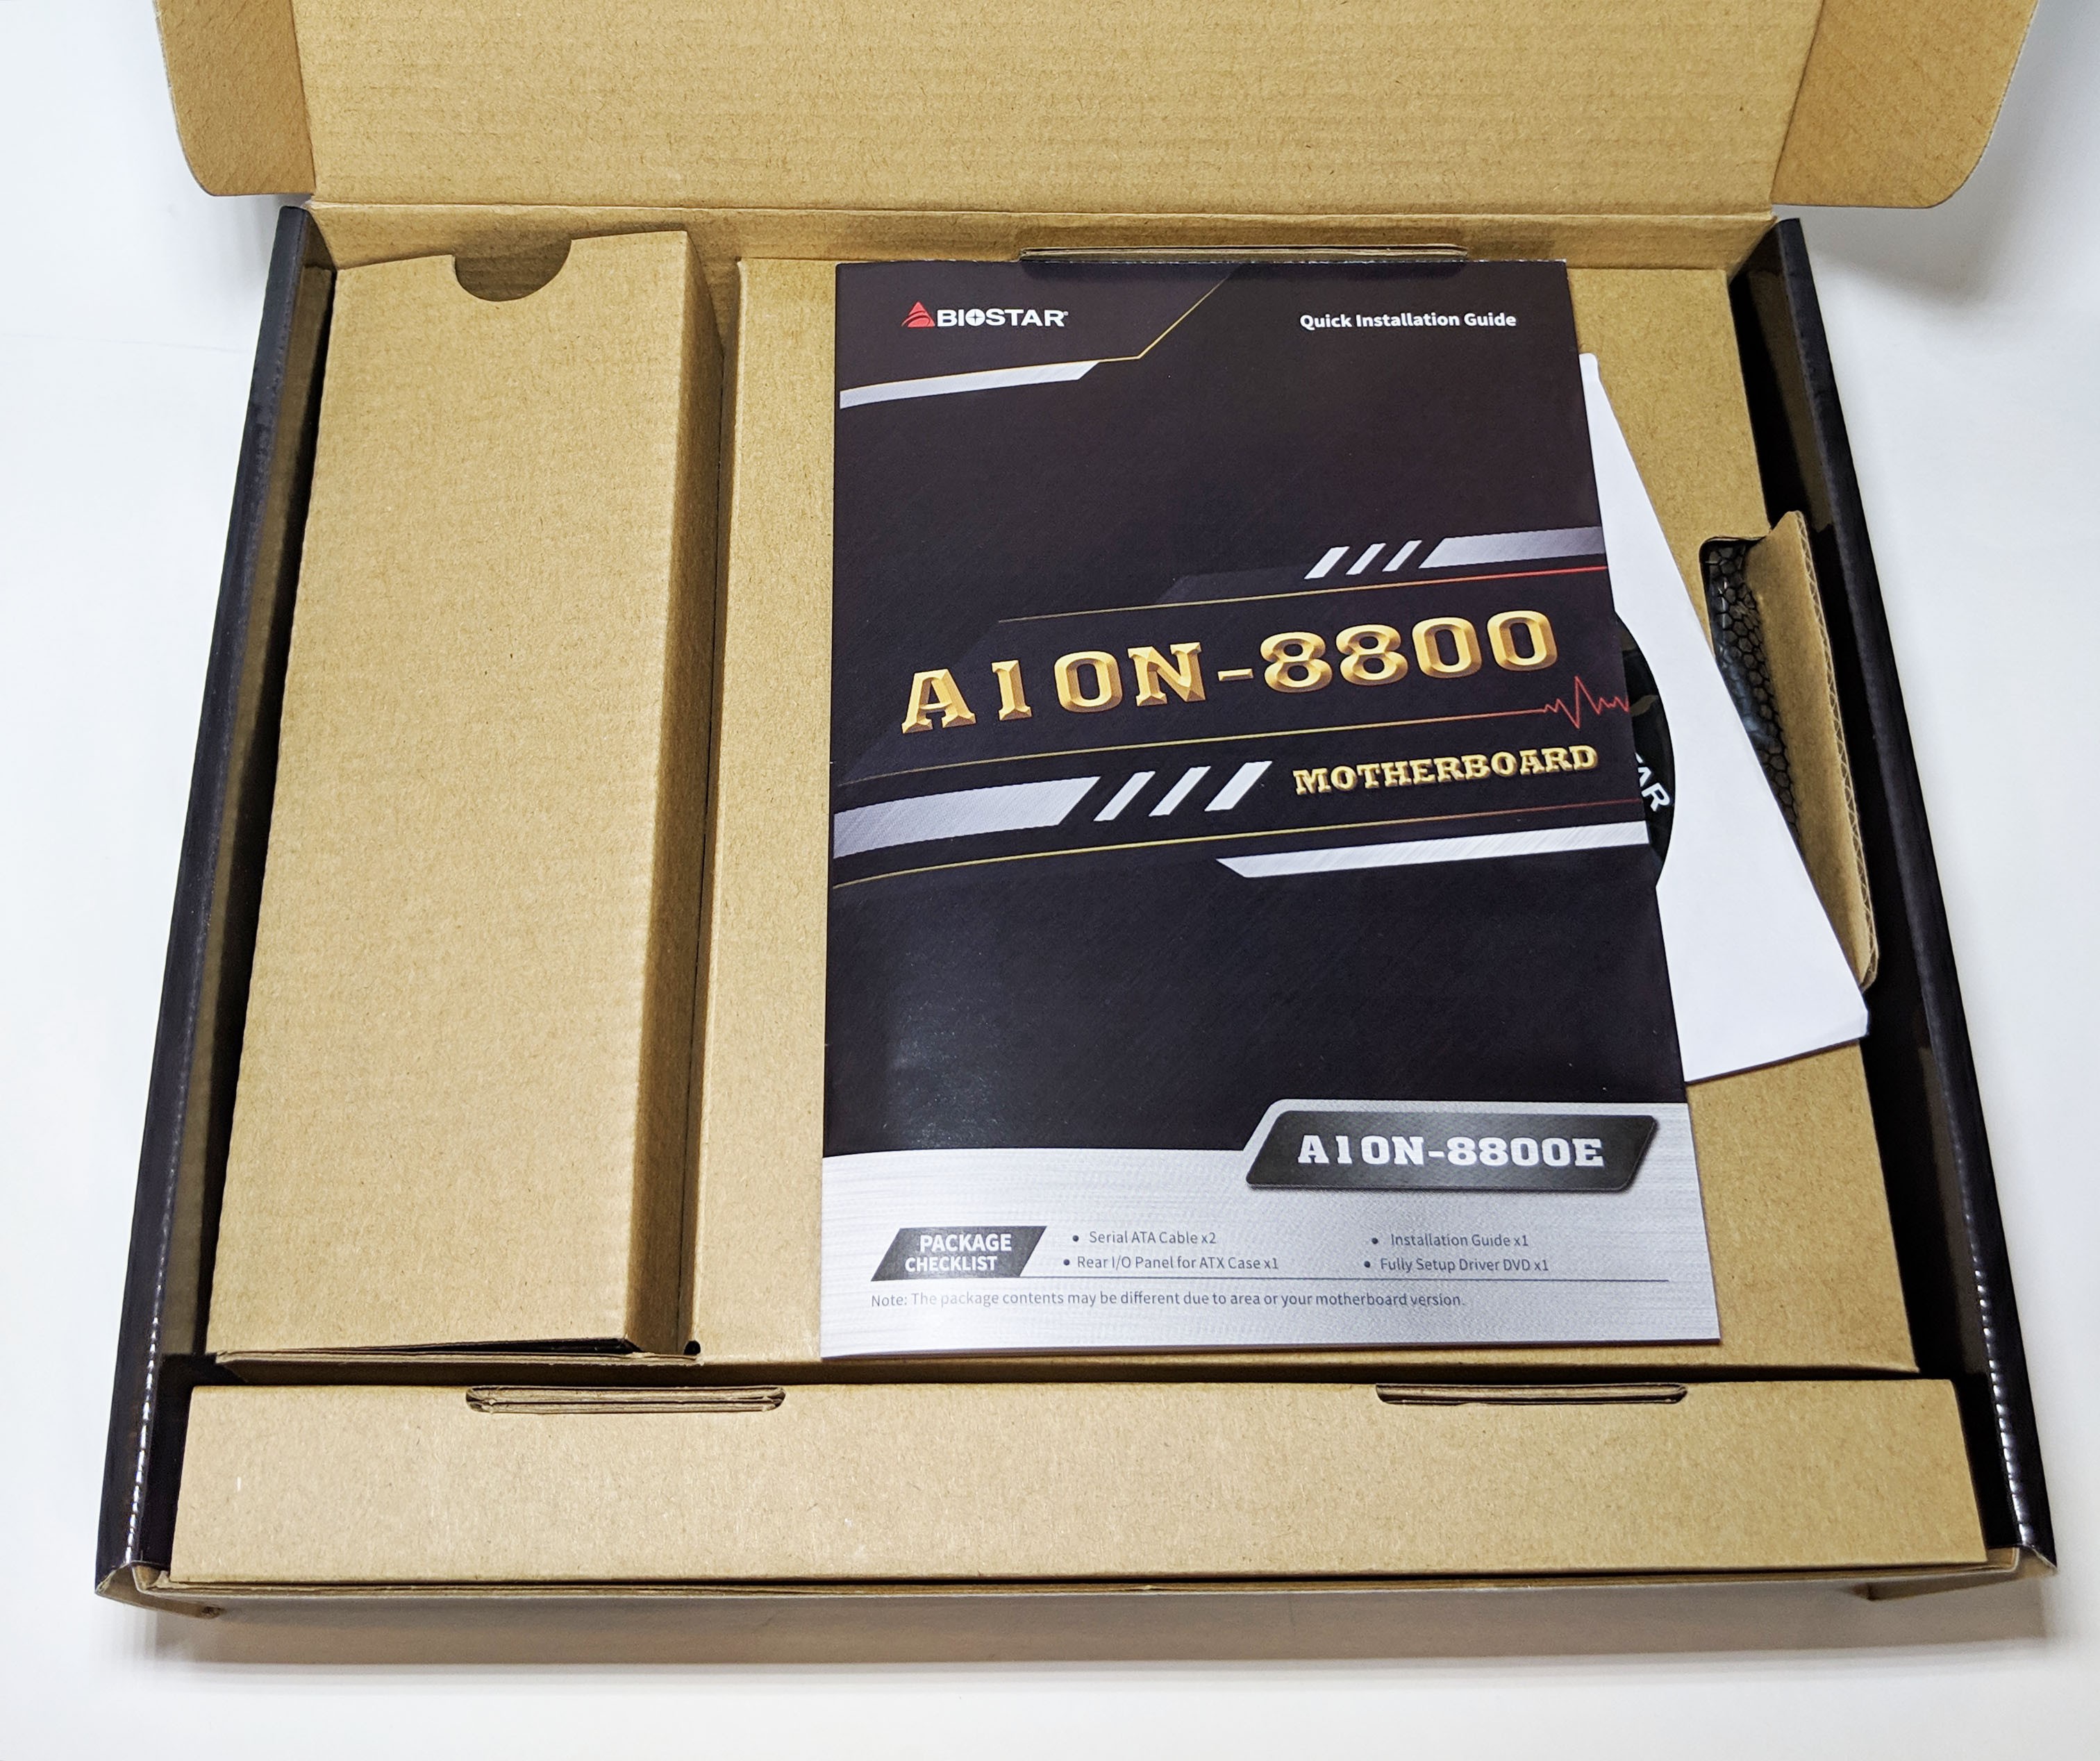
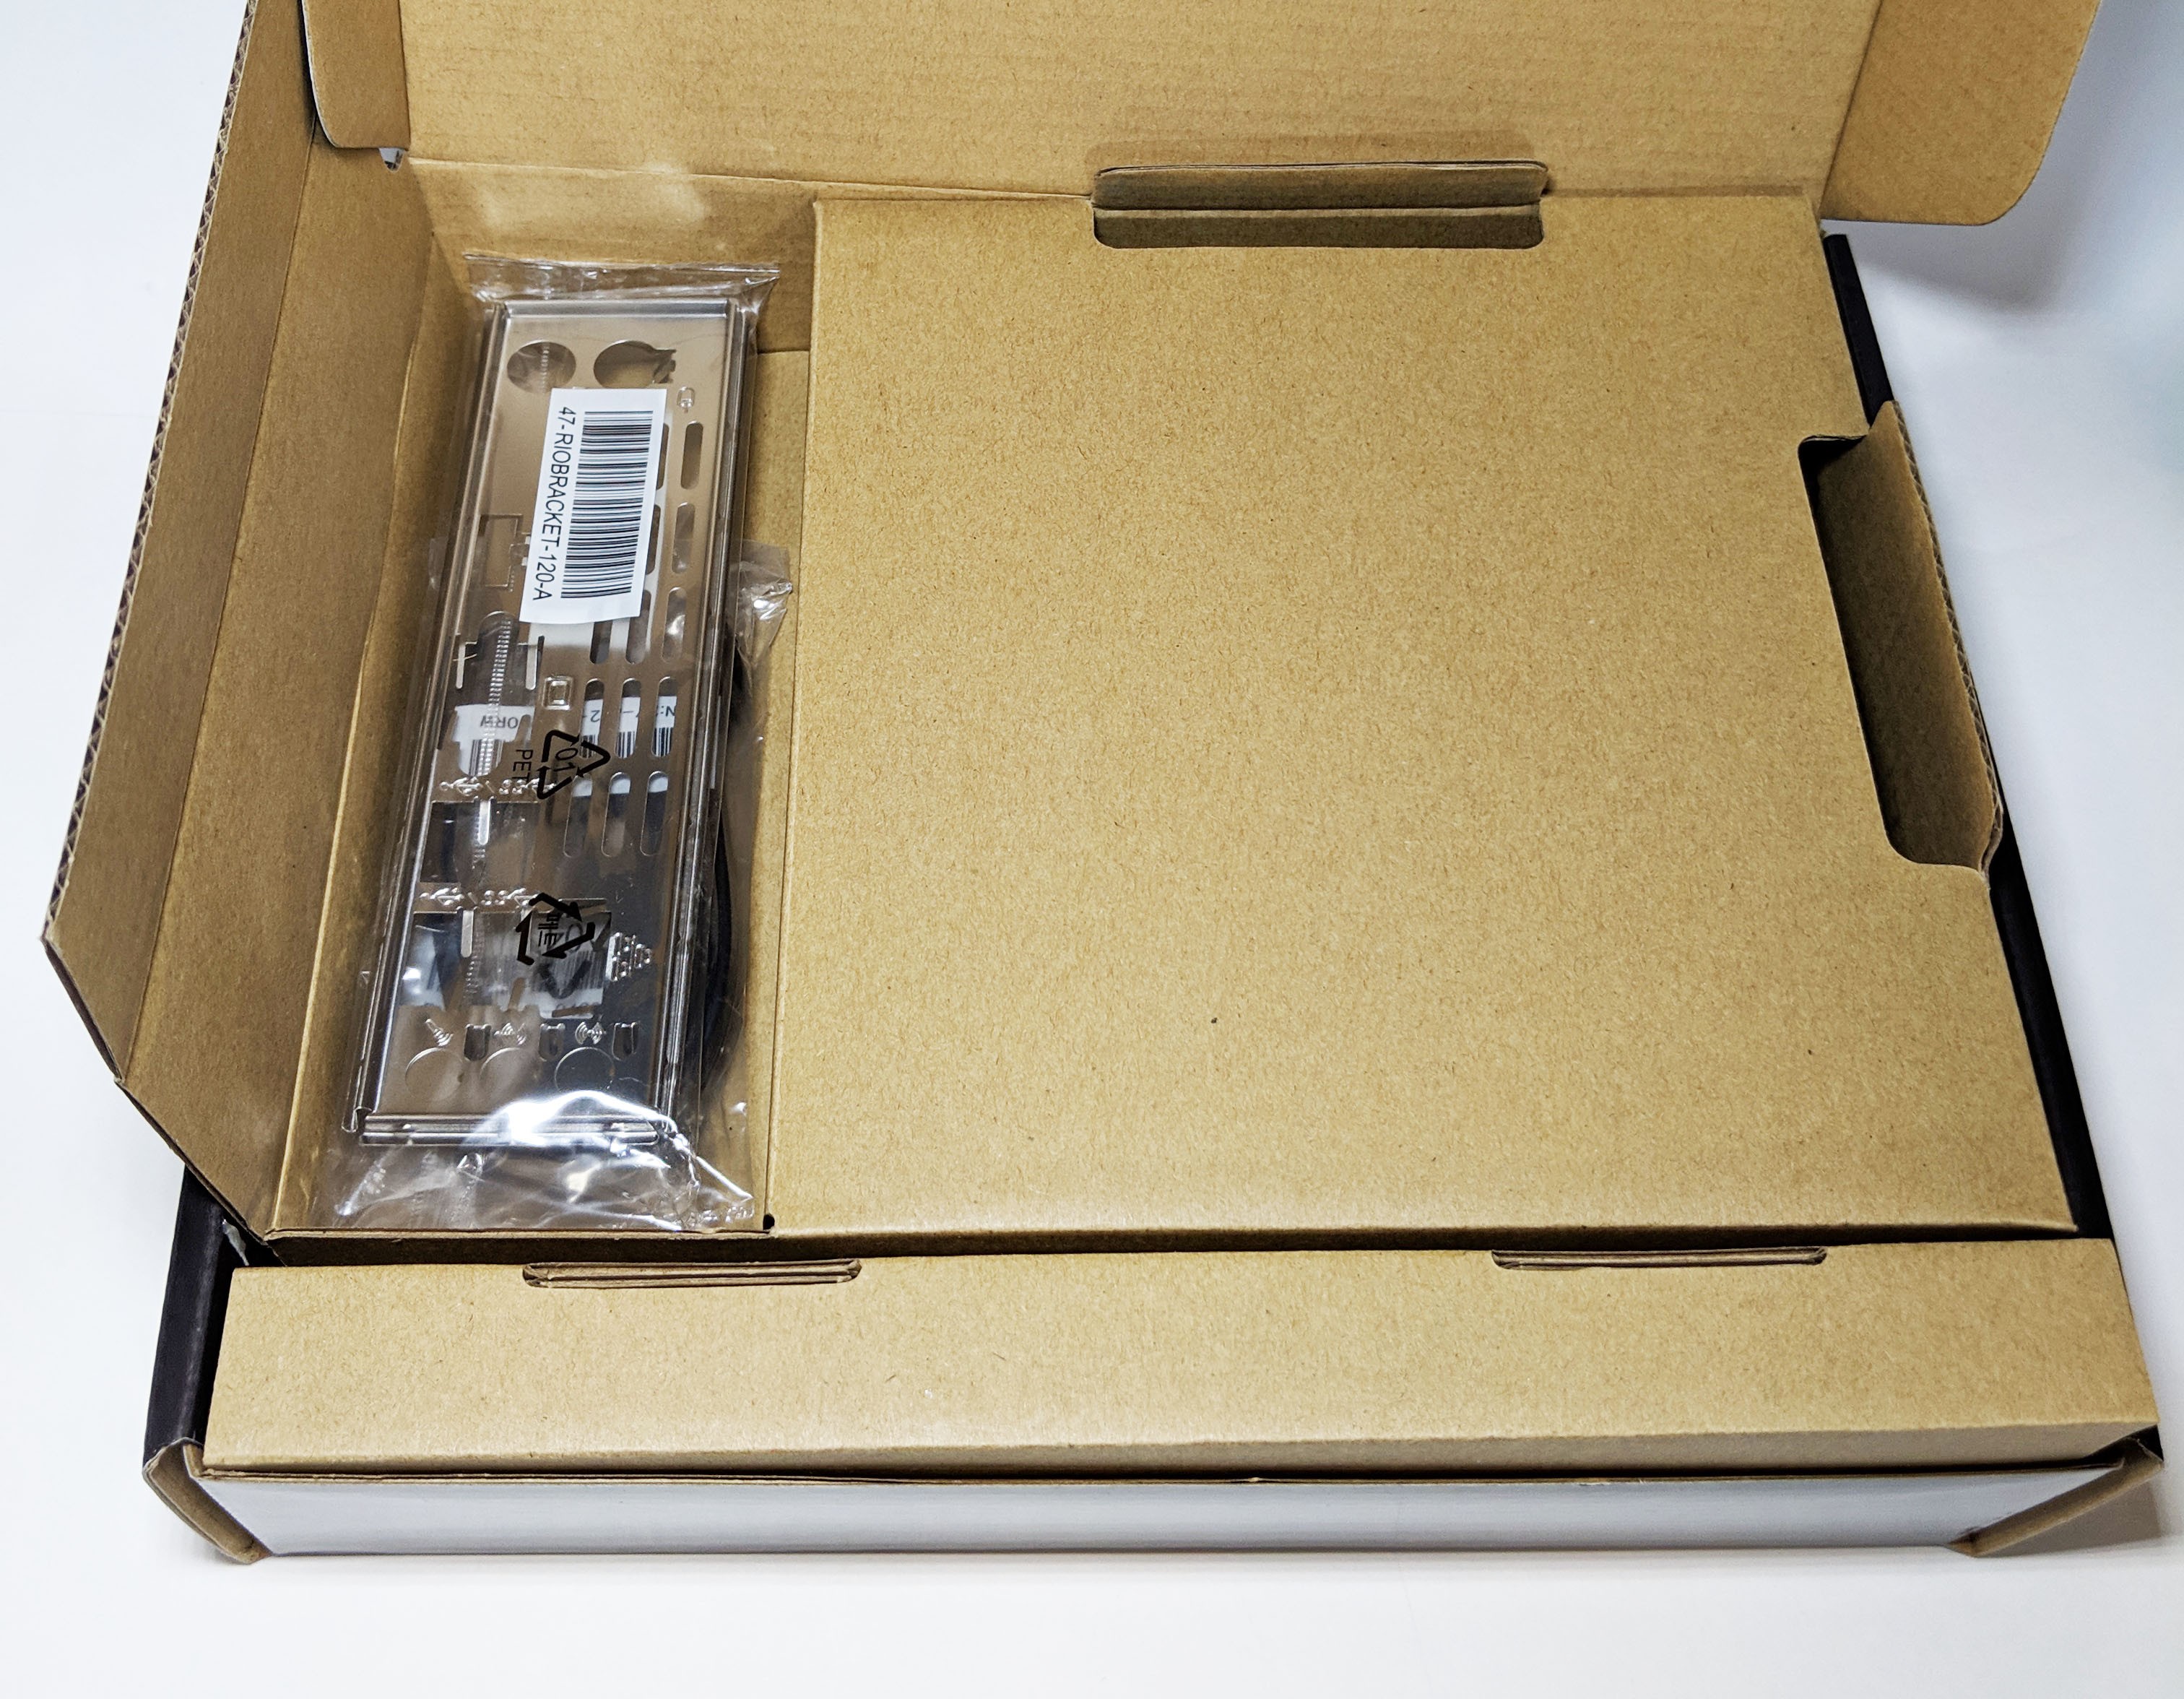

With all the items removed from the box, we get a better look at the accessories. All in all you get the motherboard (obviously), an I/O panel shield, a fold out manual, driver disk, and (2) SATA cables. \
A Closer Look at the A10N-8800E Motherboard
Now that we’ve completely unboxed this thing, let’s walk around the outside of the Biostar A10N-8800E and discuss its many features.
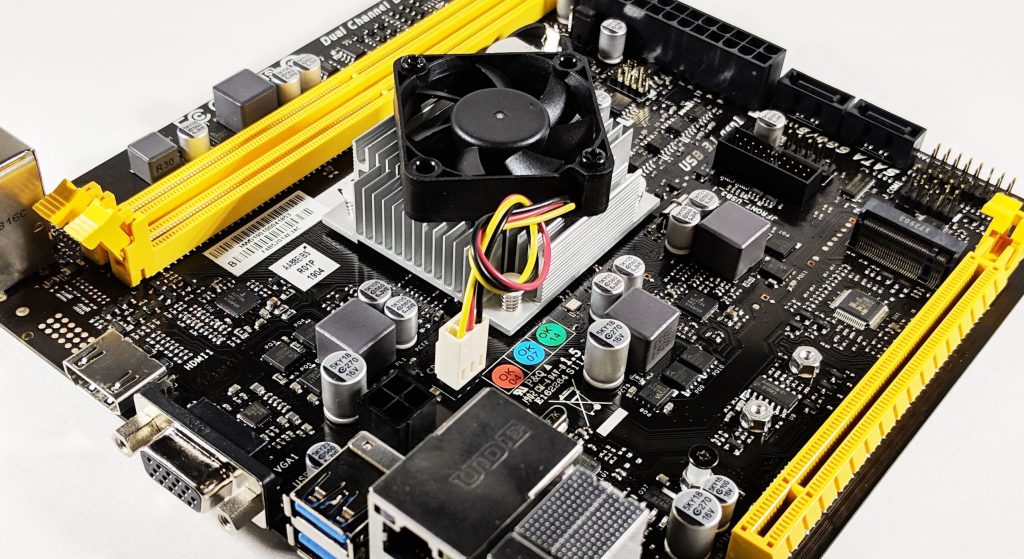
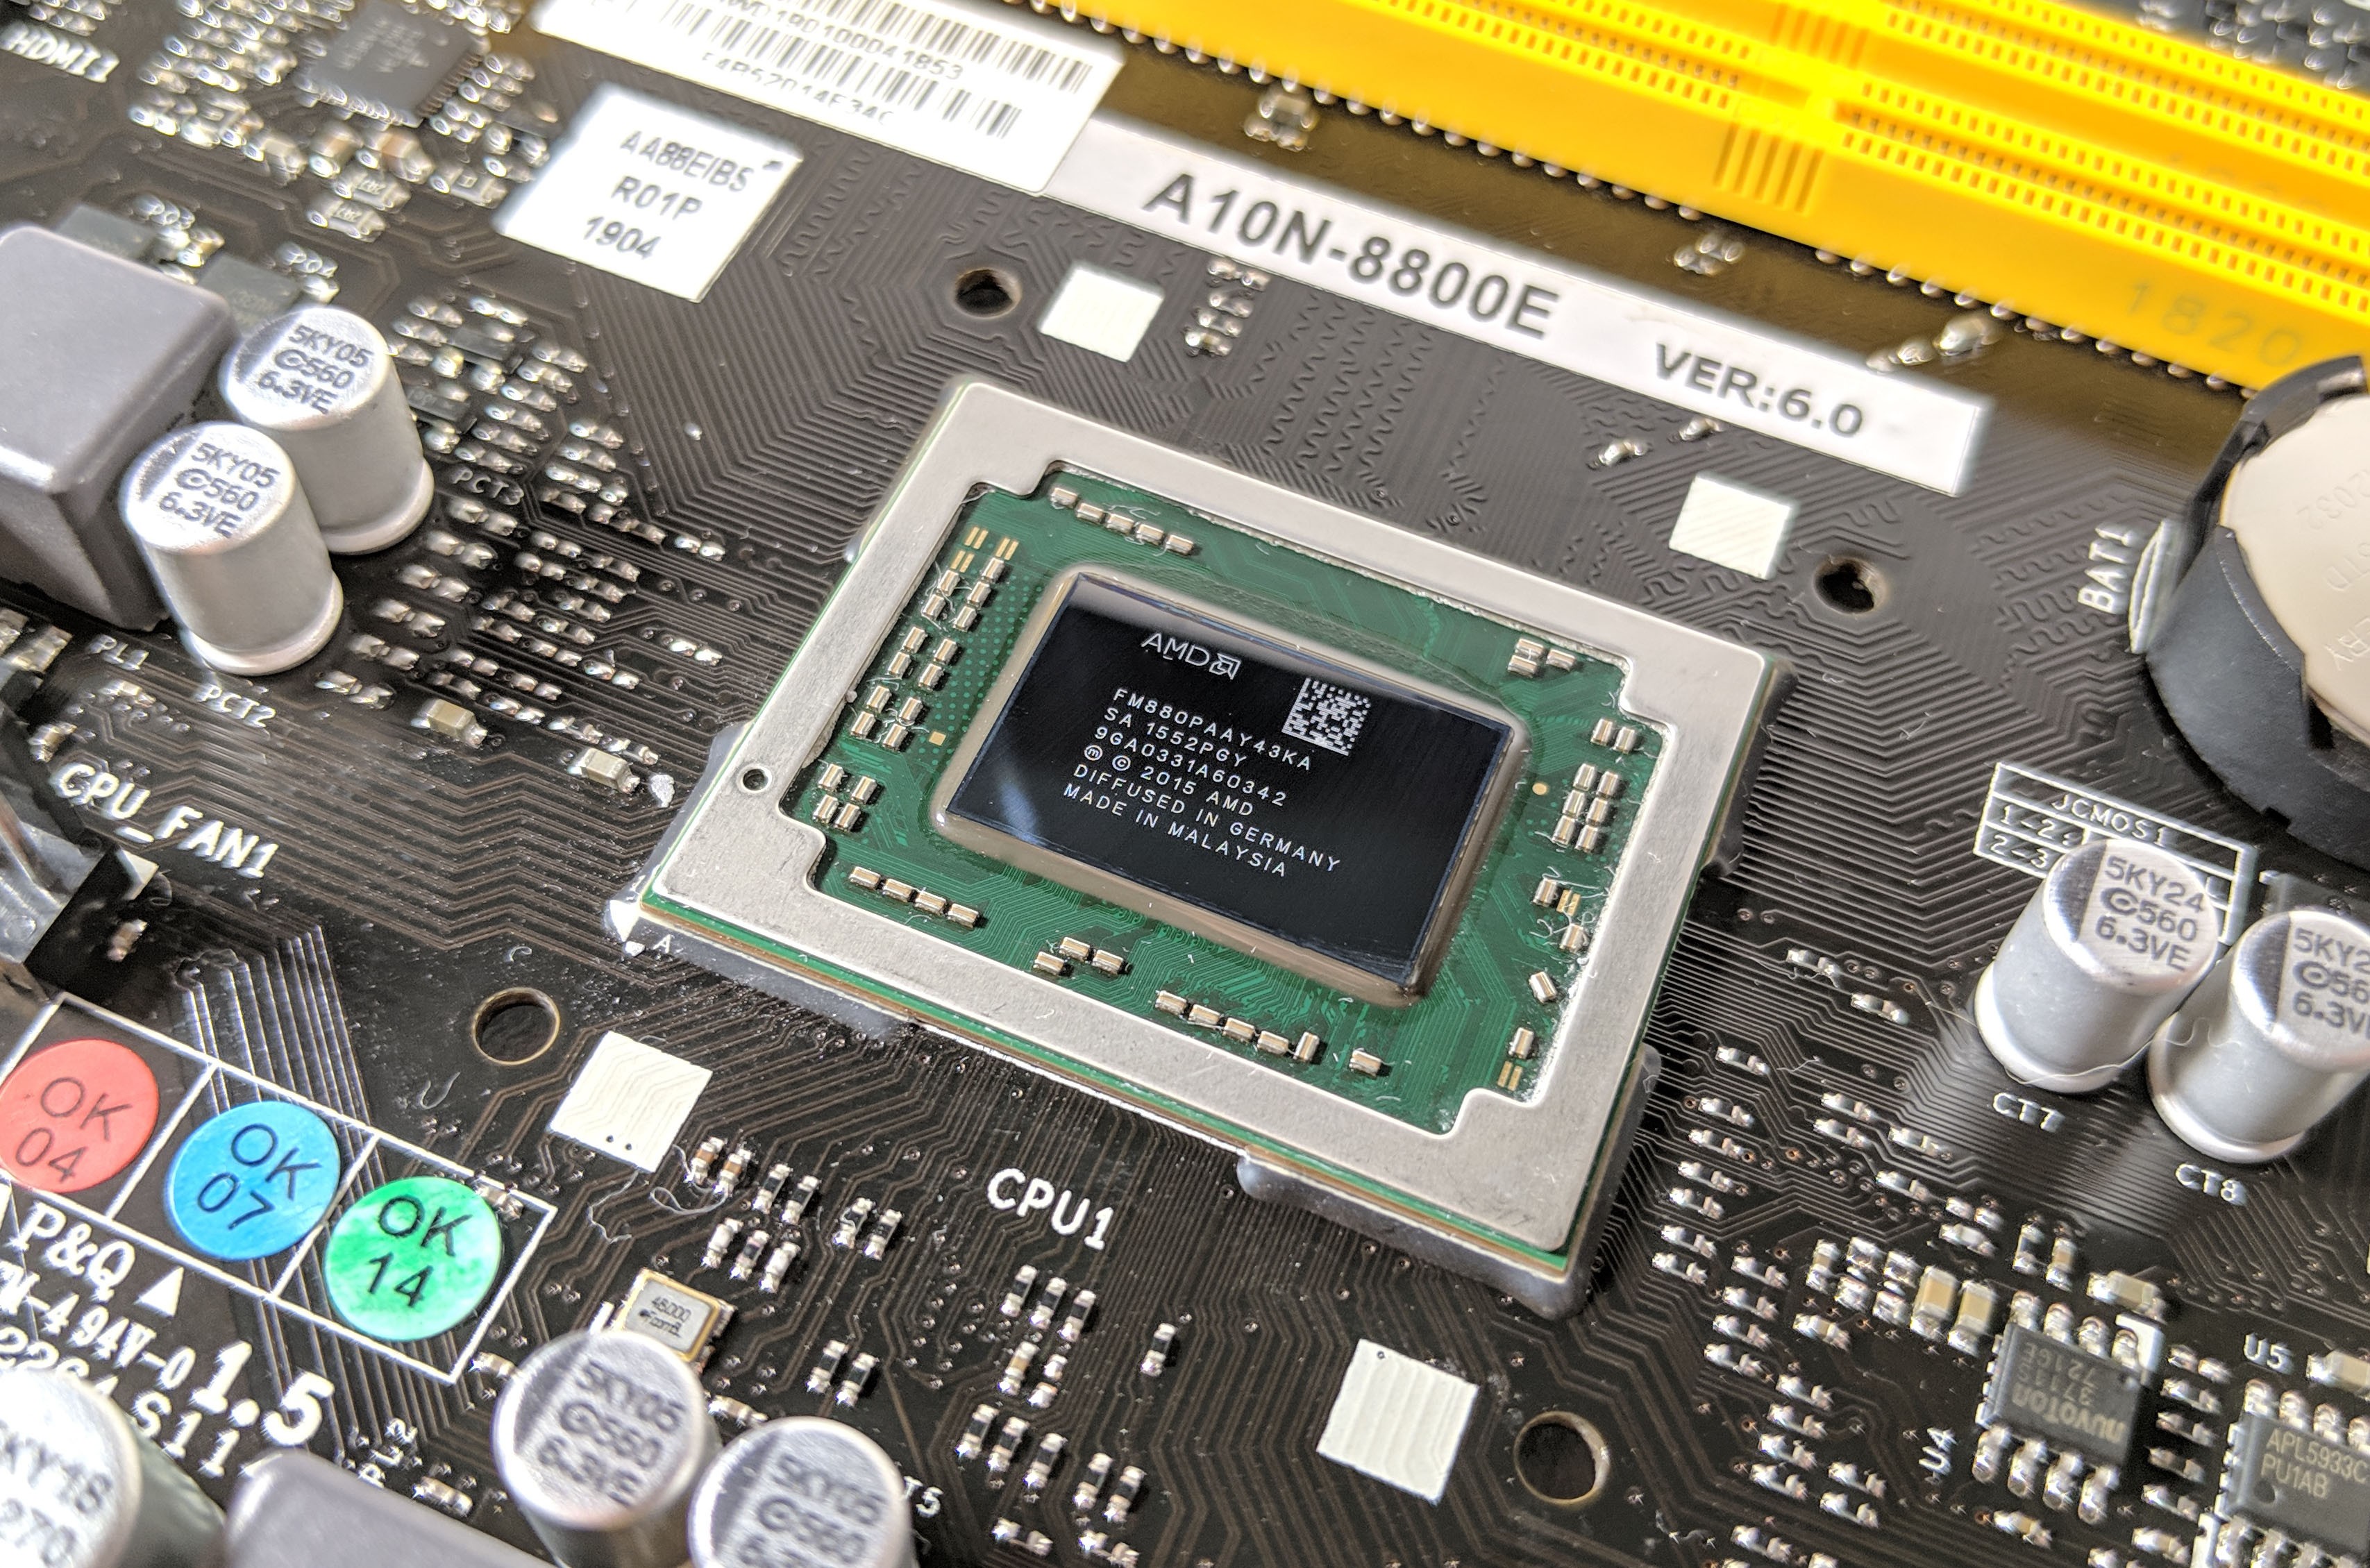
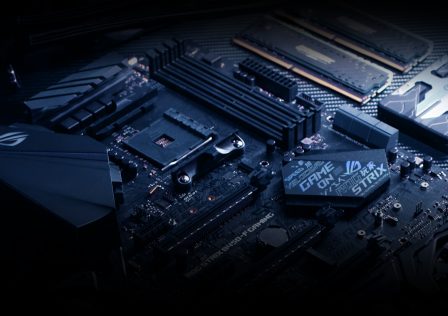
The motherboard features a black and yellow overall color scheme, the yellow bits being the two DDR4 memory slots and the PCI-E x16 slot located at the bottom. As this is a SoC system, the AMD CPU comes pre-installed. When I mean pre-installed I mean very pre-installed as it is actually soldered to the motherboard. The chip sits in the center of the motherboard under the large-ish FSF assembly.

The motherboard boasts quite a few connectivity options including some legacy options. From left to right, we see to PS/2 sockets, one for keyboard (purple) and another for mouse (green). Next to that is an HDMI 1.4 port which supports 4K resolutions up to 4096 x 2160@24Hz which would probably work for movies in use in an HTPC, but would appear very laggy in a desktop environment.
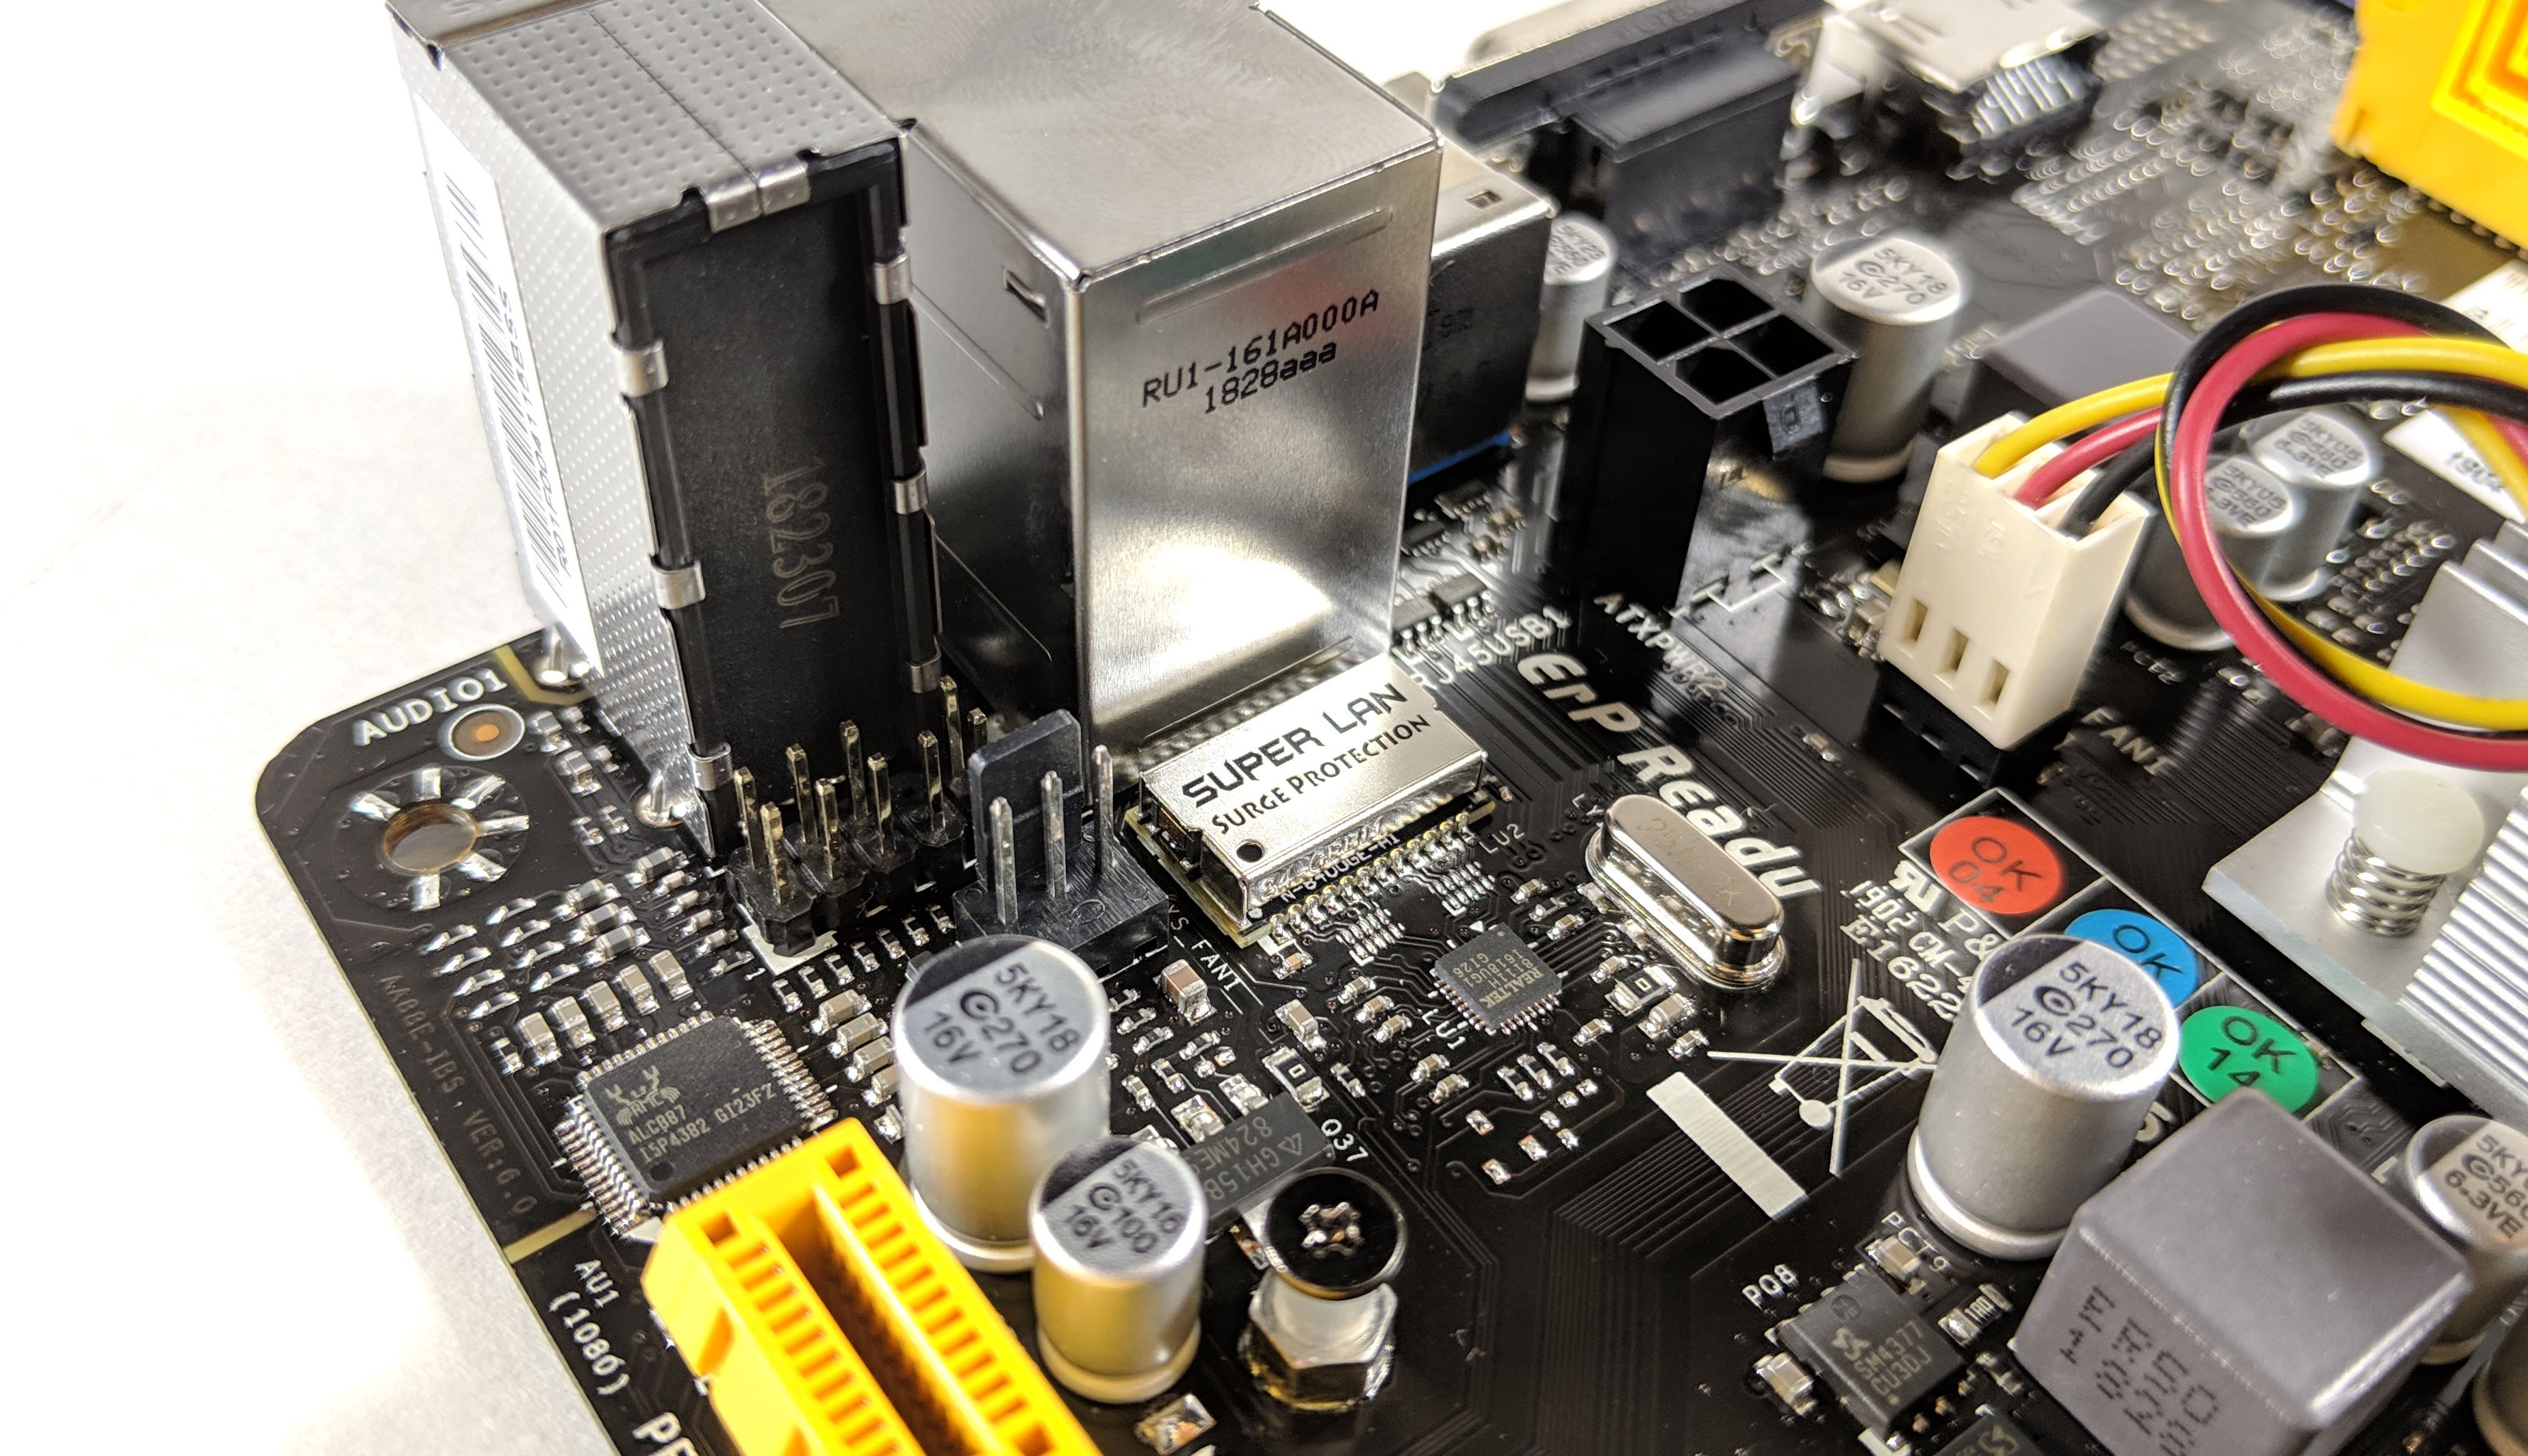
A standard VGA adapter is next to that followed by the two USB 3.1 Gen1 ports. From there we’ve got a 1gbps Ethernet port bound to two USB 2.0 ports. Lastly we’ve got three audio ports.

Located at the bottom of the motherboard is a single PCI Express x16 port which can be seen in the image below. This you’ll most likely use for a dedicated graphics card if you opt not to use the embedded graphics processor inside the CPU. There’s also an additional fan header that’s kind of hard to see just to the left of the PCI-E slot. If found this one useful to connect the rear CPU exhaust fan on the case to.
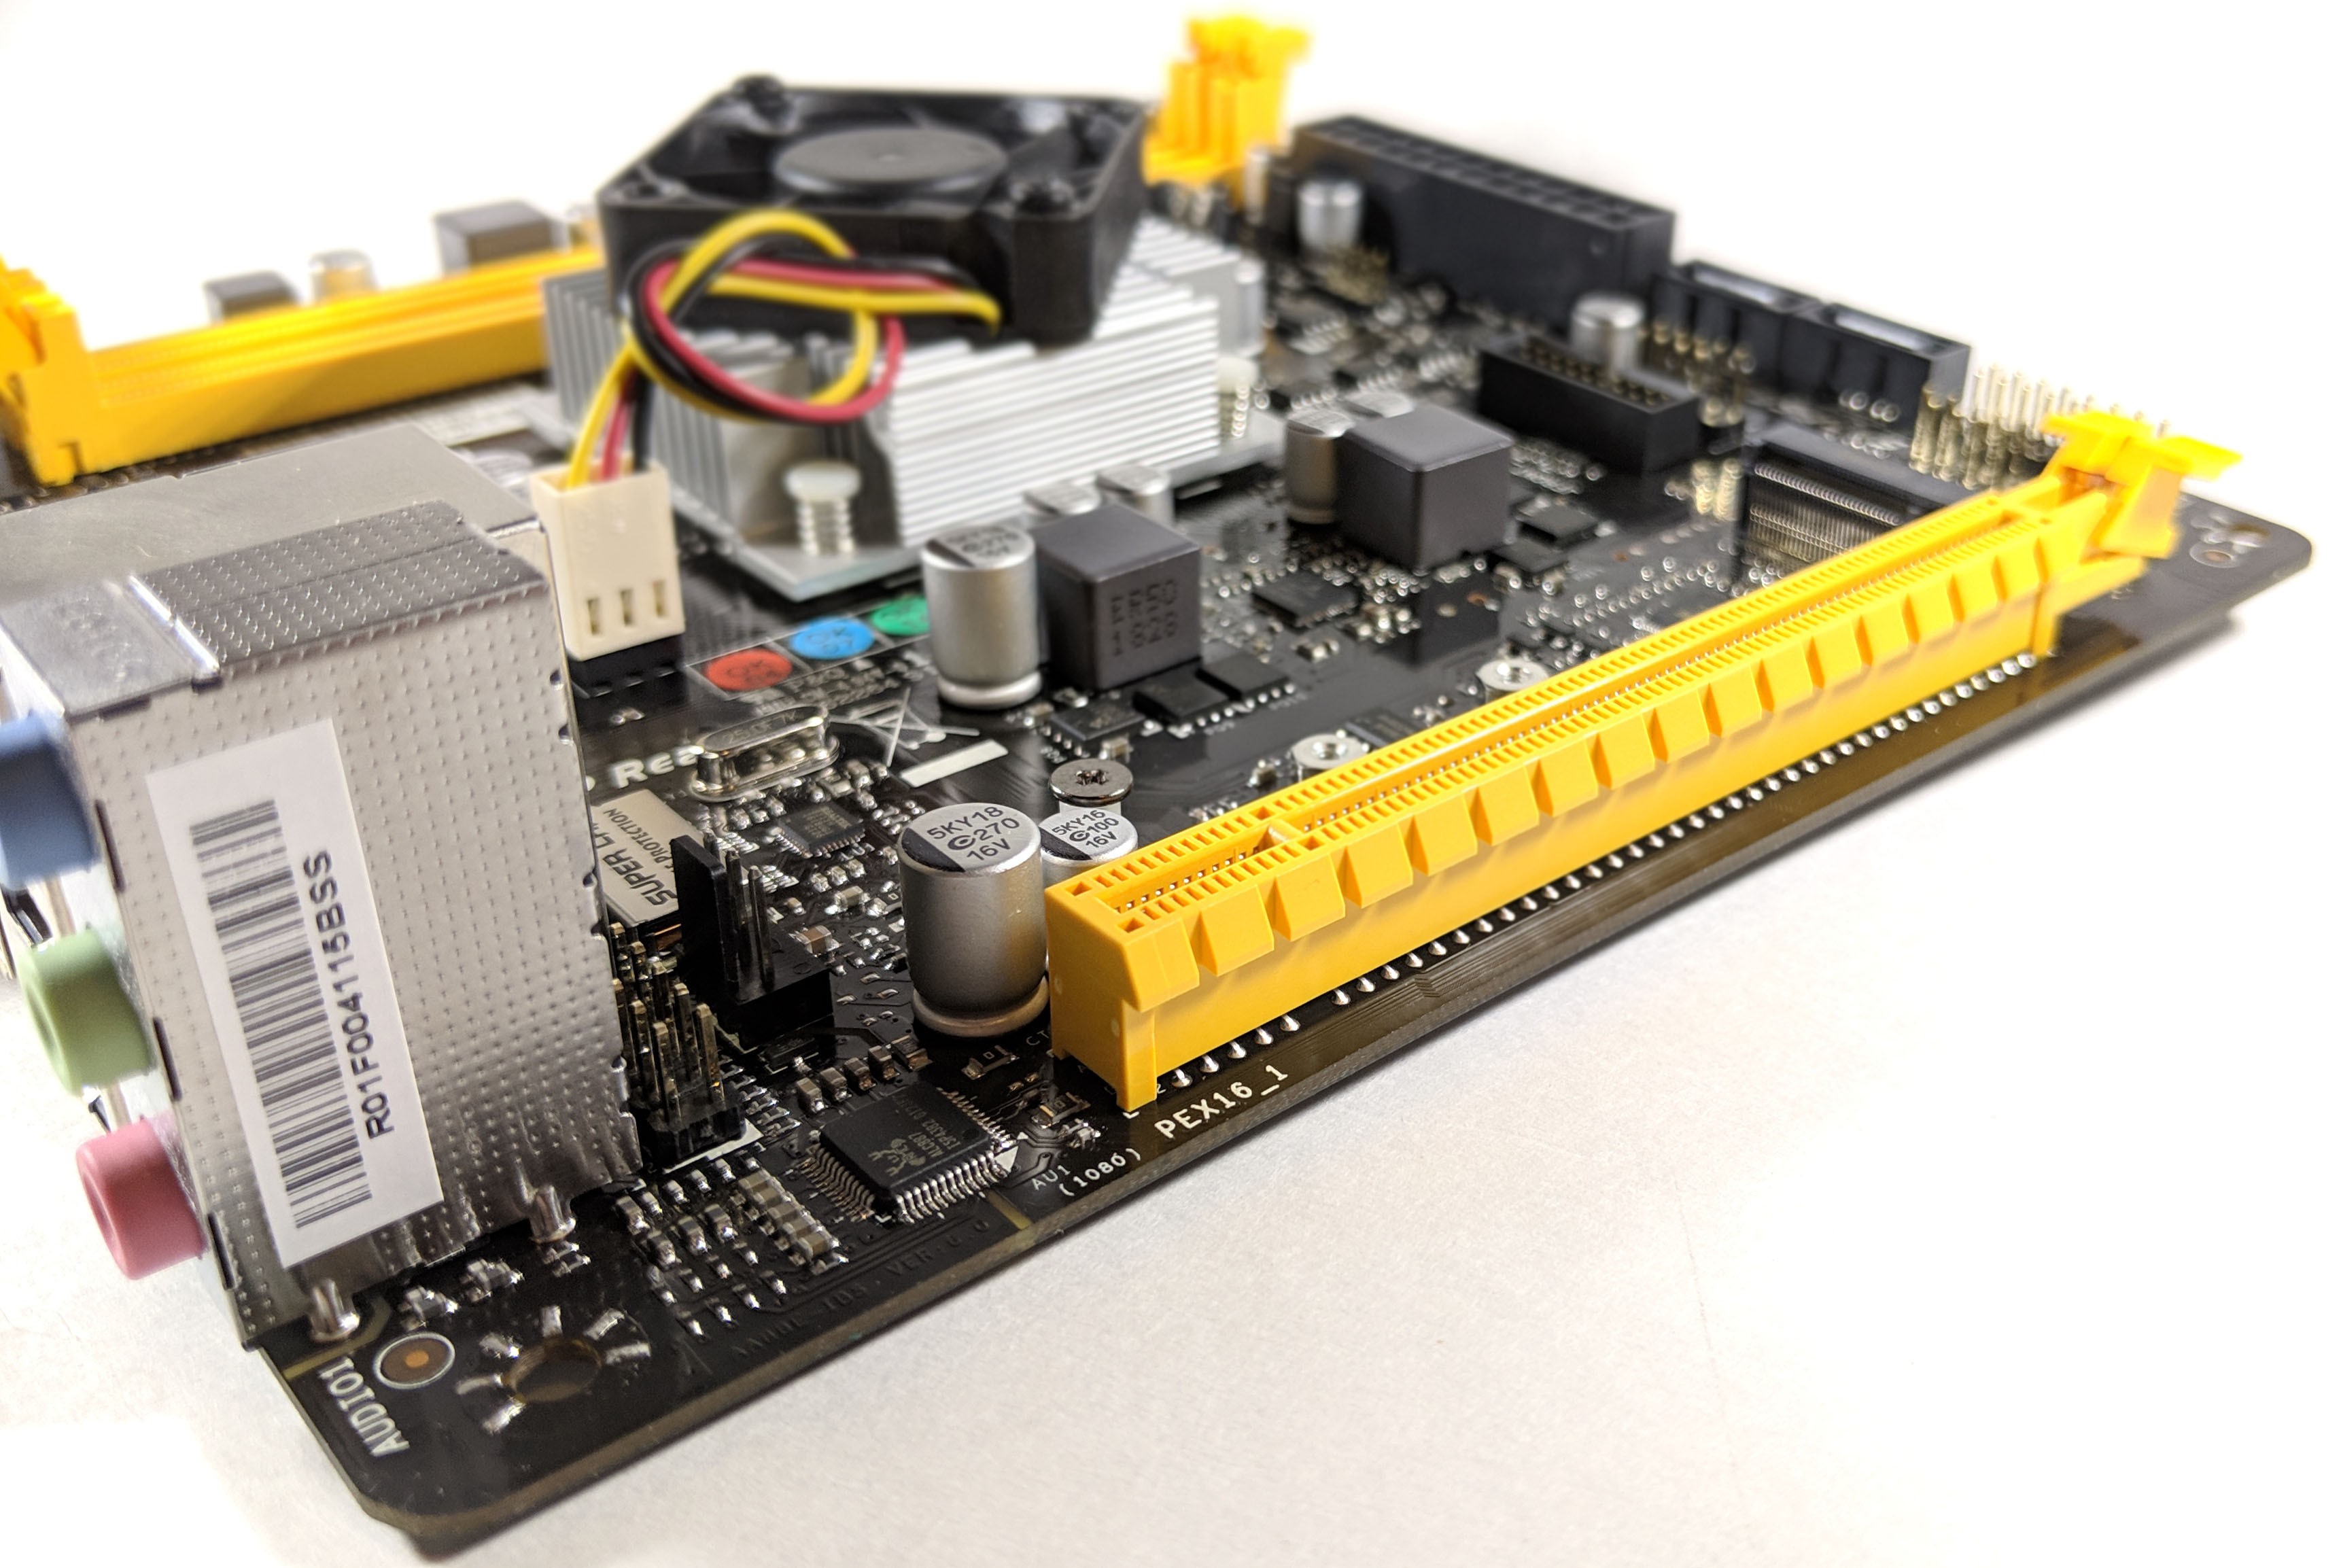
Just above the PCI-E slot is the M.2 slot for an SSD. There’s not a lot of provided detail other than it’s 16Gb/s supported so I’d assume that it supports the latest NVMe 1.3* standard. Another thing worth pointing out is that the motherboard comes with standoffs and screws pre-installed for your M.2 SSD. Most motherboards don’t include this, and if they do, the hardware is not pre-installed.
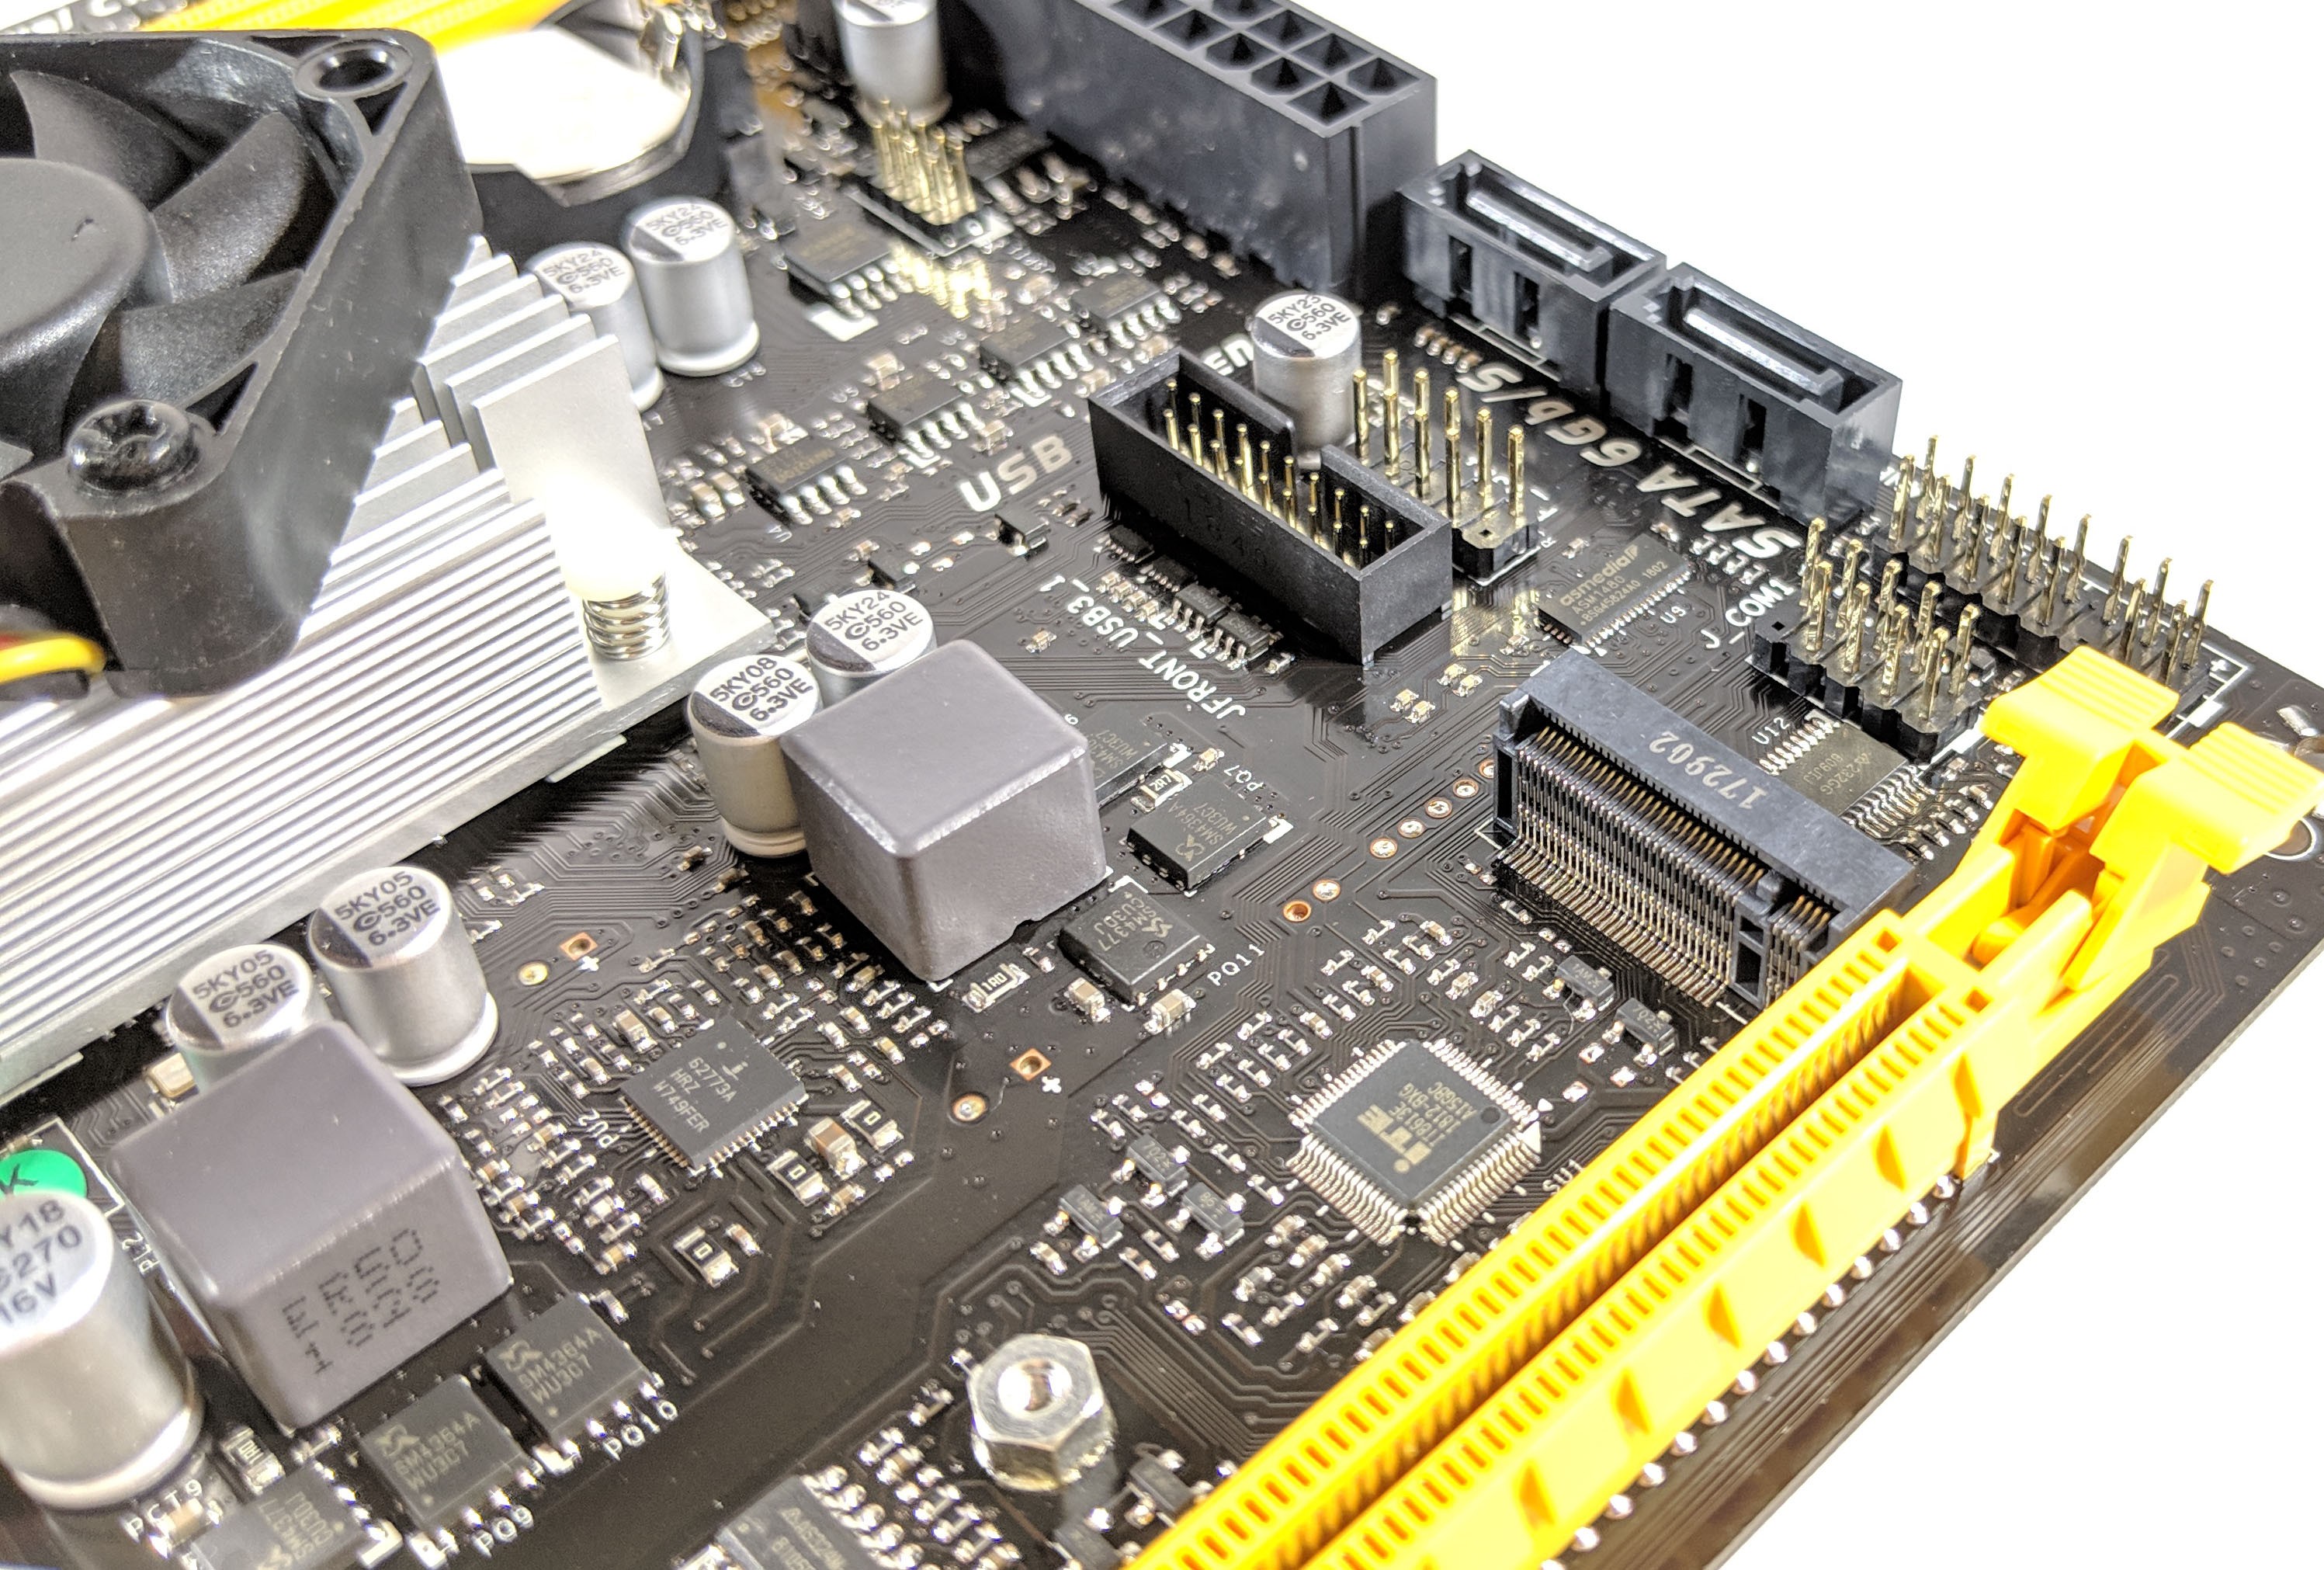
Moving around to the right side of the board there are two SATA6 connectors sandwiched in between the front I/O panel connectors for your case and the 24-pin ATX connector. There is also a serial port header labeled COM1, a USB 2.0 header and a USB 3.0 front panel header just next to that.
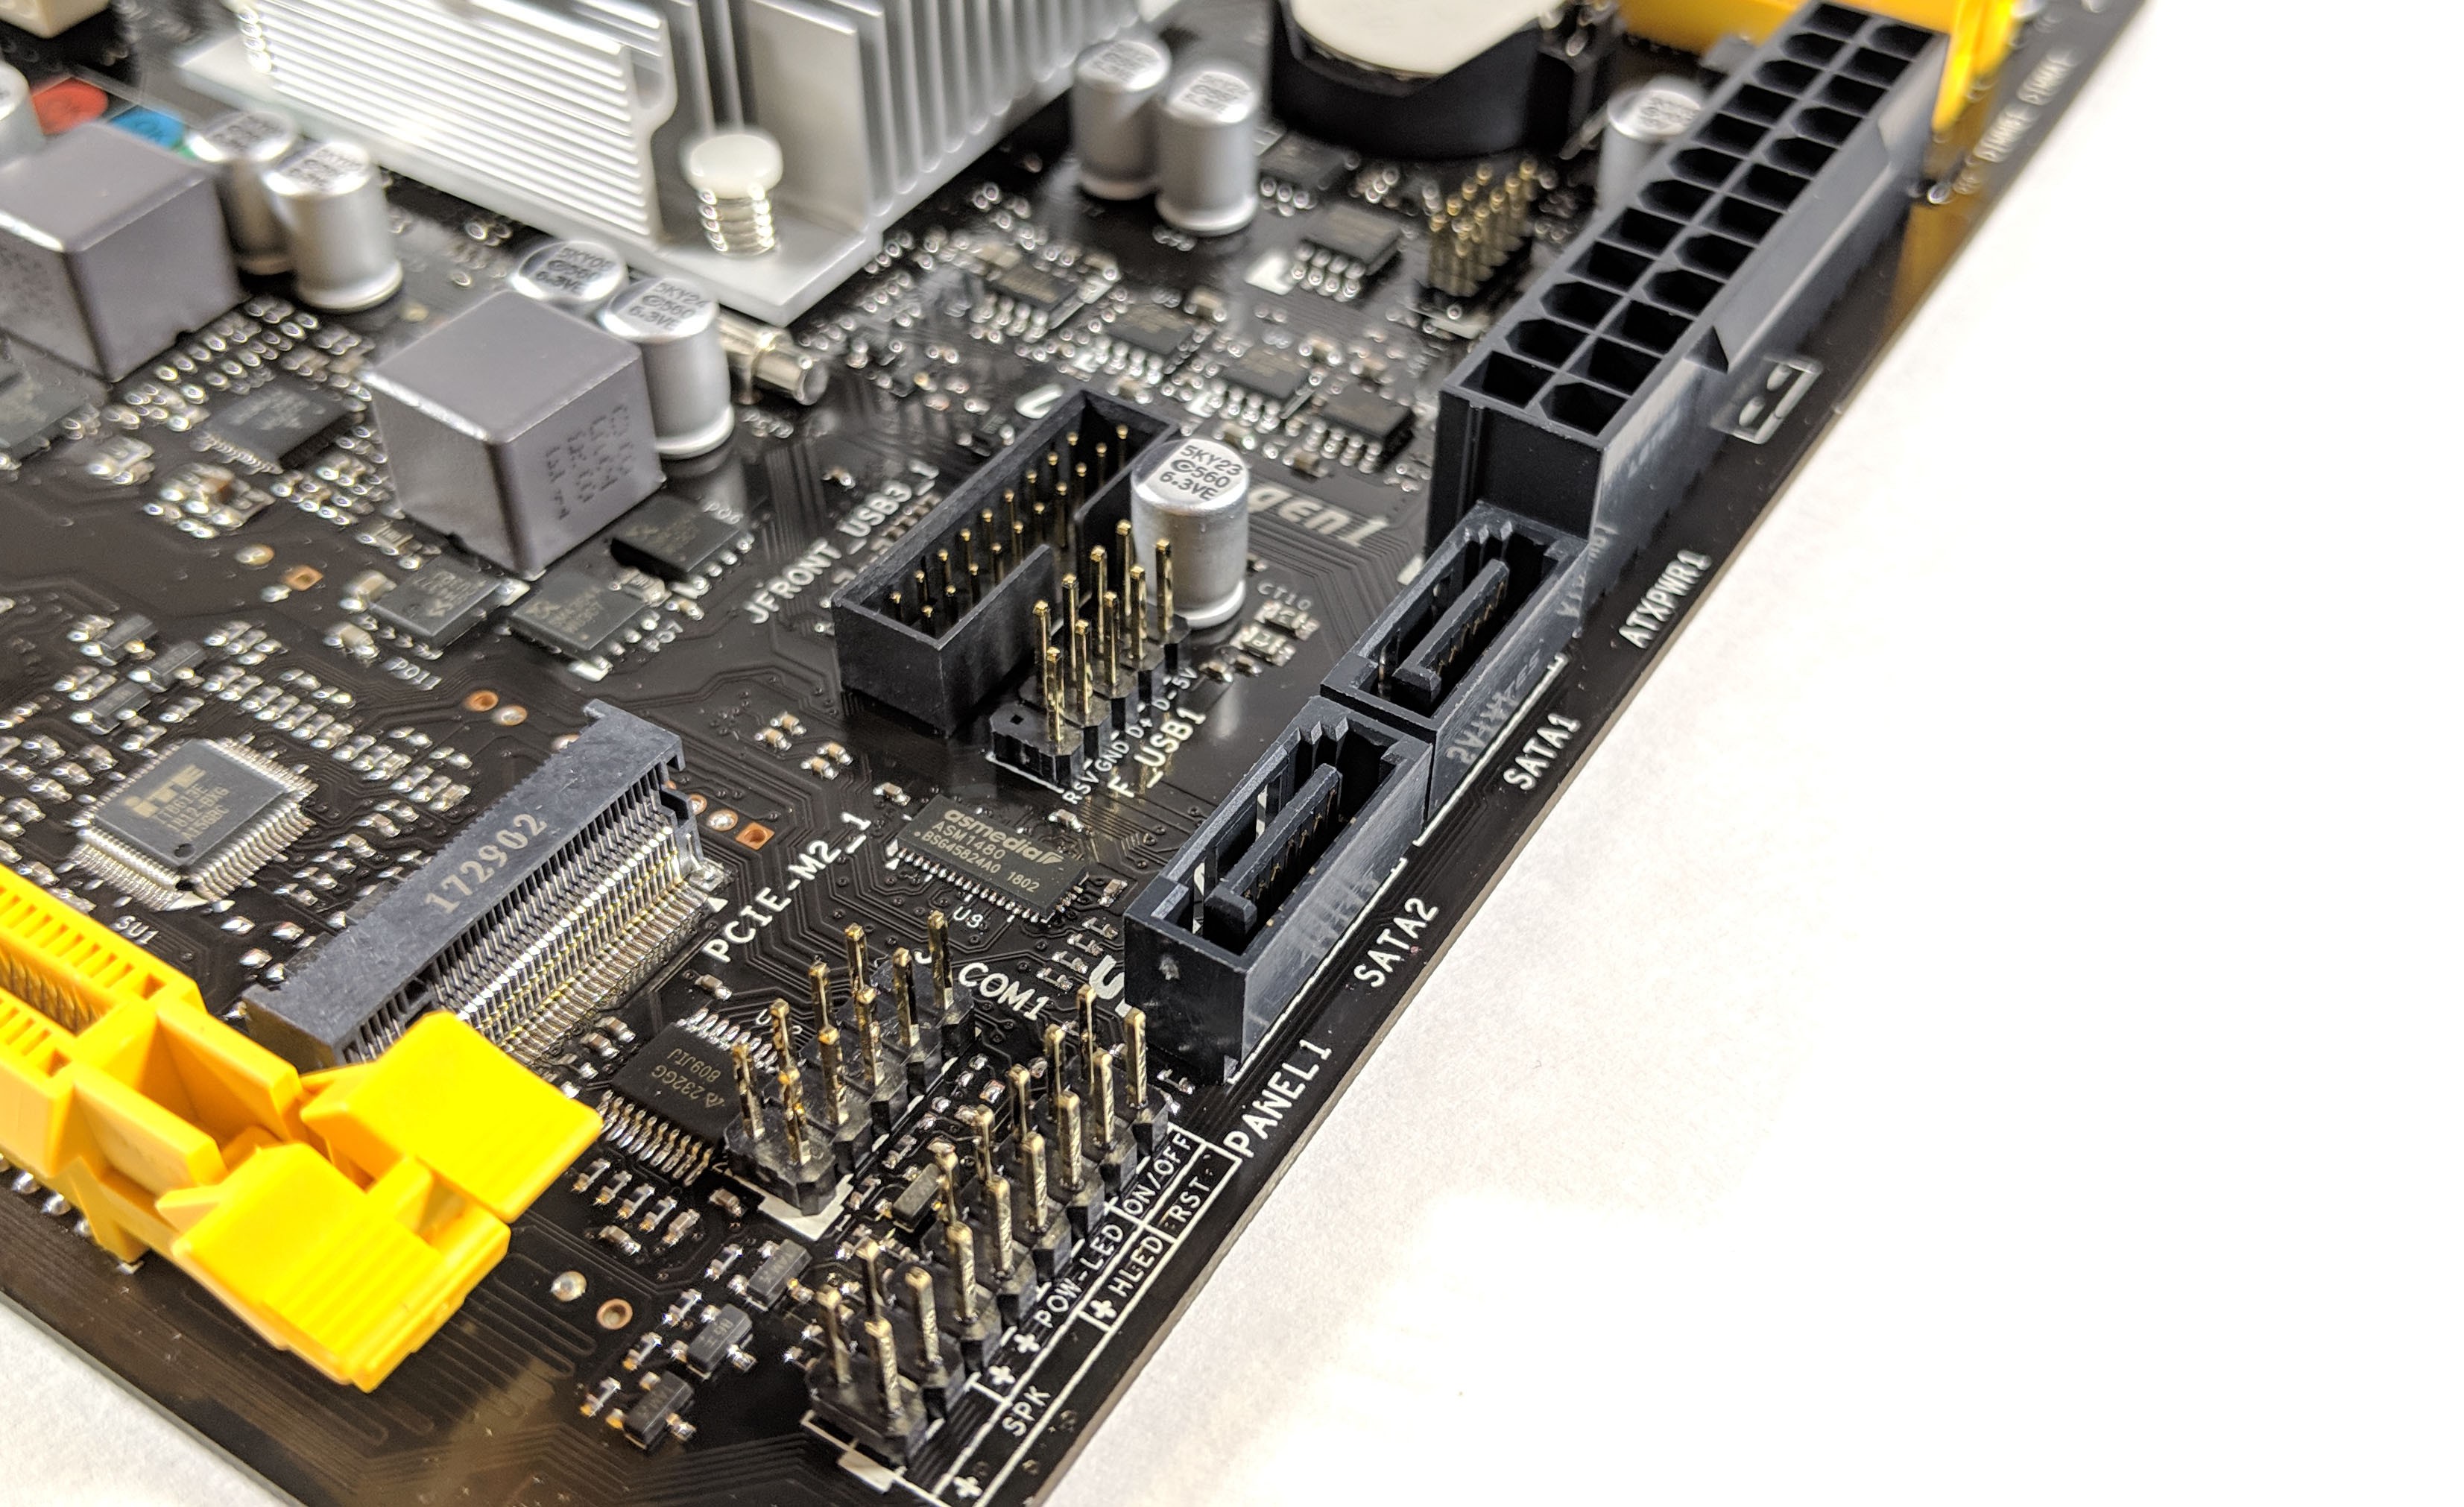
Just north of that is where you’ll find the two DDR4 memory slots. The motherboard offers support for a total of 32GB of RAM (16x2GB). In between the CMOS battery and the 24-pin ATX connector are the BIOS reset pins. Simply remove the jumper and short the exposed pin to the pin next to it with the system powered off to reset BIOS to factory settings.
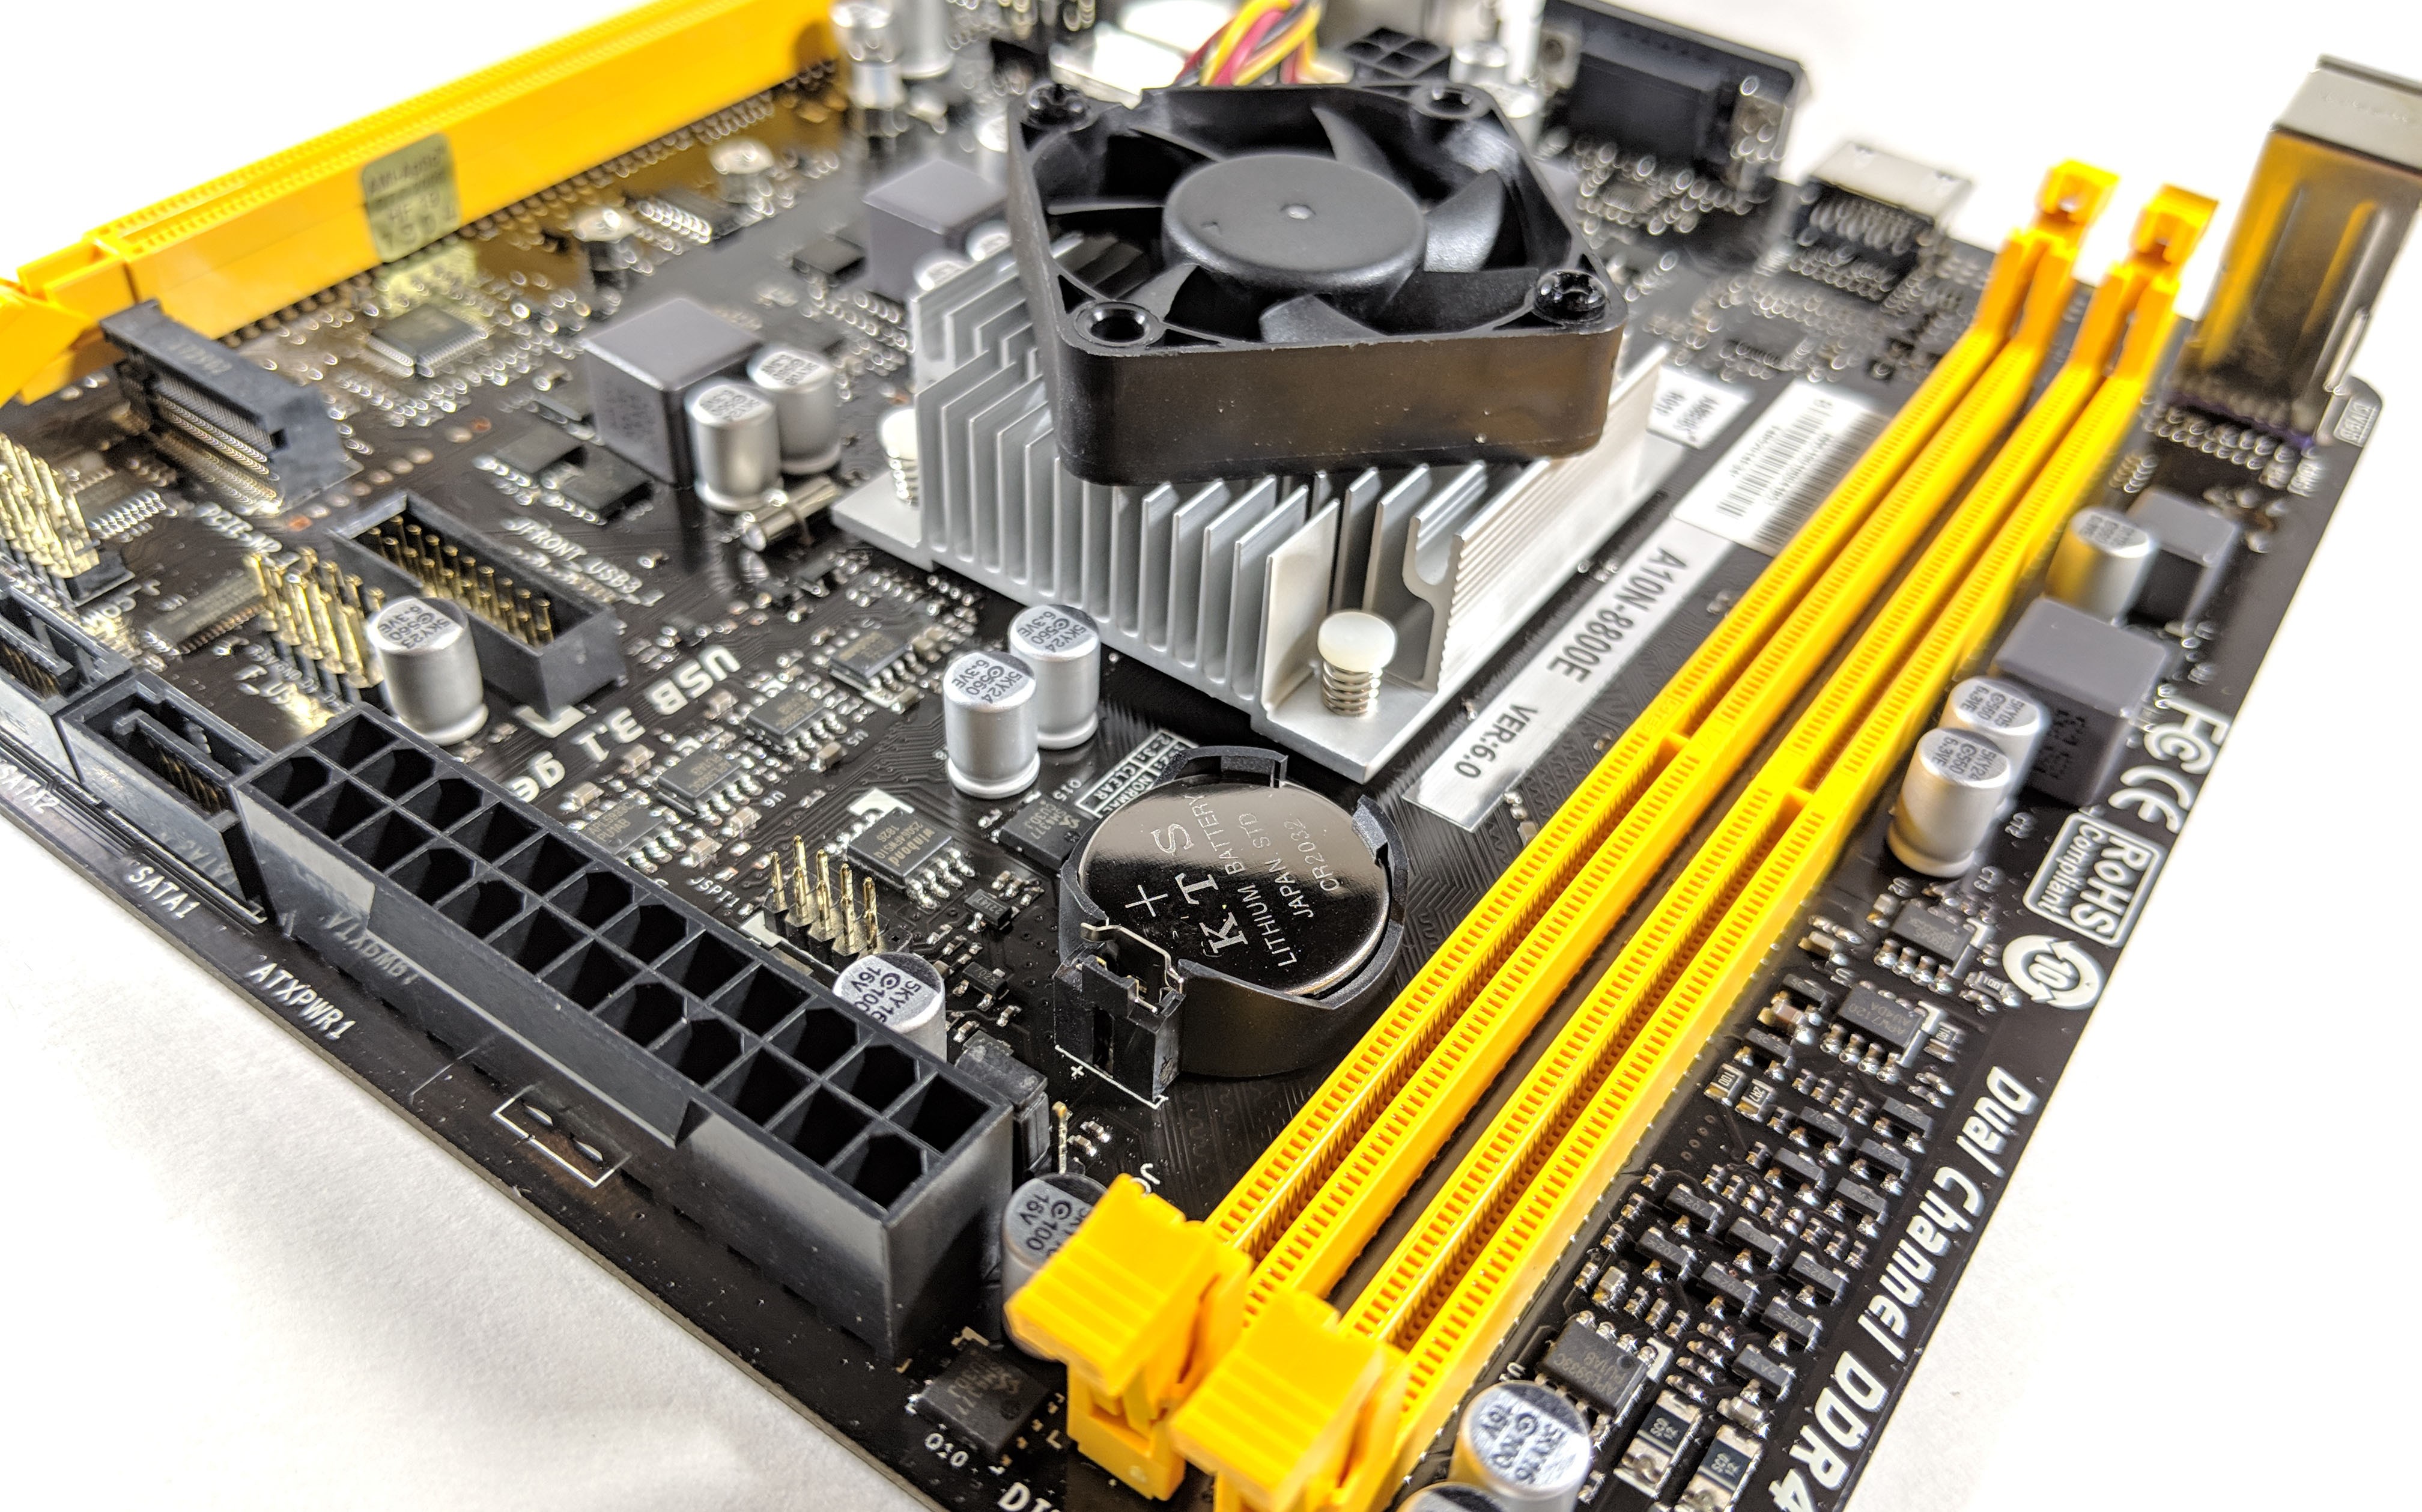
Next, let’s take a look at the CPU VRM. This being an extremely low power processor, we’re honestly not expecting much. From what I can tell, the CPU makes use of three phases in a 2+1 configuration judging from the three chokes and VRM components surrounding the left and bottom side of the processor. The chokes aren’t labeled so there is no telling what specifically they are rated for. The VRM consists of both Sinopower SM4377 and SM4364A MOSFETs. The integrated graphics processor is driven by a single ISL62773A which is an integrated dual VRM designed specifically for AMD Fusion. The memory VRM makes use of a single phase PWM using an Anpec APW7120 as well as two Sinopower SM4377 PowerPAKs in parallel.

The motherboard features Super Lan technology which attempts to reduce signal noise by shielding Ethernet sensitive components from other components on the motherboard while incorporating anti-ESD and surge protection for the onboard NIC. Just to the right is the Realtek ALC887 however it doesn’t look as if there are any audio rated capacitors present.
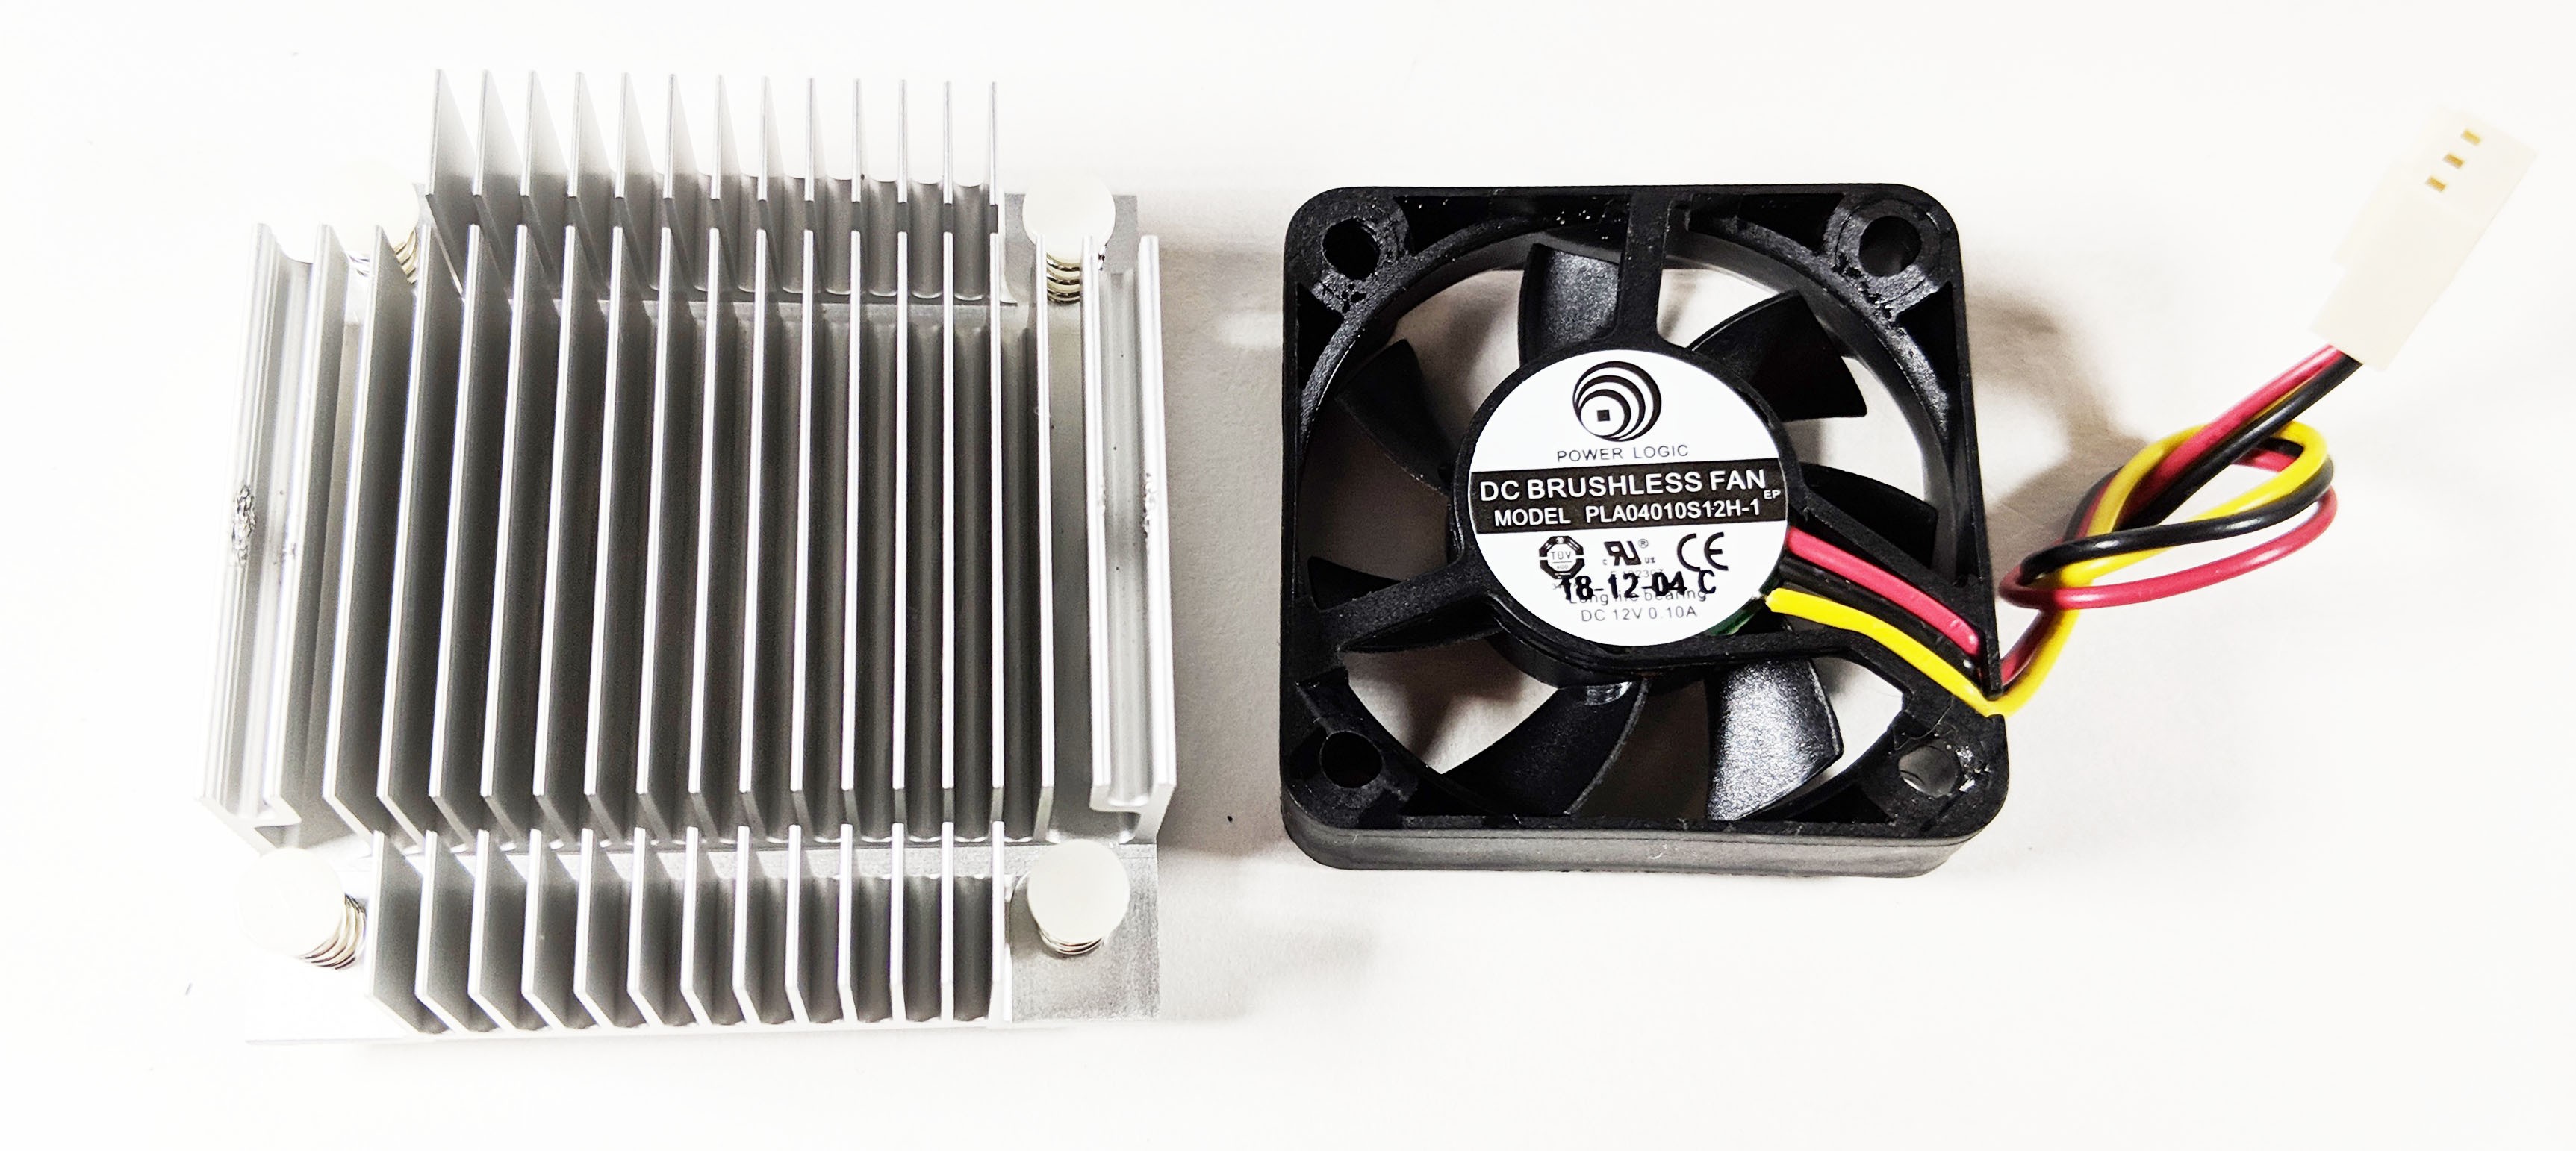
With the main heatsink removed, we get a better look at the AMD FX-8800P processor in all its low-power glory. The heatsink was not easy to remove as it appeared that thermal adhesive was used in addition to the push pins holding down the HSF. Once cleaned up, we get a much better view of the processor.
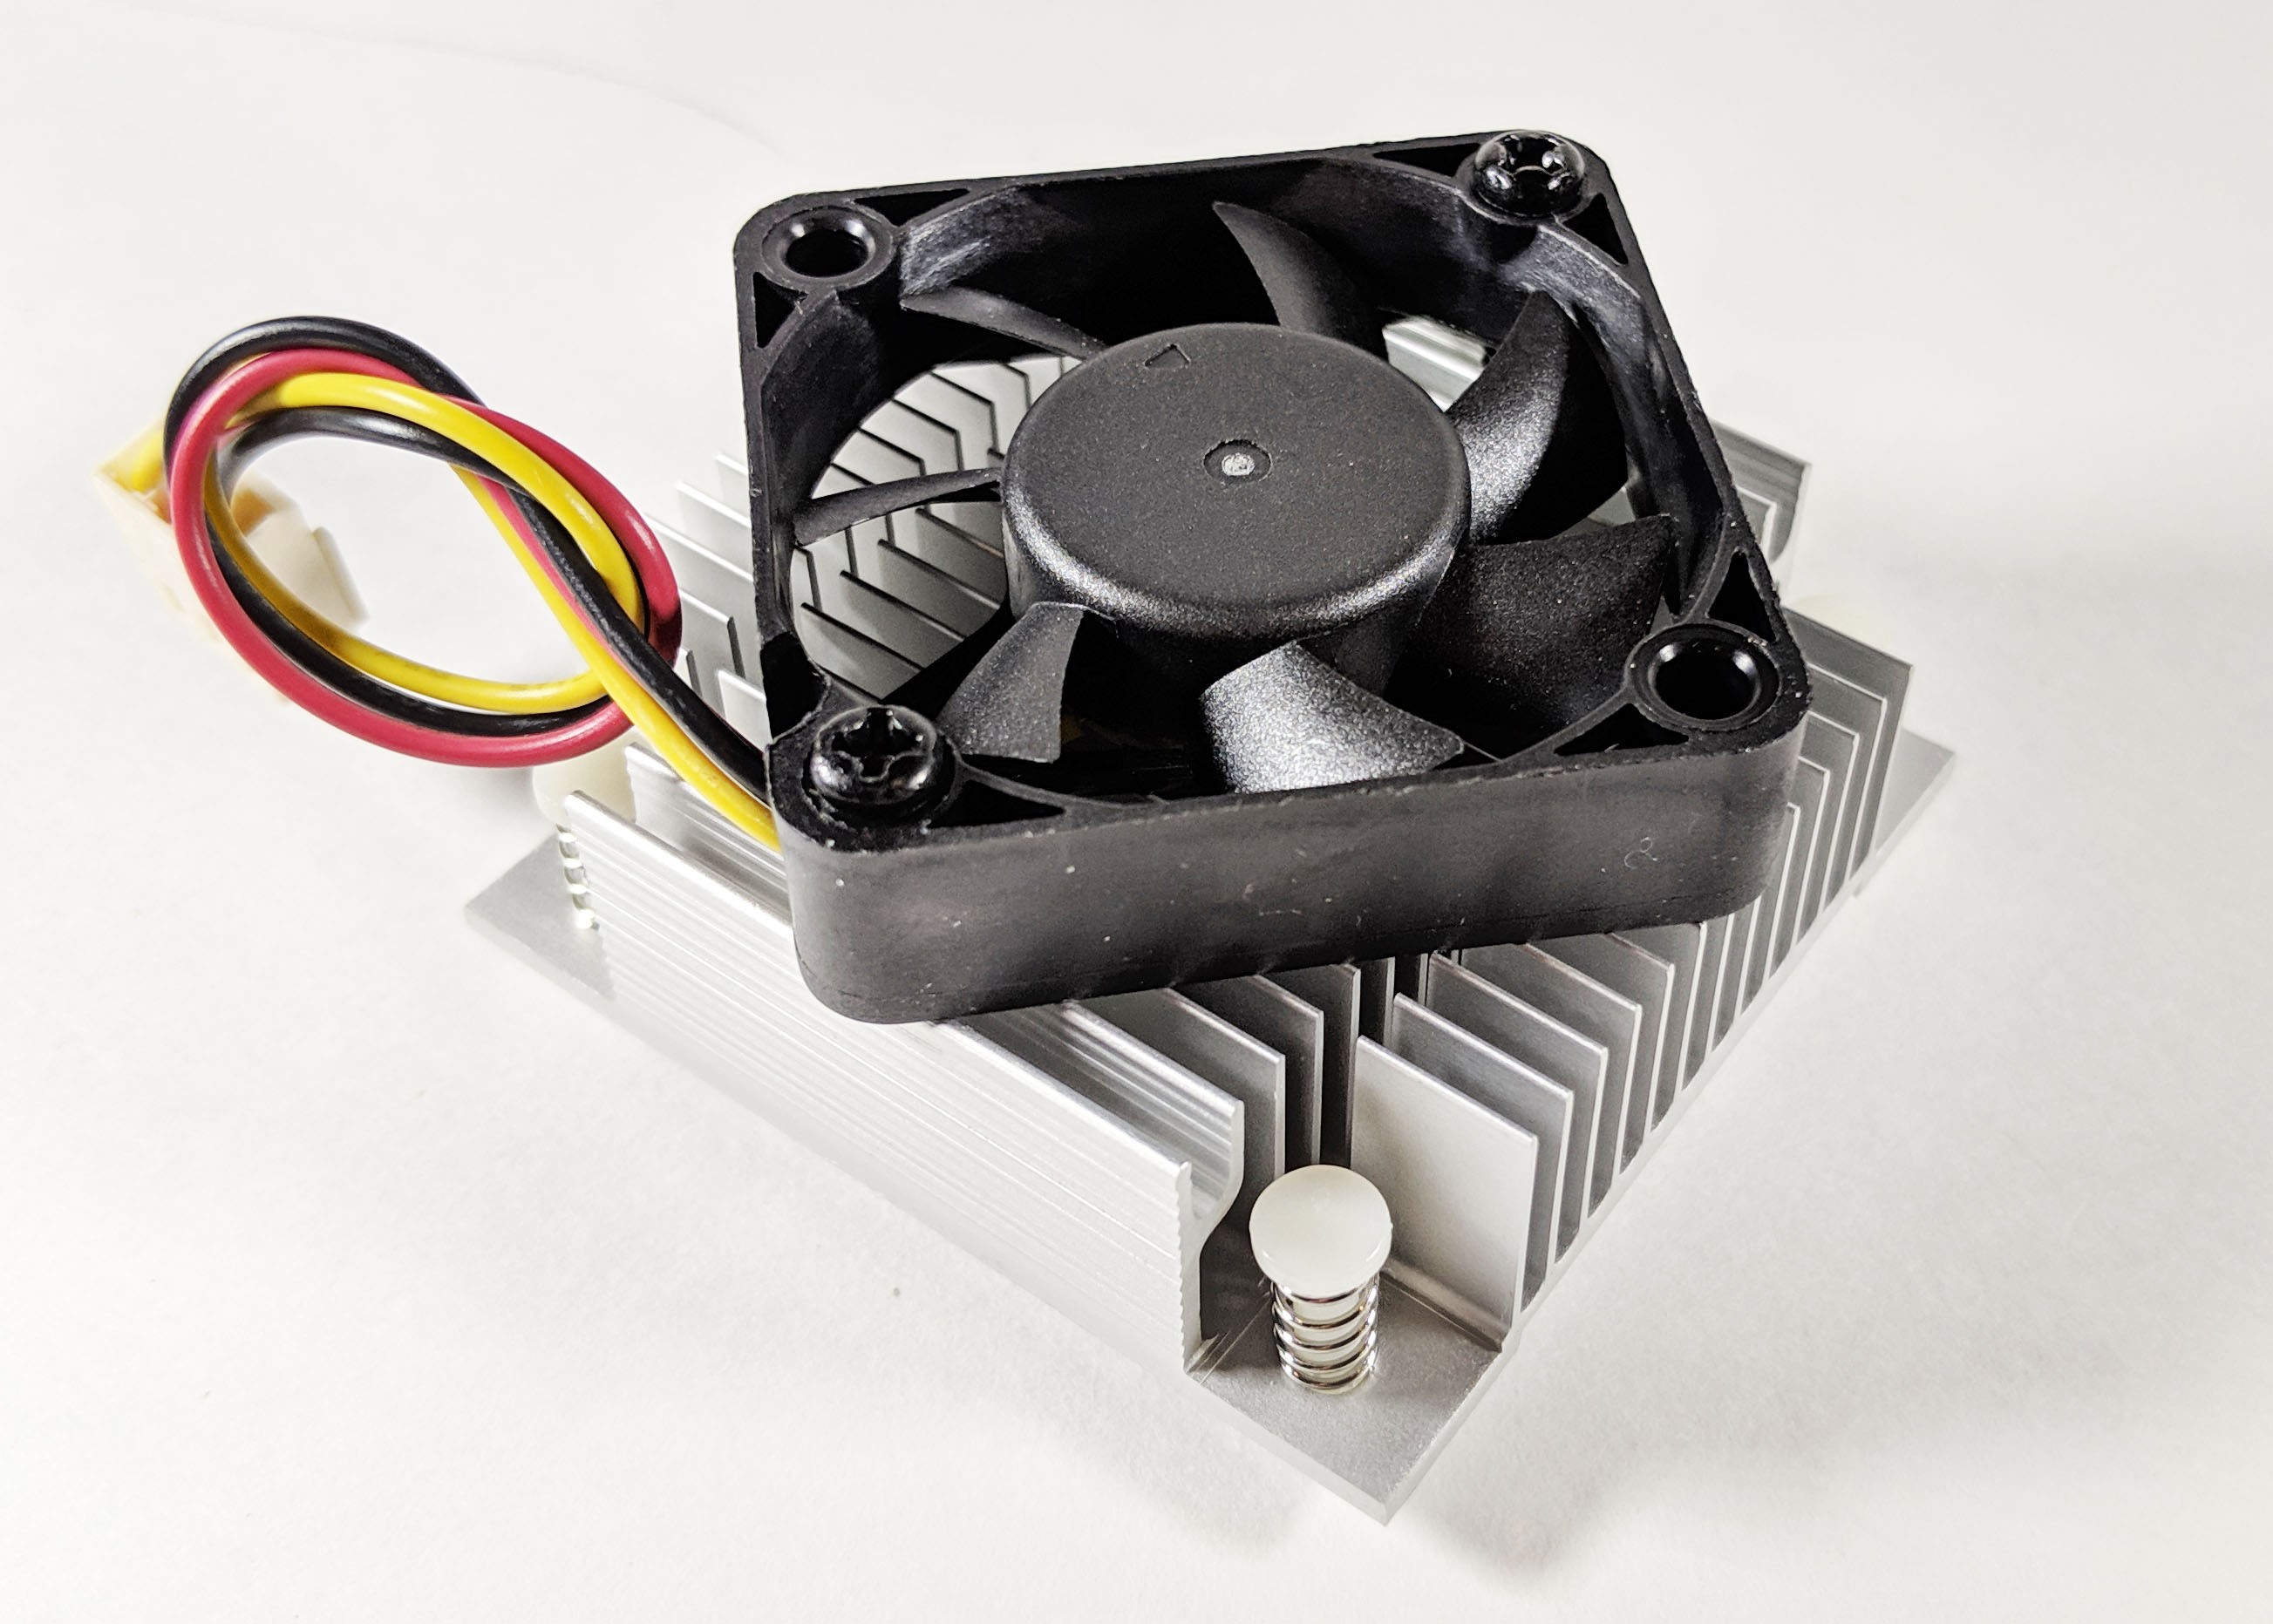
The HSF assembly is about as generic as it gets. It consists of a solid aluminum heatsink with a tiny 40mm fan screwed into the top. The fan does adjust its speed, however it does this based on voltage, not PWM. We get a better look at both the heatsink and fan (PLA01020S12H-1) once separated.
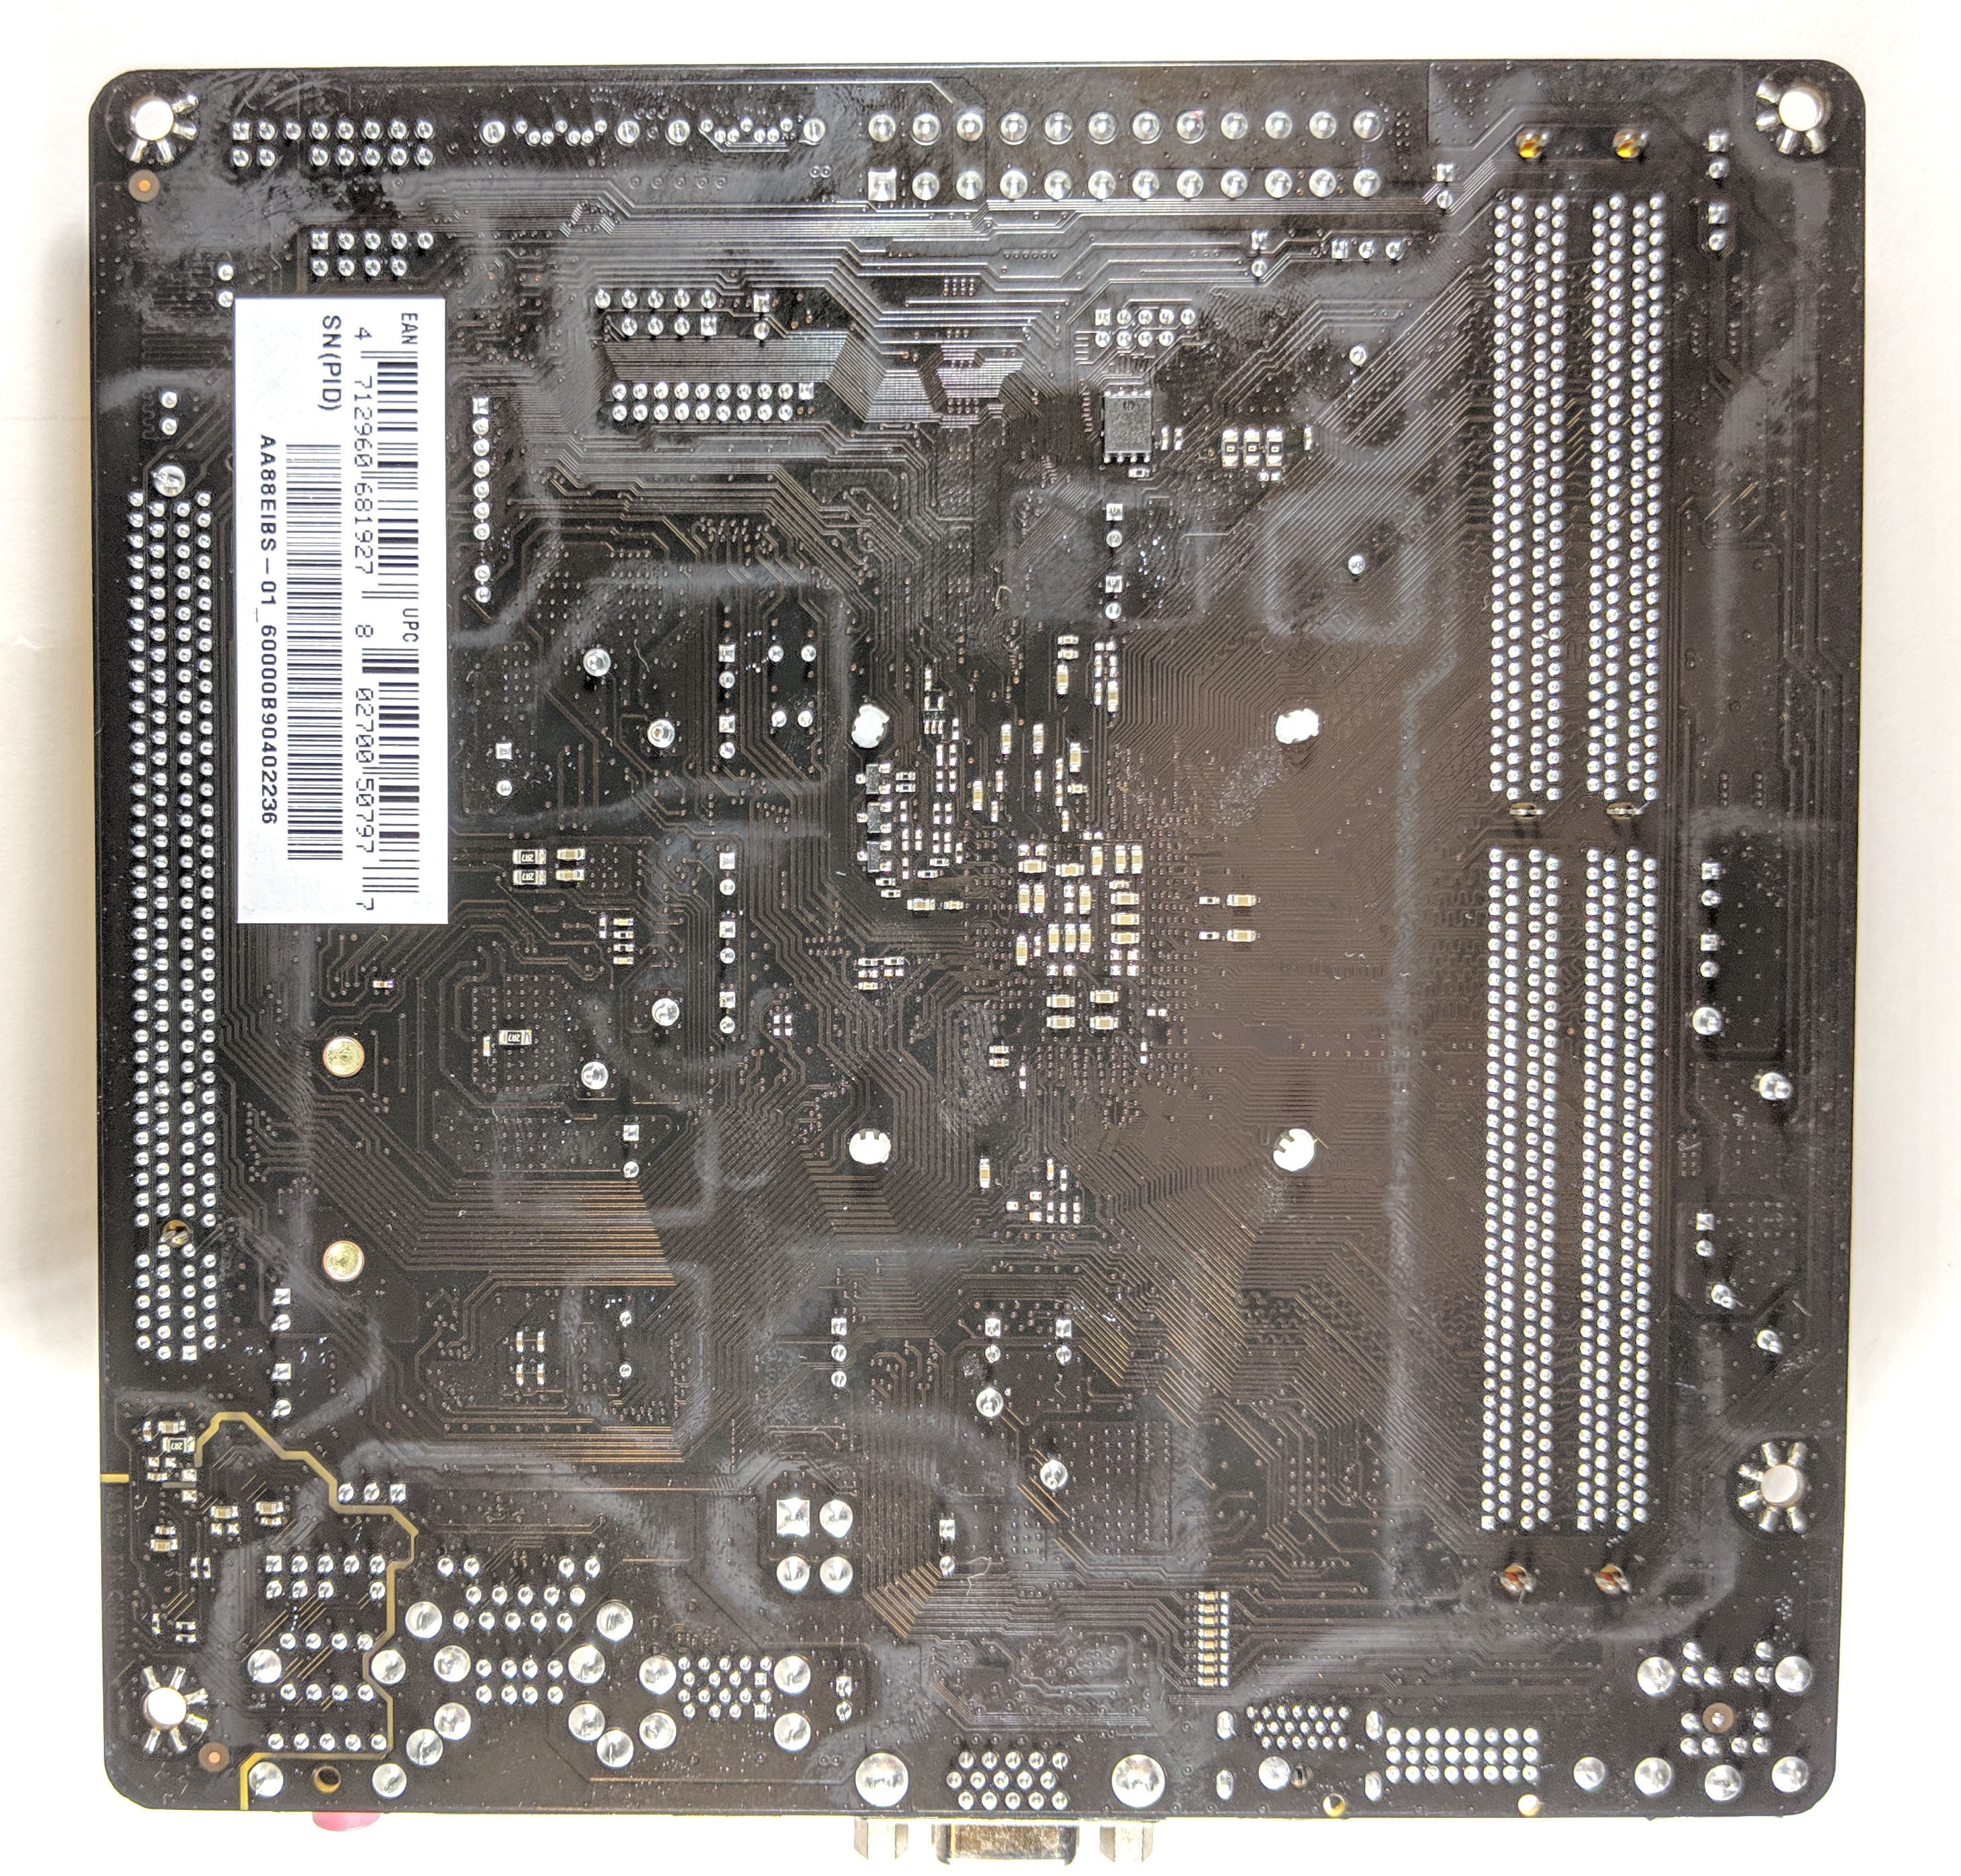
Nothing particularly interesting to say about the back side of the motherboard. There is some flux residue present, but other than that, solder looks clean overall.
Hardware Installation
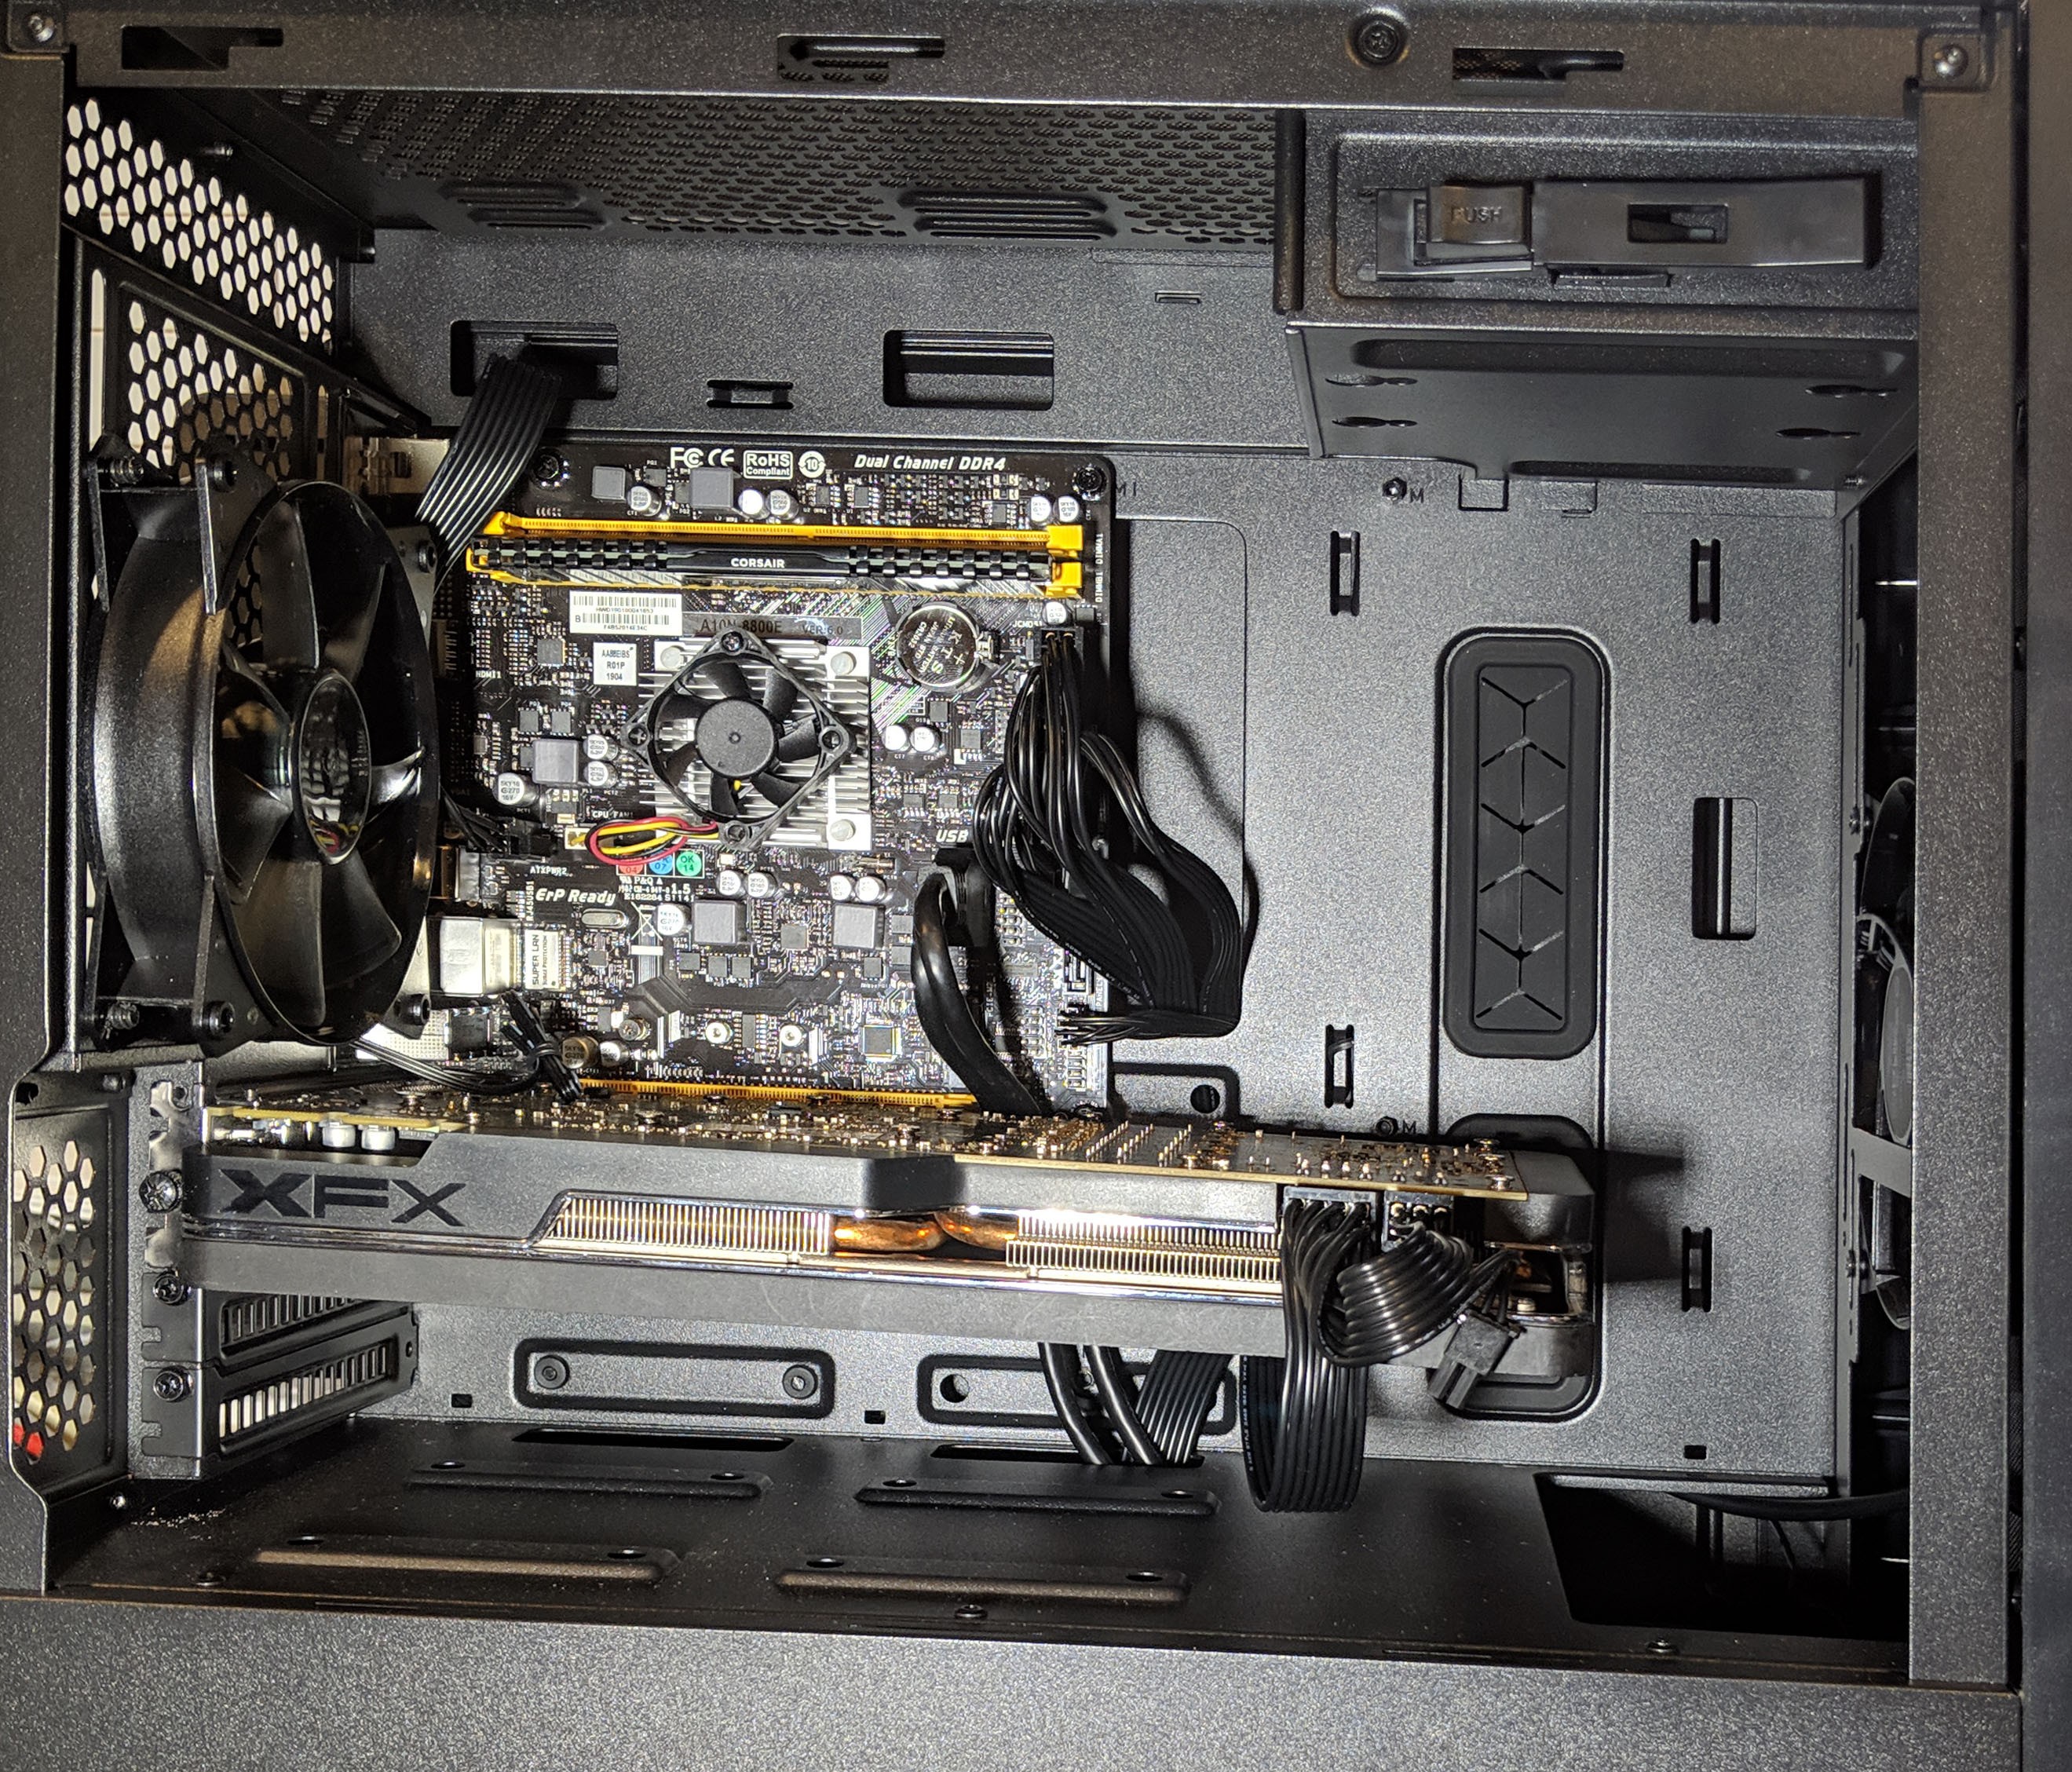
The Biostar A10N-8800E installed into any system just like any other. Installation was straightforward and went well without any hiccups. For this particular build we decided to build up a media server or HTPC as we believed that the low power hardware would work perfect for continuous operation. The system we build made use of the following components:
- Case: Cooler Master NV400 (review)
- RAM: 8GB Corsair Dominator Pro
- PSU: EVGA 500W BR Gold (Way overkill, but it’s what we had on stock)
- GPU: XFX R9 380X (Gotta stick with the AMD trend!)
- SSD: Kingston 120GB SATA6
When I first powered on the system, I could hear a very faint sound coming from the CPU fan. While it was audible, it certainly wasn’t loud by any stretch. I might at some point try to throw on a thicker quieter fan, but for a media PC, it’s of no concern at this point.
Power Consumption & Temps
For this test, I wanted to see how much power the motherboard and CPU drew during 100% load as well as idle. I removed the GPU and used my trusty Killawatt meter to measure the watts consumed in real-time.
With the CPU loaded to 100%, The following temperatures were observed:
- Idle: 18W
- Load: 44W
- Average: 26W
The average test consisted of light workloads. Maybe a browser open with a few tabs while playing music in the background. Overall, the loads were extremely impressive, especially that idle load. Leaving a system on 24/7 that consumes only 18W is hardly going to make any significant difference to your power bill.
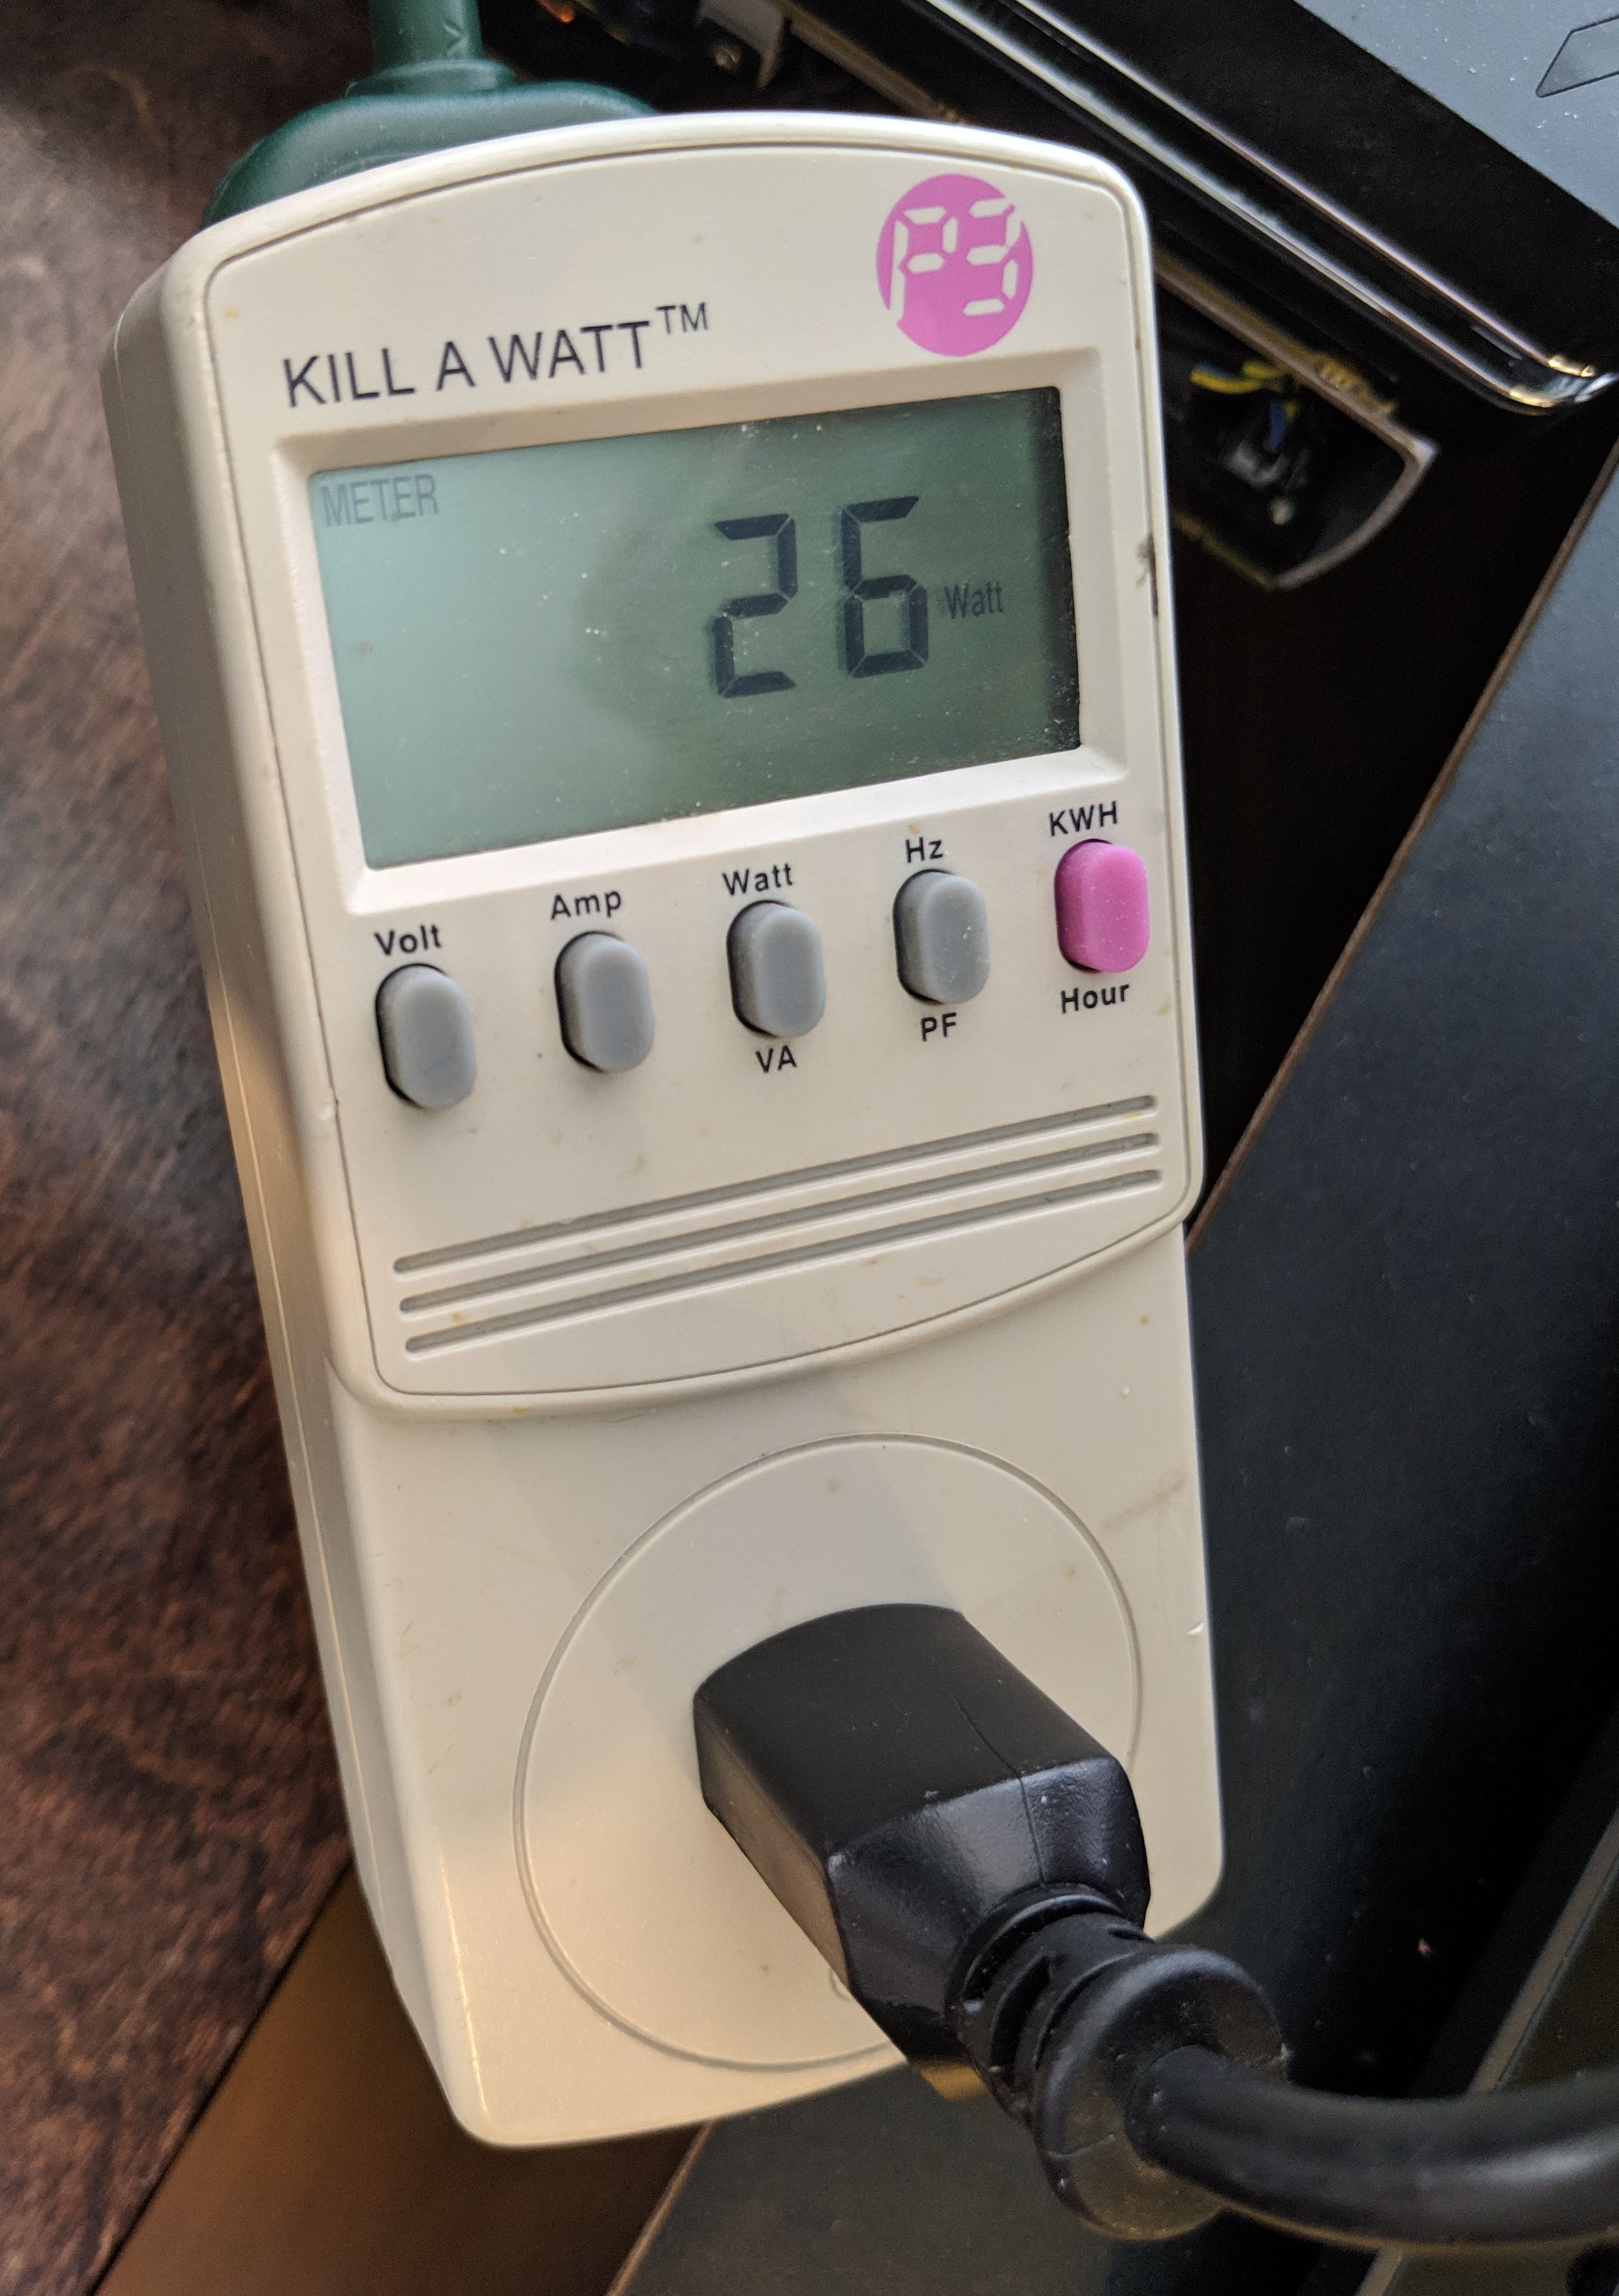
CPU temperature on the other hand was stuck higher than I’d like to see. It seemed to like to idle at around 62C and max out at around 84C. I replaced the TIM using Arctic Silver which helped bring temps down to 60C Idle and 82C max. While still kinda high, these temperatures are well within Tmax specifications.
BIOS Options and Settings
The BIOS on the Biostar A10N-8800E makes use of a modern and clean UEFI interface which allows the user to control and monitor key aspects of the motherboard. As GND-Tech is a gaming/hardware enthusiast website, we were sadded that we could not subject the poor AMD processor to overclocking torture, however there are enough options to keep most people busy.
I really liked the simple interface with the left panel giving a basic overview of the CPU, RAM, and CPU temps. There are overall a ton of options so feel free to dig into the menus and personalize the board to your liking prior to your OS install. While I’m not going to go over every sub-menu in every tab, here are some of the main screens found in the Biostar BIOS utility.

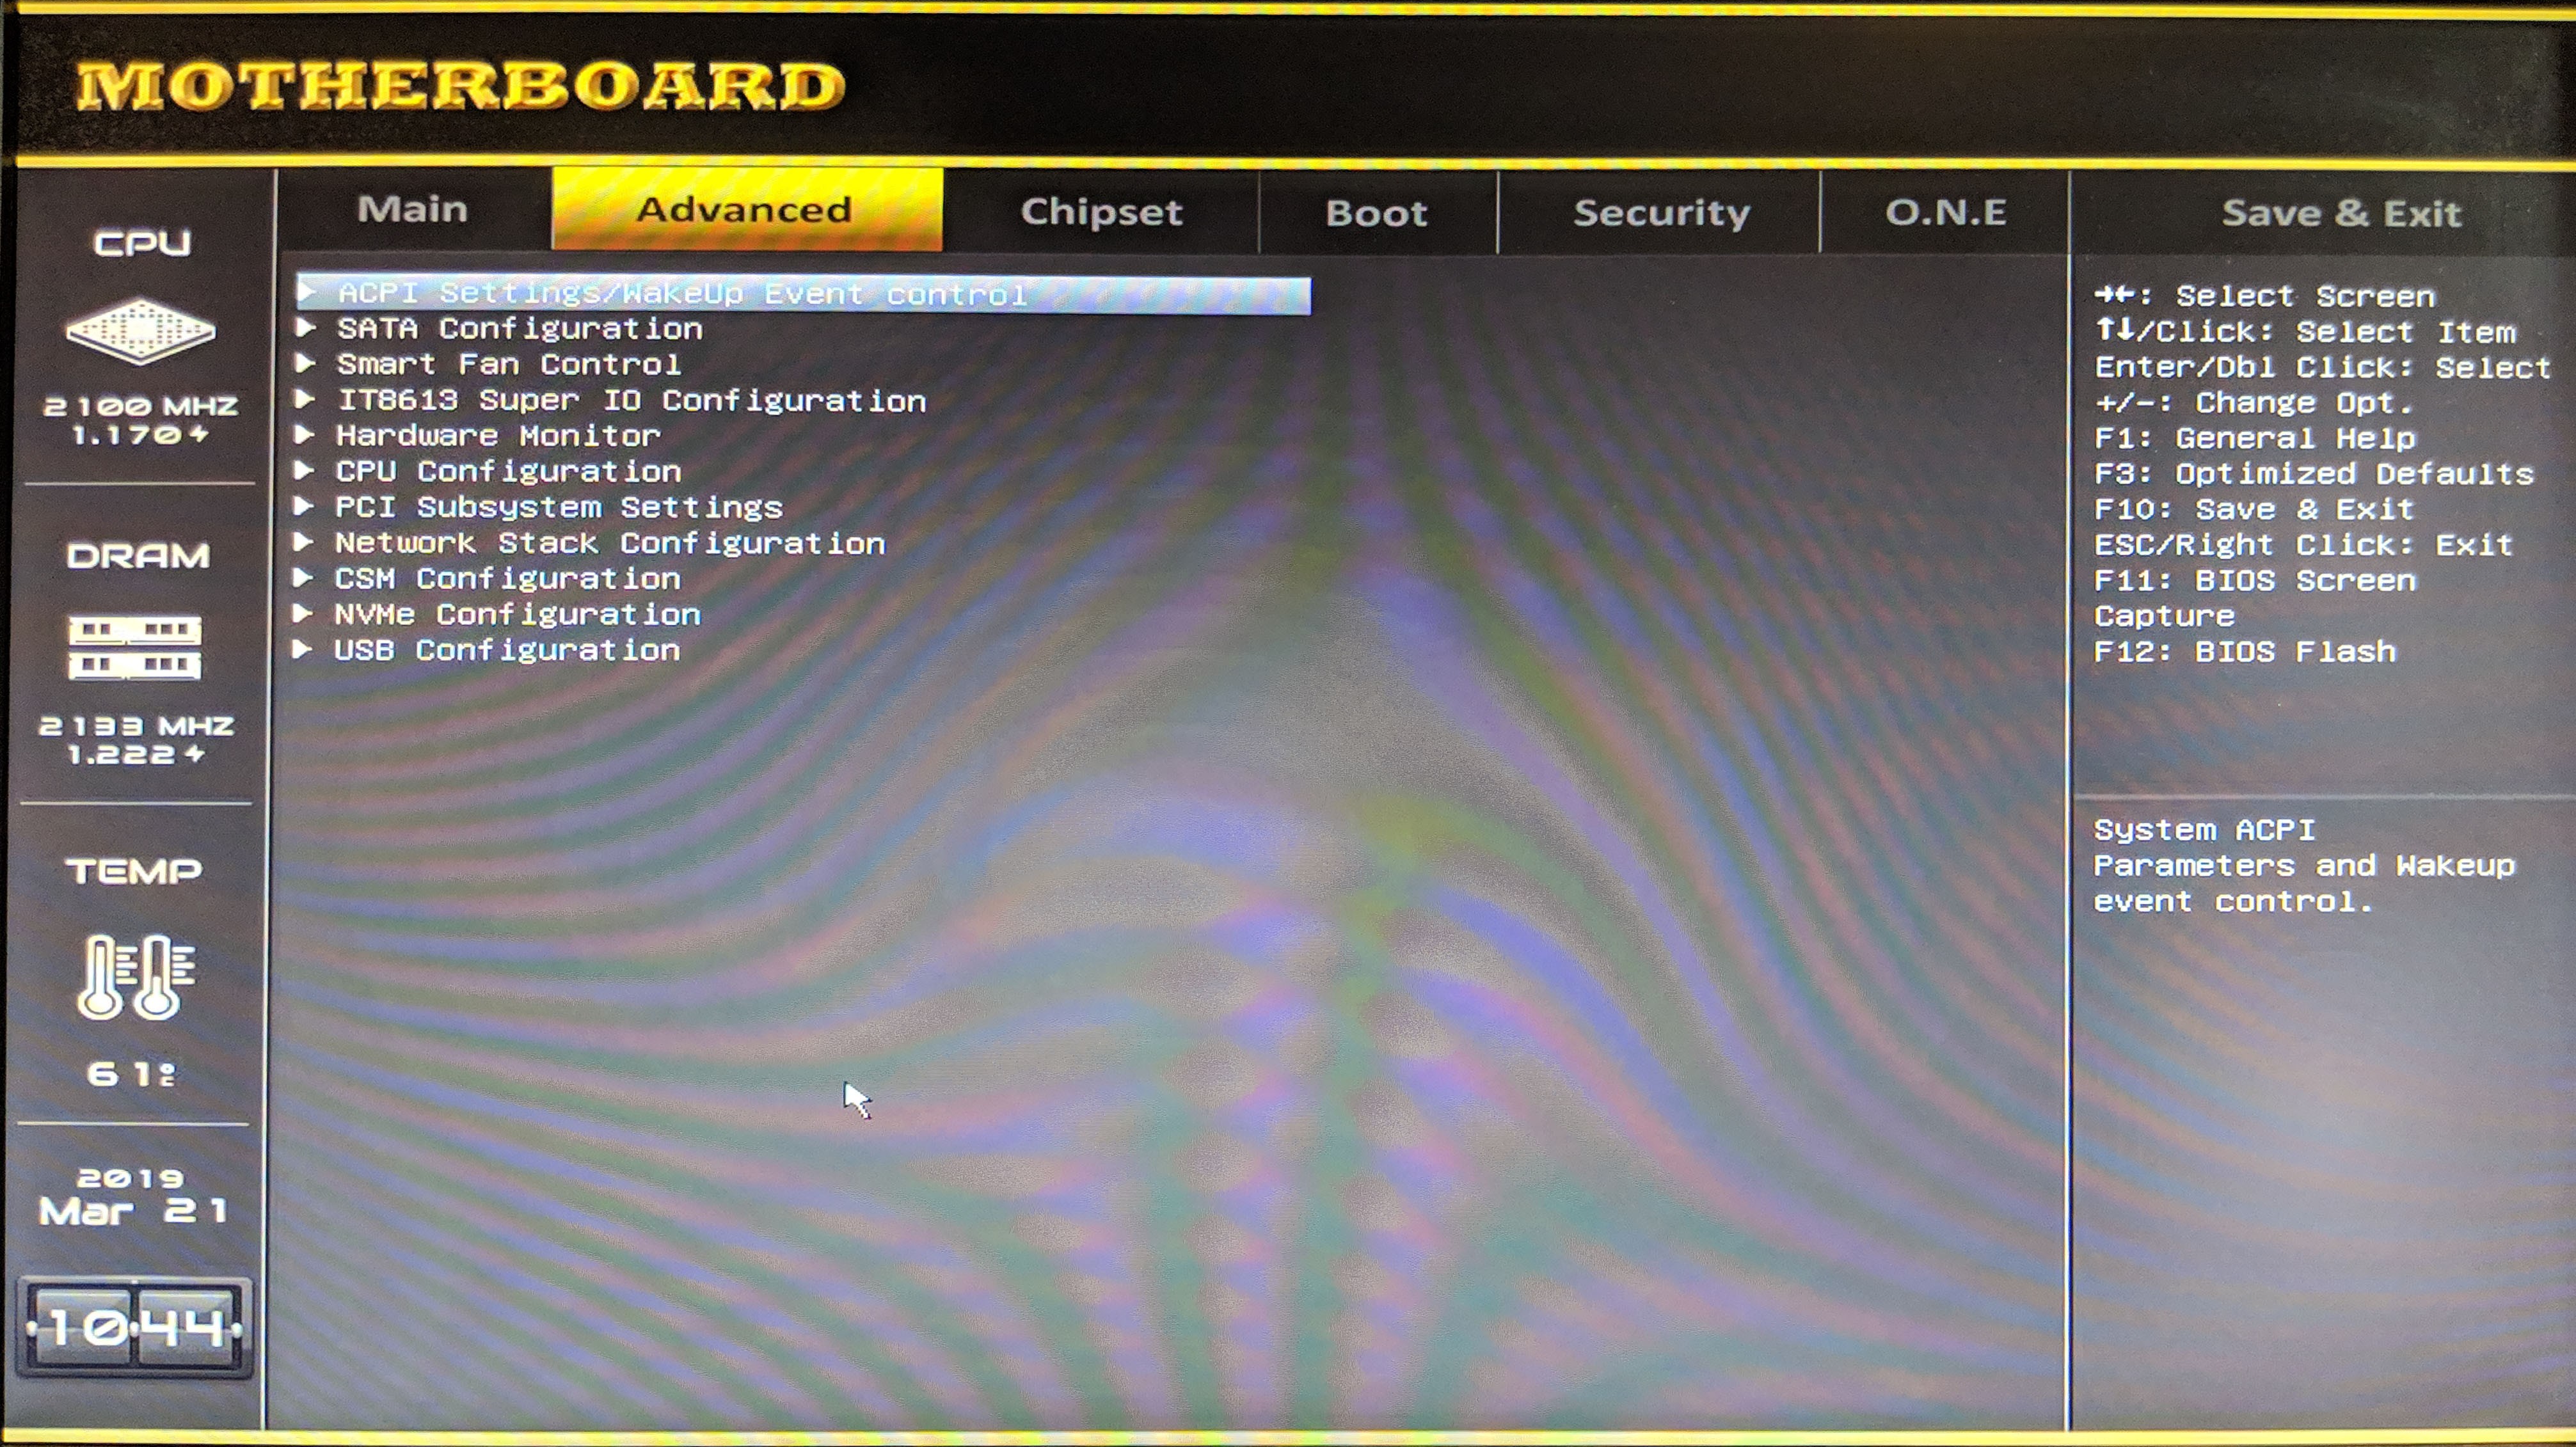

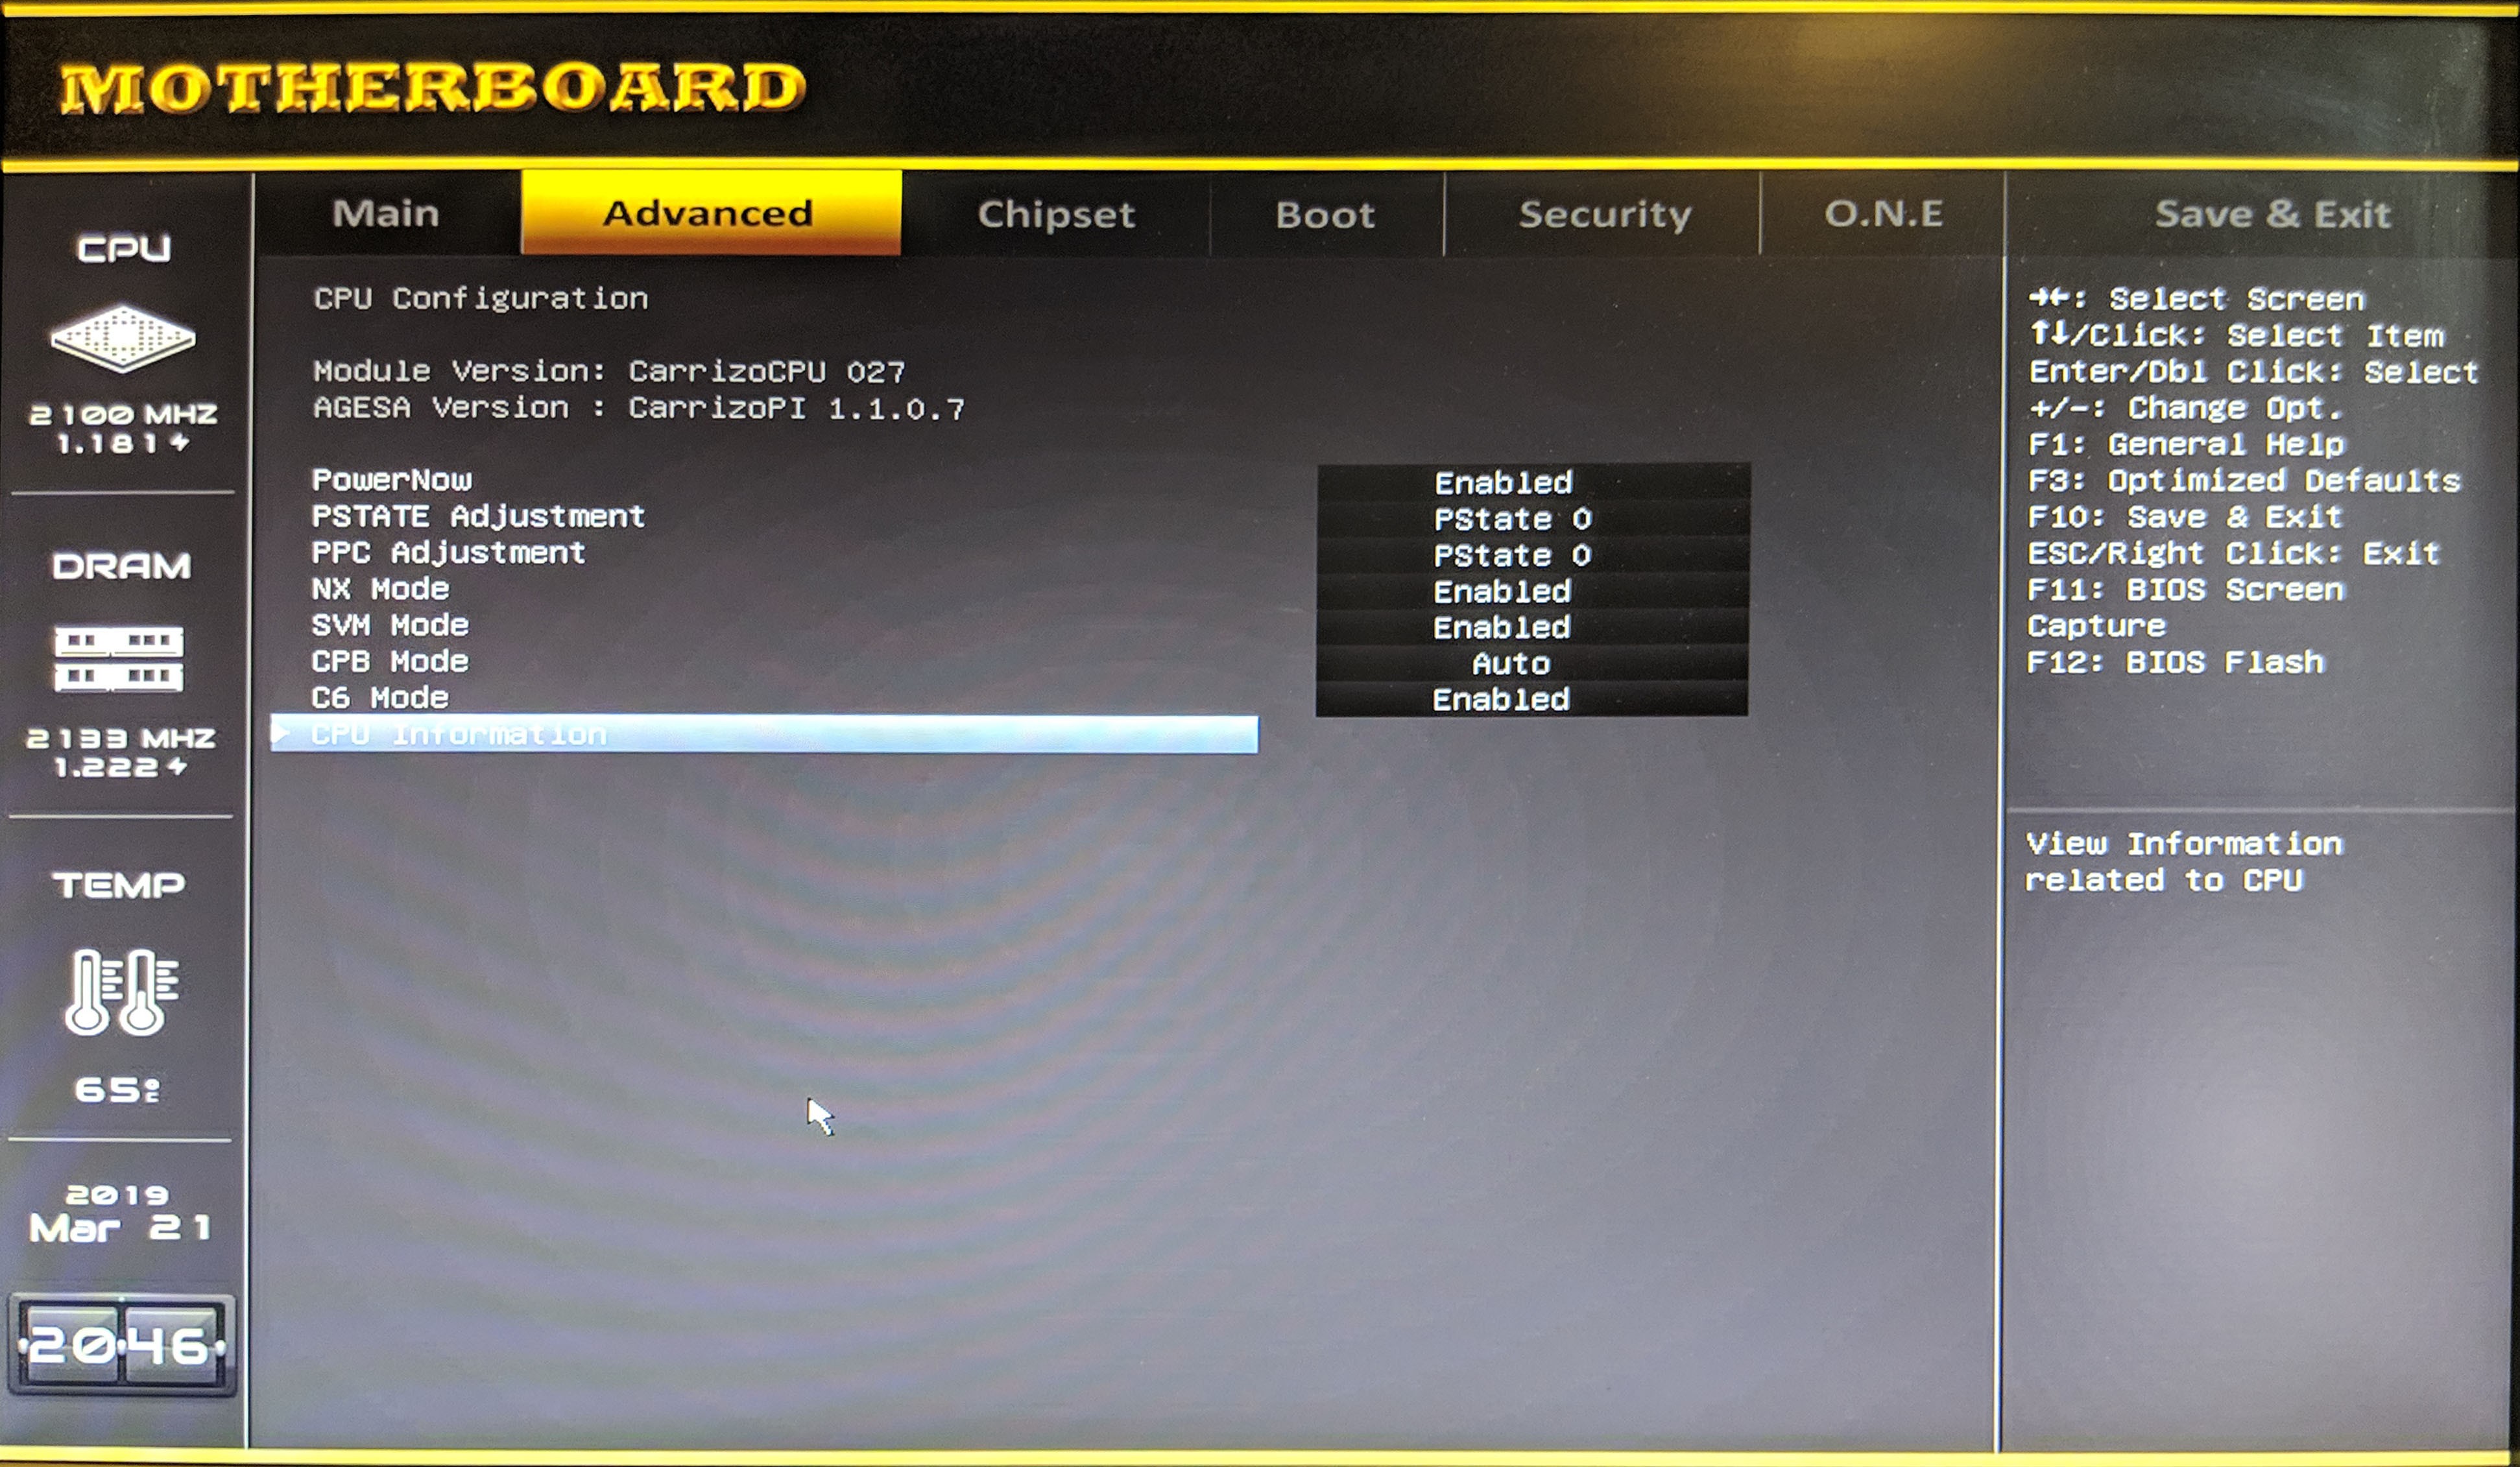

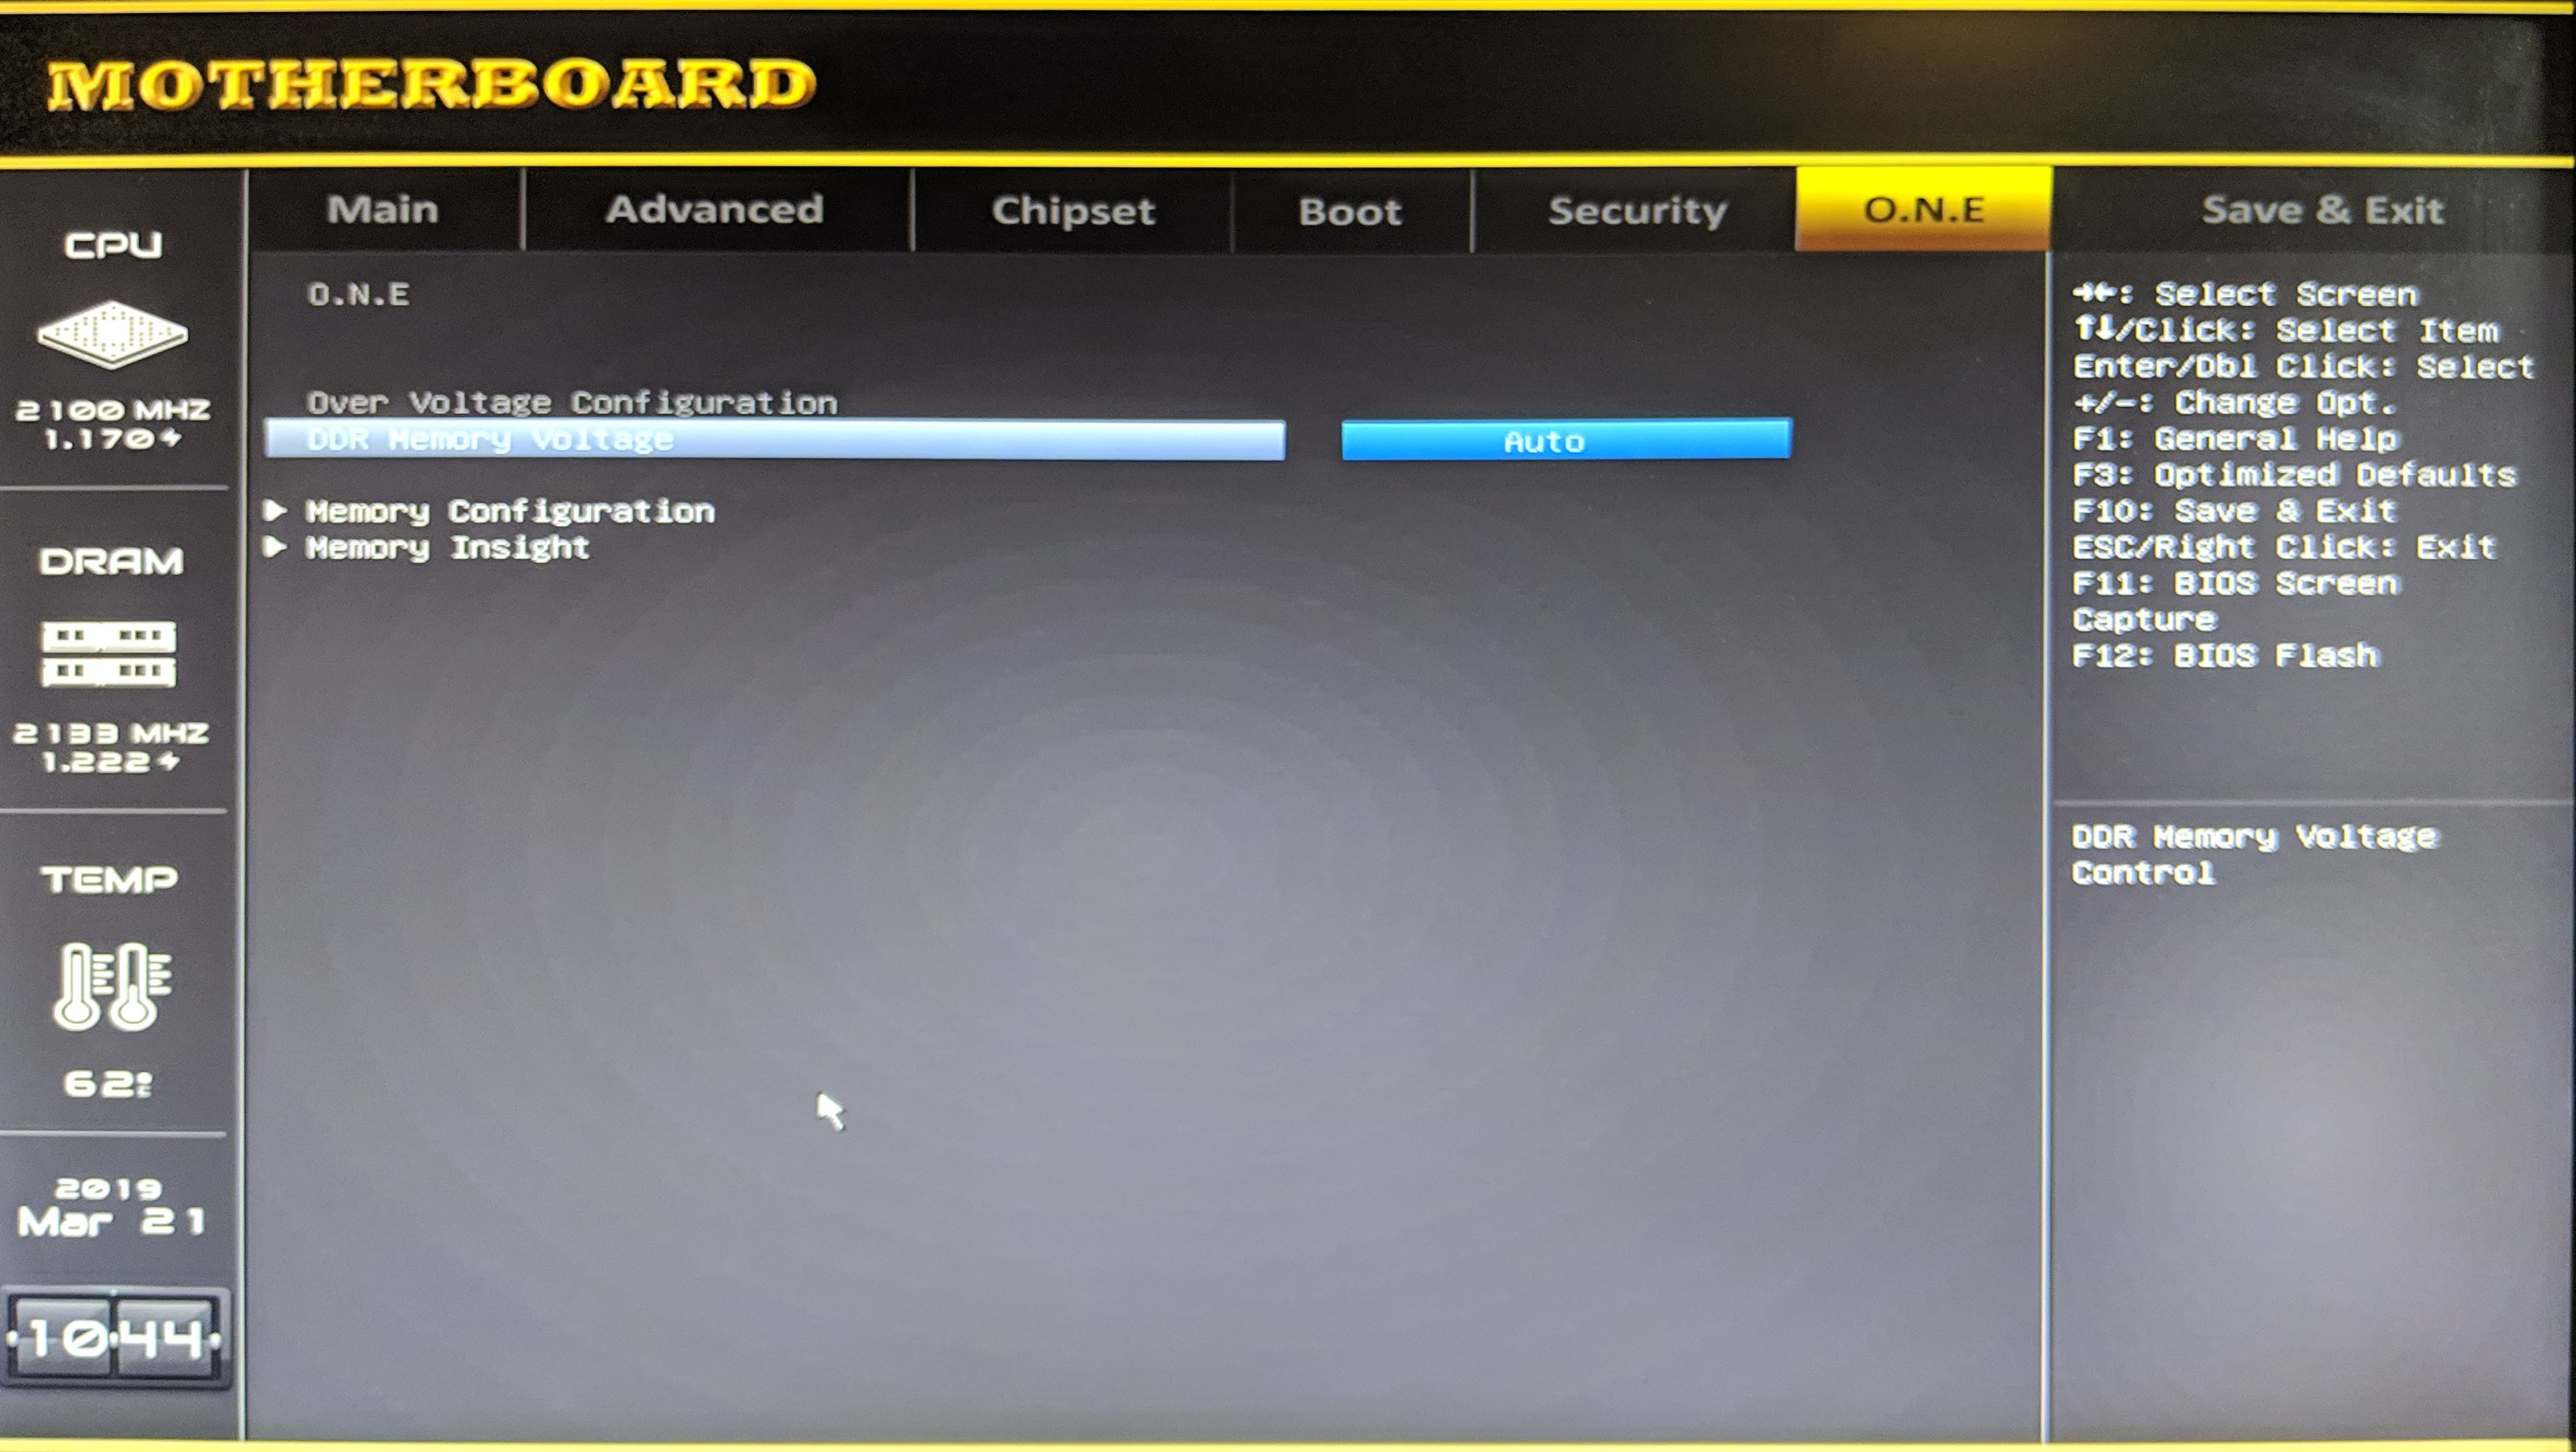


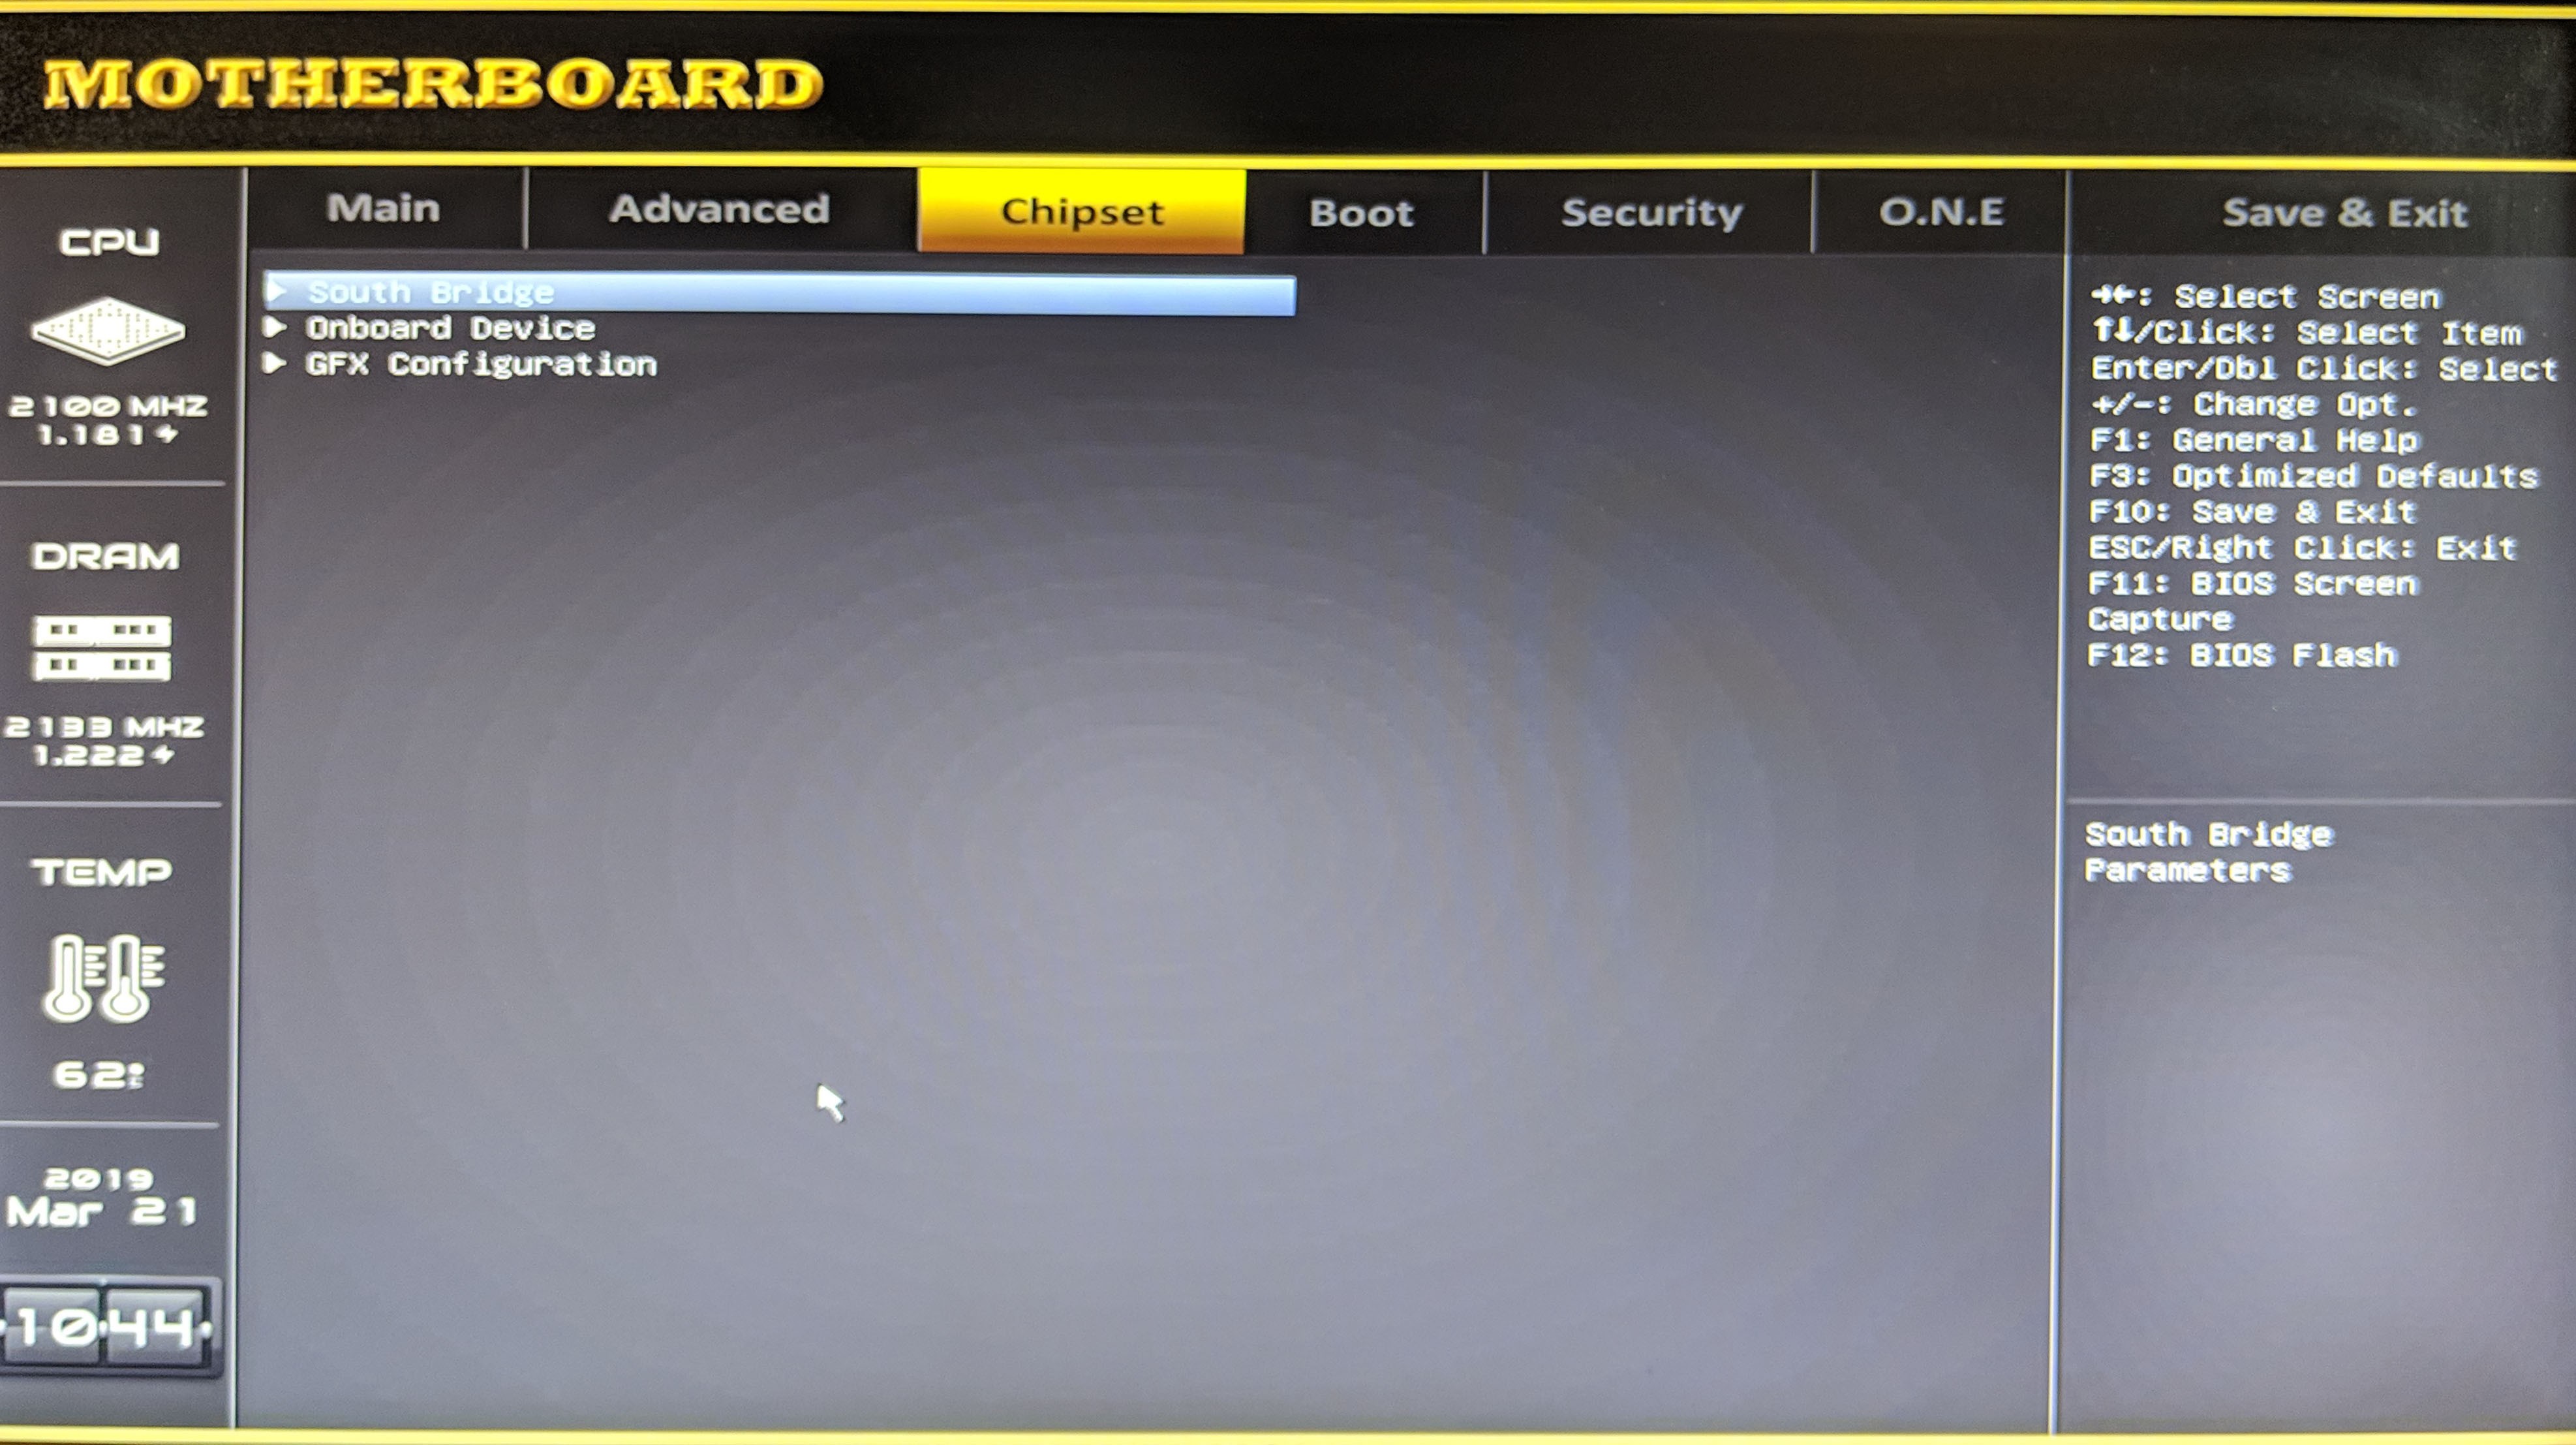
(sorry for the photographed screens. There doesn’t appear to be a screenshot function in Biostar BIOS)
The first thing I would recommend doing is check to see if any BIOS updates have been released. This can be done by visiting Biostar’s product page for the motherboard and visiting the downloads section. The BIOS update is done simply by running a Windows-based utility. Detailed instructions for updating the BIOS can be found in the user guide. We at GND-Tech always recommend updating the BIOS to the latest version to ensure you are running all the latest bug fixes, and features.
Final Thoughts and Conclusion
The new Biostar A10N-8800E turned out to be quite a feature-packed little motherboard bursting with endless possibilities. While this motherboard is sort of marketed as a “Gaming Motherboard”, I’d personally brand it more along the lines of a Desktop, server, HTPC motherboard than anything. Any modern game would likely be greatly limited by the CPU. For 24/7 operation as a server, or HTCP, this motherboard would be stellar.
The motherboards extremely low power consumption is probably what impressed me the most. The AMD FX-8800P offers a decent amount of performance in addition to the low TDP rating. Now for the breakdown. As we don’t have an MSRP for the motherboard yet, we can’t use our traditional rating system. For now we’ll break the board down based on pros and cons.
Pros:
|
Cons:
|


Great review. I wouldn’t take this board into consideration for gaming, but more for some HTPC or NAS system which would be epic and that small cooler for those two purposes would do the trick I think. Anyway, not bad.
I just purchased this board recently and got it set up as an HTPC running Windows 10, and I can say from experience now it’s absolutely perfect. Only complaint is it could use more USB ports – I’m using 3 of the 4 (HTPC remote, bluetooth, wifi, and a spare one for thumb drive, blu-ray drive, etc.). I’m considering getting another one for our other TV.
Great review, thank you so much. I got this motherboard a few years ago and I’m happy with it. The only think I’d like to change is the CPU cooling system, do you know if there is a good alternative to the stock one? I cannot identify if one chilling system is compatible or not with only the information in e-shops. Thanks in advance.