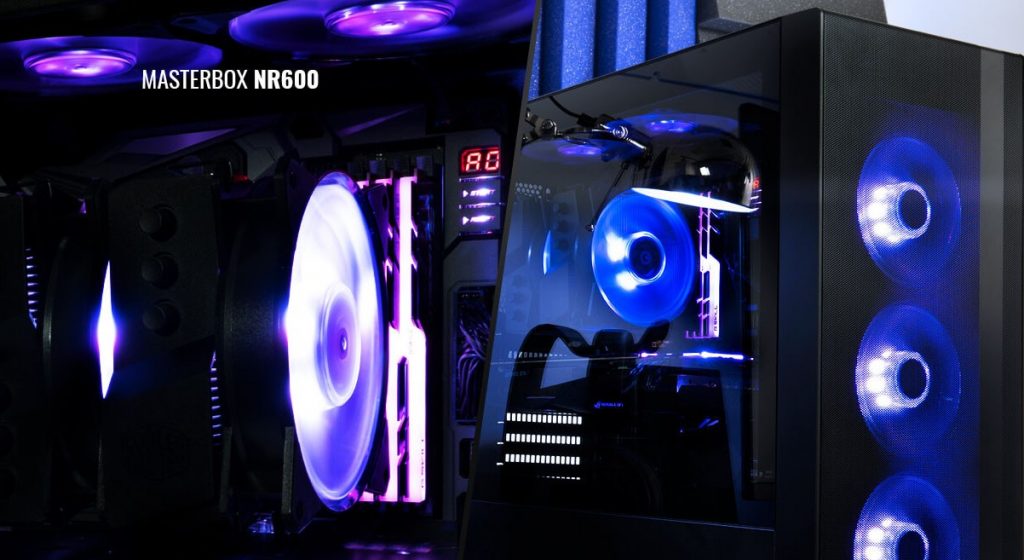
These days, it seems that a lot of our focus that goes into new products is centered around bright lights and RGBs. While this is fine for those who love the puking rainbow scene, there are those who still prefer the stealthy subtle build over former. In this review, we’ll be diving in to the Cooler Master MasterBox NR600 which is perfect for those who prefer subtle stealth over the RGB rainbow. The NR600 is part of the MasterBox series of mid-tower cases that features clean crisp edges, plenty of cooling options, and of course a tempered glass side panel.
Don’t get be wrong, I do appreciate a clean RGB build, however what separates this case from RGB “themed” cases is the ability to choose. Loading this case with all the RGBs, will still product a clean build either way. While the case is classified as a mid-tower, don’t let its smaller size deter you. The NR600 has plenty of room for all your air cooling, or even liquid cooling needs. Cooling to your system internals is provided by the two pre-installed 120mm fans with support for an additional four fans for a combined total of up to six 120mm fans. The board also supports standard ATX sized motherboards and graphics cards up to 410mm long.
MSRP for the case is $69.99 at the time of writing this review which will target system builders looking for all the features of a clean modern case without breaking the bank.
Cooler Master MasterBox NR600 Specifications
The NR600 will ship in two different configurations, one with an optical drive located at the top of the front of the case, as well as with out. If you opt for optical (heh) drive support, you’ll end up losing one of the 120mm front fans so keep that in mind before purchasing. Other than the 5.25″ drive, the two editions are identical. In this particular review, we’ll be looking into the non optical drive (ODD) version of the NR600.
On paper, the case looks quite feature-packed. We’ve got plenty of cooling options, a tempered glass side panel, all wrapped in a clean modern solid steel shell. The front of the case doubles as a full coverage intake which is a solid mesh grill so you won’t have to worry about your intake fans fighting for air like we’ve seen with some cases in the past.
Below are the detailed specifications of the MasterBox NR600 provided by Cooler Master:
| Cooler Master MasterBox NR600 | |
|---|---|
| Product Number | MCB-NR600-KGNN-S00 (MasterBox NR600 without ODD) |
| Exterior Color | Black |
| Materials – Body | Steel, Plastic |
| Materials – Windowed Side Panel | Tempered Glass |
| Dimensions | 478 (L) x 209 (W) x 473 (H) mm |
| Motherboard Support | Mini-ITX, Micro-ATX, ATX |
| Expansion Slots | 7 |
| 5.25″ Drive Bays | 1 (MasterBox NR600 with ODD) |
| 3.5″ HDD Drive Bays | 4 |
| 2.5″ SSD Drive Bays | 5 |
| I/O Panel – USB Ports | USB 3.0 x 2 |
| I/O Panel – Audio In / Out | 1x 3.5mm Headset Jack (Audio+Mic) |
| Pre-installed Fan(s) – Front | 120mm x 1 |
| Pre-installed Fan(s) – Rear | 120mm x 1 |
| Fan Support – Front | 140mm x 2 / 120mm x 3 (MasterBox NR600 without ODD) |
| Fan Support – Top | 140mm x 2 / 120mm x 2 |
| Fan Support – Rear | 120mm x 1 |
| Radiator Support – Front | 360 / 280 / 240 / 140 / 120mm (MasterBox NR600 without ODD) |
| Radiator Support – Top | 240mm / 120mm (MasterBox NR600 without ODD) |
| Radiator Support – Rear | 120mm x 1 |
| Clearance – CPU Cooler | 166mm / 6.54″ |
| Clearance – Power Supply | 180mm / 7.08″ |
| Clearance – Graphics Card | 410mm / 16.14″ |
| Cable Routing – Behind MB Tray | 20~28mm / 0.78~1.10″ |
| Dust Filters | Top, Bottom |
| Power Supply Support | Bottom Mount, ATX |
It should be noted that while there are two removable dust filters on both the top and bottom of the case, the front panel which acts as the primary intake does not have a removable dust filter. However, since the intake holes are so small, it can be easily cleaned by wiping it periodically as dust particles tend to build.
Alright, enough talk. Let’s dive into the review by first examining the case’s packaging!
A Closer Look: Unboxing
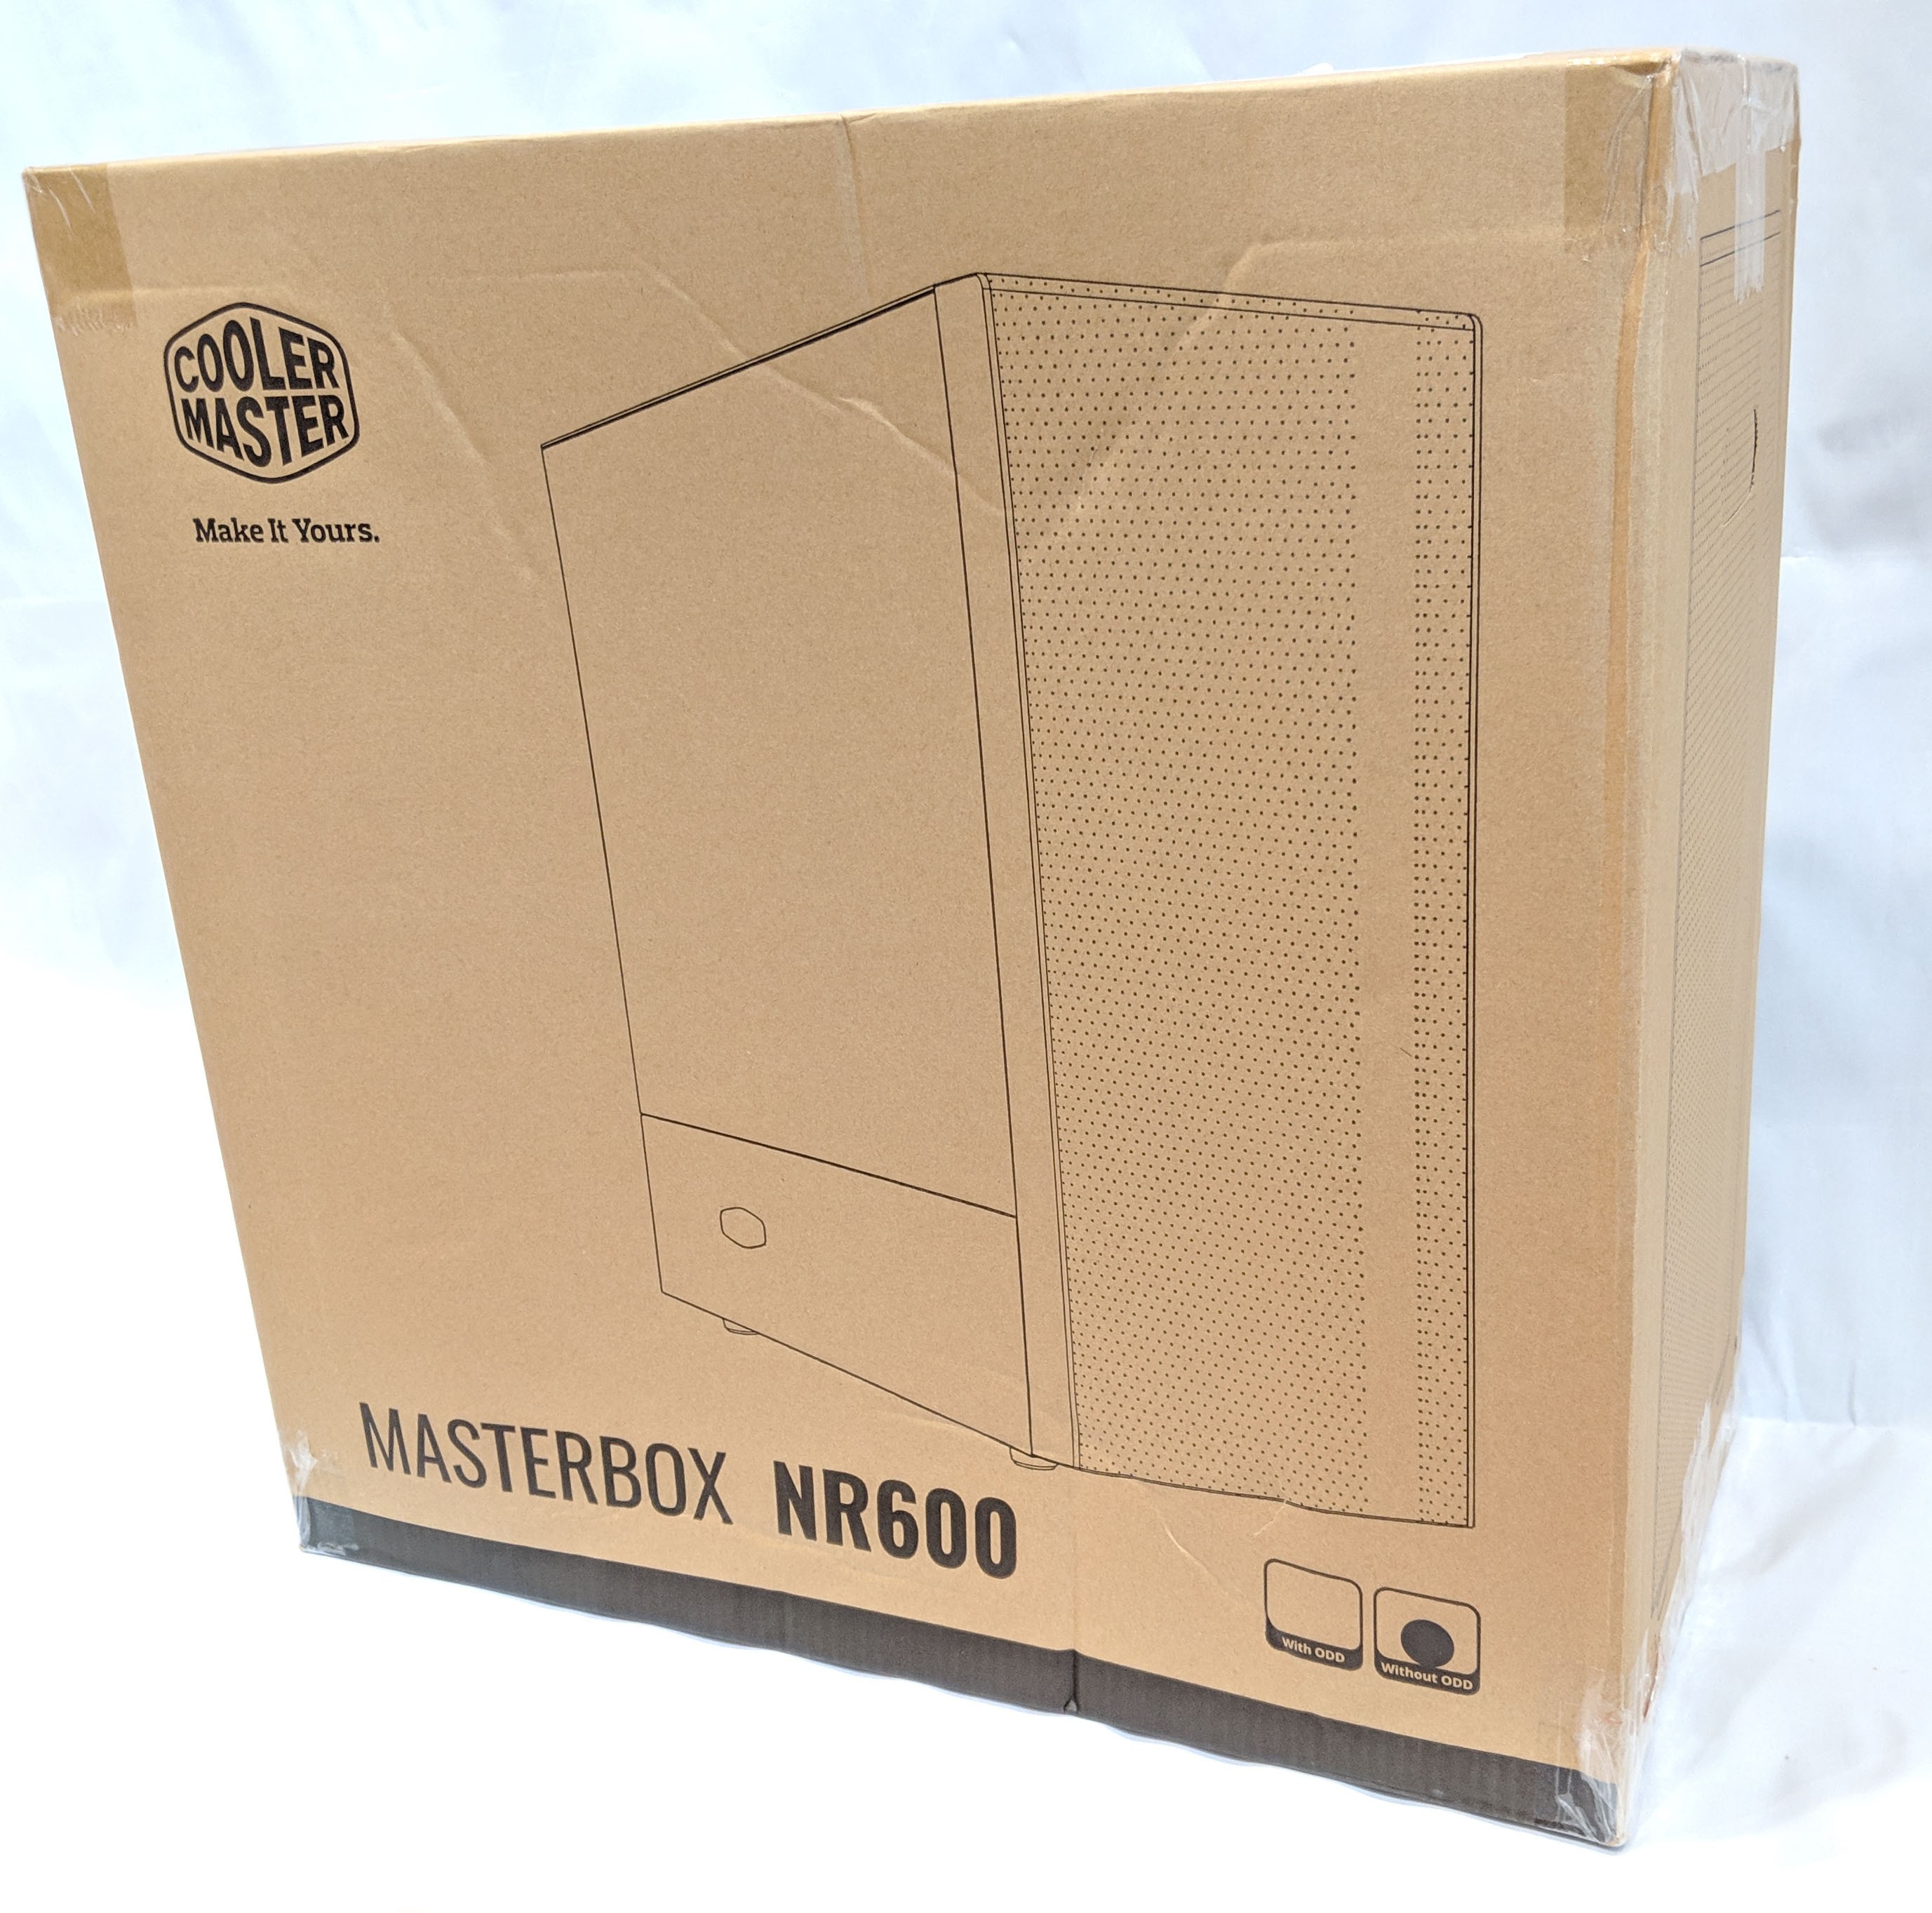
The Cooler Master NR600 arrived to GND-Tech HQ in perfect condition. The outside packaging of the cardboard box is pretty typical from what we’ve seen in the past from Cooler Master. The front features line diagram of the case as well as its model number clearly presented at the bottom.
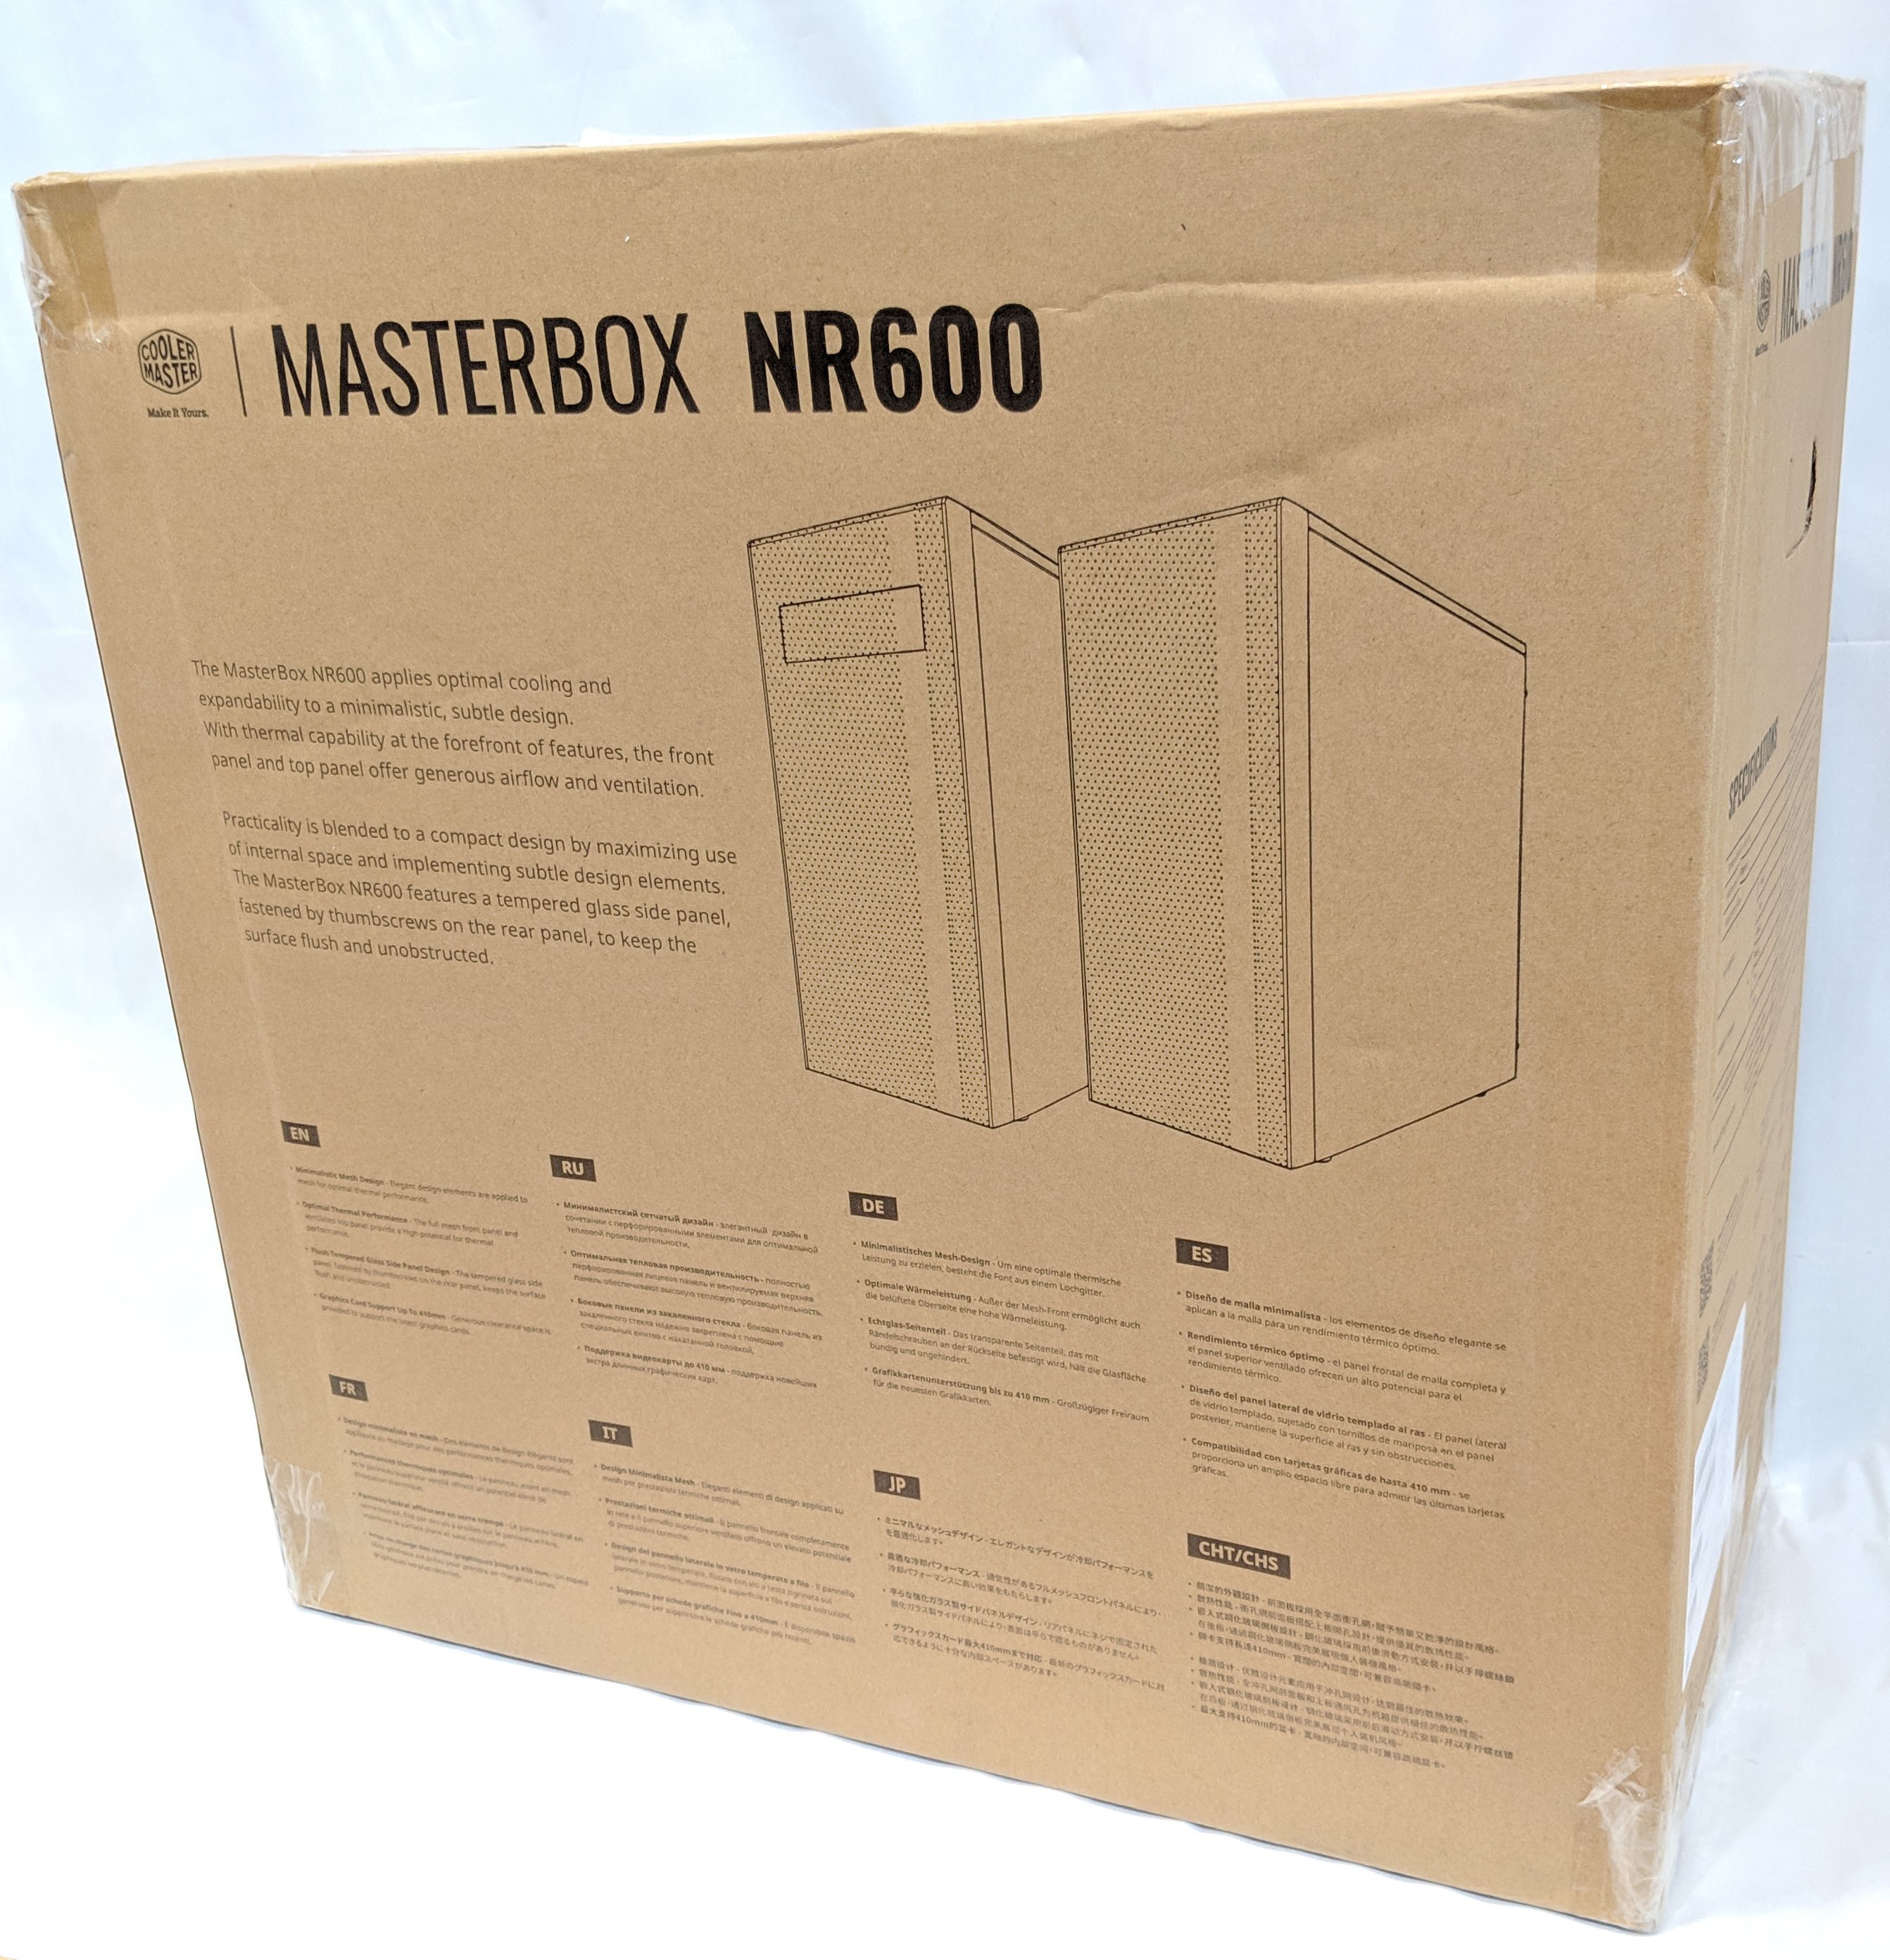
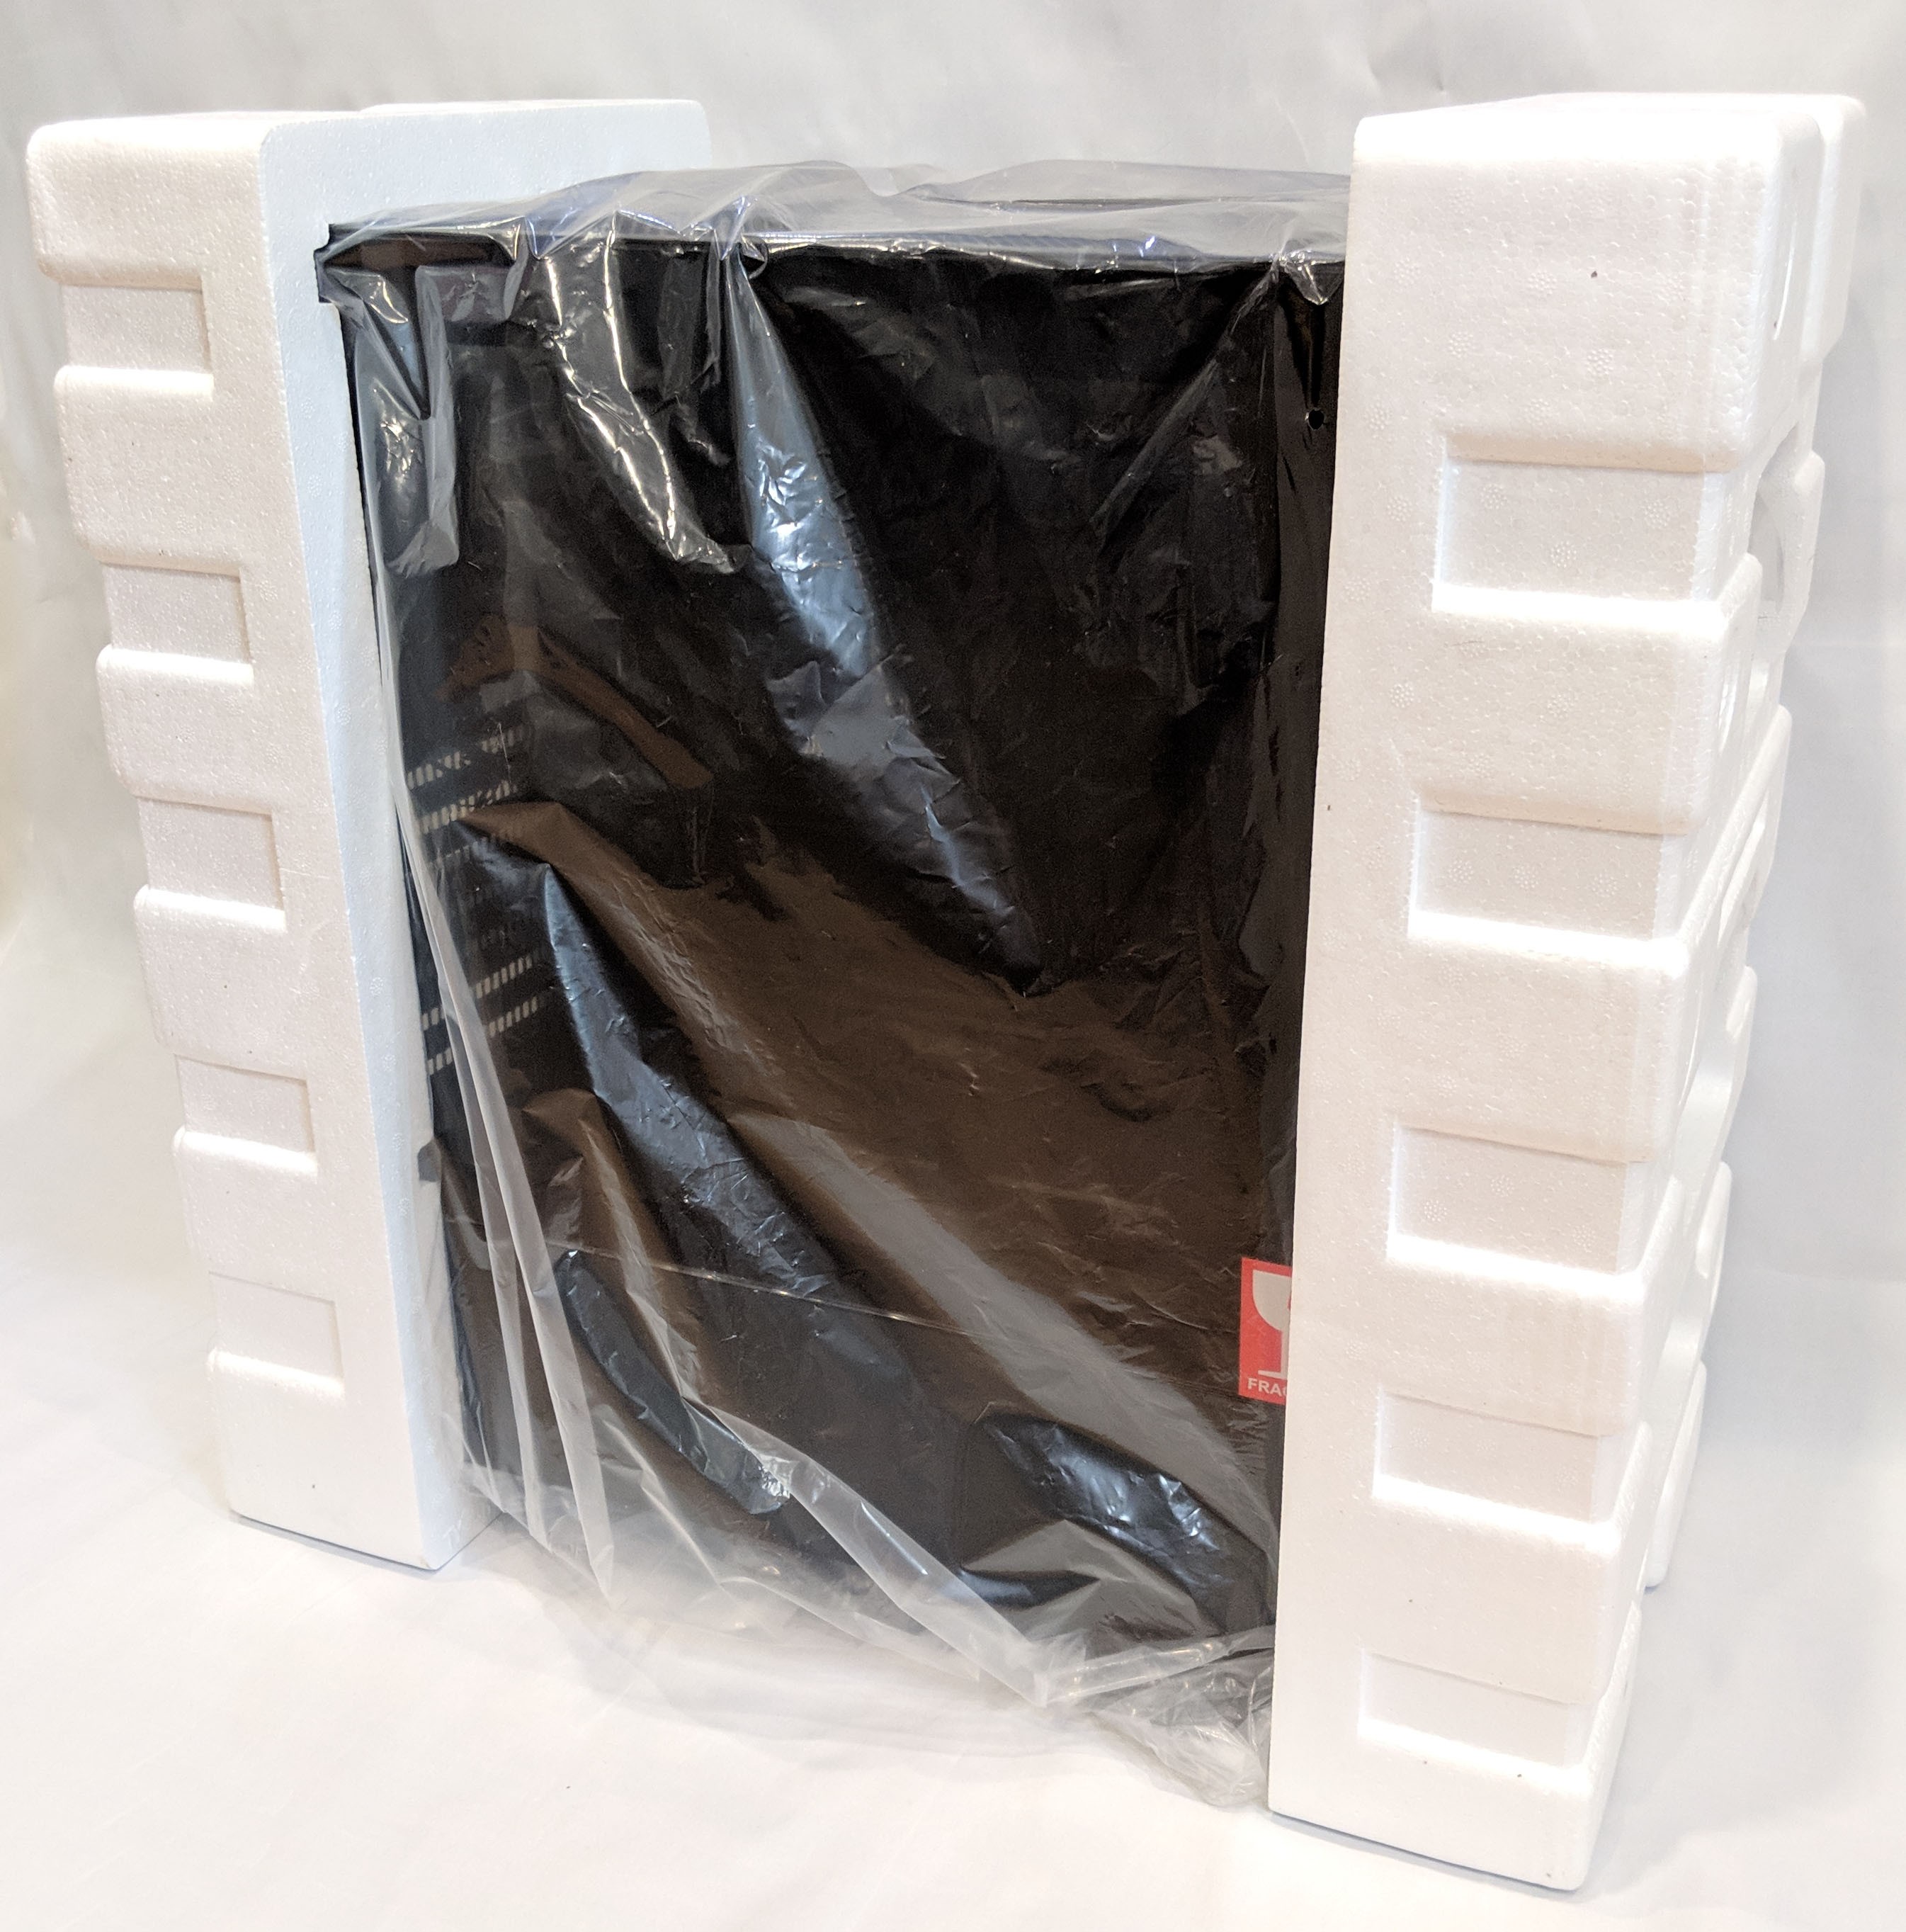
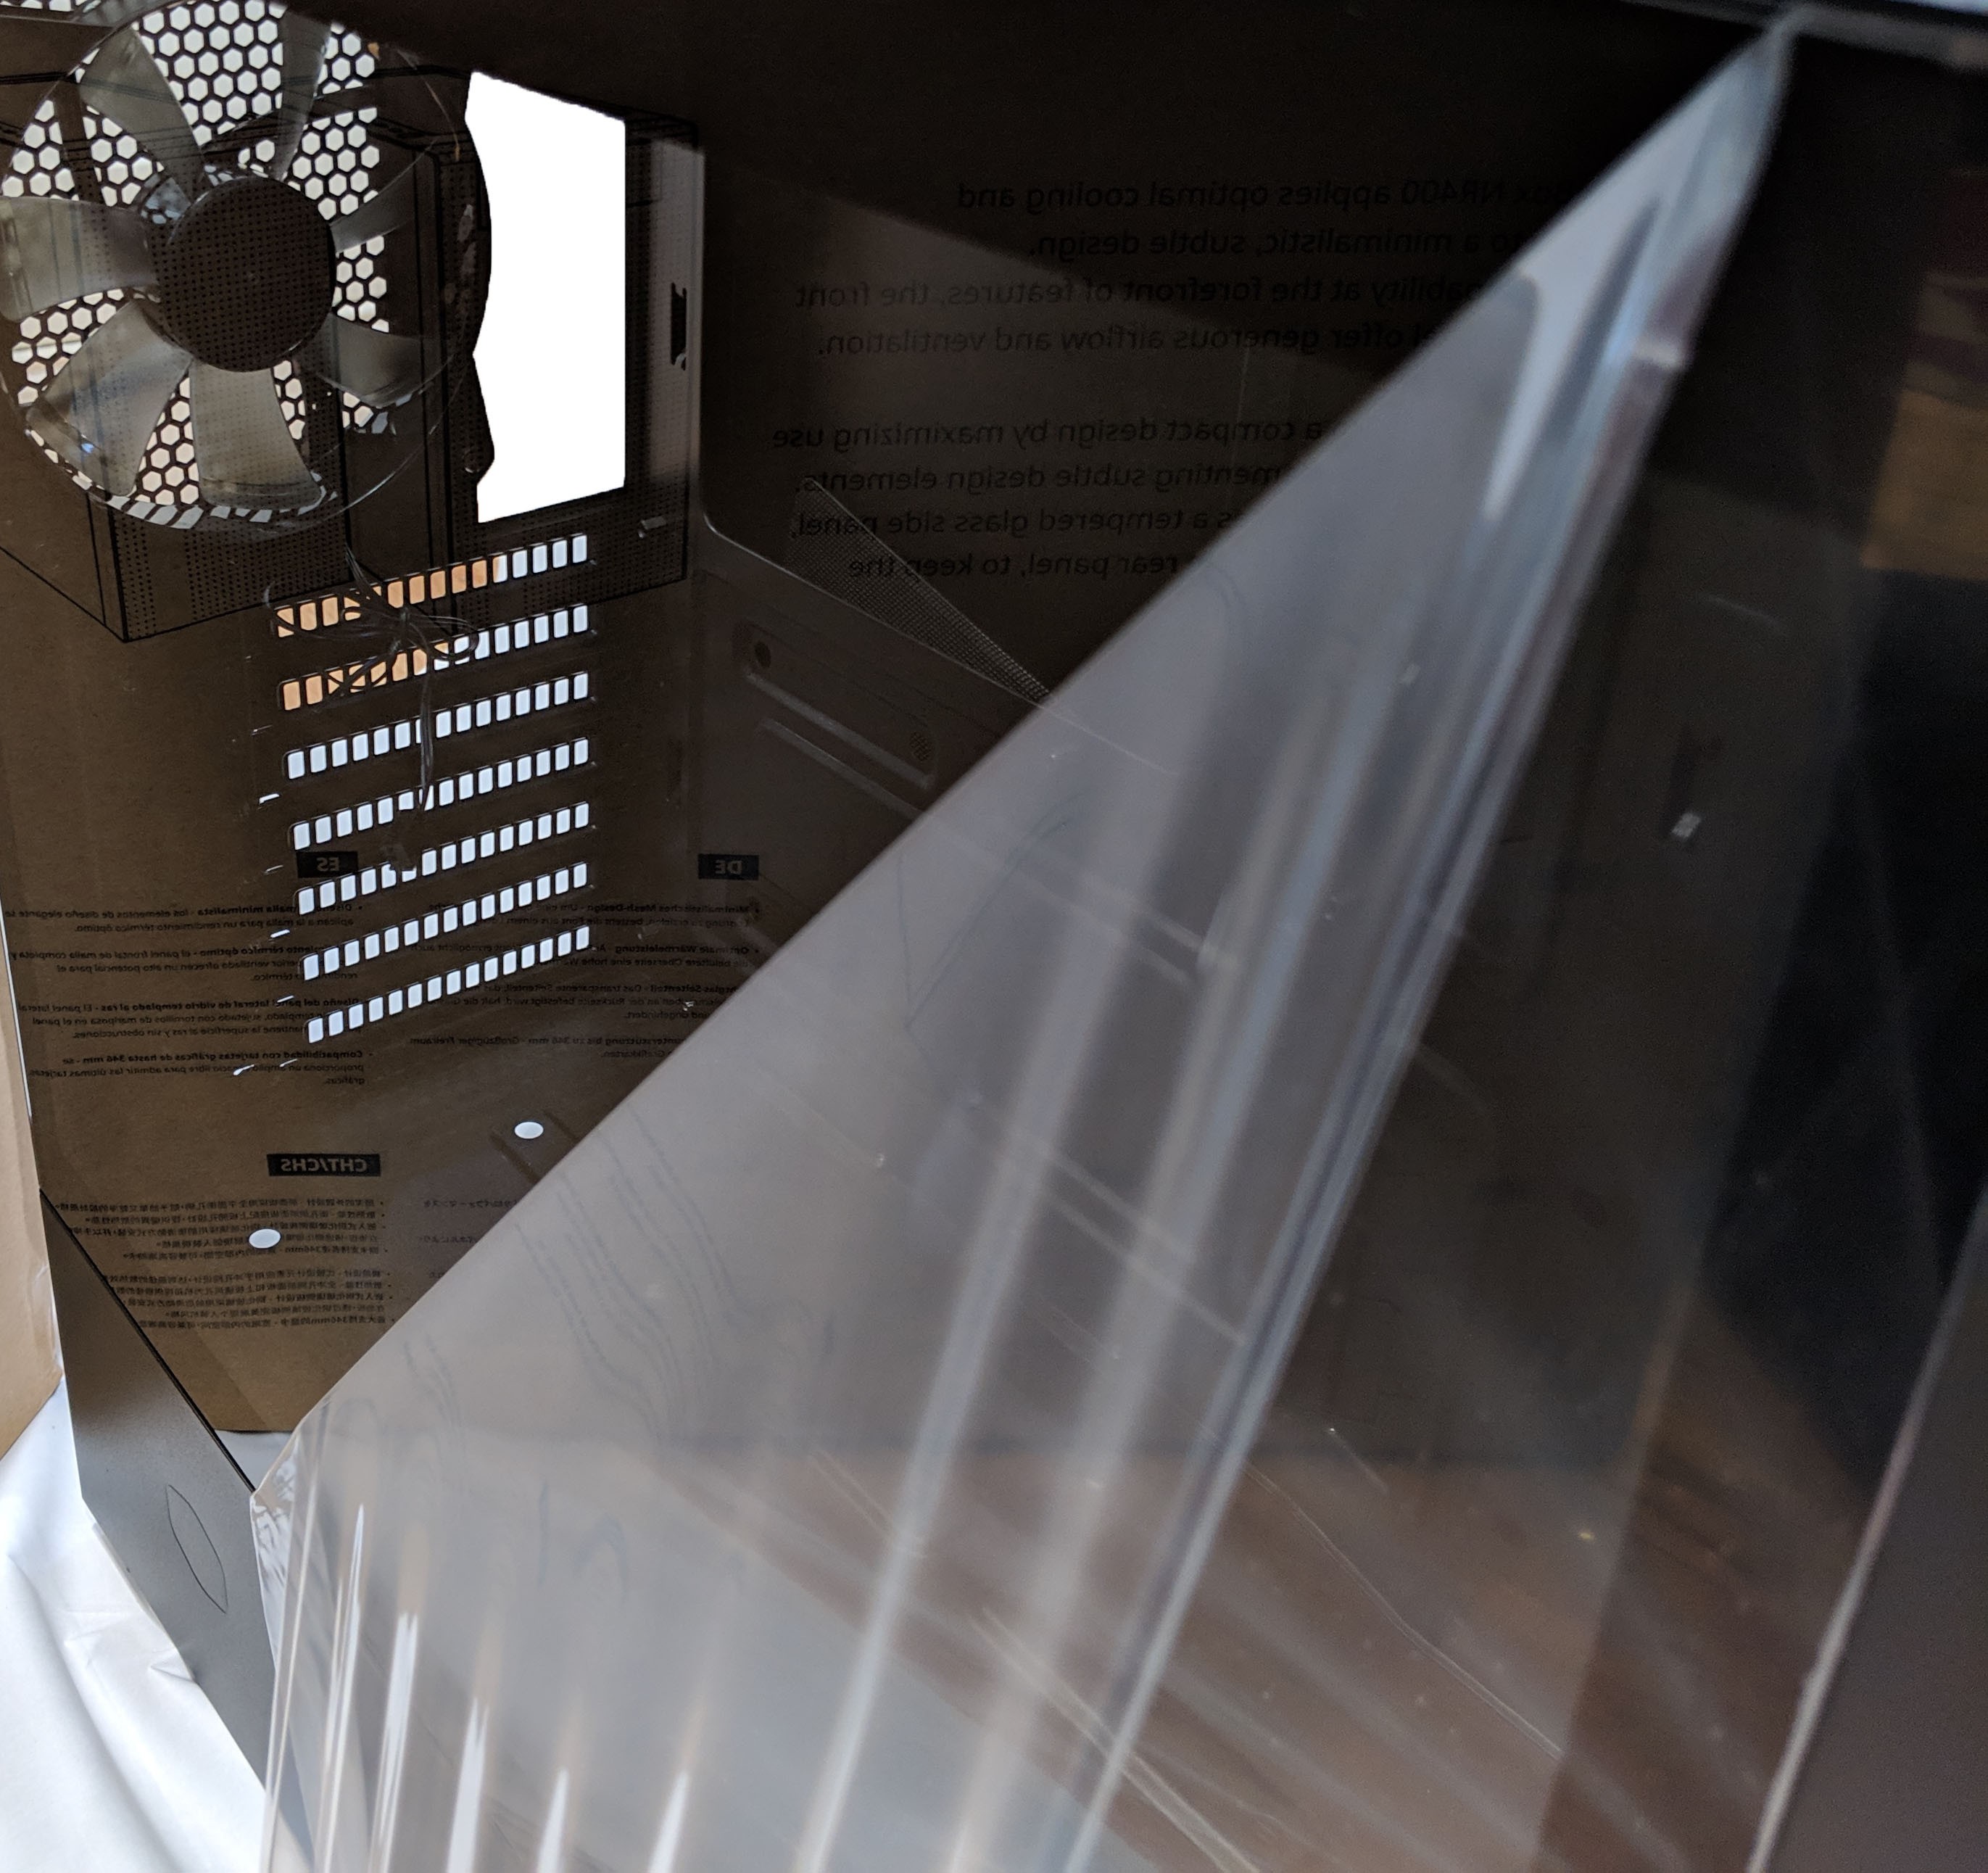
The back of the box contains another diagram of the right side of the case which presents both versions (with or without an optical drive) as well as a few more details about the case in several languages. Upon cracking open the outer seal, we find the case contained inside a plastic bag and sandwiched in between two custom formed Styrofoam bricks. This should provide adequate protection against most shipping mishaps.
With the case out of the bag, we get a better look at what exactly we’re working with. Be sure to remove the protective film covering the tempered glass side panel. It’s here you really appreciate how glossy that tempered glass really is. It does a good job adding a premium look and feel to the case as a whole.
A Closer Look: Exterior
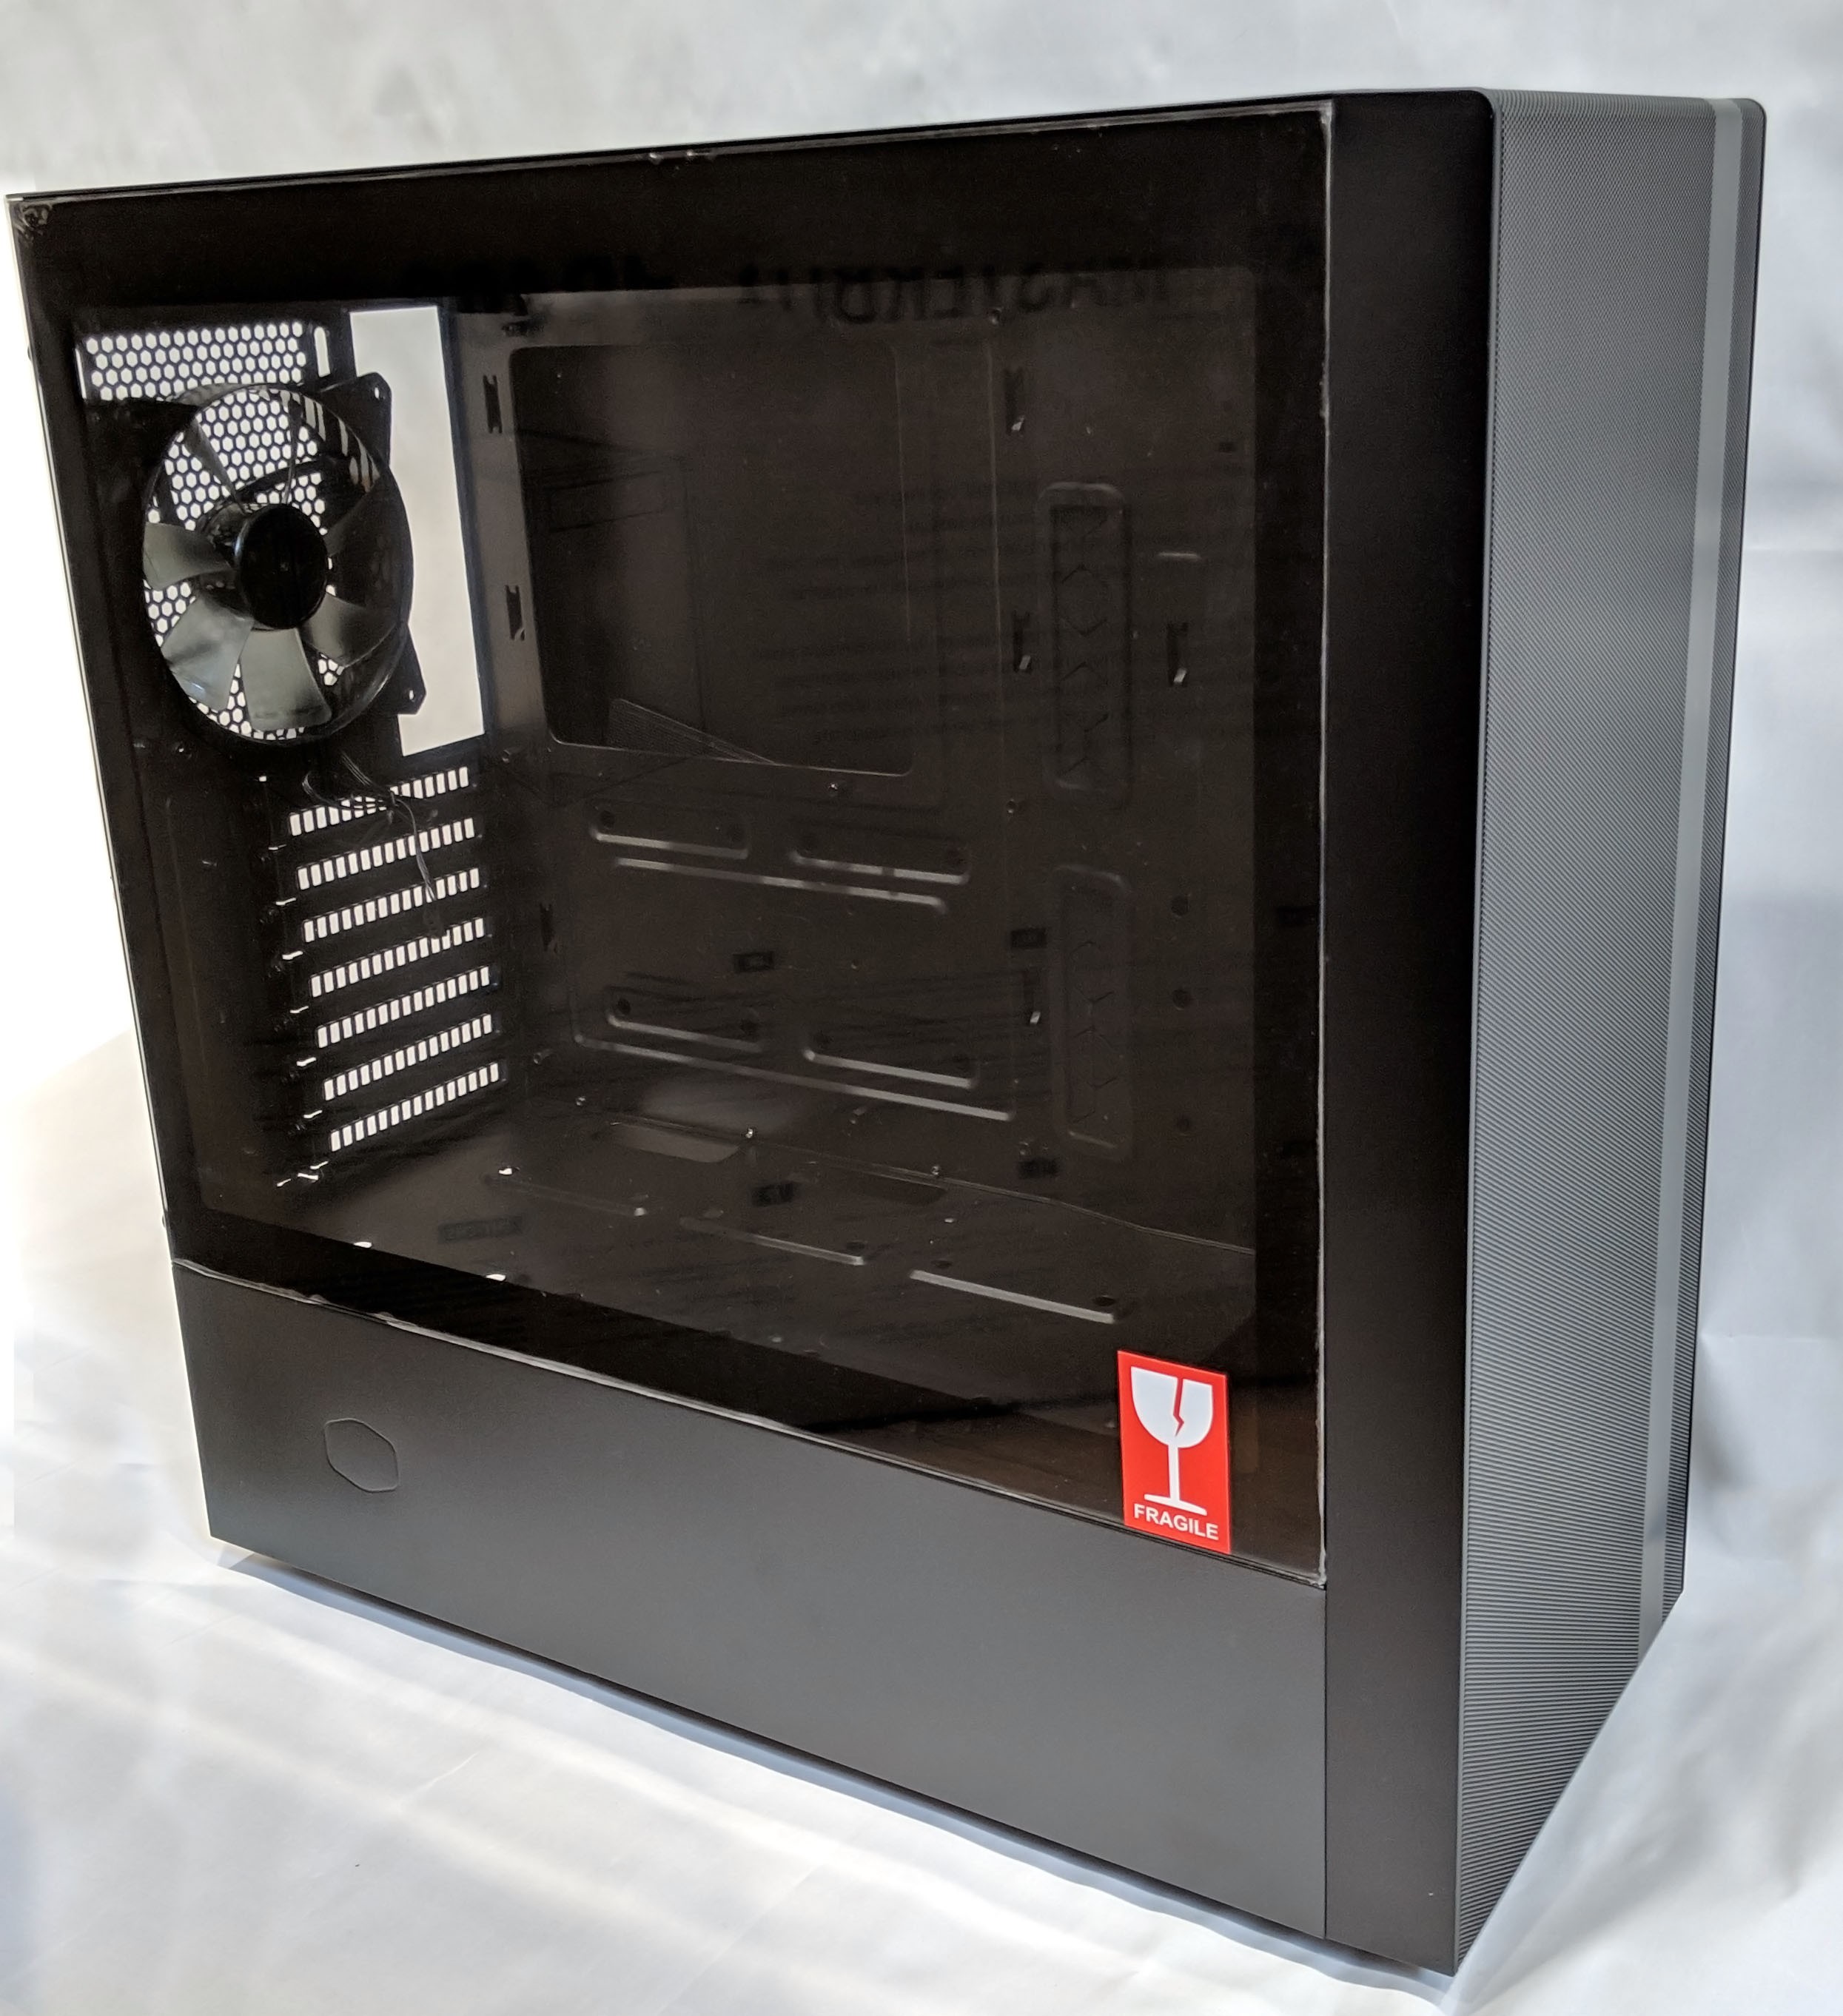
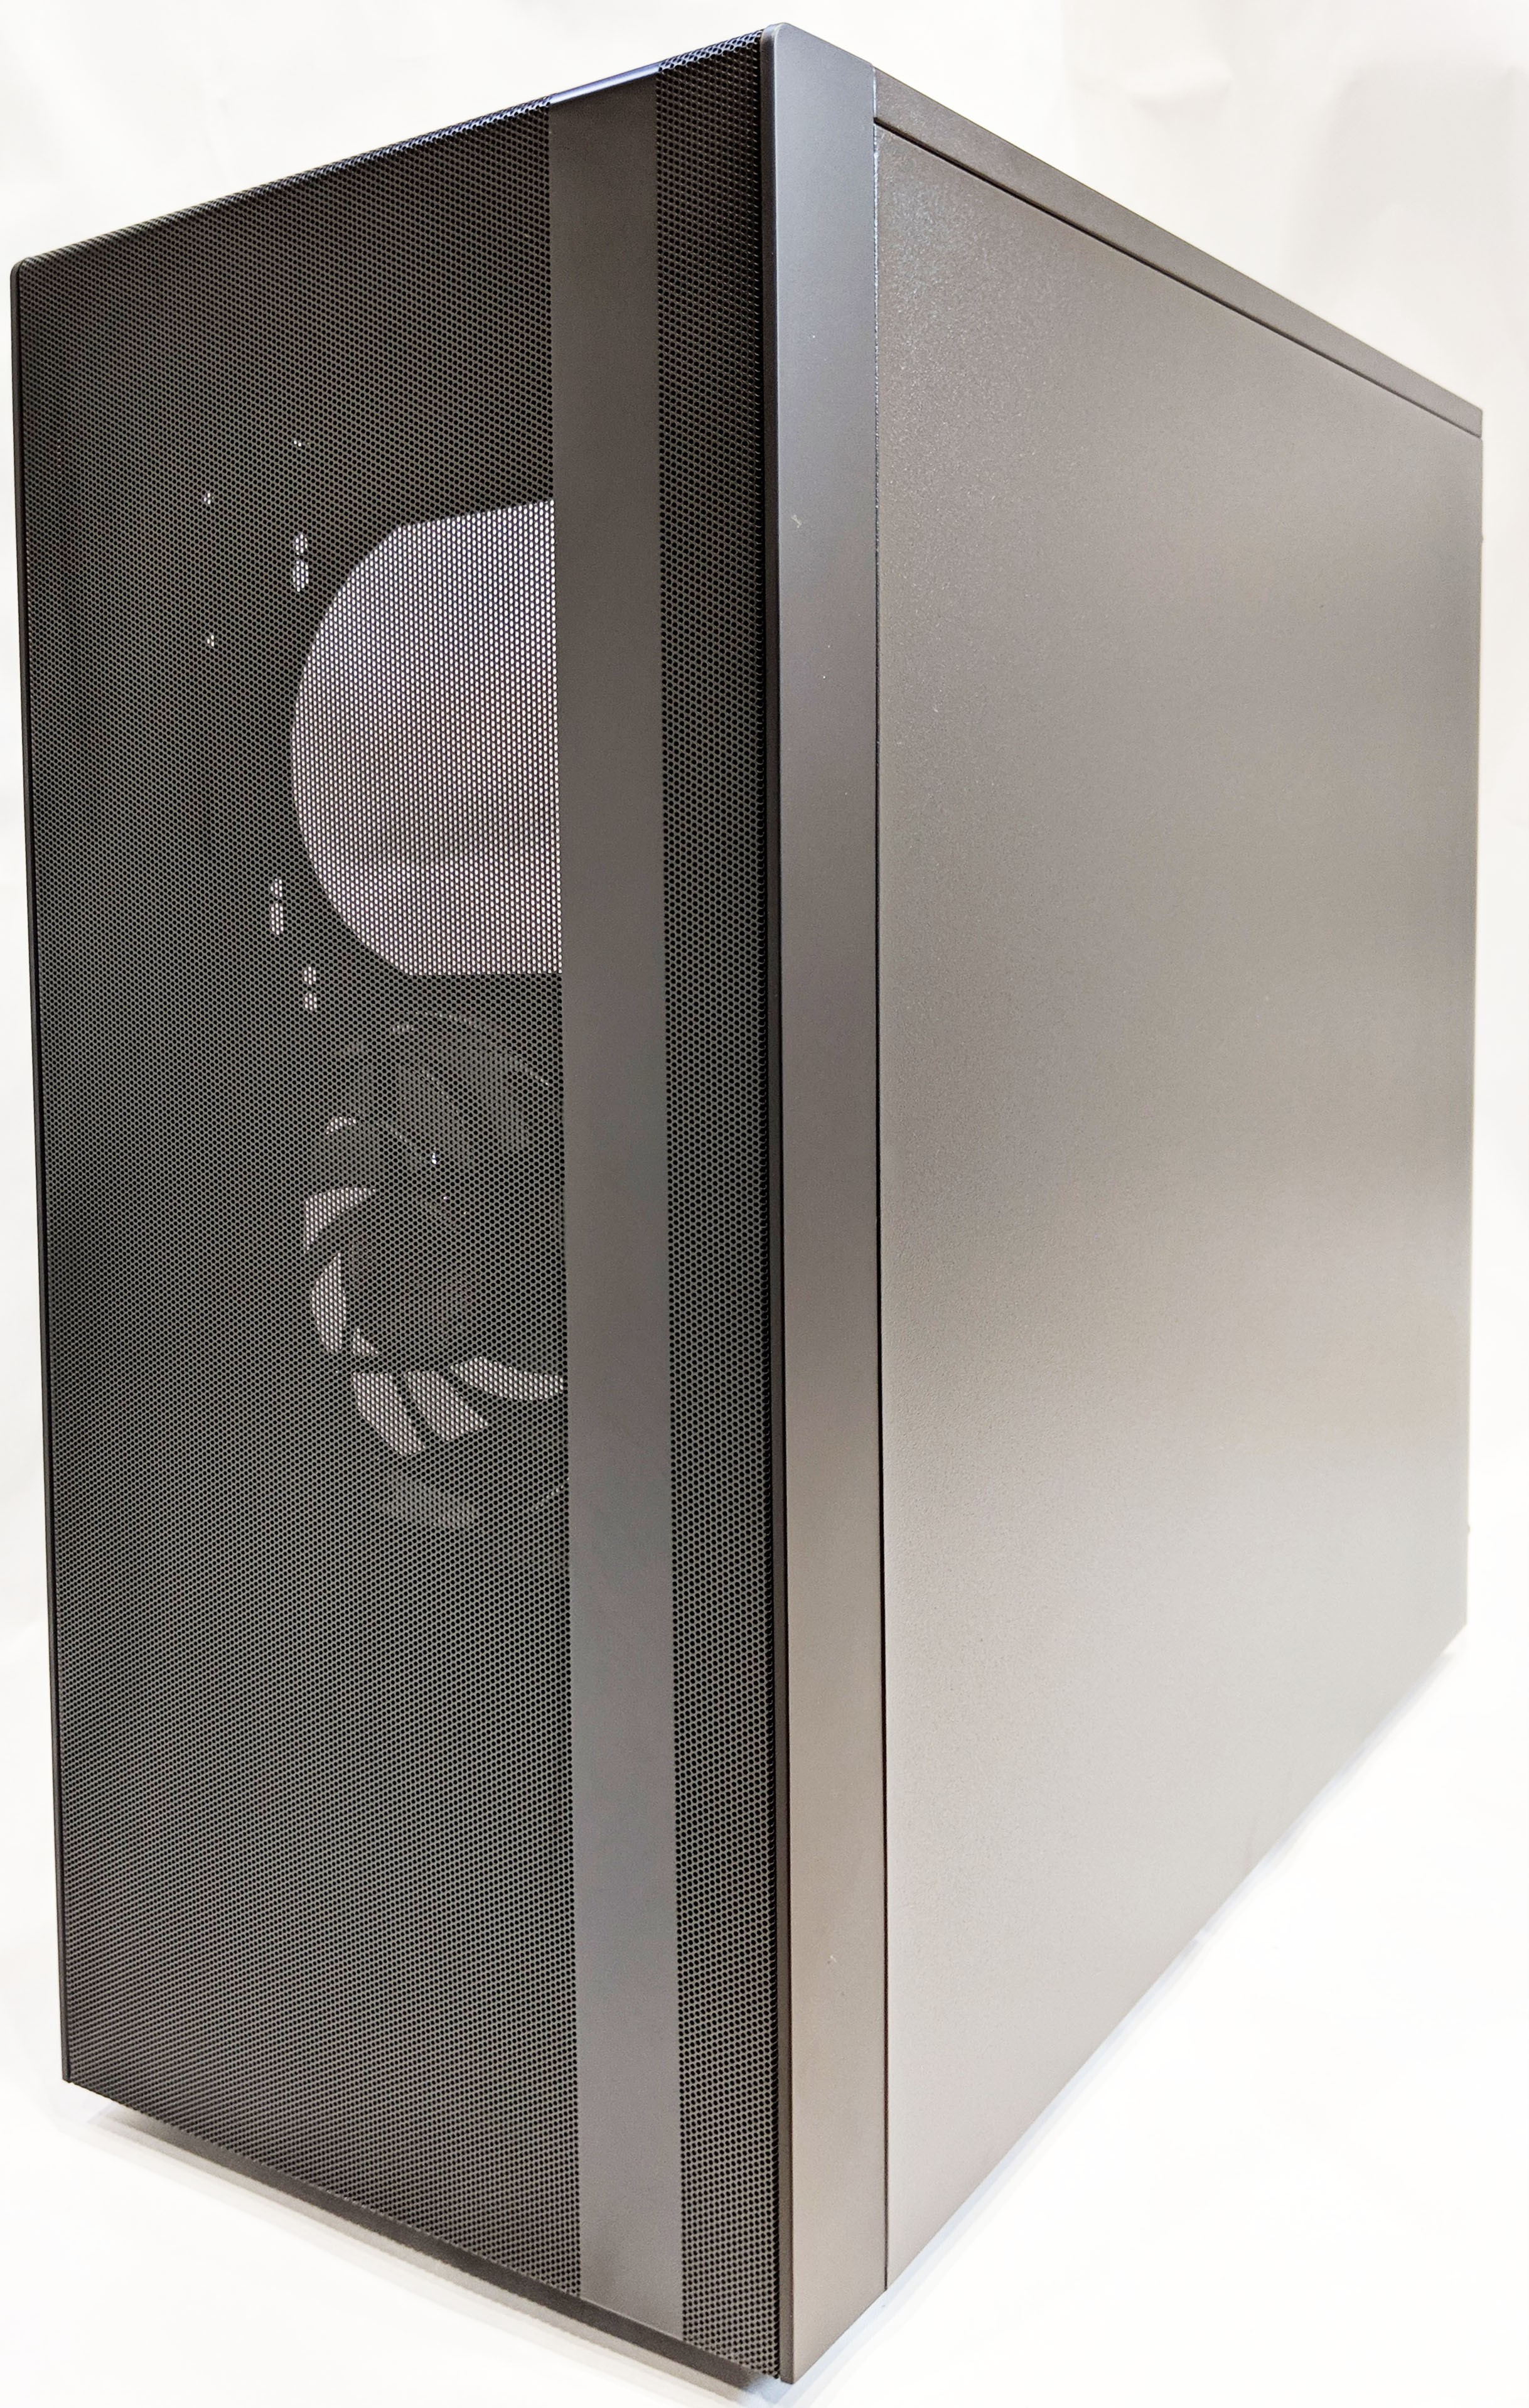
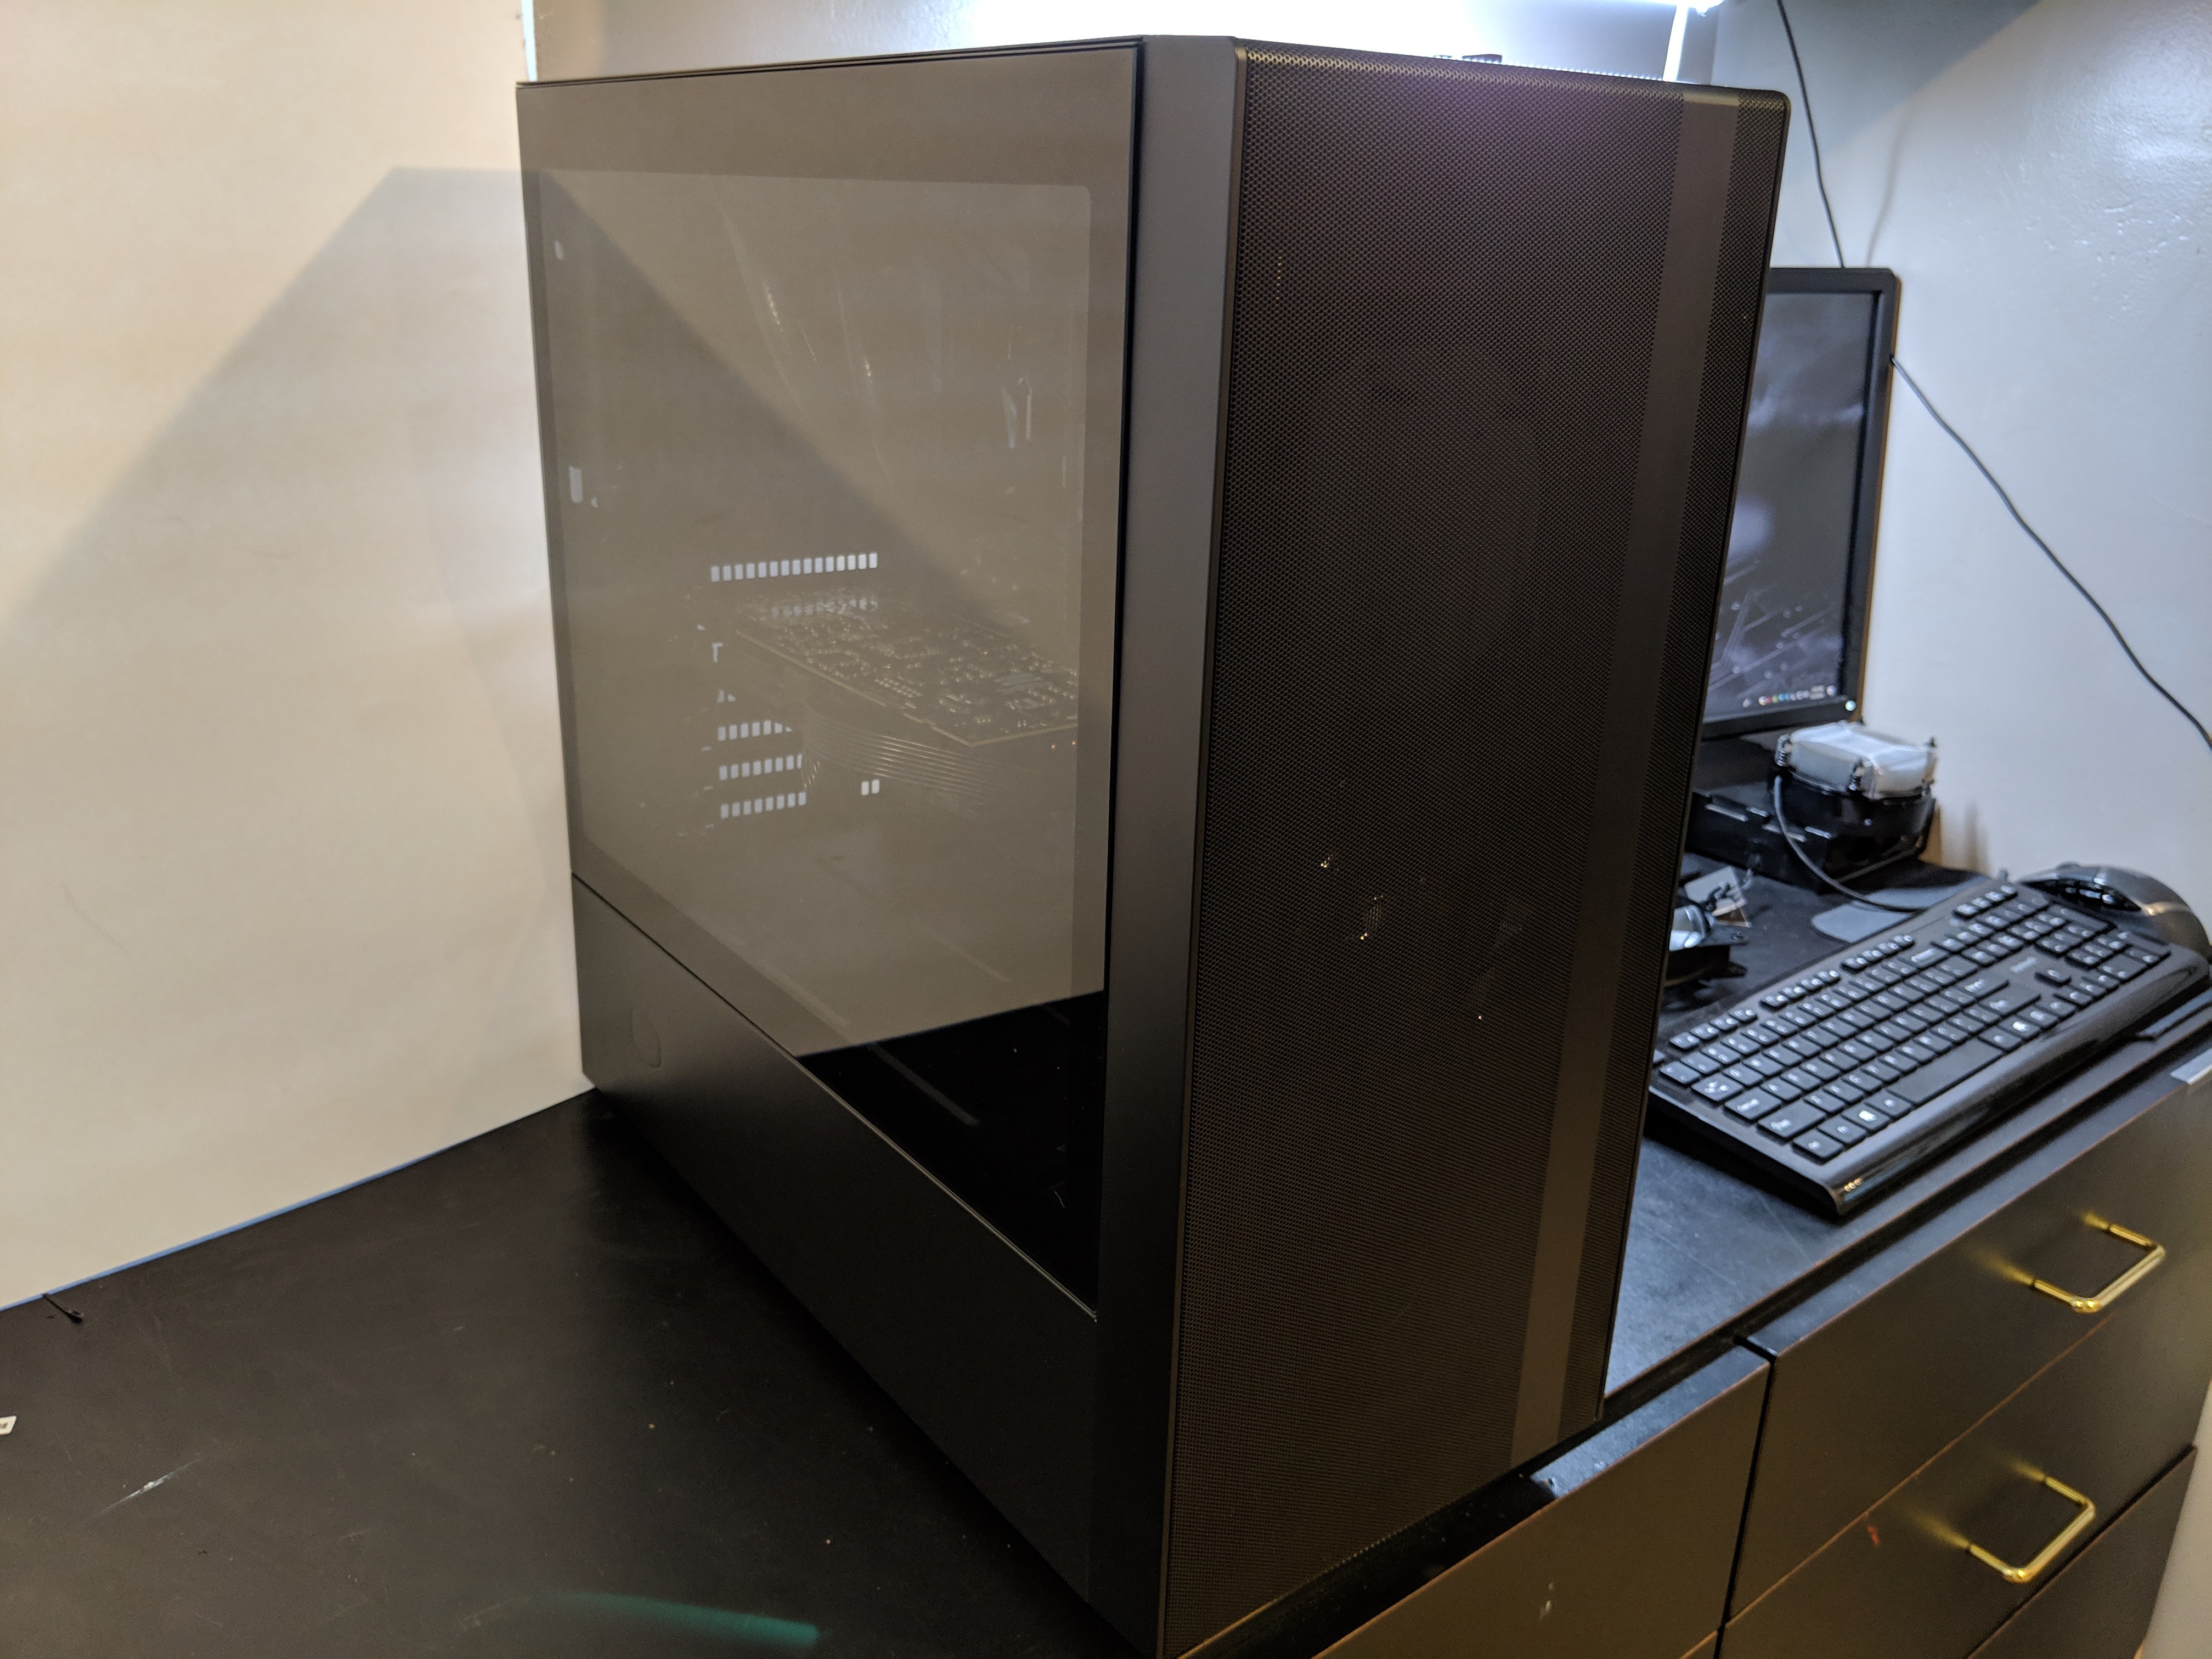
Next, let’s walk around the outside of the case while going over its features. You’ll notice at first glance that there is nothing really flashy or showy about the Cooler Master NR600. It is overall very square shaped with an exterior featuring mostly glass or mesh.
To add to the overall stealthy look, the steel frame is power coated black inside and out.

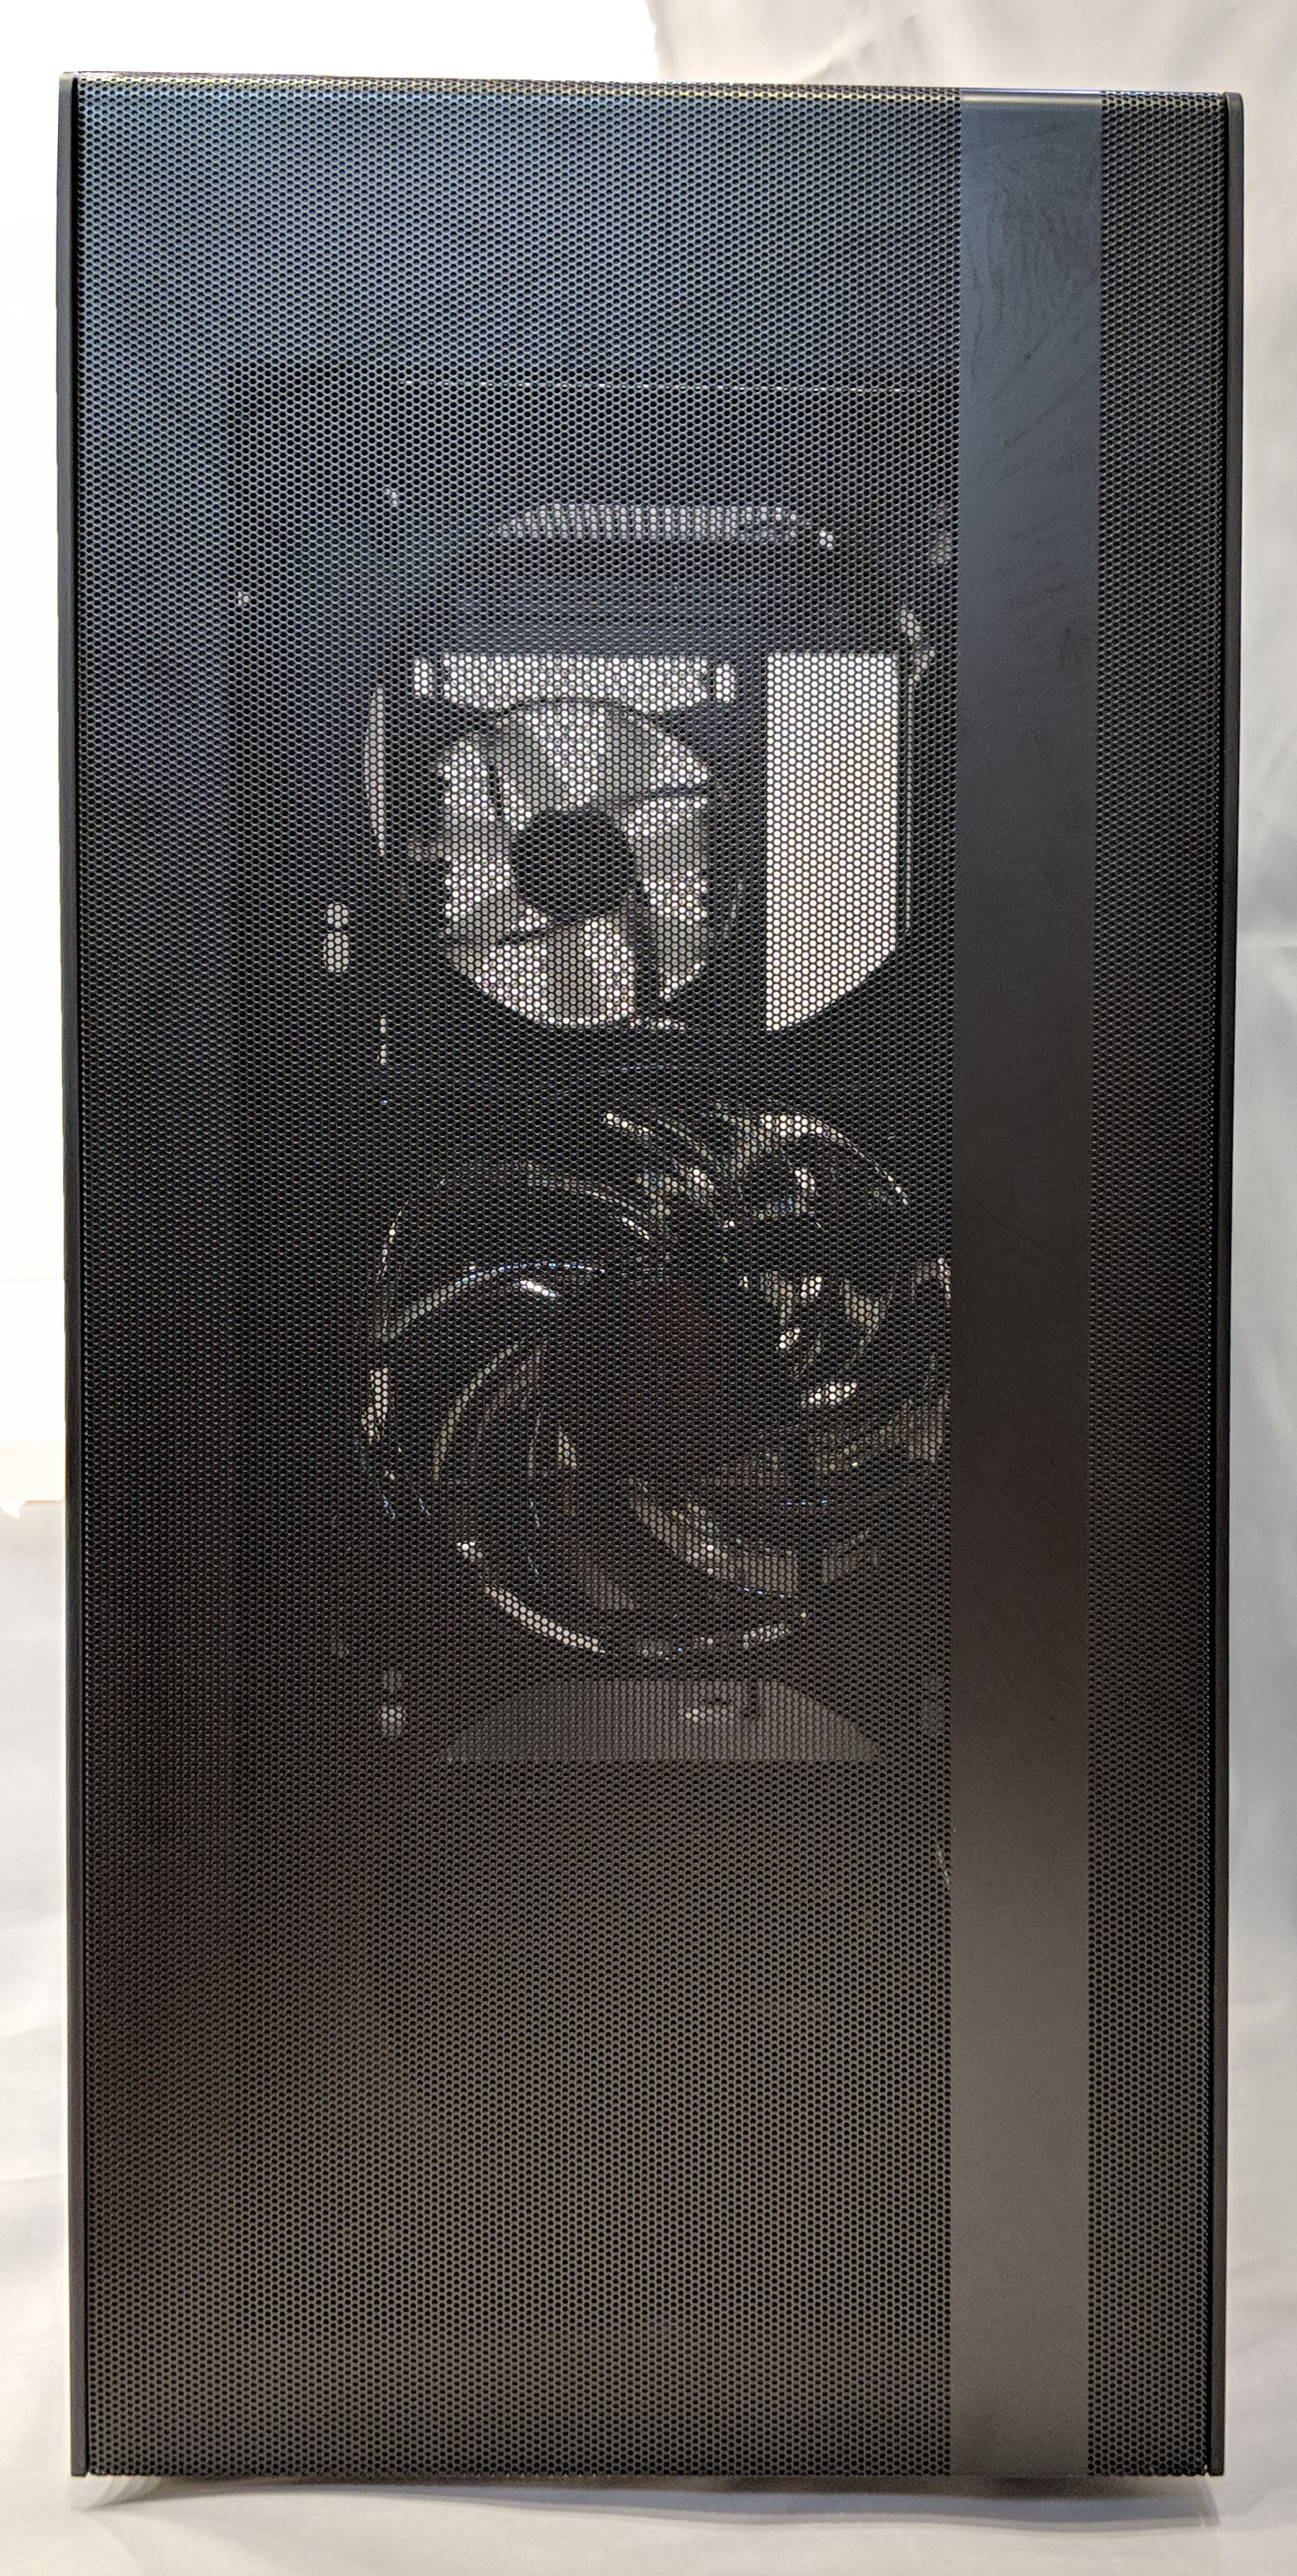
As I mentioned earlier, the front of the case is almost entirely mesh which is definitely enough to allow the three front fans to breathe properly. The mesh holes are quite small and should prevent a good amount of dust from entering the system. The solid black stripe which is offset to the right down the middle of the case adds a bit of character.

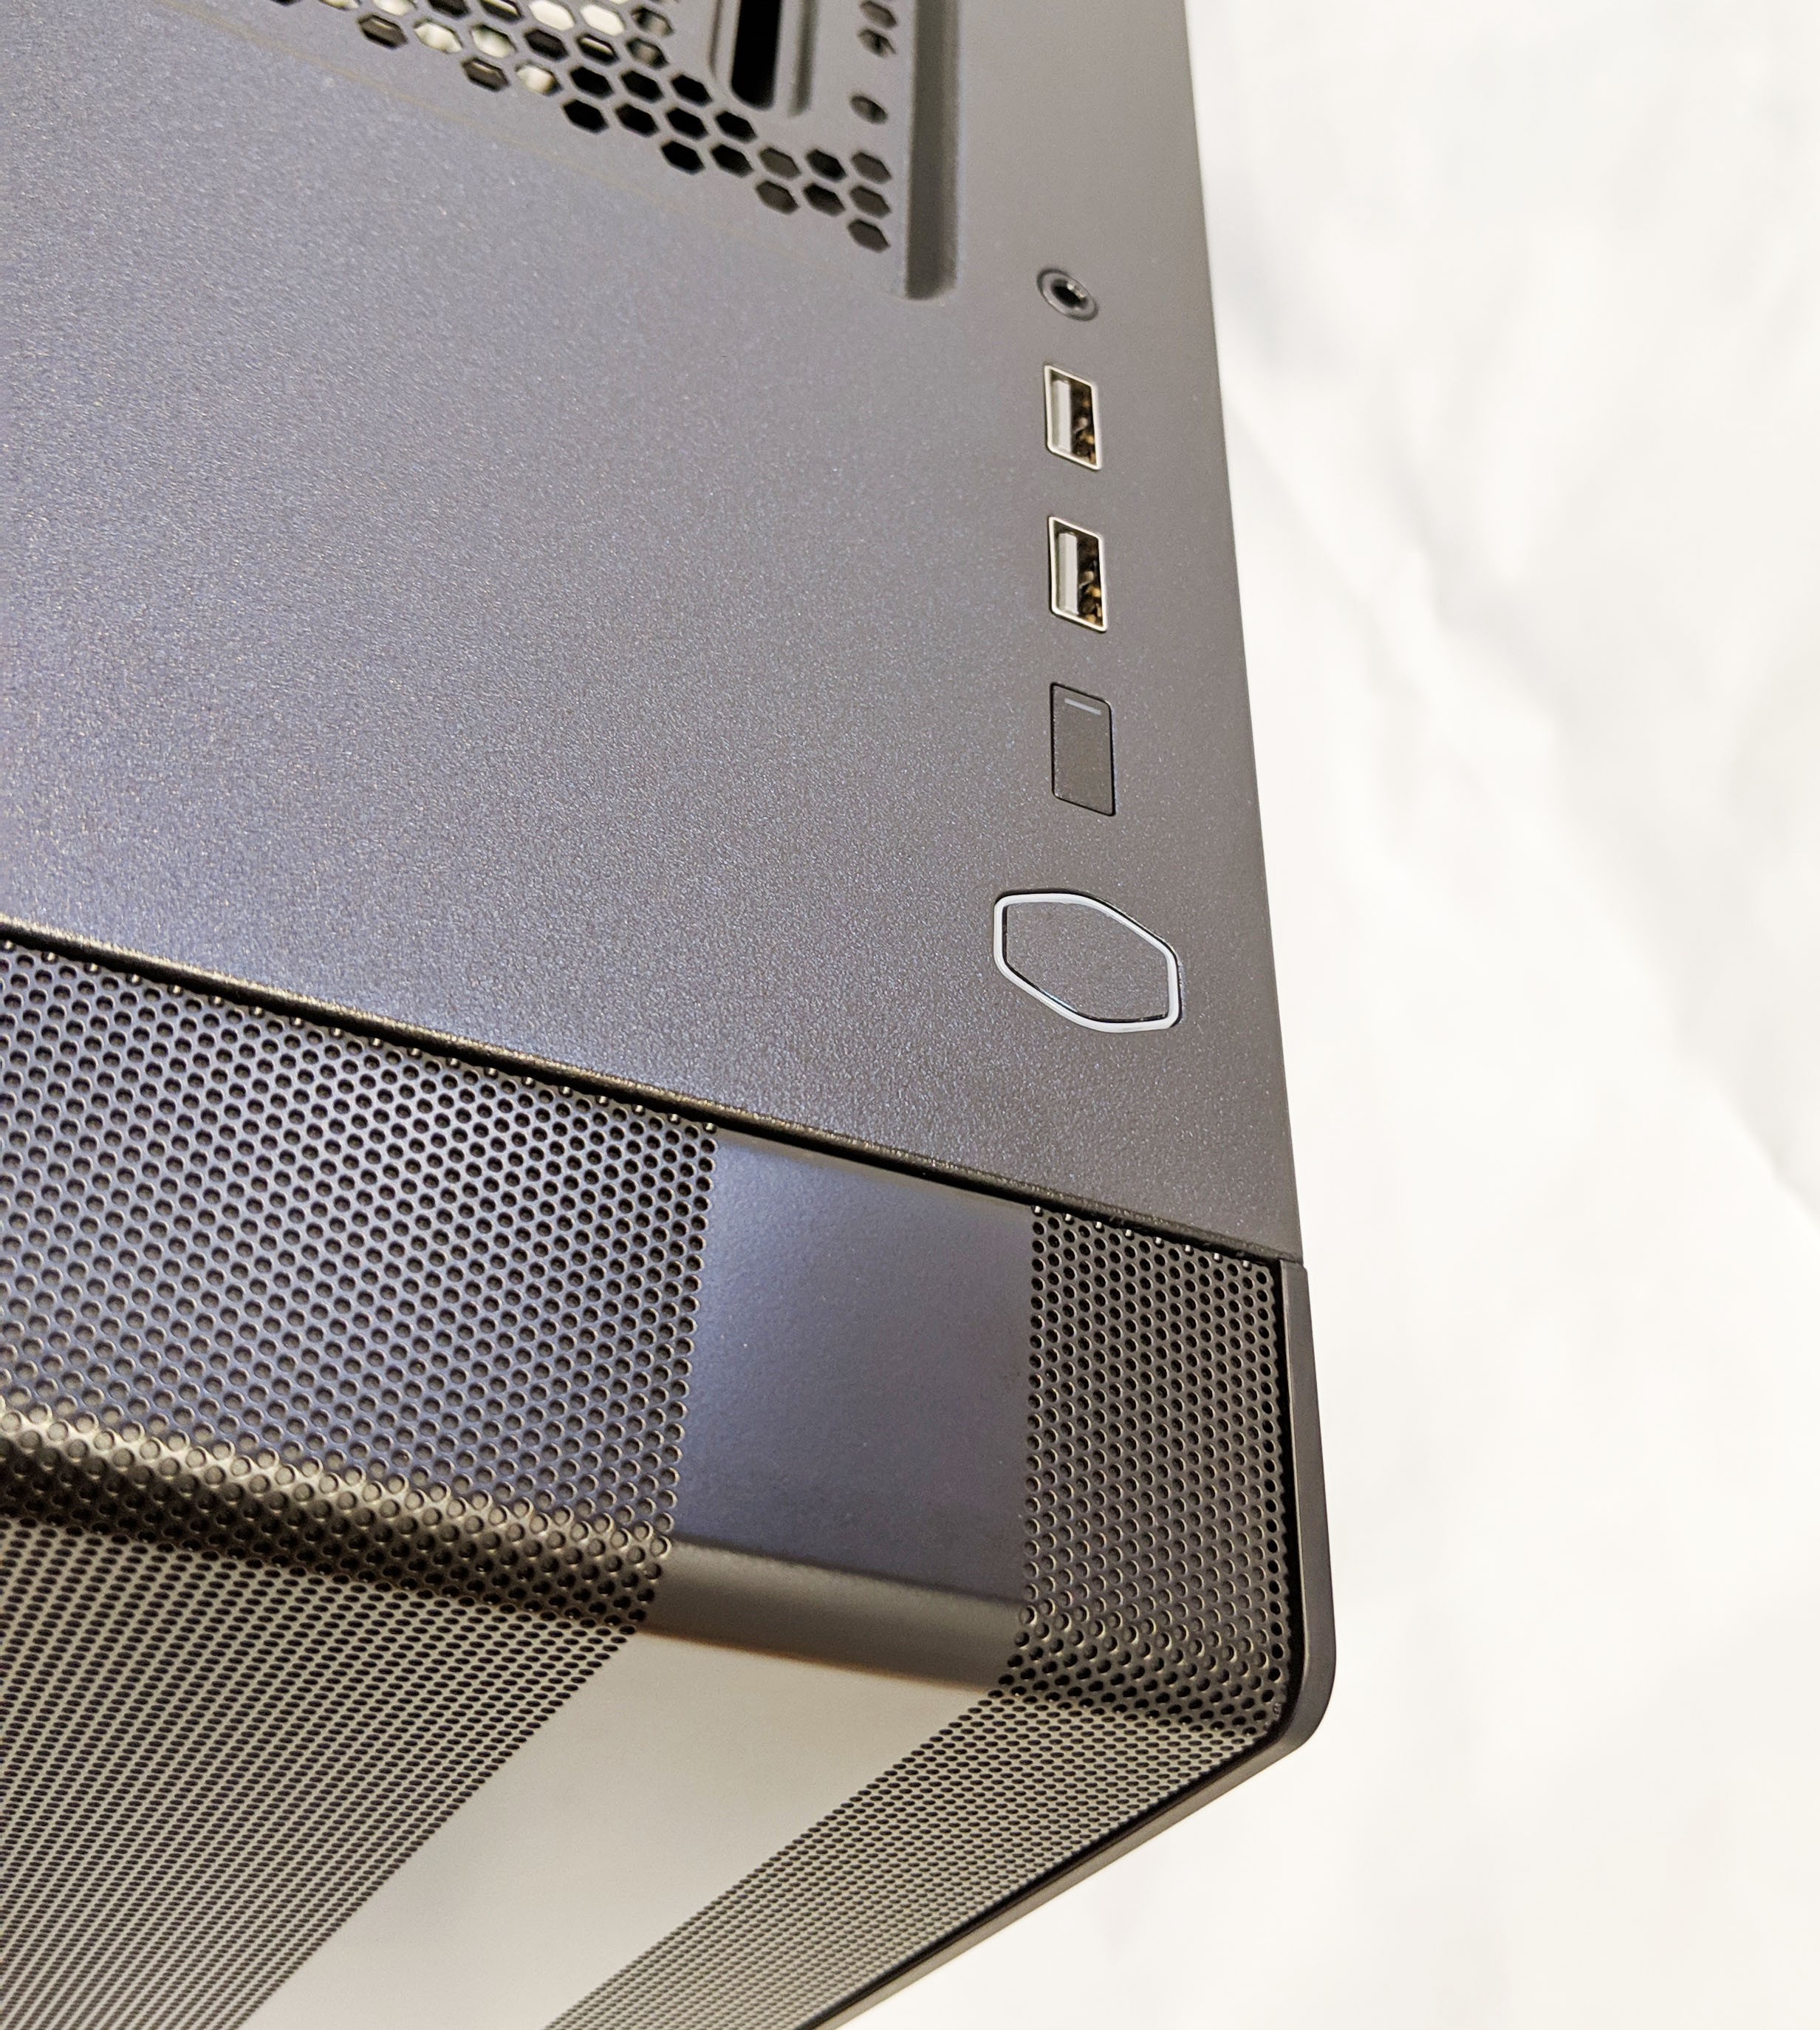
Moving over to the top of the NR600, is the main I/O panel which provides front access to two USB 3.0 ports, a single 3.5mm audio jack for both mic/headphone and a reset and power button. The system power button doubles as an LED lit Cooler Master logo.
Also located at the top of the case is another air intake/exhaust which comes with a removable dust filter which attaches magnetically to the inset area. In this location, you’re able to mount two 120mm fans, or a single 240mm radiator.


The right side of the Cooler Master NR600 features a standard steel removable side panel held on by two thumb screws at the back of the case.
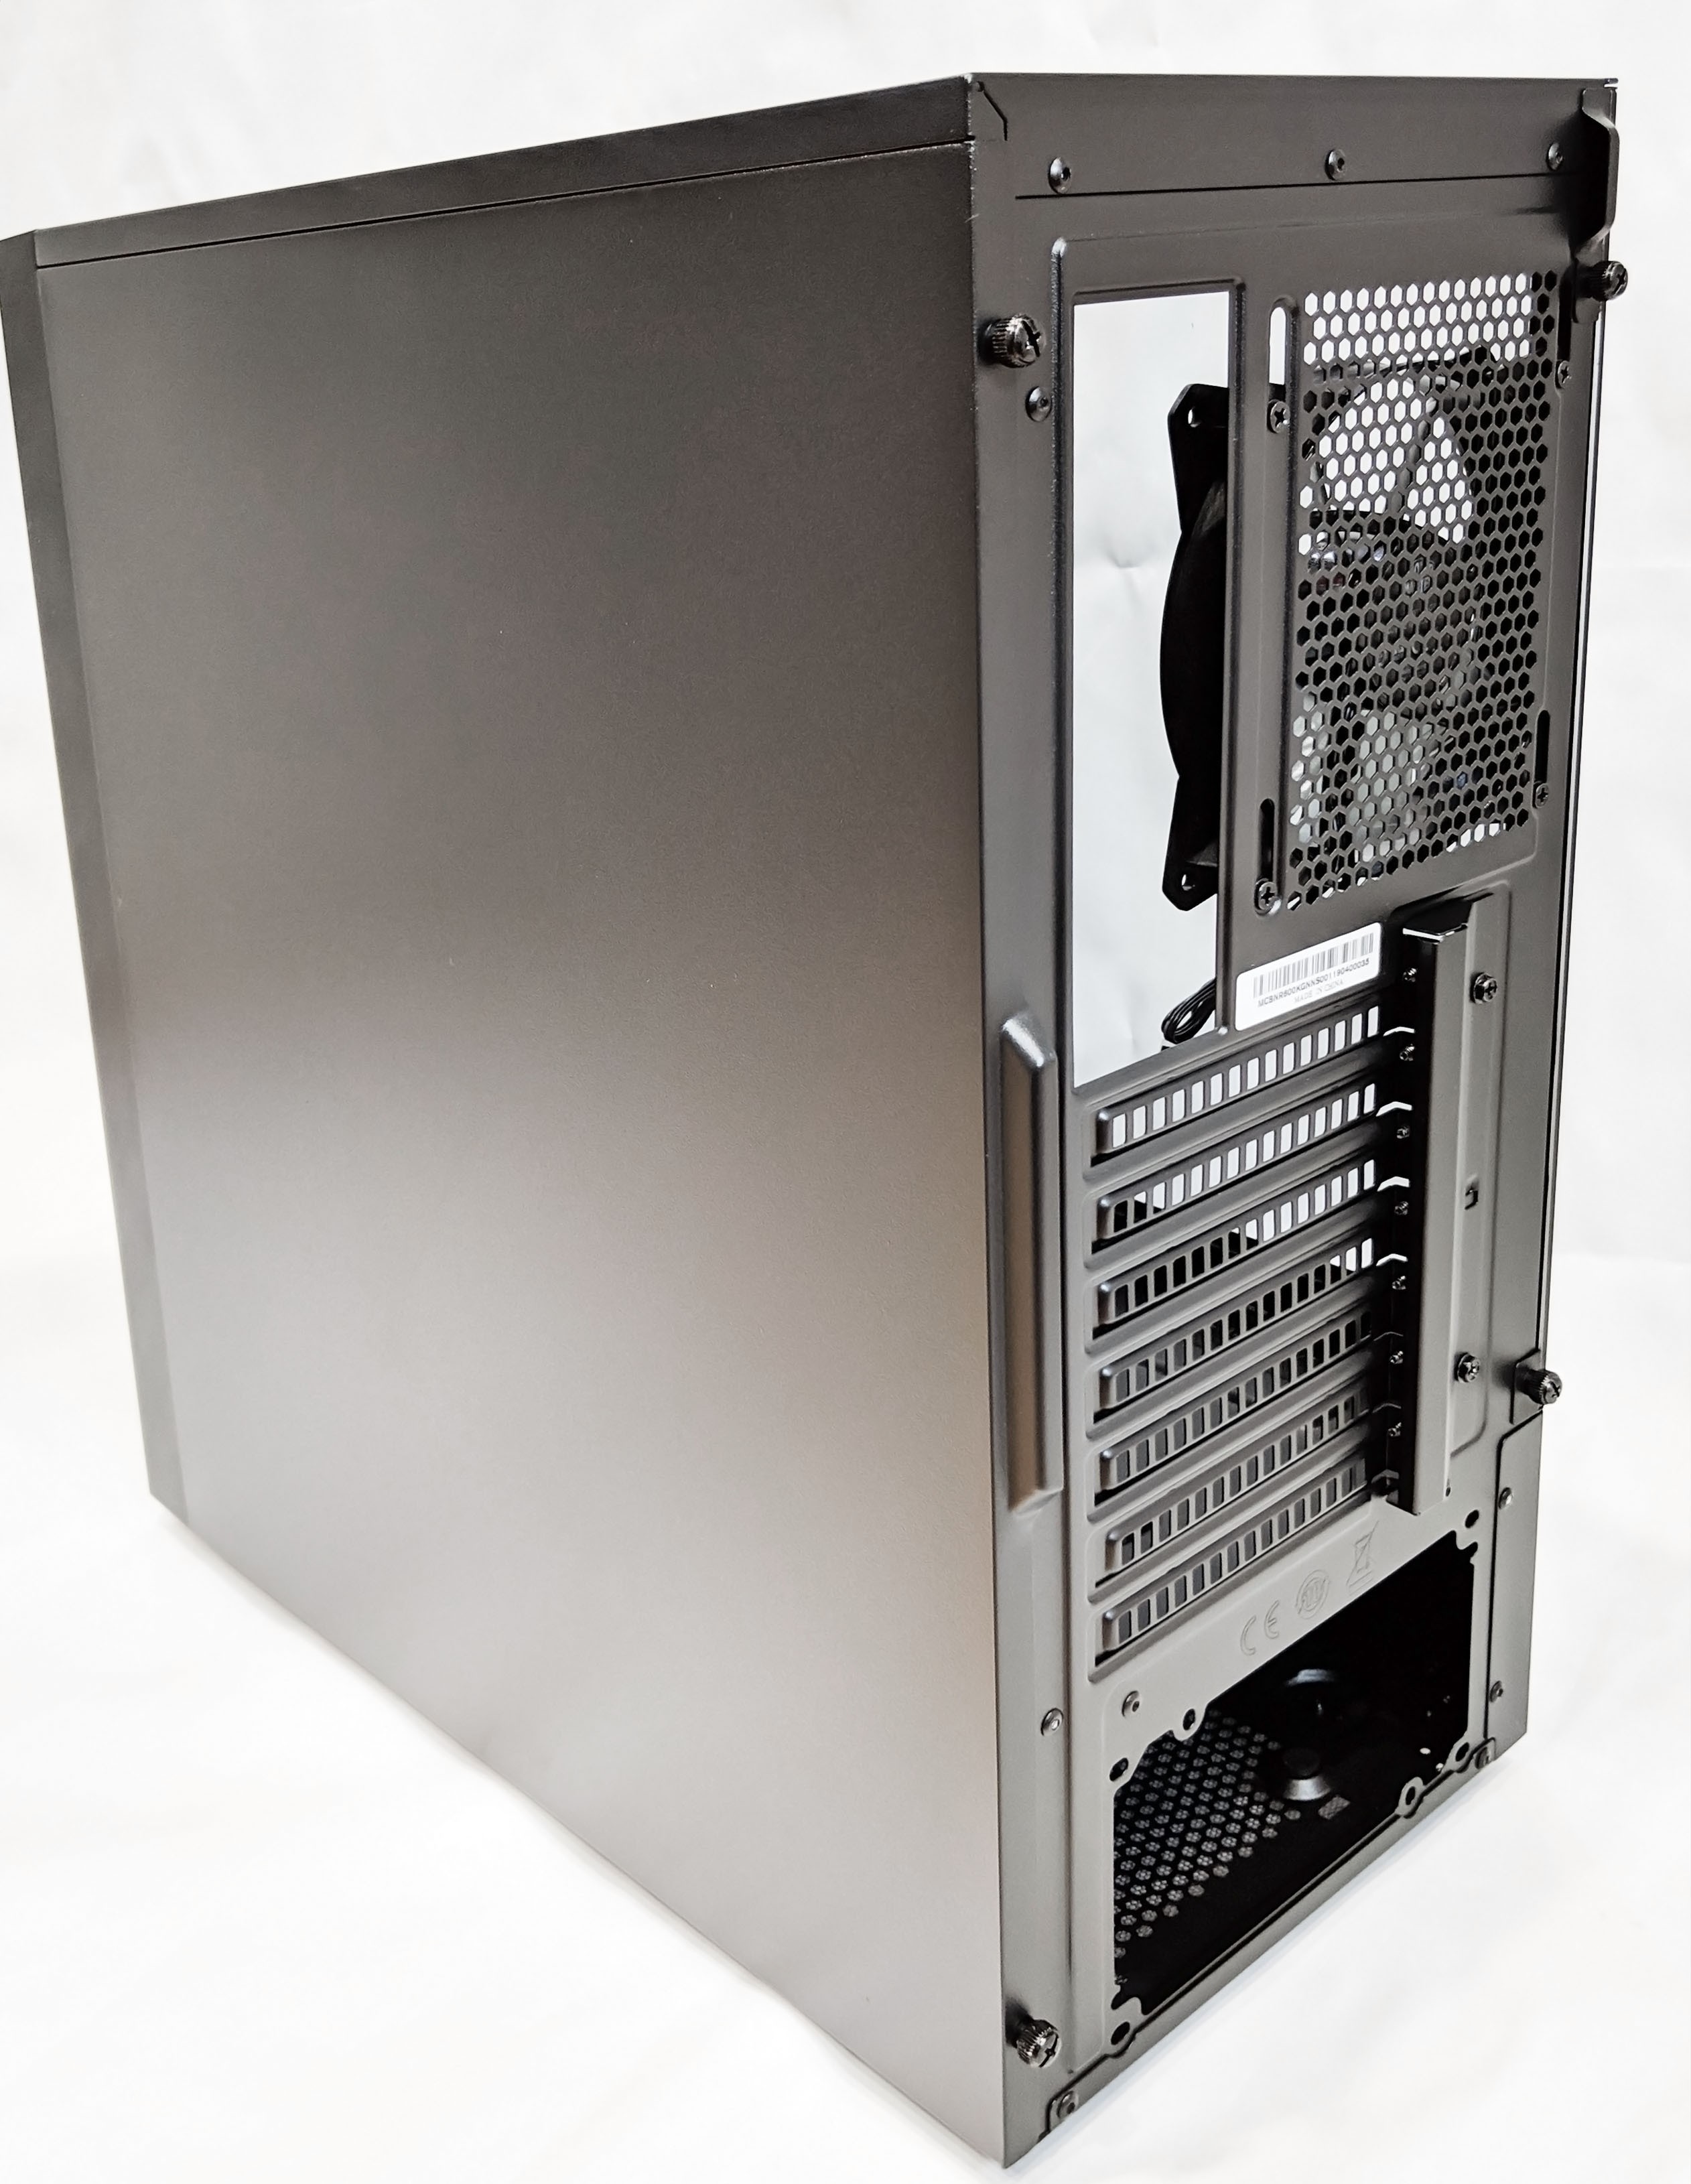
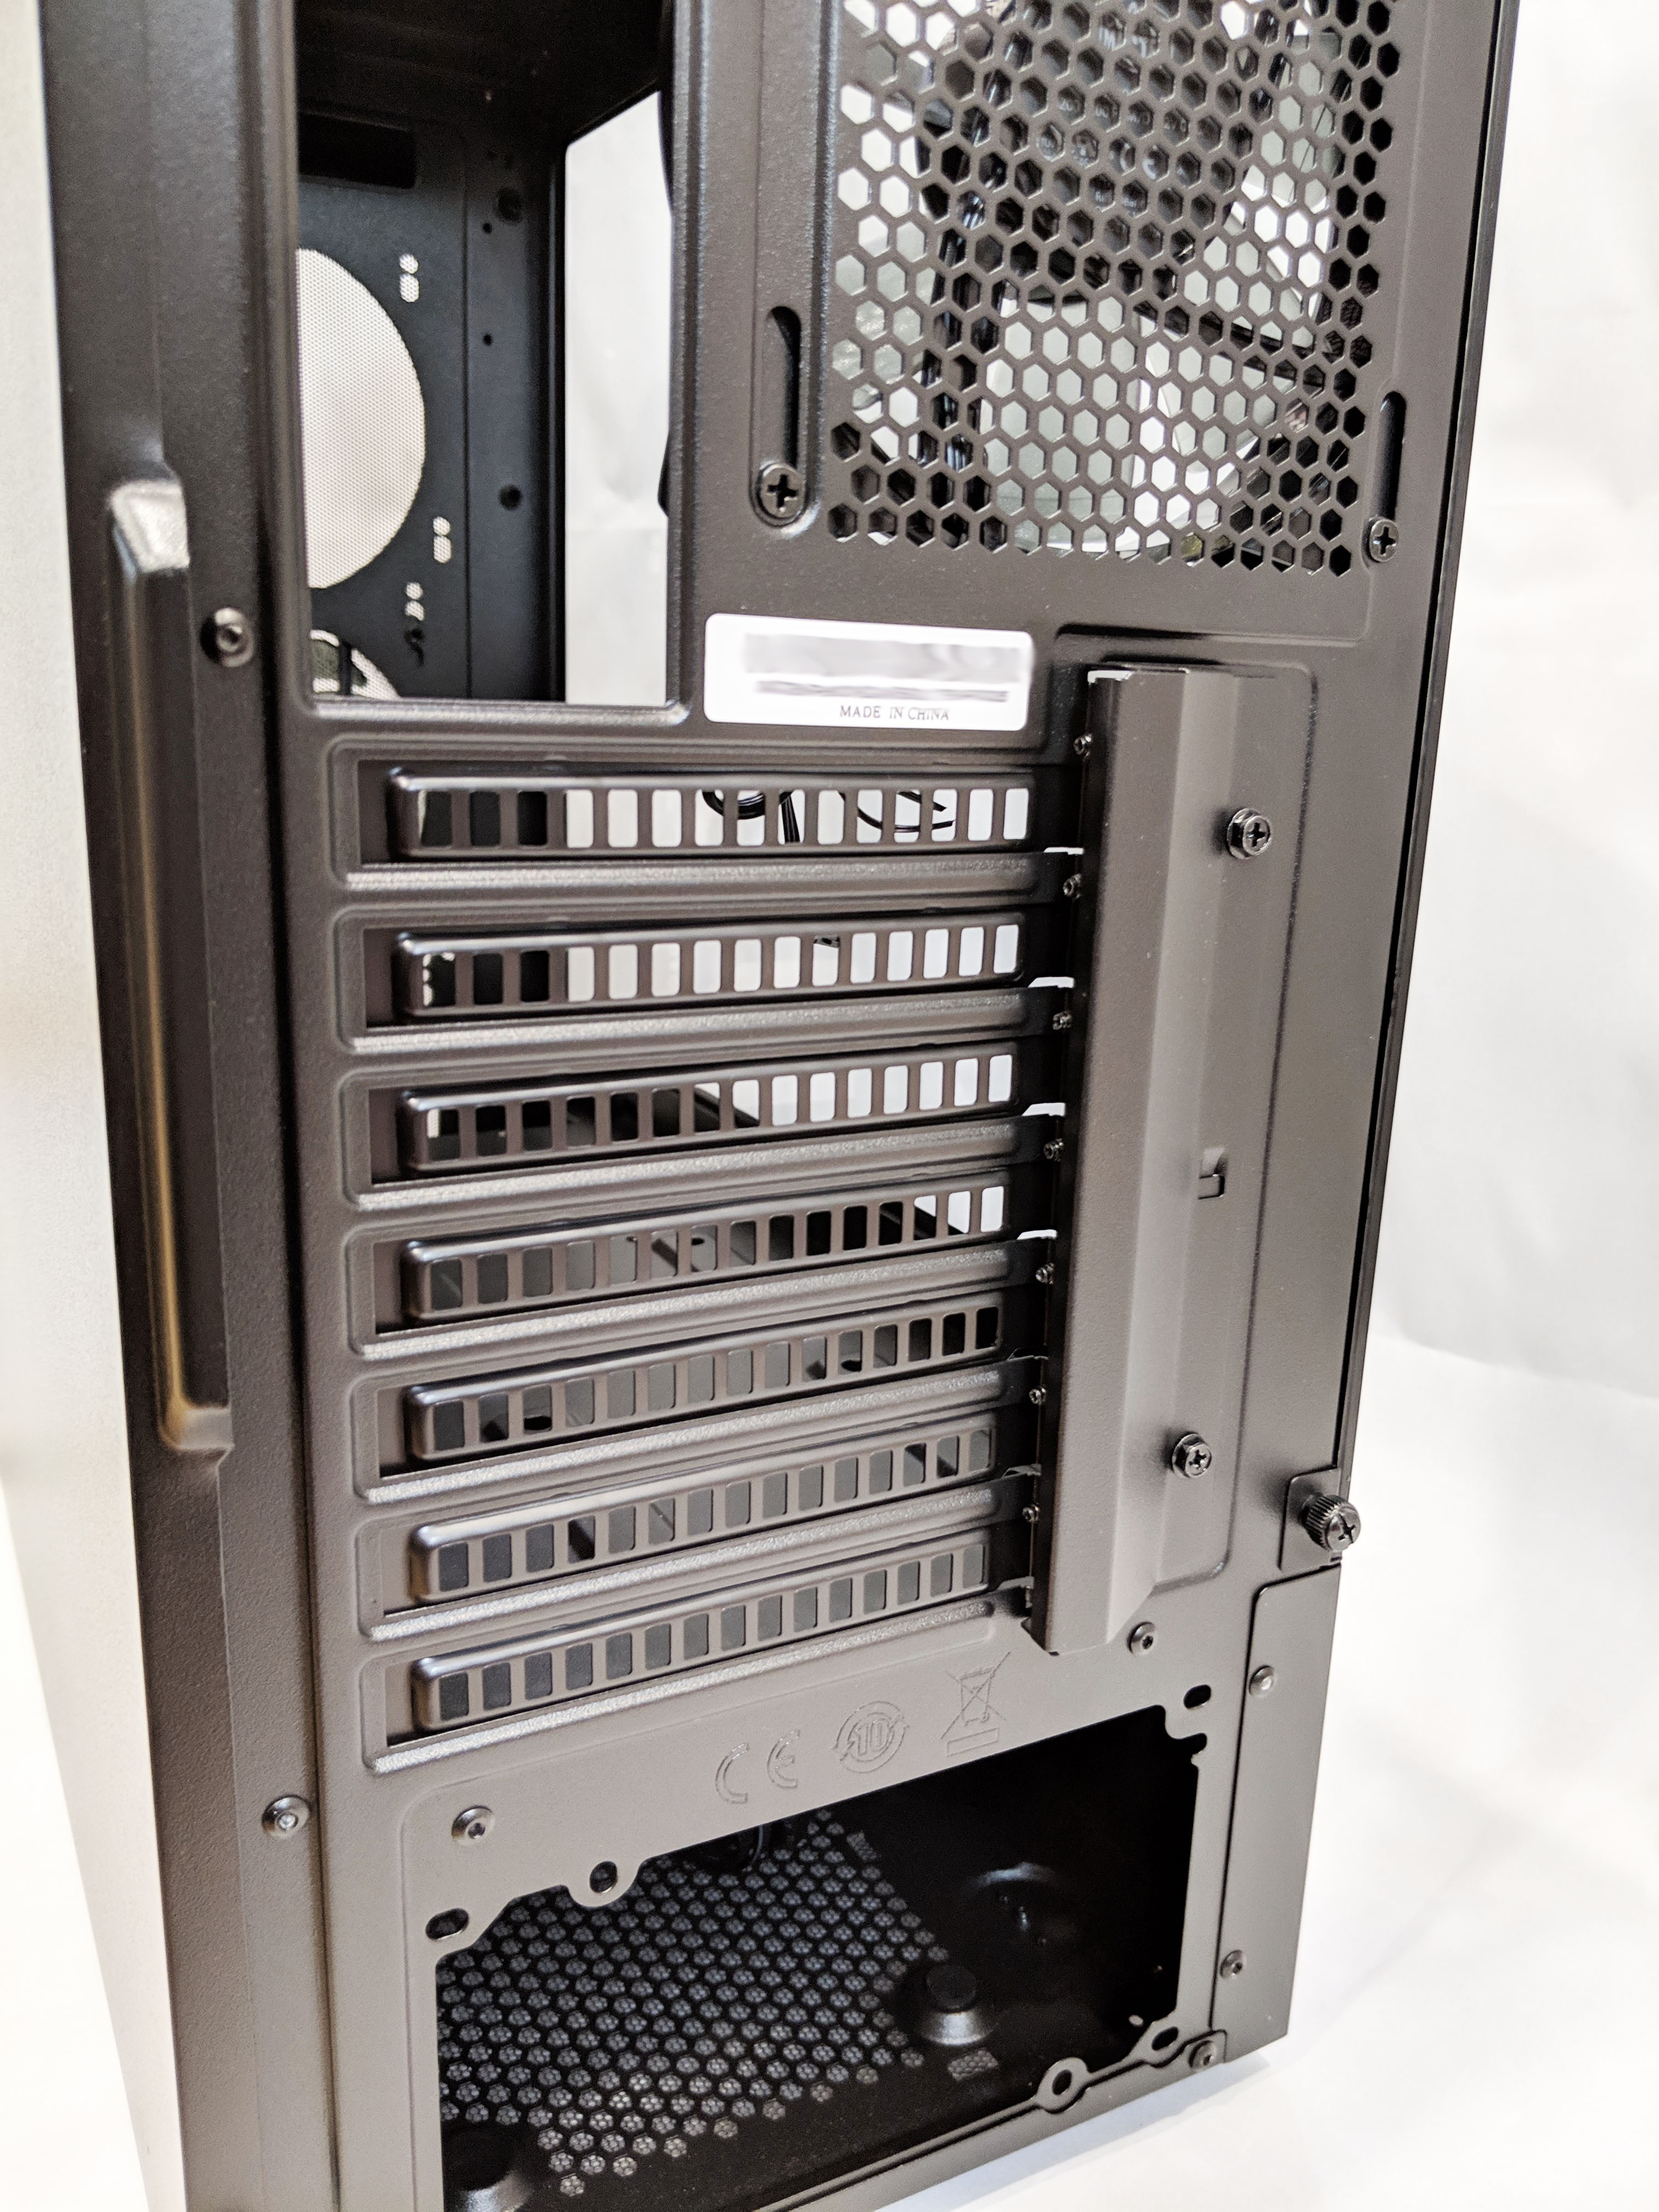
Moving on over to the back of the case, there’s a few things worth pointing out. First, starting at the top the rear exhaust fan has the capability to slide up and down by loosening the four mounting screws. Very useful for aligning the exhaust with the CPU fan.
The expansion bay screws are covered by a removable cover which can be easily removed by removing the two screws securing it into place. Once removed, you’ll be able to tighten down your graphics card, or another other PCI-E cards you may be using.

Before we take a dive into the inside of the case, I decided to remove the front panel to get a better look into the case’s construction as well as the single included fan. The panel removes quite easily by firmly grasping it at the bottom and giving it a commanding pull. You’ll need to remove the panel to add additional fans into the front of the system.

A Closer Look: Inside
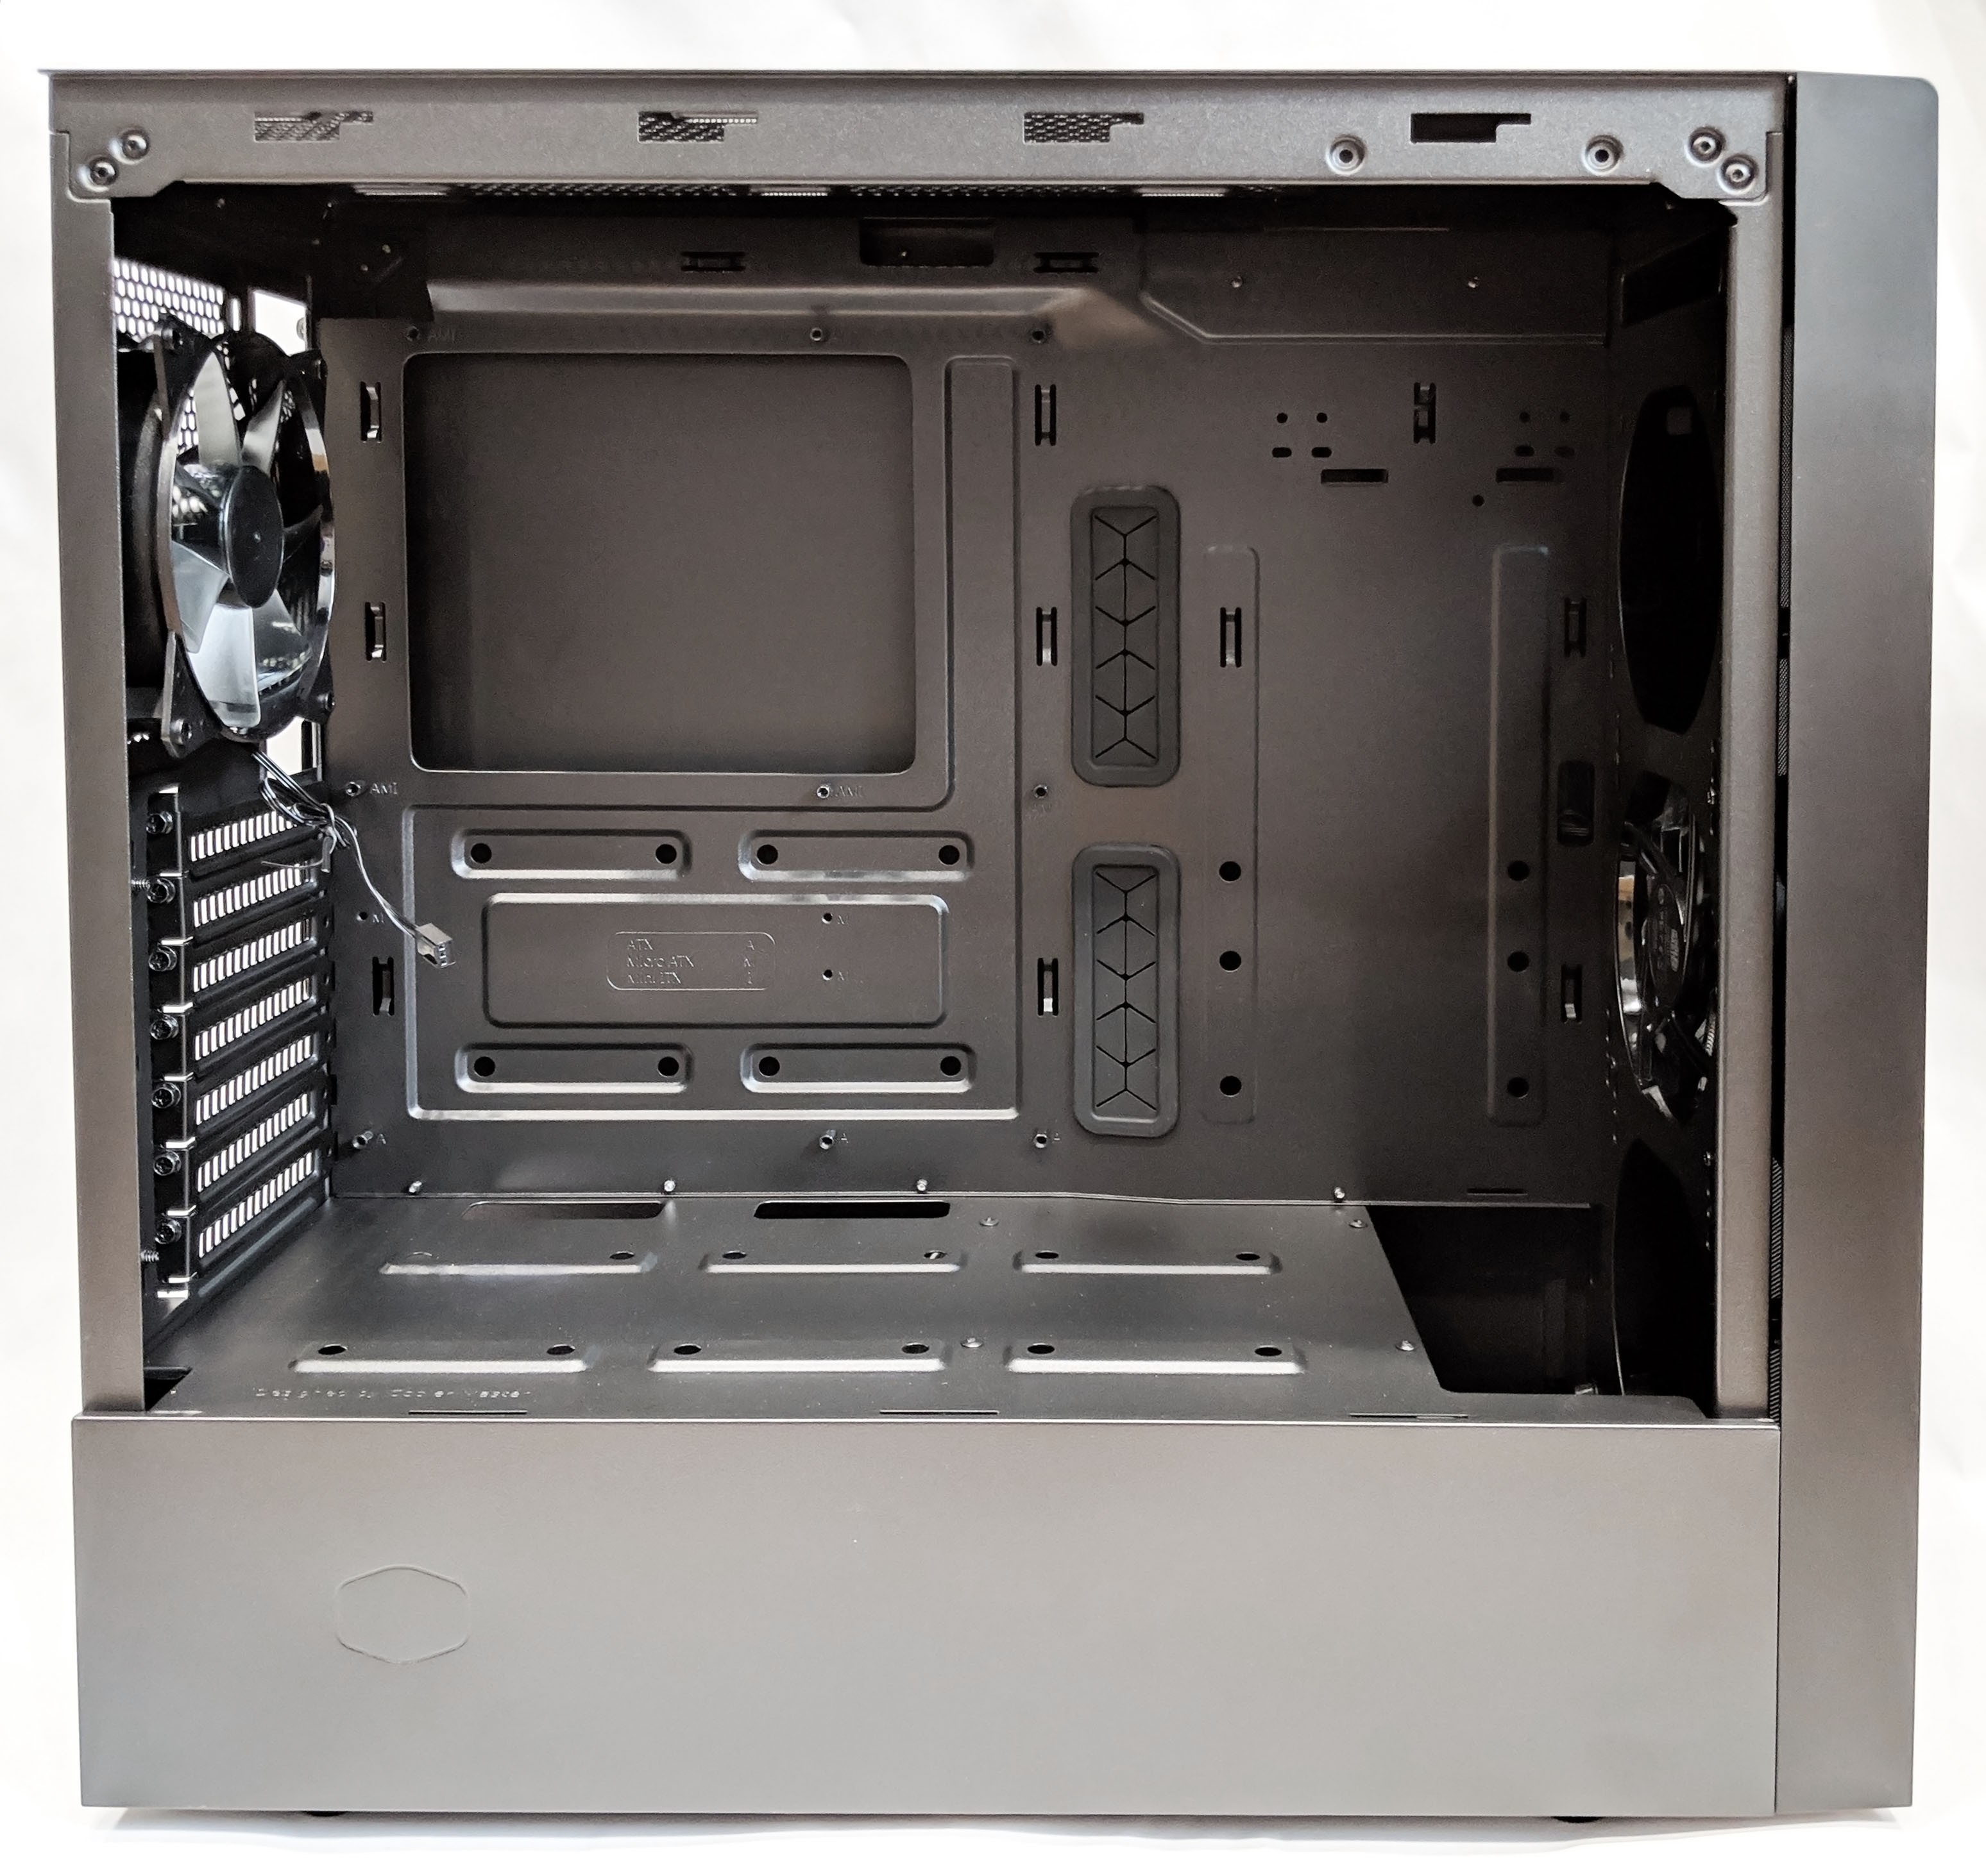
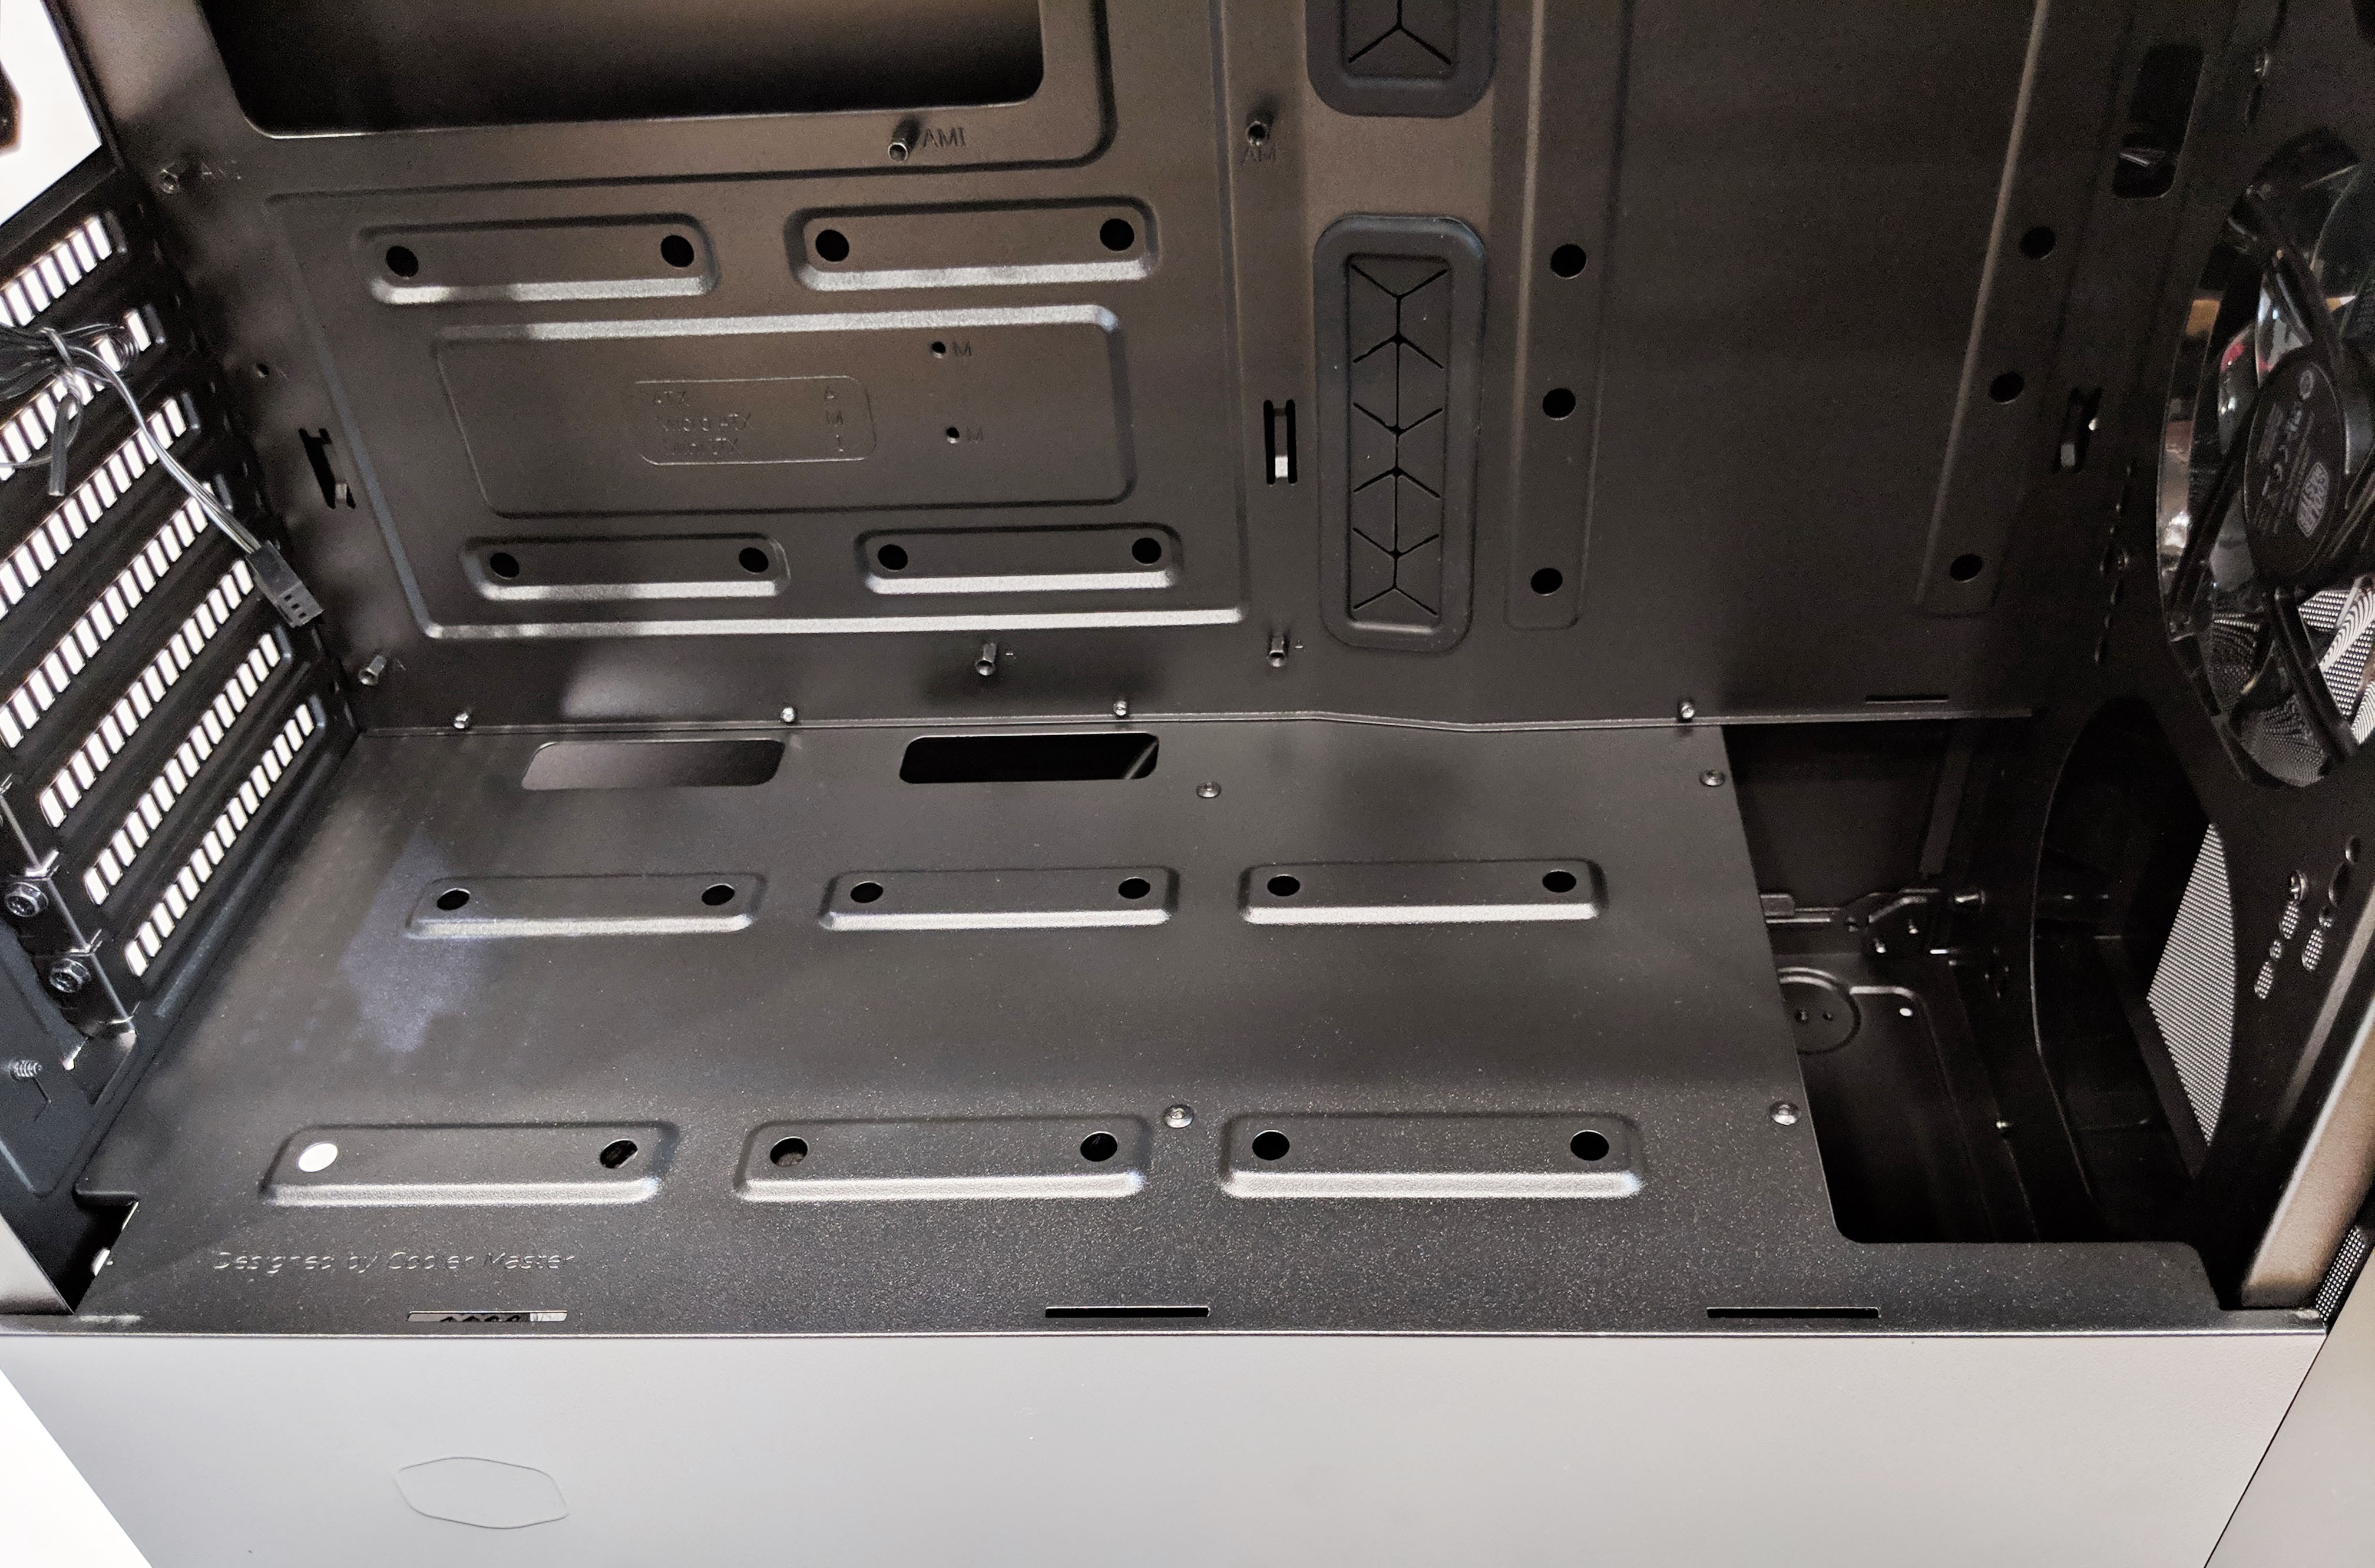
The Cooler Master NR600’s interior features a split configuration which isolates the system power supply, 3.5″ hard drives, and 2.5″ solid state drives from the motherboard and affixed components. This design is becoming quite common amongst manufactures and tends to be the preference over most system builders these days for achieving a thermally efficient and clean looking interior.
The motherboard tray is capable of supporting ATX, Micro ATX or ITX motherboards. Rubber grommets are included for routing cables from behind the motherboard tray to the motherboard.
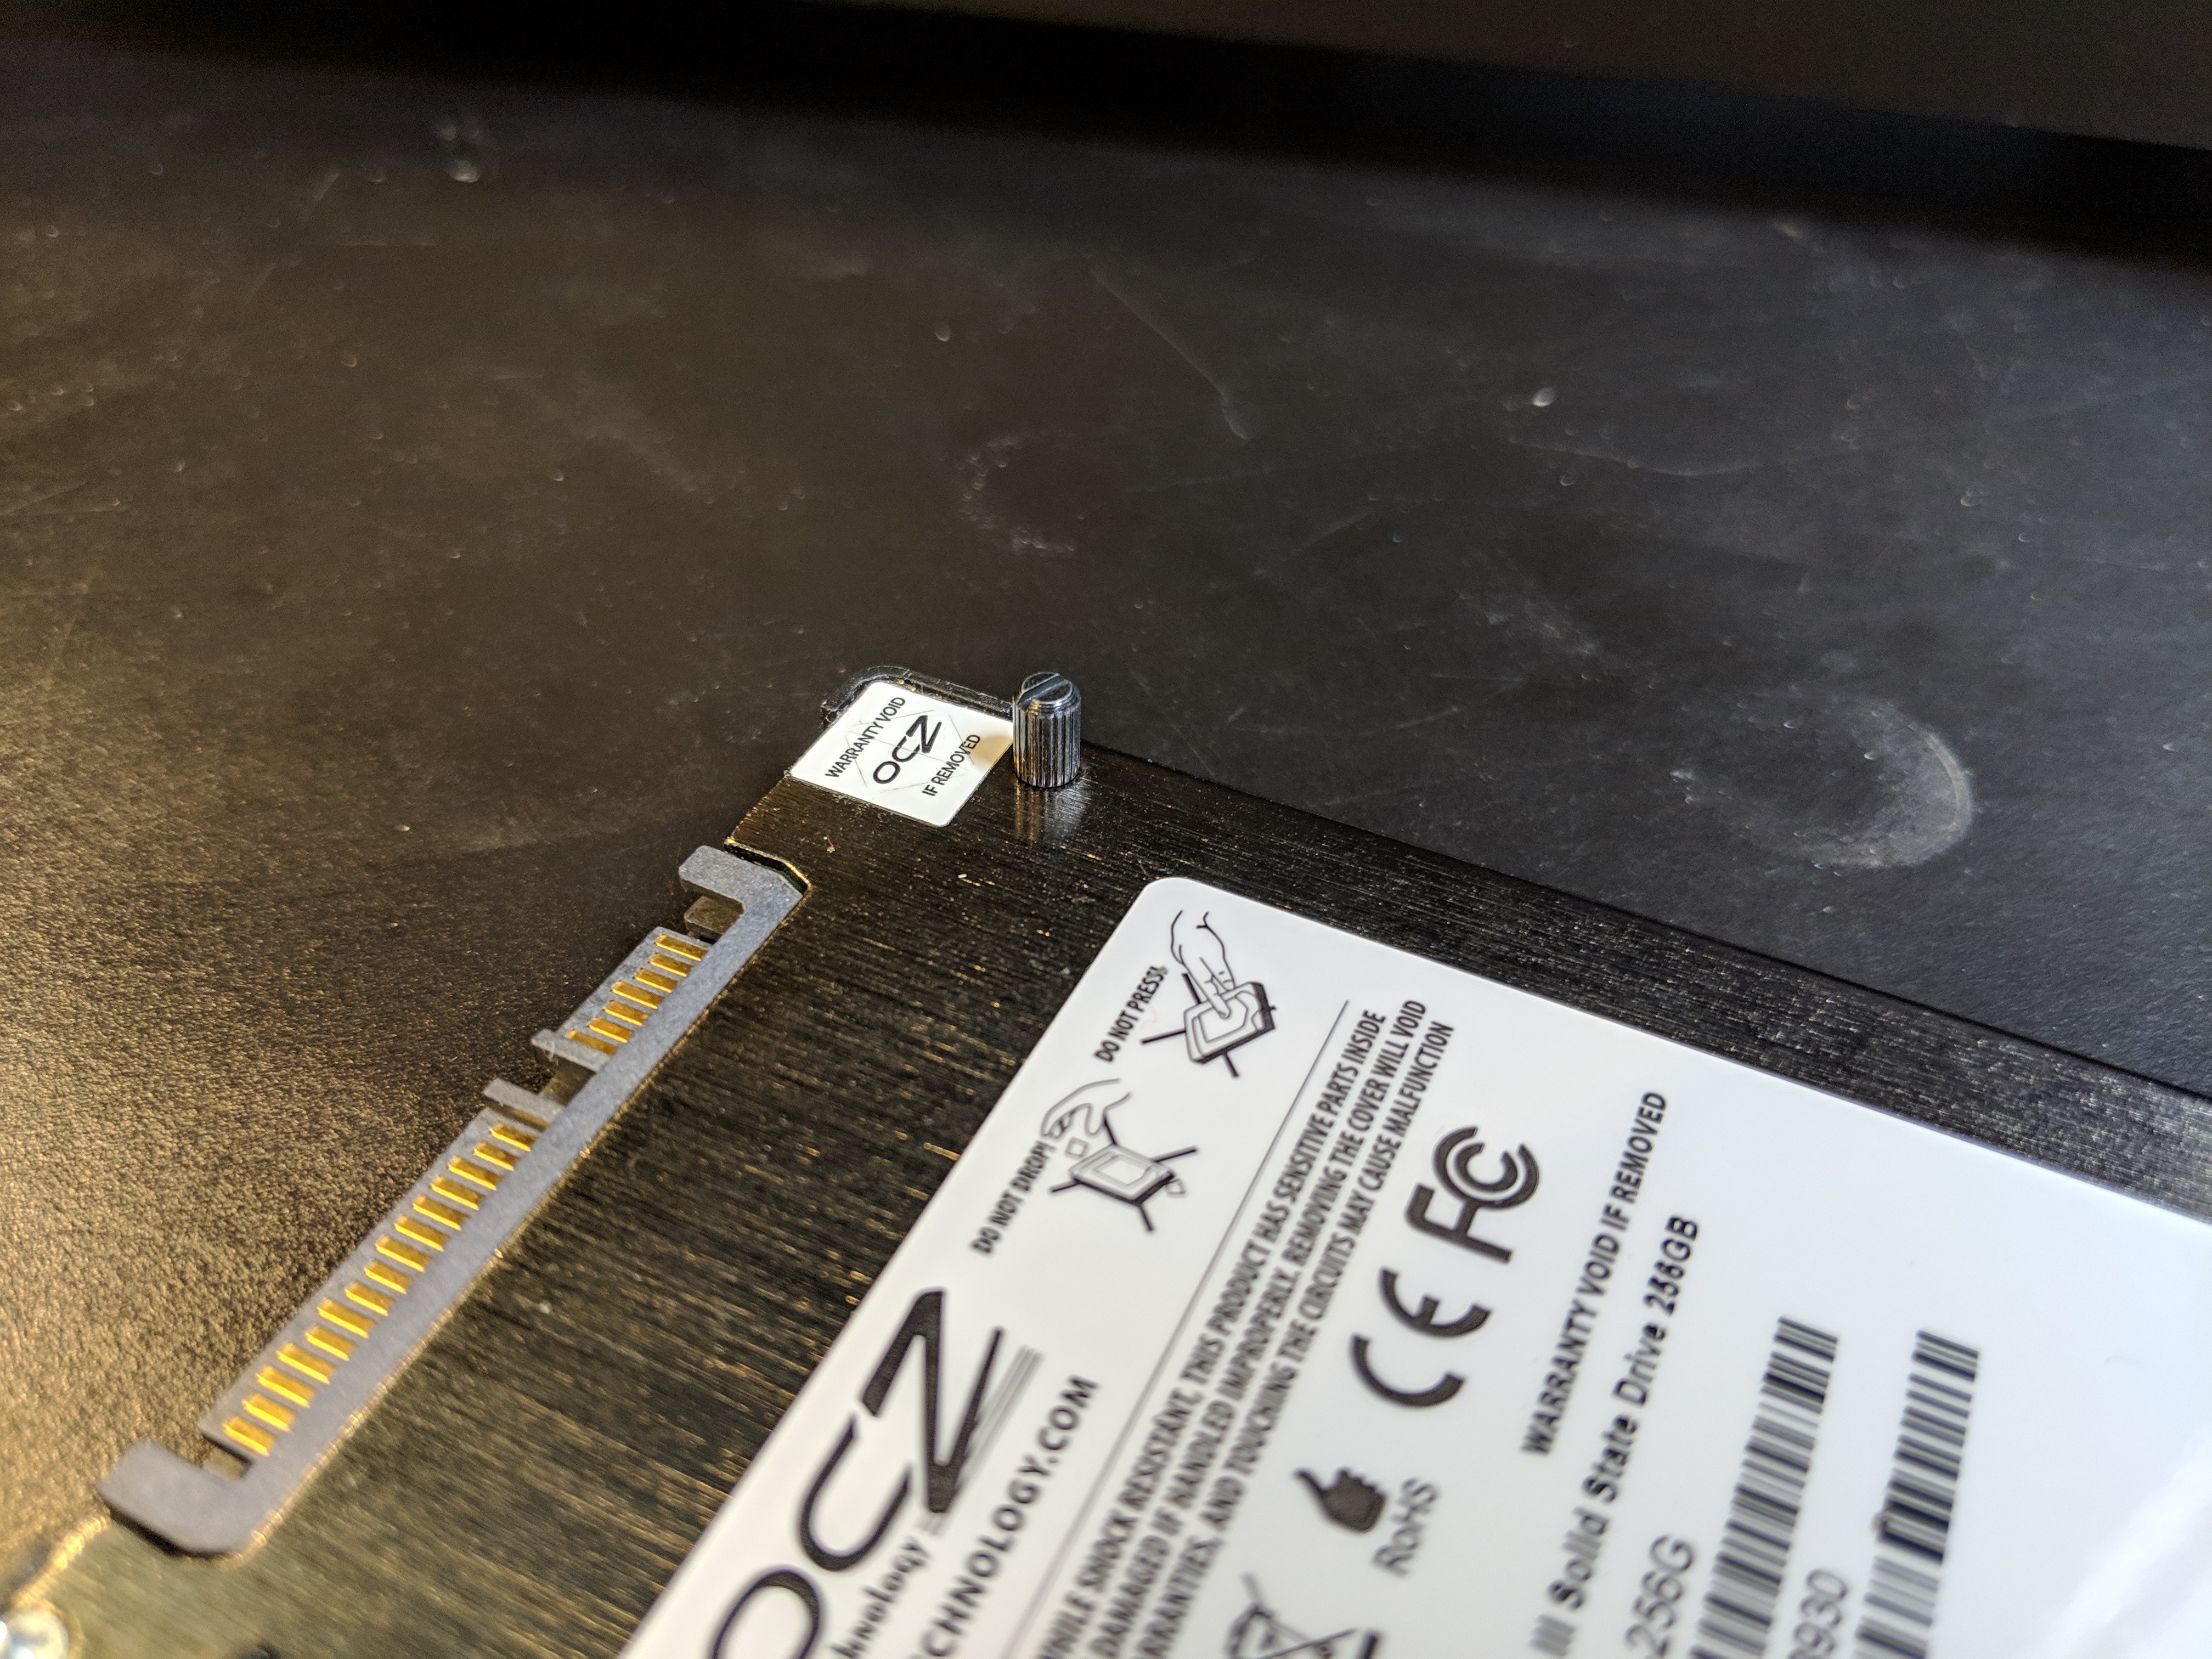
You’ll notice that the rear exhaust fan is different from the intake fan. The 7-blade rear fan features transparent blades however, no LEDs are present. The fan uses a standard 3-pin power connector. The front fan (2000311410GP) appears to be a bit higher quality and features a 9-blade design and is rated for 1200 RPMs at 0.16A. At maximum power, this fan should be almost silent.


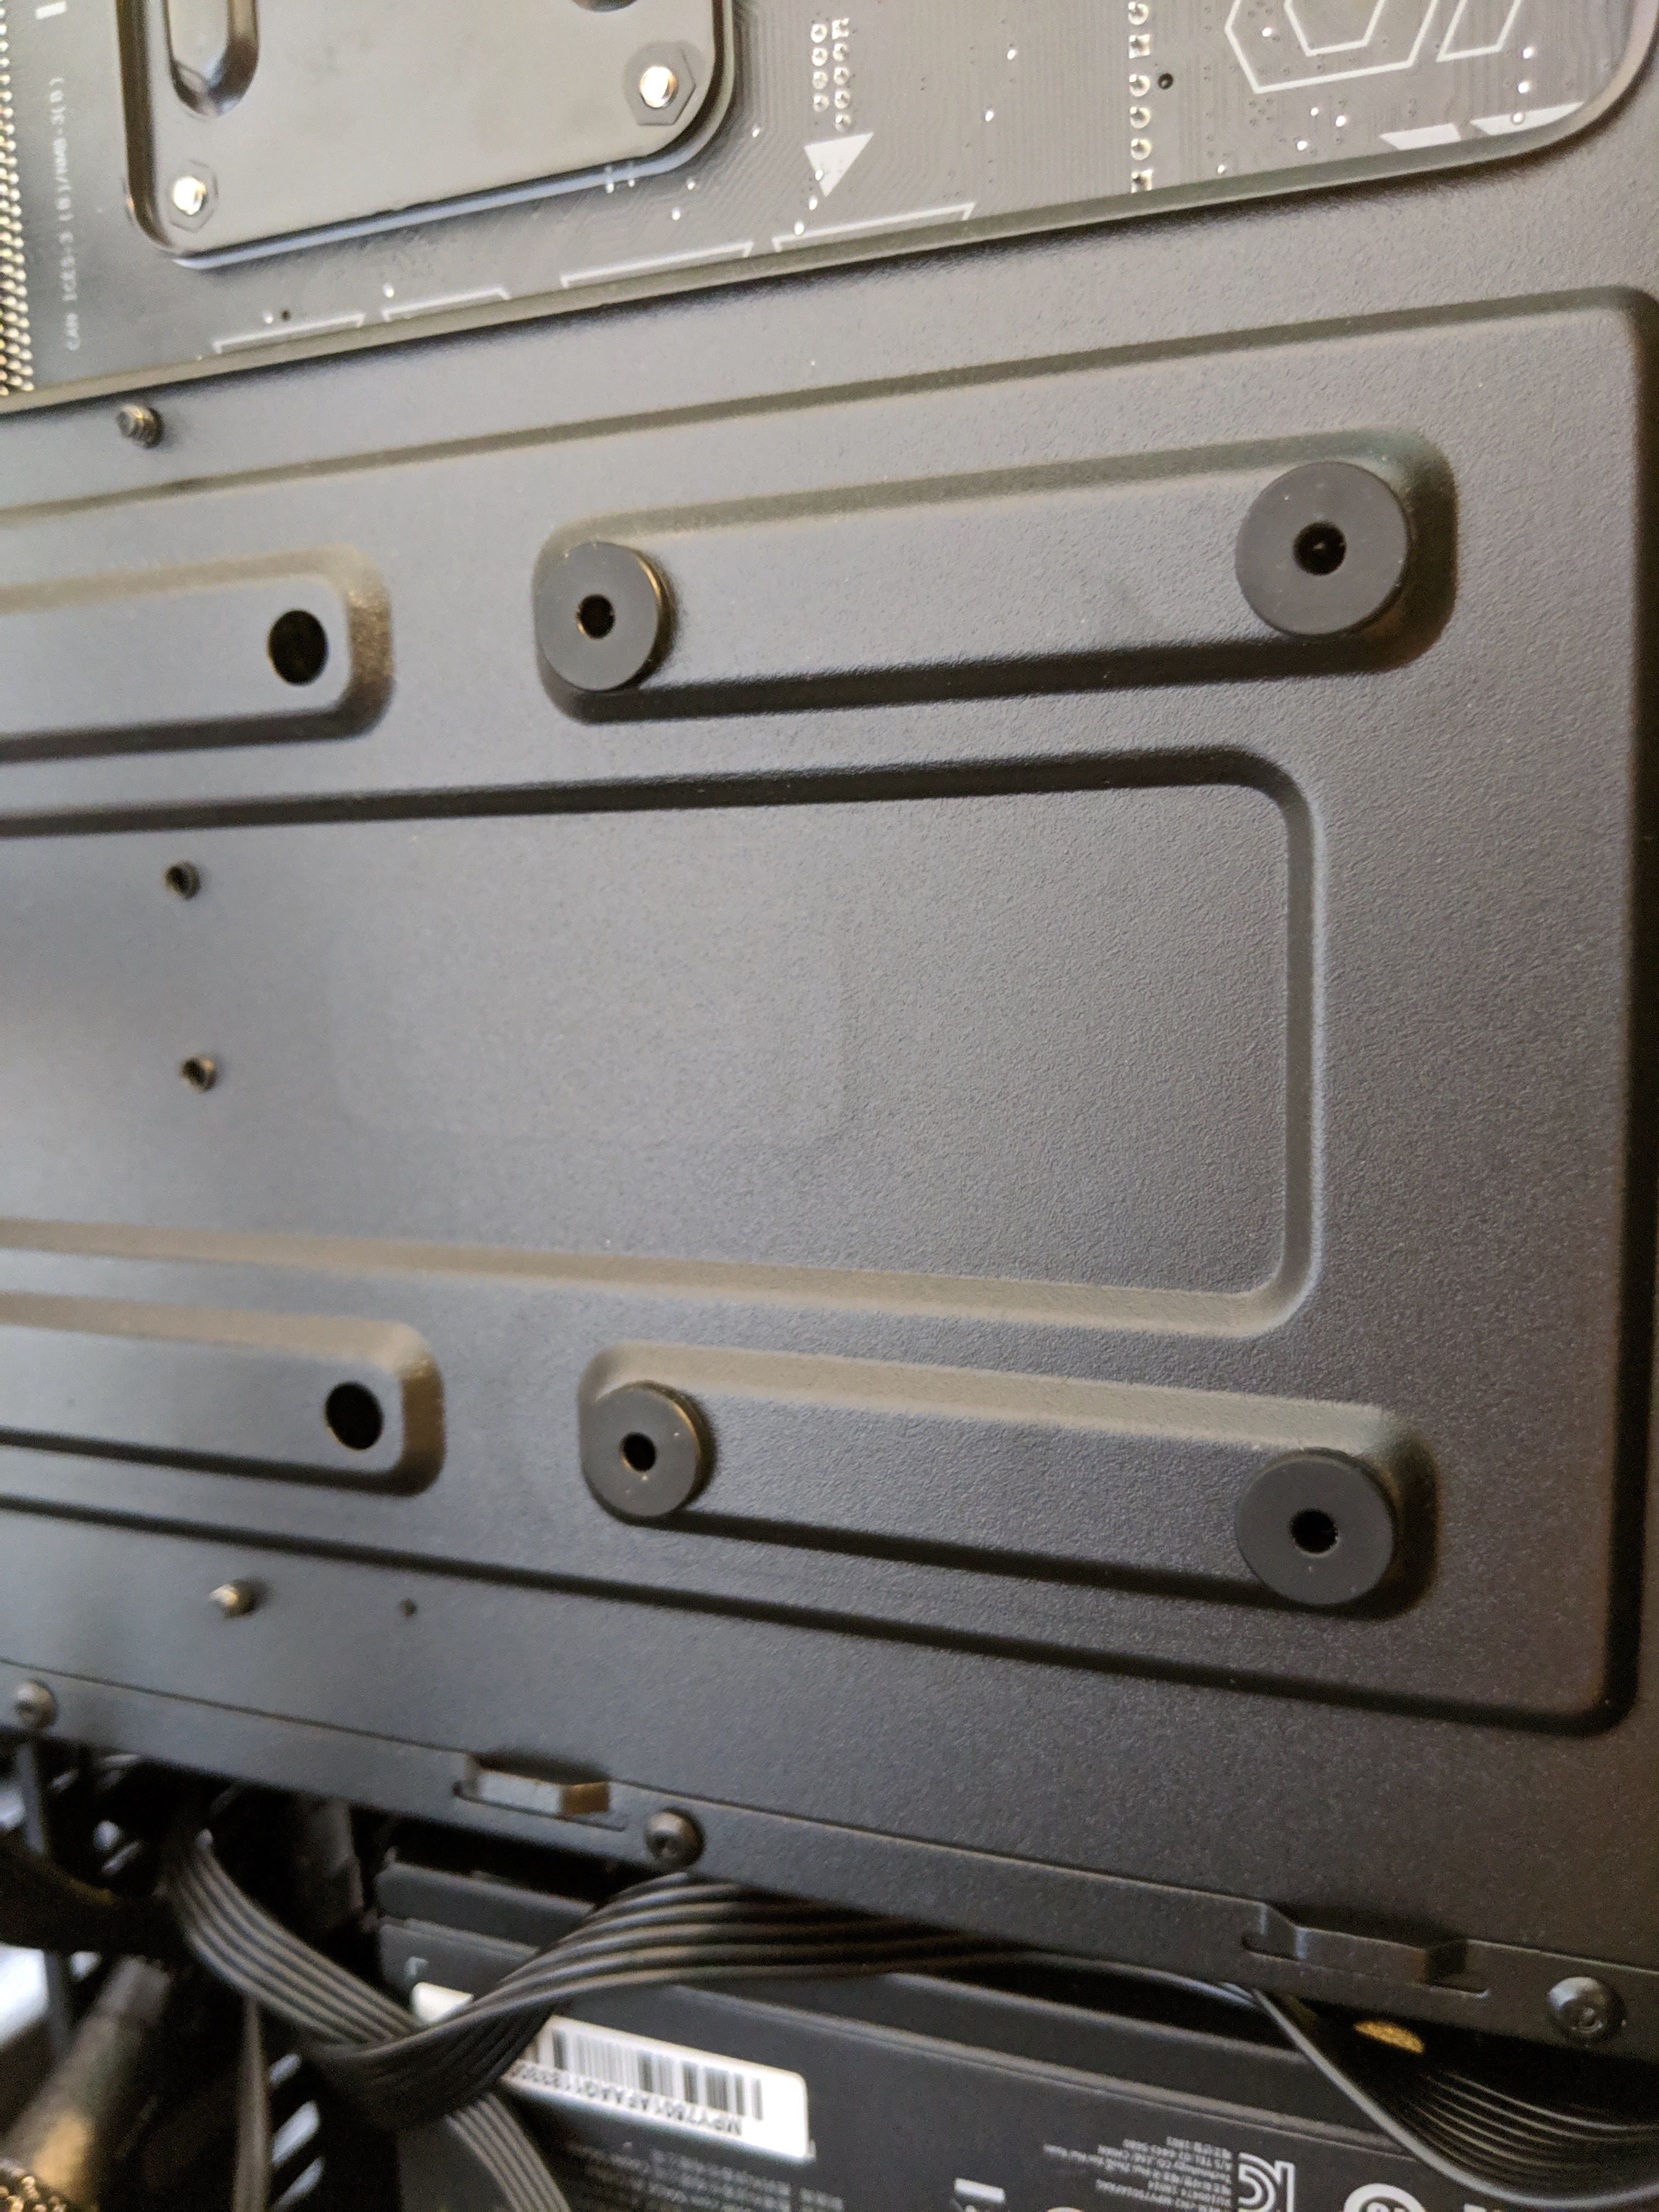
The case has tons of SSD support. You’ll notice that the PSU shroud has the ability to mount three 2.5″ solid state drives, with two more located at the back of the motherboard tray. We’ll get into how the SSDs mount later on in the review.
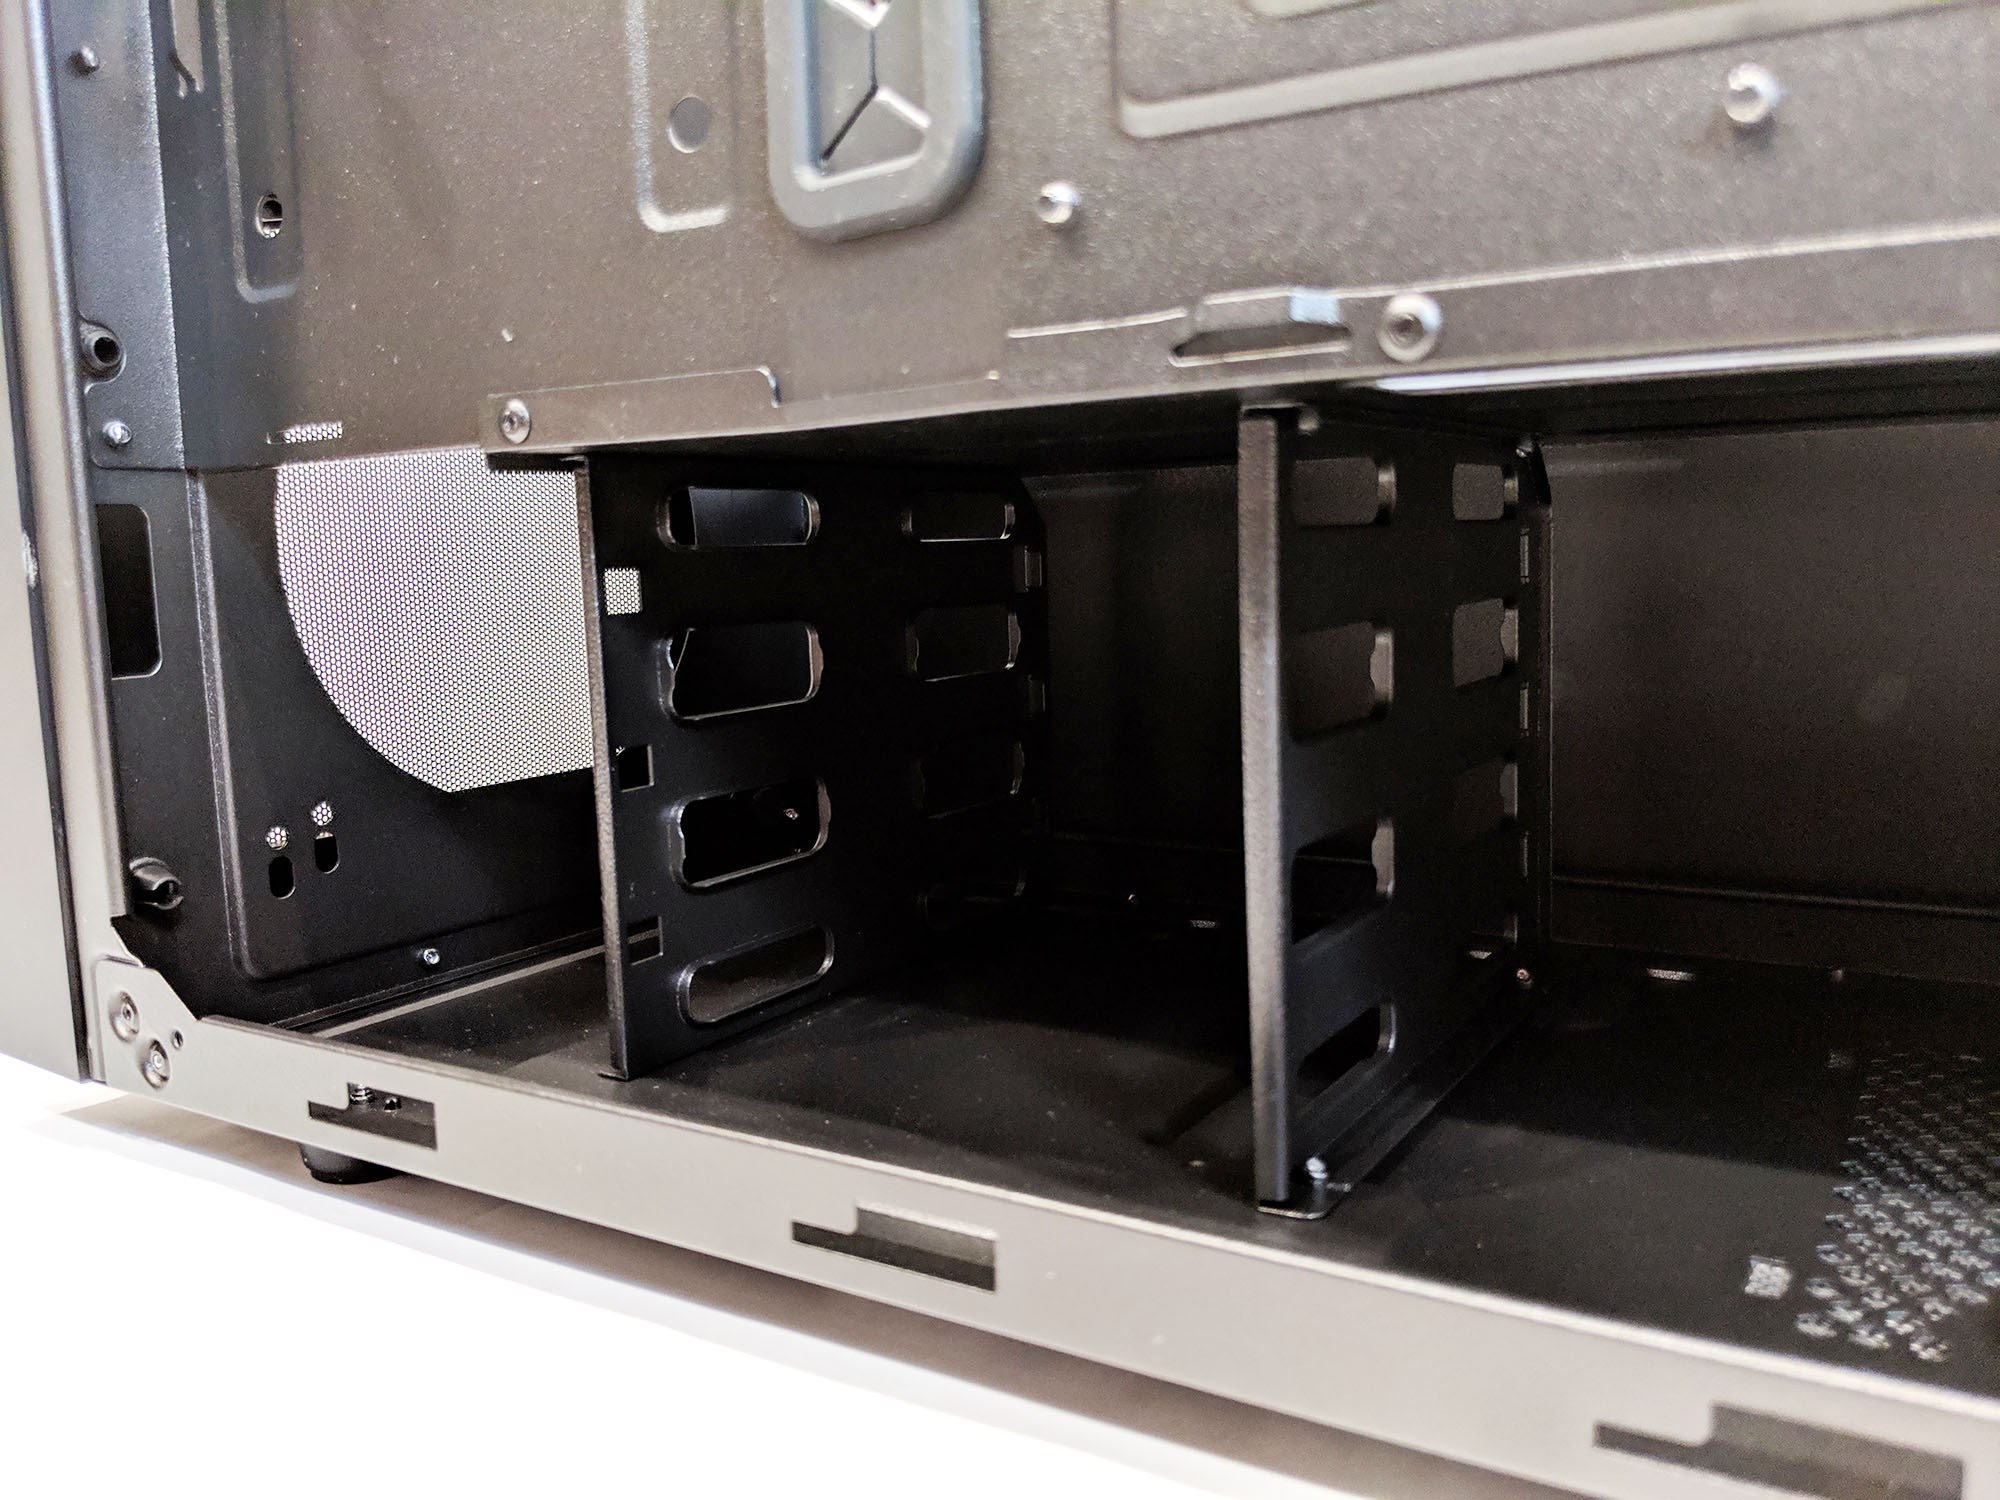
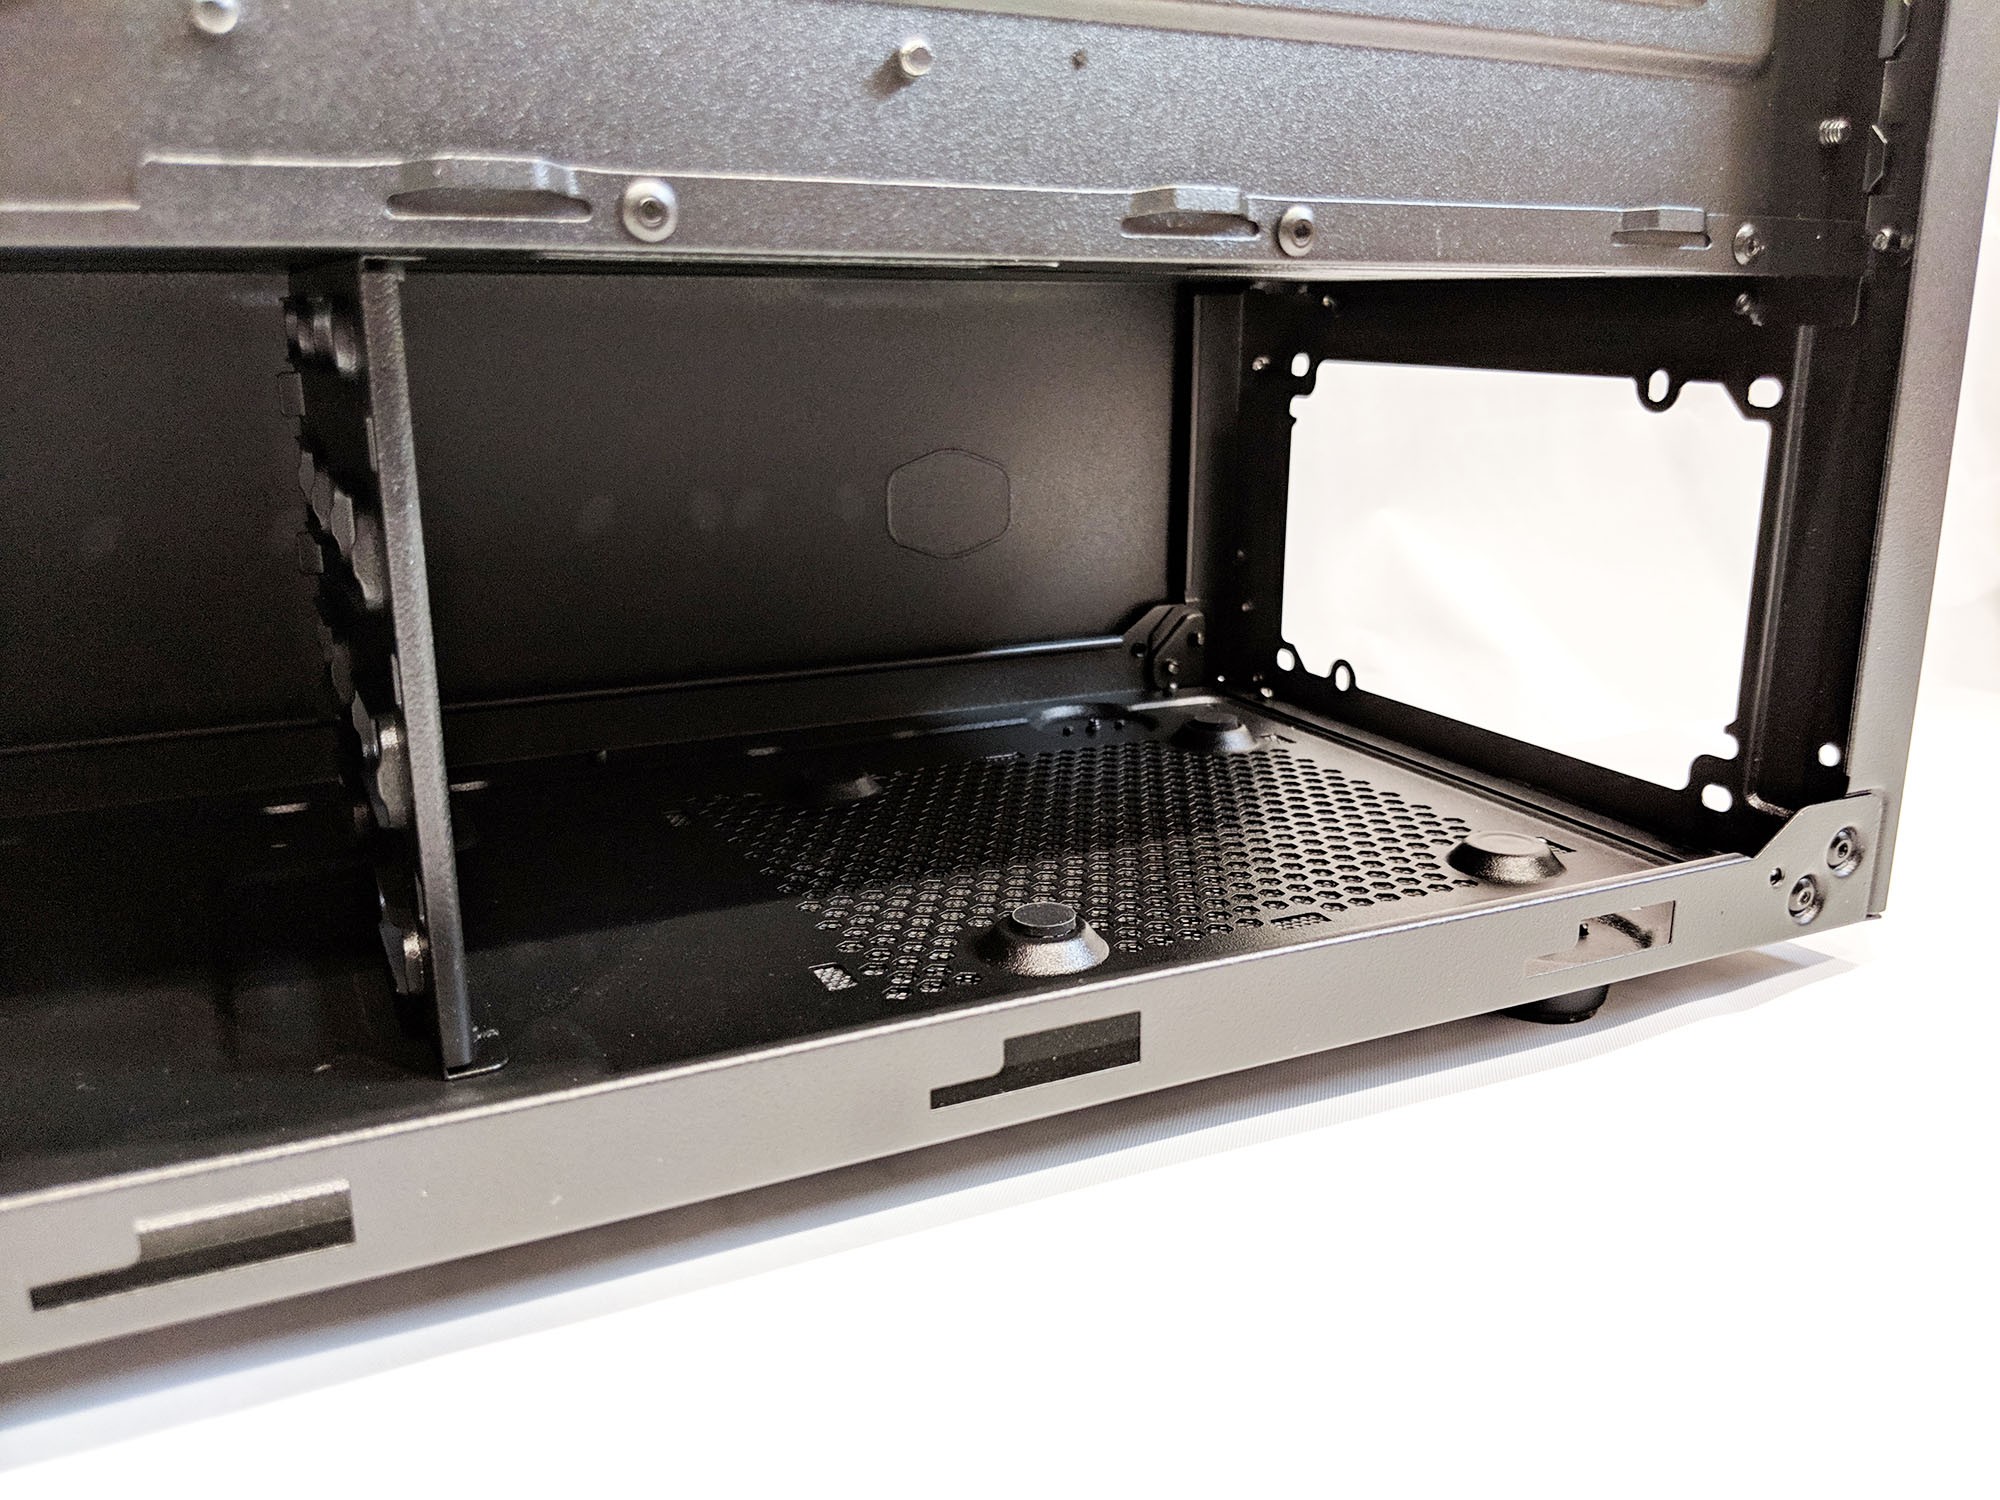
With the right side panel removed, we get a better view of the reverse side of the motherboard tray. You’ll need to access this side for mounting your PSU as well as your 3.5″ HDDs. The PSU mounts by sliding it in through the right side and screwing it down at the back of the case.
A word of advice: If you’re installing a modular PSU, attach your cables first as once the PSU is installed, access to your modular cable ports is limited.
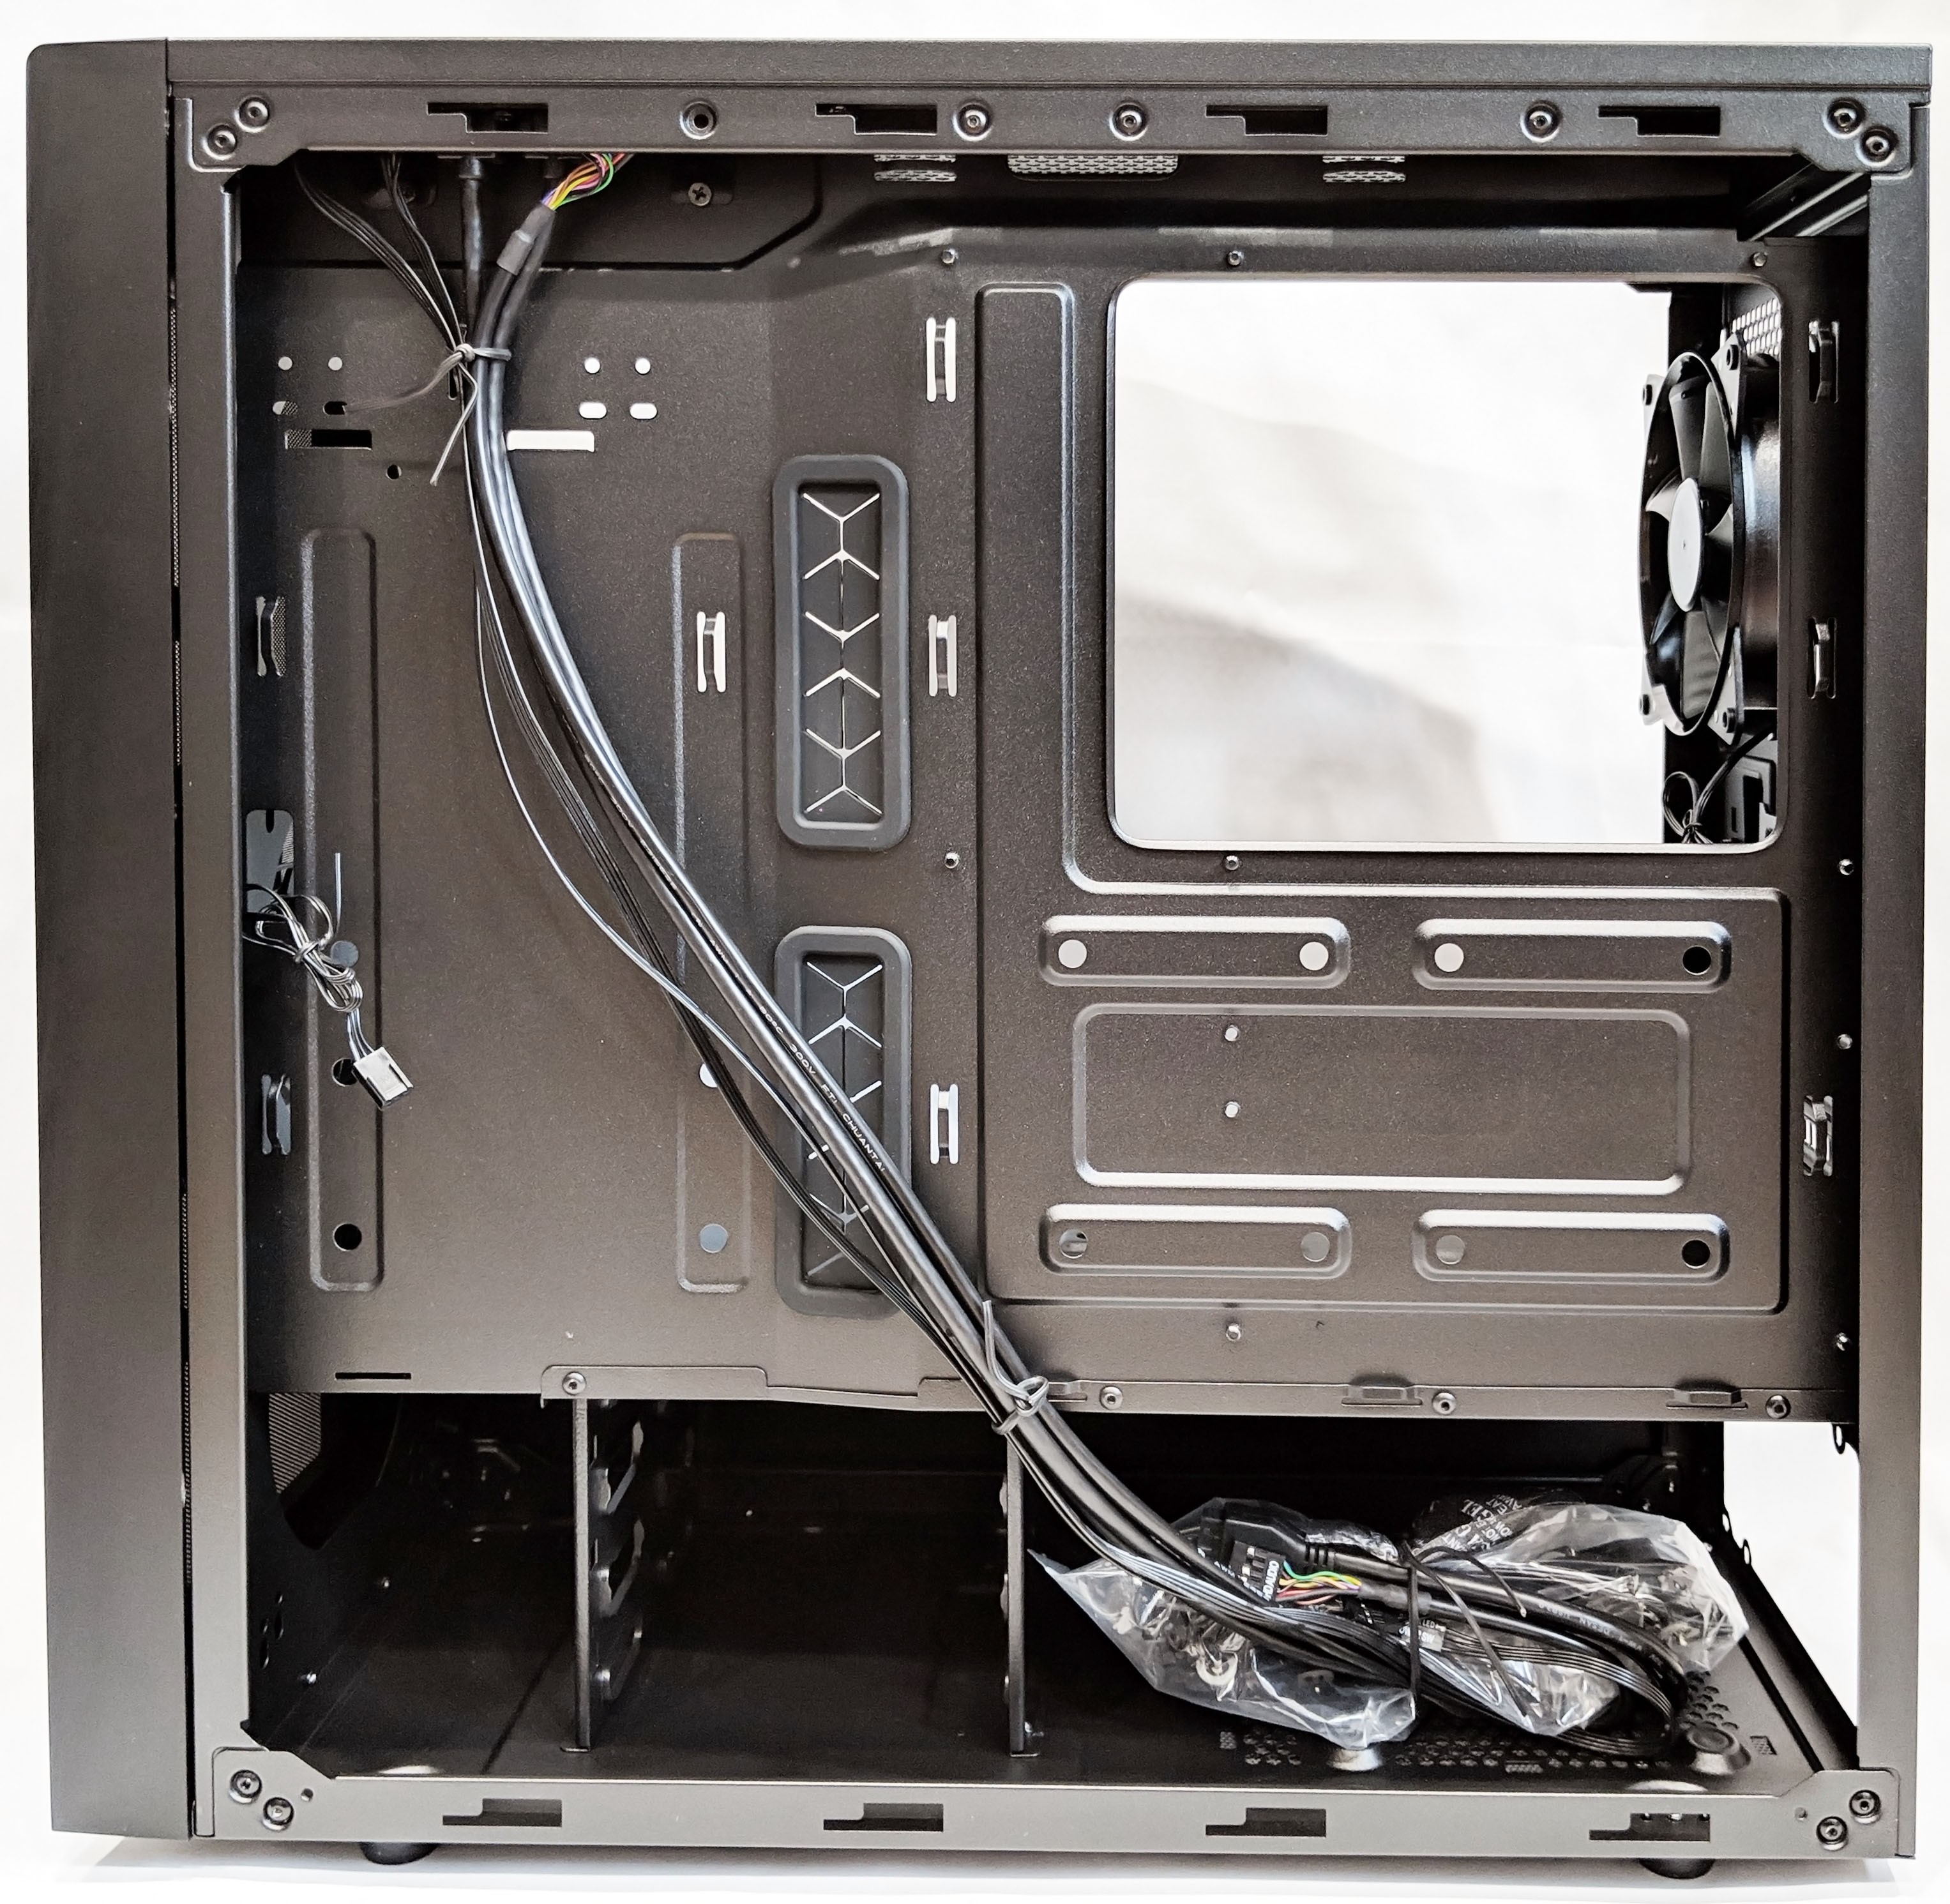
The bag of goodies which can be seen in the image above contains mounts for your SSDs, HDDs, a Molex to 3-in fan adapter, cable ties and all the screws you may need for your build.

Hardware Installation
For this particular build, we went with our budget AMD Ryzen system which should look quite good in this case as most of the components are quite stealthy overall. The system is configured as folows:
- Processor: AMD Ryzen 2600X
- CPU Cooler: Corsair Hydro Series H60
- Memory: 8GB Corsair Dominator Pro
- Motherboard: ASUS ROG Strix B450-F Gaming (Review Here)
- Power Supply: Cooler Master MWE Gold 750W (Review Here)
Overall, installing hardware into the Cooler Master NR600 is about as simple as it gets. Its large, open design makes routing cables and managing an AIO cooler install a breeze. The first thing I’d like to cover which is different than most cases is installing a 2.5″ SSD into the case.
The SSDs mount by attaching four provided standoffs into the bottom of the SSD. Next, four rubber mounts will need to be pressed into your desired mount location on the case. Once that’s done, simply press the SSD with the attached standoffs into the rubber mounts. This securely mounts the drive without having to permanently screw it into the case. I’ve personally only seen this on Cooler Master cases and it is probably one of my favorite SSD mounting systems I’ve seen.

Another thing to note is that the PCI-E expansion bay cover will need to be removed prior to installing your graphics card or other PCI-E components. Once it’s unscrewed, simply slide it open to reveal the mounting screws.

That pretty much covers it! With all of the hardware installed, our system ended up looking pretty damn good, especially once that tinted tempered glass side panel was installed.
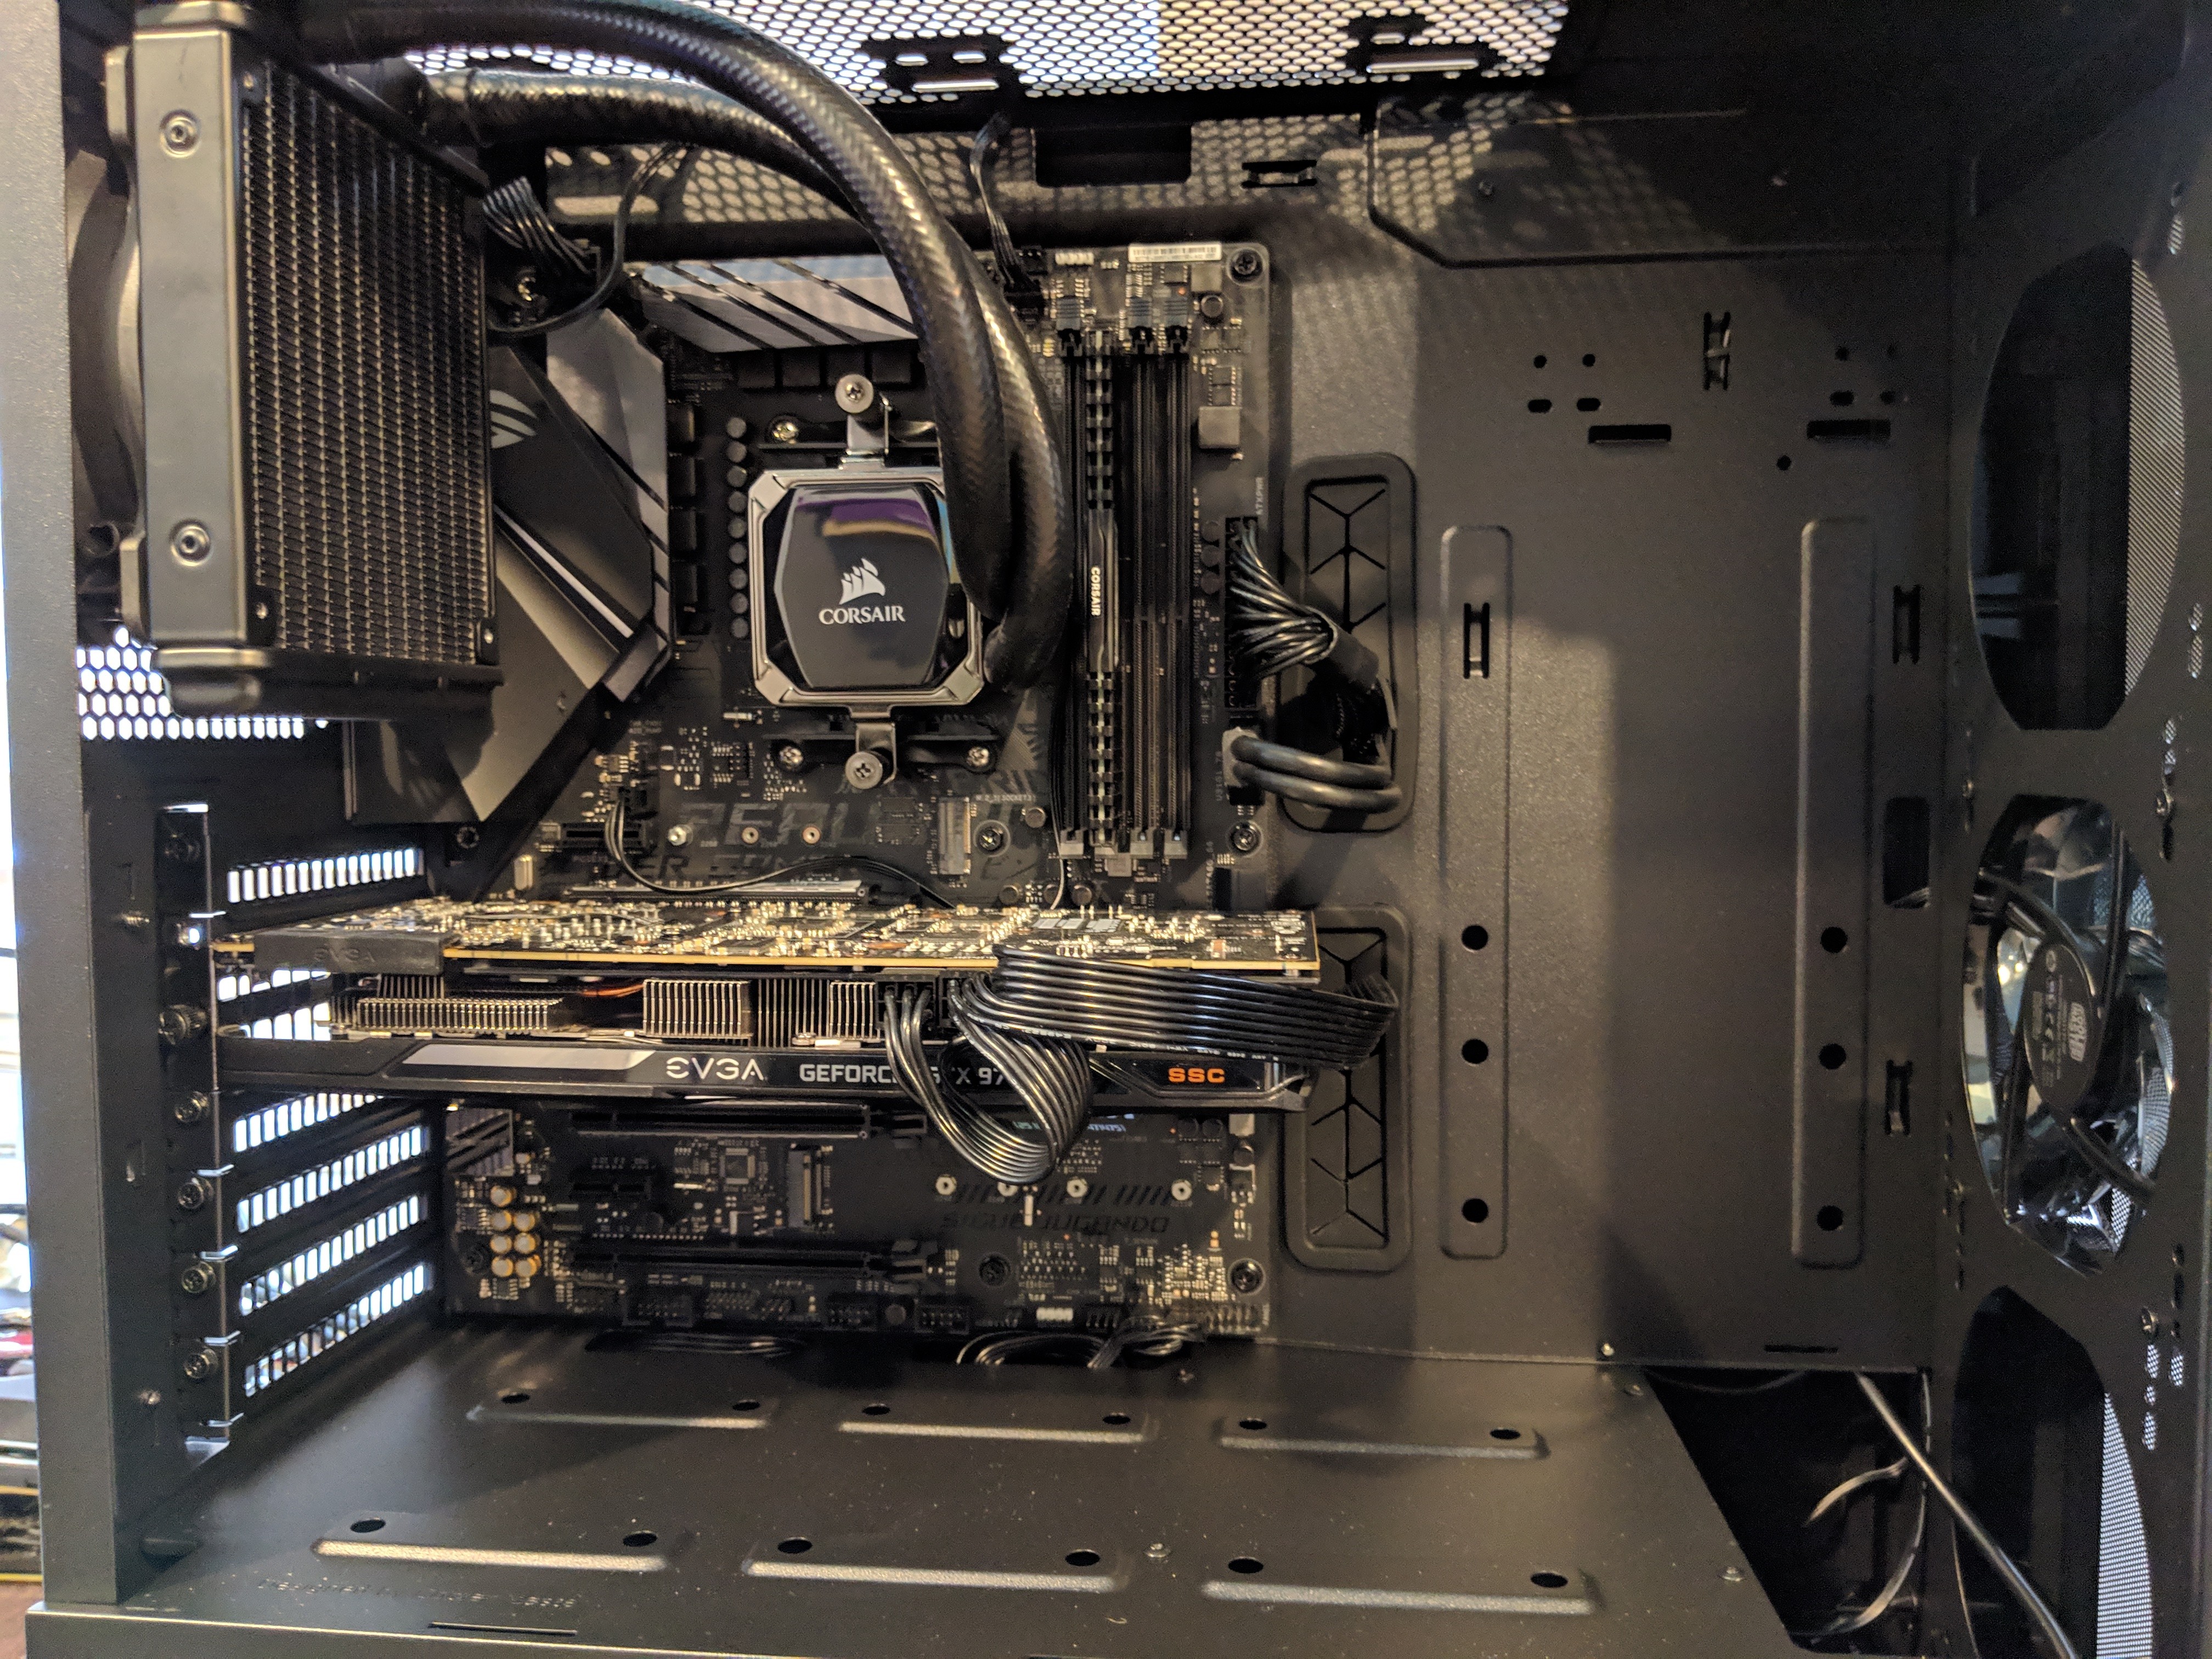
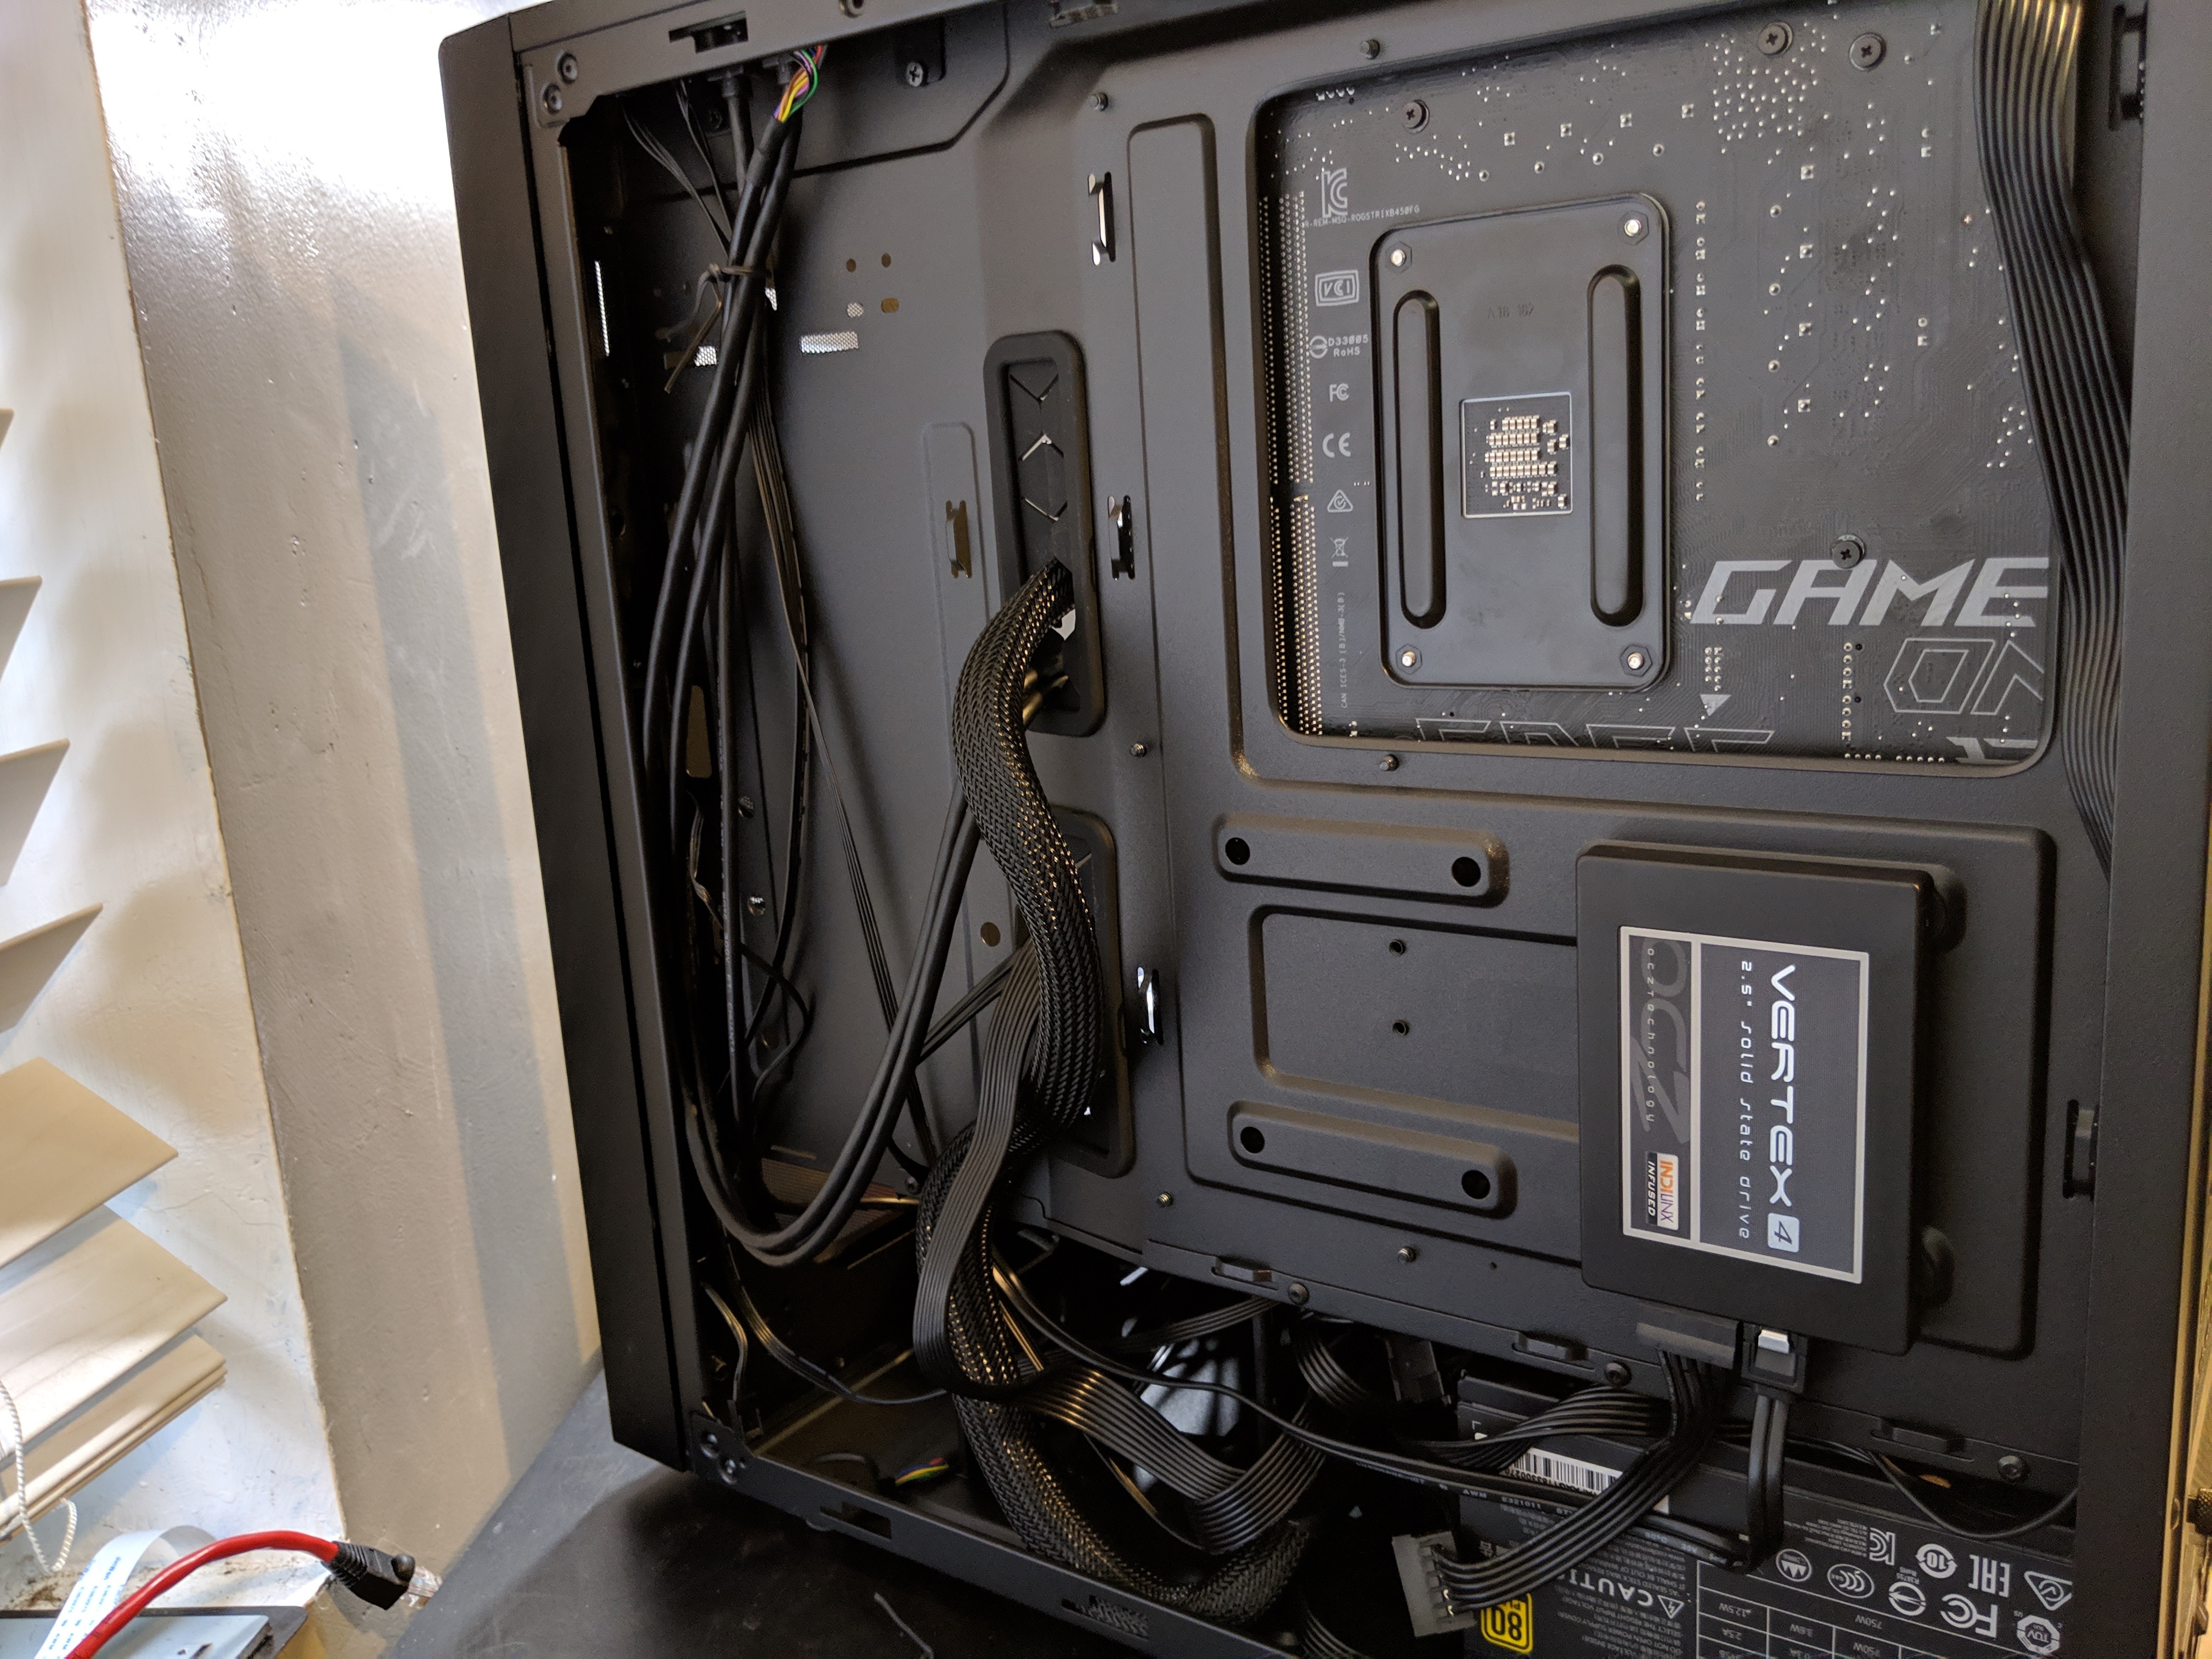
Cable routing behind the motherboard tray was pretty simple overall. Our specific build didn’t require a ton of cable routing so we didn’t feel the need to use tie downs to keep the cables from pressing against the rear panel. Overall, I’d say it turned out pretty clean!
Final thoughts and Scoring
The Cooler Master MasterBox NR600 turned out to be quite a feature packed case which supports quite a wide range of hardware. It’s hard to find a mid tower case these days that provides support for five 2.5-inch SSDs while at the same time supporting six 120mm fans (or 1x 240mm radiator and 1x 360mm radiator).
The case provides a very unique look that is quite different than a lot of other cases on the market which I actually quite appreciate and hope to see more of. The clean lines, tempered glass, and mesh all over the place provide a certian level of sophistication you don’t come across every day.
With that being said, let’s break down the case against several categories and see how it did during our tests.
- Build Quality: 8.7/10 – The NR600 is overall quite well built. There are areas such as the motherboard tray and PSU shroud where I felt that the steel sheet metal could have been a bit thicker.
- Appearance: 9.3/10 – While this category is highly subjective, I personally really enjoy the overall look of the case. It fills a unique void that separates it from other cases in this category.
- Functionality: 9.1/10 – The support list for this case goes on and on…. tons of fans, tons of SSDs and liquid cooling support to boot.
- Performance: 8.3/10 – While this case is themed towards budget builds, I would have really liked to have seen higher quality fans, and more of them. A single lowly fan in the front of the case looks out of place when you have the option for two more. While this is easily remedied by the user by simply adding more fans, having them already included would have gone a long way for adding value.
- Value: 9.2/10 – Currently, the Cooler Master NR600 can be had for $69.99 USD. For a tempered glass mid-tower case that provides this much support, I’d say that the price is justified.
Product Page: http://www.coolermaster.com/case/mid-tower/masterbox-nr600/
Pruchase on Amazon: Cooler Master MasterBox NR600 Case
"The case provides a very unique look that is quite different than a lot of other cases on the market."Cooler Master MasterBox NR600 Review


Nice review. Could use a spell check, but no big deal.