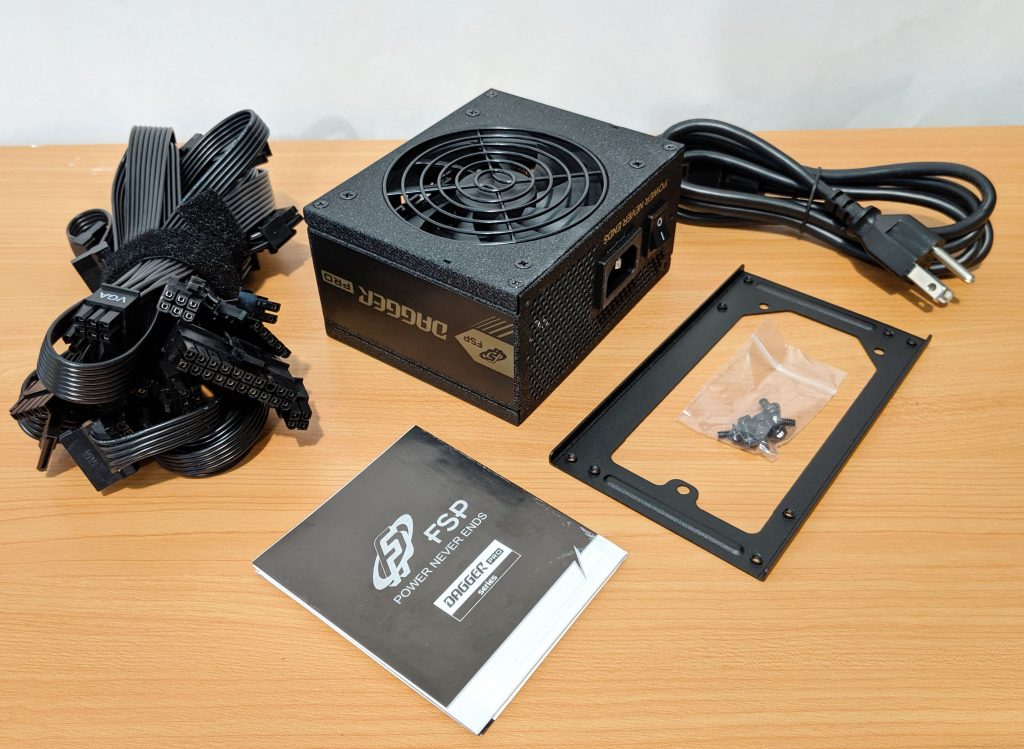
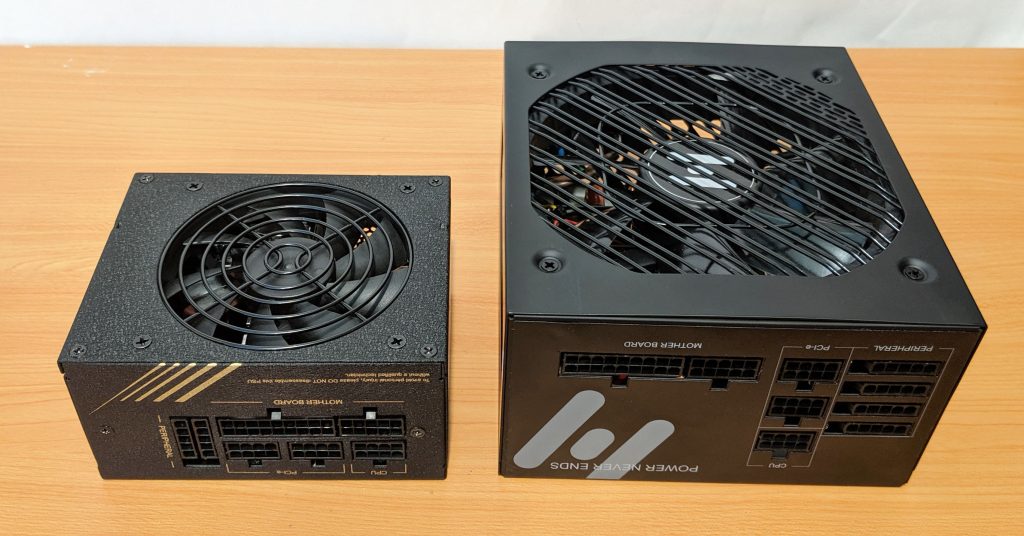
They say that great things come in tiny packages. In the PC/gaming world FSP is showing us that there is no exception. In this review we’ll be taking a close look into this tiny offering from FSP, the Dagger Pro 650W SFX power supply. This particular PSU is designed for system builders with size constraints in mind, such as mini-ITX, or mini ATX builds. The small PSU measures in at a mere 125 × 100 × 63.5mm which is significantly smaller than you’re typical ATX power supply (150 x 140 x 86mm).
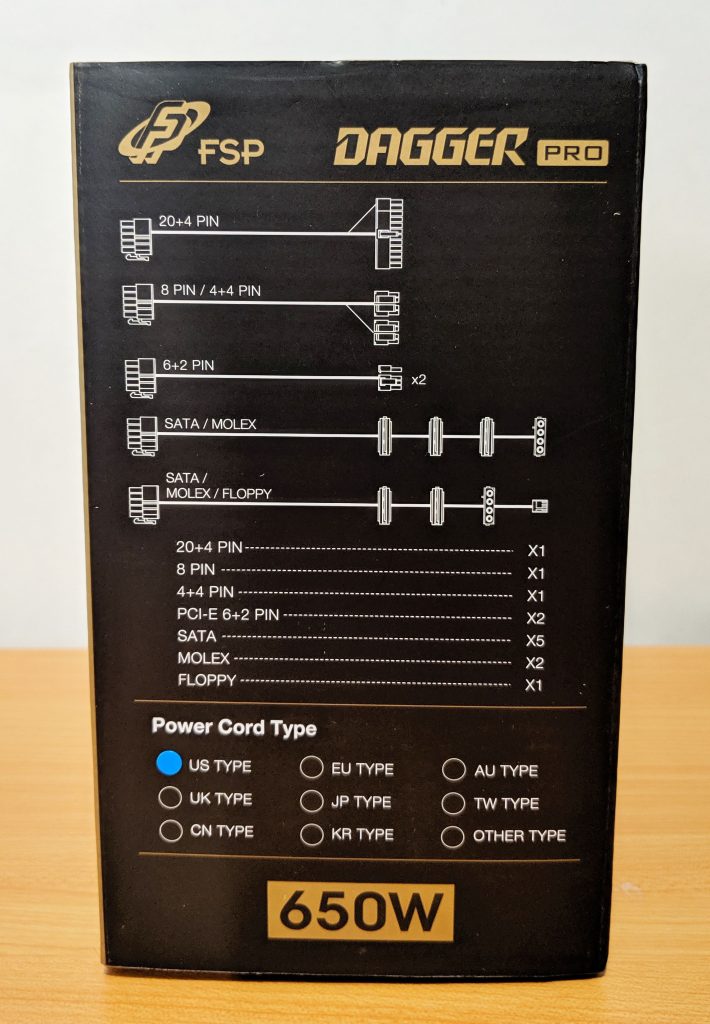
Despite the smaller size of the unit, FSP did not appear to leave anything out. The PSU is fully modular, supports 2x PCIe connectors, 2x CPU EPS connectors as well as a handful of SATA/Molex connectors. On top of all that the unit caries an 80+ Gold efficiency certification which should keep us in the >90% efficiency range. Check out our handy guide explaining why this number is important.
Before we dig into the review, let’s first go over the specifications of the PSU in detail.
(header image credit: FSP Group USA)
FSP Dagger Pro 650W SFX Specifications
On paper, FSP’s latest offering looks quite good despite its small size! As I mentioned earlier, the PSU carries an 80+ Gold certification rating which usually indicates that the quality of the internal components is a bit above average to lesser certified units such as 80+ Bronze or Silver.
The one feature that caught my eye was the compatibility for high end motherboards that require two EPS or CPU 8-pin power connectors. This is much more common on 850W+ power supplies, however as someone who loves HEDT gear, this PSU definitely has my attention.
Below are the official specifications of the PSU provided by FSP:
| Model | FSP Dagger Pro 650W SFX (SDA2-650) |
|---|---|
| Rated Output Power | 650W |
| Form Factor | SFX |
| 80 PLUS Certification | Gold |
| Input Voltage | 100-240V |
| Input Current | 10-5A |
| Input Frequency | 50-60Hz |
| Efficiency | 90% |
| Fan Type | ball bearing fan,92mm |
| Dimensions(L x W x H) | 125 × 100 × 63.5 mm |
| Operation Temp. | 200,000 Hrs |
| Protection | OCP, OVP, SCP, OPP, OTP |
Power Breakdown:
| AC Input | 100-240Vac~ 10-5A 50-60Hz | ||||
|---|---|---|---|---|---|
| DC Output | +3.3V | +5V | +12V | -12V | +5Vsb |
| Max Output Current | 20A | 22A | 54A | 0.3A | 2.5A |
| Max Combined Power | 120W | 648W | 3.6W | 12.5W | |
| Total Power | 650W | ||||
The +12V rail which handles ~95% of all load is rated for 648W. This rail is responsible for all of your power hungry devices such as CPU, GPU, fans and many more. With DC-to-DC design becoming more and more common, we’ll see more of this. Now that we’re more familiar with this beast, let’s dive into the review by first unboxing the thing!
A Closer Look: Packaging
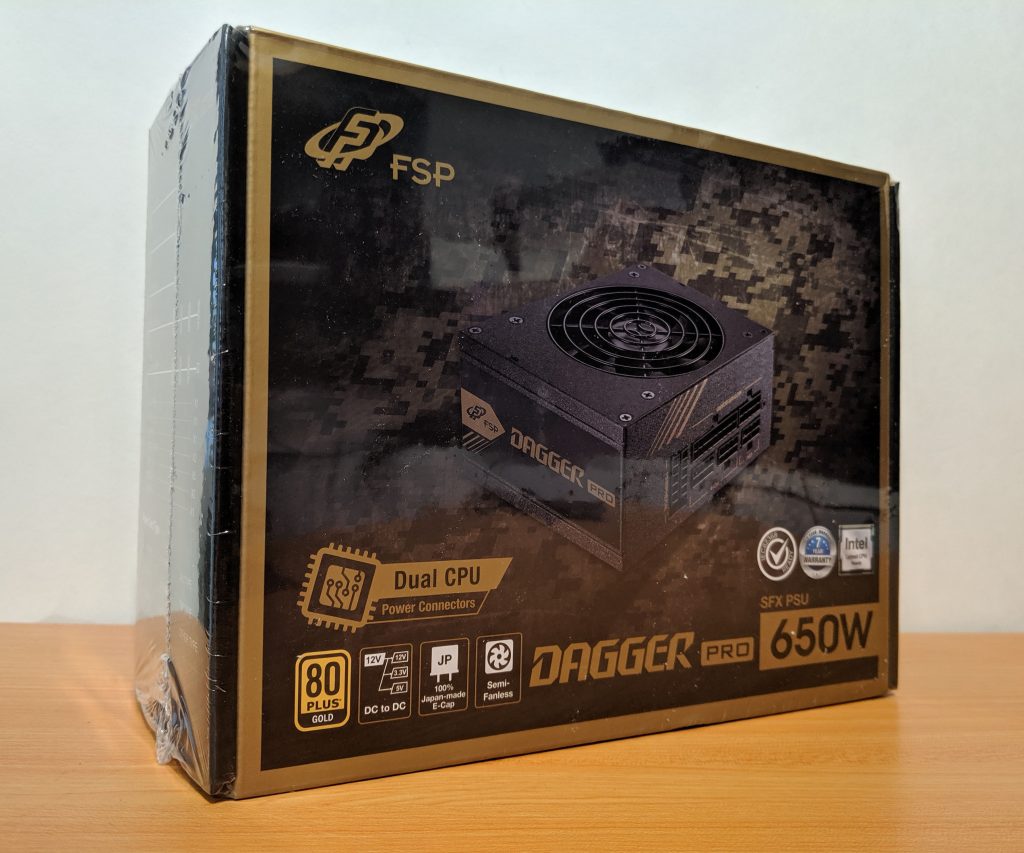
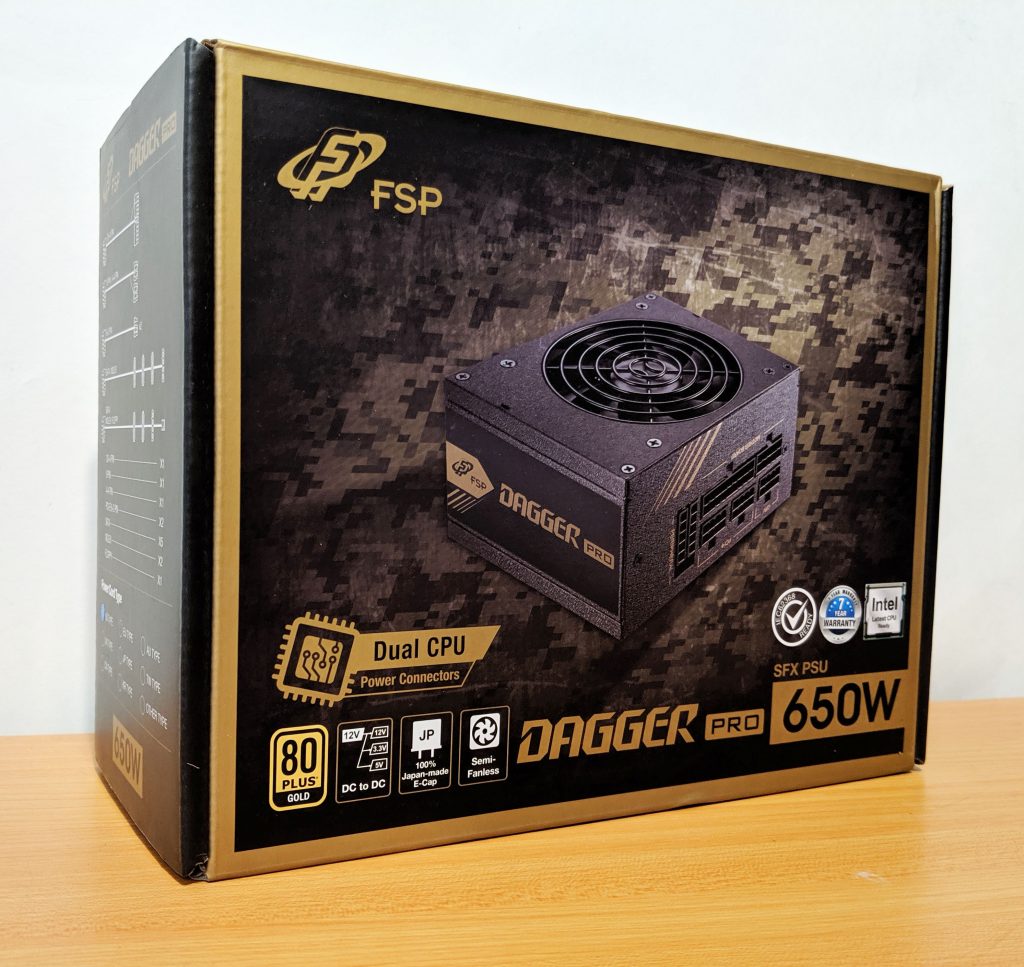
The PSU arrived with a perfect bill of health, unscathed by our local mail courier. The box comes wrapped in plastic to prevent scuffing during transit. The front of the box features some cool graphics and some general specifications such as DC-to-DC design and the use of 100% Japanese E-Cap(?). E-Cap isn’t a term I’m super familiar with, or commonly used in the industry. I’m assuming it’s short Electrolytic Capacitor which would make sense. Electrolytic caps have relatively higher captive ratings/price which make them a good choice for filtering AC current.
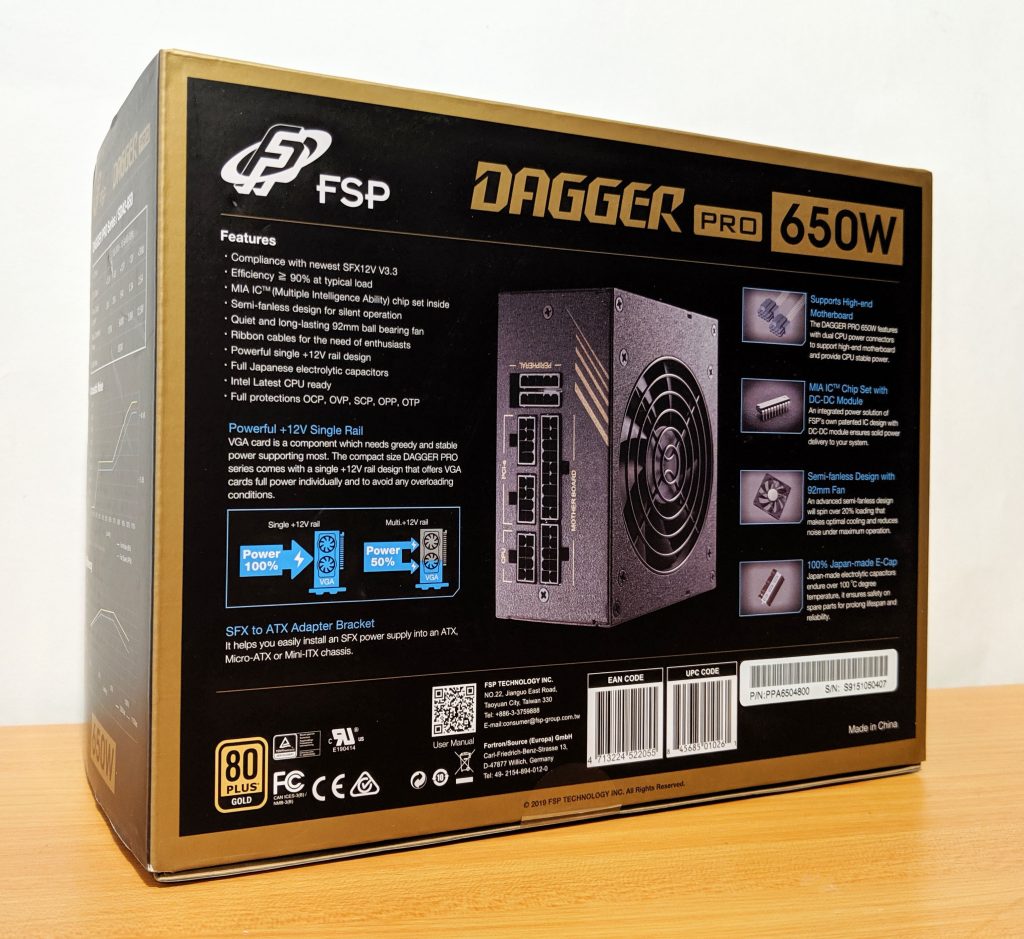
With the plastic wrap removed we can get a bit better images here without all the reflections. The back of the box presents us with a few more details about the cables, fans, ratings and more technical details.
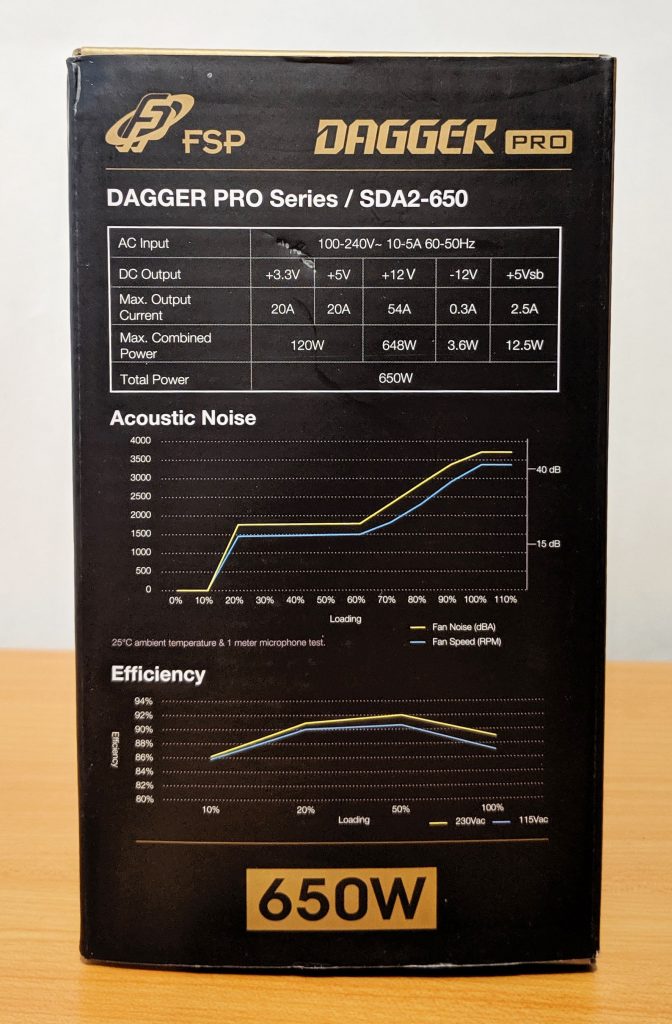
Each side of the box gives us more details. On the left side we’ve got the power rating breakdown, and over on the right side we’ve got the modular cable configuration guide.
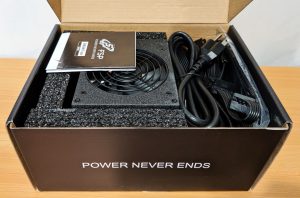
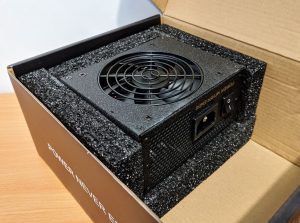
Next, let’s crack that outer seal and take a closer look! Overall, I’m happy with how well this particular PSU is packaged. The PSU is nestled inside a very thick bed of soft foam. The cables are squeezed in to the right side. You might get some scuffing due to the cables and PSU coming in contact. Placing the PSU in a bag would fix this which is something we typically see with other vendors. Quite good packaging regardless.
A Closer Look: Exterior
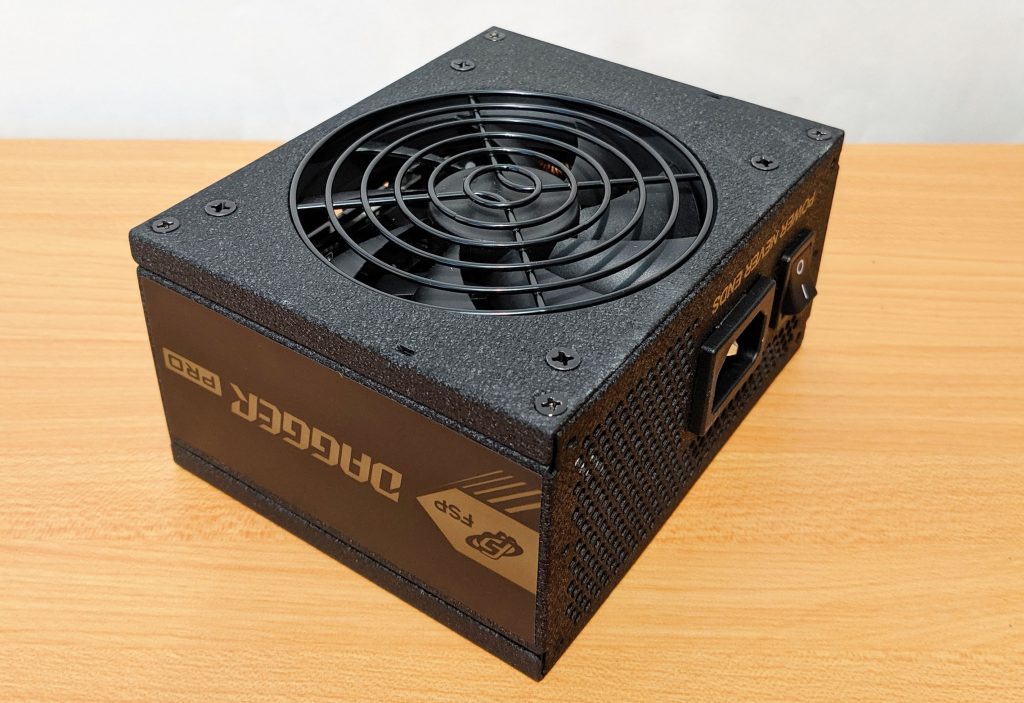
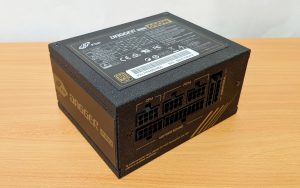
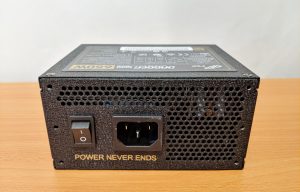
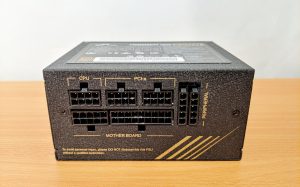
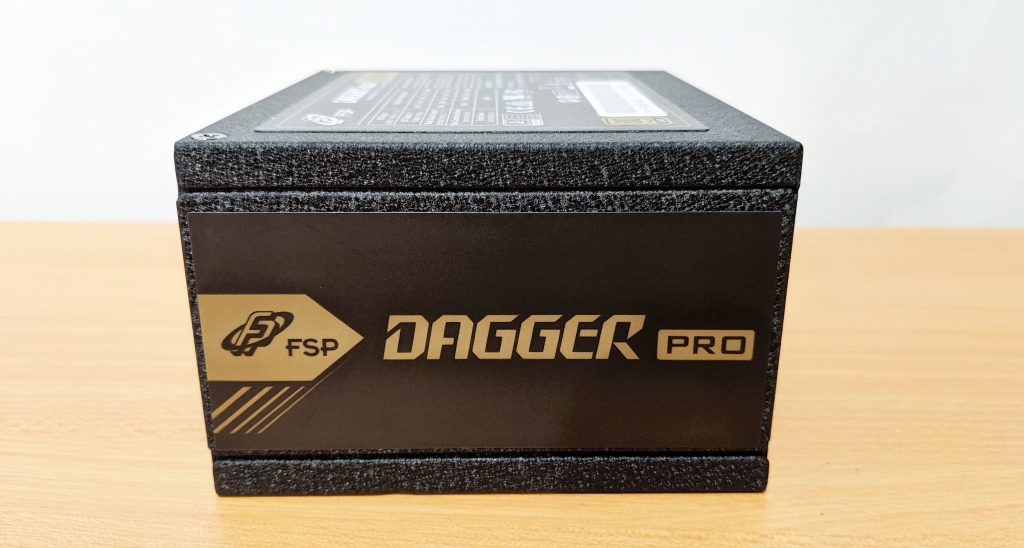
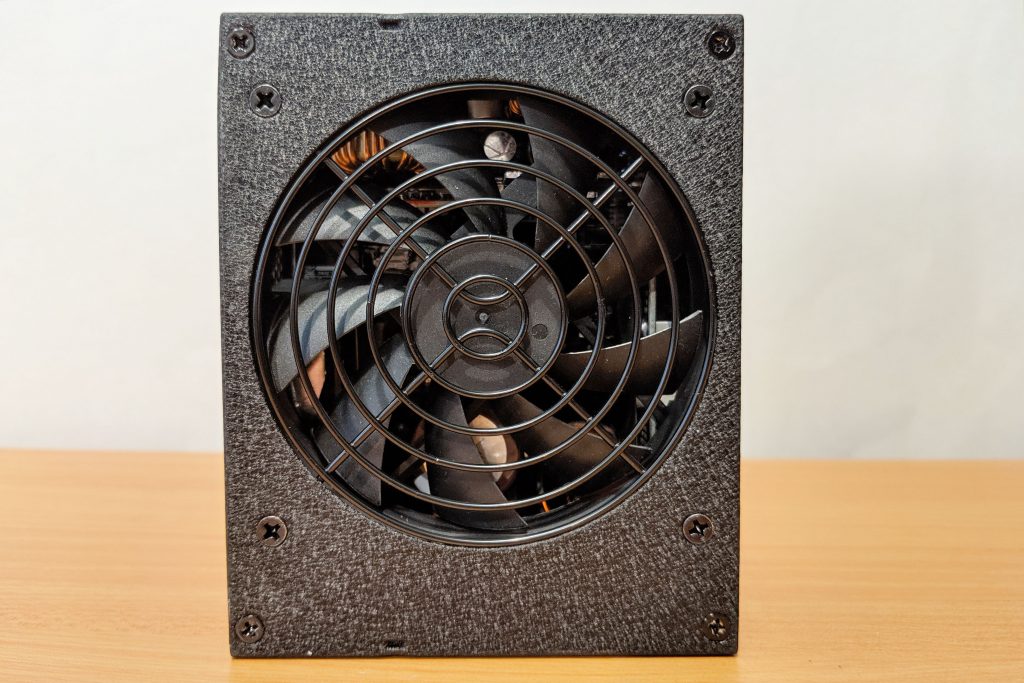
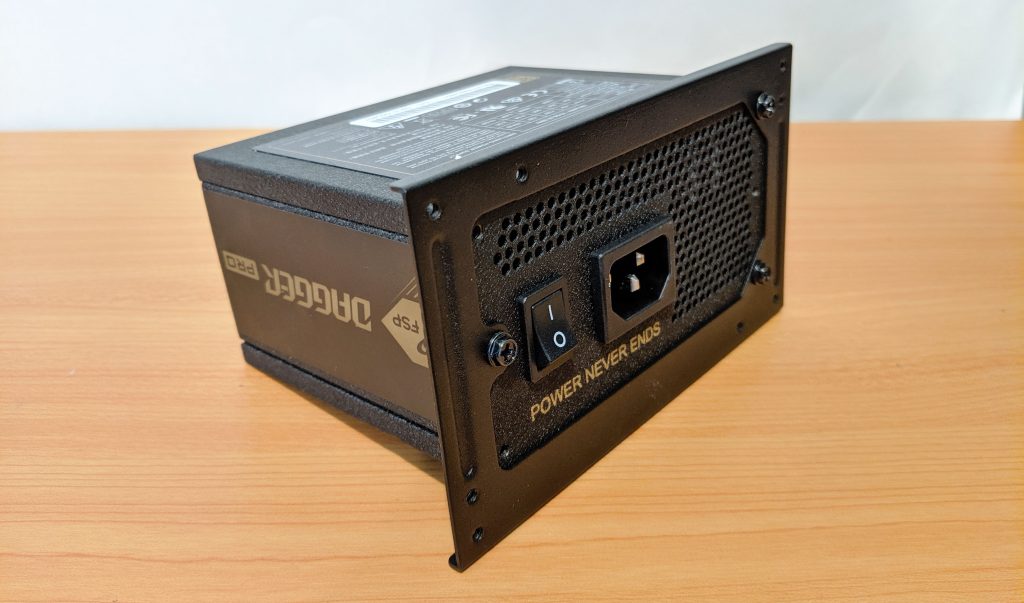
Next, let’s walk around the outside of this PSU and talk about some of its many features. The first thing you’ll likely notice, especially if this is your first experience with the new SFX style power supplies is how small this thing is! It was definitely built with tiny ITX builds in mind as it will cut down a considerable amount of valuable internal volume inside the case.
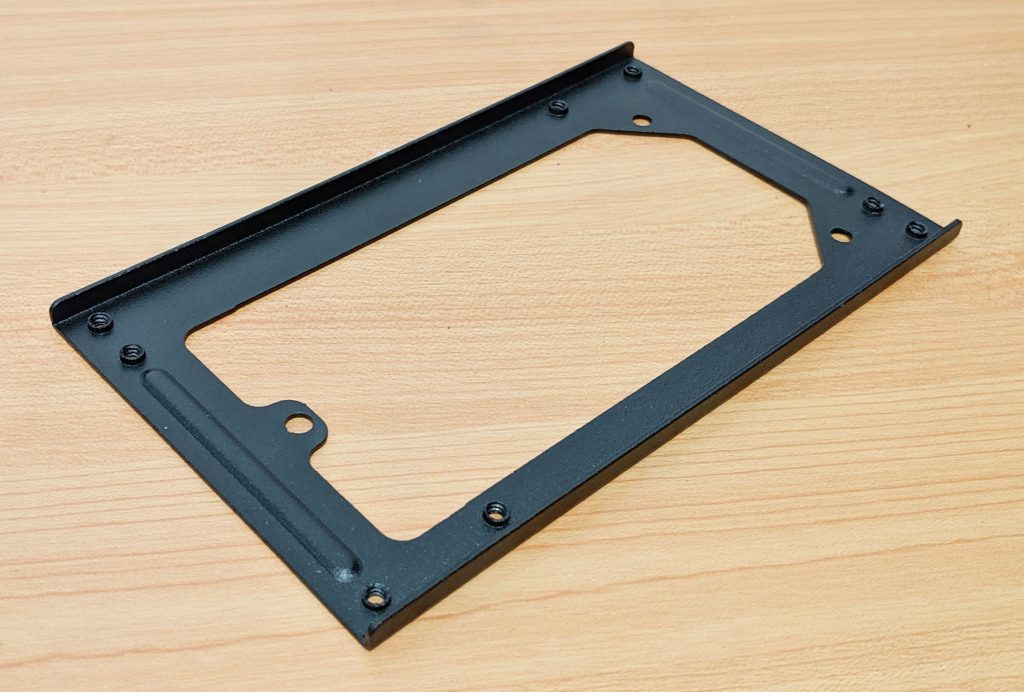
The outside of the PSU is coated in a rugged black power coat(it seems) which doubles as giving the PSU a bit of texture as well. In addition to the PSU itself, you’ll get an SFX to ATX bracket, modular cables, a wall power cable, and a handy install booklet.
Other than that, the design is pretty simple. I’m digging the black and gold color scheme going on, as well as the subtle graphics on each side. Here are some more images for your viewing pleasure!
The included bracket is used to convert the SFX standard PSU into ATX if you plan on using this in a smaller case that still uses the ATX PSU mounts.
For those curious about the visual size difference, there’s a shot of the FSP Dagger Pro next to the FSP Hydro 650W PSU we reviewed earlier.
A Closer Look: Inside
Now we’ll get into what really matters: the guts. It has been wisely said that the PSU is the single most important component with any build, as a cheap PSU can end up costing you money down the road. When power supplies fail, they can sometimes fail violently if the proper protections are not in place. Quality internal components is what we’re hoping to find at this stage.
Caution: Unless you know what you’re doing, do not open your power supply, especially if it has been powered on recently. Residual voltages may be present even when unplugged.
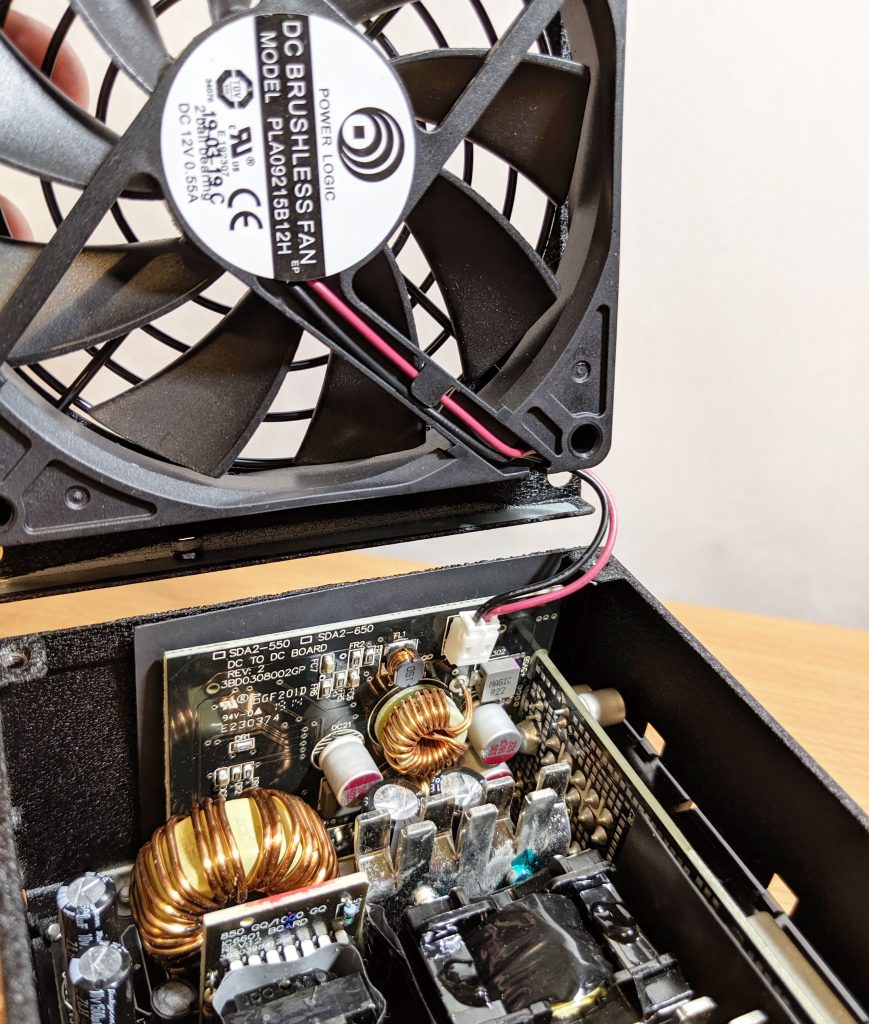
The PSU was surprisingly easy to disassemble. Once pulled apart, things got even better as I was greeted with a plugged in fan. Normally these are hard soldered into the PSU’s motherboard.
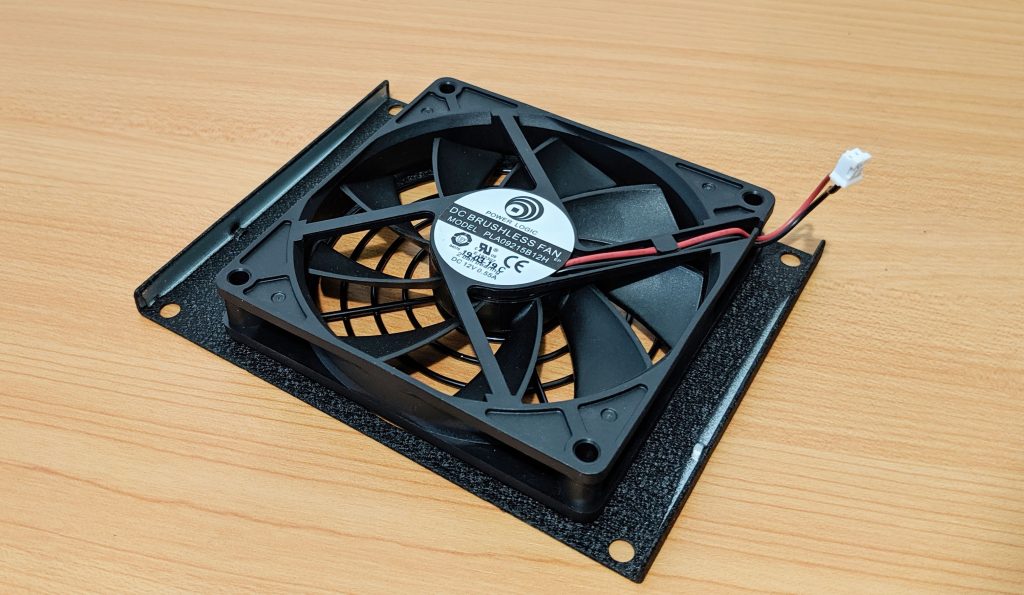
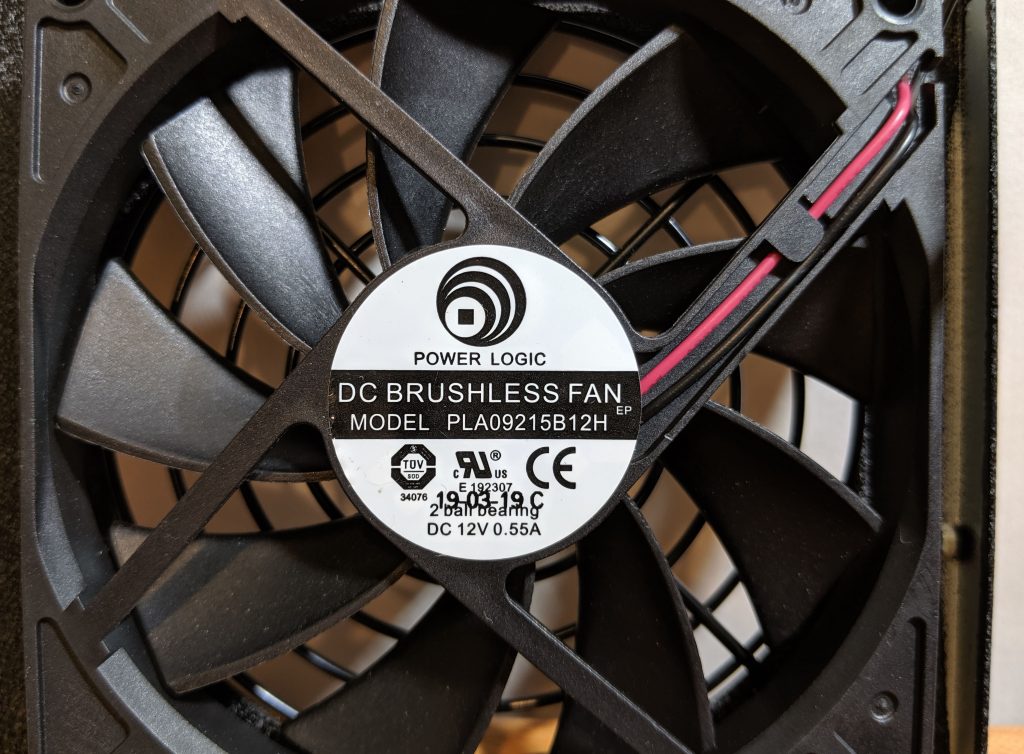
First, let’s examine that fan. The brushless fan is a 92mm Power Logic PLA09215B12H which runs off of 12V. The two pins are ground and +12V which means this fan is speed controlled by modifying the voltage levels.
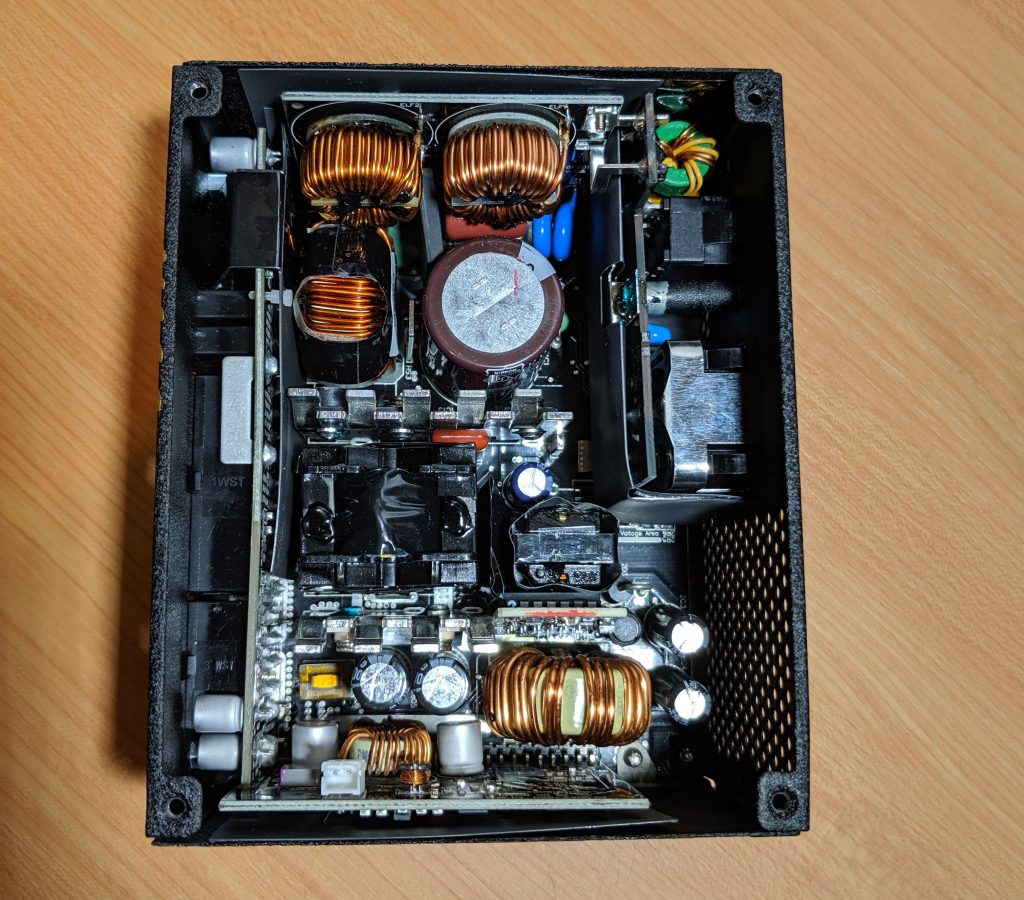
Here is an overall view of what we’ve got inside the FSP Dagger 650W SFX power supply. The first thing that stands out is the main filter capacitor (brown) located in the top center. It is partially surrounded by three large induction coils which handle the main switching circuit which is responsible for converting AC to DC at whatever rated input voltage you’re throwing at it (120V or 240V).
Overall, FSP did a good job making use of the space. The heatsinked MOSFETs sit directly under the fan so they should get plenty of cool air as the load rises. Unfortunately, with everything crammed in so tightly, it made identifying components especially difficult, however, we’ll work with what we got. 🙂
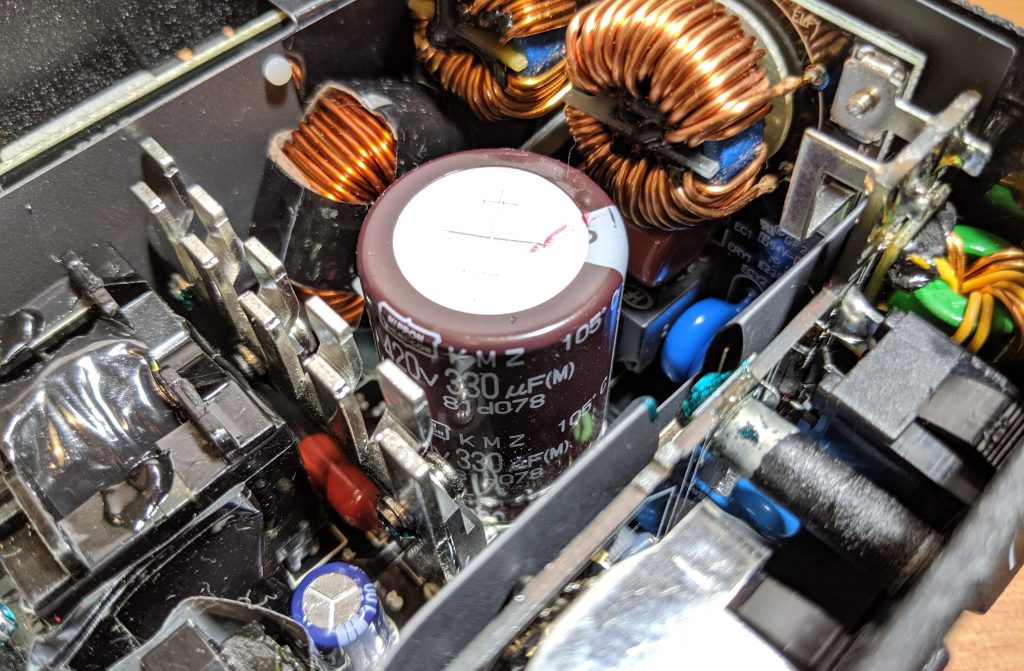
The main filter capacitor is indeed an electrolytic 330uF capacitor rated for 420V. As advertised, this capacitor is indeed a Japanese-made capacitor made by Nippon, or Chemi-Con which is known for their very high end capacitors and ranks as a first tier capacitor according to Tom’s Hardware.
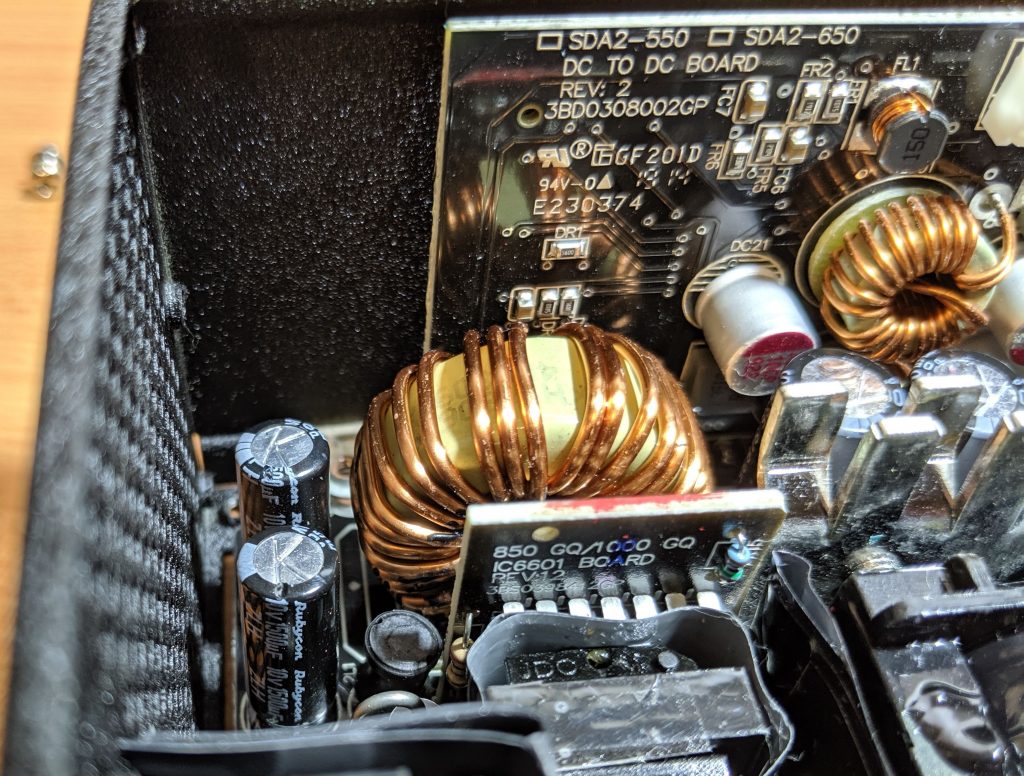
Much to my surprise, the second stage capacitors were also high quality Japanese electrolytic caps made by Rubycon. These two were rated for 10V each, at 1500uF. Some bonus points to FSP here. I’ve reviewed quite a few power supplies in the past where “Japanese Caps” was listed as a primary feature, where at closer inspection, just the main filter cap was Japanese.
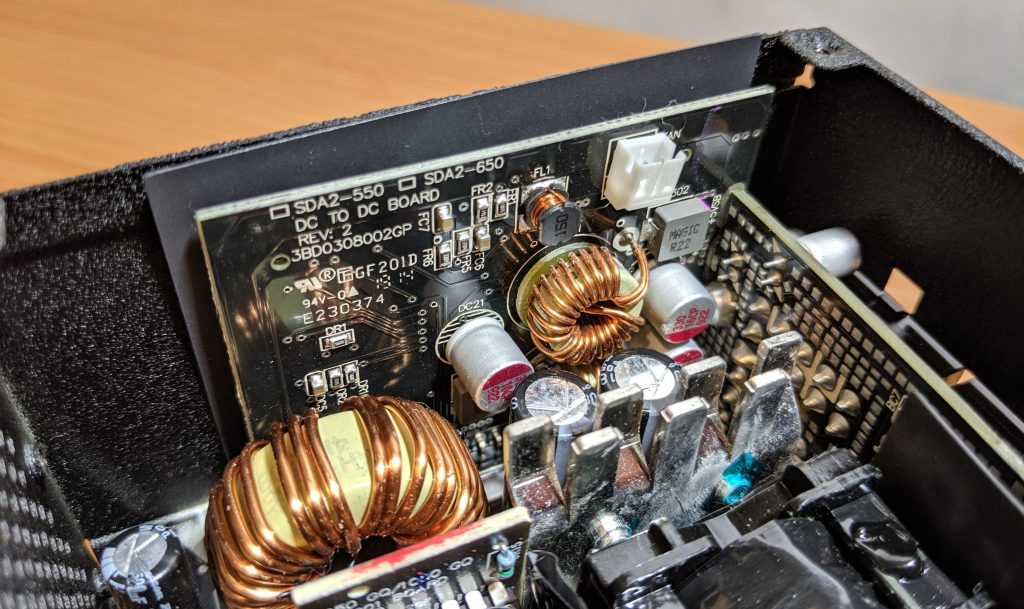
The DC-to-DC board is used for changing the main supply of 12v DC current into the other output voltages such as 3.3V, and 5V. Overall, the board appears well designed using almost all surface mounted parts. This mini PSU works by using PWM to change one voltage into another. The overall quality of parts used here are good and properly sized overall. The two main R22 power inductors made by NPIM are quite hefty and should withstand some abuse.
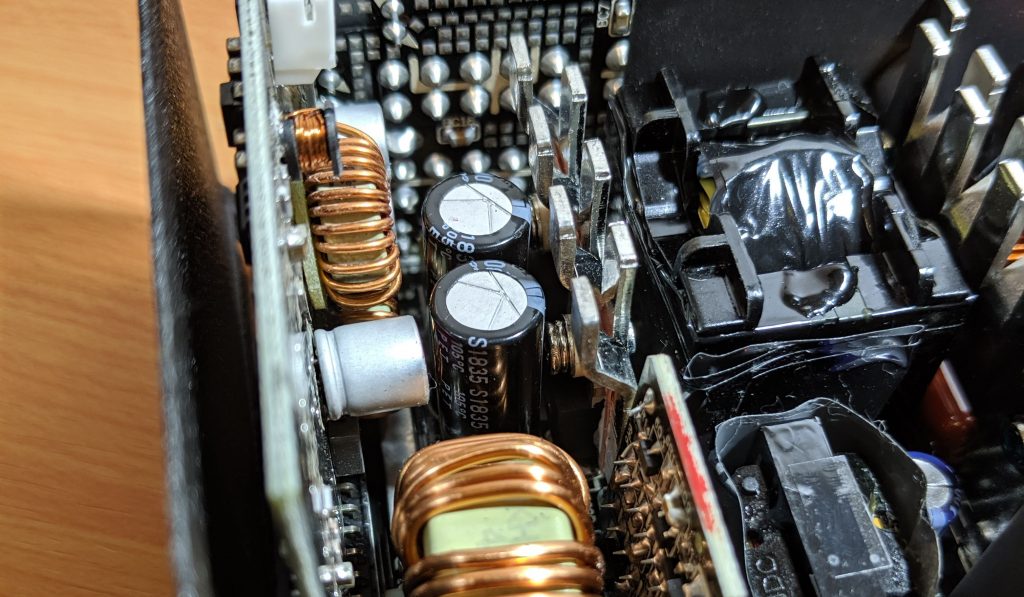
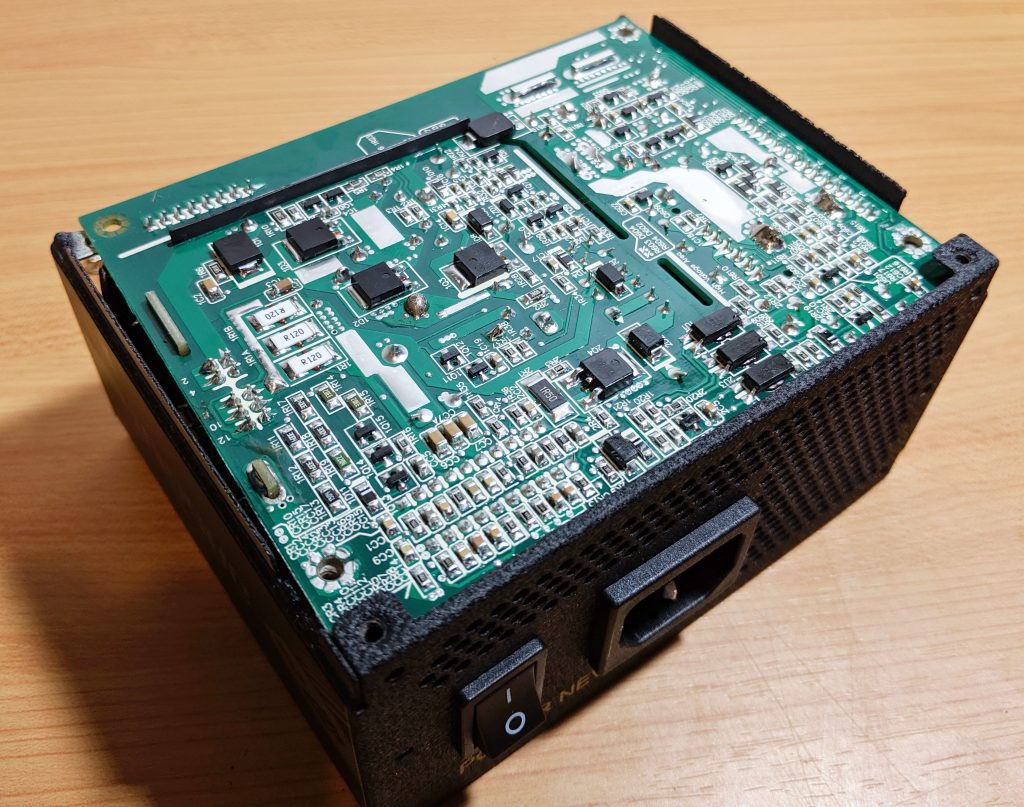
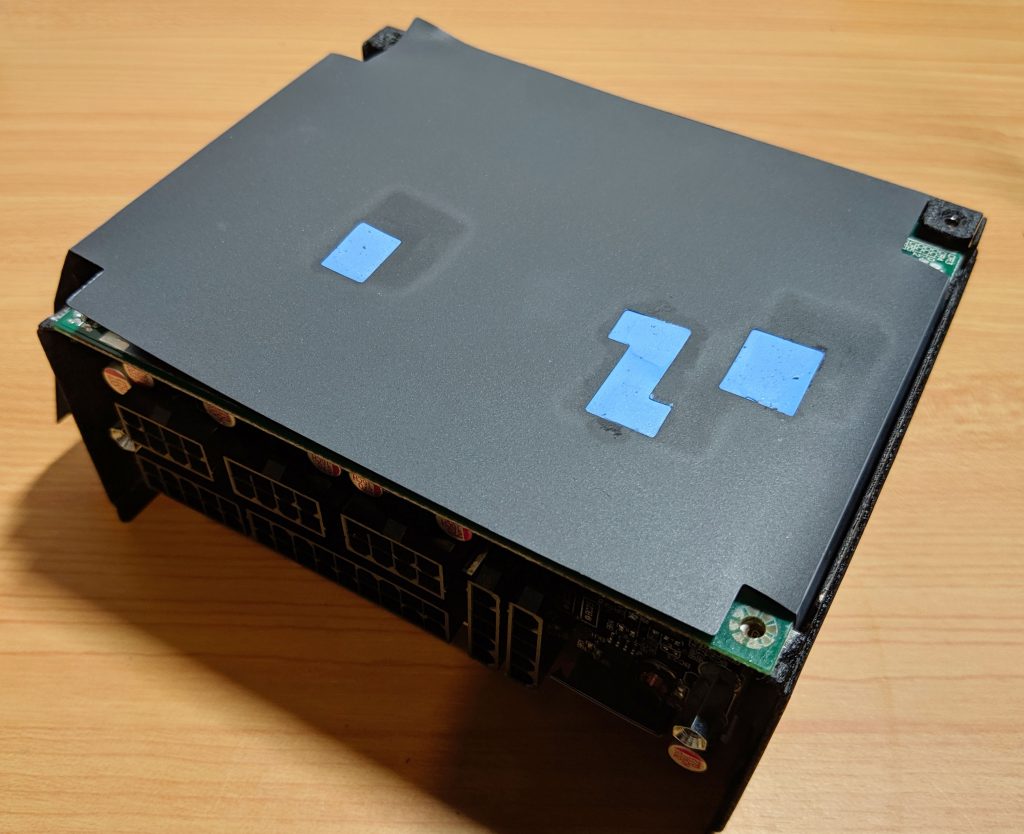
The back of the PSU’s main PCB handles quite a bit of the PSU’s circuitry, much more than we typically see. Interestingly enough, FSP has designed the PSU’s case to act as a heatsink to some of the MOSFETs located on the reverse side. Keep that in mind when you build out you’re PC. Moving some air over the underside of the PSU might prolong its life a little.
Overall, the soldering was performed extremely well, and I didn’t notice any areas of concern upon close examination.
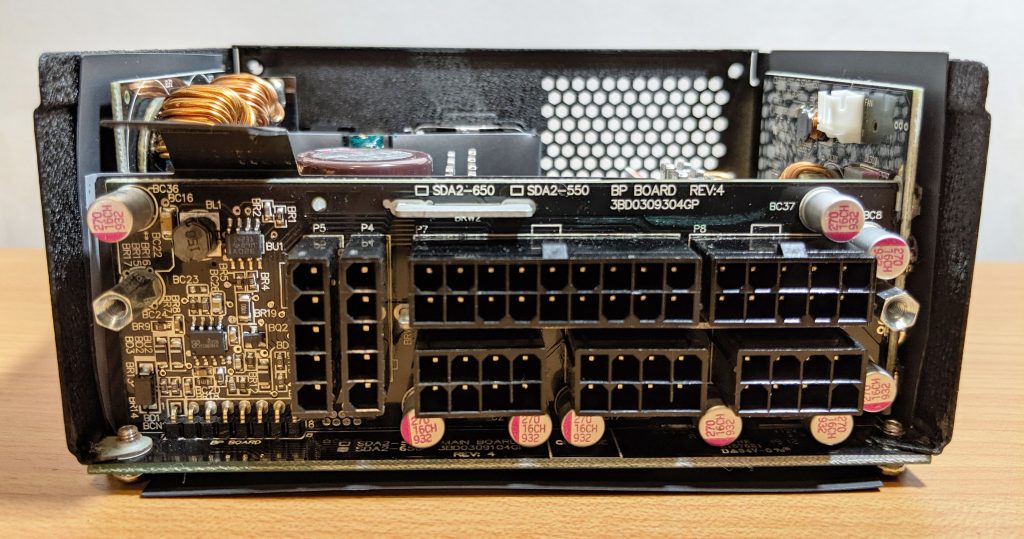
The cable connectors for the modular cables are mounted on a daughterboard which connects directly to the main PCB. Again, we’re presented some high quality components, mostly surface mounted (aside from the large connectors) and good soldering throughout.
Overall, I’m happy with the internal components used. For such a small PSU, FSP did a good job with the overall layout and design.
Load Performance Testing & Results
Testing Methodology
Testing power supplies is one of the most complex things we do here at GND-Tech which involves monitoring and recording data based on several factors. One of the most important thing we look for is the behavior of voltage as the load on the PSU is increased. This is because when you see a voltage drop at mid to high loads, this can cause serious unpredictable behavior, even cause problems to internal computer components if the drop is significant enough. We will test this by placing a controlled load on the power supply and incrementing the load up by 100W for 5-10 minutes at each step. We will run each 100W increment as high as we can go before OCP kicks in (1050W if it will let us). While this PSU is rated at 650W, there is a lot to be said for voltage stability past maximum ratings. We’ll be loading JUST the 12V power rail as it is used primarily by both the CPU and GPU. Why just the +12V rail? Because this rail is used almost exclusively by power hungry components such as your GPU and CPU. Components that load the +5V and +3.3V rails typically are standard across builds. This is why you’ll see the same output ratings for those rails between 450W power supplies versus 1200W power supplies. They are normally static across all build types.
Back in the olden days, power supplies would combine each voltage rail’s output rating which would effectively end up being the total output rating of the PSU. Now days, since the CPU no longer works off of the 3.3V and 5V rails, 95% of the load will be on the +12V rail. Since this rail is used so heavily, typically the 12V rail’s output rating ends up being the overall rating of the PSU. This is why when we test PSU’s we really don’t focus too much on the 5V, 3.3V and -12V rails. We’ll place a static dummy load of 10-20W on each additional rail.
While FSP claims an 80+ Gold efficiency rating (87%), we will also be performing our own efficiency calculations just to be sure. We will do this by placing a specific load on the power supply and then measuring the wattage going in to the power supply with our handy Killawatt meter.
Lastly, at minimum, mid, and maximum loads we’ll be measuring voltage ripple and noise using a PC Oscilloscope. Noise or large voltage dips and spikes is the silent killer can be a huge contributor of early PC component failure if not properly checked.
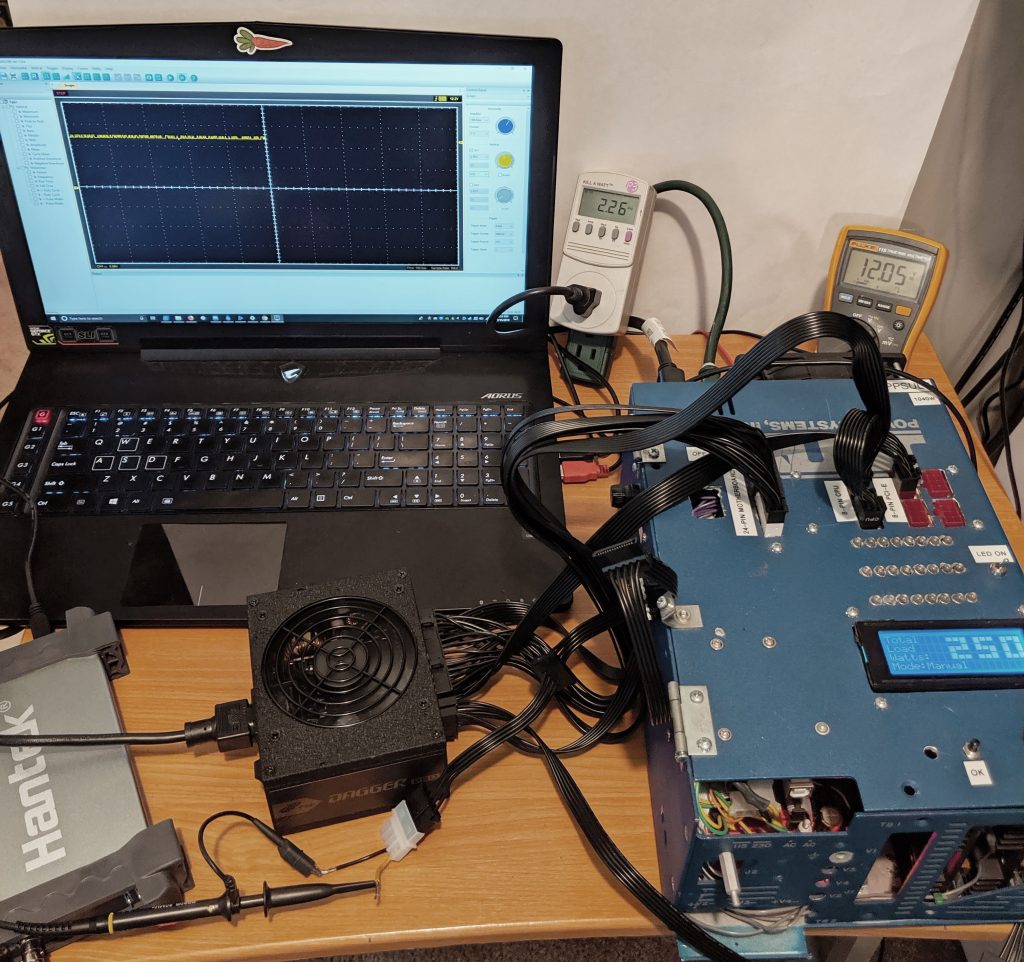
To provide a decent and accurate load you need more than just a beefy PC with high end components. Accuracy of load is vital to provide accuracy in the rest of the measurable points such as voltage @ x load, as well as efficiency calculations. To perform this test accurately we used our own home brew power supply load tester. More info on this tester can be found on our unofficial build page.
The PSU will be tested with its exhaust partially restricted to simulate an in-case environment. This simulates a real world, worse case setting where hot air would be sucked into the PSU from various other components thus increasing the temps a bit.
Without further adieu, behold, our test setup:
Rather than posting pages of numbers broken down individually, I like to present all of the data on a single table for simplicity sake. Below are the final results of our tests.
| FSP Dagger Pro 650W SFX Power Supply Test Results | ||||||
|---|---|---|---|---|---|---|
| LOAD Watts (PSU) | Volts (+12V) | Ripple (P to P) | Wall Amps | Wall Volts | Wall Watts | Efficiency Percent |
| 100 | 12.08 | 56mV | 0.9 | 117 | 105.3 | 94.97% |
| 150 | 12.08 | 1.36 | 117 | 159.12 | 94.27% | |
| 200 | 12.07 | 1.82 | 117 | 212.94 | 93.92% | |
| 250 | 12.07 | 2.29 | 116 | 265.64 | 94.11% | |
| 300 | 12.07 | 88mV | 2.75 | 116 | 319 | 94.04% |
| 350 | 12.06 | 3.22 | 116 | 373.52 | 93.70% | |
| 400 | 12.05 | 3.72 | 115 | 427.8 | 93.50% | |
| 450 | 12.05 | 4.23 | 115 | 486.45 | 92.51% | |
| 500 | 12.04 | 91mV | 4.7 | 114 | 535.8 | 93.32% |
| 550 | 12.02 | 5.25 | 114 | 598.5 | 91.90% | |
| 600 | 12.01 | 5.79 | 113 | 654.27 | 91.71% | |
| 650 | 12 | 110mV | 6.31 | 113 | 713.03 | 91.16% |
| 700 | 11.99 | 6.91 | 112 | 773.92 | 90.45% | |
| 750 | 11.91 | 7.34 | 112 | 822.08 | 91.23% | |
| 800 | 11.4 | 7.98 | 112 | 893.76 | 89.51% | |
OCP (Over Current Protection) kicked in at 820W which was a bit high than I’d like to see, however it DID kick in which is what matters. Alright, so what are we looking at here? I’ll break this down into Good/Bad categories.
The Good:
- Efficiency: At low loads we were broacing 80+ Titanium ratings! 94% is absolutely fantastic. As the load reached 50%, our efficiency dropped down to around 92% which is still amazing and puts us into the 80+ Platinum zone. At 100% (650W) we were down to 91% which is still well above the minimum rating for 80+ Gold of 87%.
- Voltage Ripple: Peak to Peak ripple was minimal. Anything greater than 100mV is not ideal, however we’re still a long way off from producing noise that would cause any weird behavor inside the case.
The… Less Good:
- +12V Voltage Readings: Voltage readings were a little lower than I’d like to see. With only a 100W load, our +12V rating was at only 12.08V. Typically, power supplies will have a bit of padding so when load increases, and voltage drops, it doesn’t drop below that 12V rating. Normally we’ll see a padding of +200-300 mV which was not the case here. By the time we were at 100% load, we were right on that 12V line which is not ideal. The drop overall was pretty minimal, however, only 80mV.
The fan did not kick on until around 200W of load, meaning that it will likely stay silent while idle up until the system starts drawing more power.
Final Thoughts & Scoring
The FSP Dagger Pro 650W SFX power supply is a solid unit that perfored quite well during our tests, especially when it came to efficiency where we saw almost 80+ Titanium levels. Its small size makes this a much needed PSU for up and coming SFX builds designed with a single high end GPU in mind.
The PSU is built extremely well inside and out and in addition to everything we’ve talked about, FSP backs this PSU up with a whopping 7 year warranty should you have any issues.
Now for the final breakdown:
- Appearance: 9.6/10 – Great looking PSU overall. The exterior ridgid coating and the flexible modular cables were probably my two favorite features.
- Build Quality & Construction: 9.5/10 – Good quality inside and out.
- Performance: 8.6/10 – My only concern is the lower than average starting voltage on the +12V rail. Efficiency, peak to peak ripple and everything else were a-ok!
- Value: 9.0/10 – Right now you can pick up the Dagger Pro 650W from Amazon for $124.99. For a 650W PSU, this is a bit high, however as this is a smaller SFX PSU, I’d say that the price is on point.
Amazon Link: FSP Dagger Pro 650W SFX Power Supply
Product Page: https://www.fsplifestyle.com/en/product/DaggerPro650W.html


